Although I cannot explain why those ferrite beads lit up, it seems connecting the DE-9 shell to the serial device ground is an Extremely Bad Idea. I removed that wire from the HP 8591 spectrum analyzer cable and everything seems to work, so I’ll declare victory:
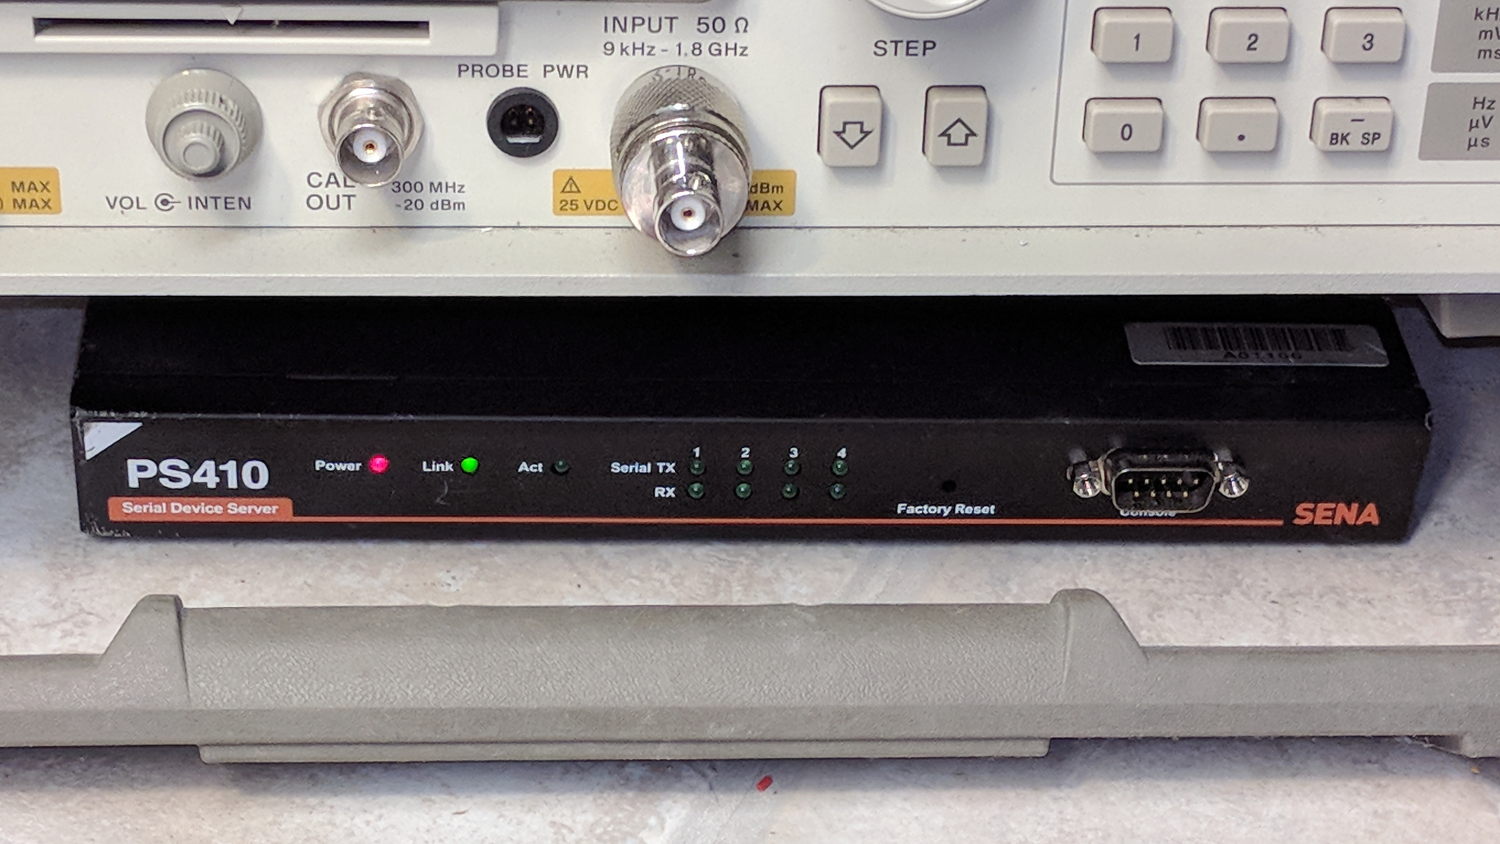
Not shown: the tangle of cables tucked behind that tidy box. You can plug a serial terminal into the DE-9 connector, but it’s much easier to use the PS410’s web interface.
It needs a static IP address to make it findable, although I also told the router to force the same address should it start up in DHCP mode:
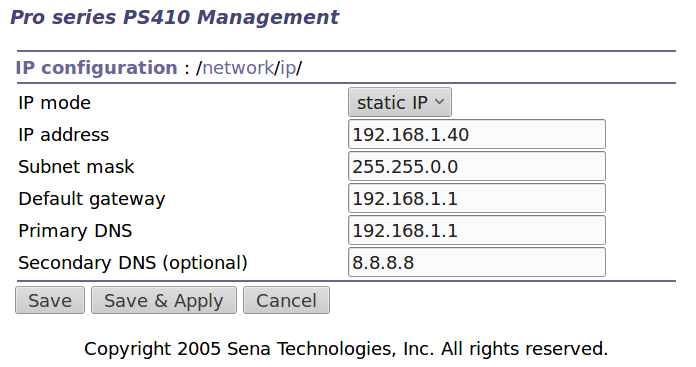
Yeah, Google DNS, if all else fails.
The serial port overview:

I’ll go into more detail in a while about individual device setups and the scripts slurping screen shots out of them, but giving each one a useful name is a Good Idea, even though it doesn’t appear anywhere else. I changed the default Inactivity Timeout for each port from the default 100 seconds to zero, thereby preventing the PS410 from closing the connection due to inactivity:
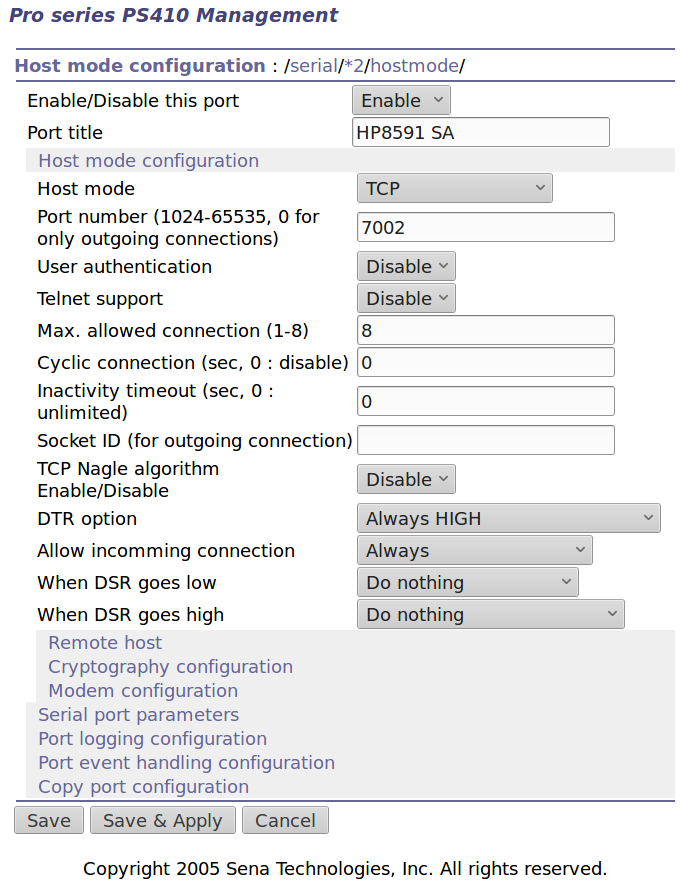
The DTR and DSR defaults work out well; the other choices solve problems I don’t have. Indeed, the PS410 has a myriad configuration options best left in their Disabled state.
The serial parameters for each port need tweaking to suit the hardware gadget on the other end of the cable:
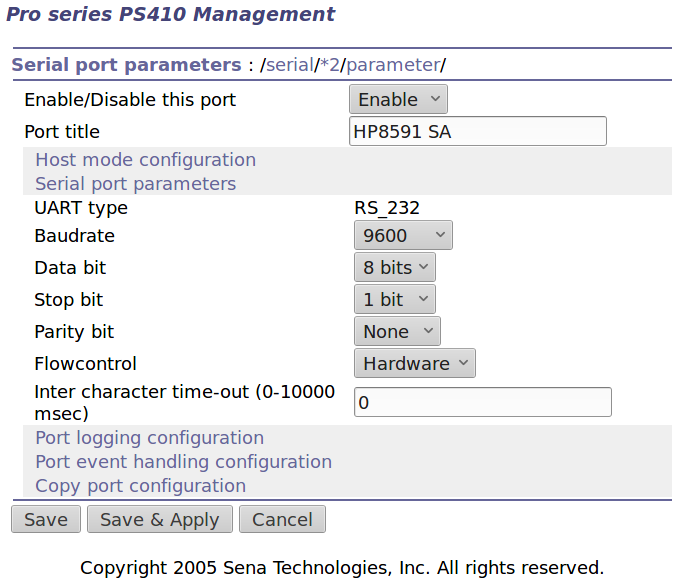
Flow Control applies between the PS410 and the gadget. You can choose:
- Disabled
- XON/XOFF – in-band characters
- RTS/CTS – RS-232 hardware signals
Somewhat to my surprise, It Just Worked despite my blundering.

Comments
3 responses to “Sena PS410 Serial Server: Configuration”
[…] it to connect minicom to the HP Z3801 (PDF user manual) GPS receiver’s serial port on the PS410 serial server goes like […]
[…] The objective is to capture screen shots from the HP 8591 spectrum analyzer, now connected to Serial Port 2 of the Sena PS410 serial server. […]
[…] The objective is to capture screen shots from my HP 54602 oscilloscope, now connected to Serial Port 1 of the Sena PS410 serial server. […]