Ed Nisley's Blog: Shop notes, electronics, firmware, machinery, 3D printing, laser cuttery, and curiosities. Contents: 100% human thinking, 0% AI slop.
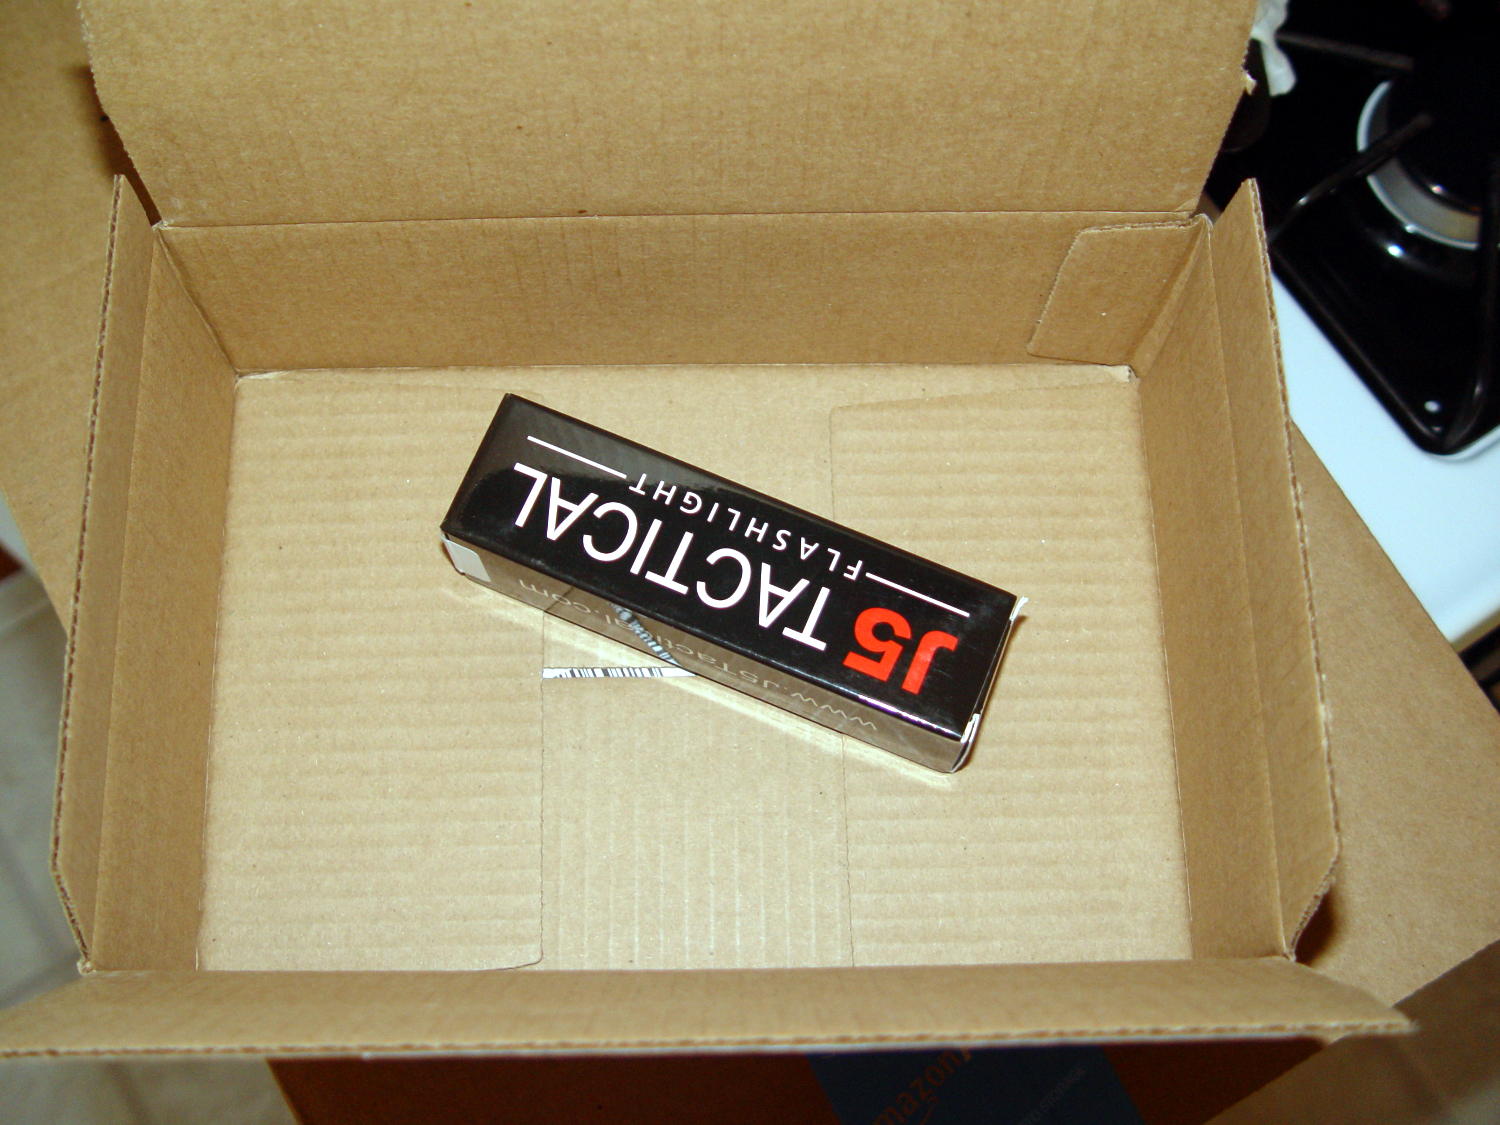
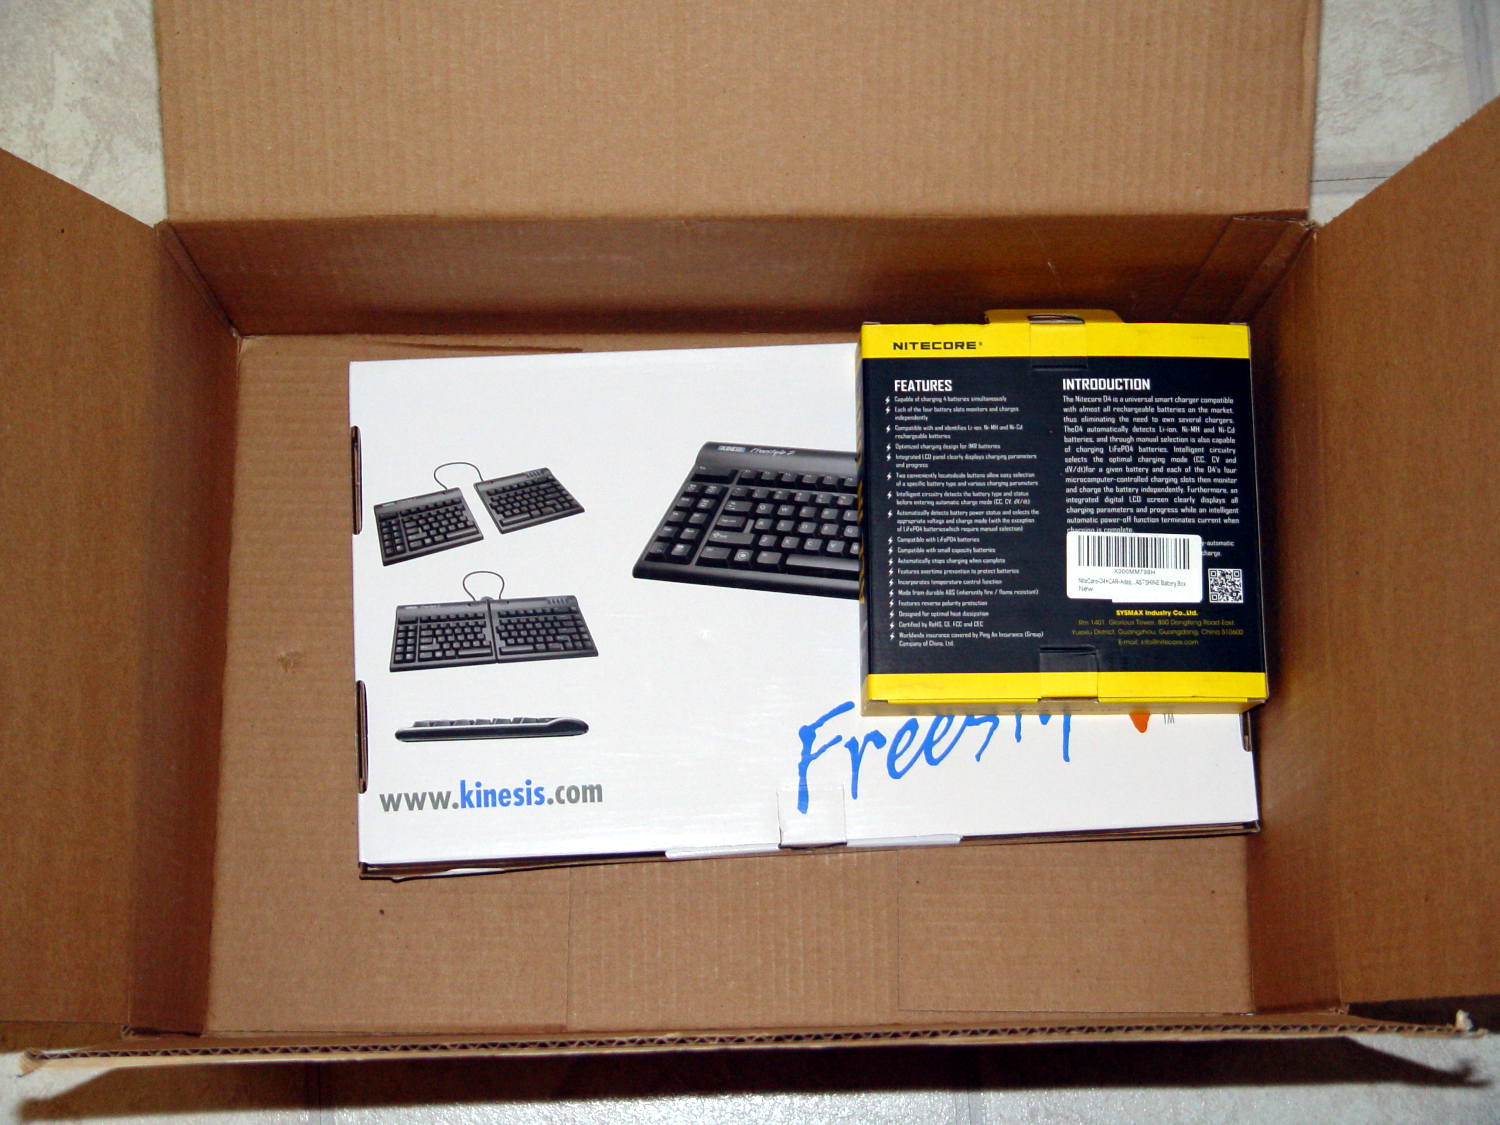
A keyboard and cylindrical cell charger arrived intact, with absolutely no credit due to Amazon’s careful packaging:
Keyboard and charger – Amazon packaging
Sometimes, a box does arrive with a token scrap of padding dropped inside, but, as nearly as I can tell, it’s cheaper for Amazon to replace the occasional damaged item than to waste time and material stuffing the boxes with air pillows, eco-foam peanuts, or, heaven forfend, space-filling foam.
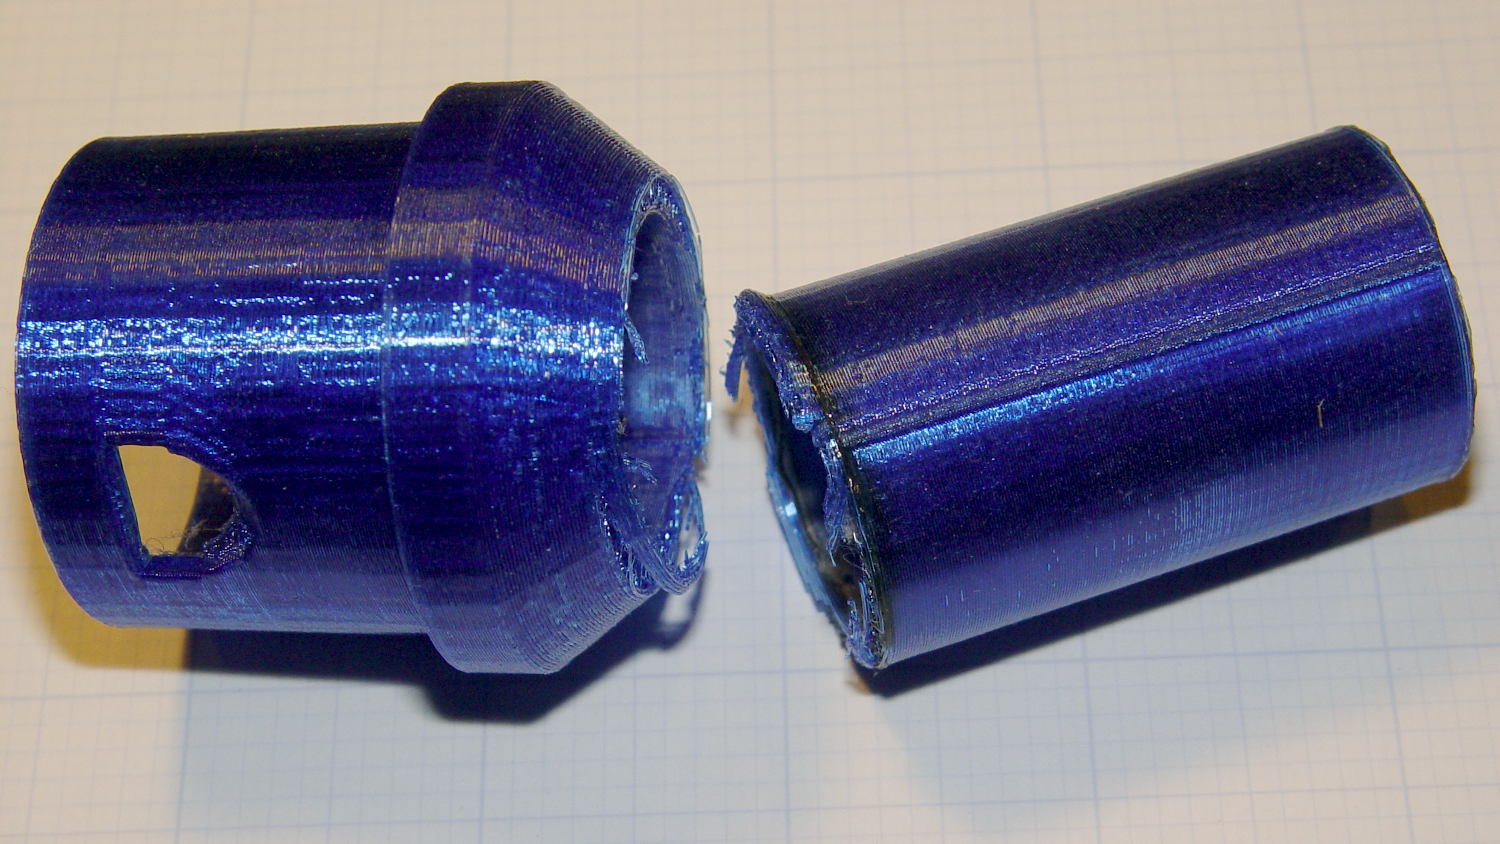
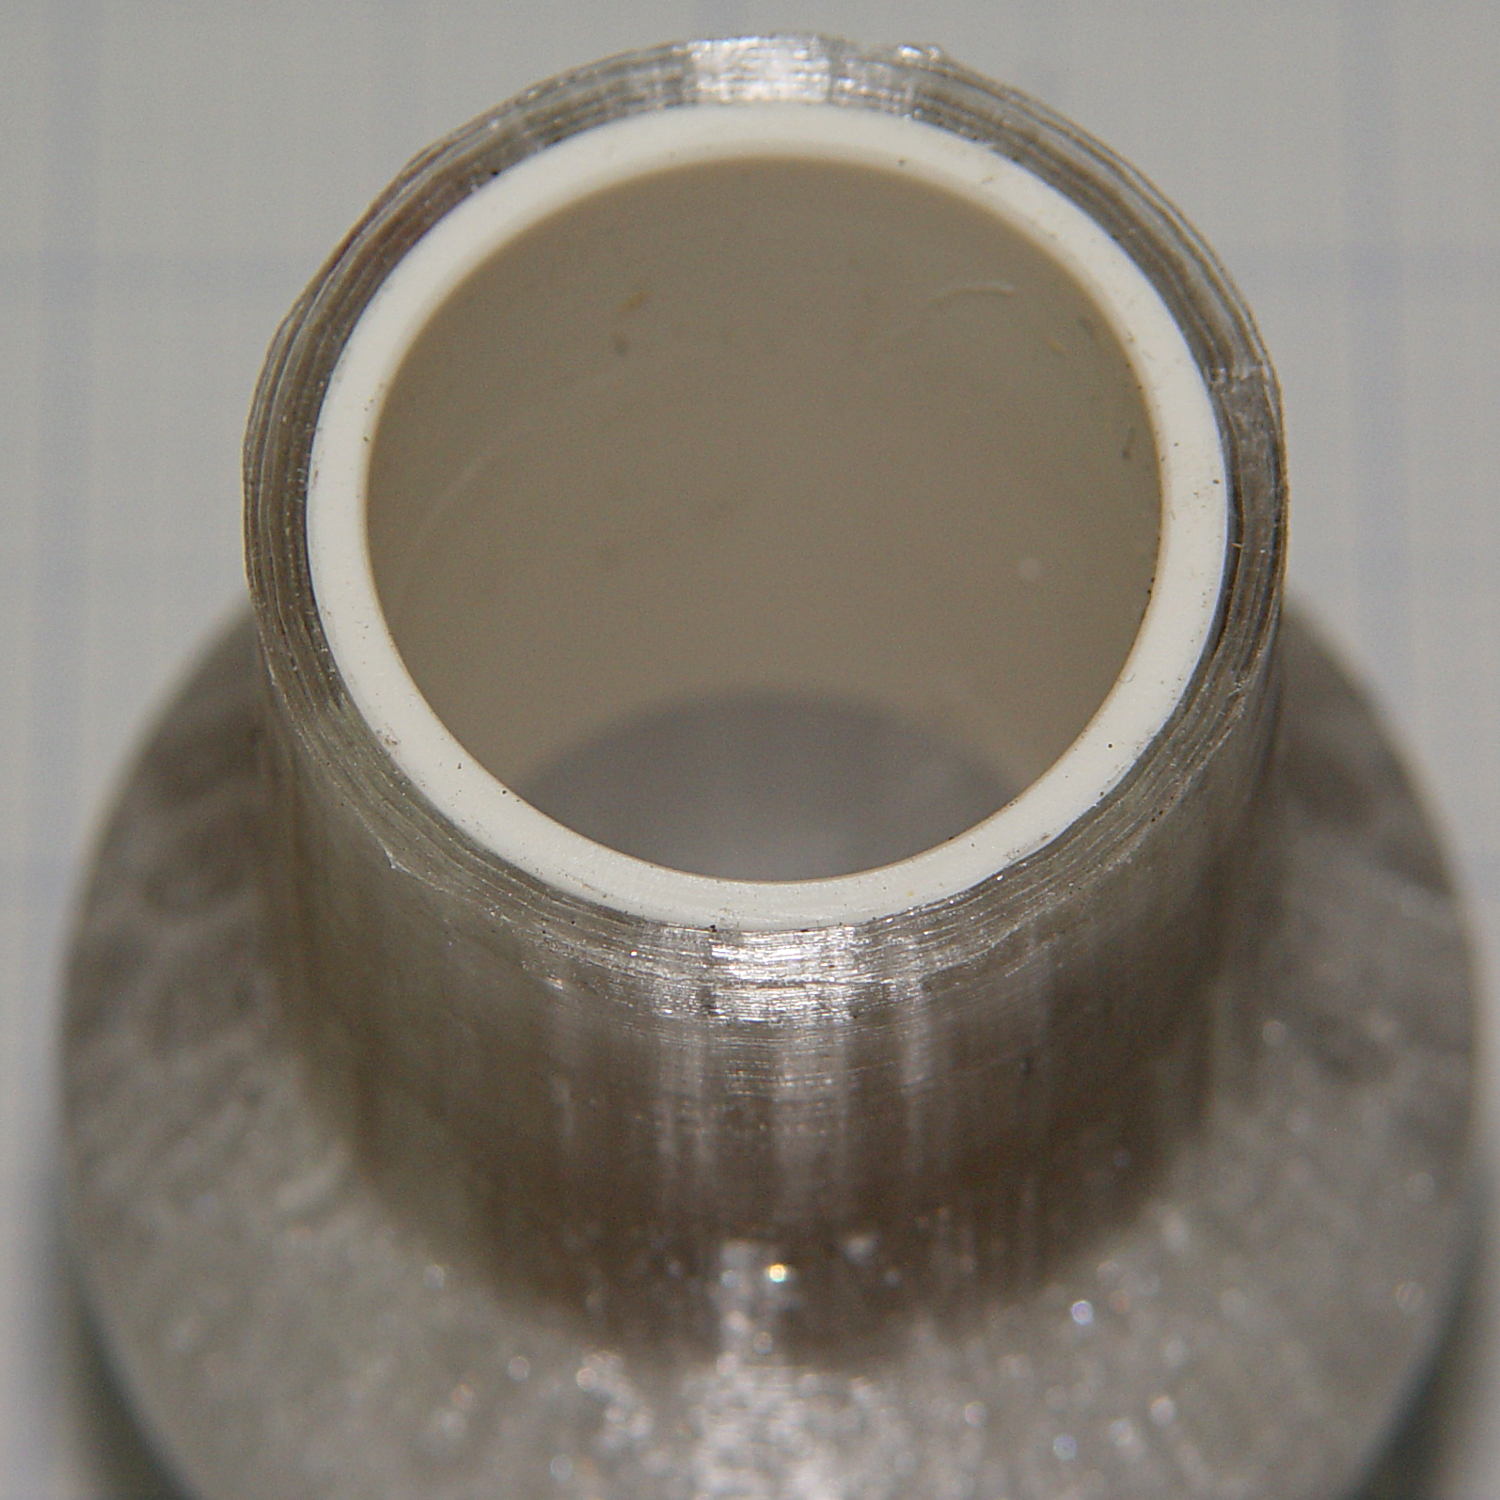
A bit of rummaging turned up some ¾ inch Schedule 40 PVC pipe which, despite the fact that no plumbing measurement corresponds to any physical attribute, had about the right OD to fit inside the adapter’s ID:
Dust brush – PVC reinforcement
The enlarged bore leaves just barely enough space for a few threads around the circumference. Fortunately, the pipe OD is a controlled dimension, because it must fit inside all the molded PVC elbows / tees / caps / whatever.
The pipe ID isn’t a controlled dimension and, given that the walls seemed far too thick for this purpose, I deployed the boring bar:
Dust brush adapter – reinforced tube – boring
That’s probably too much sticking out of the chuck, but sissy cuts saved the day. The carriage stop keeps the boring bar 1 mm away from the whirling chuck.
Bandsaw it to length and face the ends:
Dust brush adapter – reinforcement
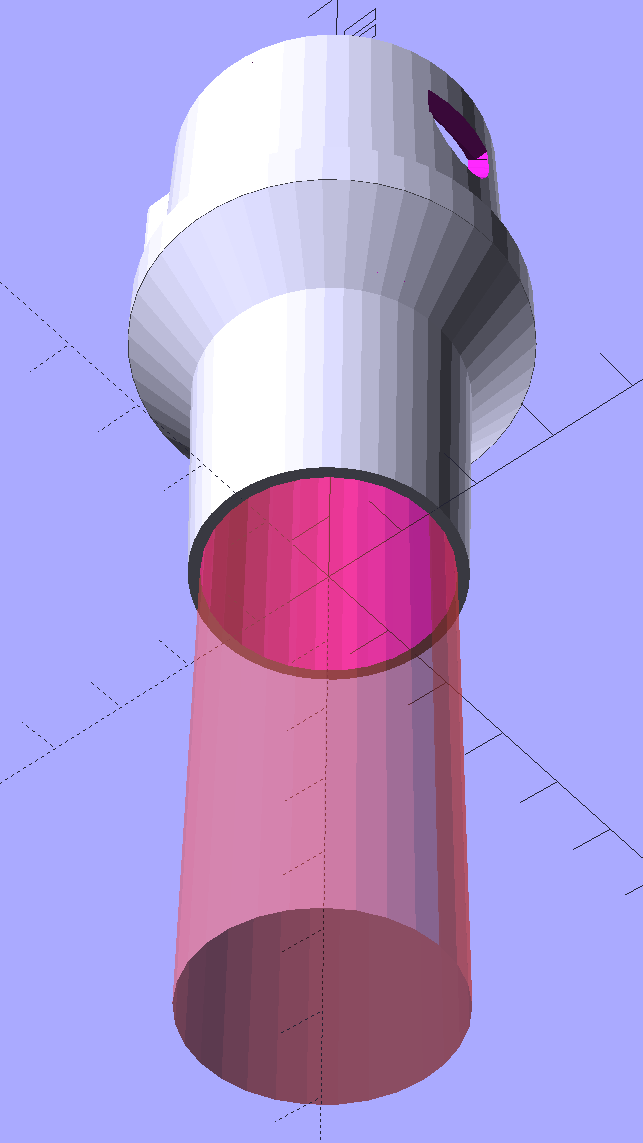
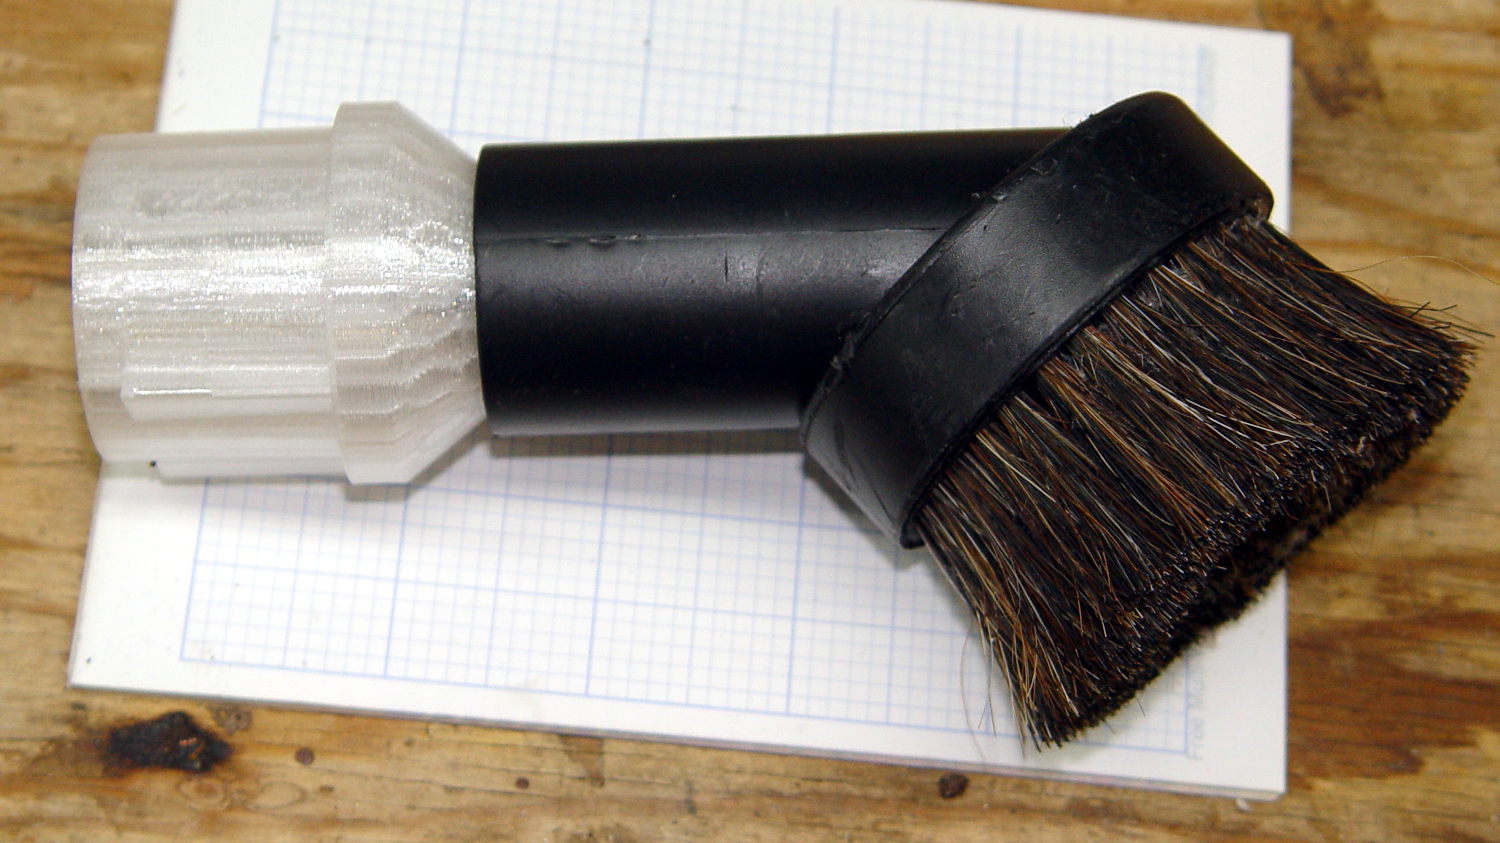
The PVC tube extends from about halfway along the steep taper from the handle fitting out to the end, with the section closest to the handle making the most difference.
Ram it flush with the end:
Dust brush adapter – reinforced tube – detail
I thought about gluing it in place, but it’s a sufficiently snug press fit that I’m sure it won’t go anywhere.
This file contains hidden or bidirectional Unicode text that may be interpreted or compiled differently than what appears below. To review, open the file in an editor that reveals hidden Unicode characters.
Learn more about bidirectional Unicode characters
So I picked up a J5-V2 Tactical Flashlight as a possible bike headlight, on the basis of a 750 (“max output”) lumen LED, zoomable beam, and use of standard 18650 lithium cells (rather than USB charging). The geometry required to stick it on the Tour Easy remains a puzzle, but an az-el dingus replacing an upper fairing mount may work well enough.
Anyhow, it seems the LED in this flashlight fell on the floor during assembly, where the (silicone?) LED emitter lens picked up a remarkable amount of dirt:
J5-V2 Flashlight – LED crud
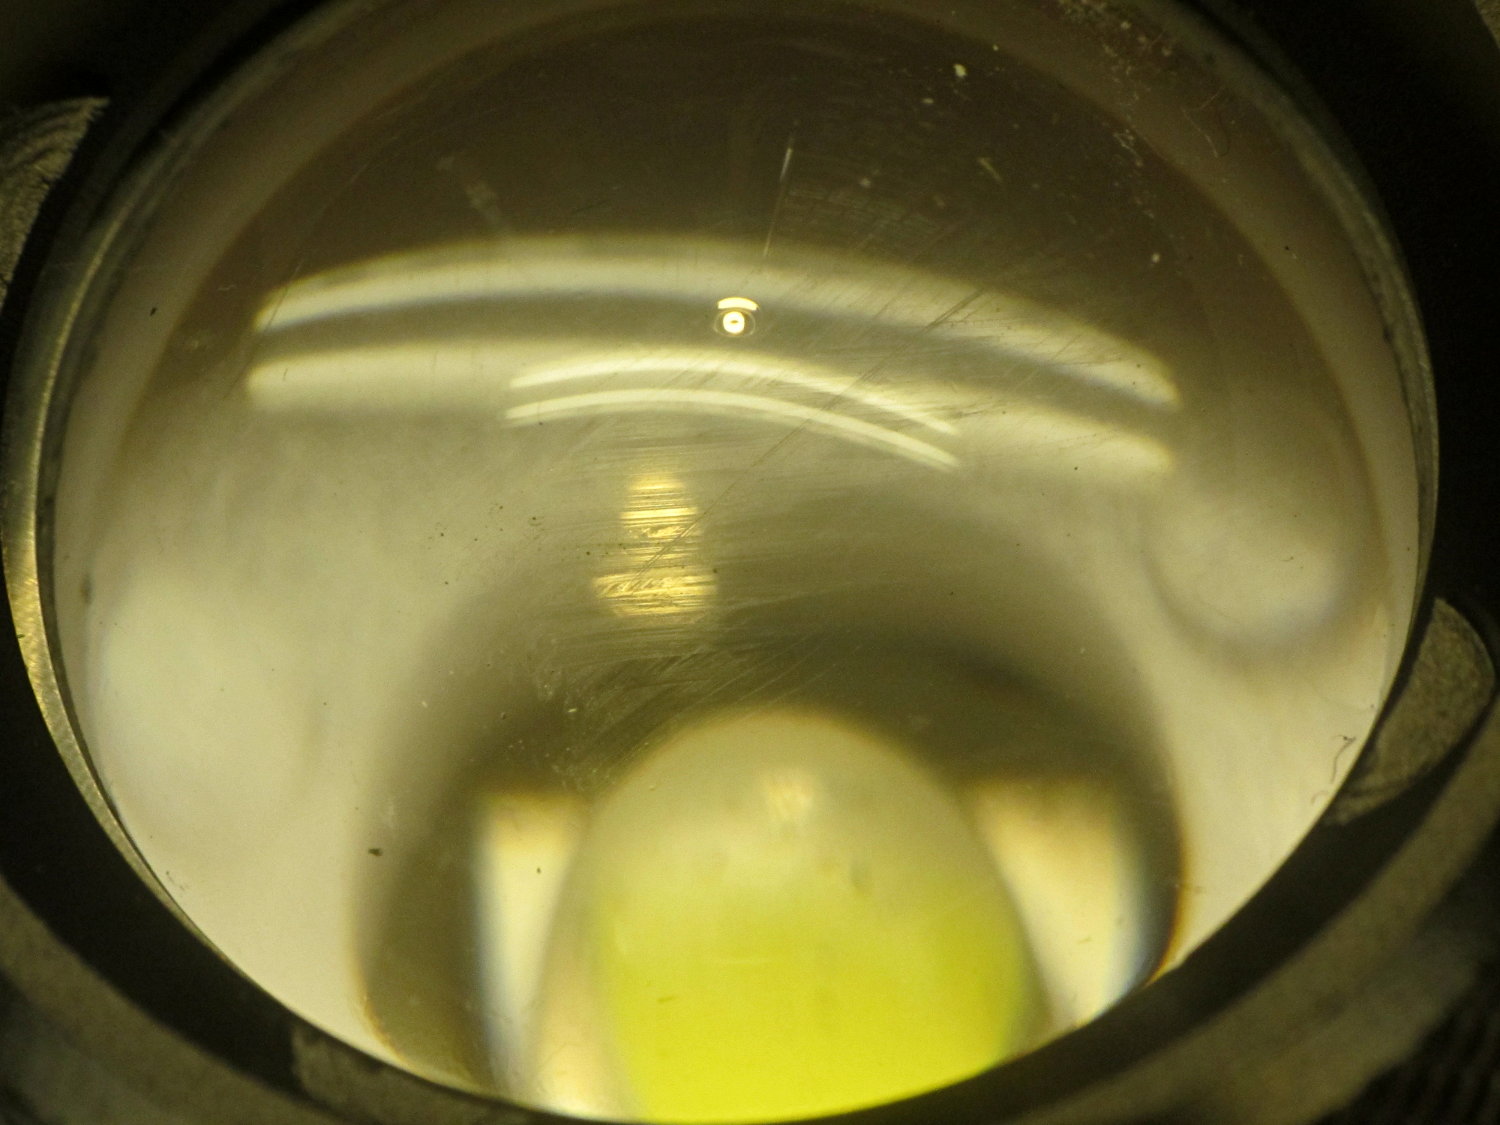
The inside of the front focusing lens carries an array of scratches or, perhaps, a greasy fingerprint that serves the same purpose:
J5-V2 Flashlight – internal lens scratches
All vendors tell you to contact them before posting a critical review, although they often don’t provide much in the way of contact information. I sent a note with photos to J5 through their website’s contact info; having not heard anything after three days, I’ll fire up the Amazon return process …
The seasoning in between the scuffs & scrapes remains in fine shape. Running the Scotchbrite pad around the perimeter obviously wears the coating, but, on the whole, nothing sticks anywhere.
I’ve started re-seasoning it after each use, which isn’t a big deal, and we’ll see how the scratches level out.
The lovely gray-black patina on the nubbly outside surface from the original moderate-woo oven seasoning requires no further attention.
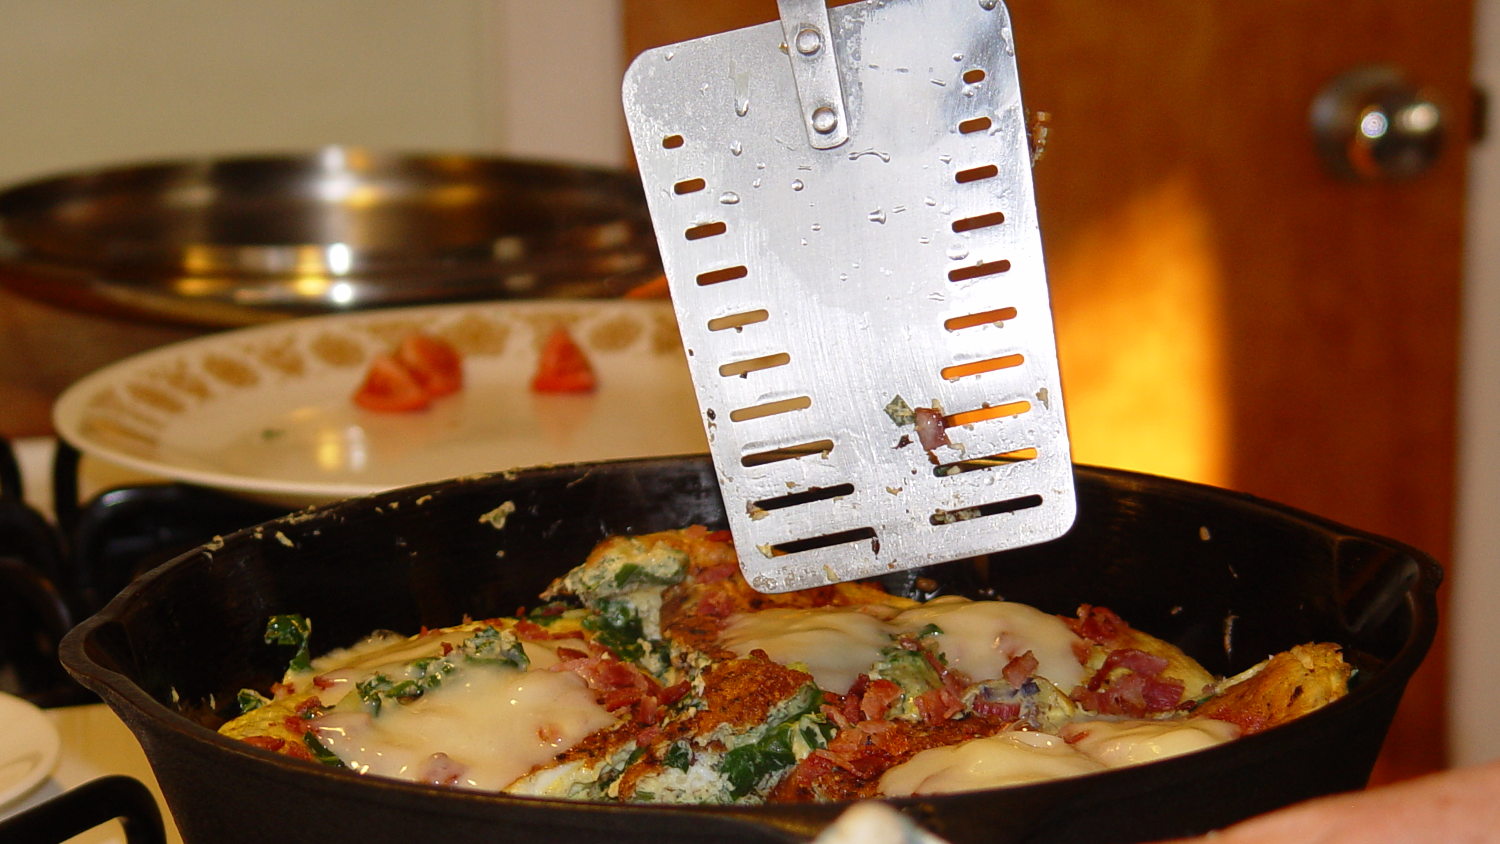
A Flint Arrow stainless steel spatula works exactly the way a spatula should:
Flint Arrowhead Stainless Spatula – in action
That is, of course, a used spatula from eBay. It cost slightly more than the various new spatulas we’ve tried, but not by very much, and should last (at least from our perspective) forever.
Thanks to all of you for aiming us in the right direction!
Mary couldn’t unscrew either of the two outlet hoses emerging from one of the (many) Y valves in her Vassar Farms plot. After deploying the Lesser Vise-Grip from my bike toolkit to no avail, I brought a Greater Vise-Grip from the shop and applied brute force. During that process, the plastic inlet hose fitting ripped off the valve and sprayed all but one of its latching teeth across the plot:
Gilmour hose Y valve – inlet fitting
As it turns out, the male outlet hose fittings on all the metal-body Gilmour Y valves in the plot have corroded:
Gilmour hose Y valve – thread corrosion
The scarred knurls show the force required to break the brass hose ring loose and unscrew it:
Gilmour hose Y valve – hose interior
Some of that crud may be hard water deposits, but the destruction of the male threads seems like a galvanic reaction among all the various metals in play.
The male fitting began rotating in the valve body, so I crushed it in the bench vise to make more headway. While I had the victim clamped down, I hacksawed a slit through the housing, pried back the edges, and freed the parts for one leg of the Y:
Gilmour hose Y valve – parts
You’d think “not corroding” would be high on the list of attributes for a garden hose valve…
Although I’m not the type of guy who thinks twinkly LEDs will enhance his apparel, one of Mary’s quilting thread sources had a closeout deal on their “wearable electronics”, including a large cone of stainless steel thread / yarn:
Stainless steel thread
… CR2032 lithium cells & holders, plus assorted LEDs on small PCBs.
The usual advice for connecting the thread seems to involve knotting it through the PCB holes, then sewing it to the backing fabric. Alas, I’m bad with knots and the stainless steel yarn isn’t all that cohesive:
Emerald LED – Stainless steel thread – knotted
The holder has an even smaller hole, but Mary gave me a needle threader that helped:
CR2032 – Stainless steel thread – knotted
Some advice found on The InterTubes suggests using copper crimp beads (perhaps with solder) to prevent the thread from completely unraveling and keep the thread loop tight around the PCB hole:
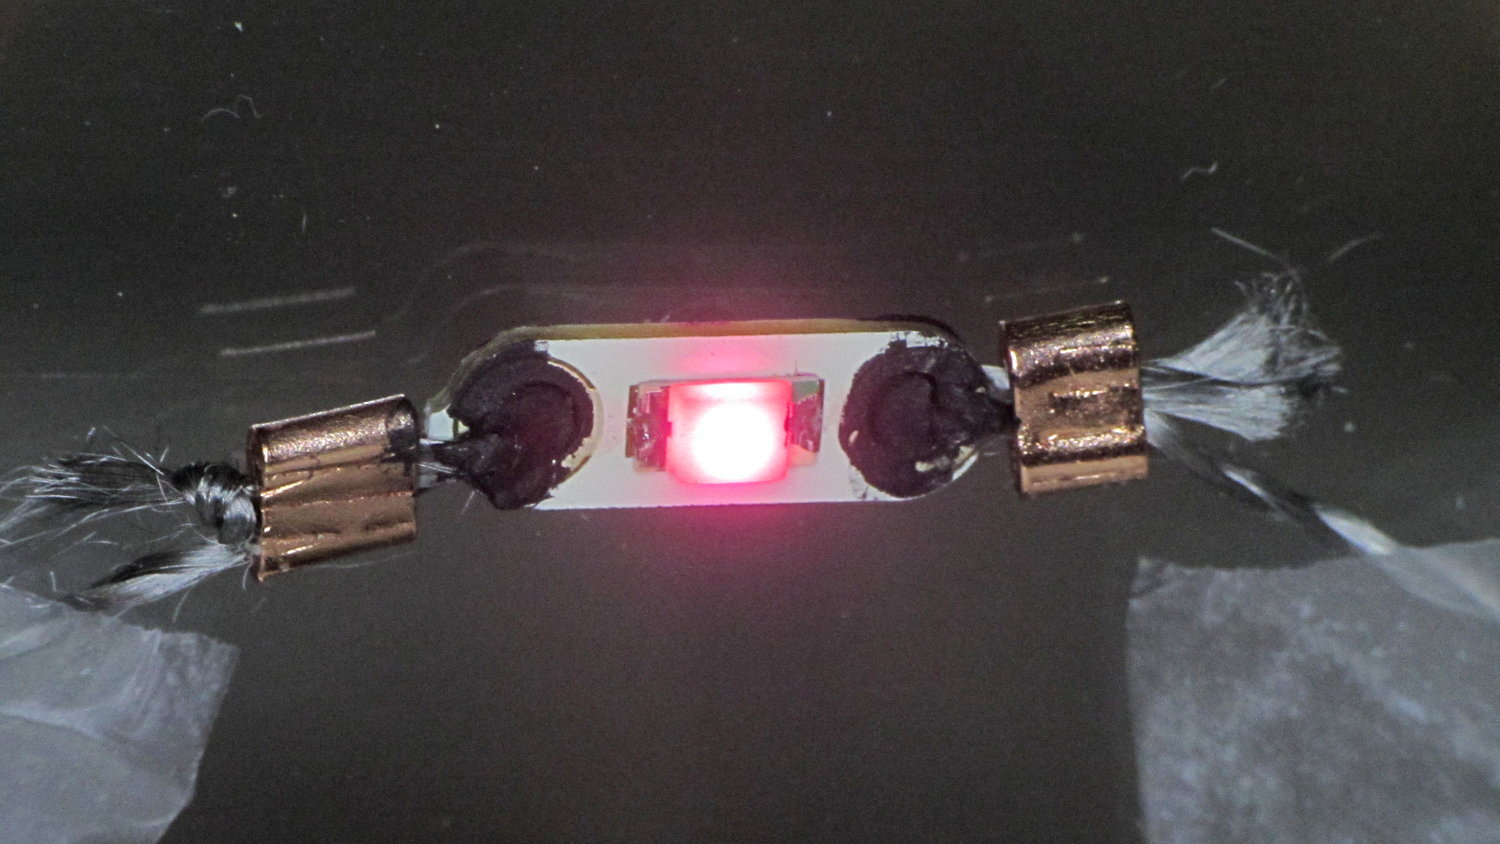
Rose LED – Stainless steel thread – Crimp bead – Wire Glue
Beadworkers use crimping pliers that leave a tidy dent; I mashed the beads with a needlenose pliers and called it good.
The LEDs seem to be white LEDs with filters or, perhaps, blue / violet LEDs with different phosphors: their forward voltages look more blue than red or green. Everybody in this field depends on the minor miracle that lithium cell voltages match blue LED forward drops closely enough that you can get away without a ballast resistor.; the cell’s 20-ish Ω internal resistance doesn’t hurt in the least. An interesting white paper (SWRA349) from TI explores the effect of current on cell capacity and how to size a parallel capacitor that reduces the peak battery current.
The black gunk is Wire Glue, which costs about five bucks for a lifetime supply in a small jar (or nigh onto 15 bucks via Amazon Prime) and is basically carbon powder in a water-based binder. Apply a dab to the connection and the water evaporates to leave the carbon + binder behind.
That works better on joints that don’t move, which is precisely what you don’t have in a wearable electronic situation. You can see the crumbling Wire Glue after the trip back from a Squidwrench meeting:
I also picked up a Permatext Rear Window Defogger repair kit (09117, if you’re looking) that seems to be a staggeringly expensive way to get a tenacious high-current conductive adhesive. More on that later.
The yarn runs 3.5 Ω/ft, much lower than Adafruit’s three-ply yarn (10 Ω /ft), and suggests itself for flexible connections, EMI gaskets, and suchlike.
Those LEDs are taped to the kitchen window, where they cast a cool light over the table, with the battery holders sitting on the sash. I’d just replaced some data logger CR2032 cells, so they’re running from nearly dead lithium batteries.
For future reference: 2.77 V and falling, pushing less than 2 mA through the LEDs.