For reasons which are, trust me on this, not relevant here, we now have a third Kenmore 158 sewing machine: a freebie that sat under a roof leak in an unused room some years ago and wasn’t cleaned before being stored. Even though not much water got inside the covers, the bobbin winder shaft froze solid.
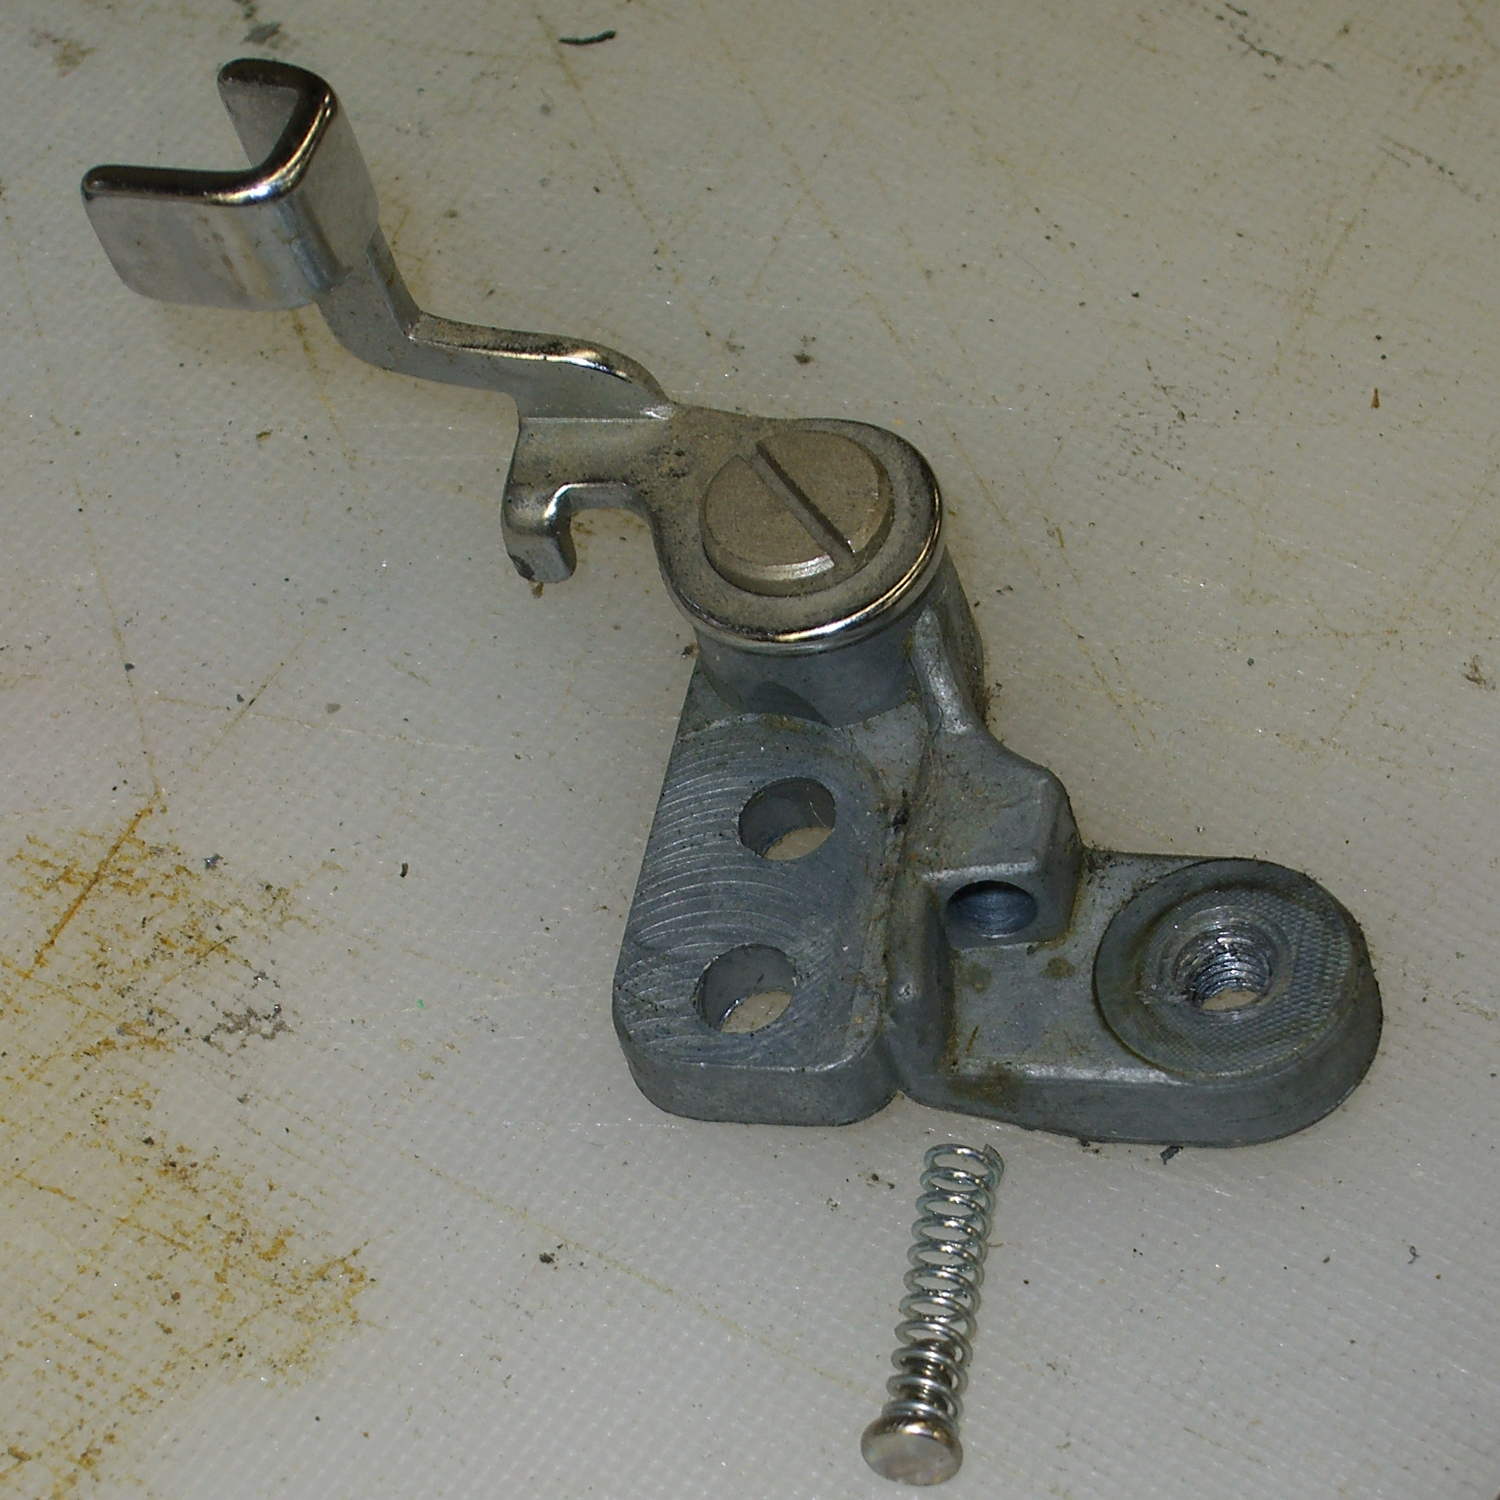
Two black screws hold it to the cover and provide a slight adjustment of the tire-to-handwheel distance:
Prior to this adventure, I soaked the shaft in penetrating oil for a week or two, but to no avail.
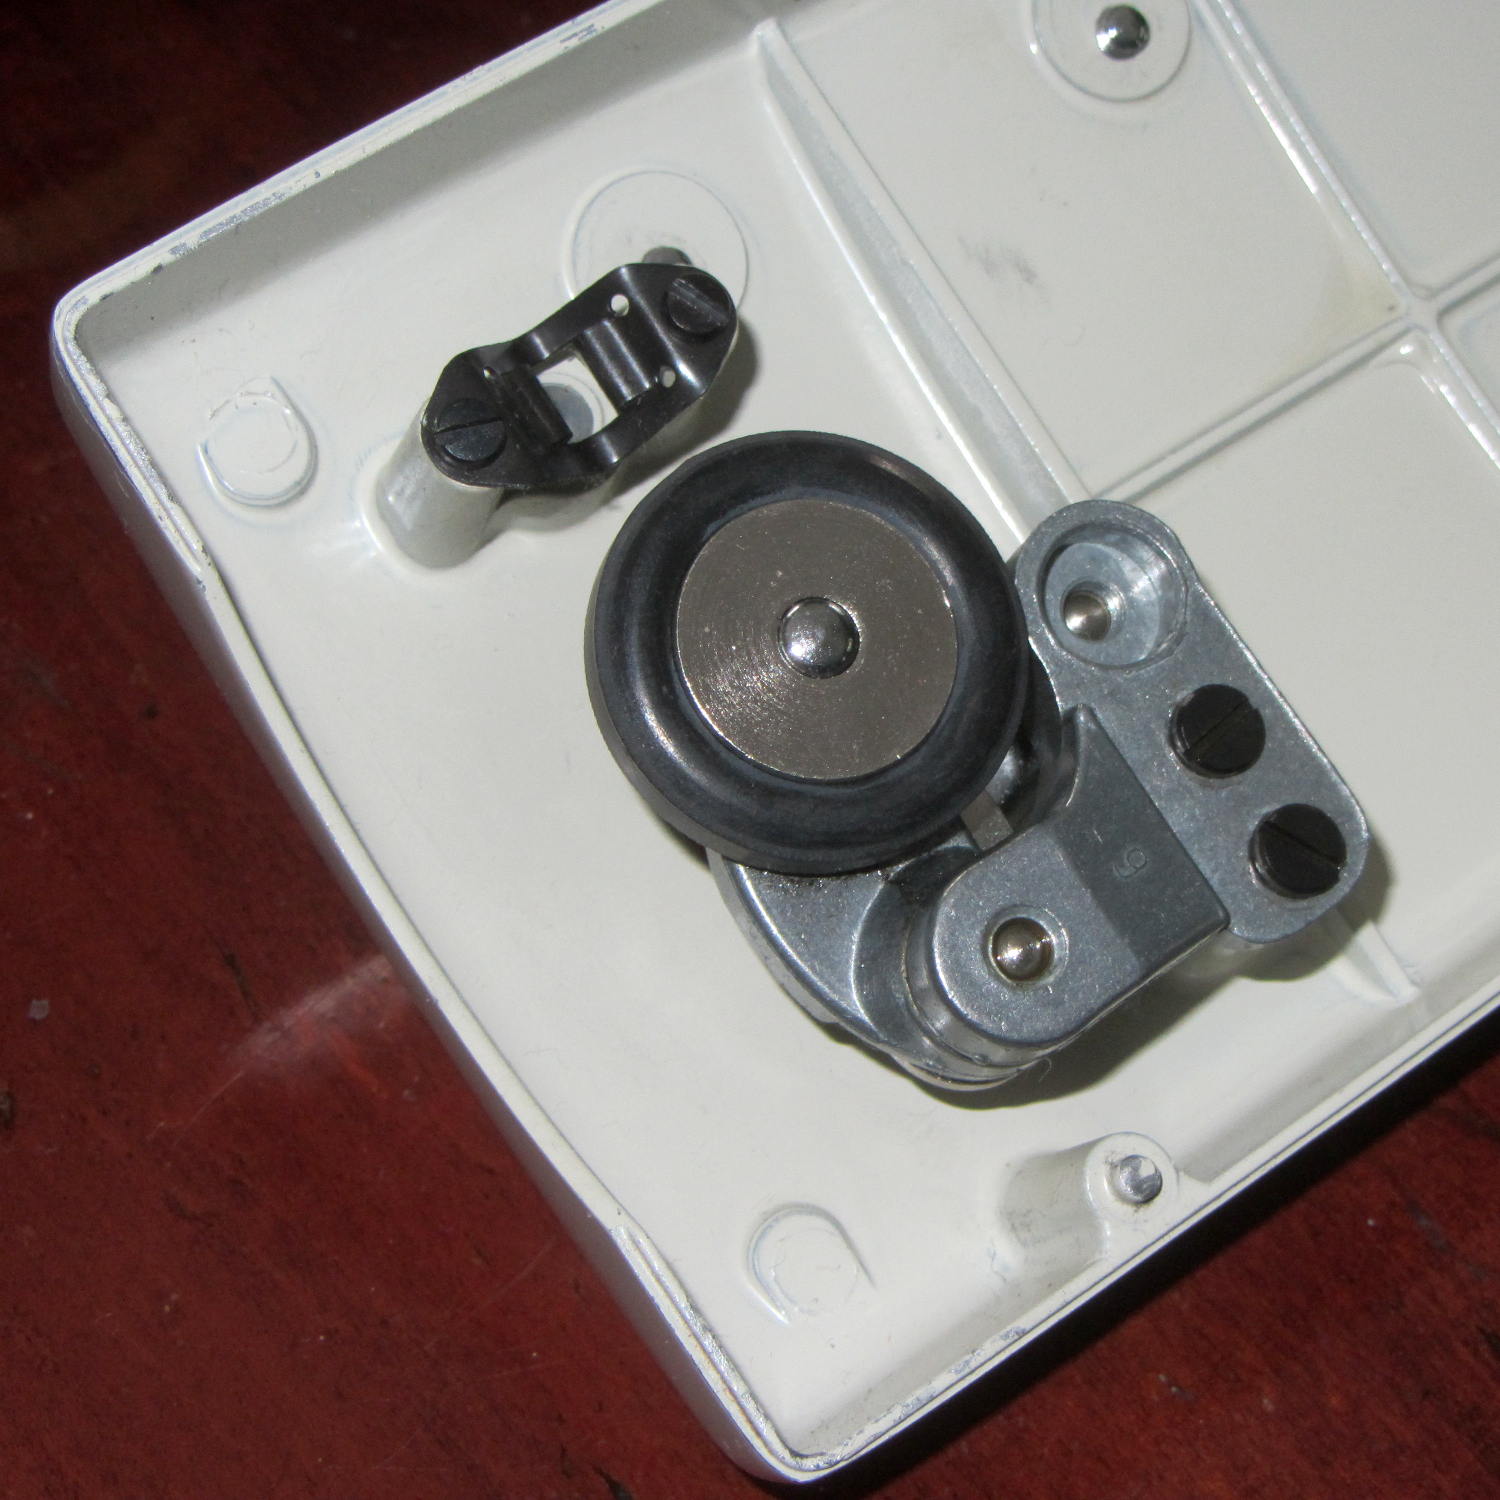
I didn’t take any before-the-repair photos, but it looked like this afterward, with the new tire installed…
From the top right (looking over the handwheel):

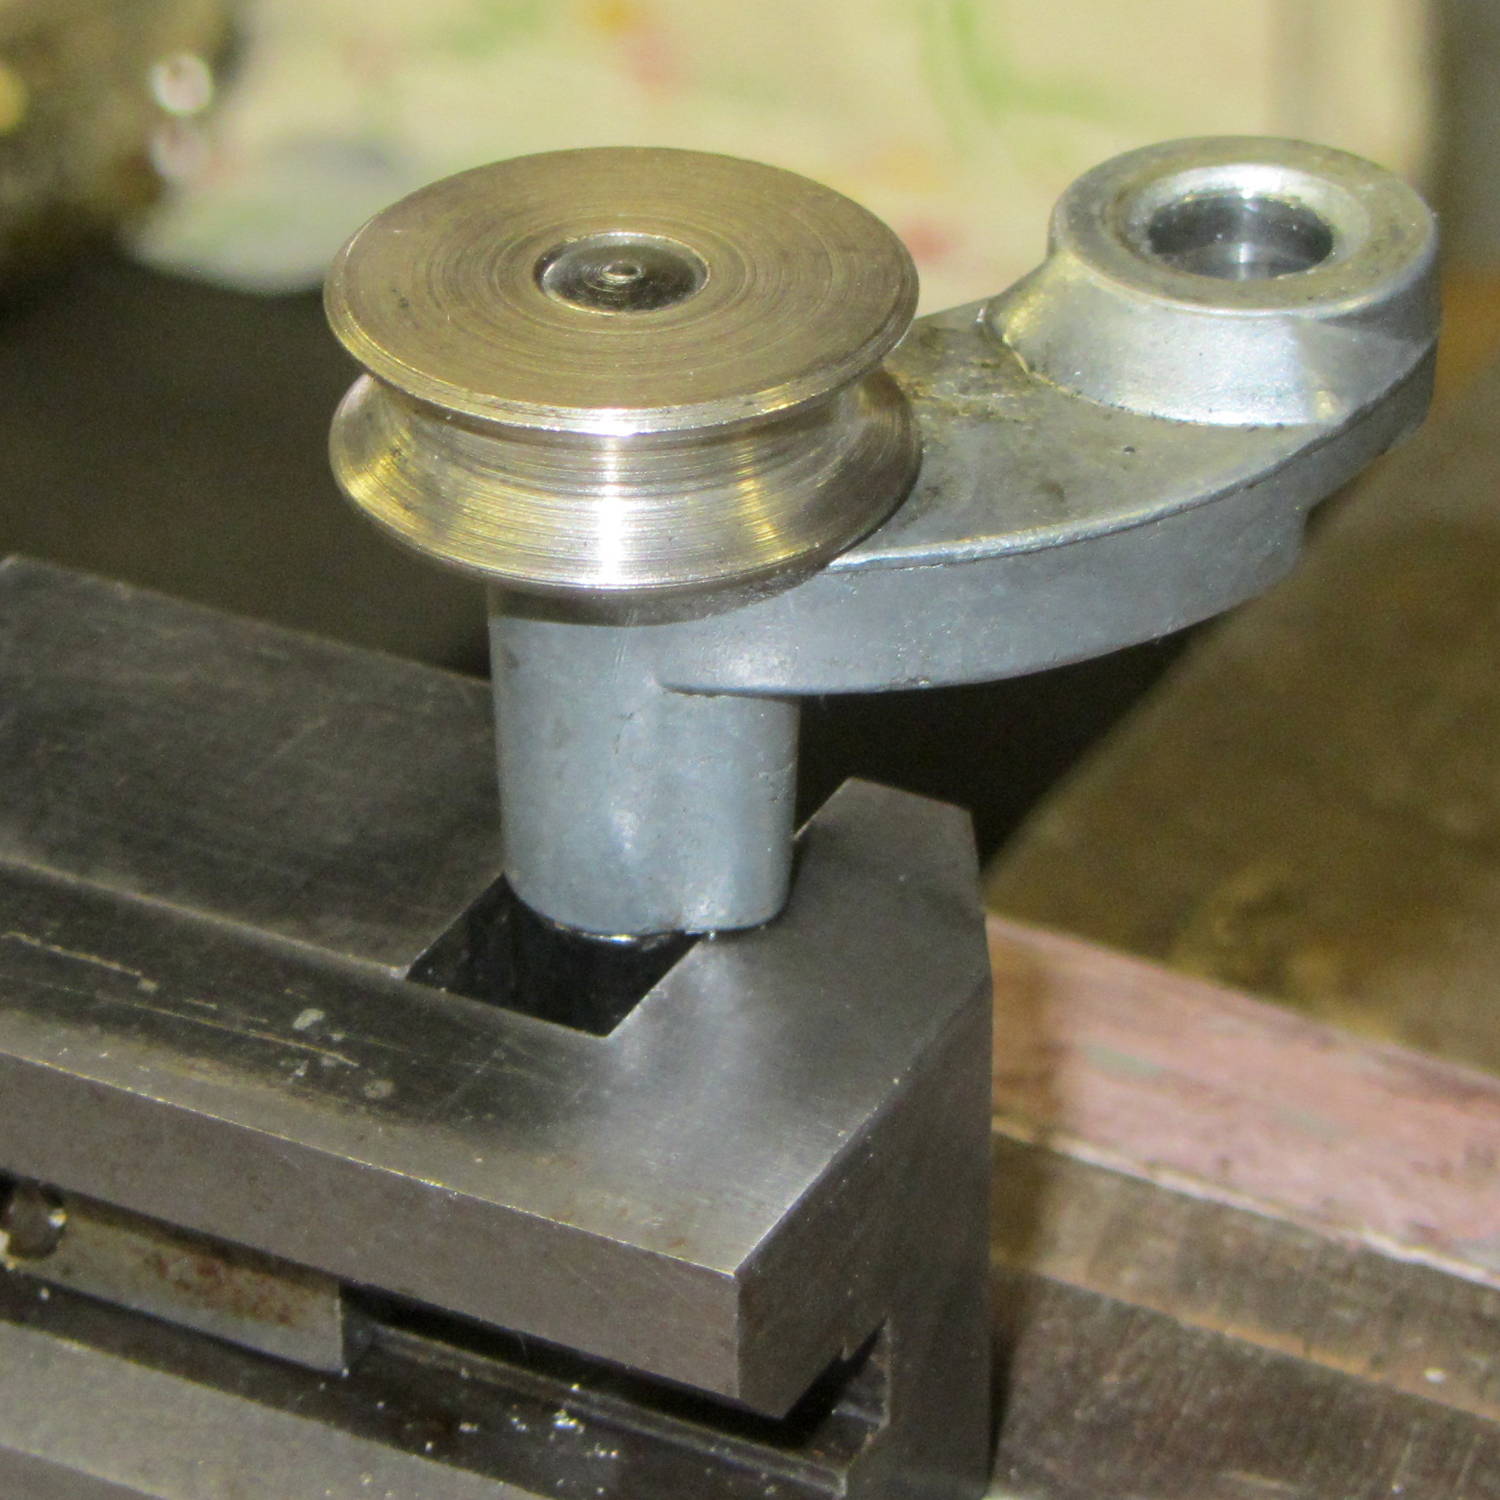
Notice the small rectangular hole just below the larger section of the shaft in the protruding part of the pot metal housing. That’s supposed to be an oil hole, but it’s also a fine water inlet.
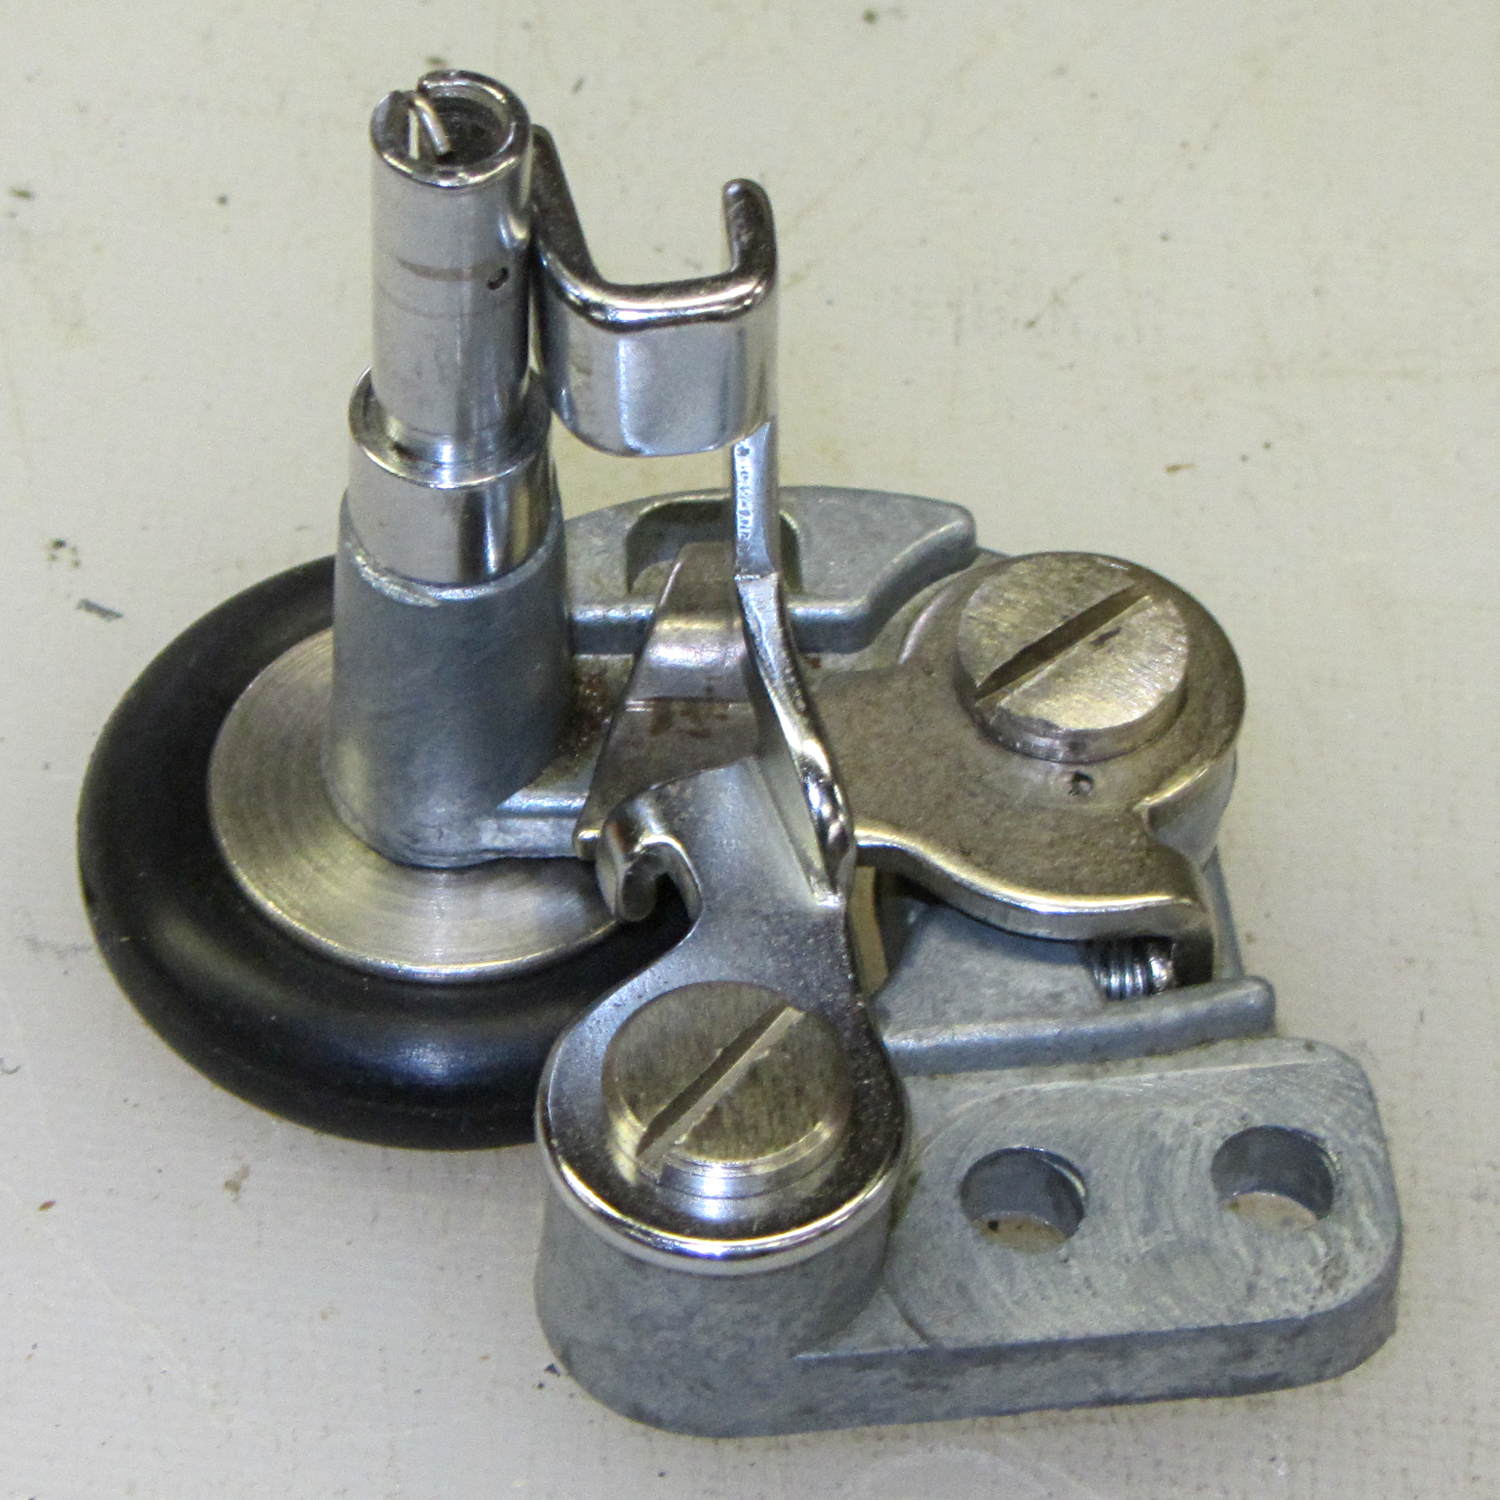
From the top left:
The two obvious screws remove the obvious parts, but beware the compression spring:
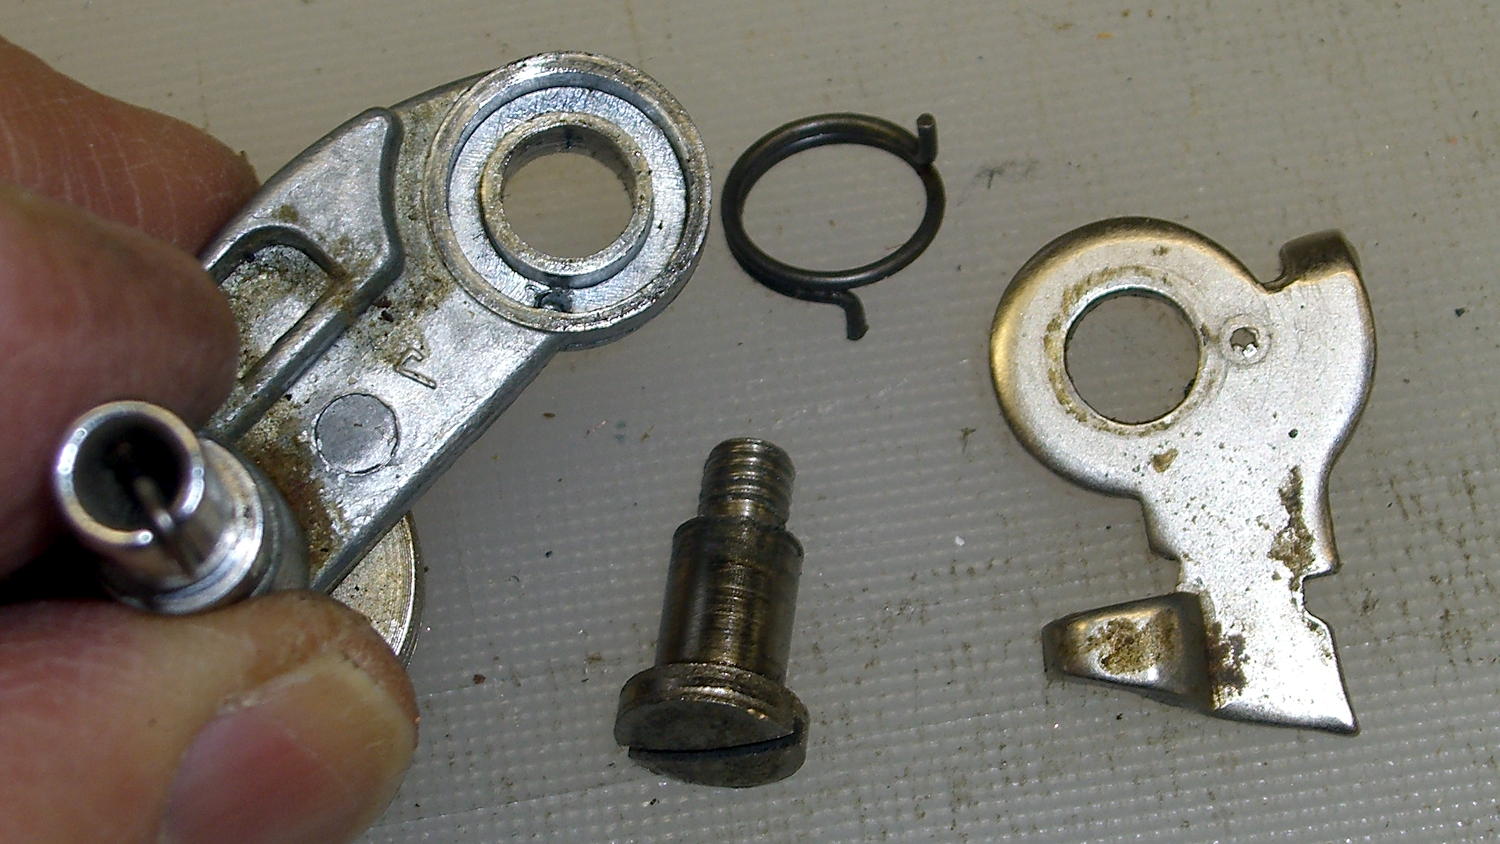
And the torsion spring:
Some experimentation with a strap wrench rotated the wheel on the (still firmly frozen) shaft, which suggested the joint was a press fit without a setscrew, splines, or adhesive.
Grabbing the shaft lightly in a machinist’s vise, resting it atop the bench vise, and giving it a few shots with a drift punch drove it downward through the housing:
More gentle beating produced this heartrending scene:

Water just isn’t any good at all for unlubricated steel in a pot-metal bushing…
Anyhow, the shaft & housing cleaned up well, although they look a tad grody, and everything went back together in the reverse order.
I added a drop of light oil through the lube port, chucked the shaft in the drill press, spun it for a minute at low speed to wear off a slight binding, and it’s all good again.

Comments
3 responses to “Kenmore 158: Bobbin Winder Repair”
We’re pretty dry, but old equipment gets enough water to matter. I’m trying to get a 1952-vintage disc harrow back up. One nut won’t let go with impact methods, so I’m back to liquid wrench, gentle tapping, and keeping the Sawzall handy. The latter came in handy for a hitch pin frozen in the “too-loose-to-use” position. Replacement parts are shockingly cheap, though some mill-drill tweaking might be necessary. Gonna be some homeless ground squirrels come April.
Apply the Smoke Wrench: torch the nut until it releases the big stink, then hit it with the impact driver. Worked like a champ the last few times I faced a recalcitrant thread, anyway…
Tried the cold version with a hand air hammer and punch bit. I’ll try a couple more days then haul out the torch. It’s a square nut in a size I don’t have a socket for. Yet. IIRC, Roger Welsch calls my method the Norwegian Torque wrench–popular for old tractor rustoration.