Unlike the trailer hitch installation instructions, the wiring installation instructions left a bit to be desired. Basically, you can’t get the trim panels off the interior until you know where they hid the snaps and latches, but you can’t find the snaps and latches before you remove the trim panels.
N.B.: this applies to a 2015 Forester. Subaru deliberately moves the connector around for each model and year, for reasons that certainly make sense to them.
Remove everything from the back end of the car that isn’t firmly affixed.
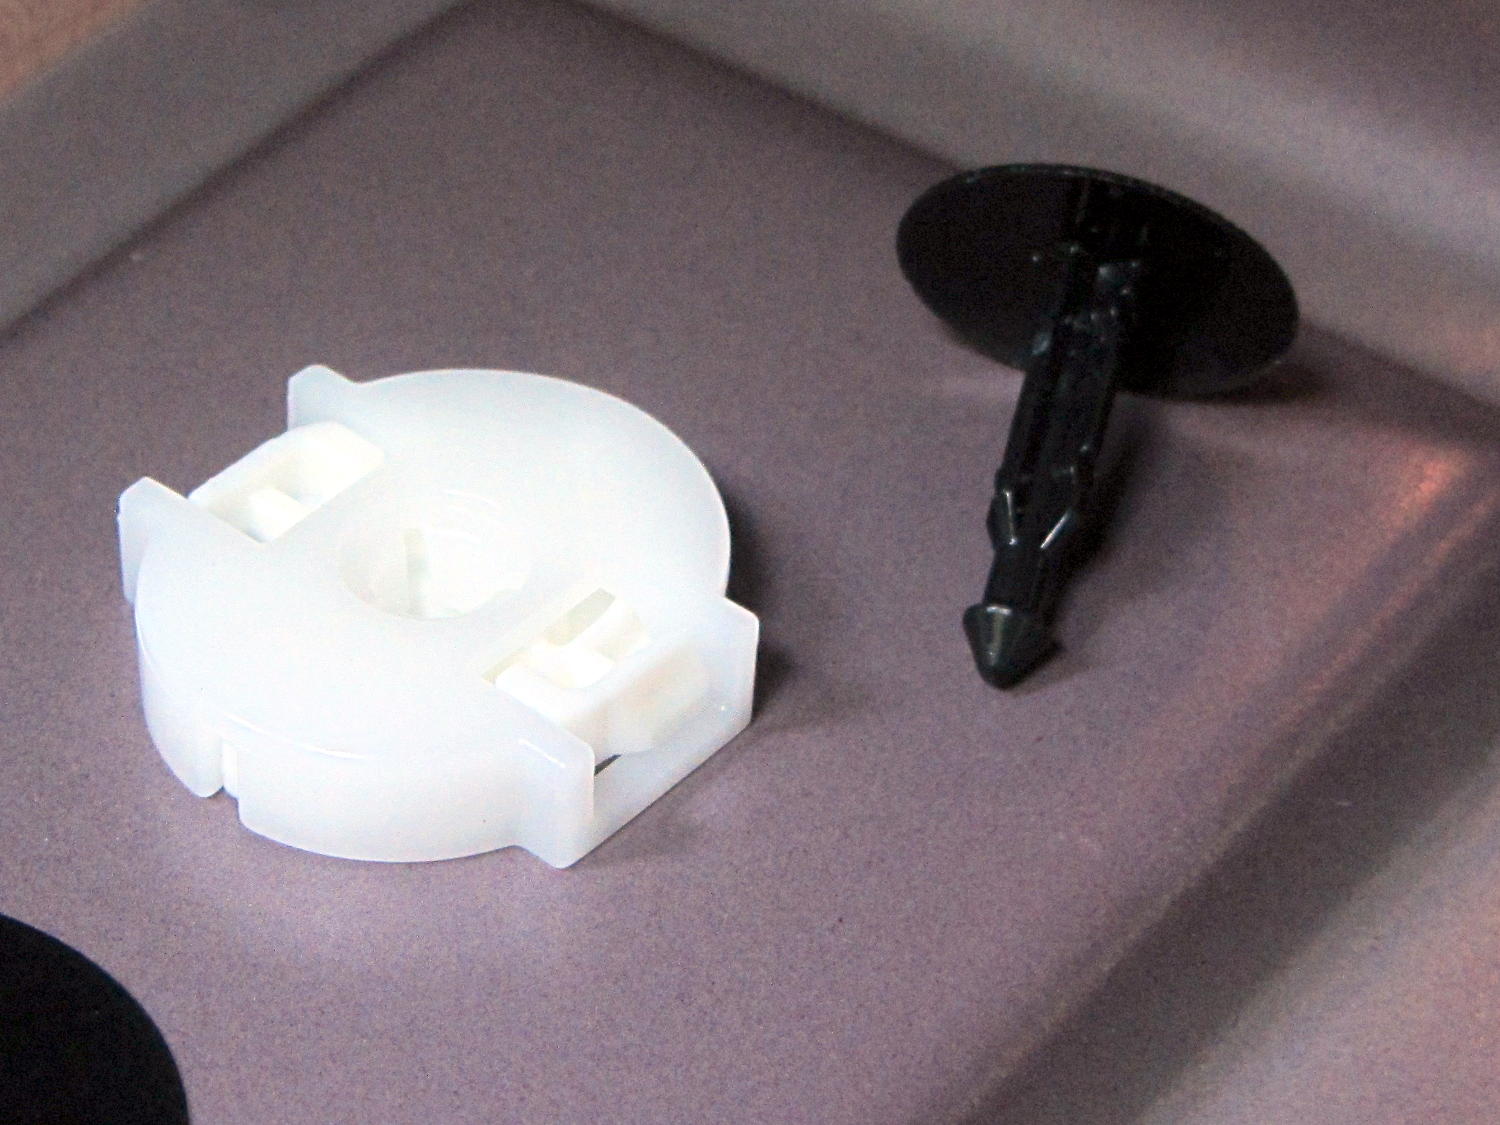
Remove the rivets from the left-side foam block by prying their heads with a big screwdriver; maybe you can get a needlenose pliers under there. They’re surprisingly difficult to get out, due to that nasty barb on the end:
Release the left side of the trim strip across the back of the compartment by pulling the front corner forward to unlock the latch that engages the trim panel on the left edge. Then you can pull the strip upward to locate the green rivet about a foot from the left end, stick a screwdriver under there, and pry it out of the frame. I didn’t do that, with the unhappy result that the rivet stayed in the frame:
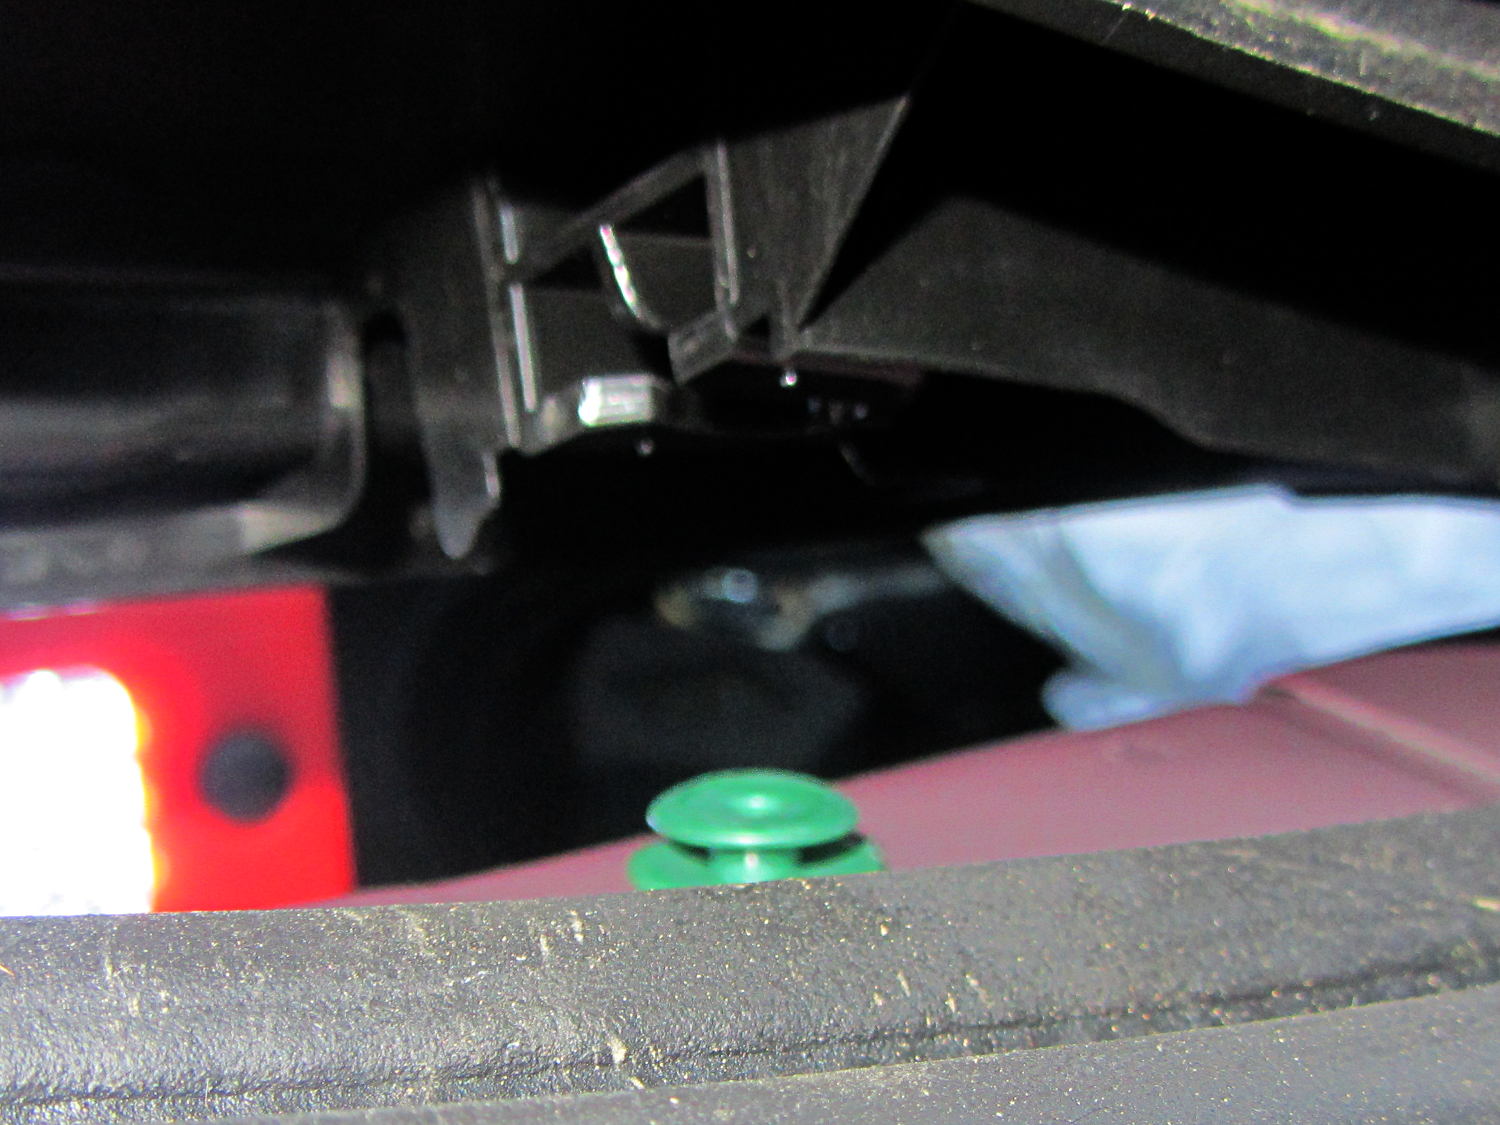
If that happens to you, just pry the rivet out of the frame, slide it into the trim strip, and (when the time comes), ram it back into the frame.
A captive plastic cover over the bolt securing the cargo tiedowns yields to a fingernail, if you know that’s what you must do:
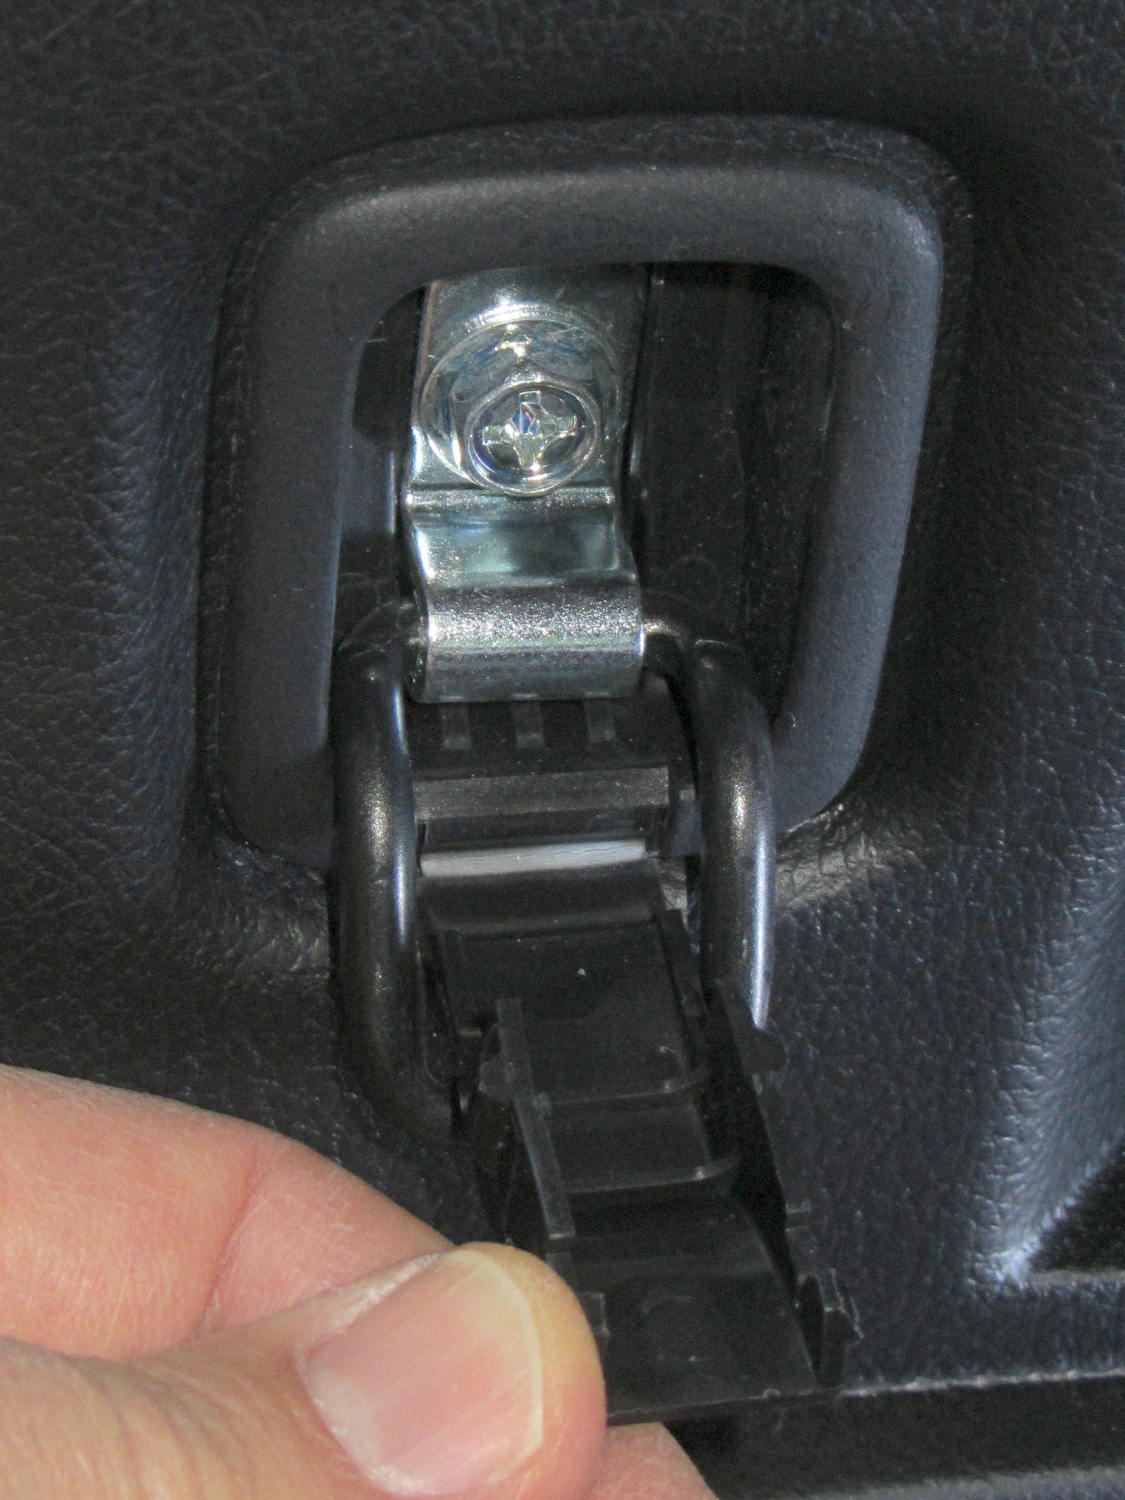
Remove the bolt and tiedown, which greatly simplifies pulling the side trim panel away from the frame:
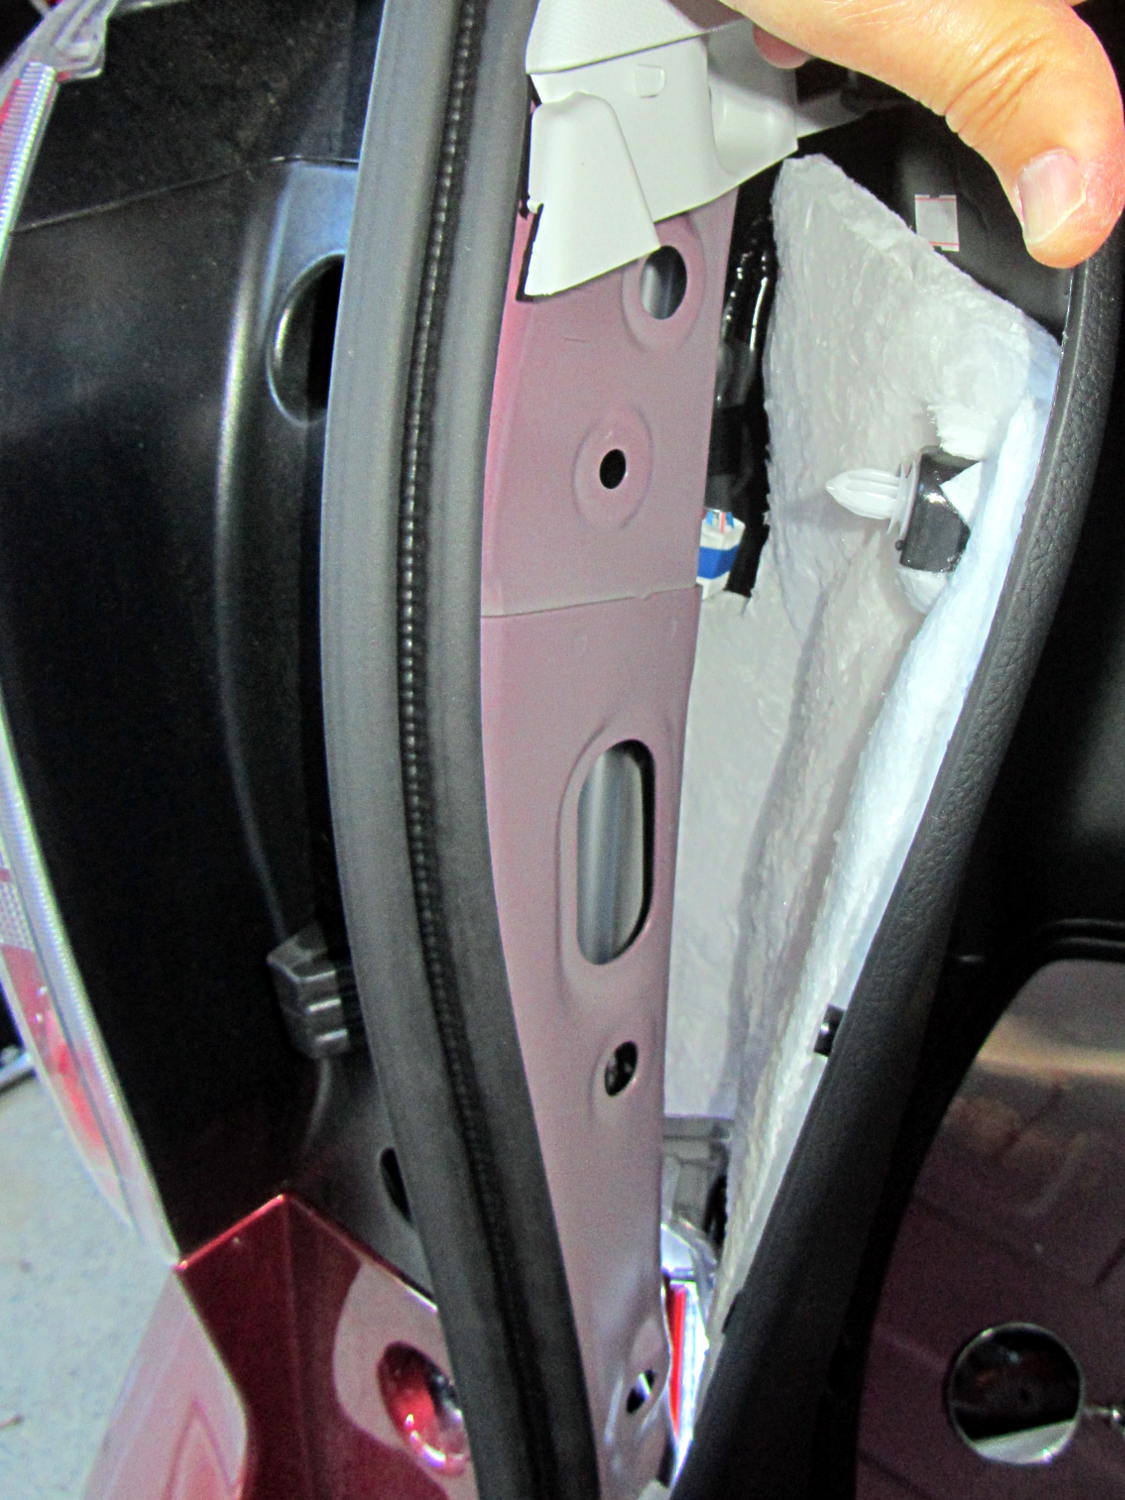
The trailer hitch connector lies tucked far up inside the recess, taped to the wiring harness with blue tape. Slit the tape, pull the connector free, worm the aftermarket wires up in there, latch the connectors together, and reinstall everything in reverse order.
Subaru could, if they wanted to, add a foot of wire to that harness, tape it near the bottom edge of the trim panel, and eliminate half an hour of dealer labor charge. I think I understand why they don’t do that, but I don’t have to like it.
It’s faintly possible that someone with very thin arms could reach the connector without dismantling the butt end of the car, but the fingers on the end of that arm might not have enough strength to latch the connectors.
The electrical box fit neatly against the rear of the compartment, behind the foam block. A bit of razor knife artistry carved a notch for the fuseholder and the wiring coils up neatly inside an existing recess:

Until I install lighted hitch nuts (you could look it up), I think deploying the trailer connector through the hatch makes more sense than running the wiring through one of the holes in the spare tire well and exposing the connector to the elements. I don’t intend to do much trailer hauling …

Comments
6 responses to “Forester Trailer Hitch: Wiring Installation”
The variability point was clear when I saw you have one muffler. My 2012 has two–both fed from one exhaust pipe….
Wise to keep it inside. The pickups have externally mounted 7 bin trailer connectors. Last winter, I took the Chevy over the Cascades on a Costco run, on the only stretch of slushy/wet road that sees road salts (CaCl, I think). When I got home, the brake-activated light was shining on the controller. Had to disconnect it until the gunk dried off. I need to wash the wiring and to seal the hole before next winter. Part of the cable feed is an unswitched 30A 12V line, so there’s an opportunity for a sub-optimal event. Not sure if it had ever been gasketed, but it’s 10+ years old.
Must’a made sense at the time, but it strikes me as a waste of expensive plumbing.
My grandfather replaced the dual exhausts that came stock on his Studebaker President with a single muffler, so you can go the other way, too.
I recently did this on my 2002 Outback. It was somewhat similar, although not quite as extensive a dismantling. The experience was a classic example of the ongoing frustration of my life: the second time I do something of the installation/manufacturing sort, it’s like 10x as fast as the first time, but I rarely ever need to do something a second time.
The fact that Subaru uses the same fasteners all over the car helped a bit, but disassembling the trim certainly wasn’t straightforward. Maybe installing the amateur radio won’t be quite as annoying…
FWIW, on the ’12 Forester 1) the 12V “cigarette lighter” plug is switched, and 2) it’s only a 10A circuit. Julie had low tires last October, and her brother’s 12V compressor blew that fuse. The other power points might be on different circuits. Haven’t tried.
For her trip last month, I overinflated 2PSI. The TPMS is very sensitive to temperature, too. The 25 cent compressor at the Illinois gas station was my friend in April/May…
The Fine Manual says they’re all 10 A (although the center console outlet has a 20 A fuse) and switched, so the days of lighting up without turning the key are over. Worse, that’s too low for a 50 W amateur radio. The trailer hitch connector has a 20 A fuse, so perhaps I can tap into that mess.
Oddly, the Audio circuit sports a 25 A fuse. Rock on!