Starting with the hints and commands at ImageMagick Advanced Techniques for Gel Effects, I came up with a script that spits out colorful gel-flavored buttons:
convert -size 120x64 xc:none -fill red -draw "roundrectangle 10,10 110,54 8,8" \
  gel_shape.png
#display gel_shape.png
convert gel_shape.png \
  \( +clone -alpha extract -blur 0x12 -shade 110x0 \
  -normalize -sigmoidal-contrast 16,60% -evaluate multiply .5\
  -roll +4+8 +clone -compose Screen -composite \) \
  -compose In  -composite \
  gel_highlight.png
#display gel_highlight.png
convert gel_highlight.png \
  \( +clone -alpha extract  -blur 0x2 -shade 0x90 -normalize \
  -blur 0x2  +level 60,100%  -alpha On \) \
  -compose Multiply -composite \
   gel_border.png
#display gel_border.png
convert gel_border.png \
  -font Verdana-Bold  -pointsize 20  -fill white  -stroke black \
  -gravity Center  -annotate 0 "Jelly"  -trim -repage 0x0+7+7 \
  \( +clone -background navy -shadow 80x4+4+4 \) +swap \
  -background snow4  -flatten \
  gel_button.png
convert gel_button.png -type truecolor Gelly24.bmp
display -resize 300% Gelly24.bmp
I could not ever figure that stuff out on my own.
For some reason, WordPress chokes when uploading the starting shape as a PNG file, so here it is as a JPG with a black border replacing the original transparency:

With the gel highlight:

Adding a border:

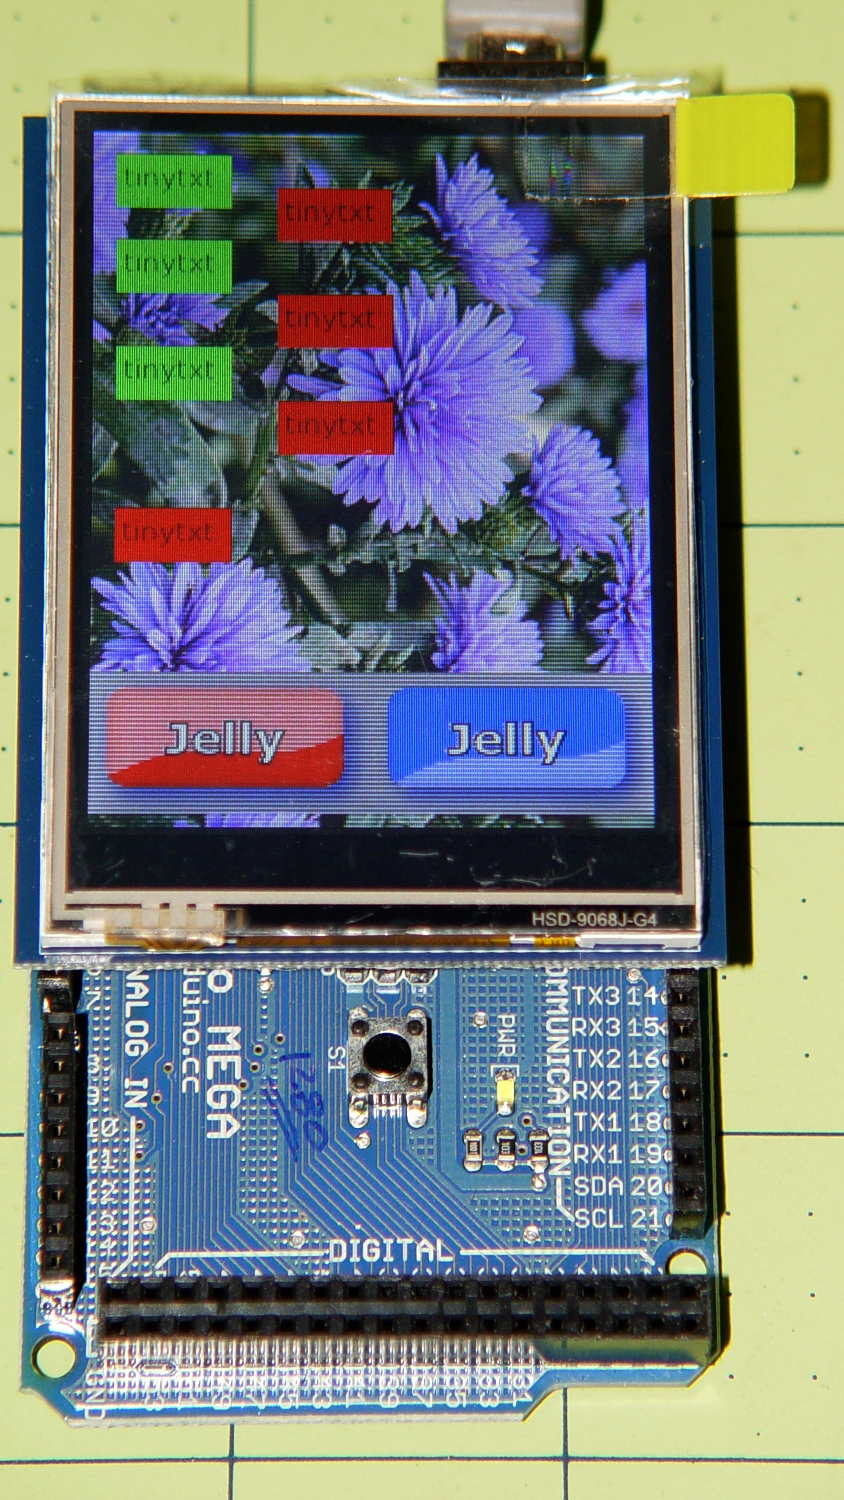
Adding text, shadow, and background:

Adding the drop shadow may increase the image size ever so slightly, so the -repage 0x0+7+7 operation may require resetting the exact image size.
The final step converts the PNG image into the 24-bit uncompressed BMP format required by the Adafruit routine that slaps it into the TFT display:
The smaller buttons came directly from The GIMP, with full-frontal manual control over everything. Obviously, that doesn’t scale well for many buttons that should all look pretty much the same, because you want to get your fingers out of the loop.
But, obviously, when you do this on a mass scale, you want better control over the colors and text and suchlike; that’s in the nature of fine tuning when it’s needed.
I’m not entirely convinced I want gel-flavored buttons, but it was a fun exercise.

Comments
2 responses to “Generating Button Images With ImageMagick”
Things have improved over the years. This is one of my elaborately crafted buttons from a while back: http://www.vitriol.com/images/neon/next.gif
Gel is the happening thing. Well, at least I stumbled over a straightforward description of how to do gel buttons, which counts for almost everything. If you’re just blitting dots, they can be anything, so why not make them fancier than strictly necessary?
Mmmm, perhaps because blitting that many dots doesn’t work well on hardware that doesn’t actually support blitting? [sigh]