Ed Nisley's Blog: Shop notes, electronics, firmware, machinery, 3D printing, laser cuttery, and curiosities. Contents: 100% human thinking, 0% AI slop.
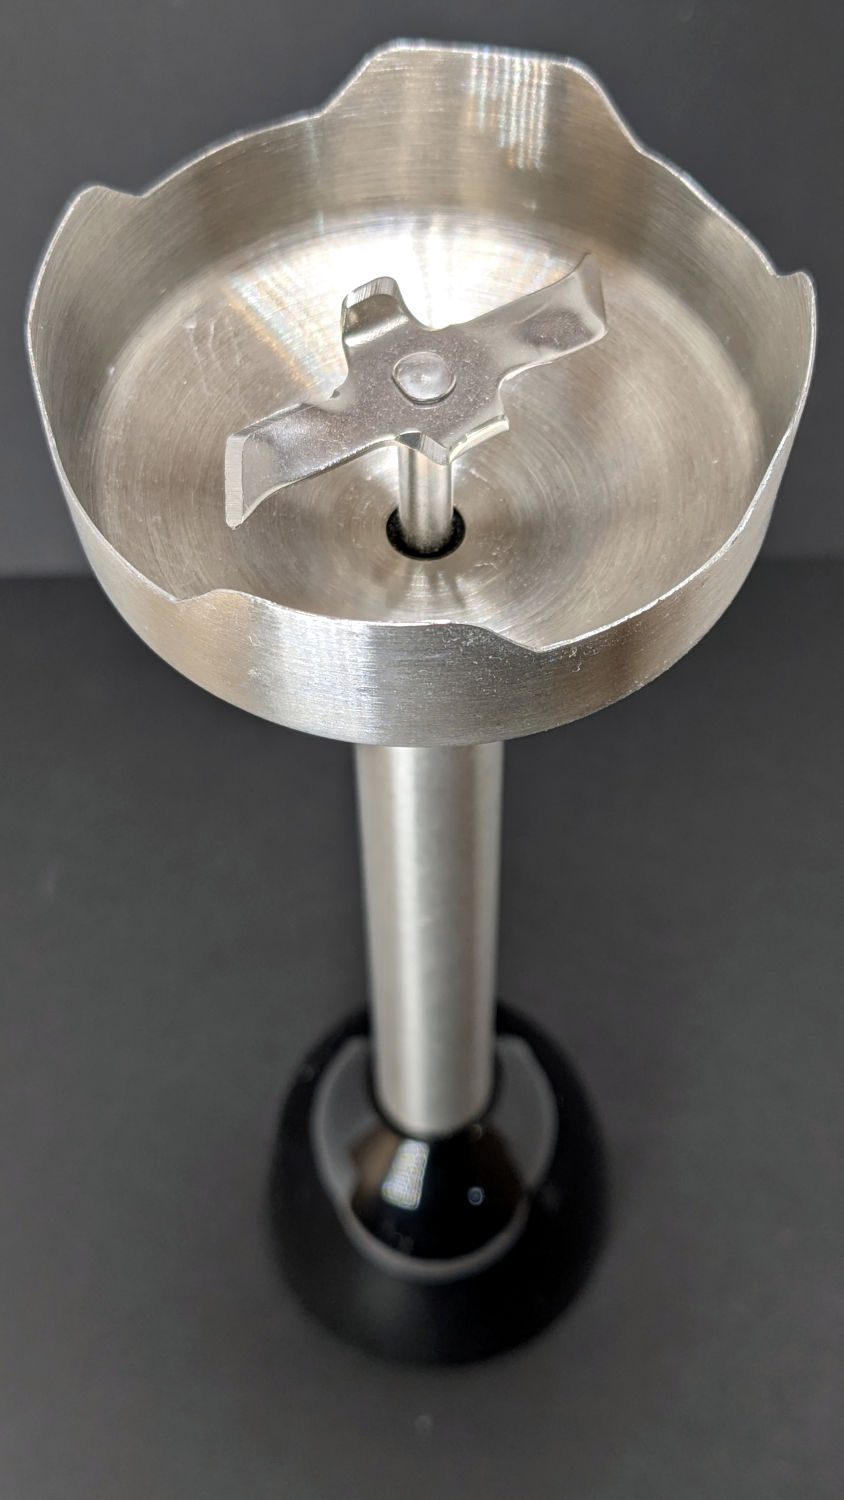
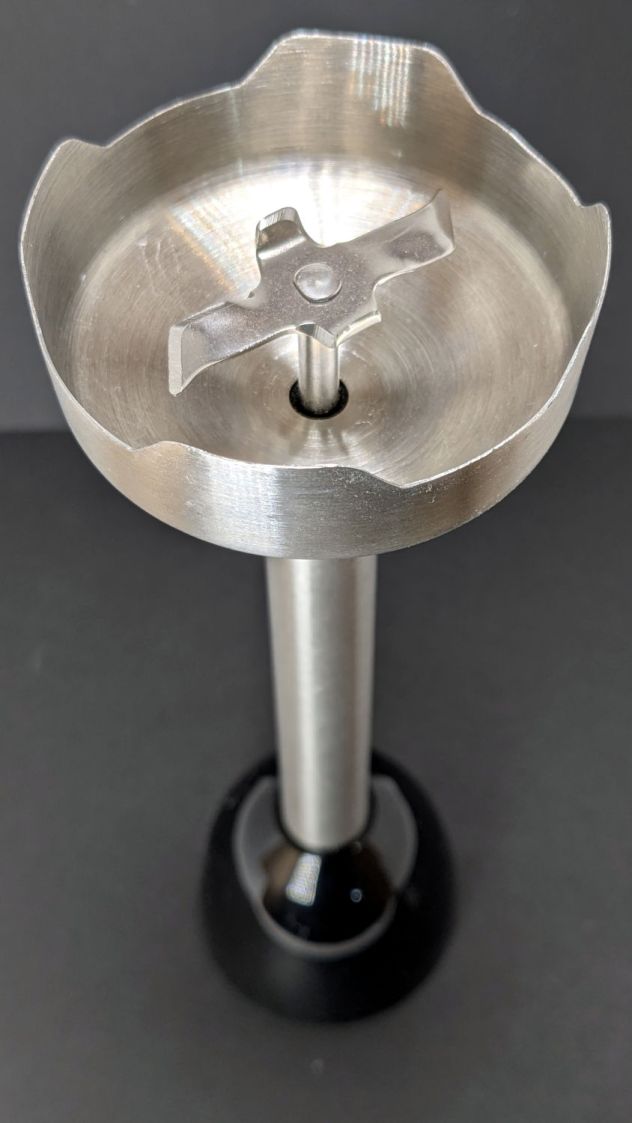
The business end of a cheap stick blender we bought a year ago to replace the previous stick blender (*):
Fresko stick blender
This one failed just slightly beyond the duration of its one-year warranty, apparently with one of the shaft bearings seized to the extent of making the blade un-turnable even by (carefully protected) finger force.
With nothing to lose (and a new blender inbound), it stood in the Basement Shop in that orientation for a week while I dripped penetrating oil around the shaft and wiggled the blade slightly back-and-forth. The bearing eventually broke free and the blade turned reluctantly.
Still having nothing to lose, I gave the shaft a few shots with a drift punch, moving it a few millimeters in each direction. This apparently disturbed the seized bearing just enough to let it turn less reluctantly, with more penetrating oil improving the situation.
Mixing a jar of water went well, even on high speed, but I doubt the bearing is in good health. We decided a blender with penetrating oil tucked up inside should be disqualified for food processing.
When it first locked up, I bought a significantly more expensive stick blender, knowing full well more money does not imply better design / better materials / more QC. This one is now designated as a Cold Backup blender for garden & shop use.
(*) For the record, my 3D printed shaft adapter failed while converting garden tomatoes into thick & zesty pizza sauce. I’m unsurprised PETG-CF wasn’t up to the task.
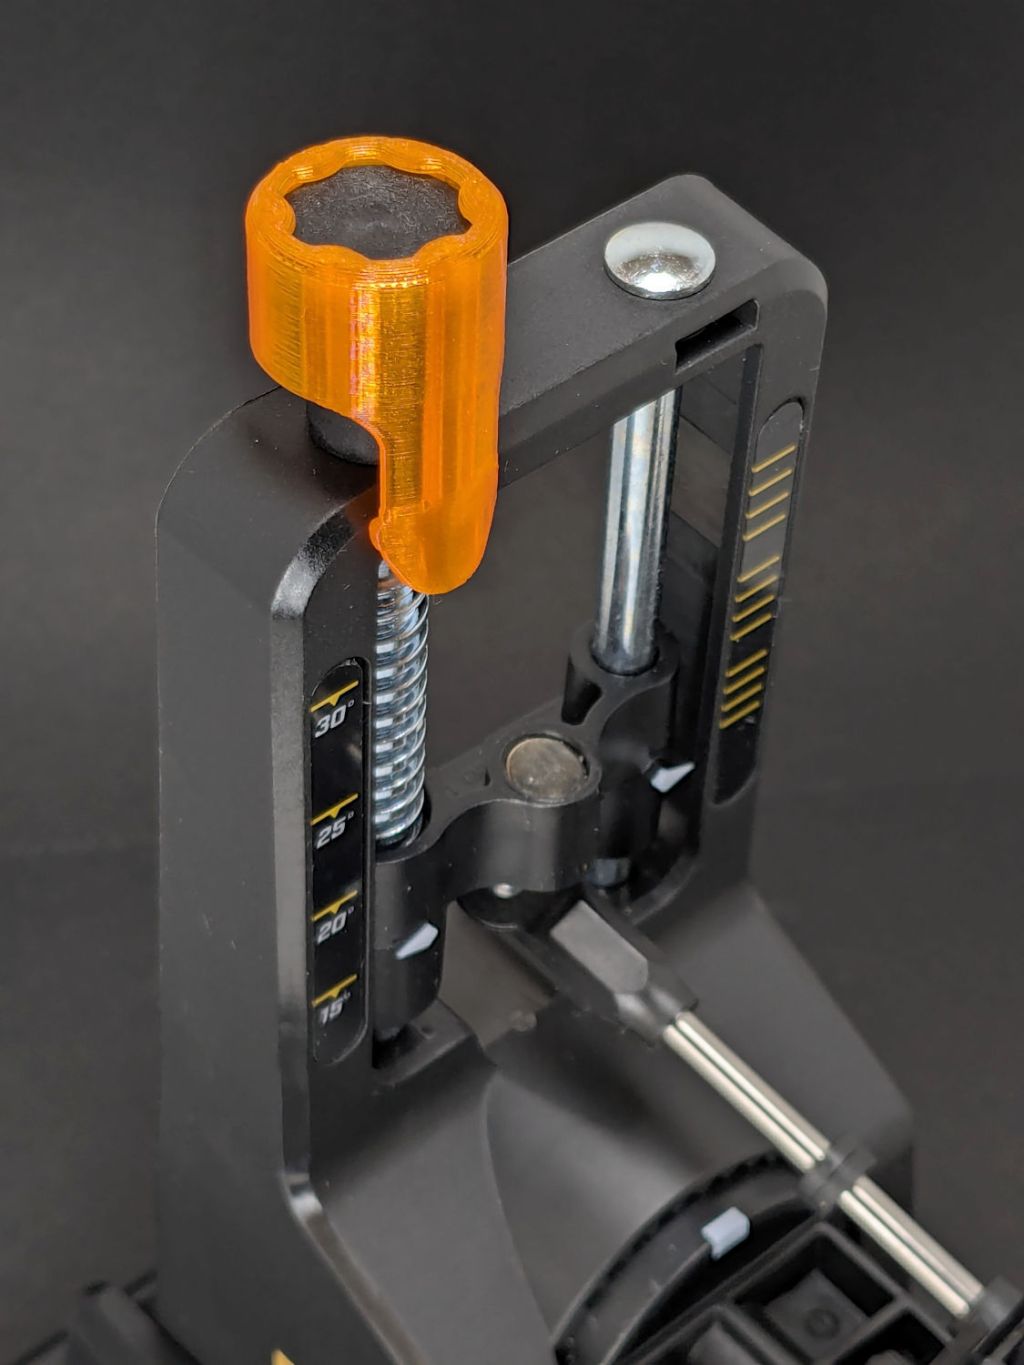
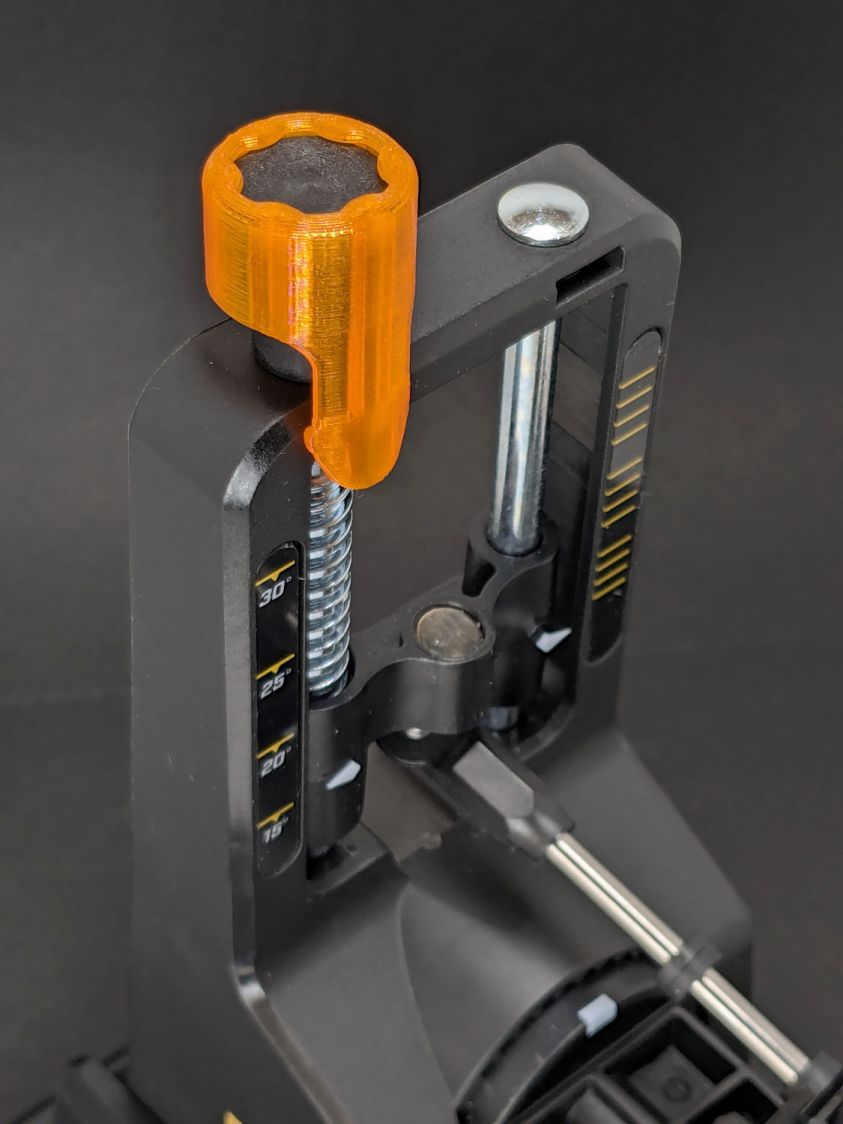
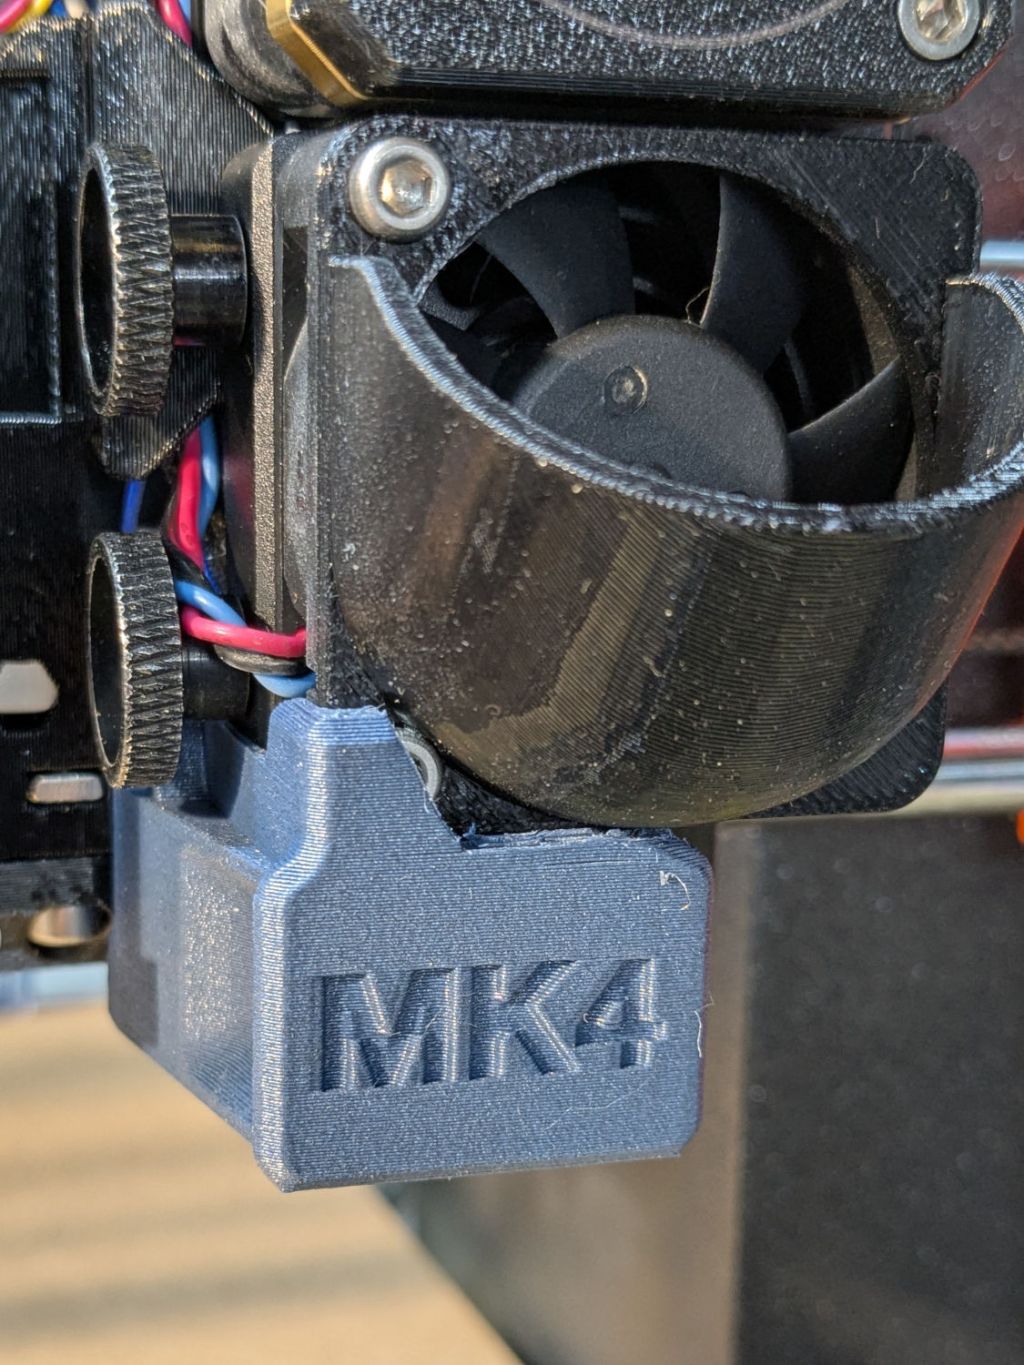
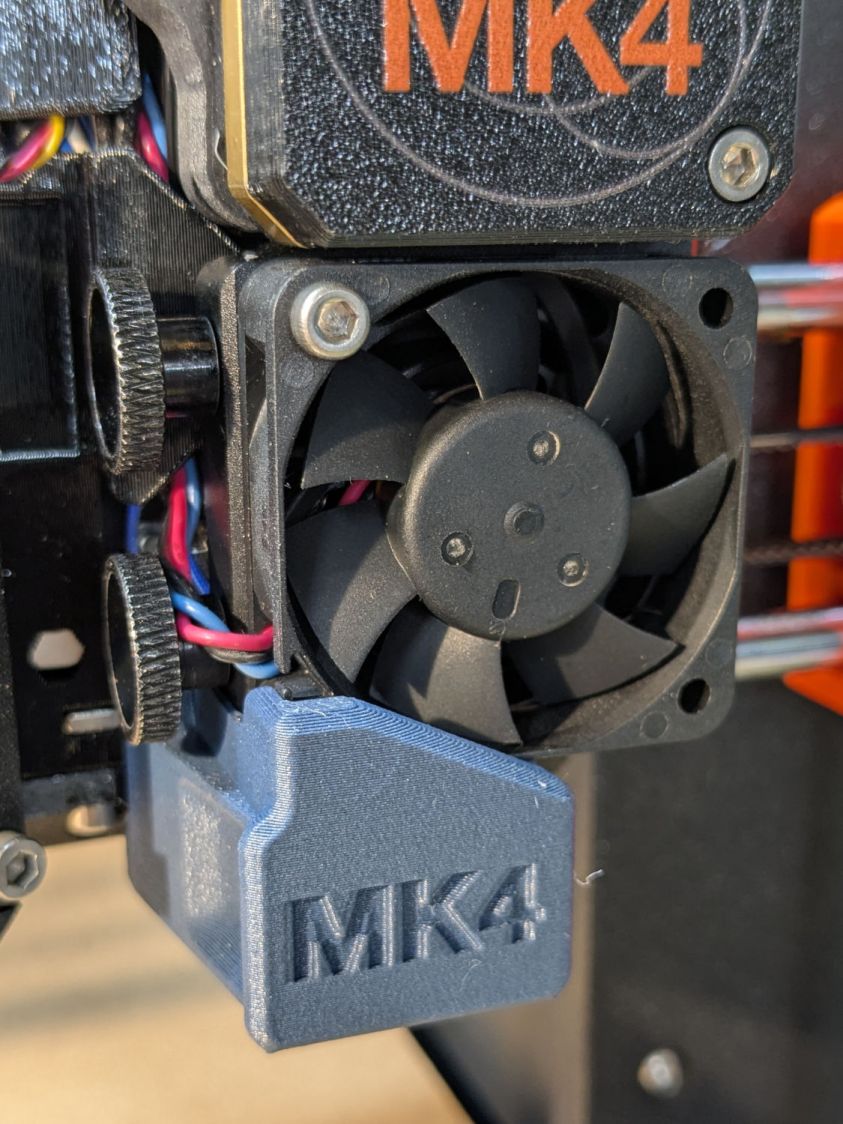
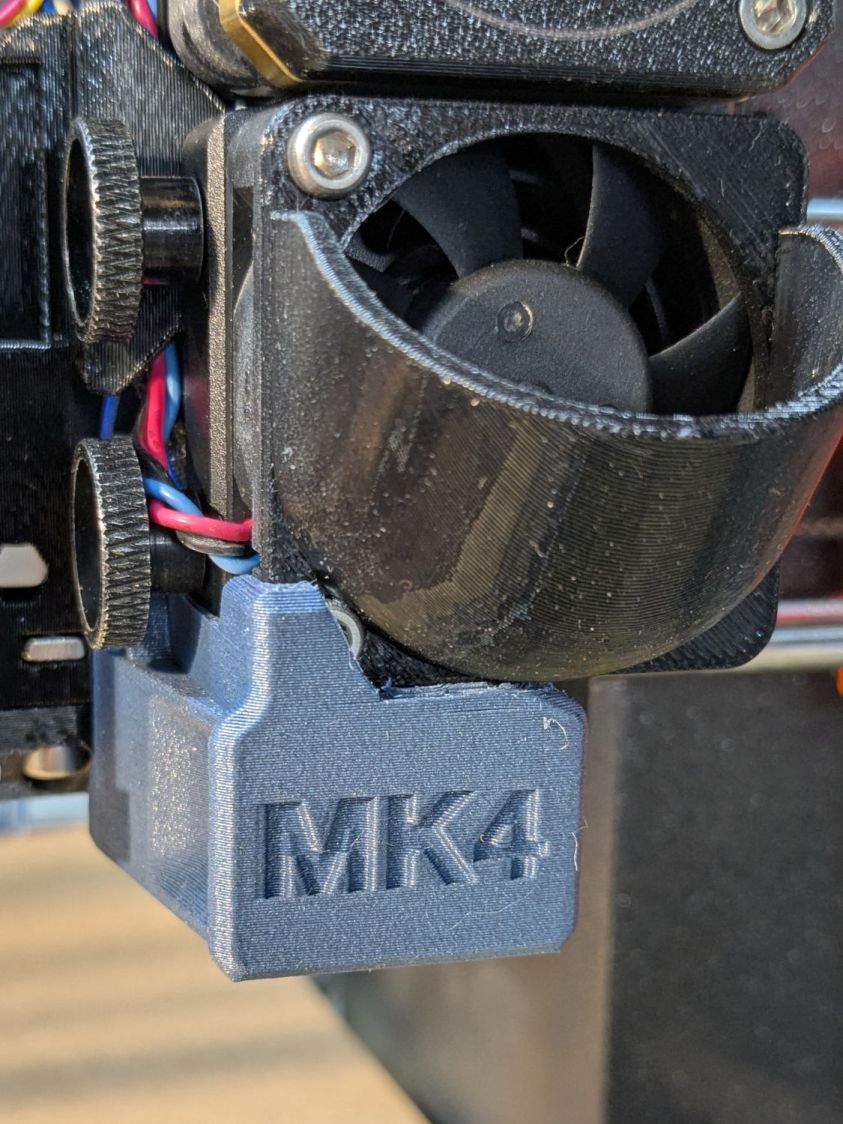
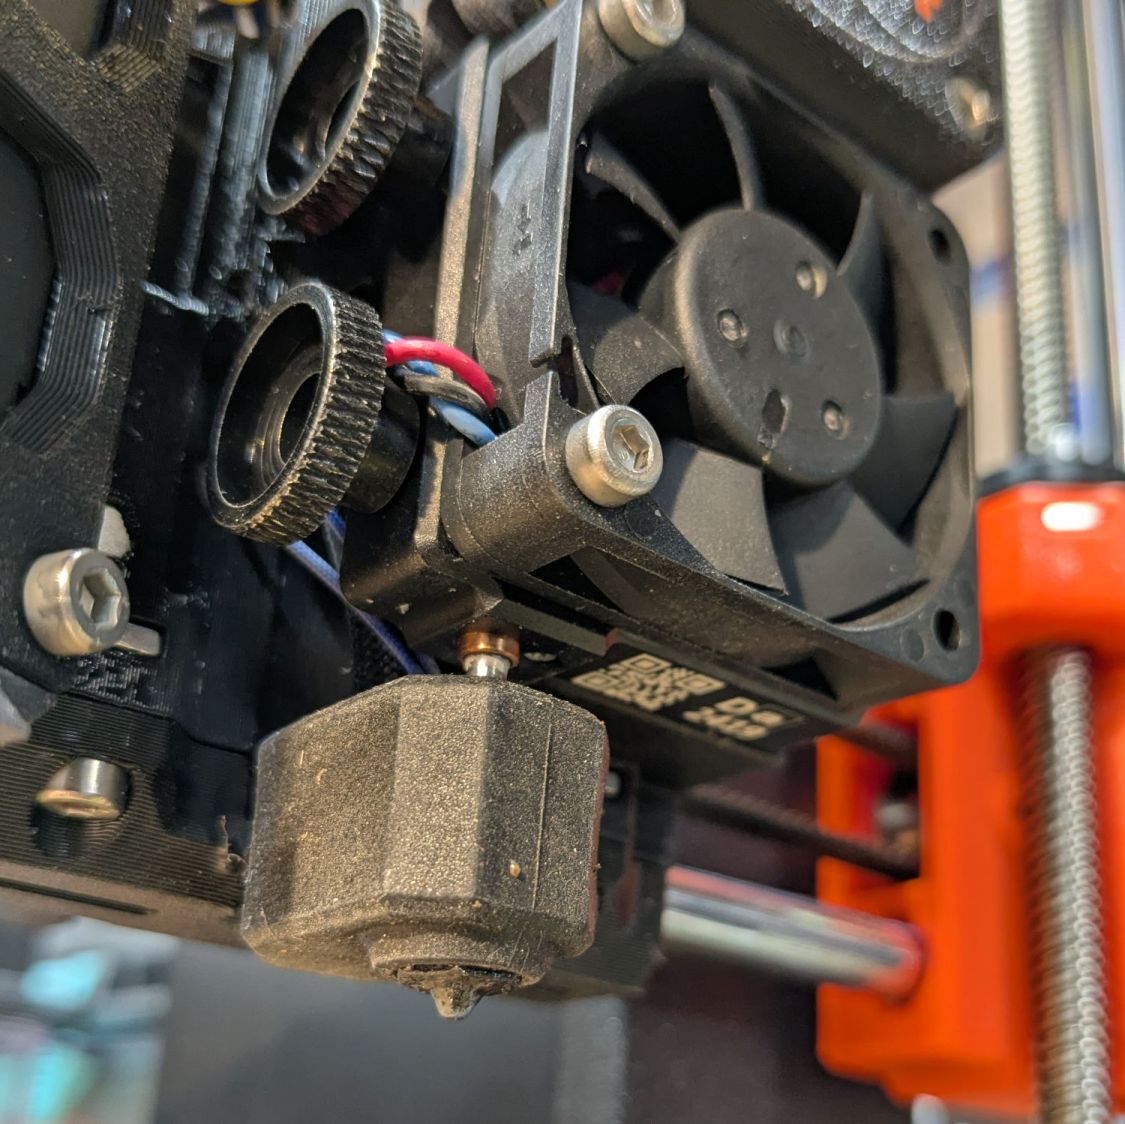
For obvious reasons, it doesn’t fit with the inlet scoop I installed as part of blinging the MK4:
Prusa MK4 Nextruder Tool – inlet scoop installed
Removing the scoop is a matter of removing those two cap screws, which is no big deal, but a little flush-cutter action made that problem Go Away forever:
Prusa MK4 Nextruder Tool – inlet scoop mod
Yeah, I should have modified the solid model. Maybe next time.
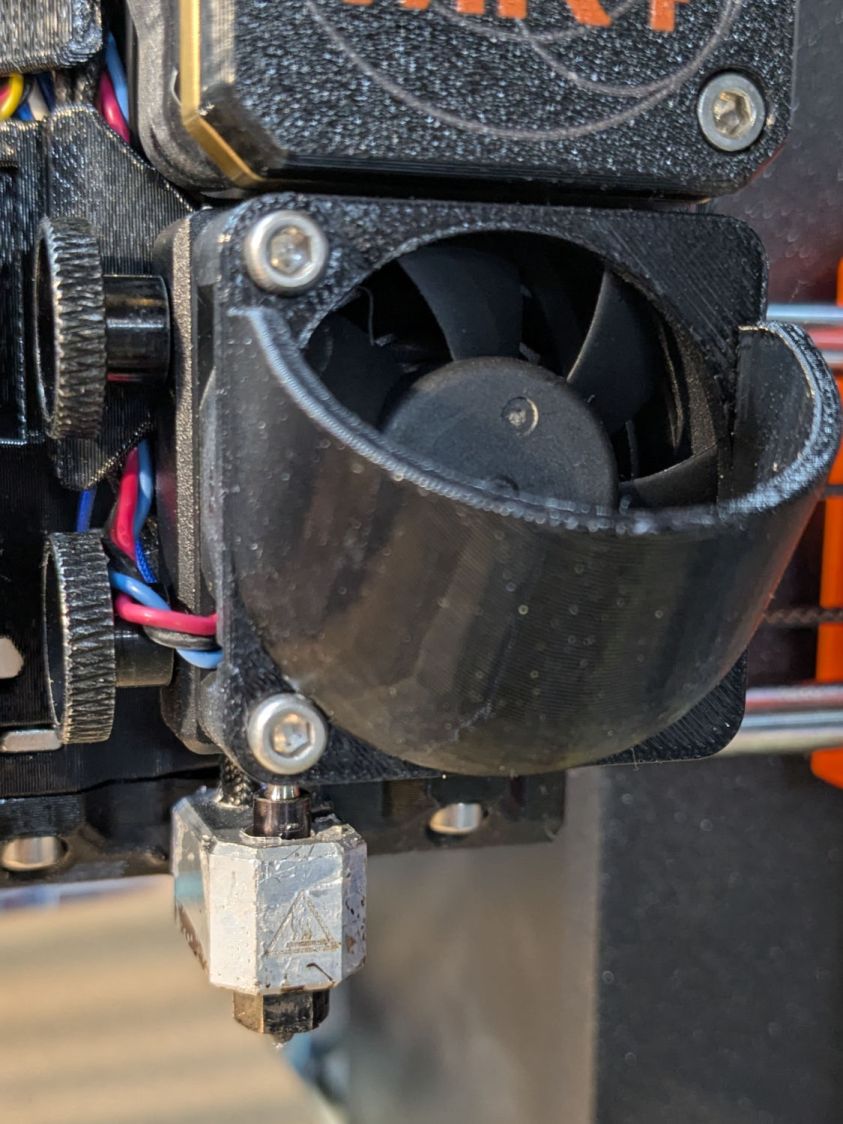
A version of the tool fits extruders covered with an Official Prusa Silicone Sock thermal insulator, but they were out of stock when I was in the mood. My heater wears a knockoff sock:
Prusa MK4 Nextruder Tool – silicone sock vs nozzle
Unlike the Official Sock, there’s no way to get a wrench on the nozzle with that one installed, but removing the sock is no big deal.
I apparently installed the nozzle / heater block slightly higher than specified, so the tool didn’t quite fit. Loosening those two thumbscrews and lowering the nozzle to fit the tool solved that problem. Fortunately, the automatic bed leveling routine corrects for nozzle height differences on the fly.
The scoop is back on the fan, the sock once again surrounds the heater, and I can easily swap in the 0.8 mm nozzle when the time comes.
We buy olive oil in large bottles, then fill smaller bottles for easier handling. The caps on those bottles were never meant to last as long as we keep them and the thin, deeply drawn aluminum tends to crack after a while.
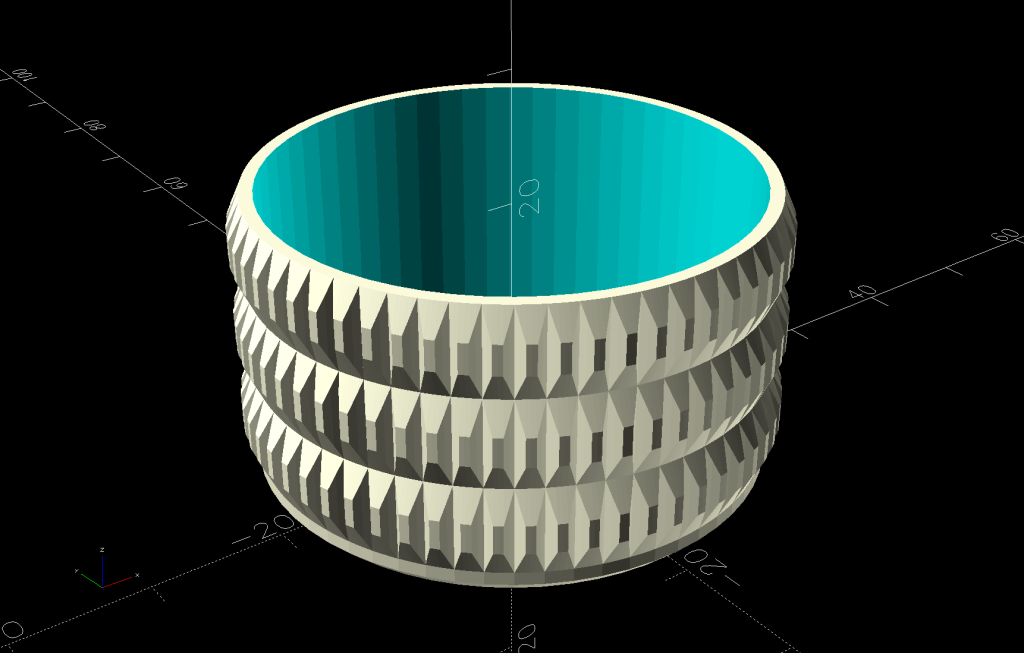
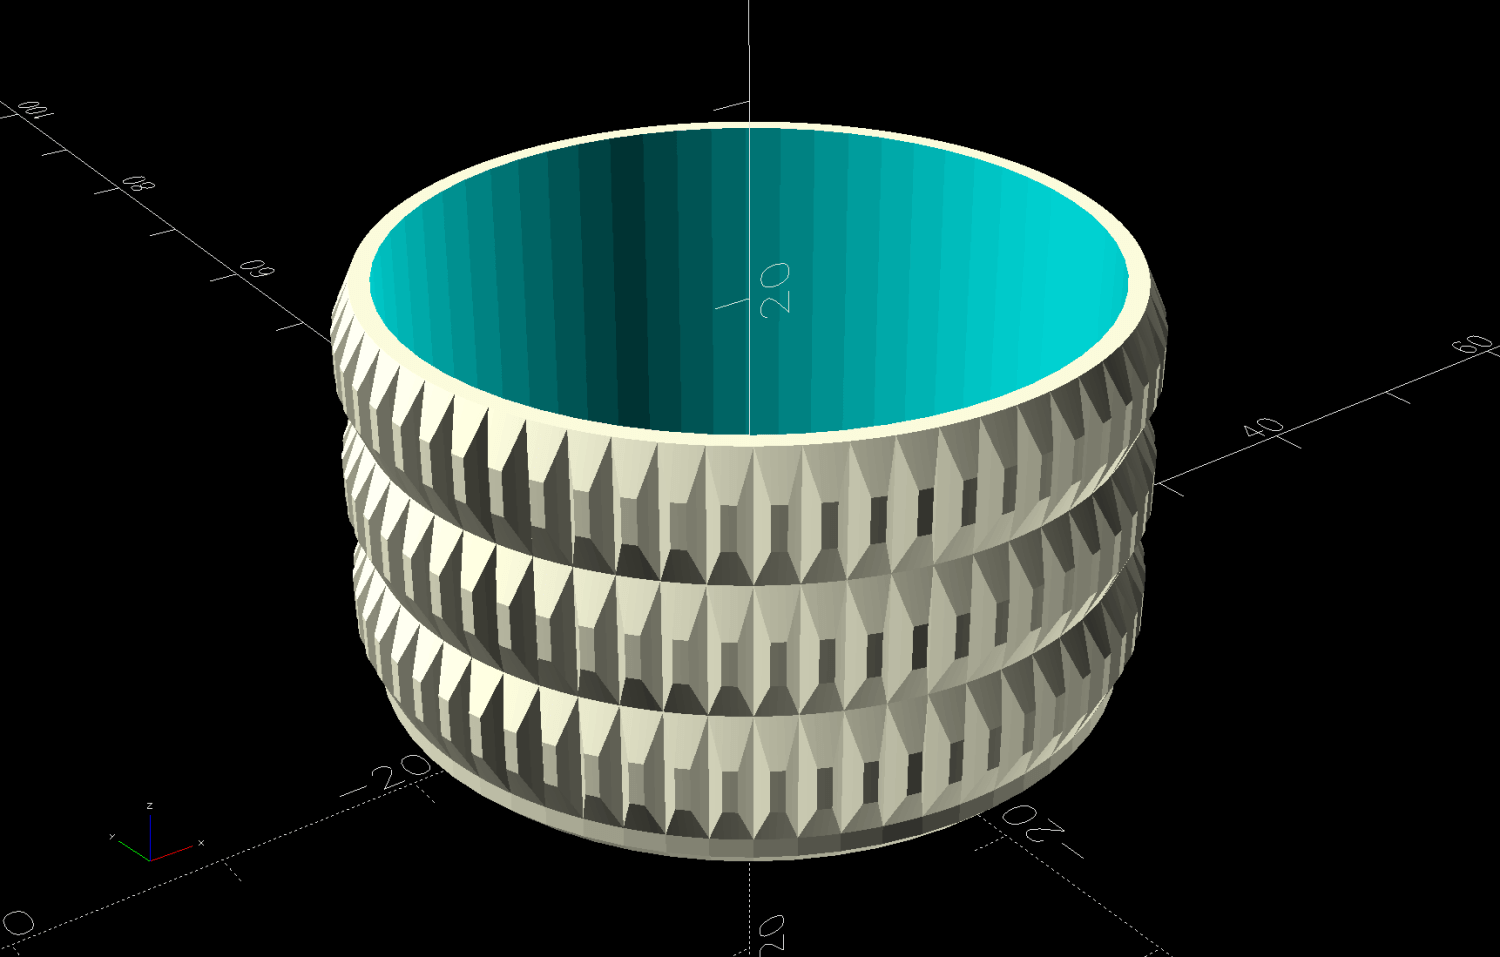
So I conjured a cap cover from the vasty digital deep:
Olive Oil Cap – solid model
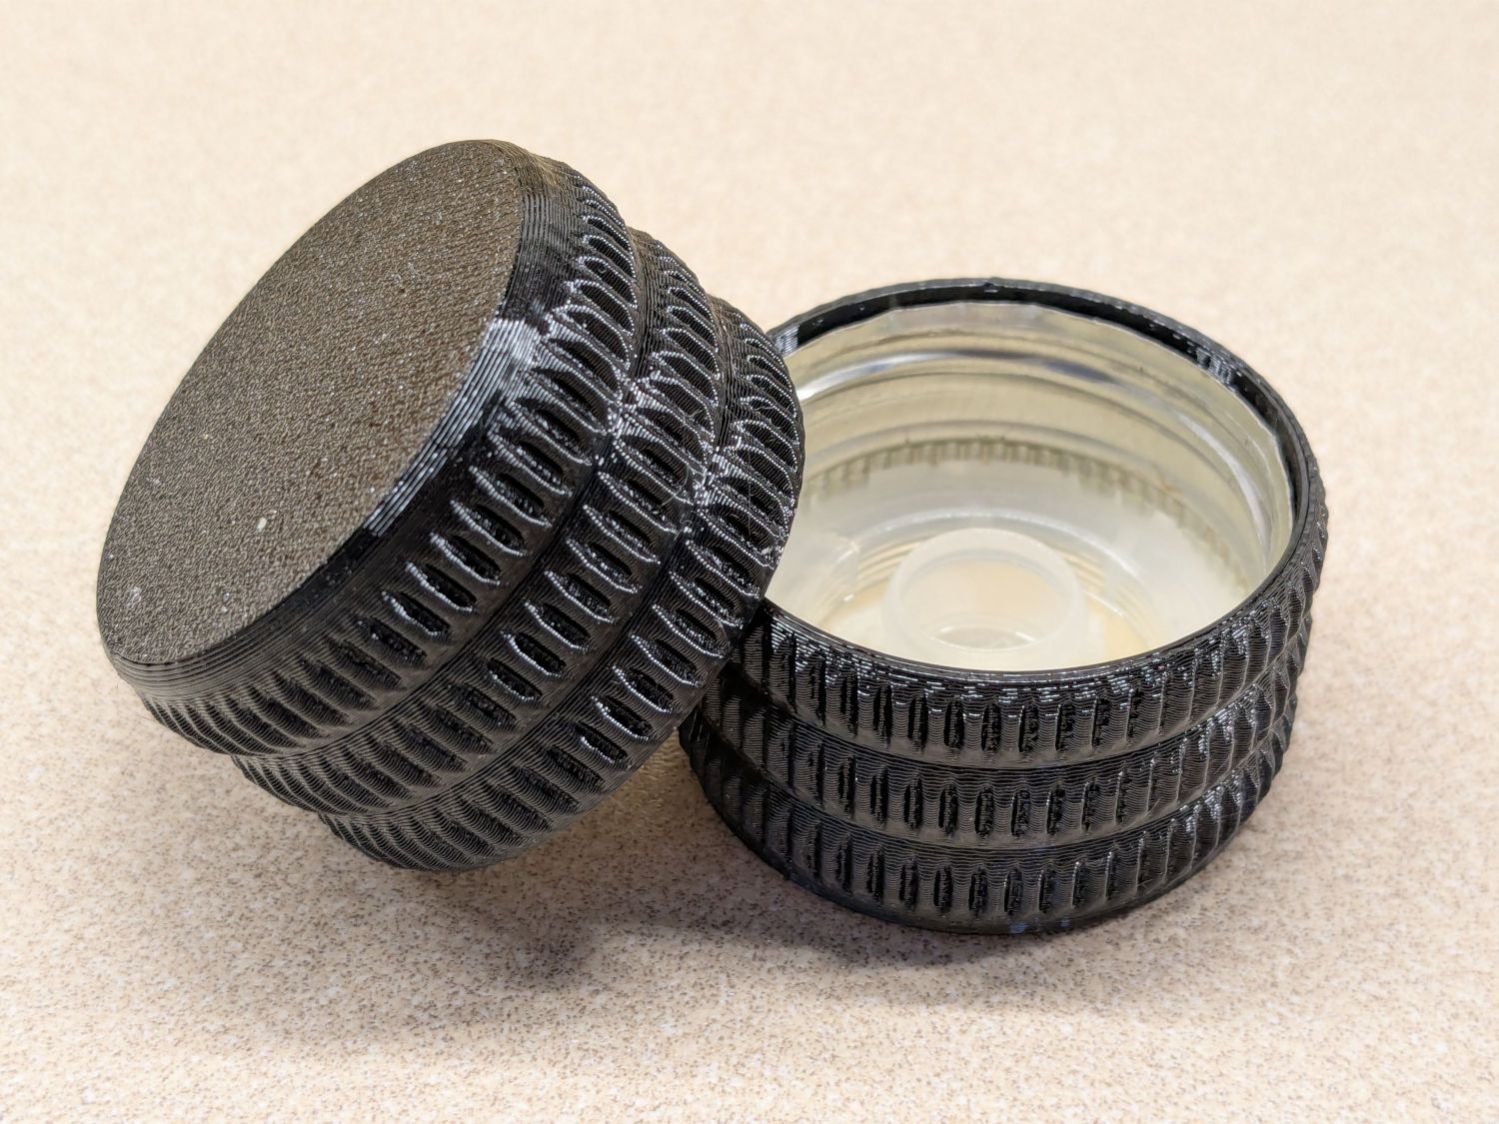
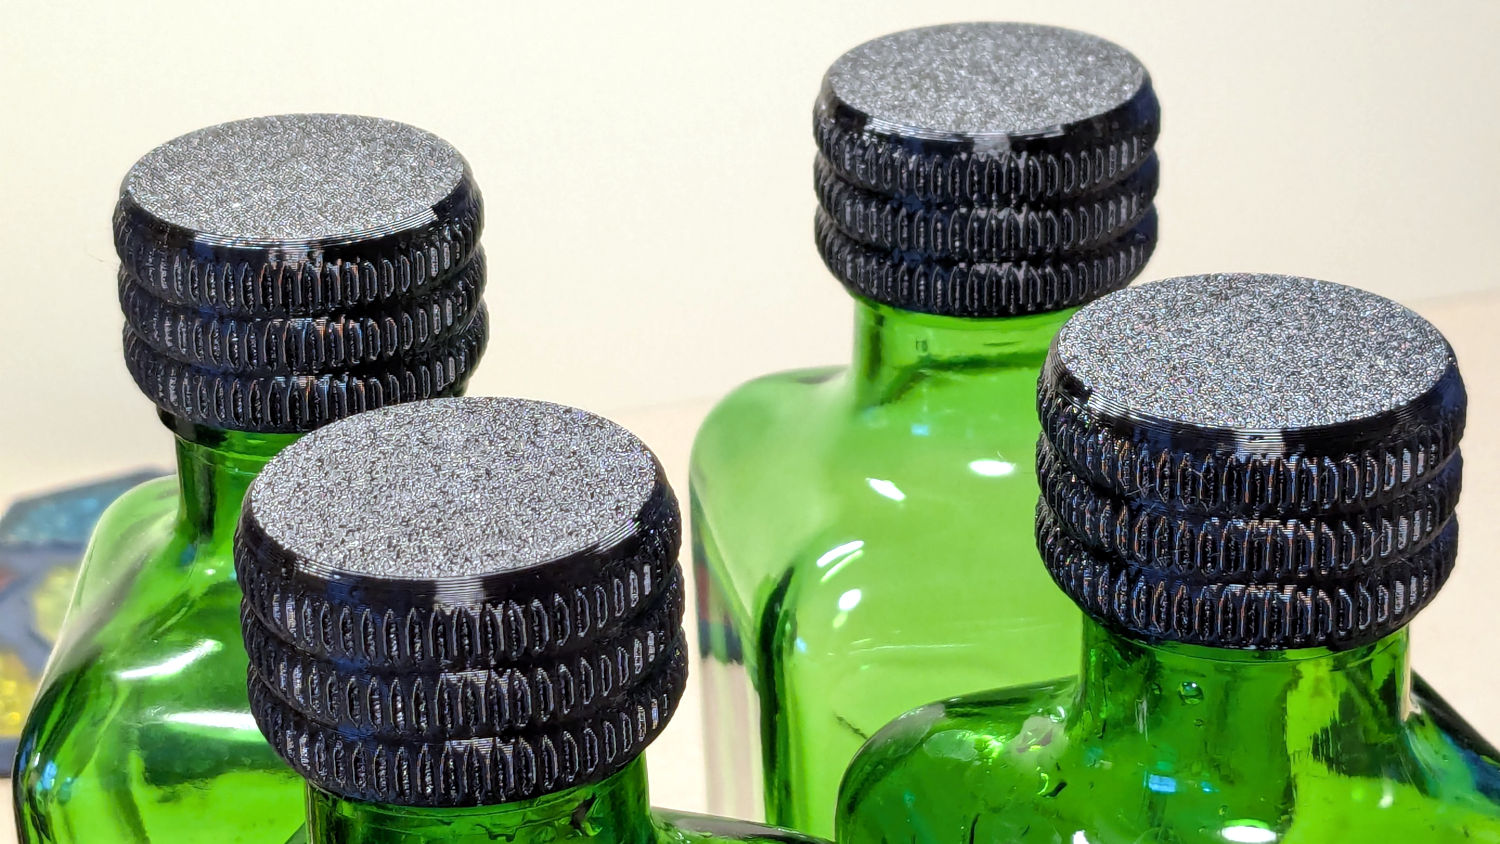
Which looks exactly like you’d expect when printed in black PETG:
Olive oil bottle cap – details
You can see the raggedy edge of the original cap just inside the cover’s rim. A snippet of double-sided tape holds the cover in place, after de-oiling the cap with alcohol.
Having gotten one to fit, I made enough for All The Bottles:
Olive oil bottle cap – installed
Only two of those see regular service: one in use and another filled when the first is nearly empty. The remaining pair huddle in the back of the shelf against future need.
Our house came with several single-LED night lights featuring a transparent light guide / reflector:
Nightlight light guide – original
The plate had snapped off one of them and, being me, I wondered if I could replace it with something similar.
Years passed.
Obviously, this must be made from a transparent substance, which 3D printed things are not, but after some fiddling with parameters I thought the result might be informative.
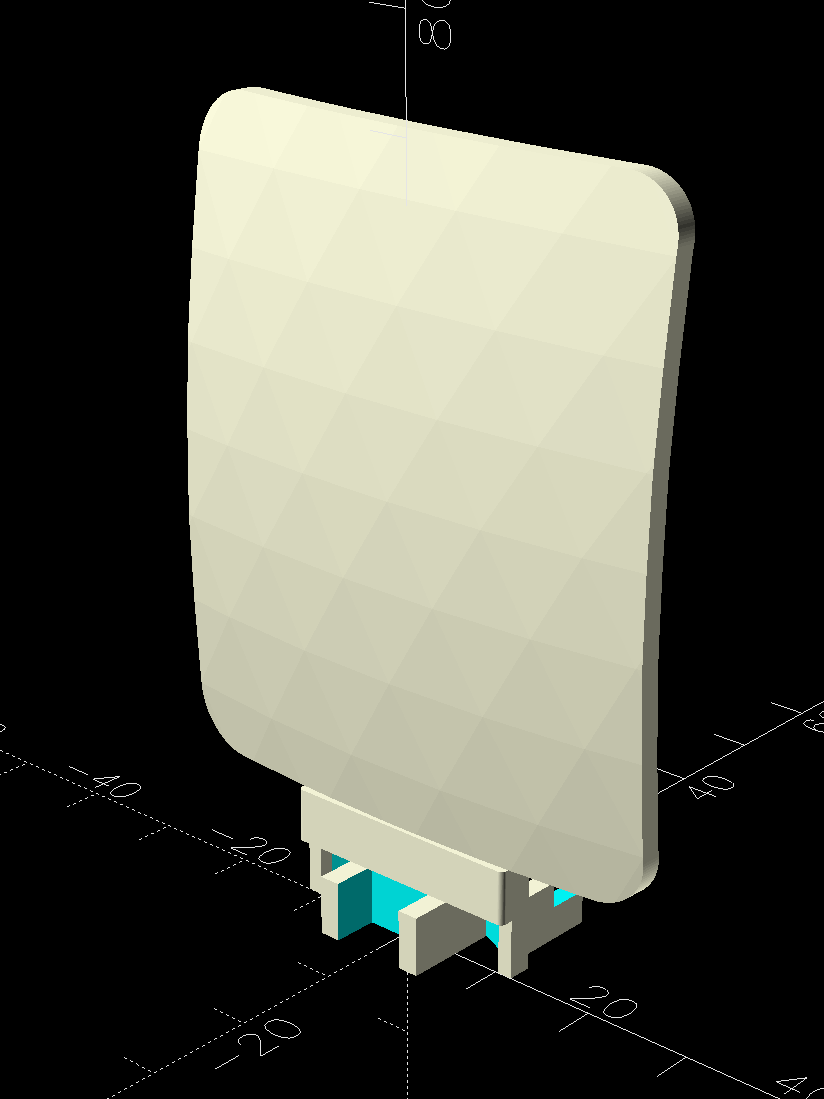
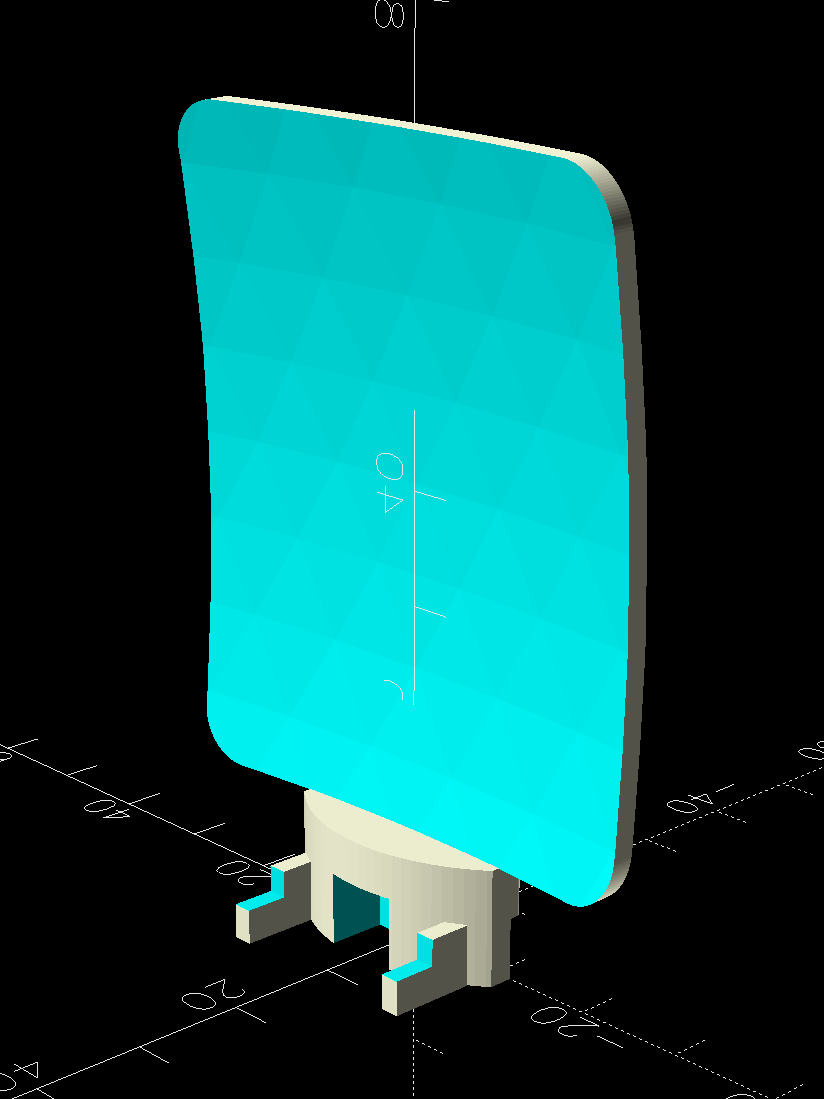
The guide plate is a section of a spherical surface, here approximated by a BOSL2 spheroid():
Nightlight light guide – view side – solid model
The original is 3 mm thick, but 2 mm worked out better for my purposes by reducing the amount of infill:
Nightlight light guide – wall side – solid model
The intricate base latches into the lamp’s plastic case:
Nightlight light guide – base – solid model
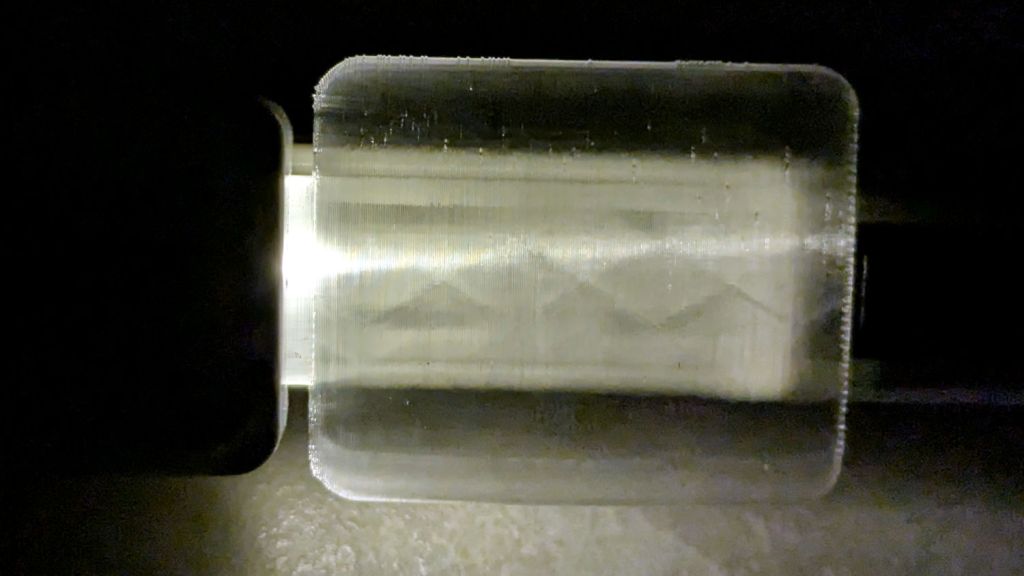
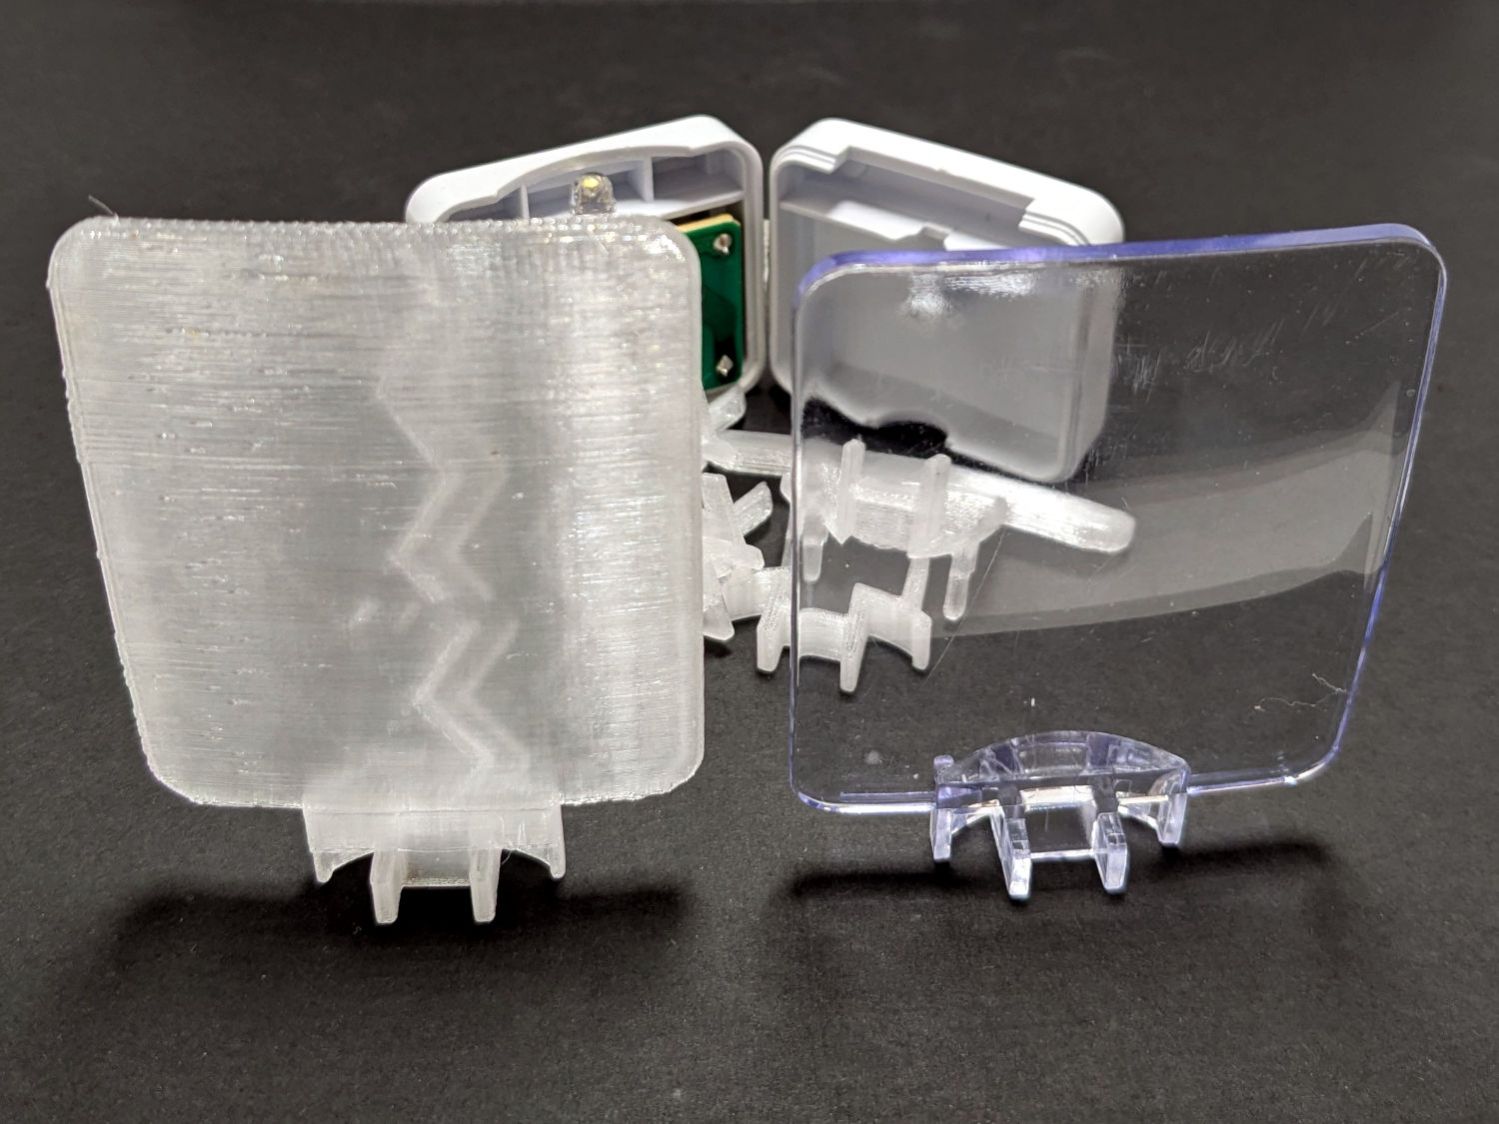
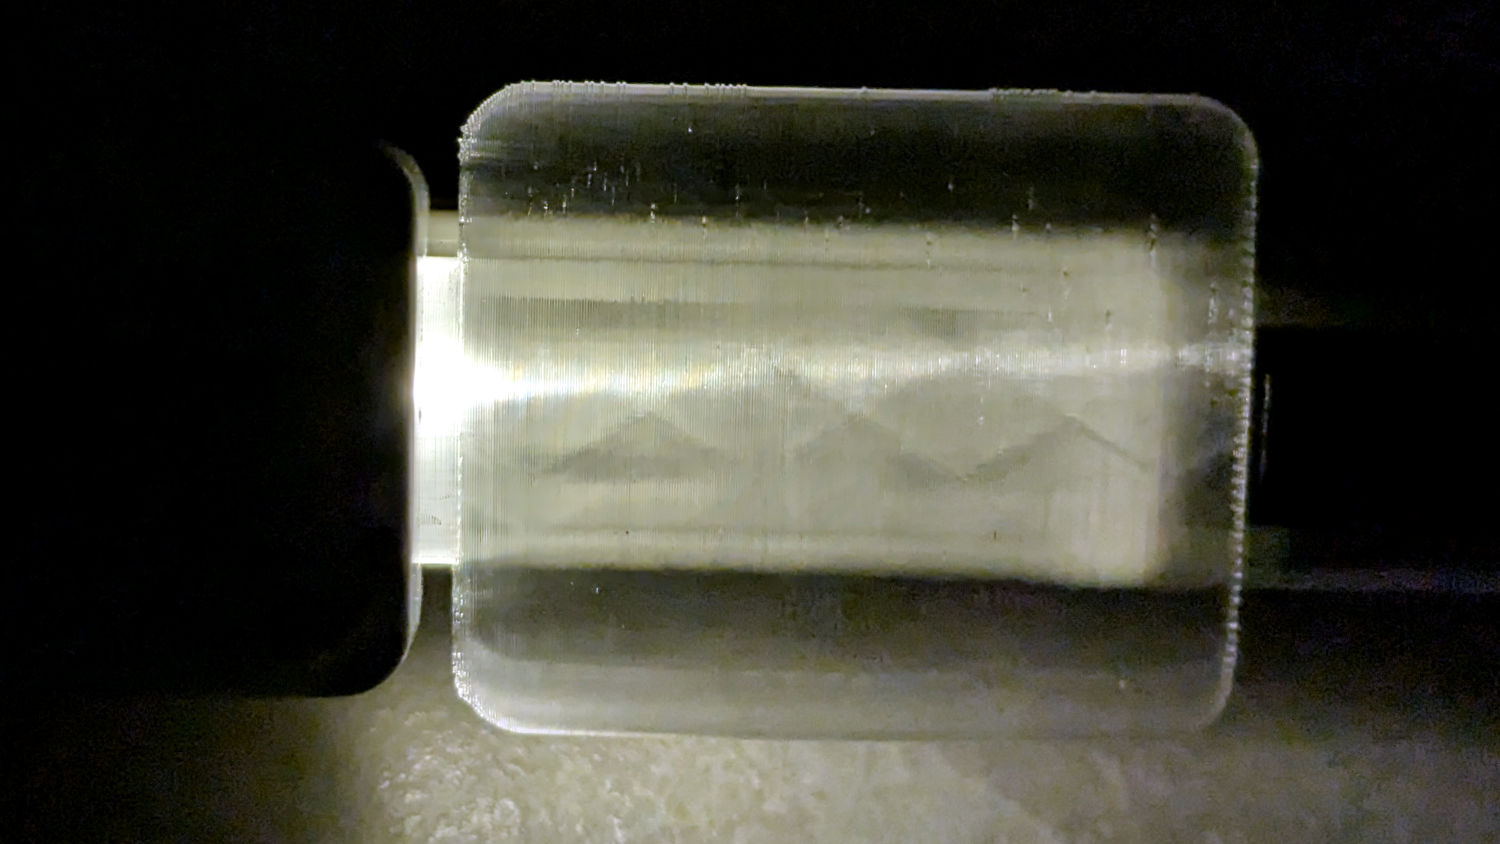
The result is, at best, translucent, because it’s definitely not transparent:
Nightlight light guide – translucent vs transparent
The zigzag pattern seems to come from the icosohedral approximation to the sphere, because it follows the surface tesselation.
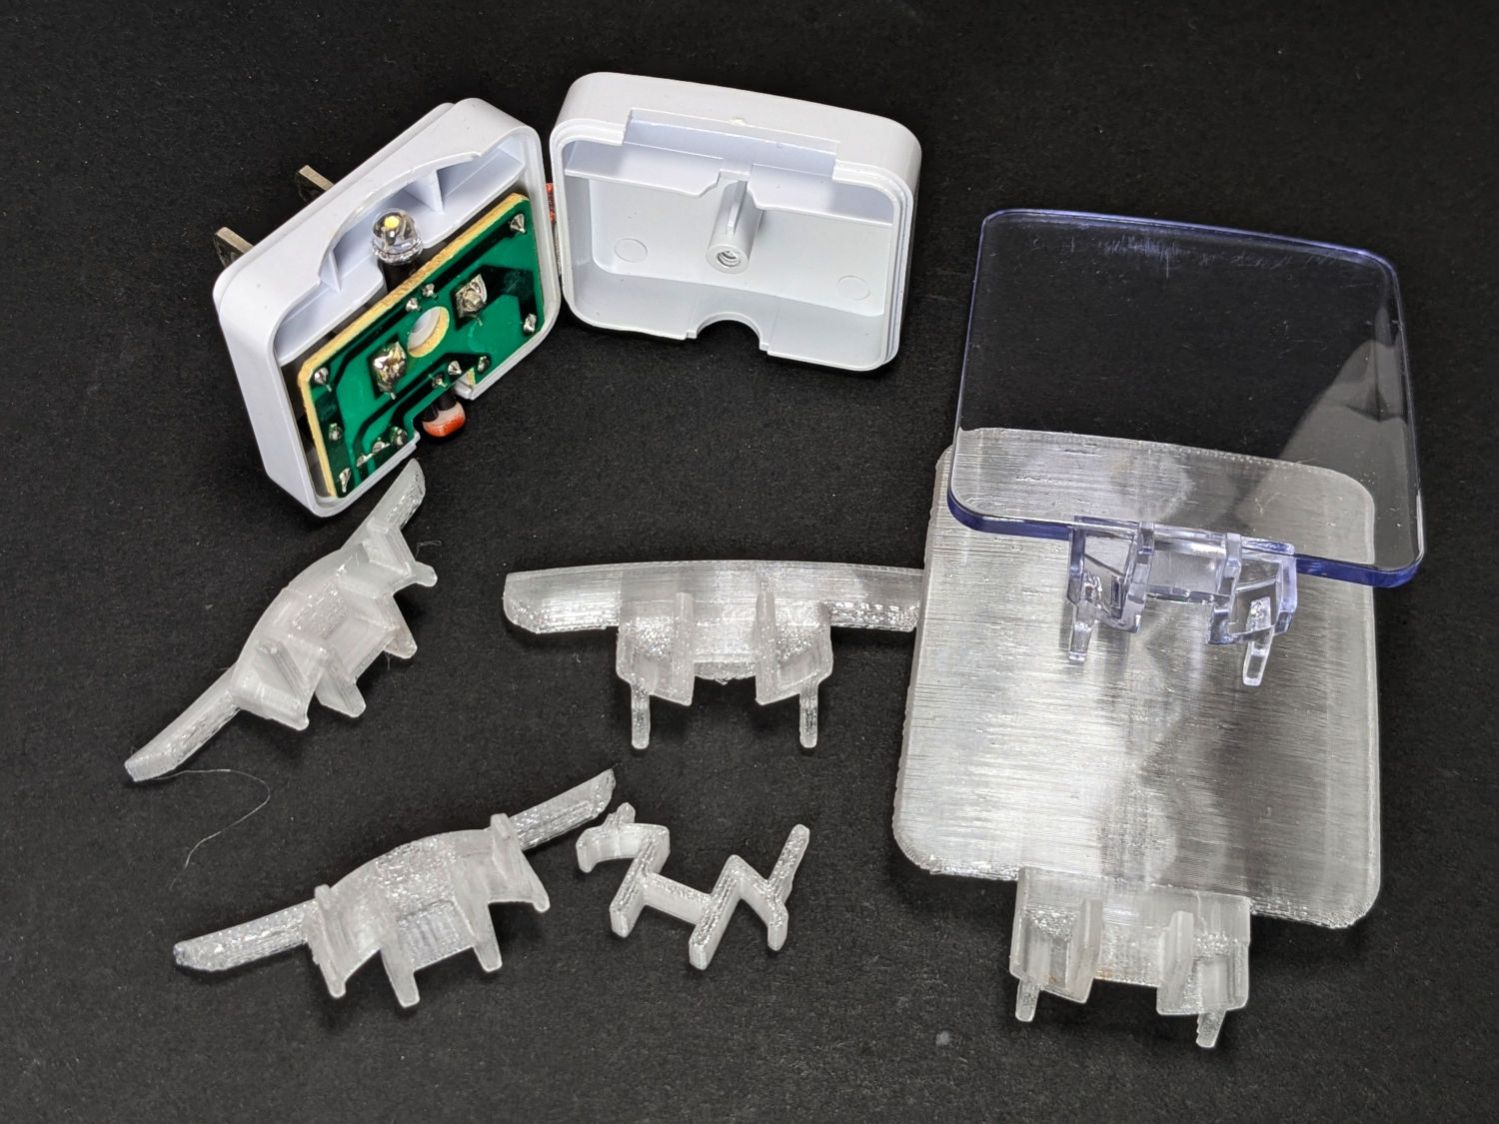
Getting the base shape right required several iterations, each printed with the model cut off just above the bottom of the guide plate:
Nightlight light guide – test pieces
The first two attempts needed attention from a flush cutting pliers before fitting into the case, but they don’t call it rapid prototyping for nothin’.
The original and replacement plugged into an outlet strip:
Nightlight light guide – original vs printed on outlet strip
While you can see the vague outline of the strip behind the printed light guide, it’s definitely lacking in detail:
Nightlight light guide – outlet strip detail
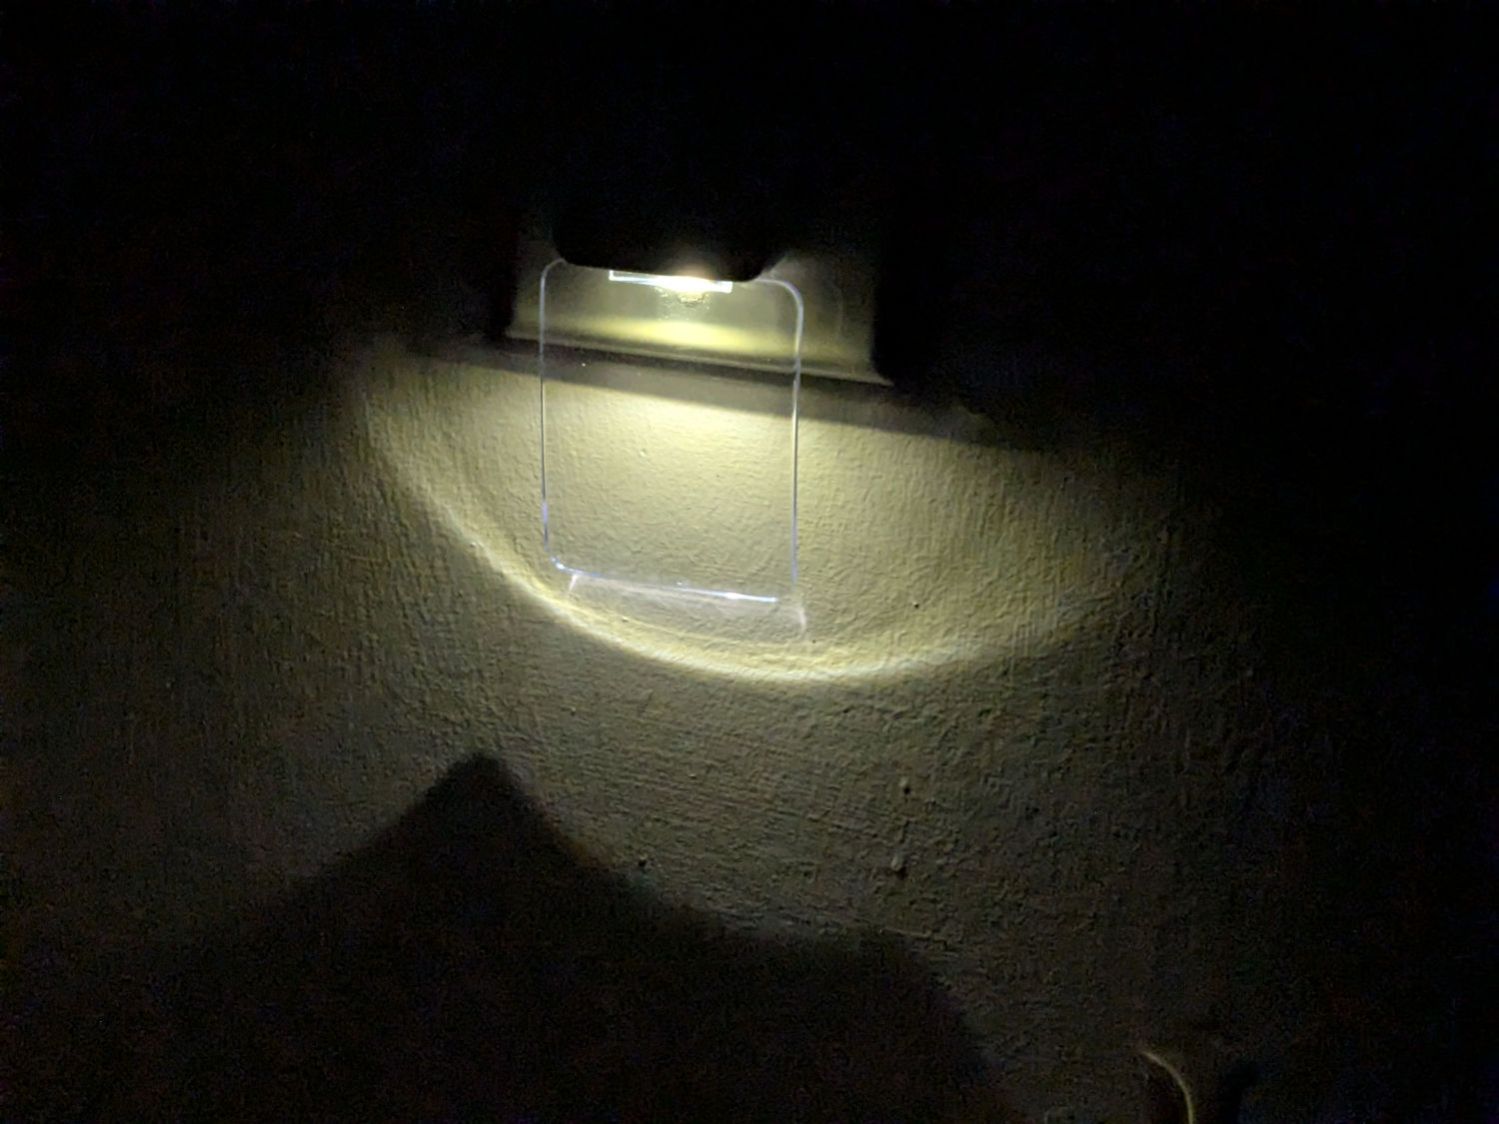
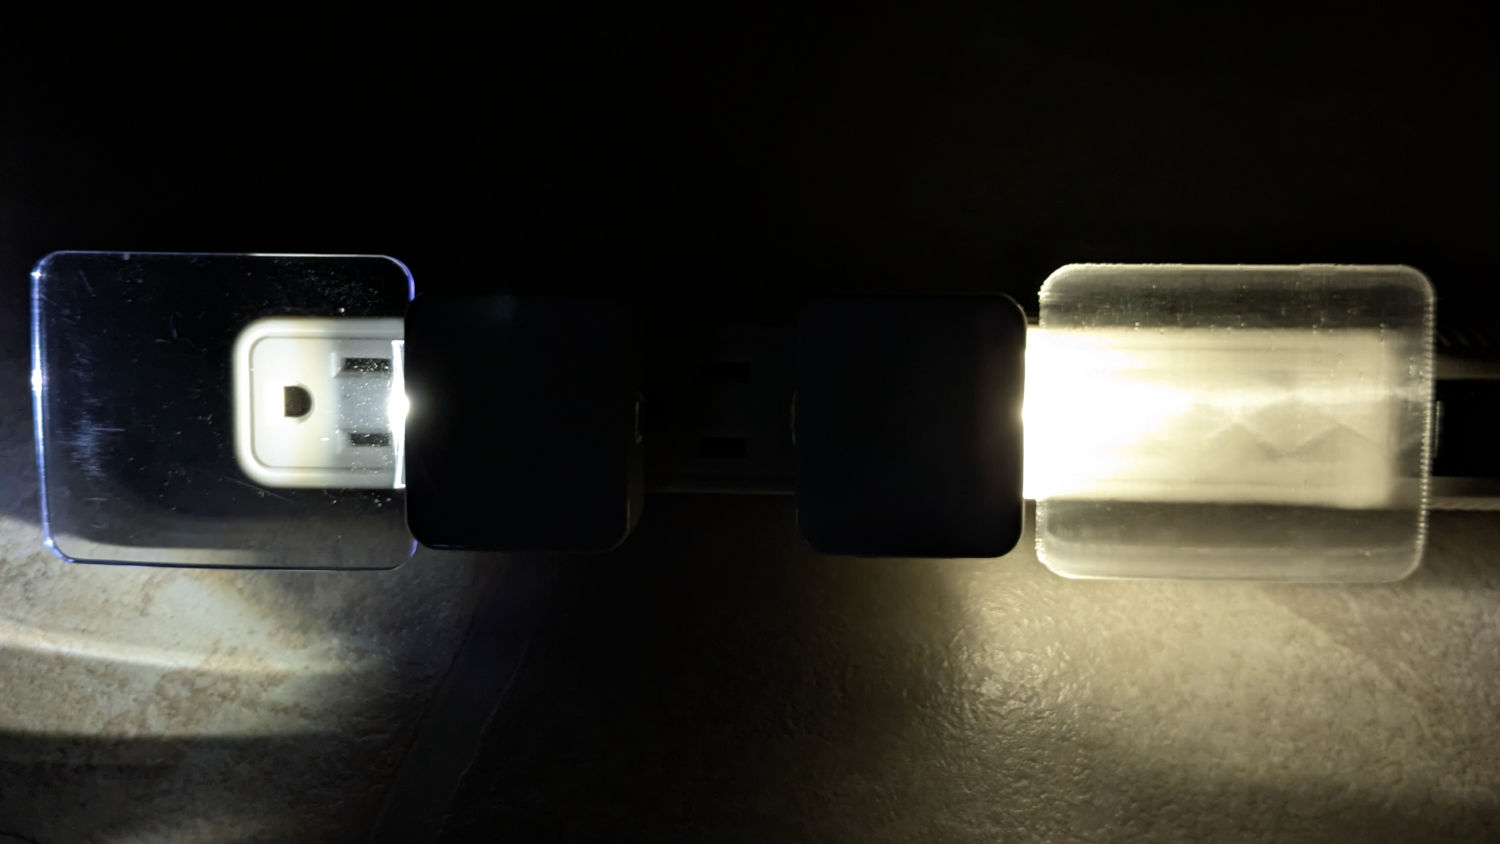
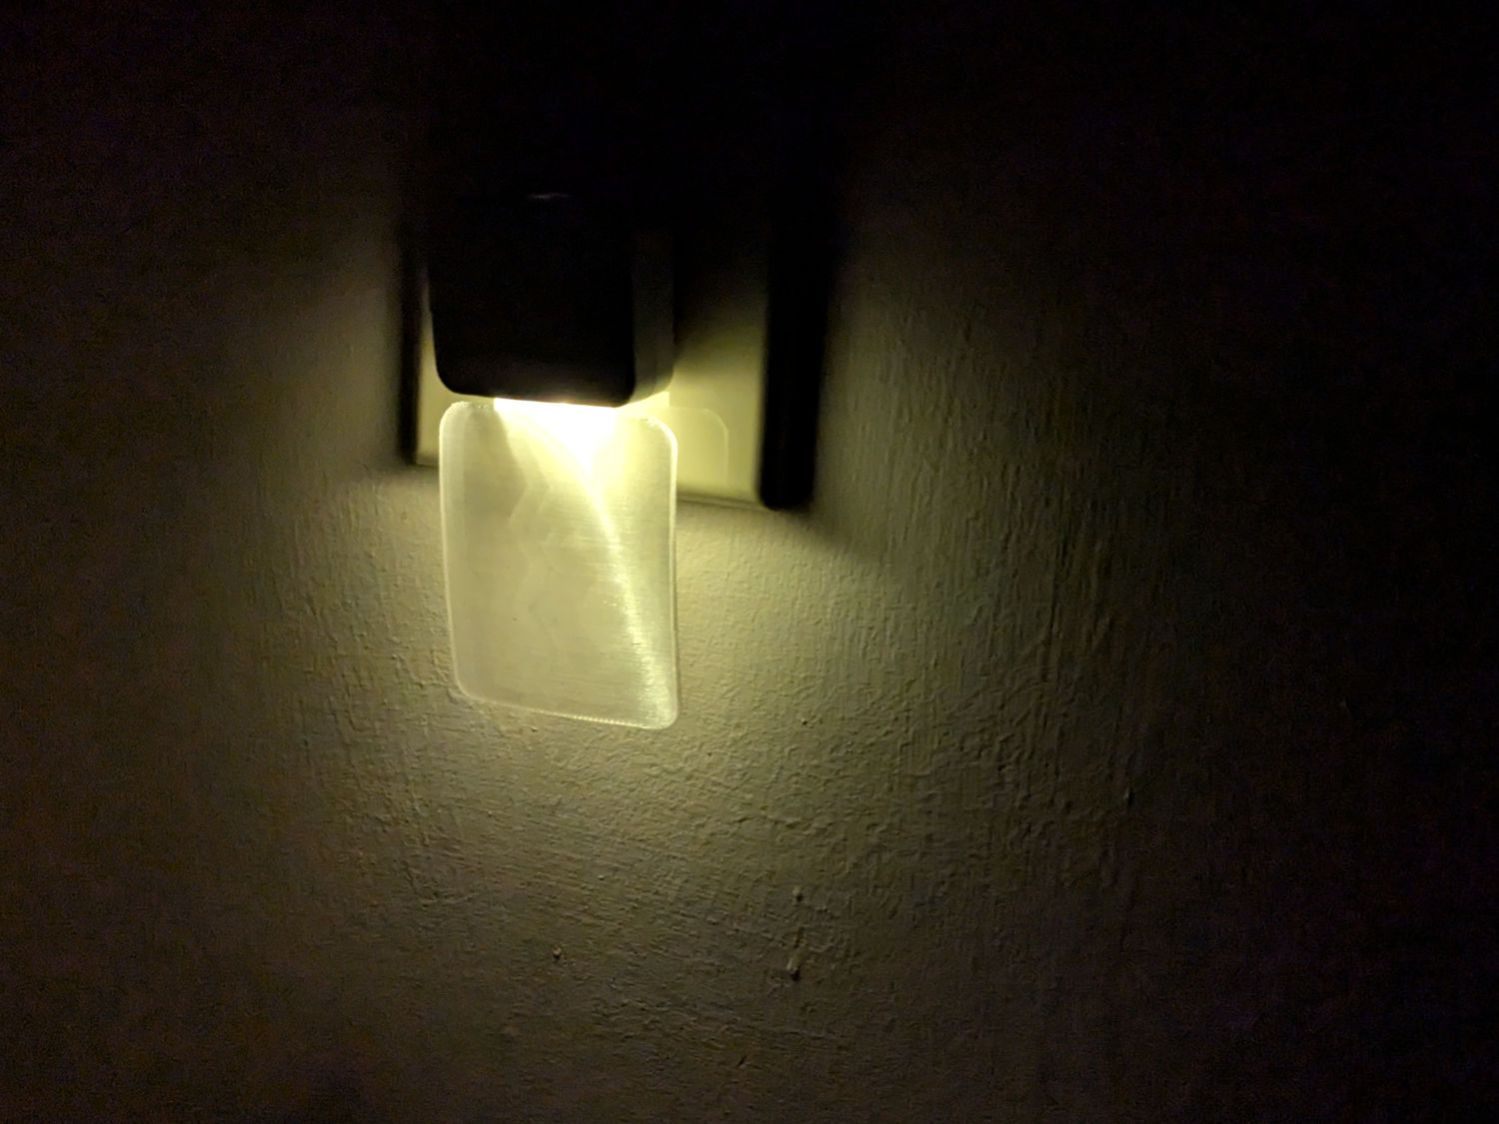
The striations throw more light into the room than the original:
Nightlight light guide – printed
Fiddling with the 3D printing parameters might make it more transparent, but it’s going back into the box it came from after giving me a better idea of which parameters to tweak the next time around.
This file contains hidden or bidirectional Unicode text that may be interpreted or compiled differently than what appears below. To review, open the file in an editor that reveals hidden Unicode characters.
Learn more about bidirectional Unicode characters
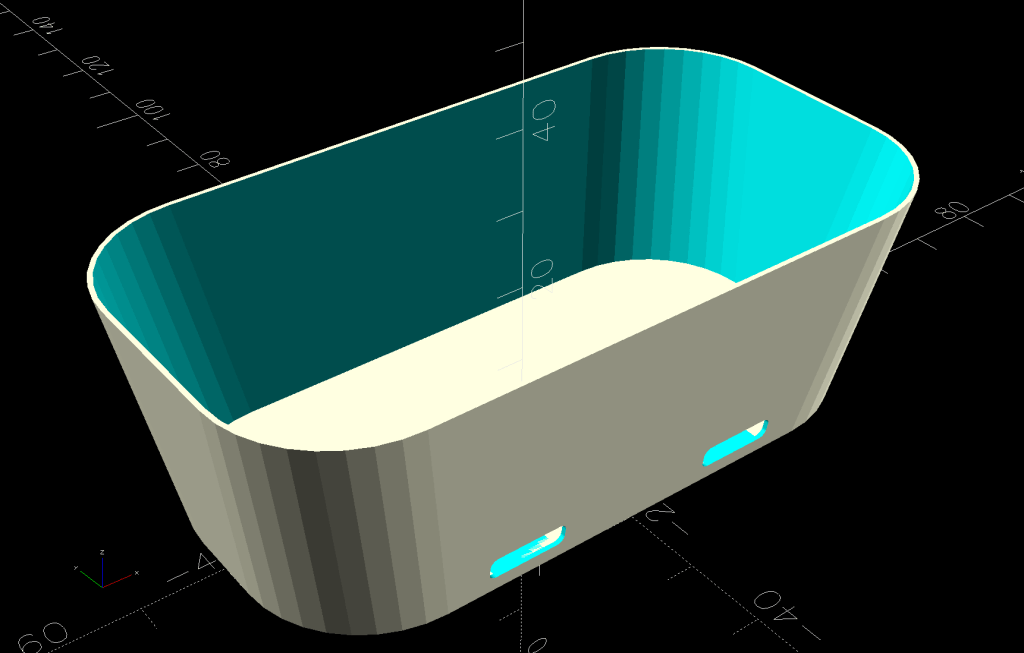
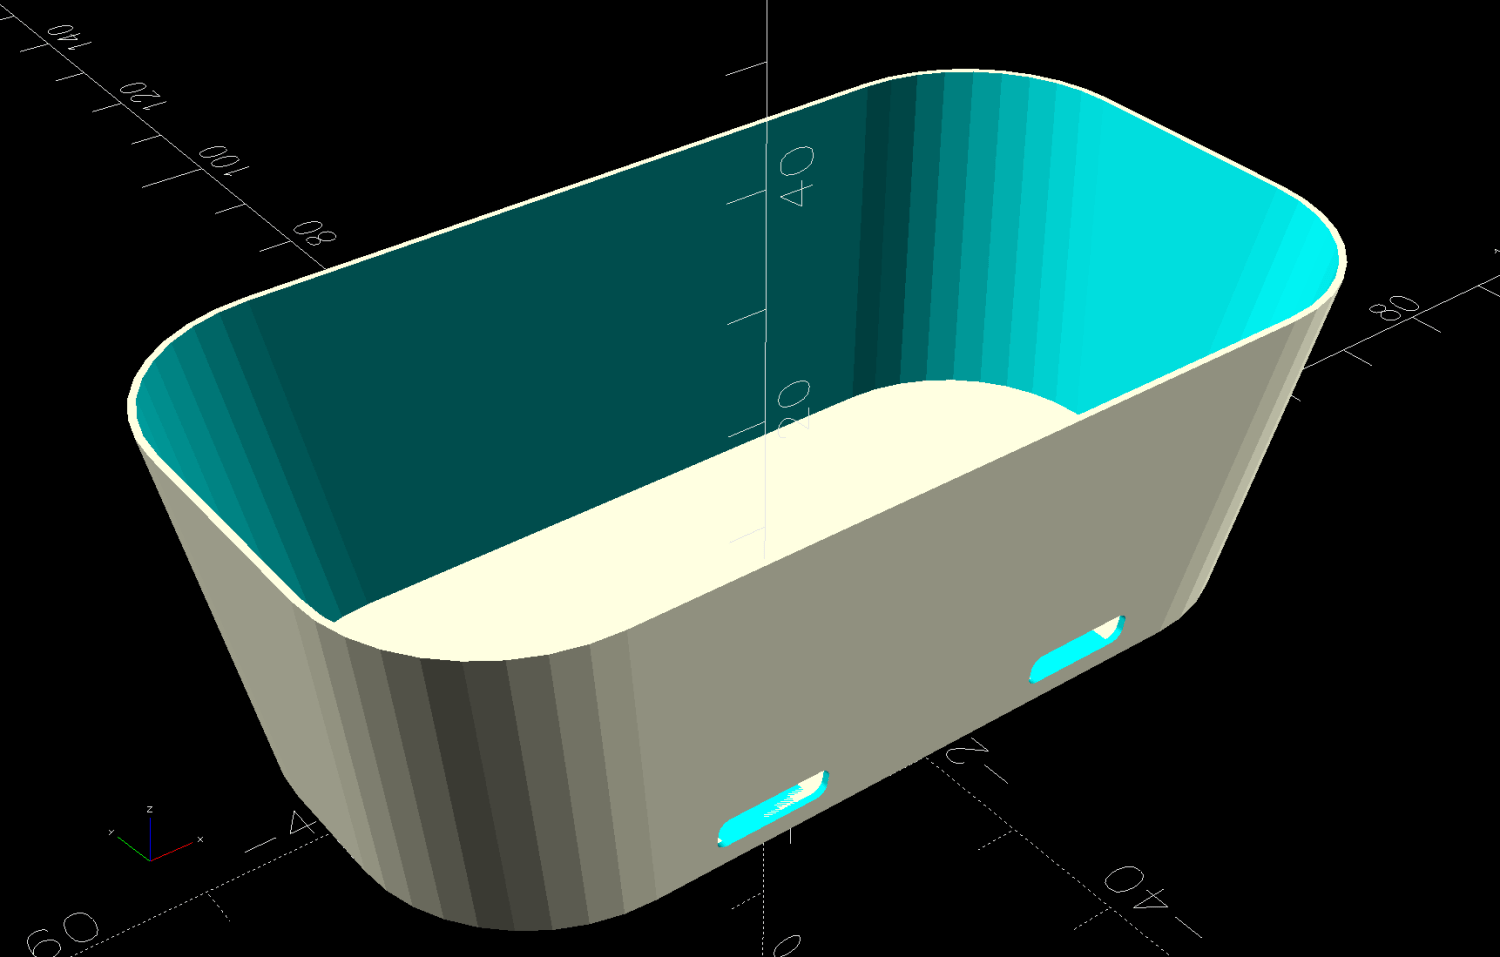
A SquidWrench meeting discussion about printing transparent objects prompted me to conjure a soap dish from the vasty digital deep:
Shower Soap Dish – solid model
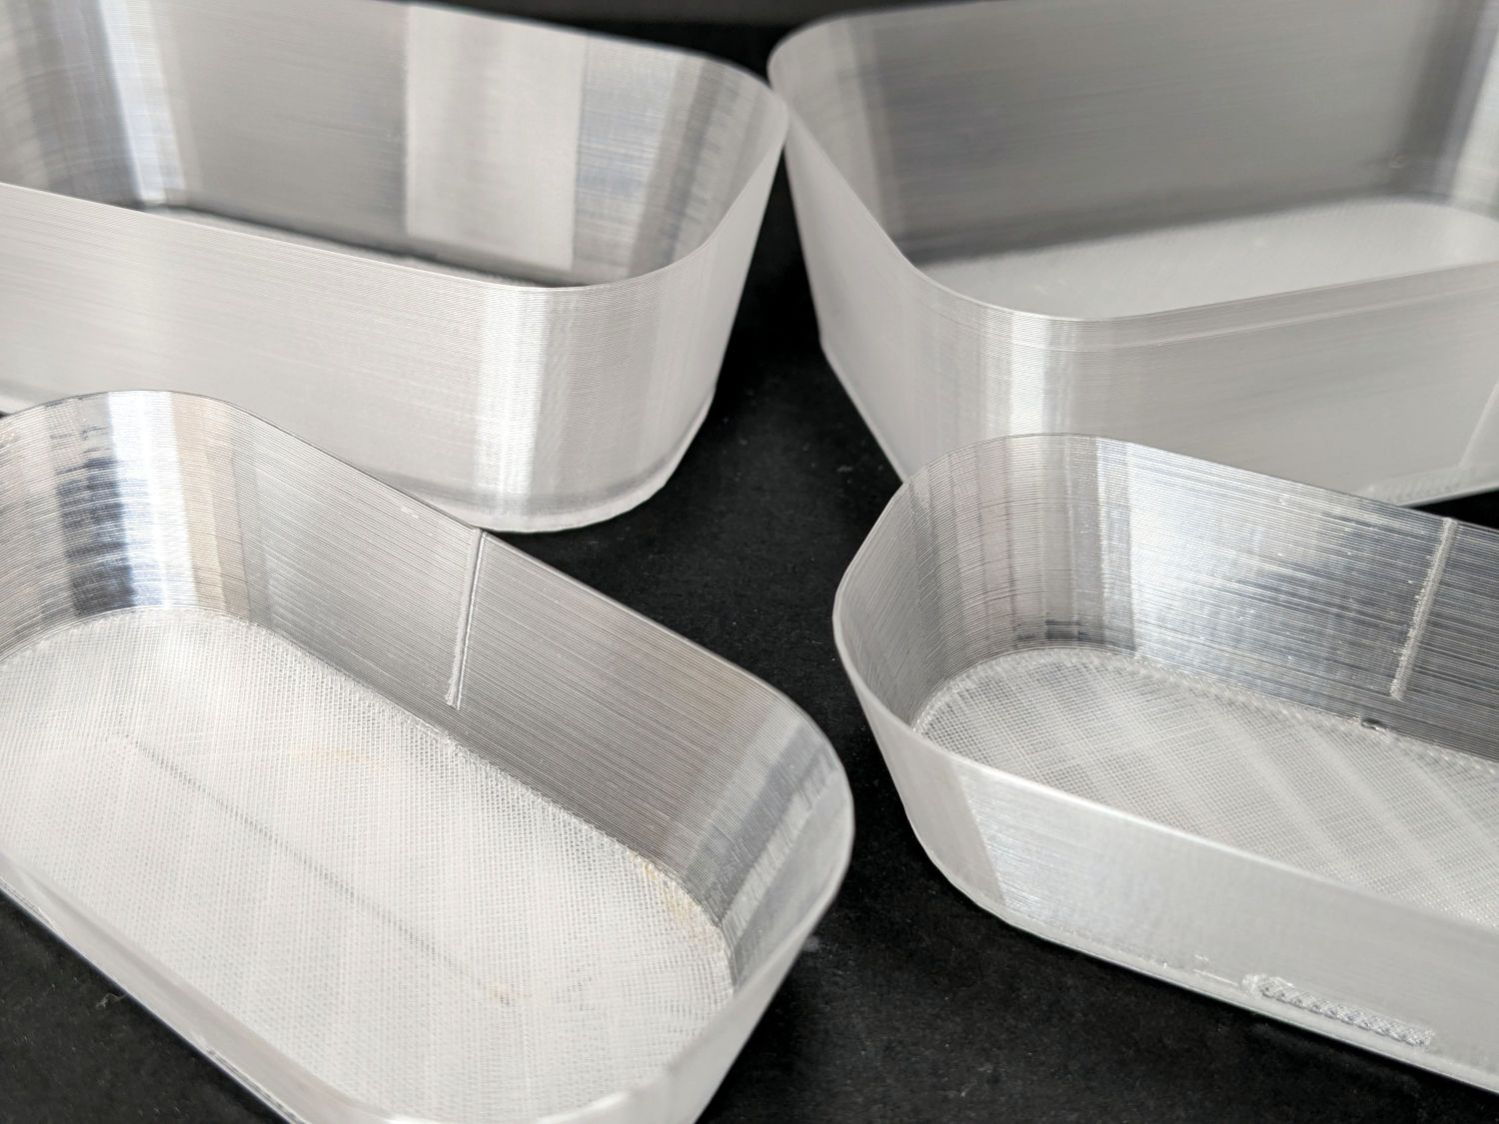
They’re all done in “natural” PETG with sufficient variations in speed, temperature, extrusion multiplier, and fill pattern to stock the shower & tub:
Translucent soap dishes
The single-thread sidewalls came out reasonably translucent in all the variations, but the baseplate remained stubbornly white-ish, even at 20 mm/s and 250 °C with 100% infill. The seams where the extruder retracts and lifts to the next layer remain conspicuous, with a scarf joint forming the white slab in the left-rear dish.
Quite a while ago, I’d considered making soap dishes with shattered-glass bottoms, but came to my senses. These have some key advantages:
Exactly the right size for narrow shower shelves
Light enough to not damage anything when it inevitably falls off
Reasonably unbreakable when that happens
Easily replaced
They’re also test pieces for the whole transparency thing, so it’s all good.
This file contains hidden or bidirectional Unicode text that may be interpreted or compiled differently than what appears below. To review, open the file in an editor that reveals hidden Unicode characters.
Learn more about bidirectional Unicode characters
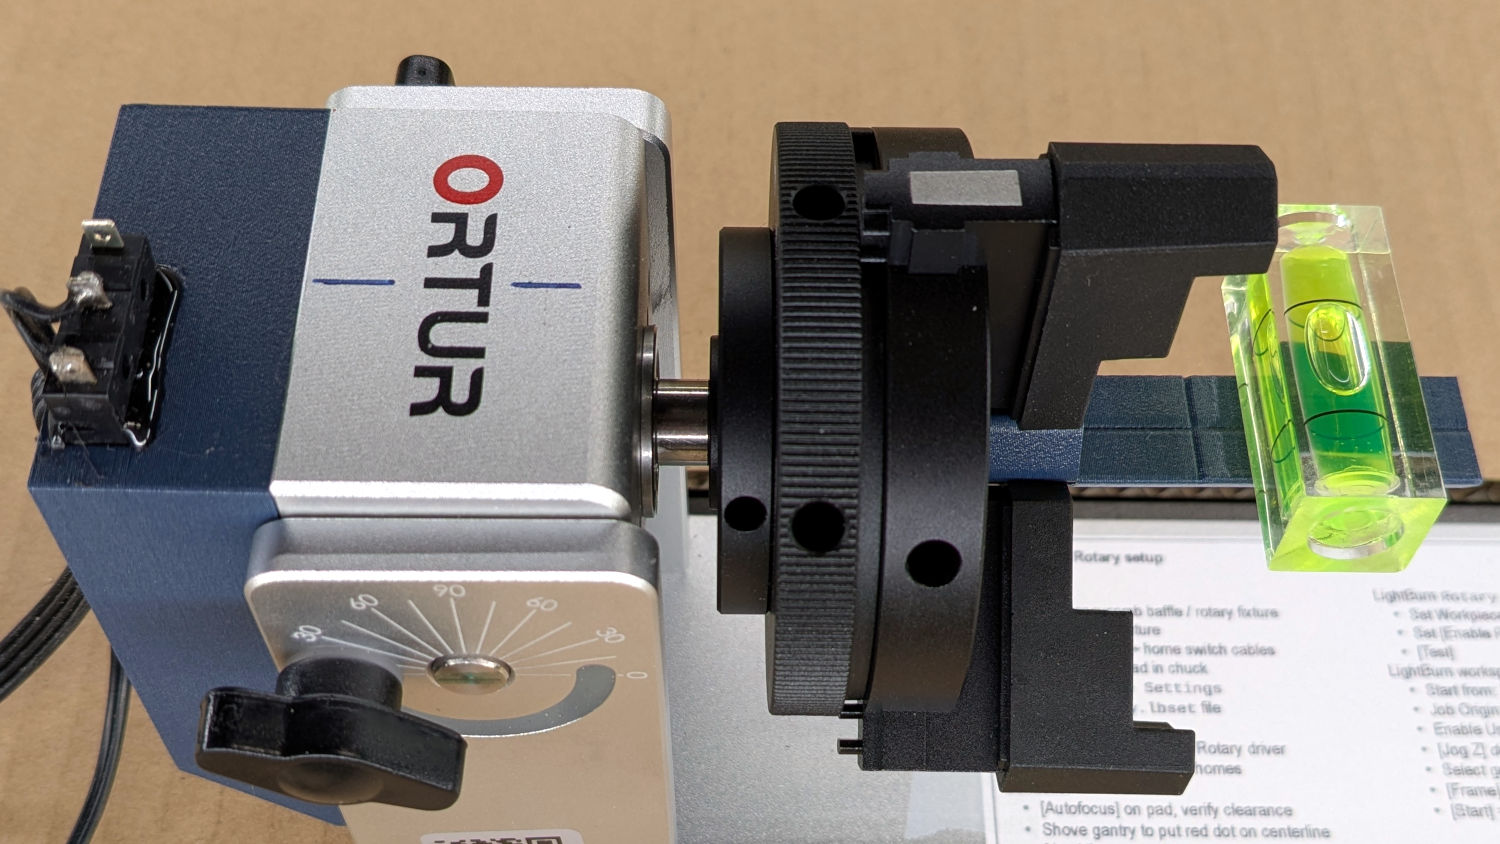
The standard jaws for the Ortur Rotary loom over small-diameter workpieces:
Ortur Rotary Focus Pad – home offset adjustment
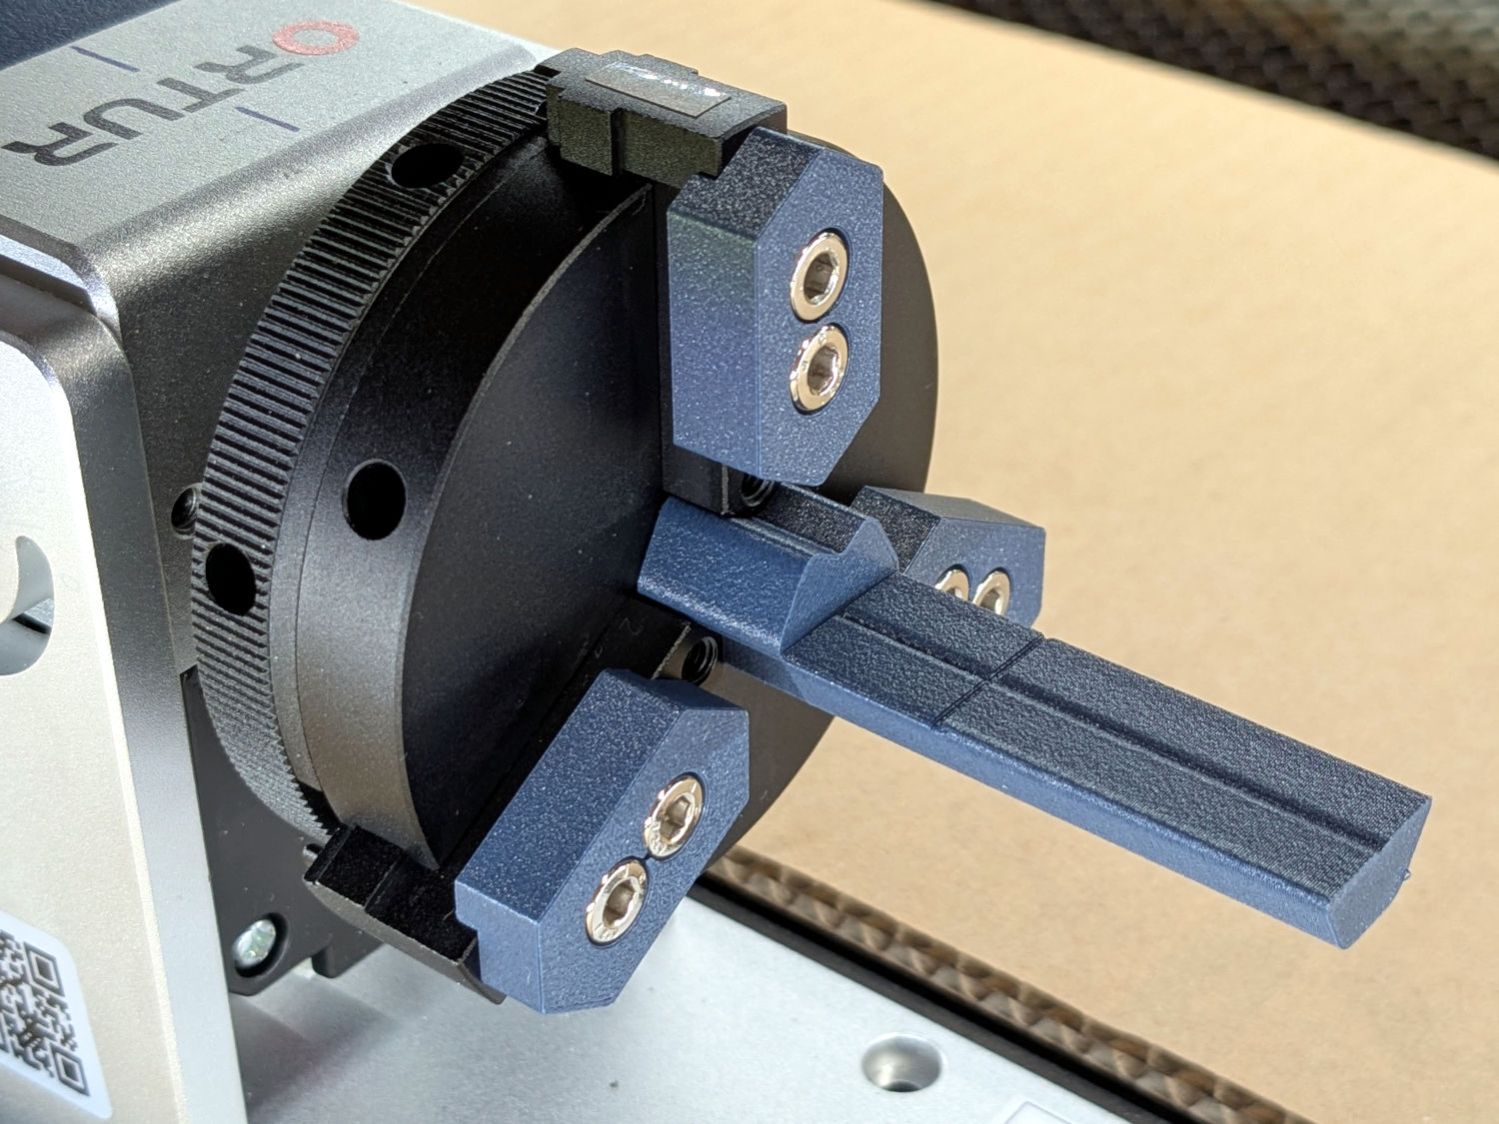
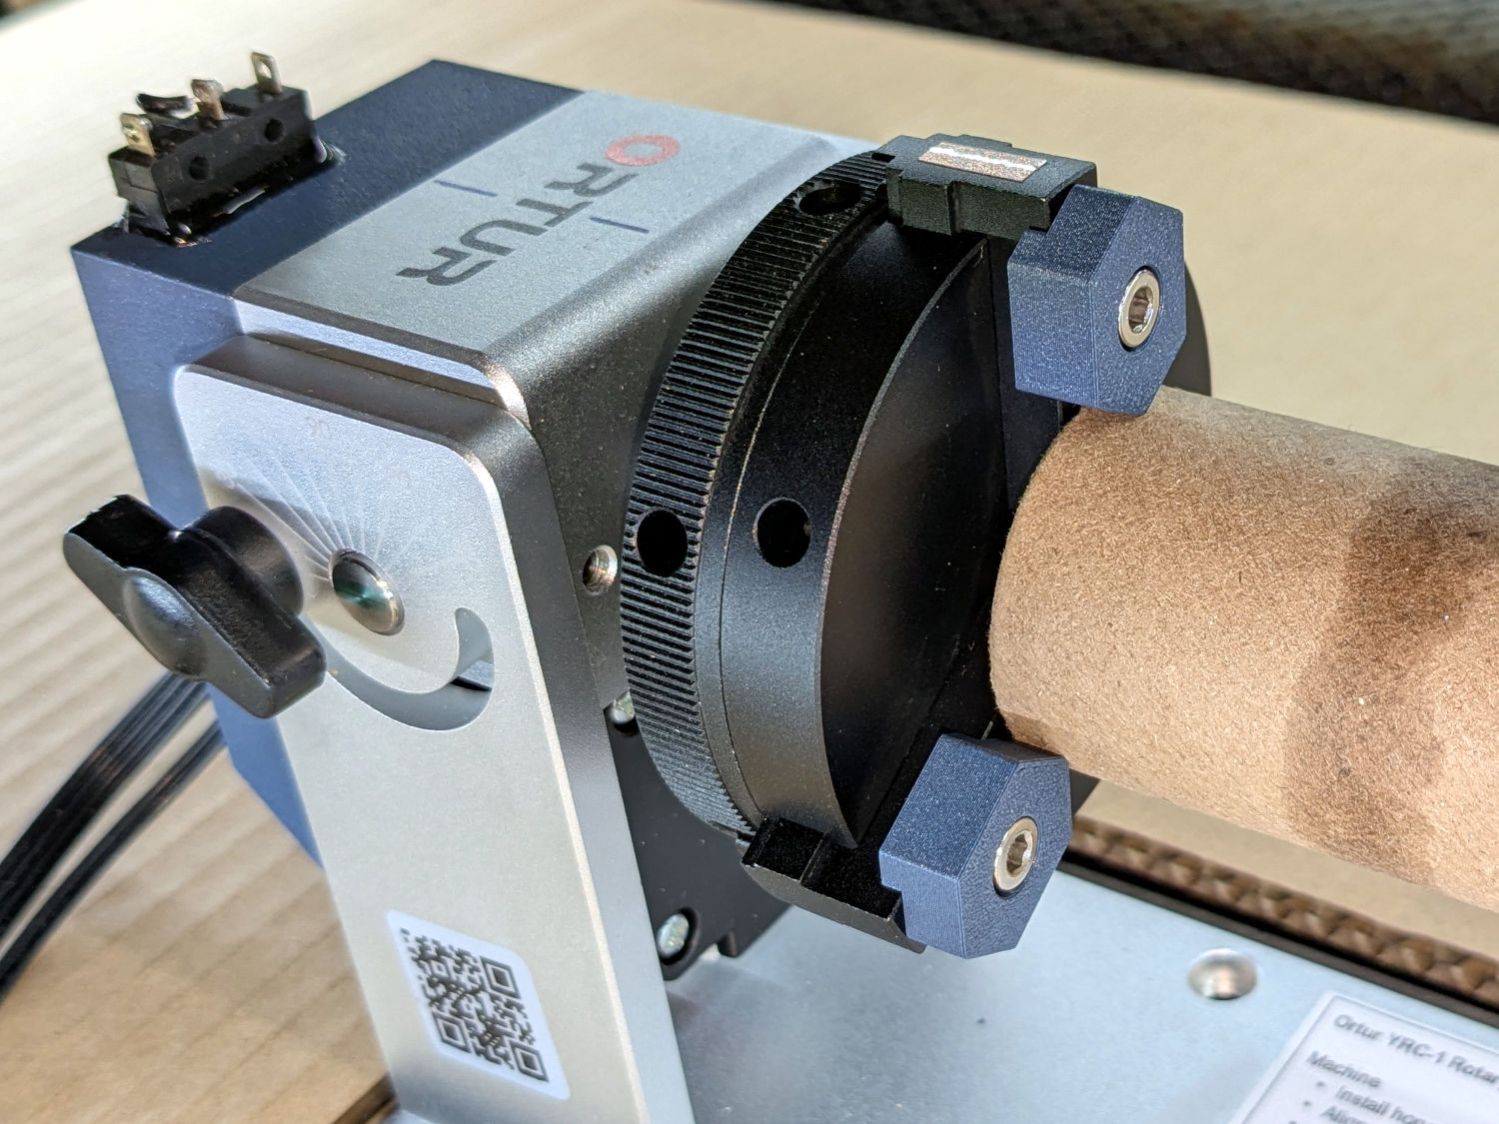
Some measuring and modeling produced petite 3D printed jaws:
Ortur Rotary – printed jaws
Admittedly, those jaws aren’t doing much of anything, but they’re not nearly as much in the way. You (well, I) can screw them in closer to the center to overlap the chuck jaws or another hole outward for slightly larger cylinders.
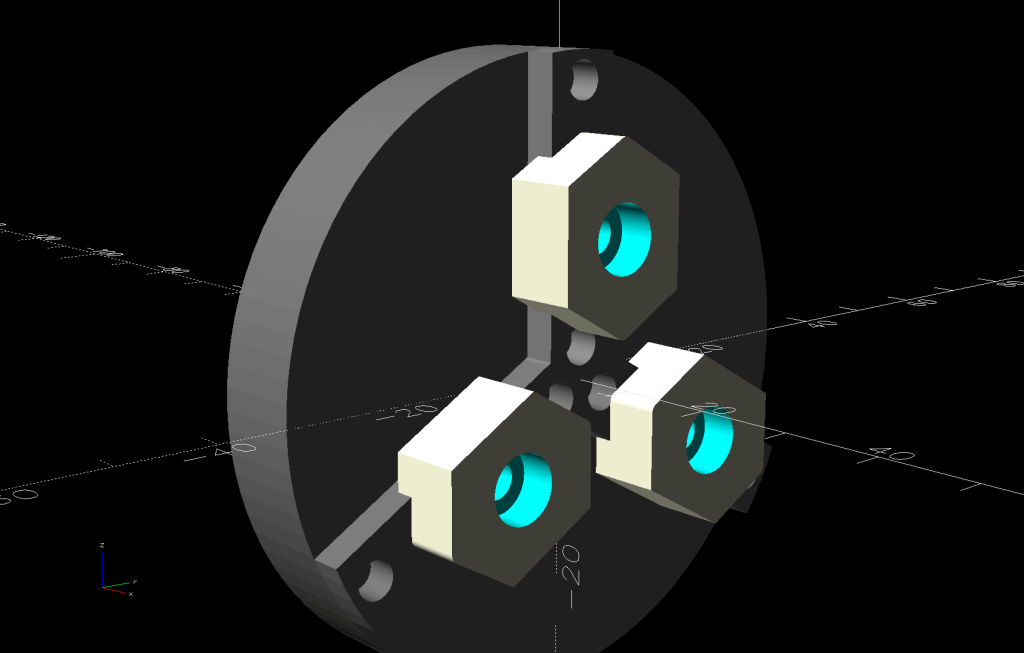
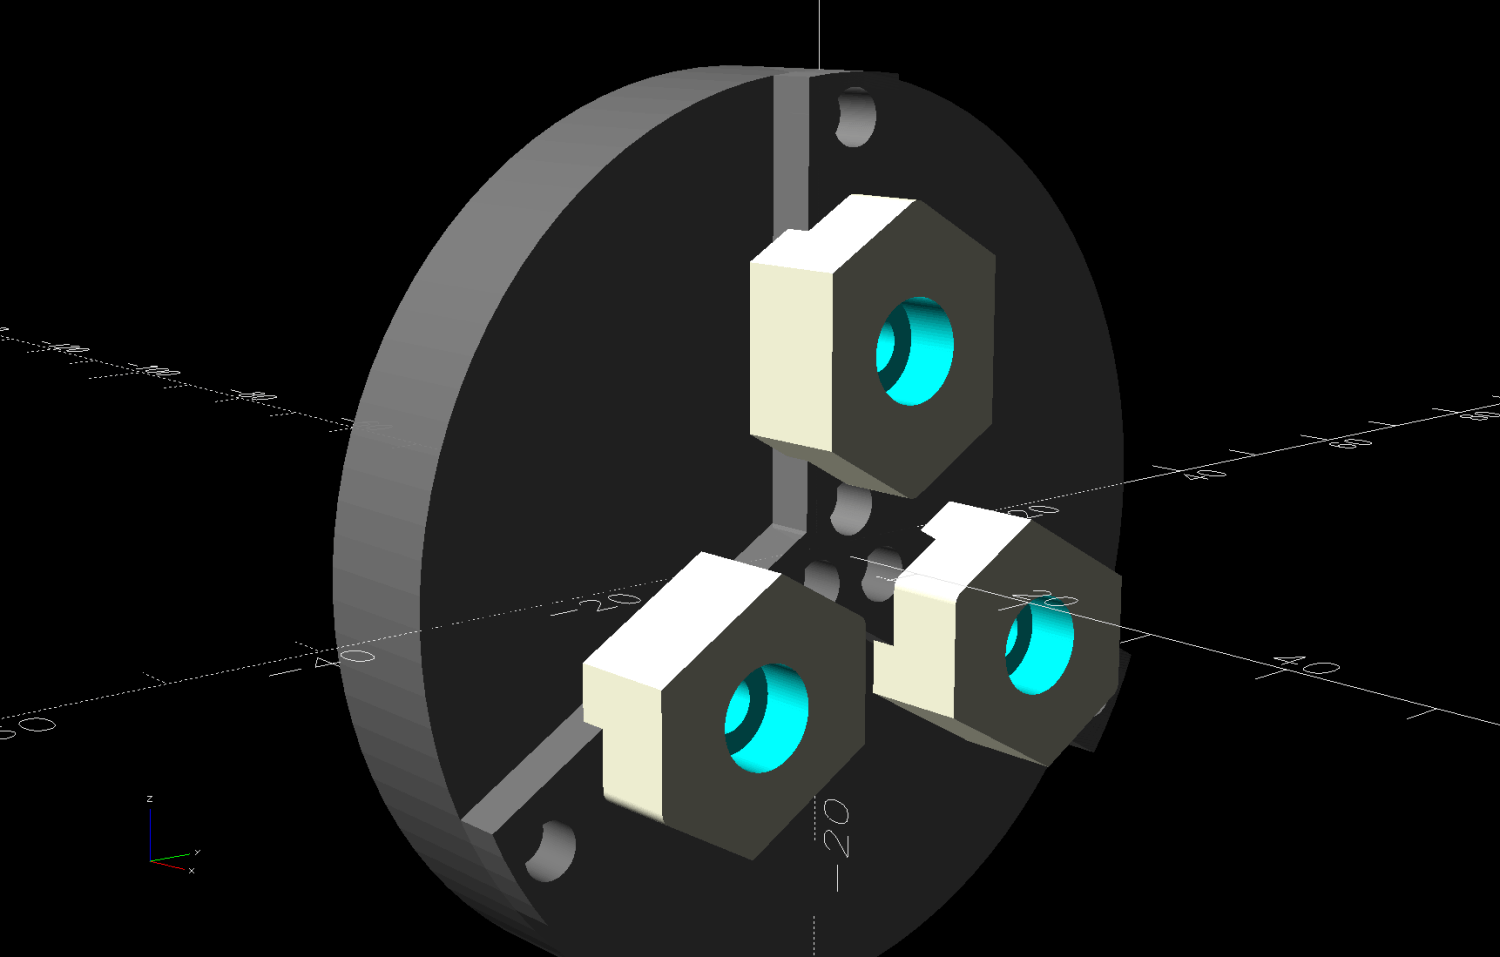
The solid model looks about the same:
Ortur Rotary Jaws – 2-3 show view
They build face-down with a little support under the screw recesses for a clean fit on the chuck:
Ortur Rotary Jaws – Prusaslicer
Teeny jaws might be handy:
Ortur Rotary Jaws – 2-2 show view
Screwing them in one hole outward lets them grip medium cylinders without sticking out from the chuck jaws:
Ortur Rotary – small printed jaws
The OpenSCAD code lets you pick which screw holes you want, but it does not error-check the perverse choices.
This file contains hidden or bidirectional Unicode text that may be interpreted or compiled differently than what appears below. To review, open the file in an editor that reveals hidden Unicode characters.
Learn more about bidirectional Unicode characters