Ed Nisley's Blog: Shop notes, electronics, firmware, machinery, 3D printing, laser cuttery, and curiosities. Contents: 100% human thinking, 0% AI slop.
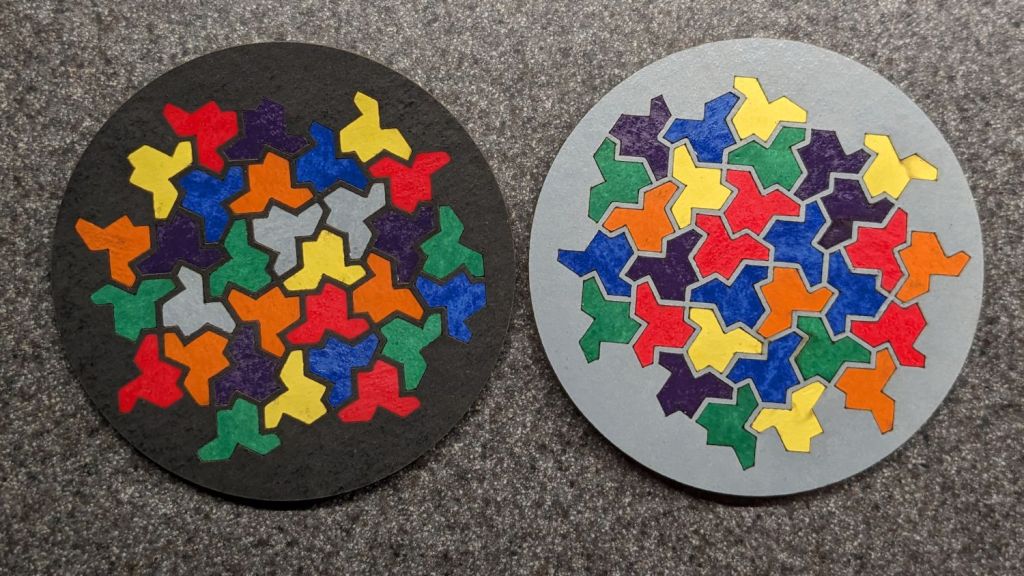
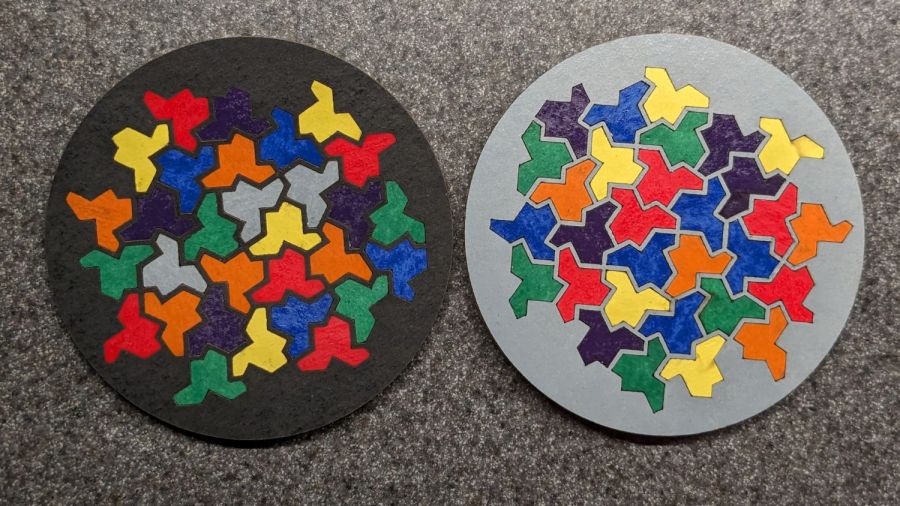
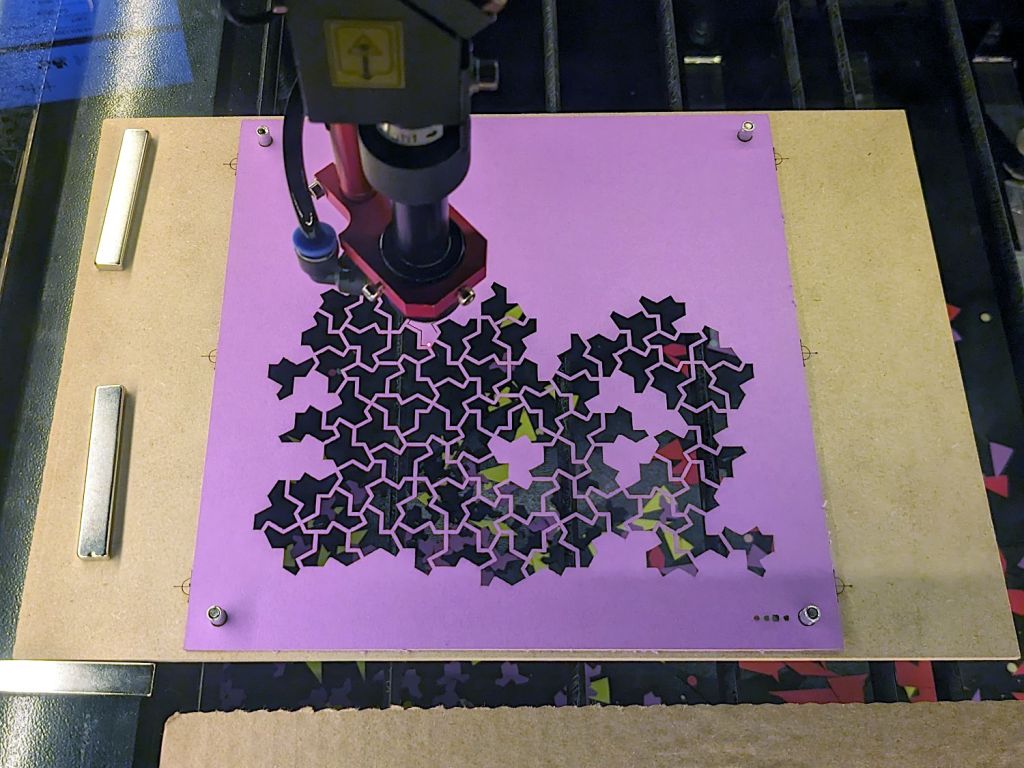
They’re rattlecan colored chipboard atop MDF atop cork, with the tiles cut from half a dozen sheets of einsteins. The lighter colors suffered from ineffective tape masking during cutting, producing more smudging than I’d like, but overall they look pretty good.
I was surprised at how dull the black surround turned out and how good the gray appears: rapid prototyping & iteration in full effect.
Unlike the layered paper version, these require a great deal of fiddly handwork.
I hope the MDF will prevent the premature warping afflicting the chipboard-on-cork coasters. Perhaps shooting the assembled coasters with a clearcoat would help, although you do want coasters to be a bit absorbent, lest they stick to wet cups / mugs / glasses in humid weather.
Go to the source and bring back a suitable number of tiled einsteins:
Einstein tiling
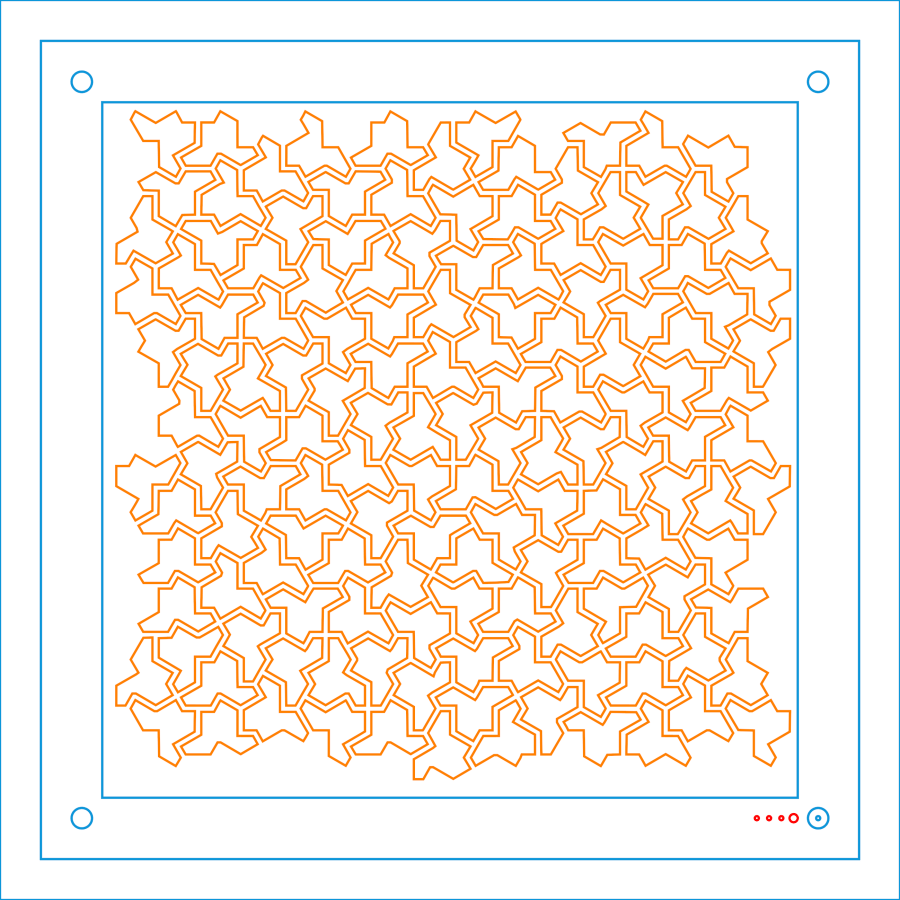
Import the bitmap into LightBurn, fiddle with the tracing until it lays down two lines along each border, apply a 1 mm inset to all the tiles, then scale & crop & delete to fit a 170 mm square:
Einsteins – LB paper – top layer
Cut one of those sheets, tape it to a sheet of white paper, fire up a calculator, generate a random number, write the first digit in the upper-left tile, and iterate to fill in all the tiles.
Duplicate that layout and delete all the tiles marked with a zero to get the next layer.
Iterate for all ten layers:
Einsteins – LB paper cuts
Set up the fixture, do the Print-and-Cut alignment, then cut all the layers with different colors:
Layered Paper cutting fixture – in use
Assemble the layers with some stick adhesive:
Layered Paper – Einsteins
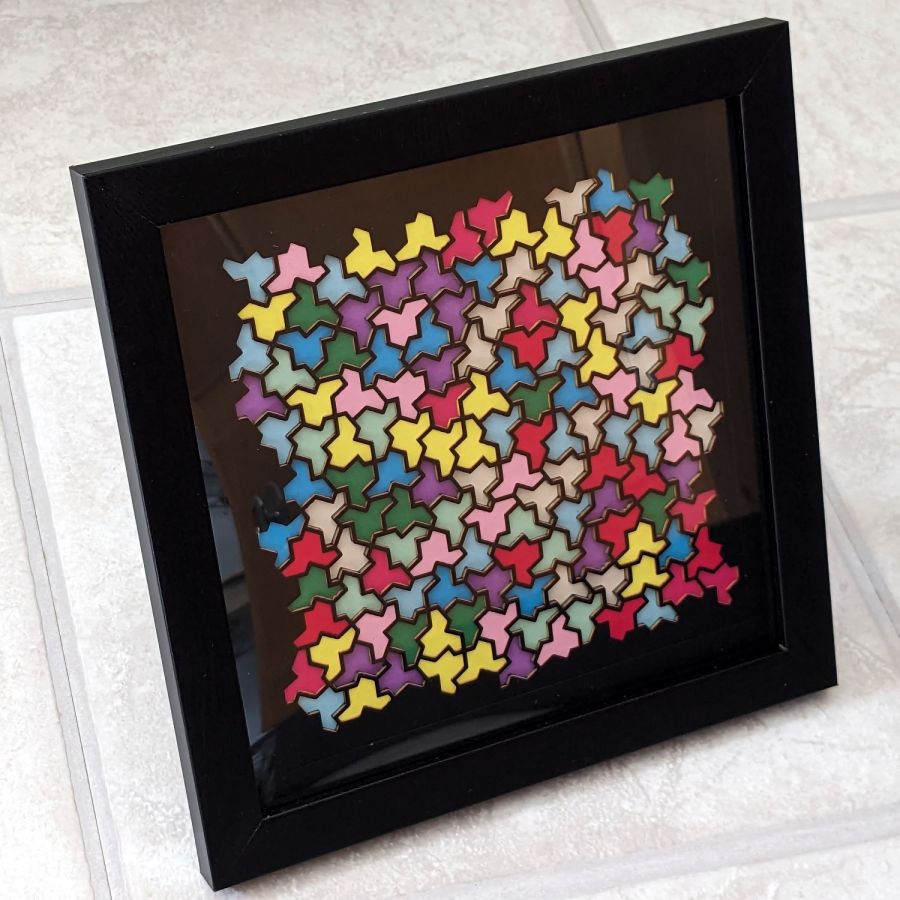
Frame it and admire:
Layered Paper – Einsteins
It’s way busier than the quilt blocks, but I like it.
The general idea: securely hold a piece of paper flat while cutting it, so that it cannot move or warp, while letting the cut pieces fall out without snagging on anything underneath. The sheet holder I made a while ago worked reasonably well, but those thin metal blades tend to warp while cutting small patterns in restricted areas and the pieces definitely don’t fall free.
The simple fixture I use while assembling the paper layers consists of four rivnuts poking through a chipboard upper layer, with a craft paper layer around the rivnut washers on the bottom:
Layered Paper – alignment fixture
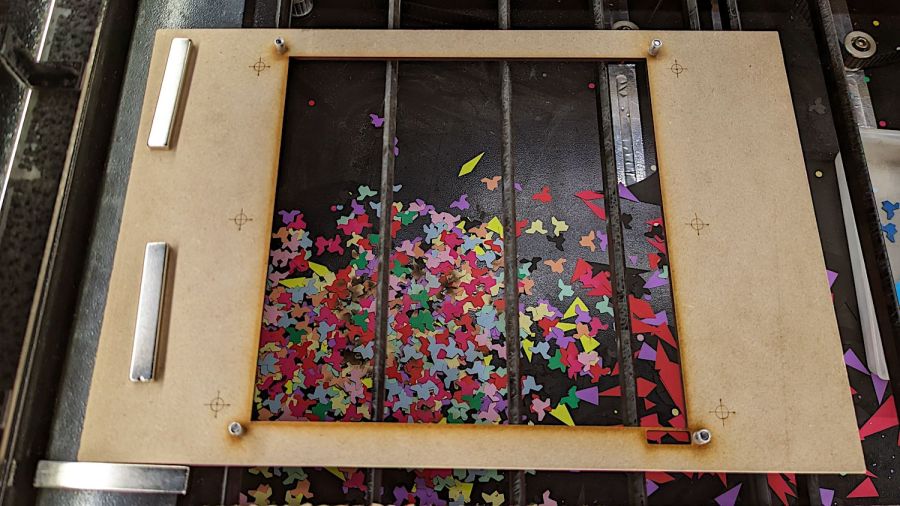
The cutting fixture uses a similar layout around a hole for freely falling chips:
Layered Paper cutting fixture – installed
Next time, I’ll remove those three bars across the hole, because the MDF doesn’t need any support. Nearly all the chips fell out, so the fixture worked as intended.
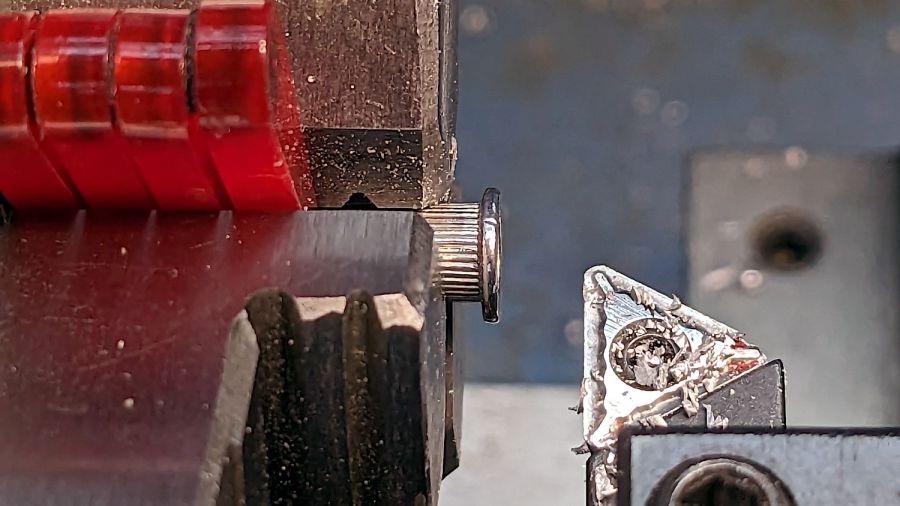
I trimmed the flange off the rivnuts so they would sit flat on the MDF:
Layered Paper cutting fixture – trimming rivnut flange
That’s the kind of job chuck stops really simplify.
The cutting fixture requires pre-cutting paper into 200 mm squares with four 5 mm corner holes, which can be done three-abreast on the platform bars, then putting each sheet in the fixture to cut the shapes. That’s not much of a disadvantage compared to messing up an unsupported sheet.
The cutting fixture has crosshair targets to align a LightBurn template using Print-and-Cut, thus eliminating the need to precisely locate the fixture on the platform. The finger-crushingly strong neodymium bar magnets do a fine job of holding the MDF in place on the steel platform.
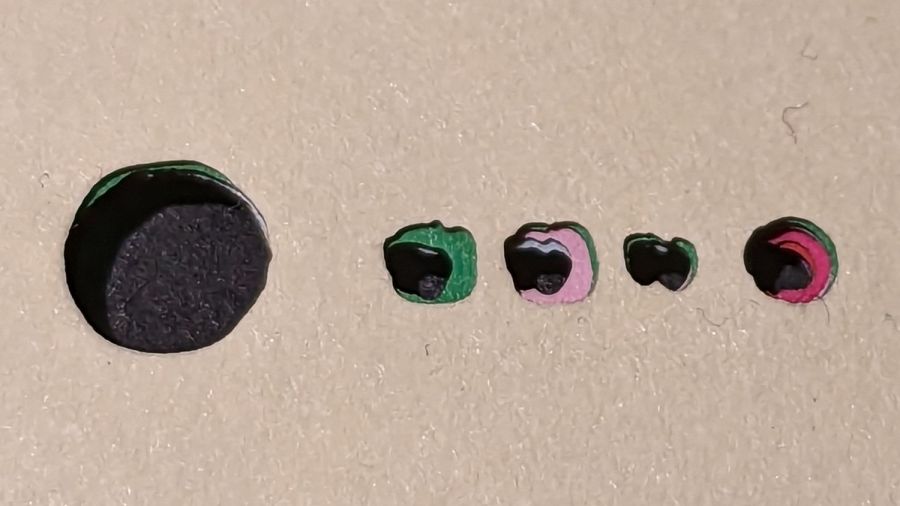
The small cutout rectangle in the lower right corner frames the sheet number, done in binary code with 0 = 1 mm circle and 1 = 2 mm circle:
Layered Paper cutting fixture – layer binary code
That’s the underside view of a completed stack with the 5 mm lower-right fixture hole on the left and the code for layer 11 = 0b1011 reading backwards. The small 0 holes have two lobes showing the Print-and-Cut alignment was off by maybe 0.3 mm; the off-center hole was in the blank sheet.
Obviously, cutting tiny circles with a big laser at 300 mm/s doesn’t produce perfect results. You can see small wiggles in larger shapes:
Layered Paper cutting fixture – cut wobbles
Unless you’re trying hard to find a problem, you’ll never notice them.
The Chimney Swallows block from page 128 of Beyer’s book:
Chimney Swallows – Beyer 128
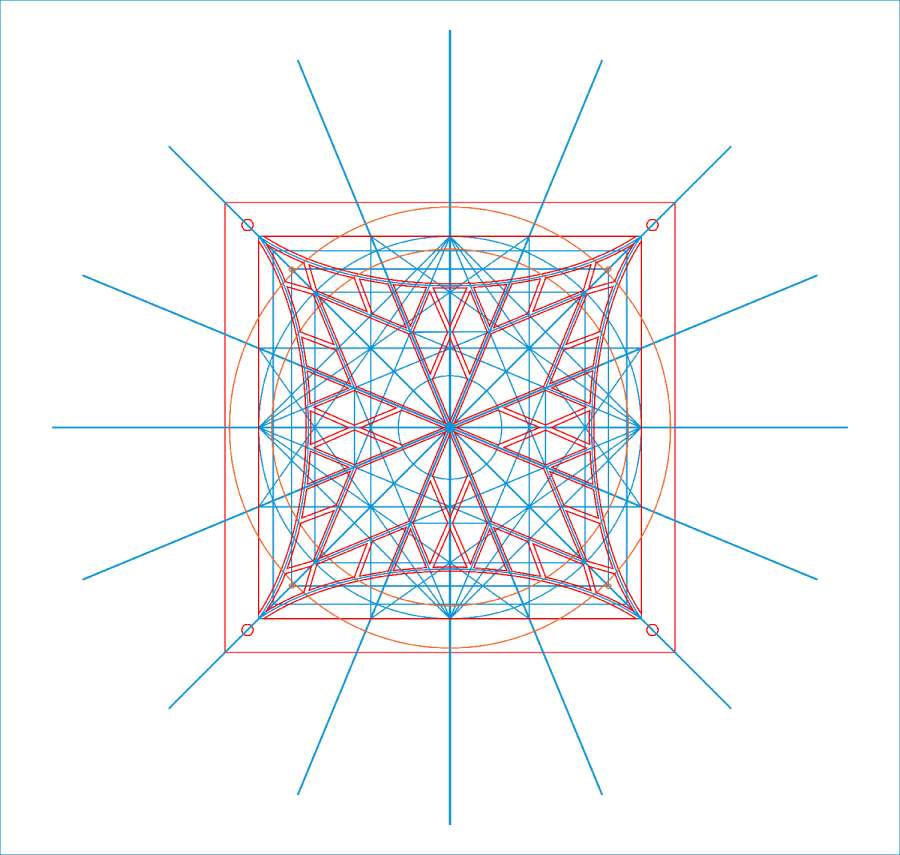
The tool (blue & orange) and top cut (red) layers:
Chimney Swallows – LB layout
The long radial blue tool lines simplified selecting them when mirroring / duplicating the cut polygons around their symmetries. The orange tool circles aligned various midpoints / vertices / features during construction.
The inward curve along the outer edge started as a triangle with a node at about the middle of the curve. Deleting that node left the remaining two sides overlapped, but dragging one of them to match the curve worked OK. There’s probably a better way.
That curve defines the outer edges of the shapes along it, so I drew polygons from the corner intersections and dragged the outer edge to match the curve at high zoom.
The shape remains selected after dragging the side, which meant I could immediately apply a 1 mm inset to create the cut lines.
To my surprise, the swallow bodies are straight-sided polygons!
After taking advantage of all the symmetries, knock out the shapes defining each layer:
It looks more like flowers than fireworks to me, but there’s no accounting for taste.
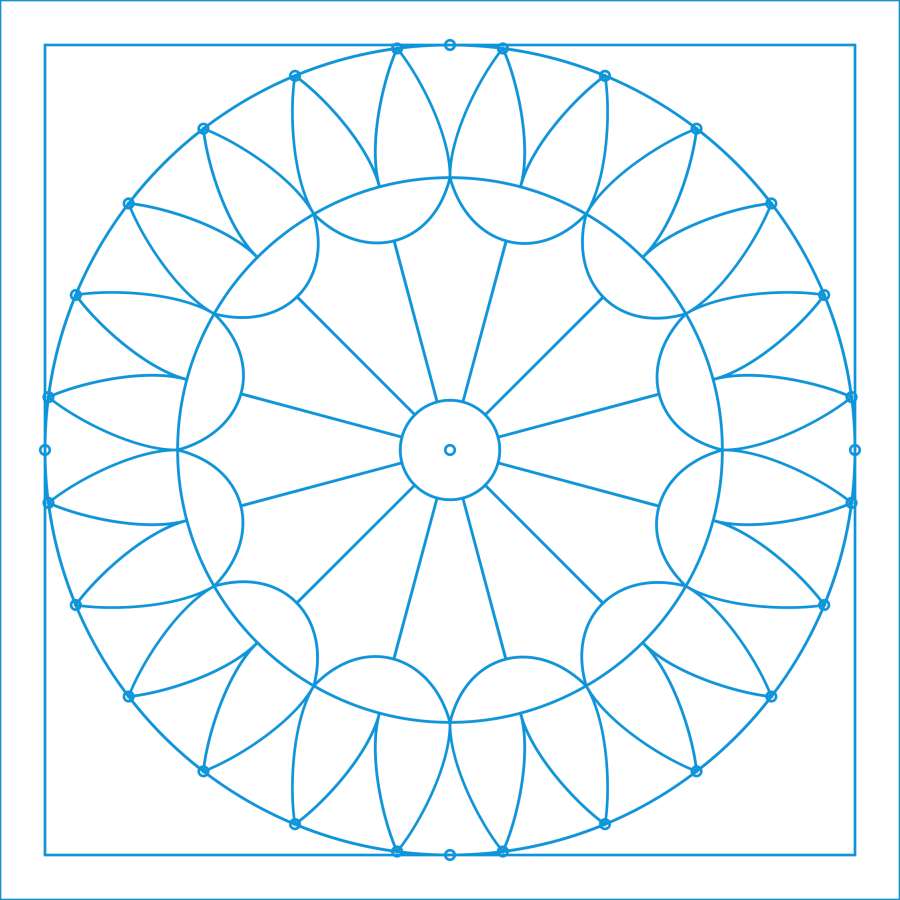
Deploy enough 2 mm circles to catch the flower’s radial symmetry:
Pyrotechnics – LB layout
During the process of building the layout, a big circle positioned the cups at the base of the flowers, another delineated the joint between the cups and the petals, and more little circles caught the intersection of those circles with the petals. All that was for visualization and positioning, as you only draw one flower shape, then duplicate it around the pattern.
Although the cups and petals are surely circular arcs, it’s easier to draw a closed line triangle around the intersections, then pull the midpoint of a line into an arc (Bezier curve!) matching the pattern Closely Enough™ at high zoom. Because the arcs end at the intersection points based on circular arrays of points, they’ll all match up when they’re duplicated around the pattern; in fact, you need only one side of one petal, mirror it around the midline, and away you go.
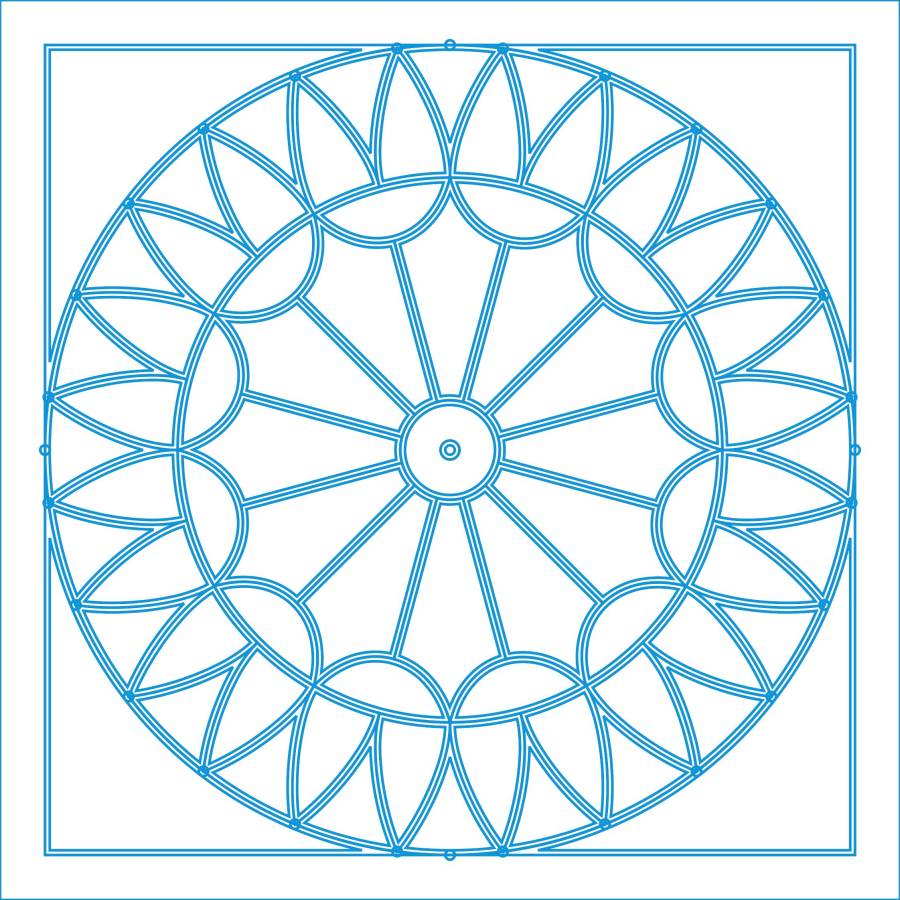
Then the magic happens:
Pyrotechnics – LB tool insets
Which is easier to see without the original shapes:
Pyrotechnics – LB insets
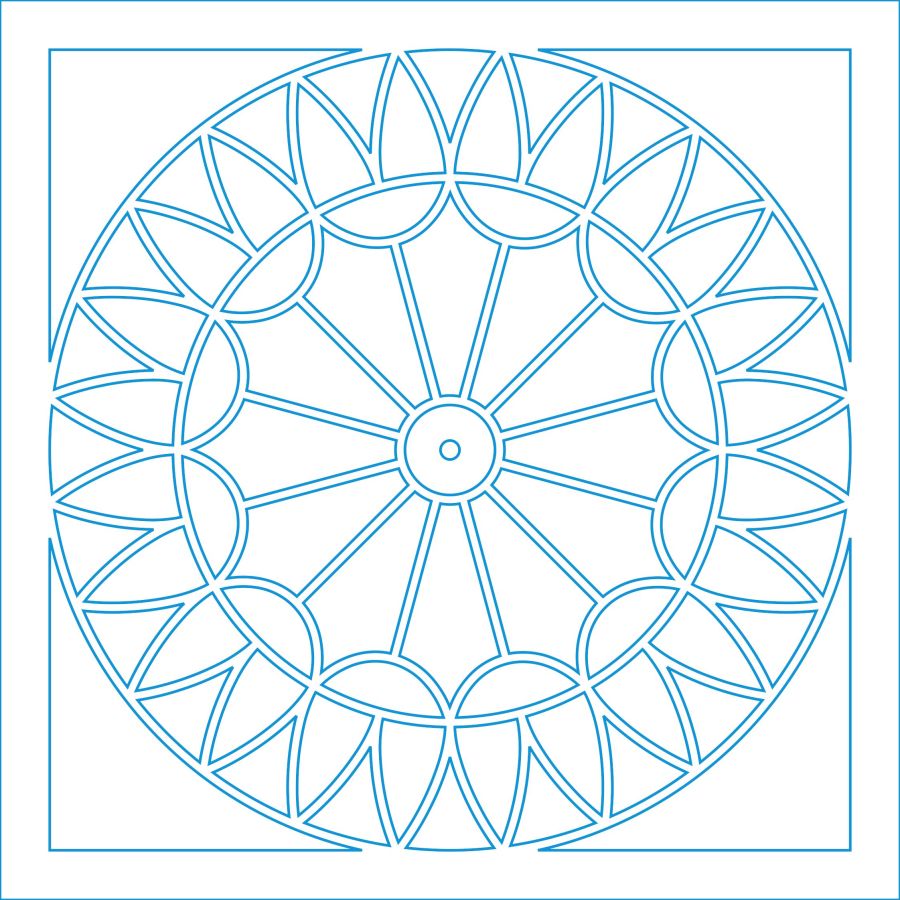
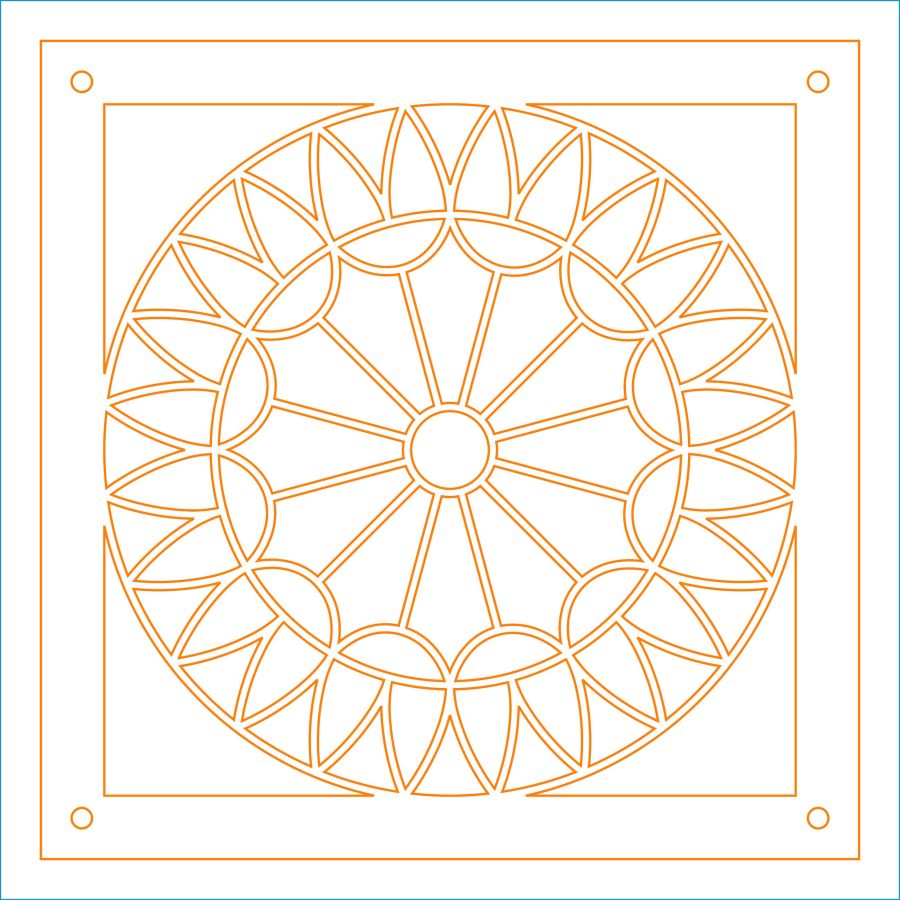
Pick one of the closed shapes, apply the Offset tool to shrink it by 1 mm, duplicate as needed, and you get the outlines of the regions to cut with 2 mm between them. Plunk those shapes on a cutting layer, add the outer frame with locating holes for the fixture, and it’s ready to cut the top layer from black paper:
Pyrotechnics – LB cuts
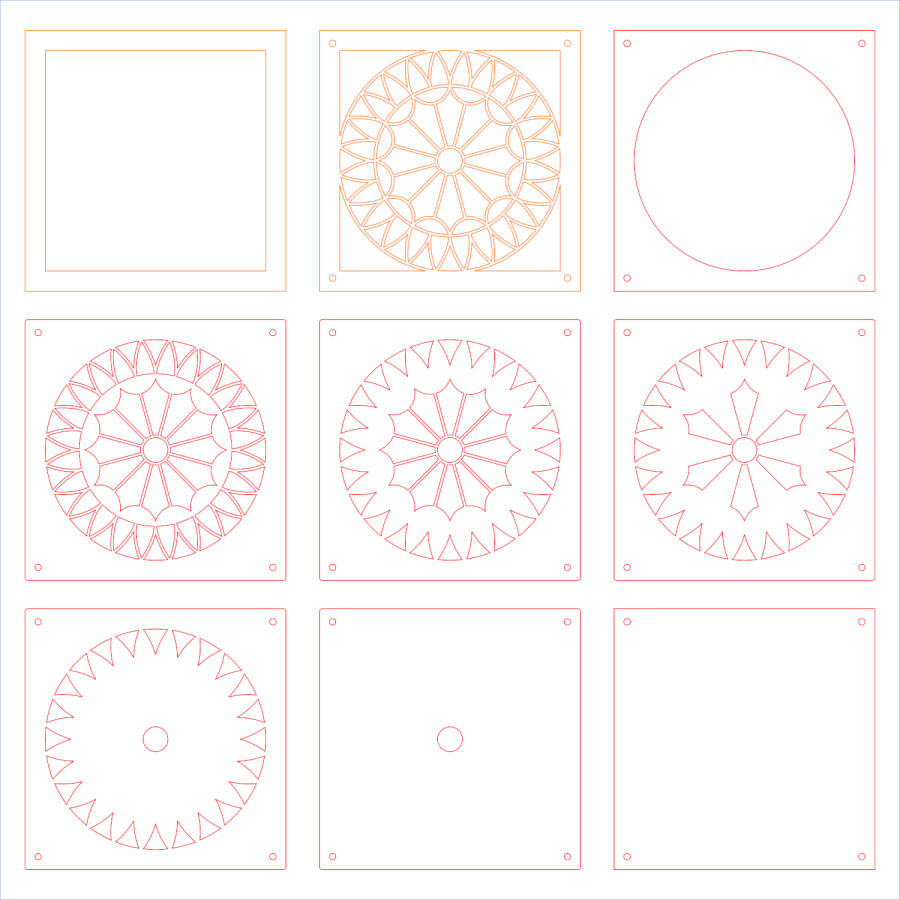
Knock out the cuts for each sheet of paper in the stack:
Pyrotechnics – LB paper cuts
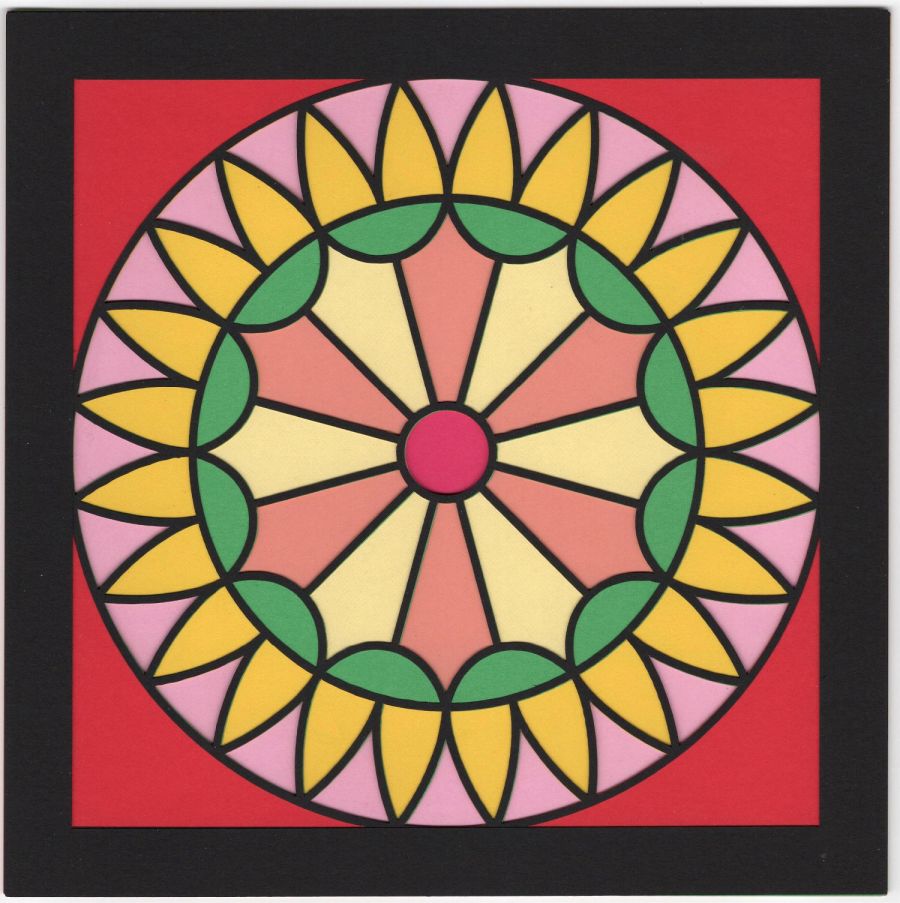
Then Fire The Laser™:
Layered Paper – Pyrotechnics – Beyer 132
That was a nearly random selection of colors, but it’s hard to go wrong.
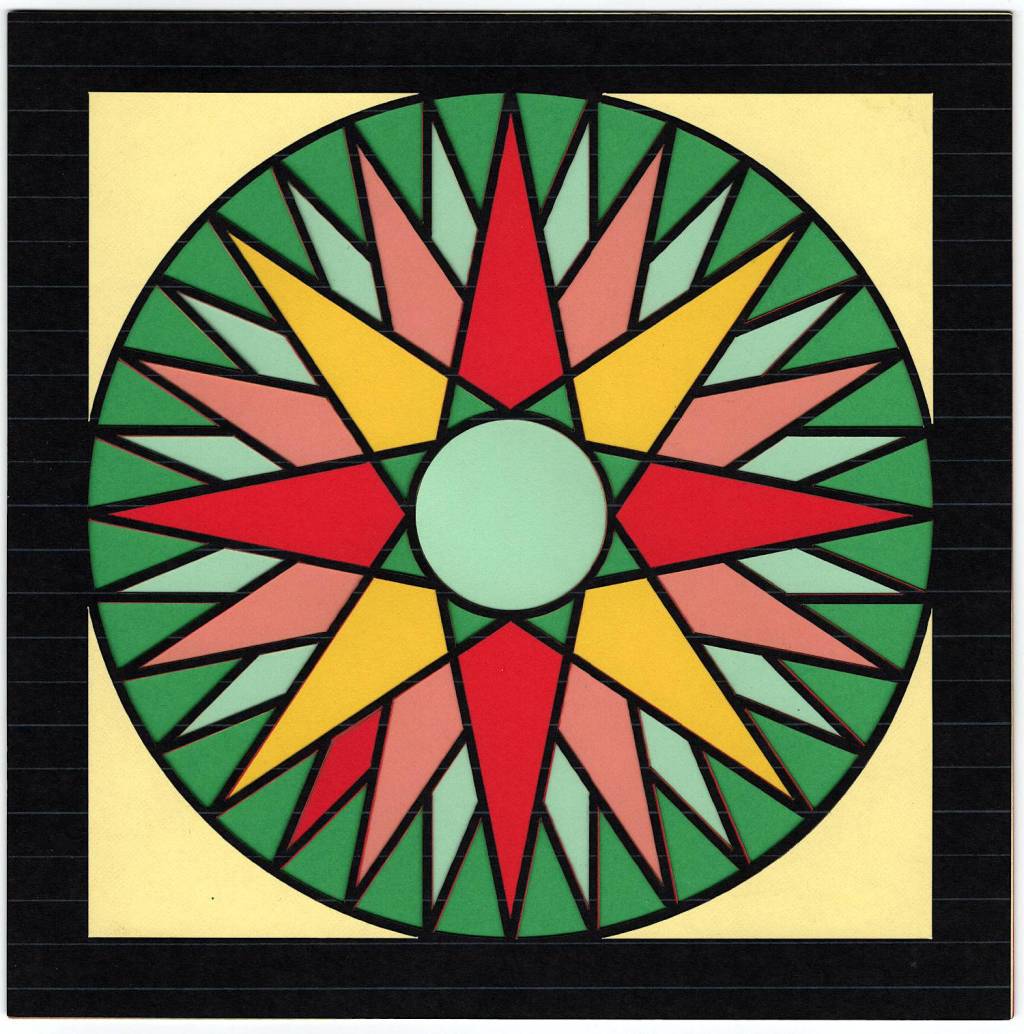
This seemed like an appropriate use for the stack (well, several stacks) of colored paper I’ve accumulated over the years.
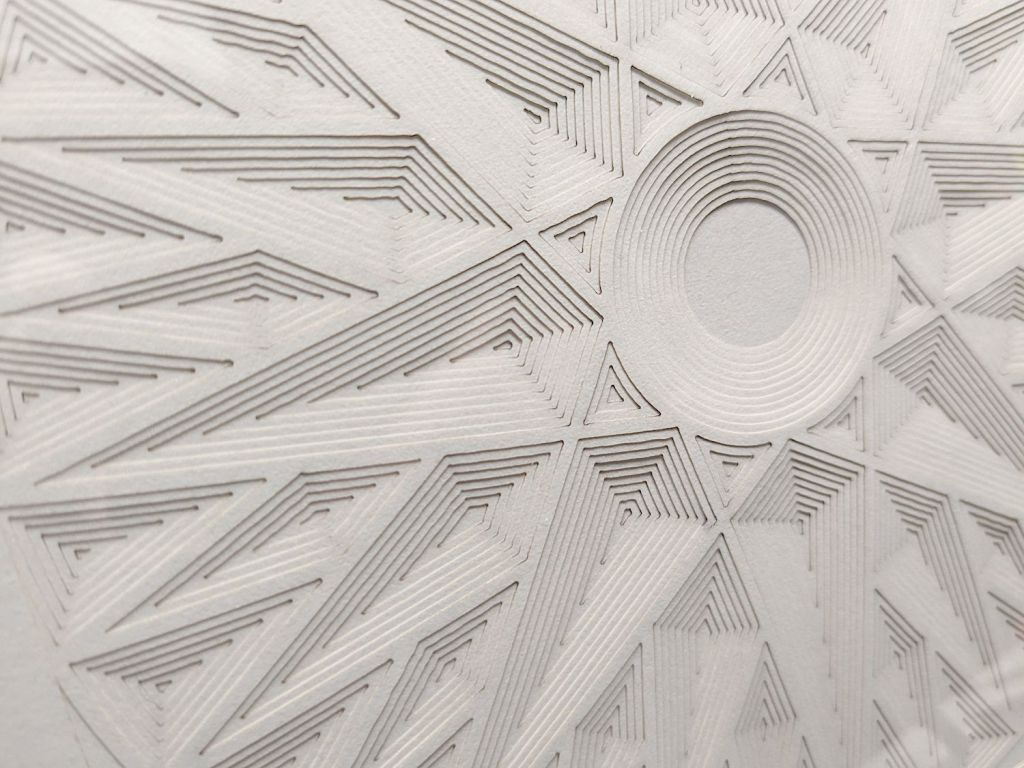
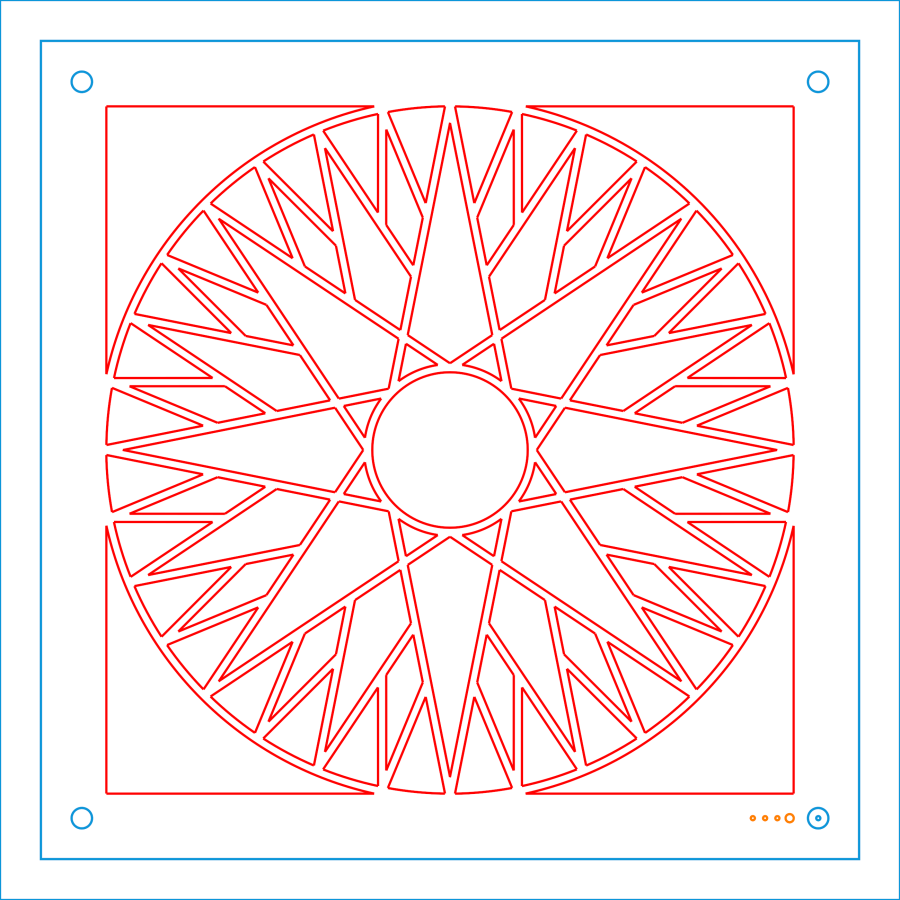
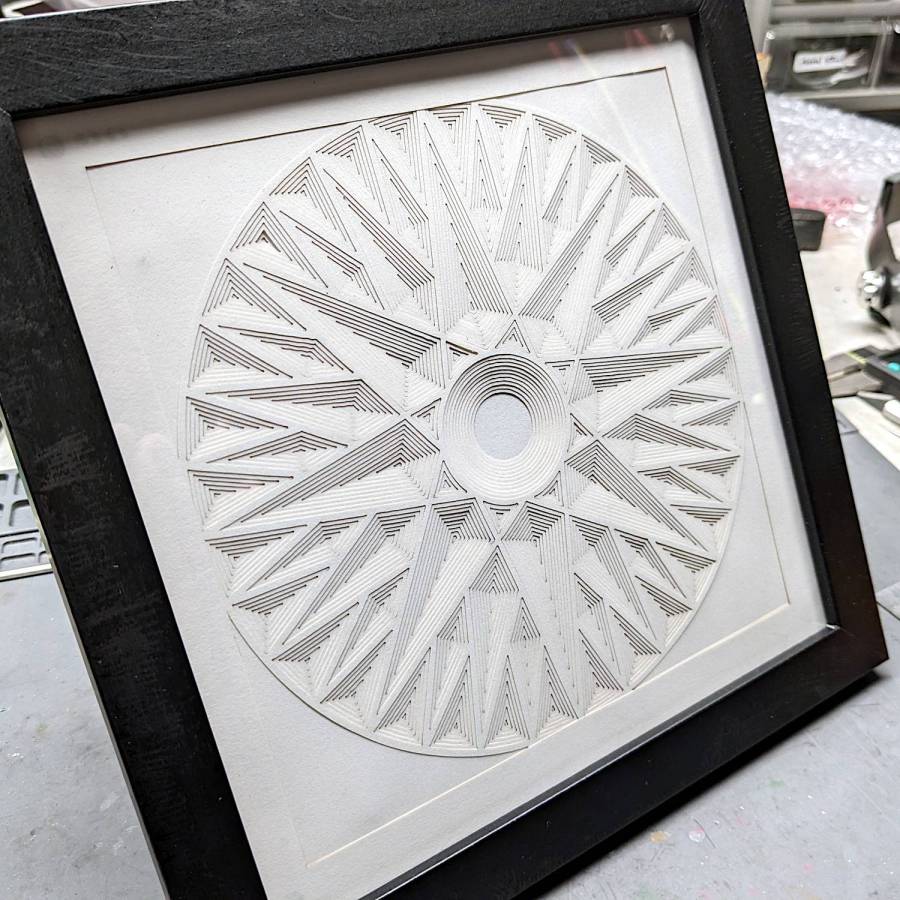
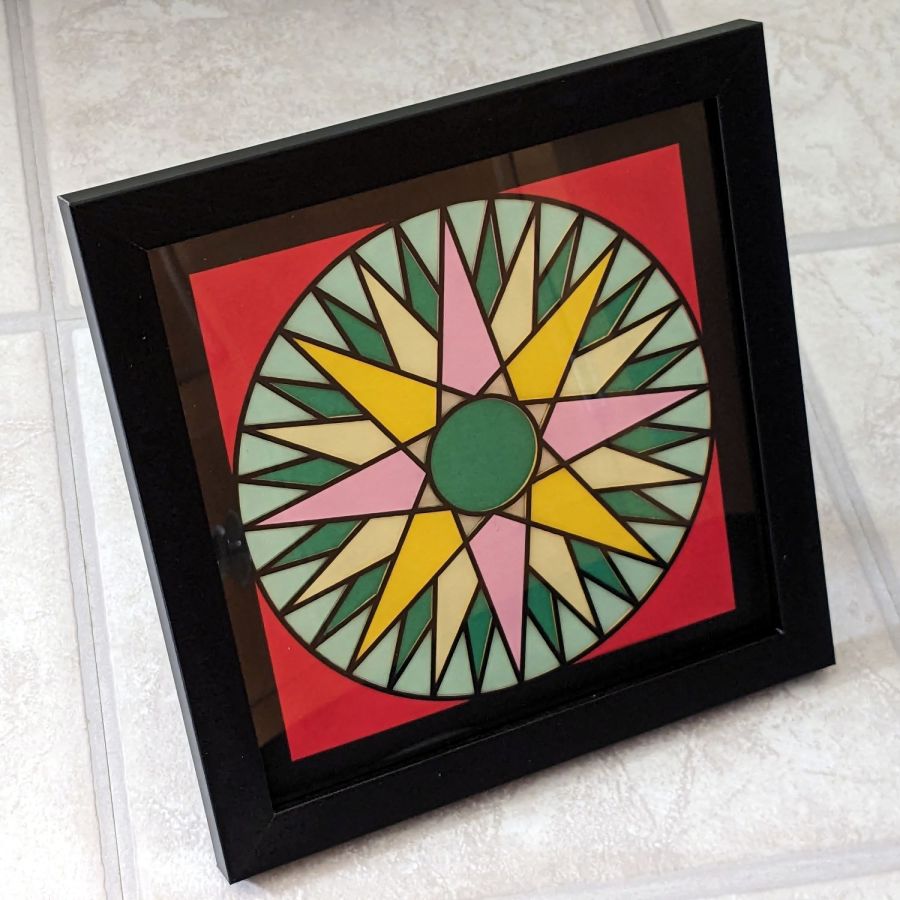
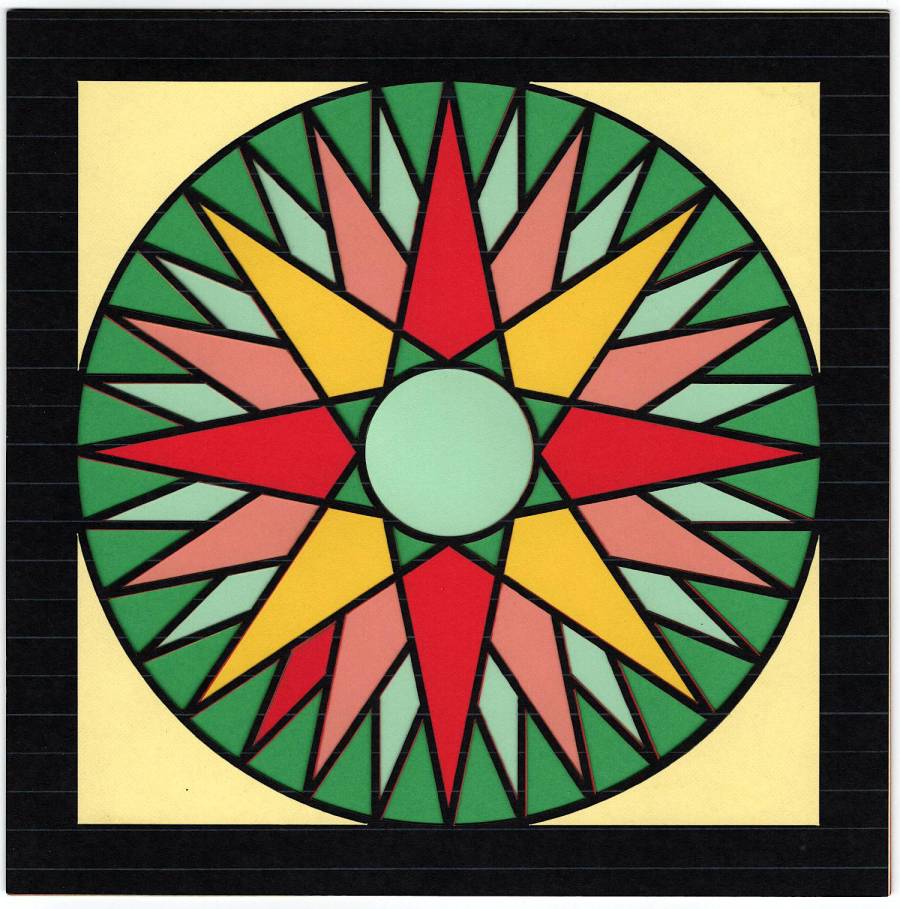
The illustration in the book is apparently a photograph of a quilt block Beyer put together, so I had to reverse-engineer the Platonic Ideal Block from the image:
Mariners Compass – minimal shapes – LB layout
Fortunately, after a bit of fiddling around, I could take advantage of the radial symmetry to duplicate most of the fundamental shapes, so producing the layout really wasn’t all that difficult:
Mariners Compass – LB layout
The blue tooling lines (upper left) run along the centers of what would be seams in a fabric block, with 2 mm circles defining the endpoints for ease in snapping the lines.
This being the first block I attempted, I did it all wrong. LightBurn can form the convex hull over a group of shapes, so I just selected pairs of circles, created the hull, and iterated for the minimal shapes required to generate the whole design. That produces the basic layout, but what you really want is the collection of shapes between those hulls that define the actual cutouts, which appears in the lower left image.
Don’t do it that way, as explained tomorrow with a different block.
With all the shapes in hand, you duplicate them for all the paper layers you need, removing the shapes corresponding to the color of each sheet. Sheets lower in the stack have fewer cutouts, with the pattern in the lower right being second from the bottom.
The four holes in the corners fit over rivnuts in a fixture aligning the sheets in a tidy stack:
Layered Paper – alignment fixture
Yes, that’s a blooper sheet.
All in all, it’s easier than I expected to get nice results.