Ed Nisley's Blog: Shop notes, electronics, firmware, machinery, 3D printing, laser cuttery, and curiosities. Contents: 100% human thinking, 0% AI slop.
Tag: Improvements
Making the world a better place, one piece at a time
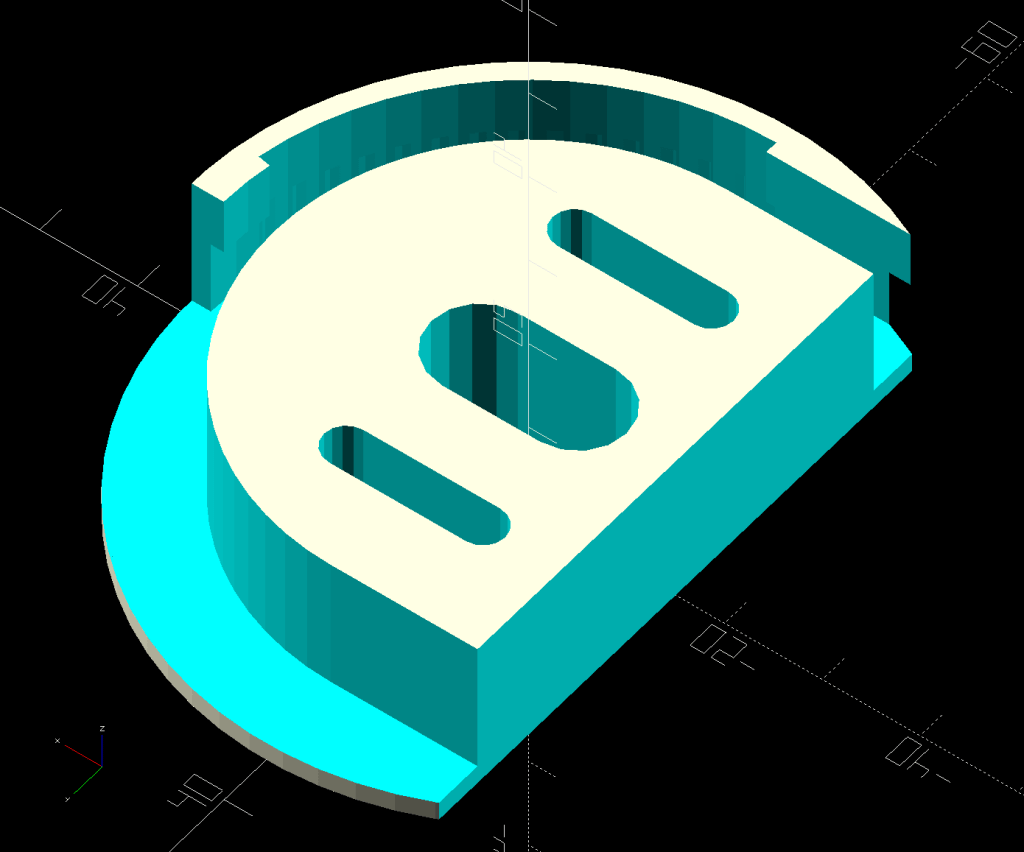
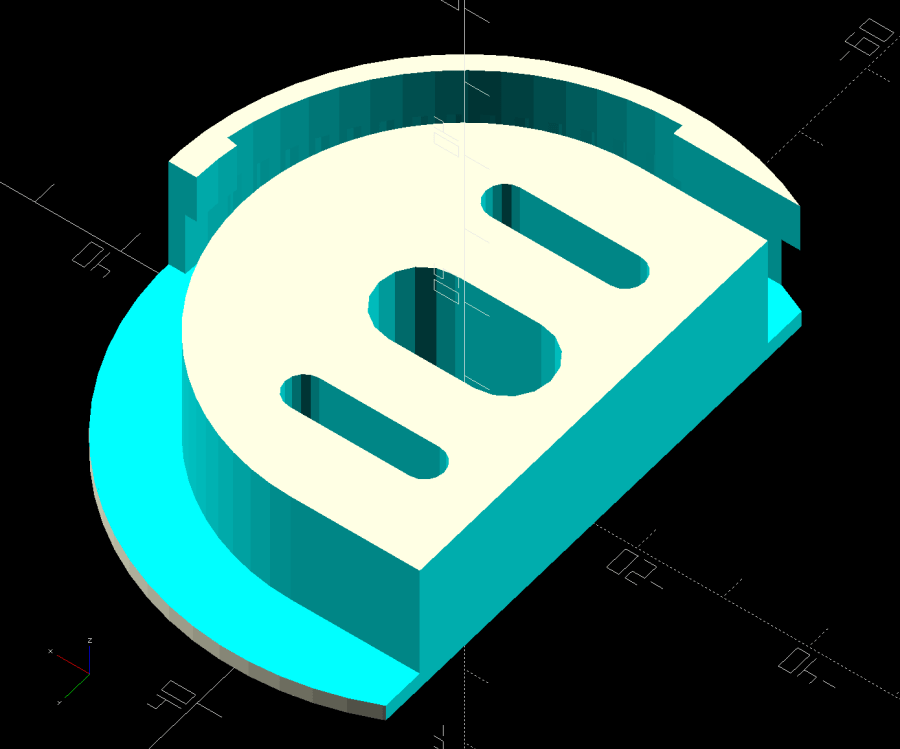
A small tweak to the venerable spoon drainer adds a configurable cutout adapting it to a slightly different dish drainer rack:
Measuring Spoon Drainer – solid model
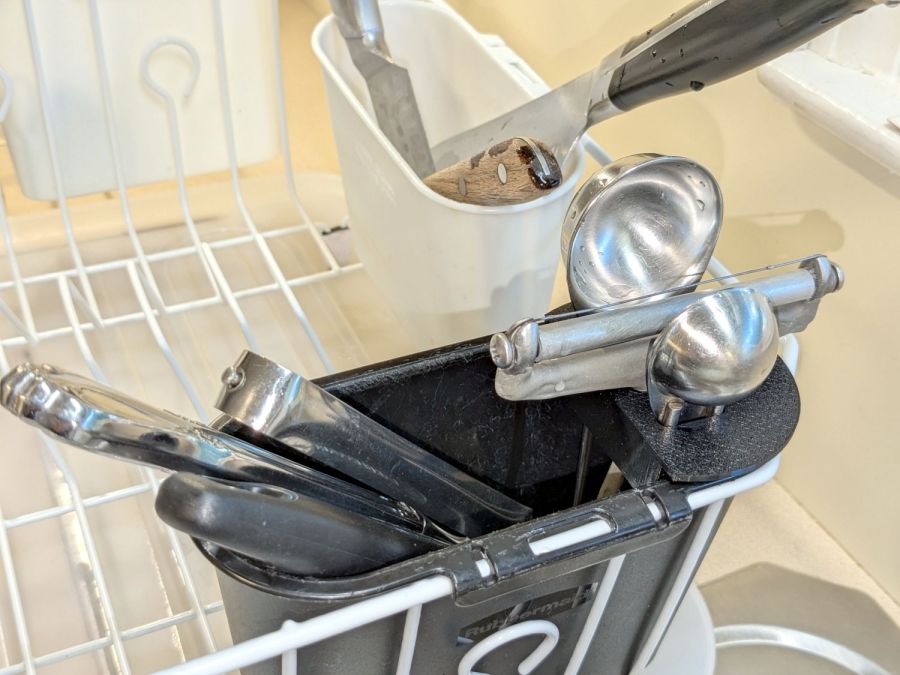
Which lets it snuggle into the corner:
Measuring spoon drainer – installed
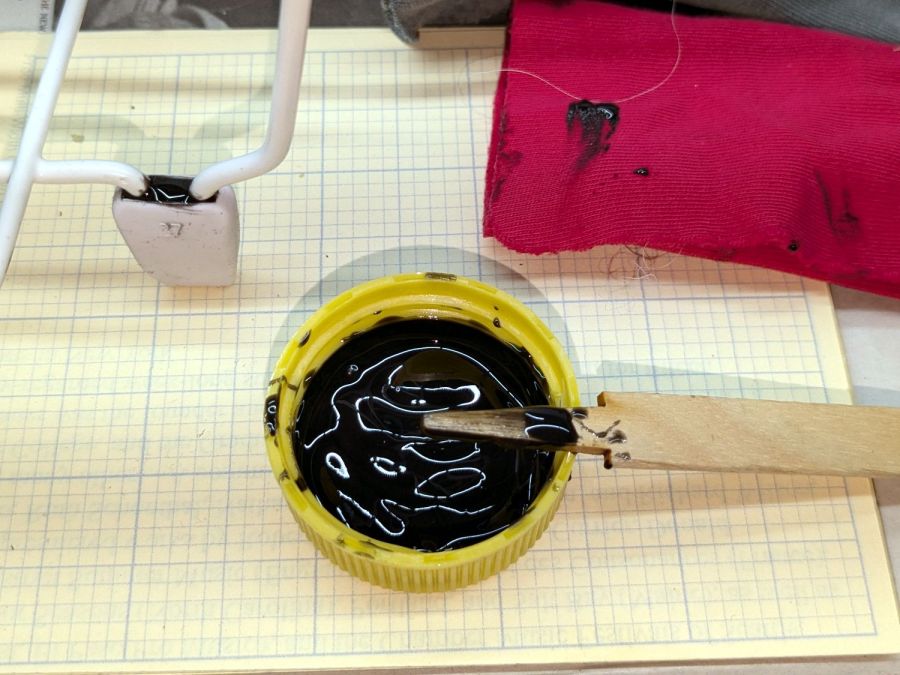
Both the old and new racks had coated steel loops stuck into rubberoid feet perfectly suited to collect water and eventually rust the loops. Given a new rack, I figured potting the feet in JB PlasticBonder urethane adhesive would help forestall the rust:
Rubbermaid dish drainer – foot potting
I wish it were white, rather than black, but the only other color choice is tan and I can’t wish nearly that hard.
So I loaded up the same STL in Prusaslicer and made three more:
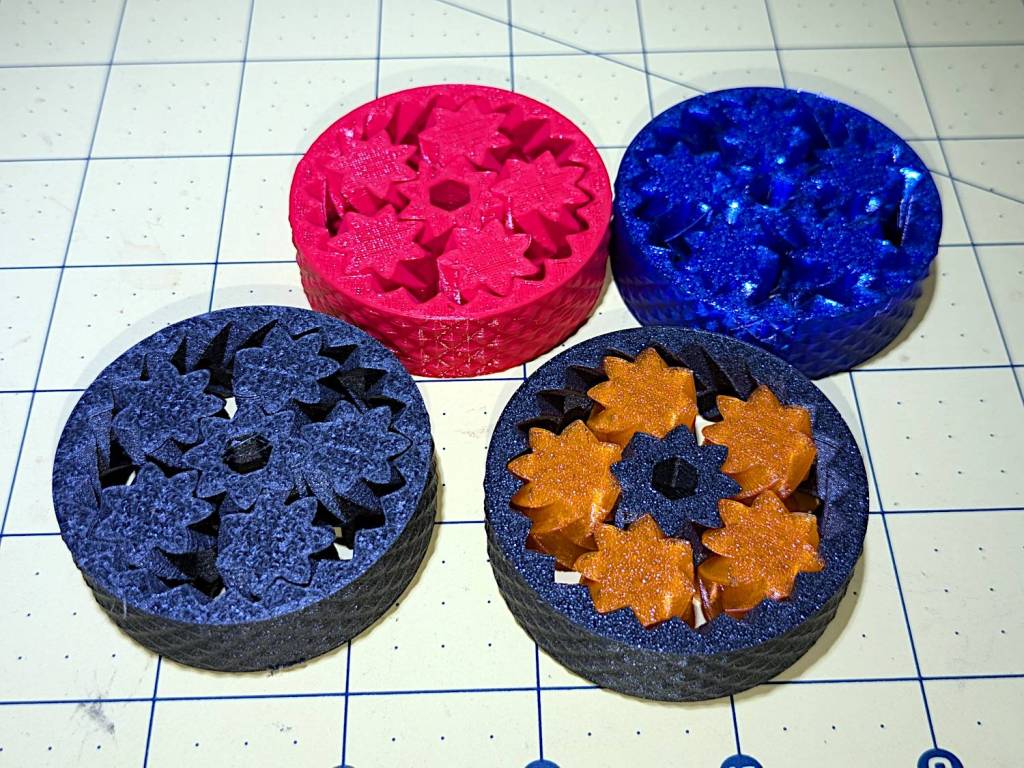
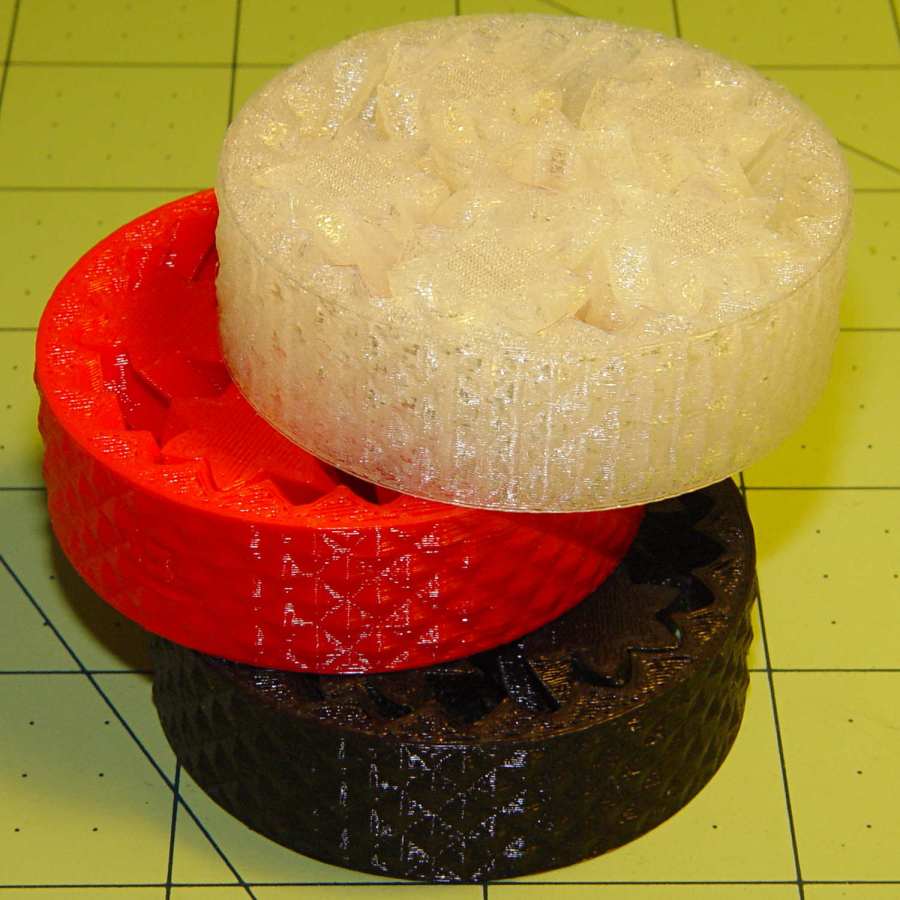
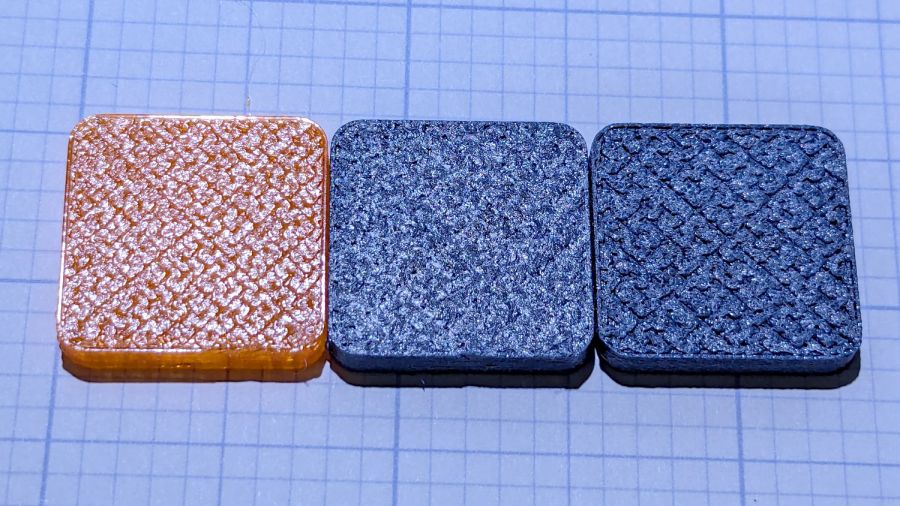
Planetary Gear Bearing – M2 vs MK4
Both pictures show the same red bearing, done in PLA on the Makergear M2. The other bearings are PETG and PETG-CF on the Prusa MK4 + MMU3.
The blue bearing has about 5 mm of axial play, a bit more than the red.
The gray bearing is PETG-CF and has maybe 1 mm of axial play, which agrees with my original observation that an Extrusion Multiplier of 1.0 results in slightly overstuffed carbon fiber parts. It’s not much and, frankly, produces a better fit in this case, but it’s different than pure PETG. Which should come as no surprise, of course, given that it’s 15% carbon.
The gray-and-orange bearing looks spectacular in person and has about 3 mm of axial play, roughly the same as the red bearing, which you’d expect from overstuffed PETG-CF and pure PETG.
The single-color bearings print in about 1.5 hours and the two-color one weighed in over four hours. Multi-material objects are do-able, but you gotta want the results.
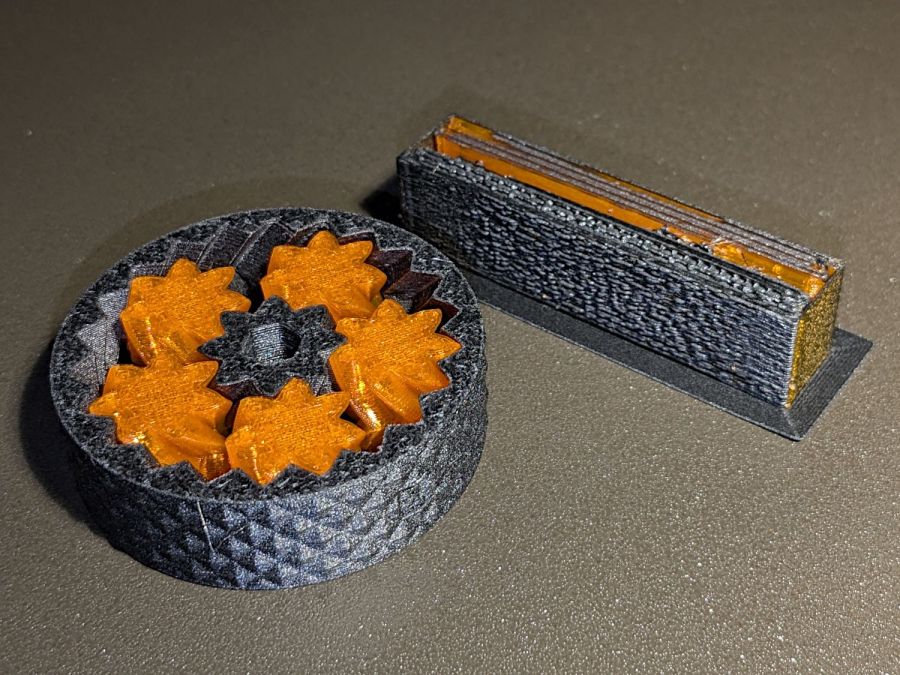
I told Prusaslicer to wipe the orange filament into the gray infill during color changes (per the Wipe Tower doc), but those two gray parts have so little infill as to make no difference:
Planetary Gear Bearing – PETG PETG-CF with wipe tower
The wipe tower in that posed photo has a nubbly texture because the filament just gets squirted without regard to anything other than maintaining the basic tower shape.
Seeing things appear on the platform never gets old!
The fixture in the lower left is just an MDF square with a 15 mm post of more MDF glued in the middle to align the pieces. The white disk is the adhesive sheet, cut to 119 mm OD to leave half a millimeter clear around the outer edge, thus avoiding embarrassing stickiness.
Peel one side of the adhesive sheet and drop it over the post sticky side up:
Double-faced DVD coaster – adhesive sheet ready
Drop one of the DVDs over it, label side down:
Double-faced DVD coaster – first disc on adhesive
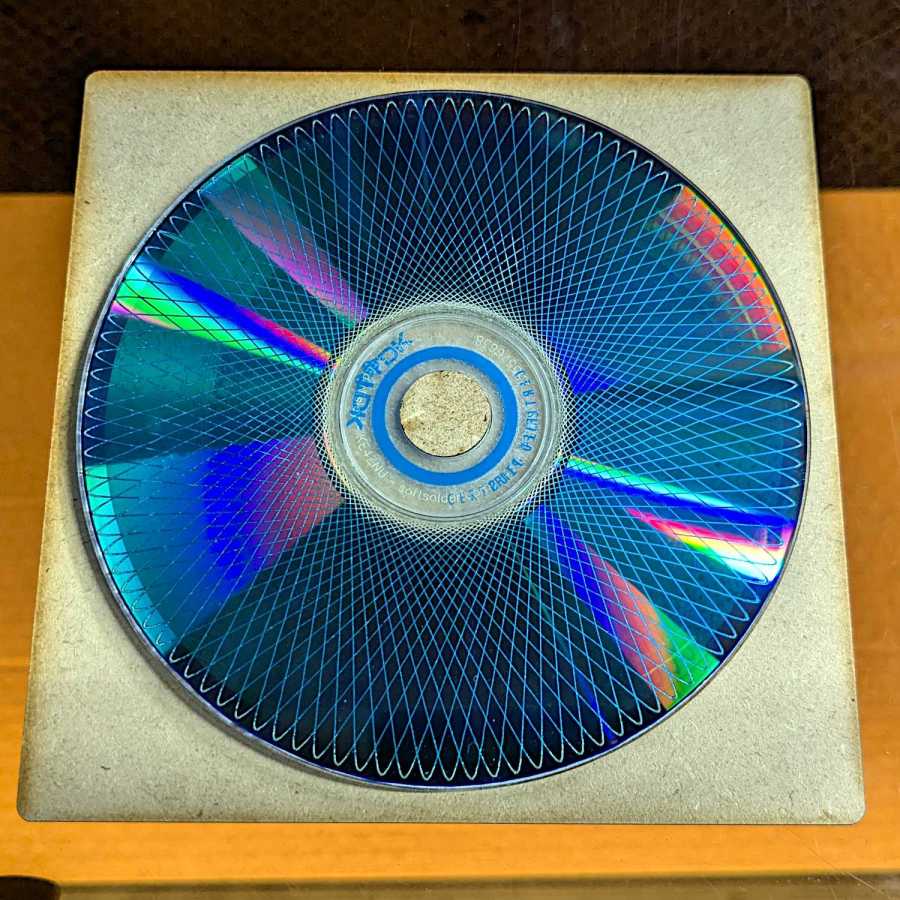
Lift it off, peel the other side of the adhesive sheet, put it over the post sticky side up, and drop the other DVD on top:
Double-faced DVD coaster – finished
The data side of the discs has a 0.3 mm raised rim just inside the track zone, so they don’t sit exactly flat on the table and expect a slightly concave lower surface on the mug / glass / cup. Neither of those seem like dealbreakers thus far, although I’m sure somebody will object.
A ring or two of general-purpose glue, along the lines of E6000 urethane, would be significantly less fussy than cutting adhesive sheets.
Flushed with success after building a Keychain Pill Tube with orange PETG, I tried dark gray carbon-fiber PETG with the same settings:
Pill Tube – first PETG-CF
In real life, it’s a much darker gray.
It’s not only furry, it’s overstuffed: the threads didn’t engage at all.
Running a few single-thread calibration squares suggested an Extrusion Multiplier around 0.6 would produce the proper thread width. Making it so and trying again worked perfectly:
Pill tube – PETG-CF adjustments
Not only did the cap screw on easily enough, the exterior finish improved and most of the stringing went away.
However, the Mighty Dragorn of Kismet (who nerd-sniped me into getting the MK4 in the first place) observed that he’d been running PETG-CF with stock PETG settings and getting good dimensional results without further tuning.
After a few more gyrations, I did what I should have done first:
Eryone PETG-CF Temperature Tower
The label on the spool suggests a 230 °C to 250 °C extrusion temperature and 235 °C seems like the sweet spot between overly stringy and terrible bridging, although I’d never expect PETG to cross that kind of gap without some support. The 35° overhangs on the left look surprisingly good at any temperature.
With that set up, running solid calibration squares showed Dragorn was right: 1.0 EM works the way you’d expect and 0.65 EM produces under-filled surfaces:
MK4 Eryone PETG-CF 1.0 0.65 EM – top
The hand-knitted surface is more visible at a more oblique angle:
MK4 Eryone PETG-CF 1.0 0.65 EM – edge
The 0.2 mm layers look about the same on both squares.
Comparing plain PETG at 1.0 EM with those:
MK4 eSun PETG 1.0 EM – Eryone PETG-CF 1.0 0.65 EM
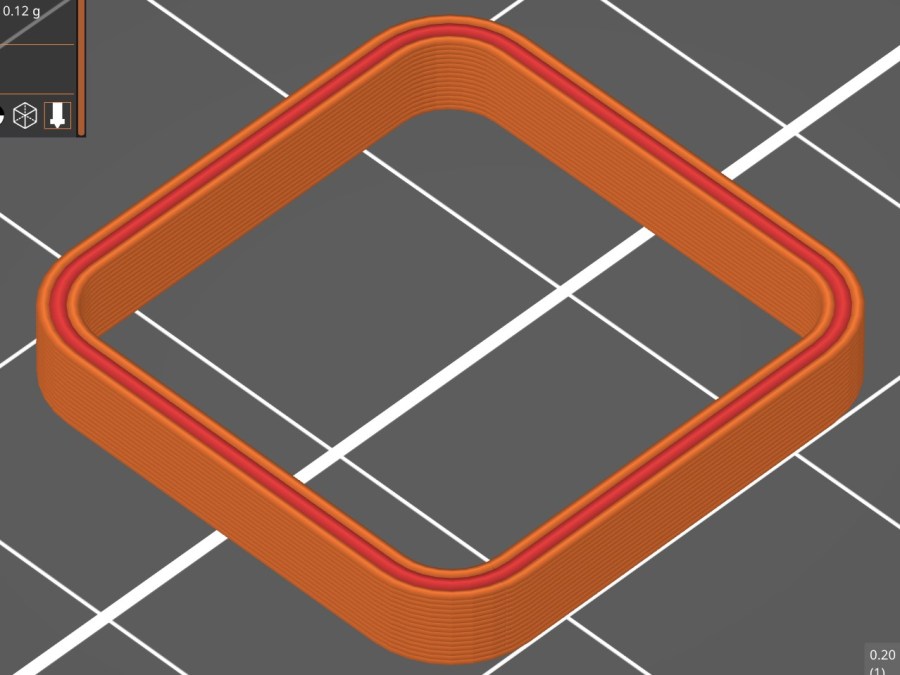
Set up a square with walls three threads thick:
Thinwall box – 3x 0.45 mm – slicer preview
With PrusaSlicer set to produce 0.45 mm thread widths, the walls should measure exactly 1.35 mm = 3×0.45 mm thick:
PETG = 1.30 mm (1.29 to 1.30)
PETG-CF = 1.40 mm (1.37 to 1.40)
While I think you could tweak the EM for both materials, it’s unlikely to make any practical difference on typical objects.
So it looks like a slightly lower temperature with 1.0 EM will produce good outside dimensions for the carbon fiber filaments, while models with precise thin sections will require careful tuning.
The process of transferring domain ownership from Network Solutions to WordPress may take five to seven days, for reasons I do not profess to understand, and may interrupt regular service.
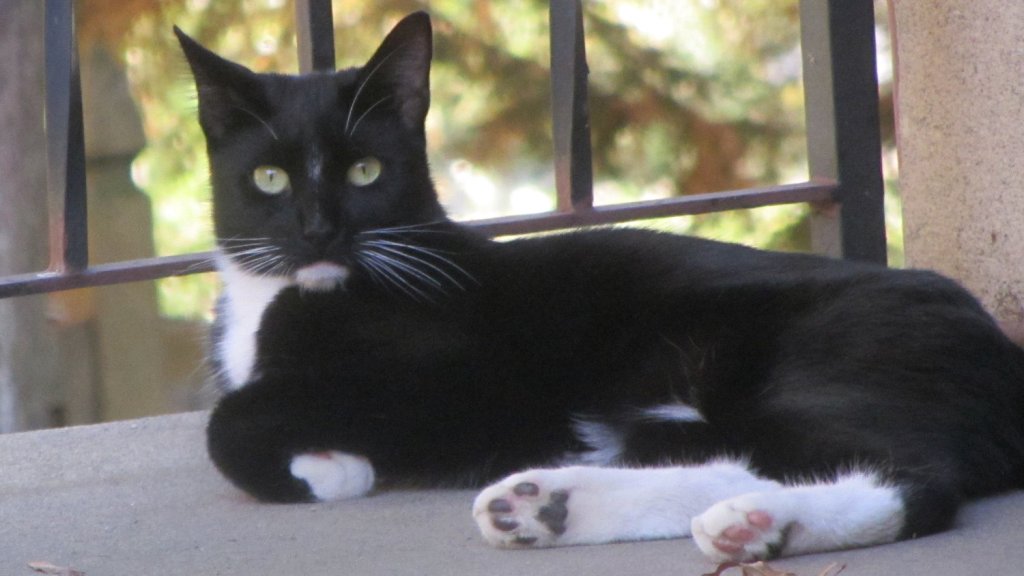
Until that settles out, here’s a cat picture to tide you over:
Cat on patio
I suppose if you can’t see the cat or read this post, things have really fallen off the rails.
To give you an idea of why I’m doing this:
Your request has been submitted. You will receive the authorization code in email within 3 days. If you have any questions, please chat with us
Although the drilled sunflower seeds worked reasonably well, various critters gnawed through the threads and escaped unharmed with the seeds. We tried gluing seeds to the trigger with good old Elmer’s Non-Toxic School Glue, only to find garden ants absolutely love the stuff.
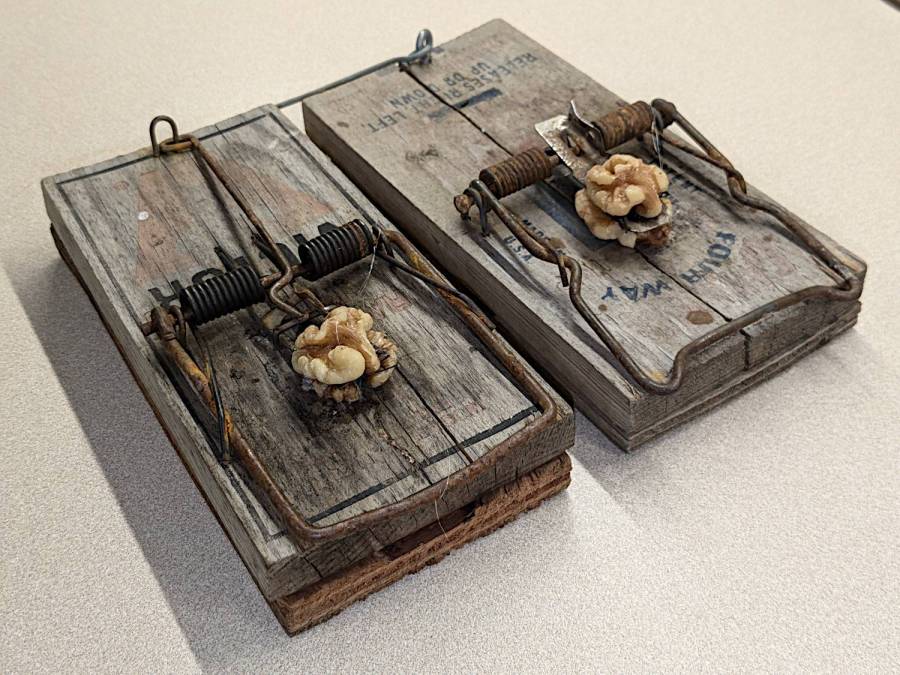
Well, if voles like seeds, they’ll surely like nuts:
Rat traps – walnut halves
Those are rat traps (much bigger than mouse traps) with walnut halves secured to the top and bottom of the trigger with hot melt glue.
Yes, the plywood plates under the traps hold them together. There’s no reason to put fancy new traps outdoors where they succumb to weather in short order; these are veterans from previous episodes.
Having taken out two voles with sunflower seeds over the course of a week, the walnuts accounted for two more voles in three days. Mary thinks a neighbor vole needs a day to notice its buddy has gone missing, so the average pace may be a vole every other day.
Bonus: Gnawing on the nuts or trying to pull them away triggers the trap, so those walnuts are still out there.
The community gardens have enough voles to attract Red Tailed Hawks, which have started perching on fence posts and stooping on voles foolish enough to run along the paths or into grassy areas. Some gardeners seem disconcerted by the presence of such large birds in close proximity, but Mary assures them they’re helpers.
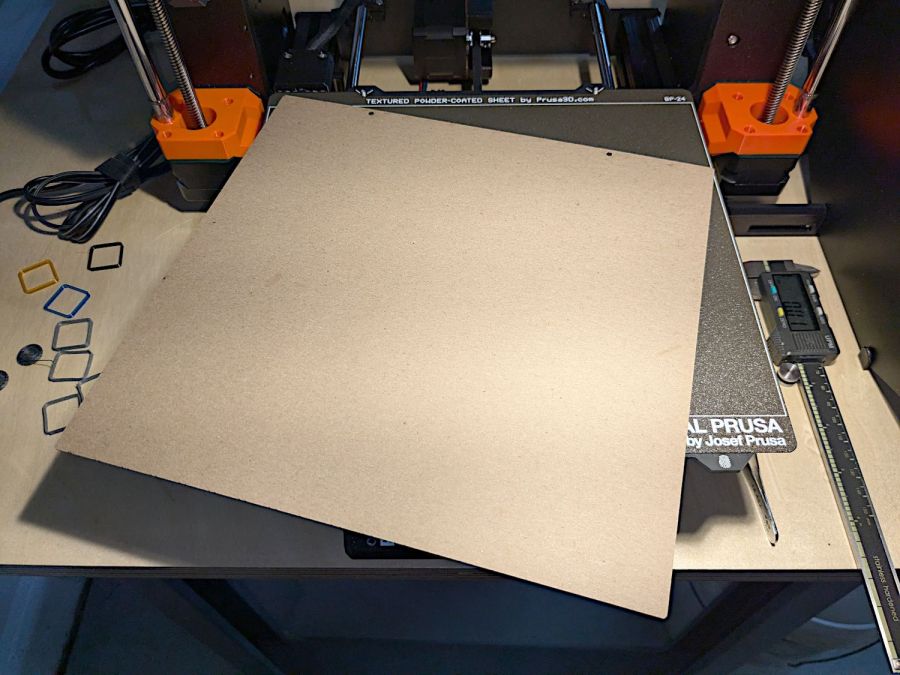
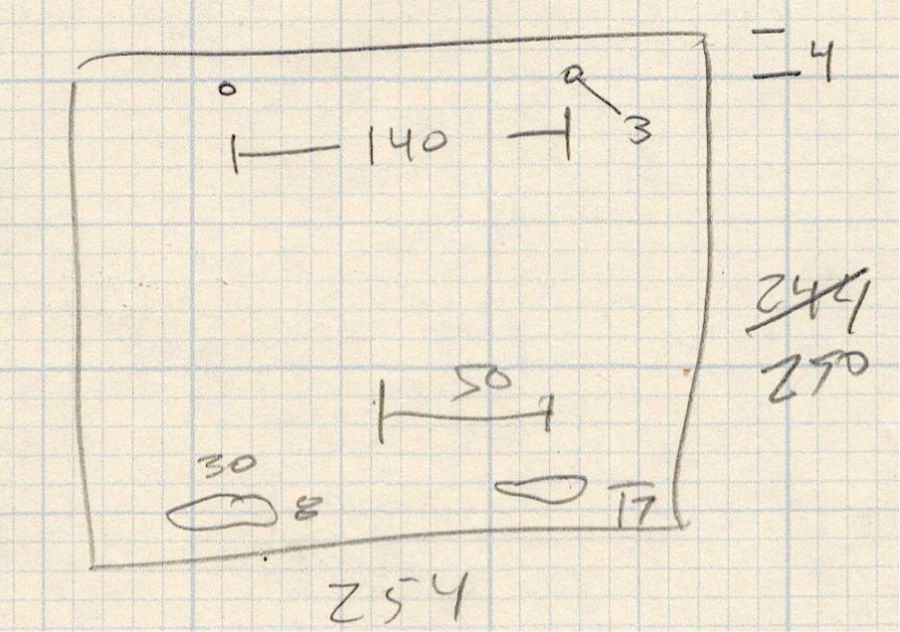
Yes, it’s laser cut, which trivialized the two little holes for the locating screws in the back.
Given the dimensions, it should take you five minutes, tops, to cut your own from some chipboard:
Prusa MK4 Platform protector sheet doodles
The blobs along the front edge mark the magnets where you could add a bit of steel to snap the protector in place, if you’re inclined to remove the plate. I just let it sit there, which seems entirely sufficient.
Long ago I made a similar corrugated cardboard sheet for the M2 that is still covering its glass platform today.