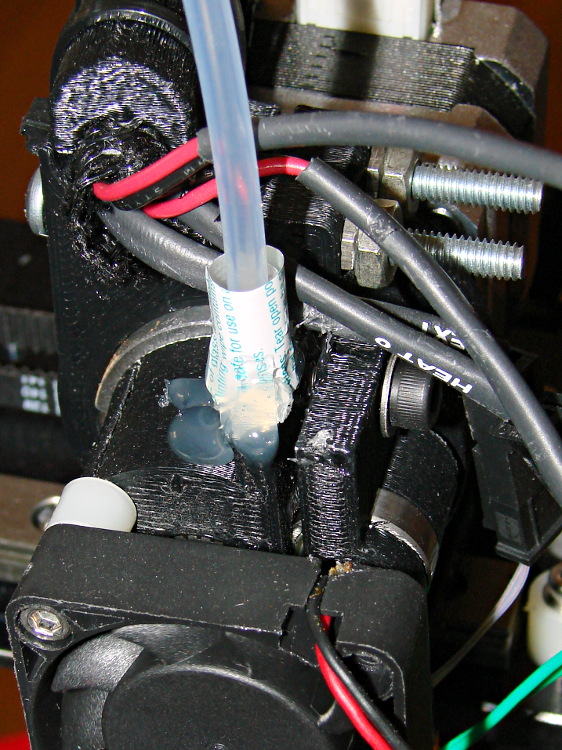
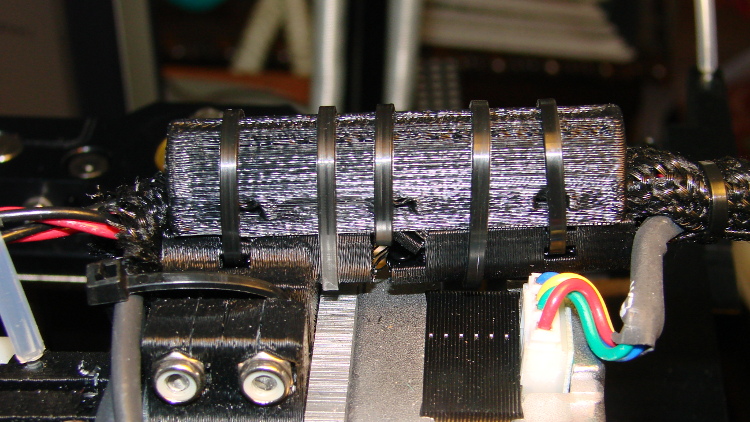
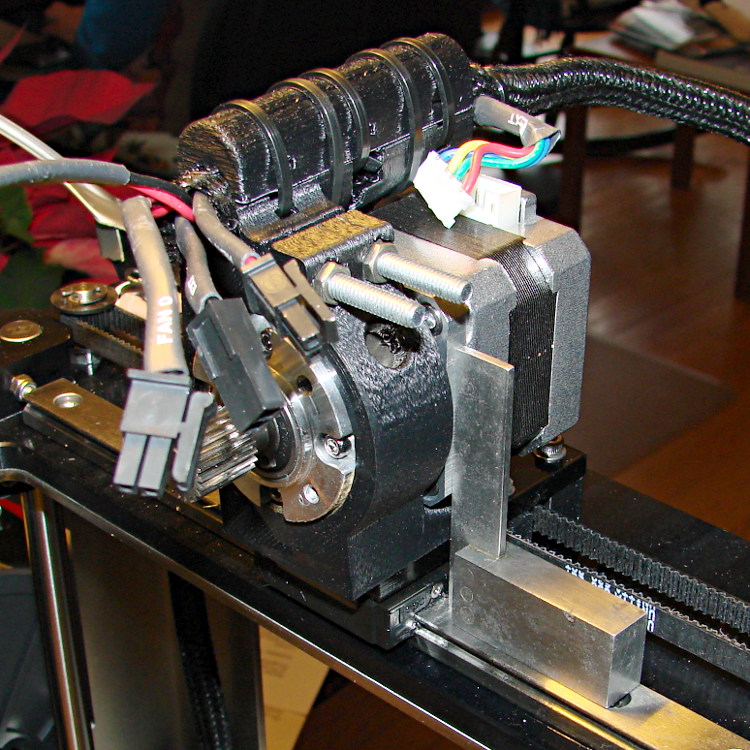
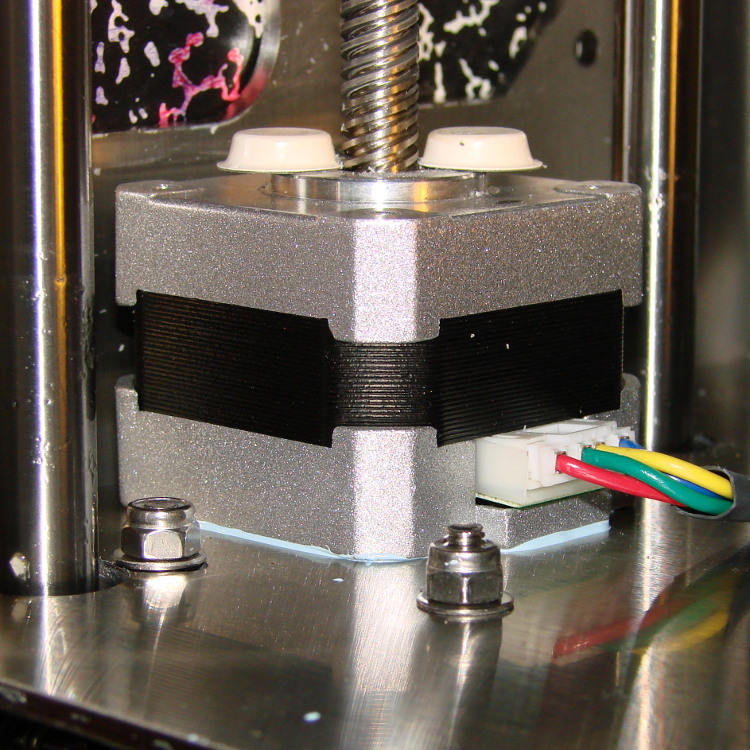
The Smell of Molten Projects in the Morning

Ed Nisley's Blog: Shop notes, electronics, firmware, machinery, 3D printing, laser cuttery, and curiosities. Contents: 100% human thinking, 0% AI slop.

Tag: Improvements

Making the world a better place, one piece at a time

  • Propane Tank QD Adapter Tool

    Although it’s common practice to exchange your empty 20 pound propane tank for a full one, I vastly prefer to keep my own tanks: I know where they’ve been, how they’ve been used, and can be reasonably sure they don’t have hidden damage. Two of my tanks have old-style threaded connections, but the barby has a quick-disconnect fitting on the regulator and I’ve been using an adapter on those tanks.

    The adapter comes with a plastic tool that you use to install it in the tank valve. In principle, you insert the tool into the adapter, thread the adapter into the valve, then tighten with a wrench until the neck of the plastic tool snaps, at which point you eject the stub and the adapter becomes permanently installed. I don’t like permanent, so I carefully tightened the adapter to the point where the O-ring seals properly and the tool didn’t quite break. I’ve always wanted a backup tool, just in case the original broke, and now I have one:

    Propane QD Adapter Tool - in adapter
    Propane QD Adapter Tool – in adapter

    It fit into both the adapter body and the 5/8 inch wrench (the OEM tool is 9/16 inch) without any fuss at all:

    Propane QD Adapters - OEM and printed
    Propane QD Adapters – OEM and printed

    The solid model has a few improvements over the as-printed tool above:

    • Shorter wrench flats
    • More durable protrusions to engage the locking balls
    Propane QD Adapter Tool
    Propane QD Adapter Tool

    It took about an hour to design and another 45 minutes to print, so it’s obviously not cost-effective. I’ll likely never print another, but maybe you will.

    The OpenSCAD source code:

    // Propane tank QD connector adapter tool
    // Ed Nisley KE4ZNU November 2012
    
    include </mnt/bulkdata/Project Files/Thing-O-Matic/MCAD/units.scad>
    include </mnt/bulkdata/Project Files/Thing-O-Matic/Useful Sizes.scad>
    
    //- Extrusion parameters must match reality!
    //  Print with +1 shells and 3 solid layers
    
    ThreadThick = 0.25;
    ThreadWidth = 2.0 * ThreadThick;
    
    HoleWindage = 0.2;
    
    function IntegerMultiple(Size,Unit) = Unit * ceil(Size / Unit);
    
    Protrusion = 0.1;			// make holes end cleanly
    
    //----------------------
    // Dimensions
    
    WrenchSize = (5/8) * inch;		// across the flats
    WrenchThick = 10;
    
    NoseDia = 8.6;
    NoseLength = 9.0;
    
    LockDia = 12.5;
    LockRingLength = 1.0;
    LockTaperLength = 1.5;
    
    TriDia = 15.1;
    TriWide = 12.2;										// from OD across center to triangle side
    TriOffset = TriWide - TriDia/2;		// from center to triangle side
    TriLength = 9.8;
    
    NeckDia = TriDia;
    NeckLength = 4.0;
    
    //----------------------
    // Useful routines
    
    module PolyCyl(Dia,Height,ForceSides=0) {			// based on nophead's polyholes
    
    Sides = (ForceSides != 0) ? ForceSides : (ceil(Dia) + 2);
    
    FixDia = Dia / cos(180/Sides);
    
    cylinder(r=(FixDia + HoleWindage)/2,
    h=Height,
    	   $fn=Sides);
    }
    
    module ShowPegGrid(Space = 10.0,Size = 1.0) {
    
    Range = floor(50 / Space);
    
    	for (x=[-Range:Range])
    	  for (y=[-Range:Range])
    		translate([x*Space,y*Space,Size/2])
    		  %cube(Size,center=true);
    
    }
    
    //-------------------
    // Build it...
    
    $fn = 4*6;
    
    ShowPegGrid();
    
    union() {
    
    	translate([0,0,(WrenchThick + NeckLength + TriLength - LockTaperLength - LockRingLength + Protrusion)])
    		cylinder(r1=NoseDia/2,r2=LockDia/2,h=LockTaperLength);
    
    		translate([0,0,(WrenchThick + NeckLength + TriLength - LockRingLength)])
    		cylinder(r=LockDia/2,h=LockRingLength);
    
    	difference() {
    		union() {
    
    			translate([0,0,WrenchThick/2])
    				cube([WrenchSize,WrenchSize,WrenchThick],center=true);
    
    			cylinder(r=TriDia/2,h=(WrenchThick + NeckLength +TriLength));
    
    			cylinder(r=NoseDia/2,h=(WrenchThick + NeckLength + TriLength + NoseLength));
    		}
    
    		for (a=[-1:1]) {
    			rotate(a*120)
    				translate([(TriOffset + WrenchSize/2),0,(WrenchThick + NeckLength + TriLength/2 + Protrusion/2)])
    					cube([WrenchSize,WrenchSize,(TriLength + Protrusion)],center=true);
    		}
    	}
    }
    
  • 30 Year Clock: The Janus Movement

    After 30 years, IBM gave Mary a commemorative clock, after which she promptly retired. Back in the day, they used to hand out Atmos clocks (admittedly, on more momentous occasions), but this isn’t one of those. In fact, although it appears to have a torsion pendulum, that’s a separate motor-driven foo-foo which we immediately turned off:

    Janus Clock - front
    Janus Clock – front

    It normally sits on the living room coffee table (which actually holds a myriad plants next to the front window) where, after we scrapped all the upholstered furniture, the two of us can’t both see the clock face from our chairs. Having a spare clock insert from that repair, we had the same bright idea at the same time: we need a clock with two faces! We came up with Janus independently…

    Despite its fancy appearance, the IBM clock consists mostly of brass and plastic, so I had no qualms about having my way with it in the shop. The new clock insert spanned the clock’s gilt plastic back cover, needing only a #1 drill hole for the adjustment stem, and exactly filled the available space between the back cover and the case. Both movements had enough interior clearance for 3-48 brass screw heads and nuts, so I eyeballed the right spots on the new cover, centered the Sherline spindle on the plate, and drilled two clearance holes 6 mm in from the edges on the vertical diameter:

    Drilling clock insert cover
    Drilling clock insert cover

    That put them 61.3 mm apart across the diameter, which would be awkward to duplicate by hand. Manual CNC makes it trivially easy to match-drill holes; I clamped down the gilt back cover from the IBM clock, aligned it to the table, located the center, and drilled two 3-48 clearance holes:

    Drilling torsion clock cover
    Drilling torsion clock cover

    The glow from that polycarbonate packing block isn’t quite so nuclear in real life. The clamping force goes down the side panels of the cover, which had enough of a curve to be perfectly stable. Yes, I’m drilling into air, but came down real slow using the Joggy Thing and it was all good.

    Assemble the two back covers (the holes matched perfectly), mark the adjustment stem hole, disassemble, hand-drill, reassemble, tighten nuts, and install:

    Janus Clock - rear
    Janus Clock – rear

    It does look a bit lumpy from the side, but that’s just because I don’t have any gilding for the black tape wrap:

    Janus Clock - side
    Janus Clock – side

    There, now, that was easy.

  • Thing-O-Matic: Cable Control

    The alert reader will have noticed two slip faults in the jellyfish cookie cutter:

    Jellyfish Cookie Cutter - on build platform
    Jellyfish Cookie Cutter – on build platform

    Look closely…

    • Above the wide lip, to the right (+X)
    • Below the top edge, to the front (-Y)

    Those failures came from two separate cable snags that stalled the X and Y stepper motors for about 1 mm of travel. Fortunately, I wasn’t paying attention and, by the time I figured this out, the thing was nearly built, so I let it run to completion. The thick base plate accounts for most of the plastic, anyway.

    First, the cable bundle on the right snagged on the socket-head cap screw just in front of the X axis limit switch (hidden behind the bundle here). This picture, taken after the +12 V pin in the HBP connector burned through, shows the typical snarl of wires inside a Thing-O-Matic:

    Thing-O-Matic - HBP cable routing
    Thing-O-Matic – HBP cable routing

    The rewired thermistor cable snagged on the bulldog clip holding the top aluminum plate. This picture, taken after the thermistor pads fell off the HBP, shows the filler plate I put in place to prevent the cable (entering from the top and passing below the white cable on the HBP) from jamming in the gap between the Y axis stage and the case, but you can see how the bulldog clip handle could snag it when the platform moves rearward from the front left corner (+X +Y):

    HBP Thermistor cable - snag shield and bulldog clamp
    HBP Thermistor cable – snag shield and bulldog clamp

    The fat gray cable flat against the case in that picture carries the X axis stepper drive signals up-and-over the Y axis. The thinner gray thermistor cable emerges from the electronics bay inside the case corner, then arches in from thetop.

    My buddy Aitch recently gave me a few meters of corrugated wire loom, so I moved the bulldog clip rearward and bundled all those loose HBP wires in one tidy snood:

    Thing-O-Matic - X axis cable loom
    Thing-O-Matic – X axis cable loom

    I’m sure something else will go wrong, but the machinery looks marginally less haphazard and the cables don’t snag while I’m watching…

  • Ed’s High-Traction Pizza

    Our Larval Engineer, evidently planning to serve some genuine home-style pizza to her compadres, asked for the Official Recipe.

    It goes a little something like this…

    T minus 2.5 hours

    Blend (manually!) in mixer bowl:

    • 1 Tbsp    yeast (that’s two packets = crazy spendy → buy in bulk)
    • 1 Tbsp    brown sugar (or whatever sweet you have)
    • 1-1/2 C    warm water (1 minute in our microwave)

    Add on top of liquid:

    • 3 C    whole wheat flour
    • 1 C    white flour
    • 1 tsp    salt

    The original recipe called for:

    • 4 Tbsp    olive oil (or safflower, not vegetable / canola)
    • 1/2 C    additional flour only if you add oil

    Don’t stir, just pause 5 minutes until the yeast gets up & running.

    Run mixer until dough becomes rubbery and cleans the bowl.

    No mixer? Stir, stir, stir, then knead, knead, knead.

    Ed & Karen kneading bread dough - Raleigh 1995-ish
    Ed & Karen kneading bread dough – Raleigh 1995-ish

    (As you can see, she has experience kneading bread…)

    Cleave in twain, about 1 lb per lump.
    Oil mixer bowl & one lump, let rise.
    Flatten other lump in plastic bag & freeze for next week.

    Put 1 unit homebrew pizza sauce on counter to thaw.

    T minus 45 minutes

    Roll crust to fit pan, generously flour bottom, let rise on countertop.

    Grate cheese:

    • 2 oz    Sharp Provolone
    • 2 oz    Mozzarella
    • 3 oz    Monterey Jack

    Cube meat:

    • 2 oz    Ham
    • 4 oz    Turkey / pork / what have you

    Chop veggies:

    • handful    Broccoli tips (save stalks for tomorrow’s stir fry)
    • 1/2             Sweet pepper (Green / red)
    • 3                 Bunching onions (or small scallions, whatever)
    • 1 big          Mushroom (or 4 tiddly buttons)

    T minus 15 minutes

    Fire the Oven! to 500 F

    Flour bottom of crust, flop on pan
    Spread pizza sauce generously over crust, counter, walls, self
    Distribute meat / veggies
    Top with cheese

    Slide onto middle shelf of oven
    Set timer to 10 minutes if preheated, 12 minutes if not quite hot yet

    Clean utensils / counter / walls / self

    T minus zero

    Remove from oven (top should be brown & bubbling)
    Pause for coagulation
    Cut
    Distribute
    Nom on!

    The original recipe was about the same, plus foo-foo steps like putting oil in the dough, spreading cornmeal on the pan, oiling the crust before applying the sauce, and suchlike. You’ll need the book for all the details:

    The Complete Book of Pizza
    Louise Love
    Sassafras Press
    1980 (grin)

    I’m sure something different has come along in the last third of a century, but you’ll never hear it from me. Mostly, build a few, tweak the ingredients to suit your style / what’s on hand, and it’ll be all good.

    Enjoy…

  • Longboard Electronics Case: Now With Mouse Ears

    Our Larval Engineer may have a commission to fit her Speed-Sensing Ground Effect Lighting controller to another longboard. To that end, the case now sports mouse ears to spread the force from the cooling ABS over more of the Kapton tape, in the hope the plastic won’t pull the tape off the aluminum build platform:

    Longboard Case Solid Model - mouse ears
    Longboard Case Solid Model – mouse ears

    That view shows the bottom slice that will hold the battery, but the ears appear on all three layers.

    The OpenSCAD source code is now up on Github, which should make it easier to update & share.

  • Sony DSC-H5: Shutter Button Rebuild

    Having extracted the shutter button from the camera body, it’s easy to see why the plunger causes problems:

    DSC-H5 Shutter Button - bottom view
    DSC-H5 Shutter Button – bottom view

    The plunger is basically a pin that eventually deforms the top of the switch membrane. Tee’s DSC-H1 had an exposed switch, although this picture shows that membrane was still in reasonably good condition:

    Shutter Switch Closeup
    Shutter Switch Closeup

    My DSC-H5 has a thin black protective disk atop the switch, but the disk wasn’t particularly protective and developed a dimple that held the contacts closed even with the shutter button released (which is why I’m tearing the camera apart in the first place):

    DSC-H5 Shutter Switch - dimpled protector
    DSC-H5 Shutter Switch – dimpled protector

    The C-clip around the plunger is now plastic, rather than metal, making it less likely to erode the thin plastic shaft. Pulling the clip off while holding the button down releases all the parts:

    DSC-H5 Shutter Button - components
    DSC-H5 Shutter Button – components

    A few measurements from an intact shutter button, which may come in handy if you don’t have one:

    DSC-H5 Shutter Button - plunger measurements
    DSC-H5 Shutter Button – plunger measurements

    Mount three-jaw chuck on the Sherline table, laser-align chuck to spindle, grab shutter button by its shaft in a Jacobs chuck, grab shutter button in three-jaw chuck, release from Jacobs chuck:

    DSC-H5 Shutter Button - in Sherline chuck
    DSC-H5 Shutter Button – in Sherline chuck

    That’s not particularly precise, but it’s close enough for this purpose. I used manual jogging while testing the fit with a paper shim until all three jaws had the same clearance, then tightened the jaws.

    I nicked the plunger at its base with a flush-cutting diagonal cutter, snapped off the plunger, and drilled a #56 hole through the button:

    DSC-H5 Shutter Button - cap drilling
    DSC-H5 Shutter Button – cap drilling

    For reasons that made sense at the time, I repaired Tee’s DSC-H1 with a 1-72 brass screw. This time, I used an 0-80 (which I learned as ought-eighty, if you’re wondering about the indefinite article) screw and nut, because the screw head fit neatly into the bezel recess and I had a better idea of how to smooth out the threads.

    This being plastic, I used the chuck to hold the tap in the proper alignment, then turned the tap through by finger pressure. This trial fit showed it worked:

    DSC-H5 Shutter Button - 0-80 screw
    DSC-H5 Shutter Button – 0-80 screw

    Milling the nut down to a 2.8 mm cylinder required the usual manual CNC, with repeated iterations of this chunk of code in the MDI panel:

    #<r>=[[2.8+3.11]/2]
    g1 x[-#<r>] f50
    g0 z0
    g2 i#<r> f100
    g0 z4
    

    The 2.8 in the first line is the current OD and the 3.11 is the measured diameter of the 1/8 inch end mill. I started from a 5.0 mm OD that just kissed the nut, then worked inward by 0.2 mm at a time for very shallow 0.1 mm cuts:

    DSC-H5 Shutter Button - 0-80 nut milling
    DSC-H5 Shutter Button – 0-80 nut milling

    The alert reader will notice, as did I, that the head isn’t quite centered: the cut trimmed the left side and left the right untouched, with an offset far larger than the centering error. As nearly as I can tell, the heads of those screws aren’t exactly centered on their threaded shafts, but the final result fixed that… and the overall error is a few tenths of a millimeter = maybe 10 mils, tops, so it’s no big deal.

    With all that in hand, I applied a very very thin layer of epoxy to fill the threads below the now-cylindrical nut and convert the screw into a rod:

    DSC-H5 Shutter Button - 0-80 plunger
    DSC-H5 Shutter Button – 0-80 plunger

    My original intent was to use the screw head as-is atop the PET shield (per those instructions) on the switch membrane, but after reassembling enough of the camera to try that out, it didn’t work correctly: the half-pressed switch didn’t activate reliably before the full-pressed switch tripped.

    The PET shield I used came from the side of a 1 liter soda bottle and turned out to be 0.27 mm thick:

    DSC-H5 Shutter Switch - cover removed
    DSC-H5 Shutter Switch – cover removed

    I think the PET shield would work with the original plunger shape concentrating the force in the middle of the shield, but the nice flat screw head spreads the force out over a wider area. As a result, the force required to close the half-pressed switch contacts was roughly the same as that required to close the full-pressed contacts; remember the nub on the bottom of the black plastic tray concentrates the force in the middle of the full-pressed switch membrane.

    So I removed the PET shield, added a dot of epoxy to fill the screw slot and compensate for the missing shield thickness, then filed a flat to make a nice pad:

    DSC-H5 Shutter Button - epoxy on plunger
    DSC-H5 Shutter Button – epoxy on plunger

    Reassembling the camera once more showed it worked exactly the way it should. In fact, the button seems more stable than the OEM version, probably because the slightly enlarged plunger shaft fits better in the bezel. Too bad about those scuffs on that nice shiny button dome, though:

    DSC-H5 - repaired shutter button
    DSC-H5 – repaired shutter button

    Tossing the leftover parts seems entirely appropriate…

    Sony DSC-H5 Shutter Button - leftovers
    Sony DSC-H5 Shutter Button – leftovers
  • Sony DSC-H5: Disassembly

    The half-pressed shutter switch position on my Sony DSC-H5 recently stopped working, which seems to be one of two common failures. The other, a broken switch shaft, happened to Tee’s camera, as described there, and I figured I should preemptively fix that while I was inside my camera.

    This being a common failure, several folks have described how to dismantle the camera; I followed that guide’s English version.

    The DSC-H5 differs slightly from that description. After I got the thing apart, it became obvious that there’s no need to remove the LCD panel, the main control board, and most of the ribbon cables if you have a Philips #0 or #00 screwdriver with a very thin shaft. There’s no way to describe this operation, so take it apart his way, then you’ll see what I mean: the guts can come out as one big lump.

    In any event, all the camera controls eventually emerge from the body:

    DSC-H5 Control Assembly
    DSC-H5 Control Assembly

    Looking back into the camera body reveals the bottom of the shutter button, captured by a static discharge contact and the gray plastic frame of the Focus / Break button caps:

    DSC-H5 Shutter Button - interior view
    DSC-H5 Shutter Button – interior view

    Removing the pushbutton frame and pushing the left button bezel latch with a small flat-blade screwdriver extracts the shutter button; it falls out of the inverted body. This is one of the few intact DSC-H[1-9] shutter buttons you’ll ever see:

    DSC-H5 Shutter Button - bottom view
    DSC-H5 Shutter Button – bottom view

    Those rectangular protrusions lock into the slots in the black plastic cap that appears almost silver in this front view that shows the dimple in the switch membrane:

    DSC-H5 Shutter Button Switch - depressed surface
    DSC-H5 Shutter Button Switch – depressed surface

    You must remove the cap to release the flex PCB with the shutter switches. Two heat-staked pins retain the cap; a scalpel neatly slices off the melted plastic:

    DSC-H5 Shutter Switch - cover removed
    DSC-H5 Shutter Switch – cover removed

    Nota bene: the DSC-H1 button bezel I repaired earlier does not have features that lock into the cap over the switch assembly, which means you can remove and replace it without disassembling the camera. You cannot remove or install the DSC-H5 button without taking the camera apart. I suppose this counts as a continuous product improvement, but …

    The shutter switch has two parts:

    • The full-press switch that takes the picture (the white dot on the blue flex, shown above)
    • The half-press switch that triggers the focus & exposure is in a black plastic tray (seen edge-on above the white dot)

    The bottom of the half-press tray has a small nub that activates the full-press switch, so the force required to activate the half-press switch must be considerably less than the force that activates the full-press switch. This turns out to be a critical part of the repair…

    A closeup of the half-press switch with the protective cover sheet (the “damn confetti” of the disassembly instruction) and the dimple that held the contacts together with the button released:

    DSC-H5 Shutter Switch - dimpled protector
    DSC-H5 Shutter Switch – dimpled protector

    A closeup of the switch through a snippet of PET plastic shows the switch membrane itself is in fine shape:

    DSC-H5 Shutter Switch - cover removed
    DSC-H5 Shutter Switch – cover removed

    However, the new plastic shield did not work out well, for reasons having to do with the new button plunger. That’s the next step: rebuild the plunger…