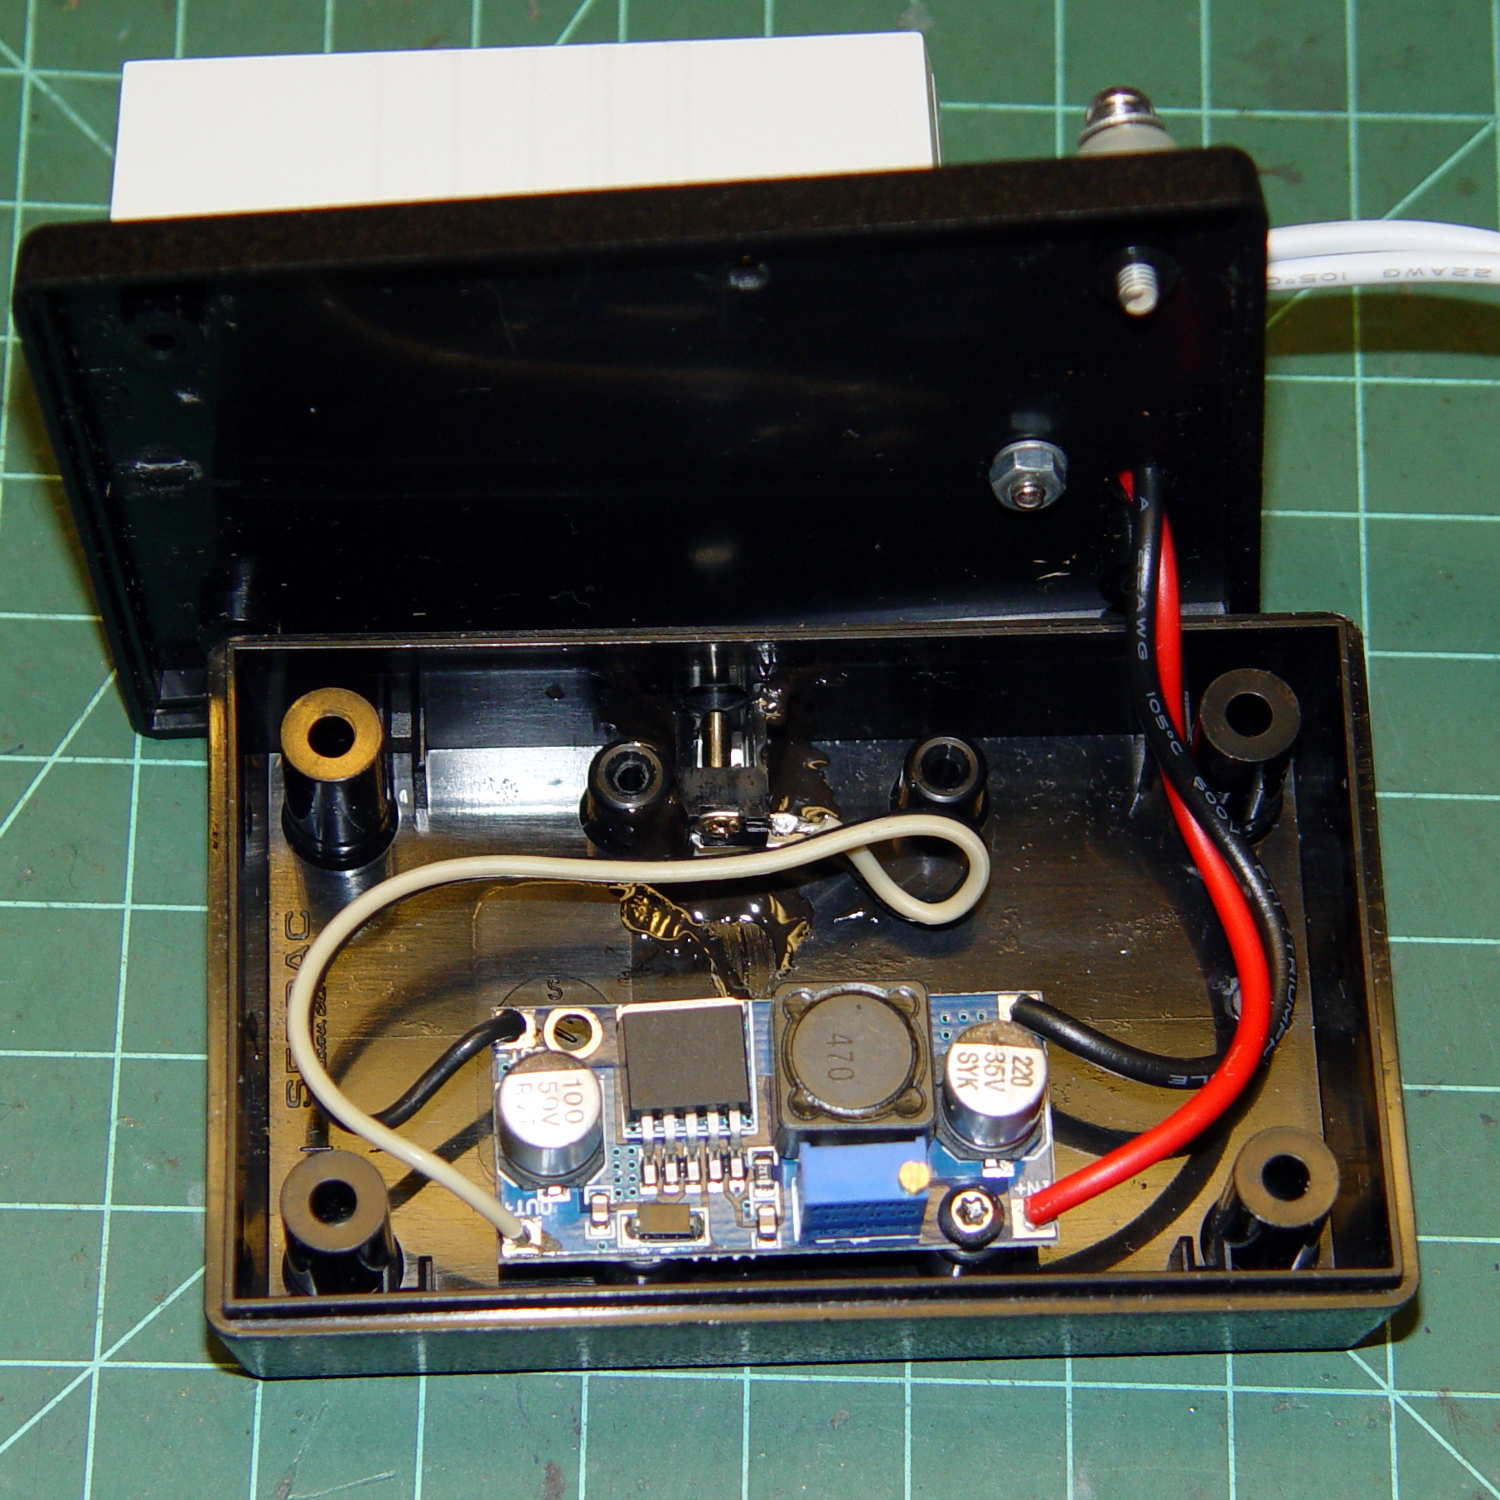
Some notes on a recent acquisition that ought to allow random dots with individual brightness control (unlike my simple resistor-limited hack job):

A Colorduino is a dedicated board that combines an Arduino-class microcontroller with hardware drivers for an 8×8 RGB LED matrix, with daisy-chaining I/O to build bigger displays. The Colors Shield you see above omits the Arduino circuitry and daisy-chaining hardware: it plugs atop an ordinary Arduino UNO-class board as a dedicated 8×8 tile driver.
I do not profess to understand the ancestry & family tree of those designs and their various incarnations. This schematic doesn’t match the knockoff hardware in hand, which isn’t surprising after half a dozen years of relentless product cheapnification:
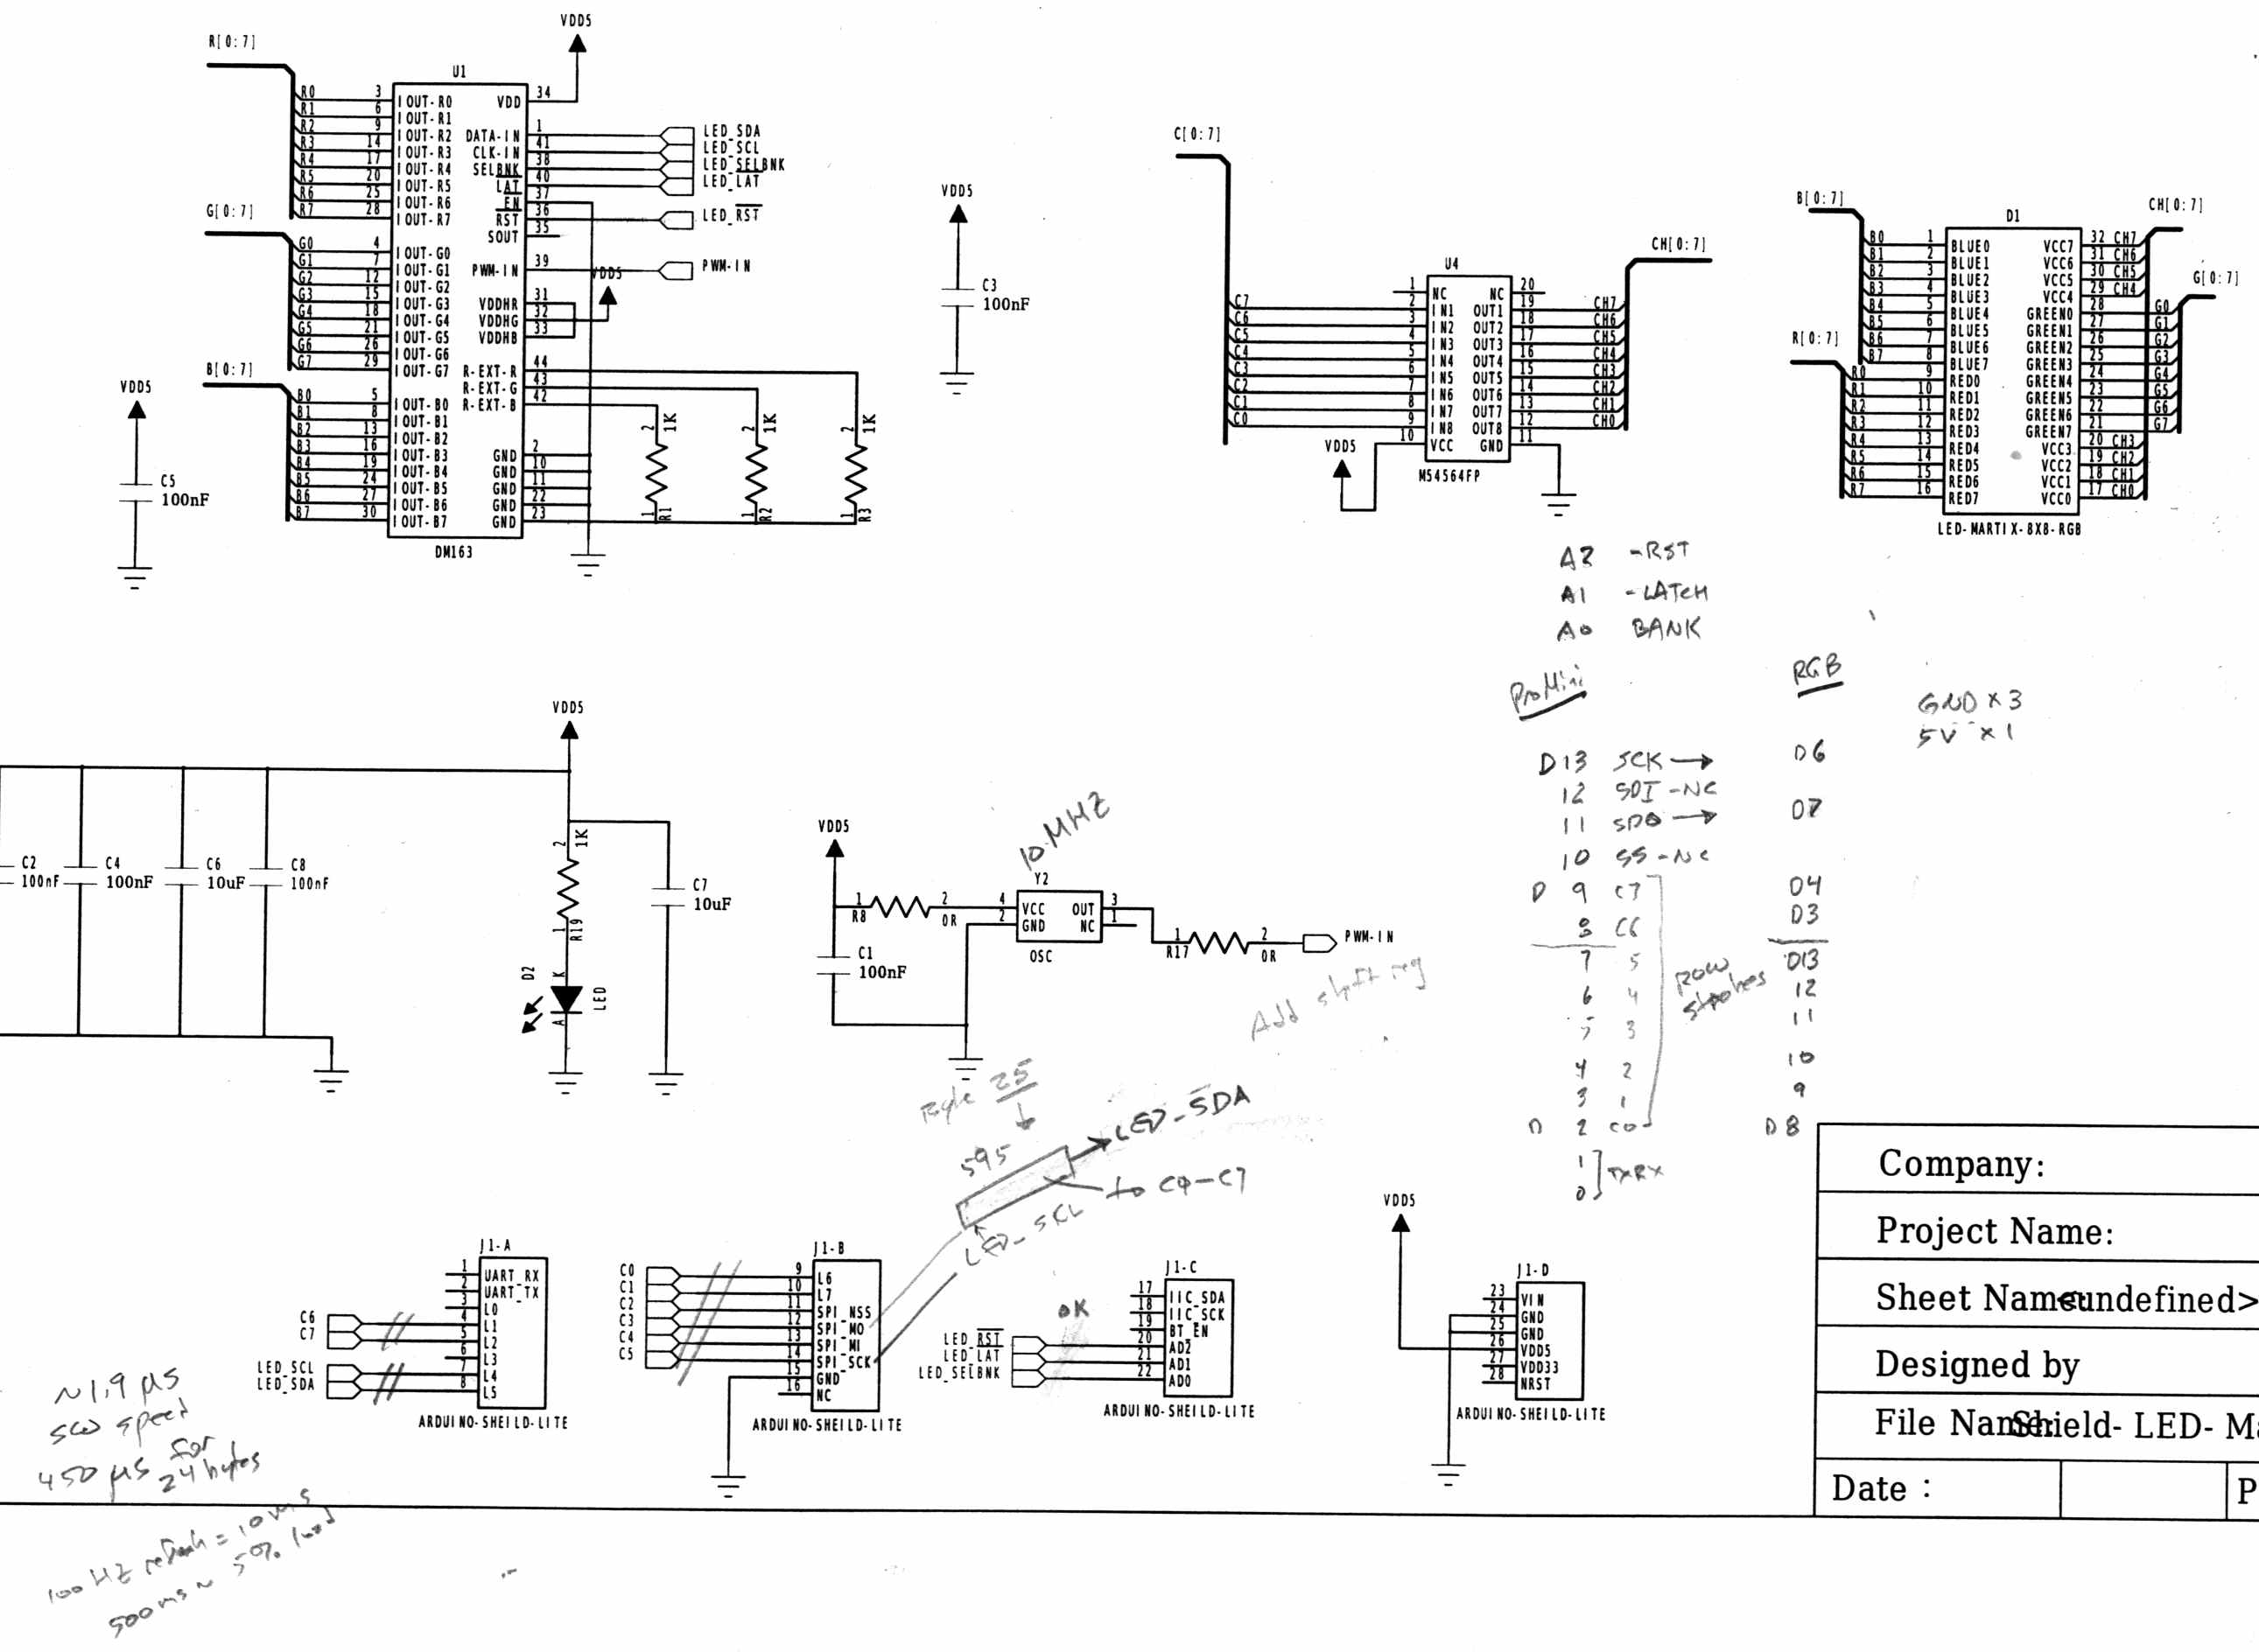
It comes close enough for a big-picture overview…
The DM163 has 8×3 constant current sink PWM pins that connect to the column cathodes of the RGB matrix. It provides either 8 or 6 bits of PWM control for each output, with either 6 or 8 bits of gamma correction to make the grayscale shades work out properly (those are separate shift registers and the PWM generators use both, so the chip doesn’t care how you divvy up the 14 bits).
The three 1 kΩ resistors set the current to 60 mA per output pin. The LED matrix might support anywhere from 70 to 120 mA peak current per LED, but I doubt the supplied matrix matches any of the available datasheets. The total current depends on the number of LEDs lit on each row, so large dark areas are a Good Thing.
The serial protocol looks enough like SPI to get by, with controls for Reset, Latch, and Bank Select.
The board has no power supply other than the single Arduino VCC pin, so you’re looking at a peak of 24 x 60 mA = 1.44 A through that pin. The Arduino regulator must supply that load pretty much full-time, which is obviously a Bad Thing; plan on plenty of dark areas.
The DM163 SPI connections don’t use the Arduino’s hardware SPI, so it’s full-frontal bit-banging all the way. Three DM163 control bits use a trio of analog inputs as digital outputs. No harm in that, works fine with the knockoff Neopixels.
The M54564 is a PNP high-side driver converting logic-level inputs to the current required for the row anodes of the matrix. The eight input bits are non-contiguous across the Arduino’s digital outputs. You could turn on all the M54564 outputs at once, which would be a Bad Thing.
You shift 24 bytes of RGB data into the DM163 and latch the data, then raise one of the M54564 inputs to enable a given row of LEDs, which light up with the corresponding colors.
The bit-banged SPI runs at 1.9 µs/bit and sending all 24 bits to the DM163 requires 450 µs. With a 100 Hz refresh, that’s a mere 5% overhead, but the fact that the board soaks up essentially all the I/O pins means the Arduino isn’t not doing much else in the way of real-world interaction.
The Arduino driver, of dubious provenance, sets Timer 0 for 100-ish Hz interrupts. Each interrupt shifts another batch of bytes into the DM163 and selects the appropriate row. The driver uses a double-buffered array that soaks up 2x8x8x3 = 384 bytes of precious RAM, in addition to a bunch of working storage.
If I were (re)designing this board…
A separate power input jack for the DM163 that might optionally feed the Arduino’s VIN raw power pin.
Use the Arduino SPI hardware, dammit.
Put an HC595 shift register behind the M54564, so you’d shift 24 + 8 = 32 bits into the board, then strobe the latches. That eliminates eight digital pins used as a parallel port.
You’d surely want to disable the row driver while switching the column drivers to avoid ghosting, so figure on a separate output enable for the HC595. That tri-states the 595’s outputs; although the M54564 has internal pulldowns, it might need more.
It’s entirely usable as-is, but sheesh it’d be so easy to do a better job. That wouldn’t be software compatible with all the Arduino Love for the existing boards out there; there’s no point.