Ed Nisley's Blog: Shop notes, electronics, firmware, machinery, 3D printing, laser cuttery, and curiosities. Contents: 100% human thinking, 0% AI slop.
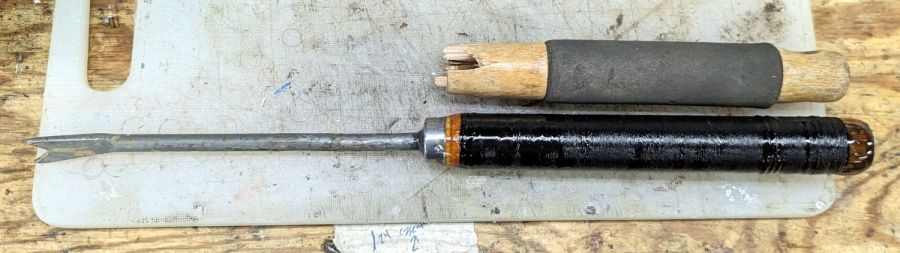
You might expect the tang to extend well into the handle, but that’s not what you get in a cheap tool:
Dandelion Weeder – ferrule detail
The Bucket o’ Rod-like Materials had a rake handle about the right diameter, so I sawed off a suitable length, set up the steady rest with a bushing, and turned the end to match the ferrule:
Dandelion Weeder – end turning
Pound the ferrule into place and drill the new handle to fit the tang:
Dandelion Weeder – drilling setup
The handle seemed a bit raw and, as it was already chucked in the lathe, got a synthetic string wrap with clear epoxy coating:
Dandelion Weeder – string epoxy
The pourable epoxy is reaching the end of its shelf life, but seemed entirely suitable for the purpose. I wrapped two layers of string around the dry handle, laid paper over the lathe bed, slathered epoxy over the whole affair, and let the lathe turn dead-slow for most of the day to even out the coat.
The next day: hammer the blade mostly straight again, smear JB QuikWeld on the tang and into the hole, gently hammer them together, chuck the blade, apply more epoxy to the ends, and let it turn:
Dandelion Weeder – end epoxy
A careful inspection reveals my casual disregard of the finer points of tool handle craftsmanship, but it came out surprisingly pretty:
Dandelion Weeder – repaired
The blade remains the finest butter-soft cheap steel and still doesn’t extend the length of the handle, but Quality Shop Time™ is not to be sniffed at.
And, hey, nary a trace of 3D printing or laser cutting!
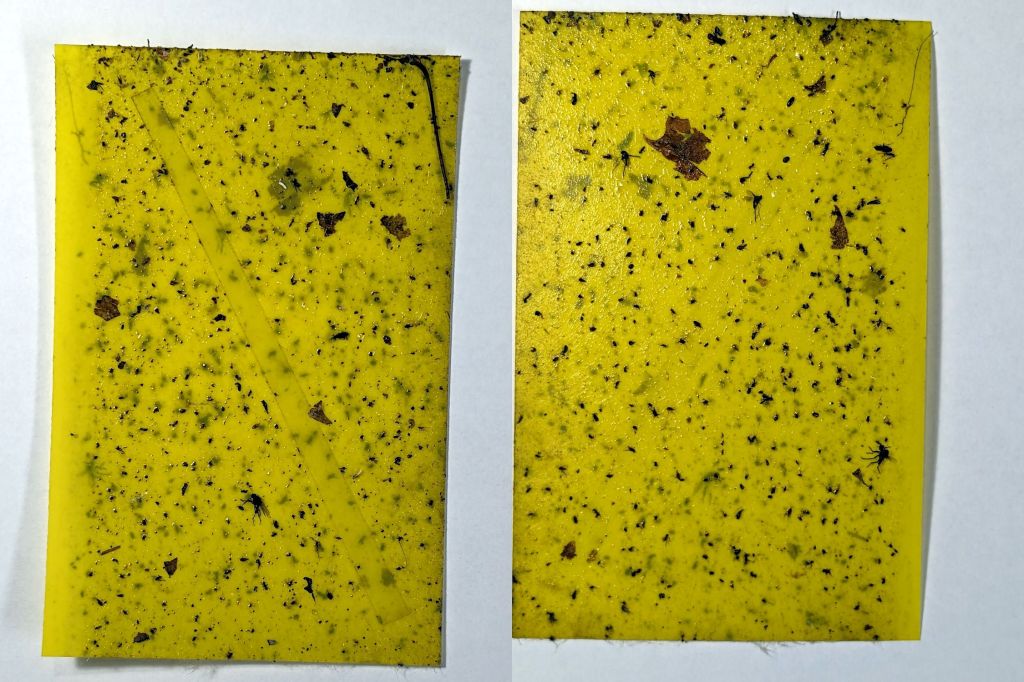
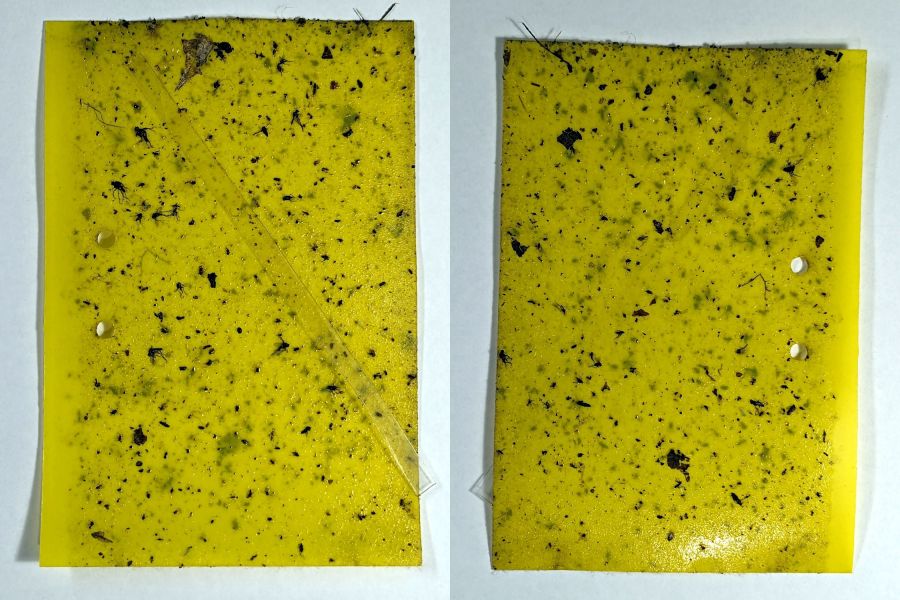
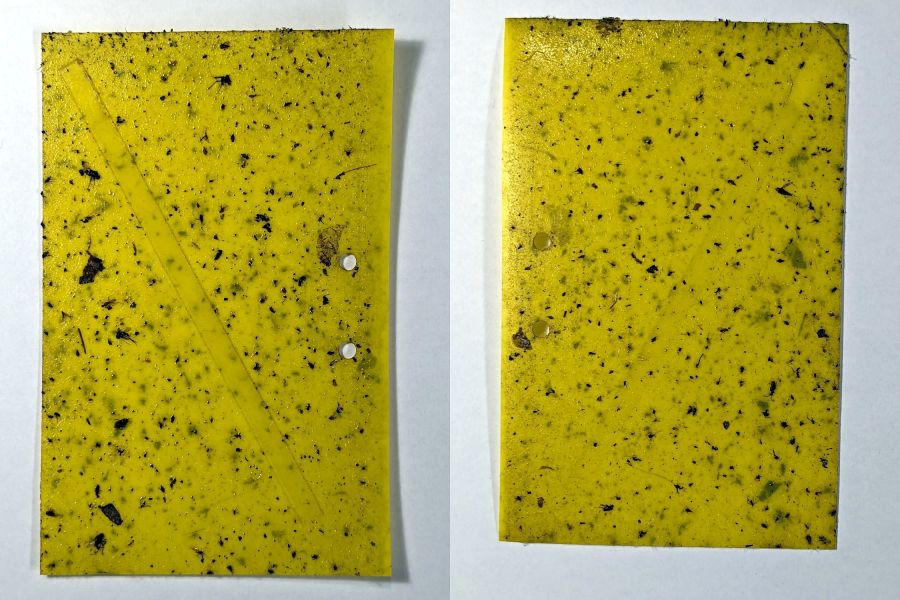
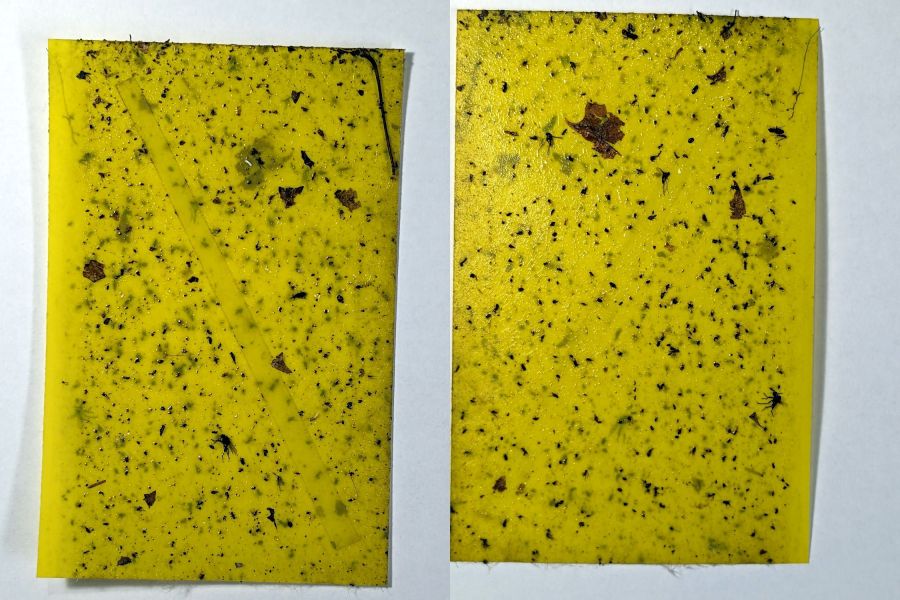
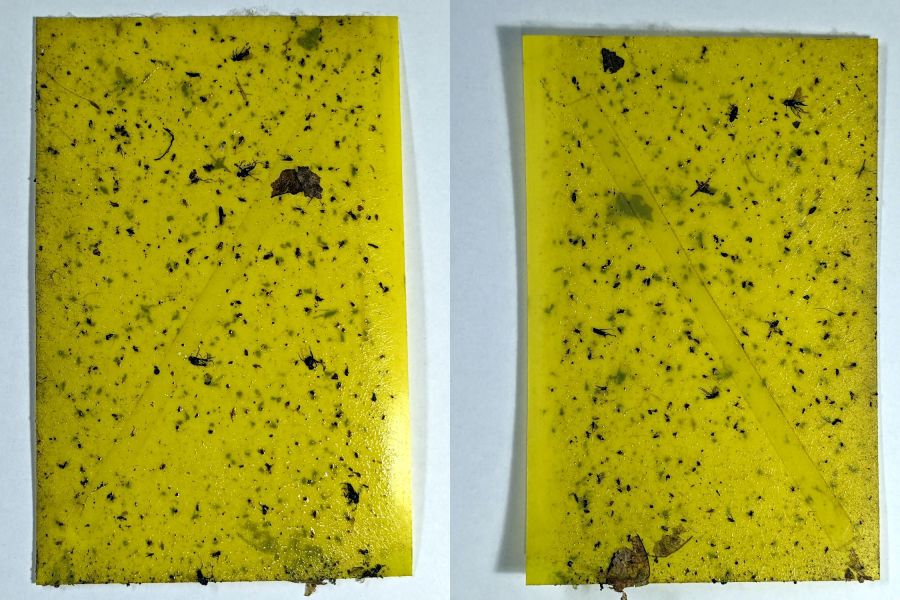
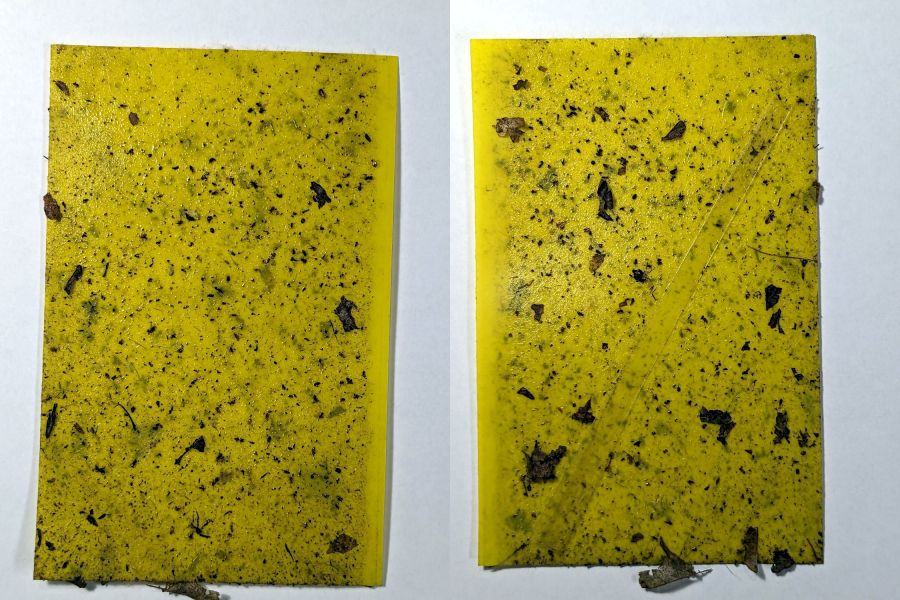
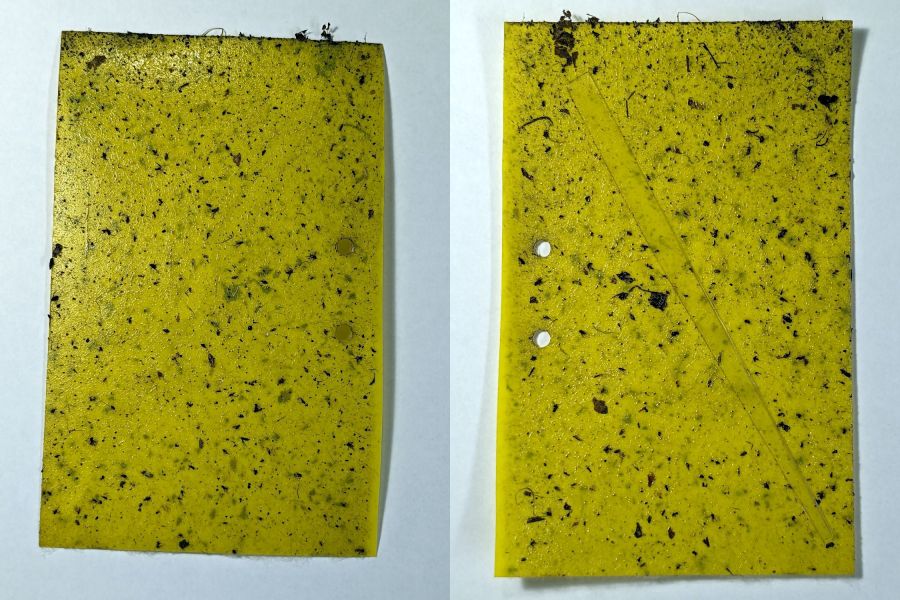
Six sticky traps have been out in Mary’s Vassar Farm onion bed from mid-April through mid-July, collecting onion maggot flies, other flying insects, and a bunch of shredded leaf mulch. Having just replaced all the sticky sheets, these are the results so far:
PXL_20230711_215255180 – VCCG Onion Maggot Trap F
PXL_20230711_215229538 – VCCG Onion Maggot Trap E
PXL_20230711_215159950 – VCCG Onion Maggot Trap D
PXL_20230711_215129817 – VCCG Onion Maggot Trap C
PXL_20230711_215041012 – VCCG Onion Maggot Trap B
PXL_20230711_215002214 – VCCG Onion Maggot Trap A
Each image is the front and back of a single sticky sheet flipped over left-to-right; I did not keep track of the original trap locations.
If you need the original camera images to get enough pixels for itemizing the smaller dots, let me know.
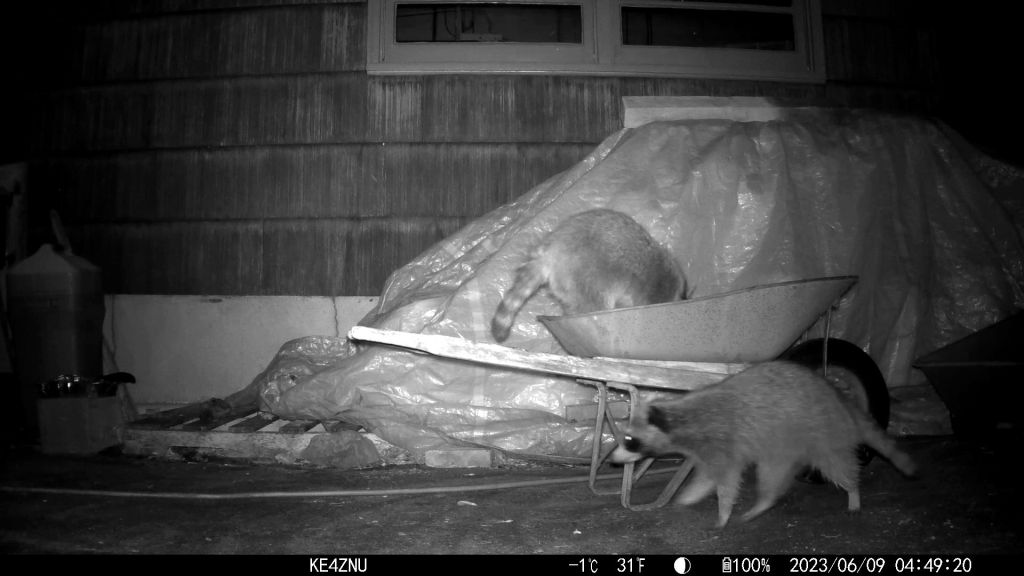
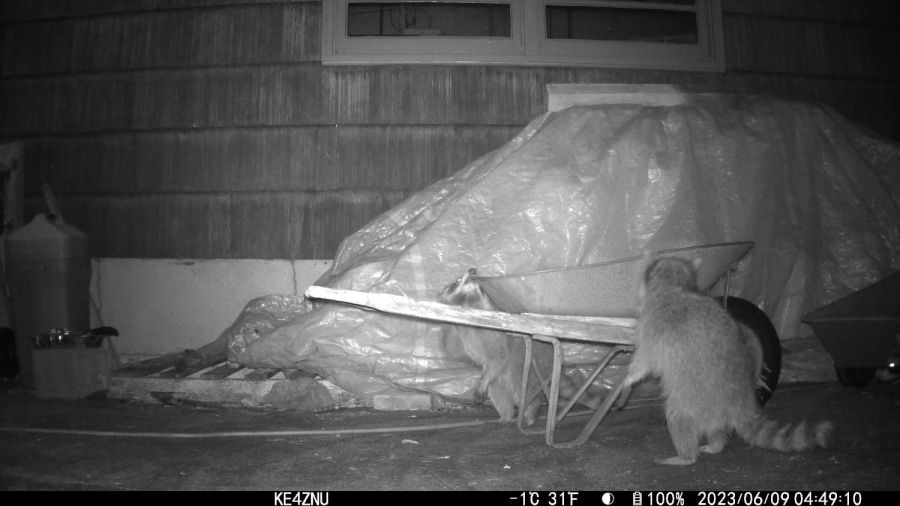
The only reason we haven’t seen a standing raccoon is because we’re not awake when it happens:
Raccoons vs wheelbarrow – 2023-06-09
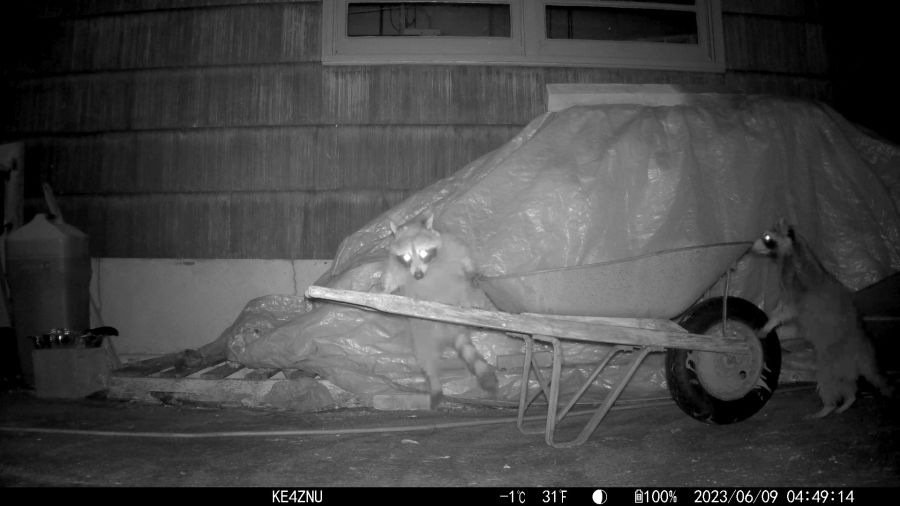
The glowing dot over on the far right is a third raccoon!
They are athletic critters:
Raccoons in wheelbarrow – 2023-06-09
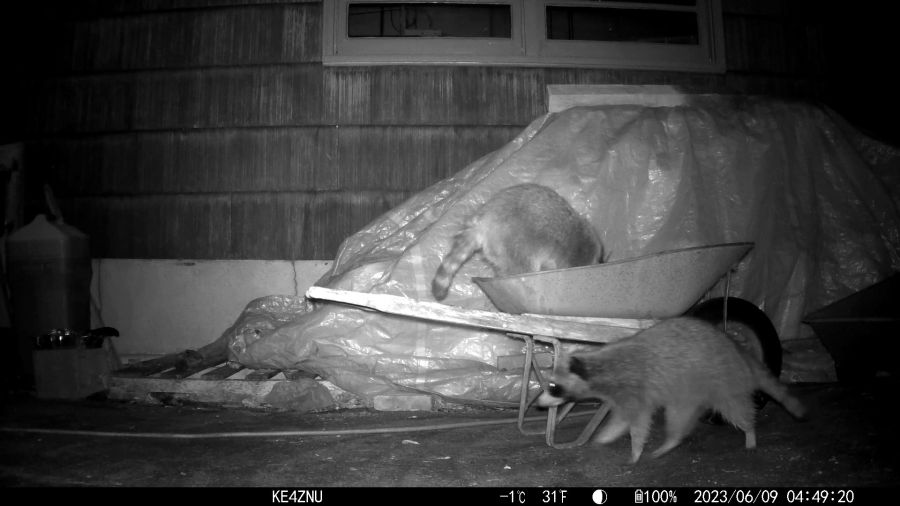
Mary puts garden clippings in the wheelbarrow before hauling them over the hill to our organic dumping ground. Something must smell pretty good in there:
Raccoons around wheelbarrow – 2023-06-09
The wire mesh over the new plantings in the garden seems to be holding them at bay, but it must come off before it snares the growing plants. We hope whatever is in the fertilizer will have worn off by then!
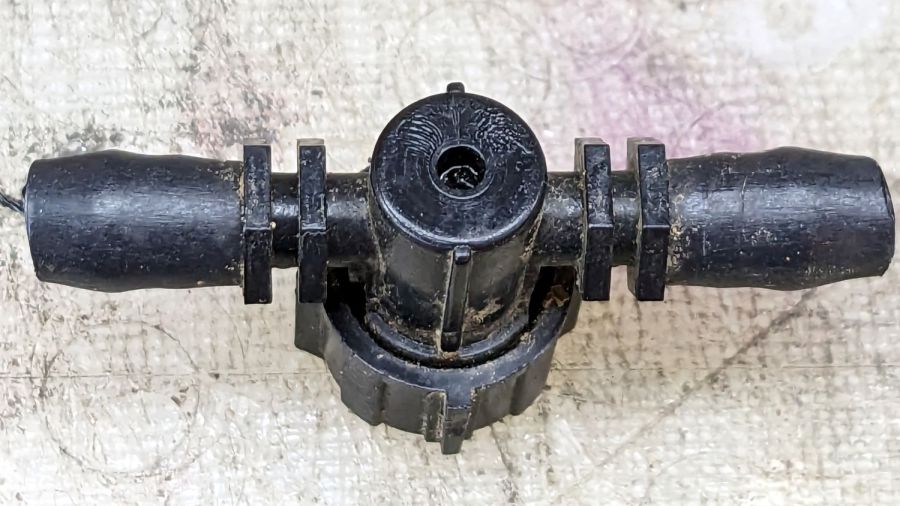
One of the Dripworks Micro-Flow valves in Mary’s garden started spraying water through the mold mark in the middle of the bottom:
Dripworks valve – bottom view
The autopsy produced a handful of pieces and inconclusive results: no visible holes or cracks.
Having replaced it with a new (and drilled out) valve, I scanned the underside of the severed valve knob, blew out the contrast, imported it into LightBurn, and got a reasonable approximation to the outline:
LightBurn geometry over image
A few more tweaks, weld the outline together, add some markers, and it’s ready for cutting:
Dripworks valve helper – LB layout
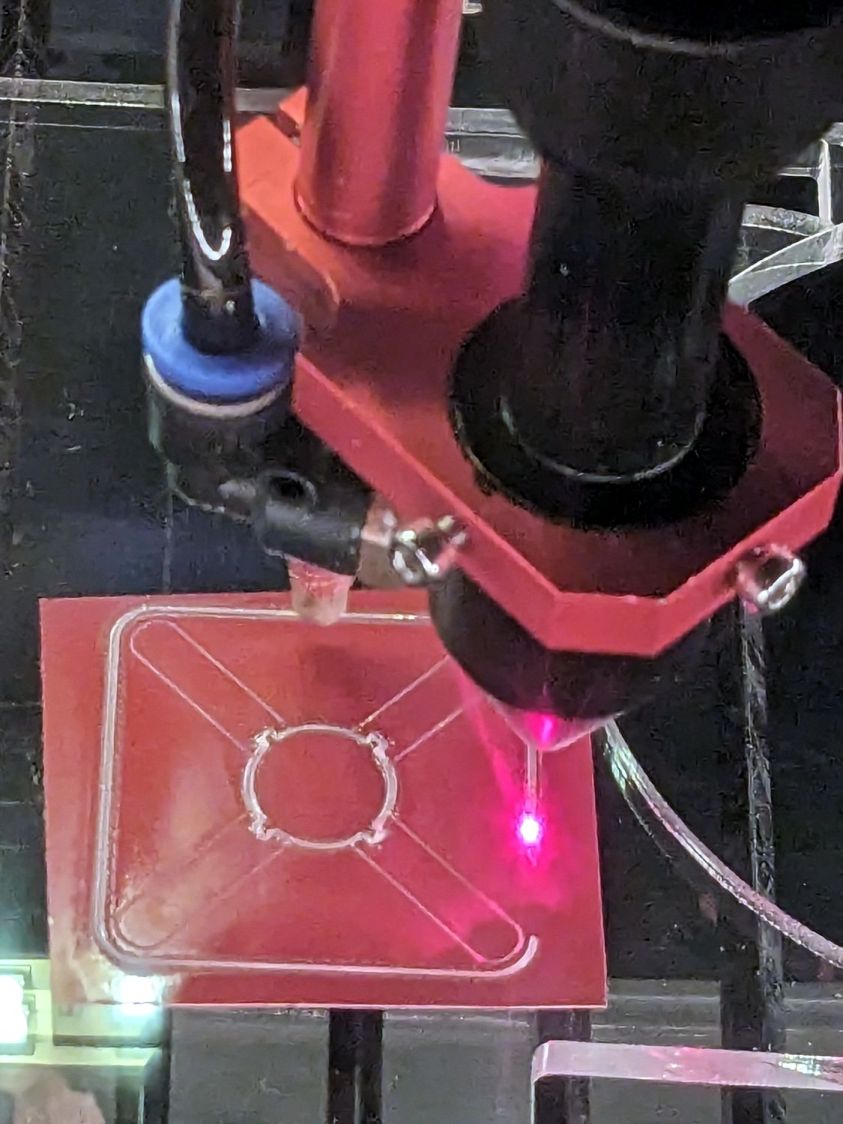
Having just done some earrings with PSA vinyl figures, I changed the (green) engraved layer to a kiss cut and Fired The Laser:
Dripworks valve helper – cutting
The mess in the vinyl around the through cuts in the ¼ inch acrylic sheet suggest engraving will work better. Lesson learned.
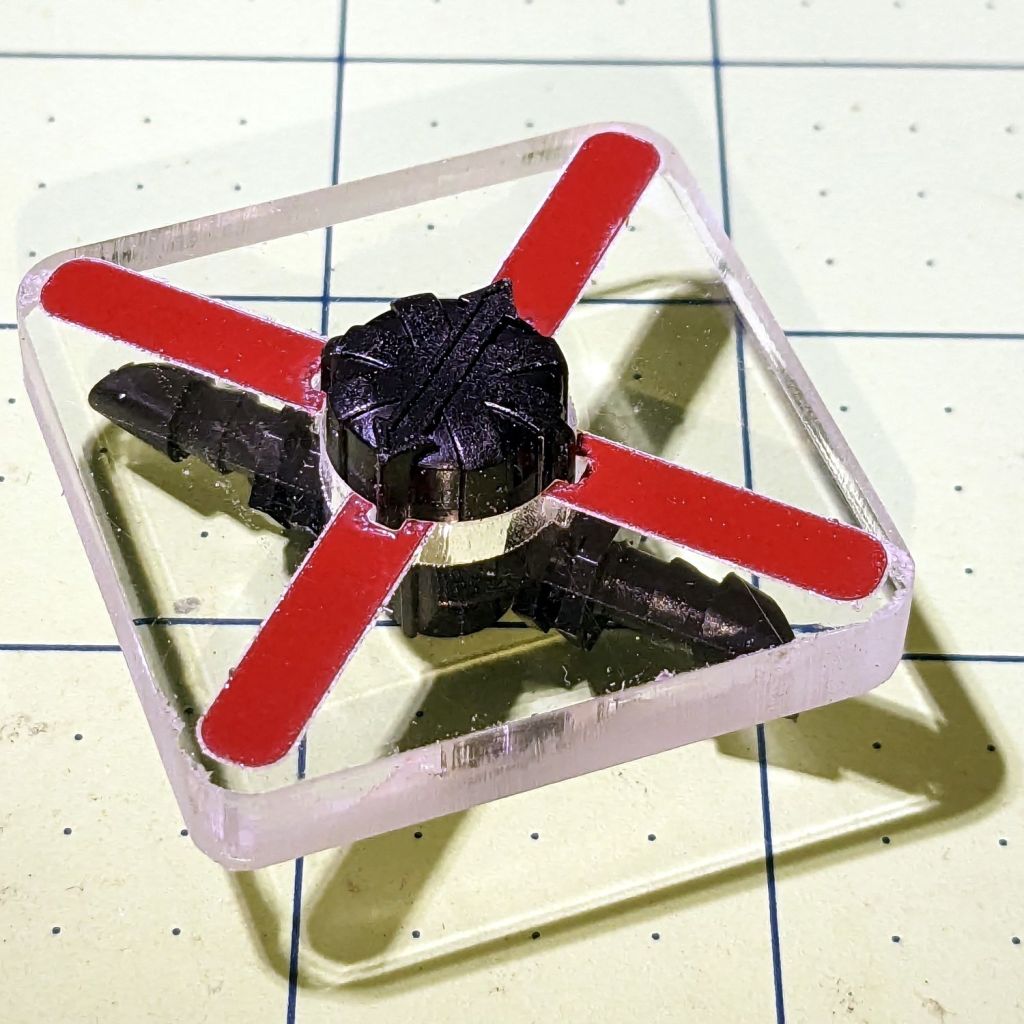
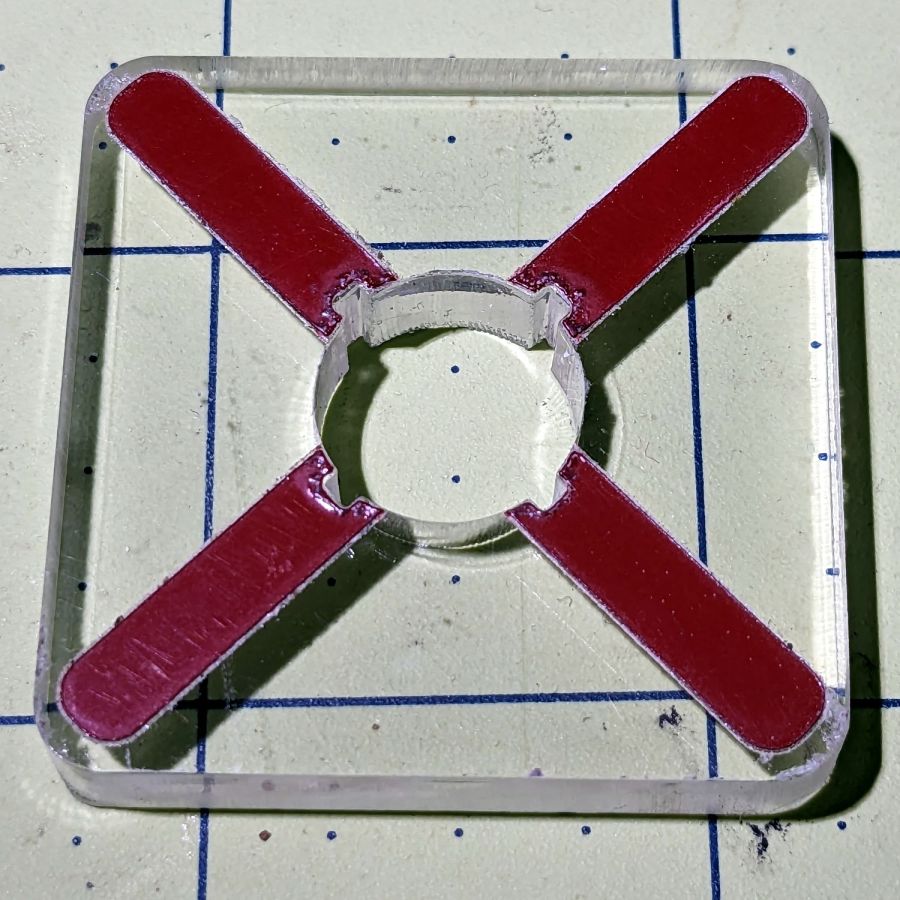
A few minutes of weeding produced a finger-friendly helper with scorches around the central ends of the vinyl:
Dripworks valve helper
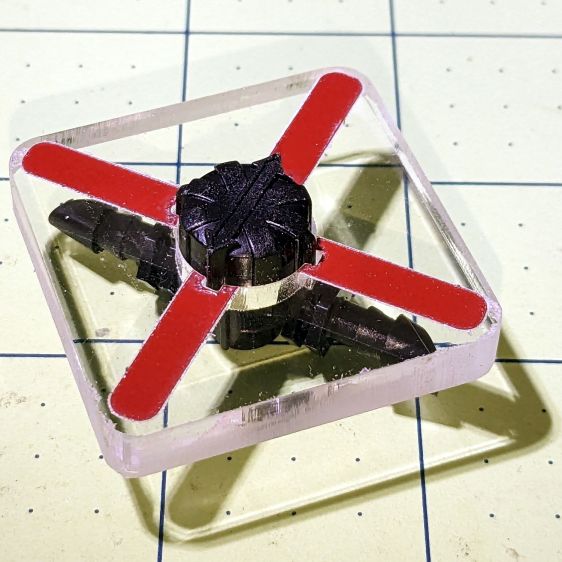
But it fits right over the knob, which was the whole point of the exercise:
Dripworks valve helper – in use
Now Mary can adjust the valve without squinting at obscure black-on-black shapes atop the knob.
I decided keying the helper to the knob so it fit in only one orientation on the knob would be a hindrance, because there’s no easy way to determine their mutual orientation without the aforementioned squinting. Now it’s a matter of putting the helper over the knob, turning it at most a quarter-turn until it drops around the knob, then making another quarter of a turn to put the other red marks parallel to the hose: if it was on, it’s now off, and vice versa.
After the PSA vinyl peels away, I’ll make another one with engraved lines and any other improvements.