-
Poured Epoxy Coaster: Proof of Concept
Although I’m getting better about fitting laser-cut pieces into frames, it occurred to me that mashing colored epoxy together with coaster-shaped scrap acrylic might be interesting:

Acrylic Coaster – epoxy petals I eased a thin bead of clear epoxy along the frame sash, using less than I thought necessary, and aligned it atop the base plate:
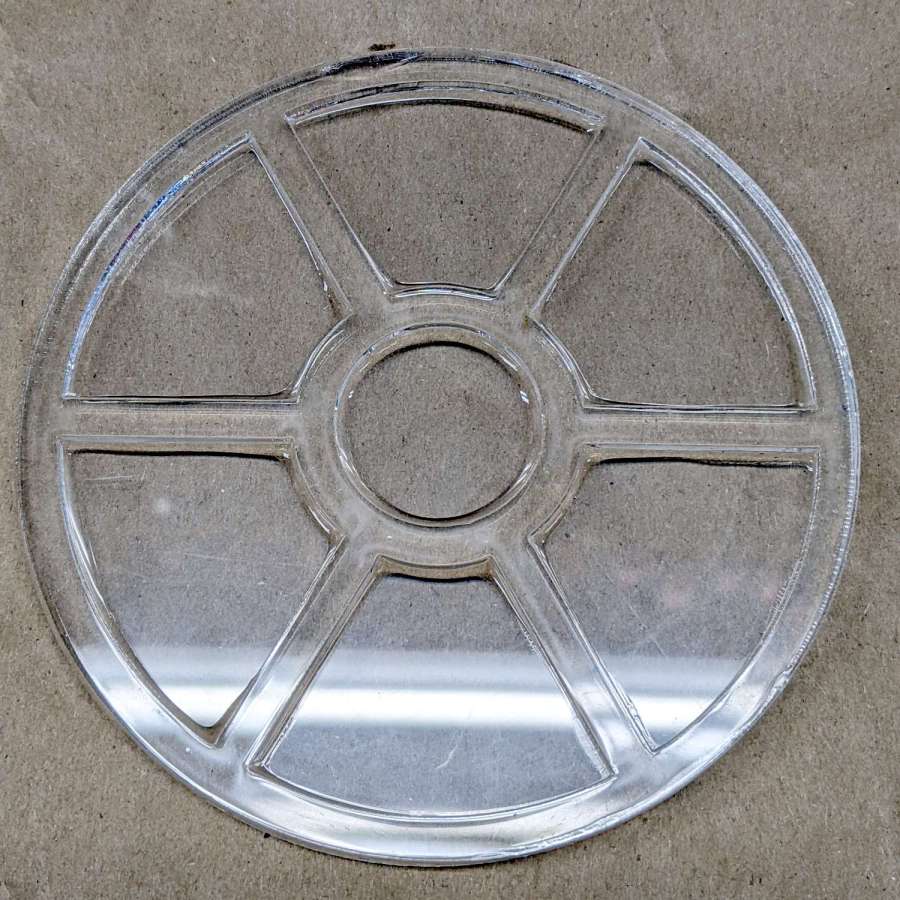
Acrylic Coaster – frame epoxy The excess epoxy formed fillets along the petals, a little oozed out the perimeter, and even less smeared on the top surface. The scrap acrylic didn’t have a surface mask, but that’s definitely a Good Idea for the next attempt.
Two drops of transparent red tinted the remainder of the epoxy well enough:

Acrylic Coaster – first color pour The clear epoxy was still liquid (which is why the red epoxy was still pourable!), but the red tint stayed atop the fillet around the spot.
The next day:

Acrylic Coaster – epoxy coloring Obviously, coloring epoxy for a single coaster makes absolutely no sense whatsoever, but ya gotta start somewhere.
You (well, I) can suck most of the inevitable bubbles out of the epoxy back into the dispensing pipette, but those last few bubbles will remain forever. Popping bubbles by waving a propane torch flame over the surface seems better-suited to tabletop-scale projects not involving an acrylic frame.
The epoxy puddles are about 1 mm deep inside the 2.5 mm thick frame, so (if this were a real coaster) the sashes between the petals would support the chilled mug and the petals would collect all the condensation.
Thicker epoxy would have more saturated colors and a white base plate might be in order.
-
Subscribe
Subscribed
Already have a WordPress.com account? Log in now.
