Ed Nisley's Blog: Shop notes, electronics, firmware, machinery, 3D printing, laser cuttery, and curiosities. Contents: 100% human thinking, 0% AI slop.
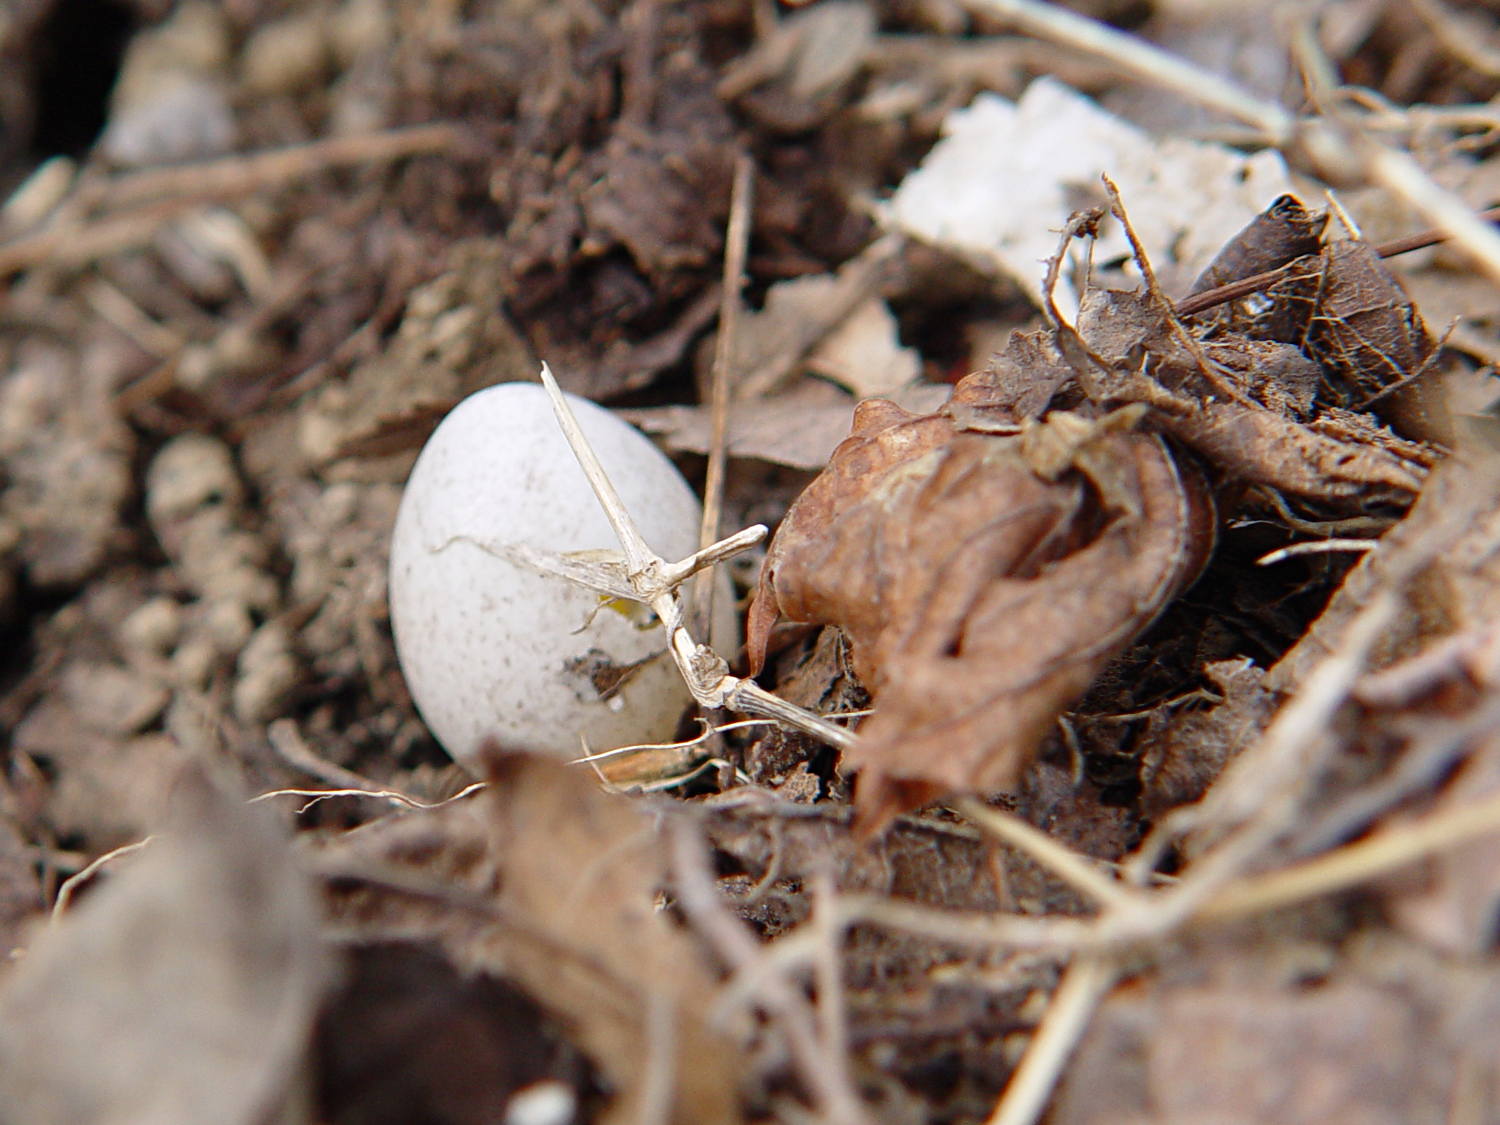
Mary spotted three eggs on the ground under one of the garden bird boxes, surrounded by a spray of feathers. We first thought that a hawk had dismantled another songbird, but the feathers came from many different birds.
All three eggs were stone cold and this one had a puncture wound:
Sparrow egg in garden
We think one of the myriad blackbirds inhabiting the forsythia along the property line cleaned out the nest. It seems sparrows completely fill their nesting cavity, putting their eggs hazardously close to the hole.
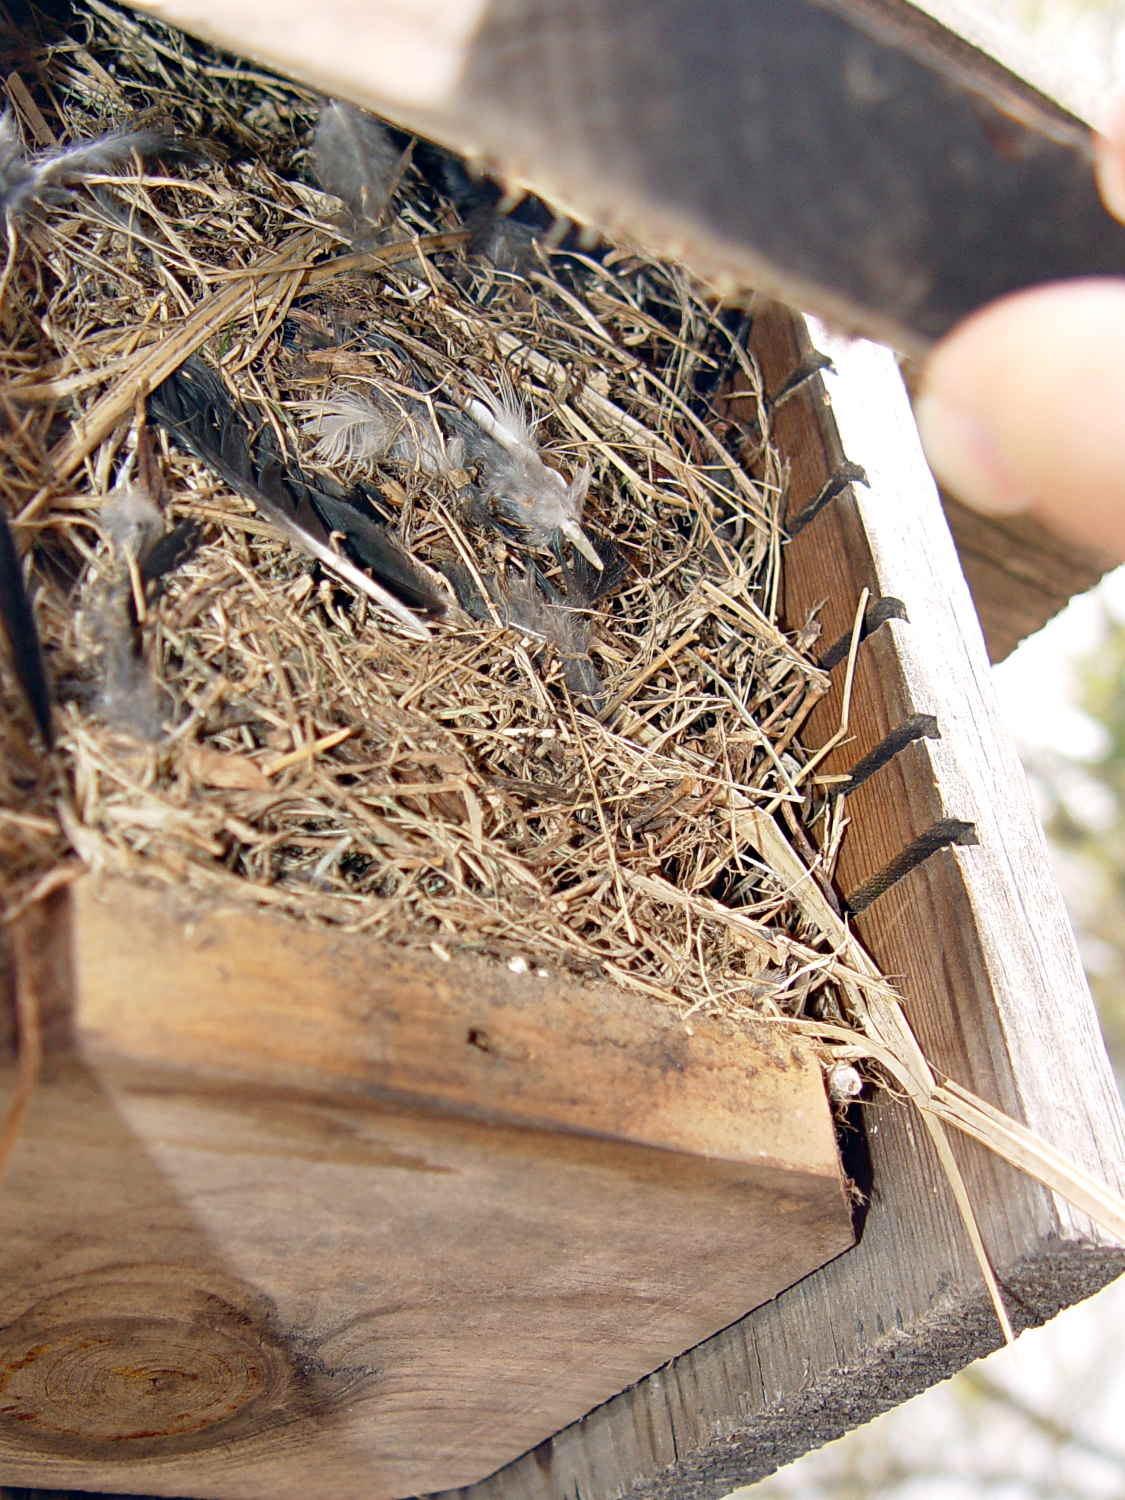
This side view shows the entire column of fill:
Abandoned sparrow nest box
We’d cleaned out those boxes not long ago, so we’ll let the sparrows handle this one on their own. A pair of Carolina wrens have been hauling grass into the other garden box and we hope the sparrows won’t bother them.
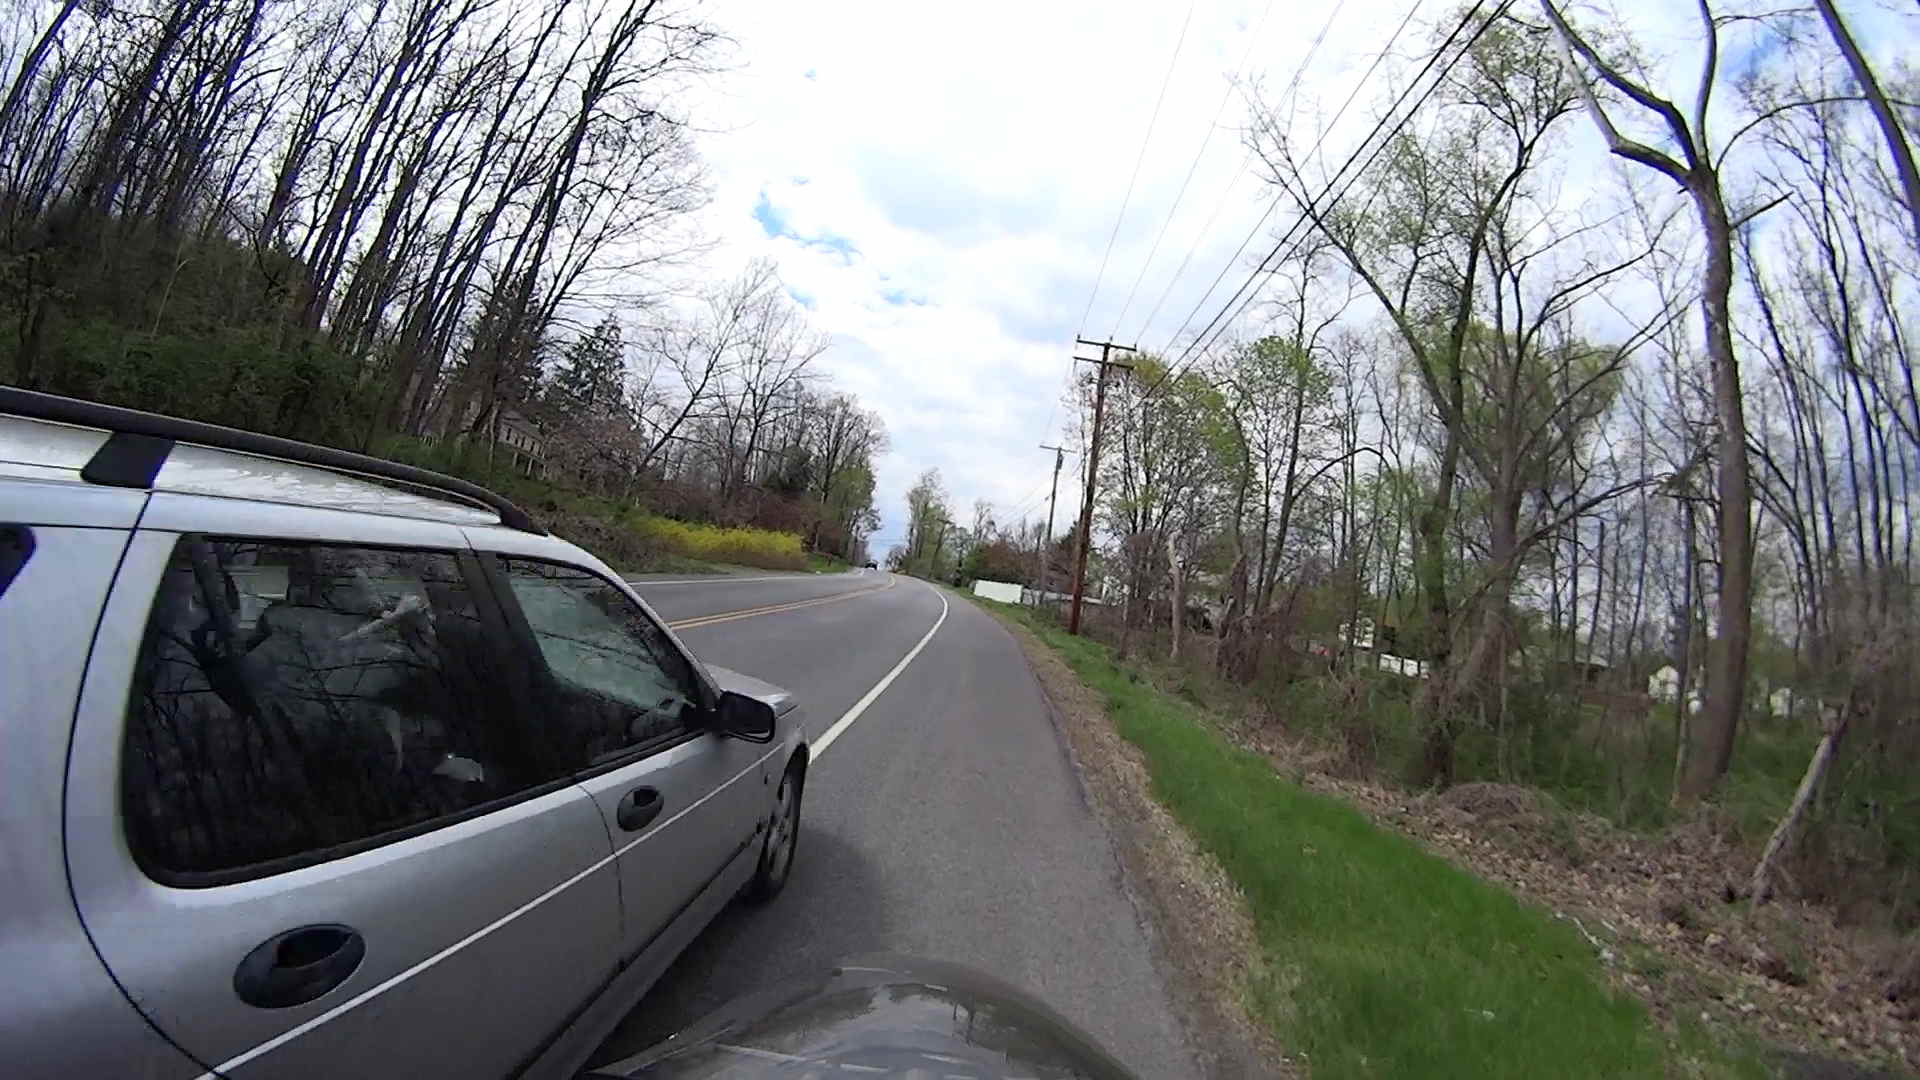
I’m grinding uphill at about 5 mph on Jackson Drive, in the middle of the surprisingly good shoulder, with the bright-red Planet Bike taillight blinking away to the rear. I am not inconspicuous, but …
You’ll never see the one that kills you:
Near Miss – Jackson Drive – 2014-05-03 – 1
The speed limit is 40 mph = 60 ft/s. The door-to-shoulder clearance might have been the better part of a foot; the mirror didn’t quite clip my arm.
The license plate is legible in the original image, although I’ve blurred it here:
Near Miss – Jackson Drive – 2014-05-03 – 2
Adrenaline is wonderful stuff; I caught up with him at the next light … uphill and 1/3 mile later:
Near Miss – Jackson Drive – 2014-05-03 – 3
I said “Hey!” When he looked over, I explained I needed a face to go with the plate and pointed to the camera. He said he was really, really, really sorry.
I’ll not ascribe to malice what can be explained by distraction; if he wanted to hassle me, I’d be dead now. Most likely, it’s one of those distracted driving things that happens to all of us … to some, alas, far more frequently than to others.
Took a while for the shakes to stop.
Put down that damn phone / tablet / burger and pay attention!
[Update: Still images captured from the Sony HDR-AS30V helmet camera, recorded at 1920×1080 60 fps.]
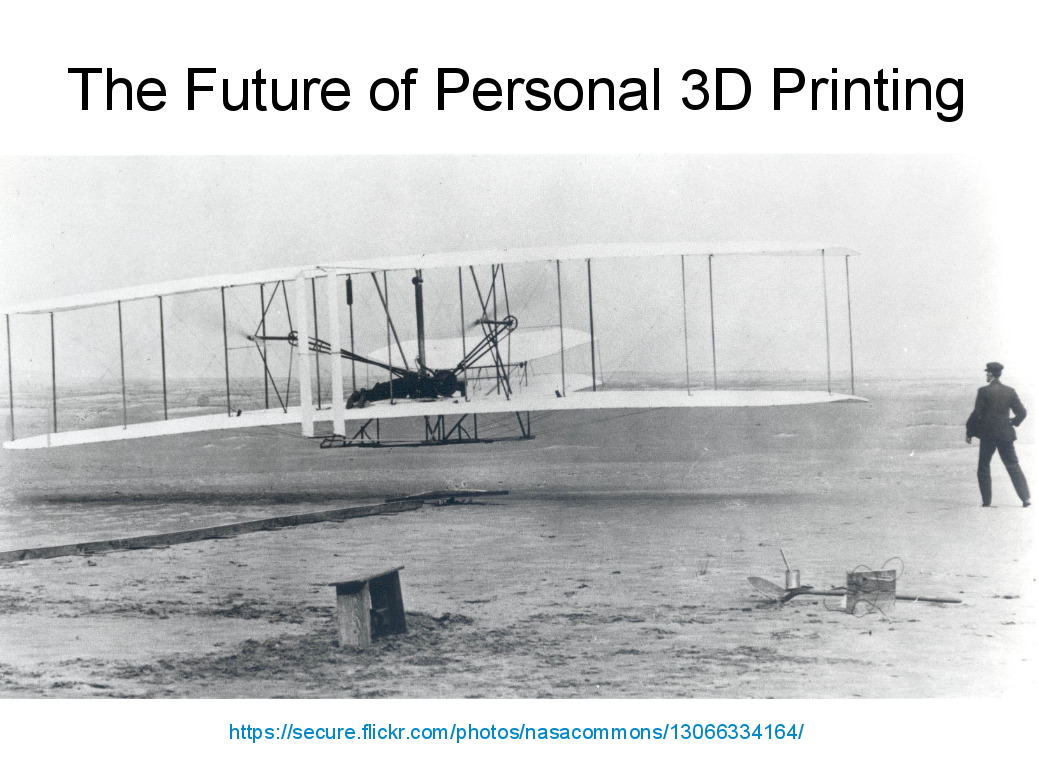
Herewith, the MHVLUG – 3D Printing Status 2104 slides (remember slides?) I’ll be using for my talk this evening at the MHVLUG meeting; you don’t get the audio track in the PDF, but the pictures may be informative.
If you believe everything you read, you might think personal 3D printing will go like this:
3D Printing 2014 – What They Say
But it requires entirely too much of this:
3D Printing 2014 – What They Dont Say
Personal 3D printing requires that you take full control:
3D Printing 2014 – Personal 3D Printing
Not knowing the answers, I’ll still make some guesses about what lies ahead:
3D Printing 2014 – The Future
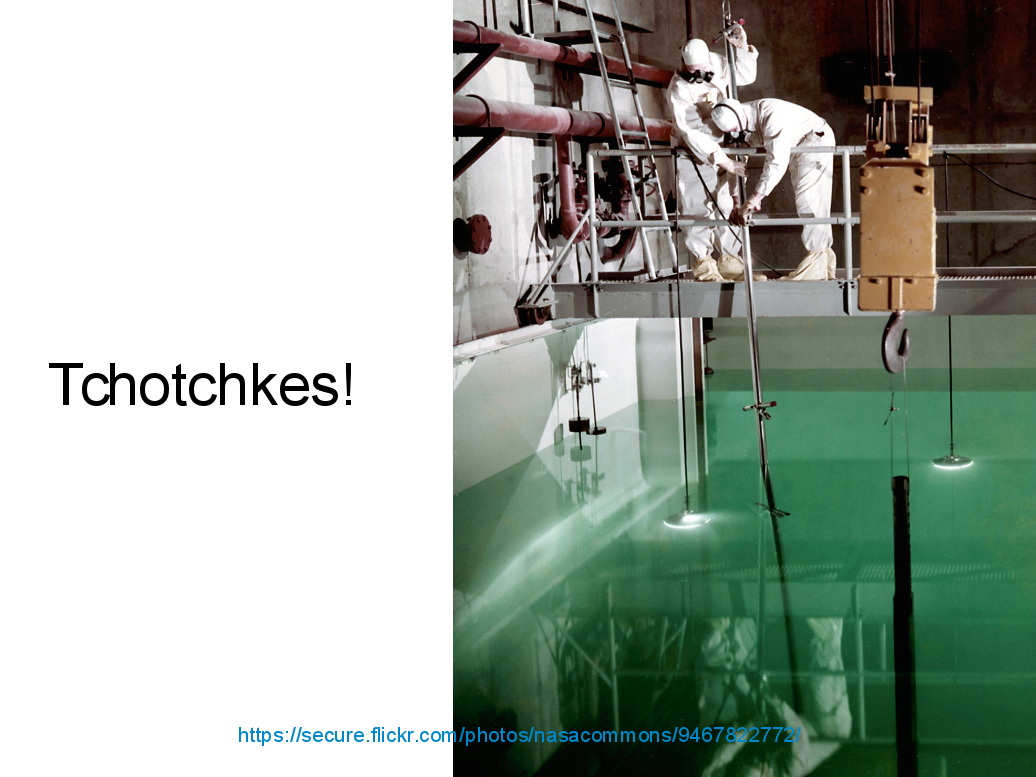
And I found the best tchotchkes ever:
3D Printing 2014 – Tchotchkes
See you there…
(The PDF has clickable links for those images, plus the 60-some-odd other slides. The plan: talk like an auctioneer for an hour!)
I took that picture back in mid-1969, near the Hummelstown, PA water treatment and pumping plant.
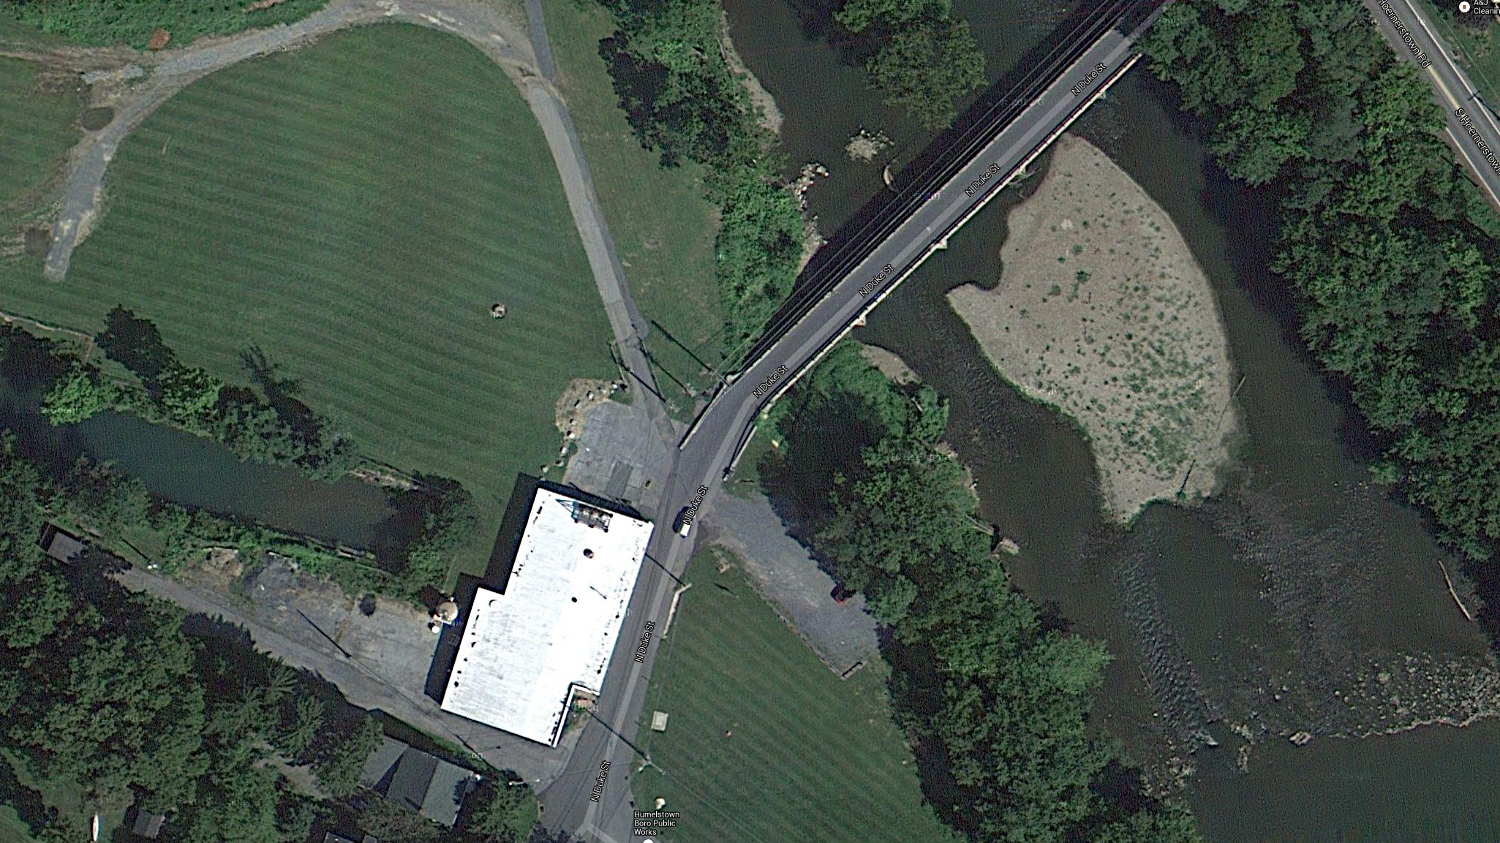
The overhead view now shows a small tank behind the water plant, with that house just across the access road at the bottom of the image:
Hummelstown PA water plant – overhead – ca 2013
Judging from the perspective and the row of bushes, the old tank probably stood across the (now abandoned) tailrace, near that little dot in the mowed area. The dam (in the lower right corner) washed away during a flood some decades ago; I have no idea where Hummelstown gets its water.
That once-spiffy limestone house, built with stone from a local quarry, has fallen on hard times:
Hummelstown PA water plant – ca 2013
The pump house features Hummelstown Brownstone, which also appears in the finest old buildings all along the East Coast. If you poke around the area, you’ll find traces of the Hummelstown Brownstone Company, including several of their quarries. If I recall the story correctly, my father was Mr. Walton’s chauffeur.
The other house may have vanished when the Graystone Farms development ate the surrounding area. Unlike most housing development names, where the name indicates something obliterated to make way for the houses, that area still has plenty of gray limestone:
Hummelstown PA water plant – Pennsy Supply Quarry – ca 2013
That’s an active limestone quarry, even if they’re not excavating the main pit these days. The orange marker in the lower left marks the water plant; Graystone Farms in the corner. Yeah, that’s a big pit.
I digitized my slide collection somewhere around the turn of the current millennium. This slide faded to a distinct magenta tint that I’ve removed with crude color correction, plenty of dust mars the image, and so forth and so on, but I (still) sympathize with that poor guy faced with a daunting task.
Imagine a kid with a camera poking around an active water treatment station in this day and age…
The Sony HDR-AS30V camera lens has a view angle of 120° or 170°, achieved by internal image processing rather than mechanical lens adjustments. For most action-camera purposes you don’t care about fisheye distortion, but sometimes a more rectilinear picture will look better, in which case the GIMP’s Lens Distortion filter comes in handy.
A still image at 120°, which doesn’t look all that bad, really:
Sony HDR-AS30V 120 angle – as captured
Applying Main=-25 gives this:
Sony HDR-AS30V 120 angle – corrected
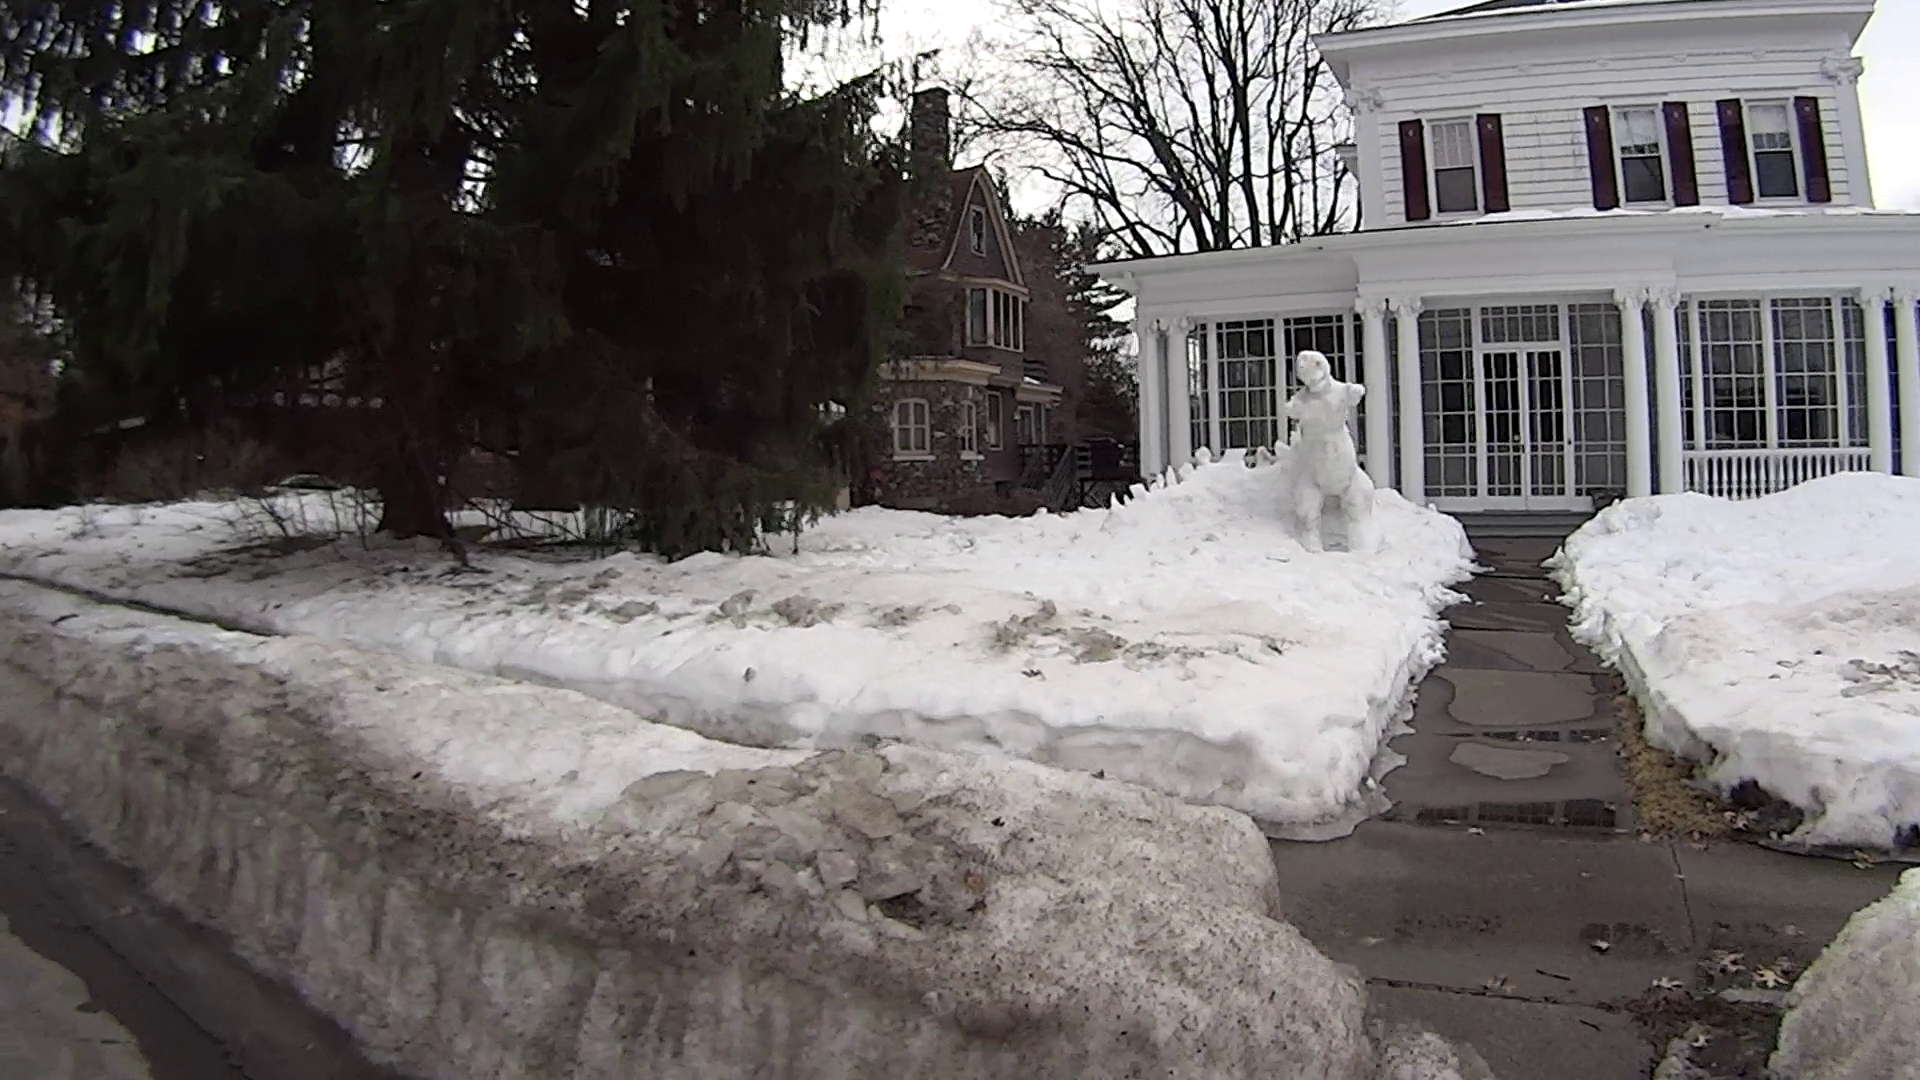
A frame captured from video at 170°, with the overhead wires hanging upward:
Sony HDR-AS30V 170 angle – as captured
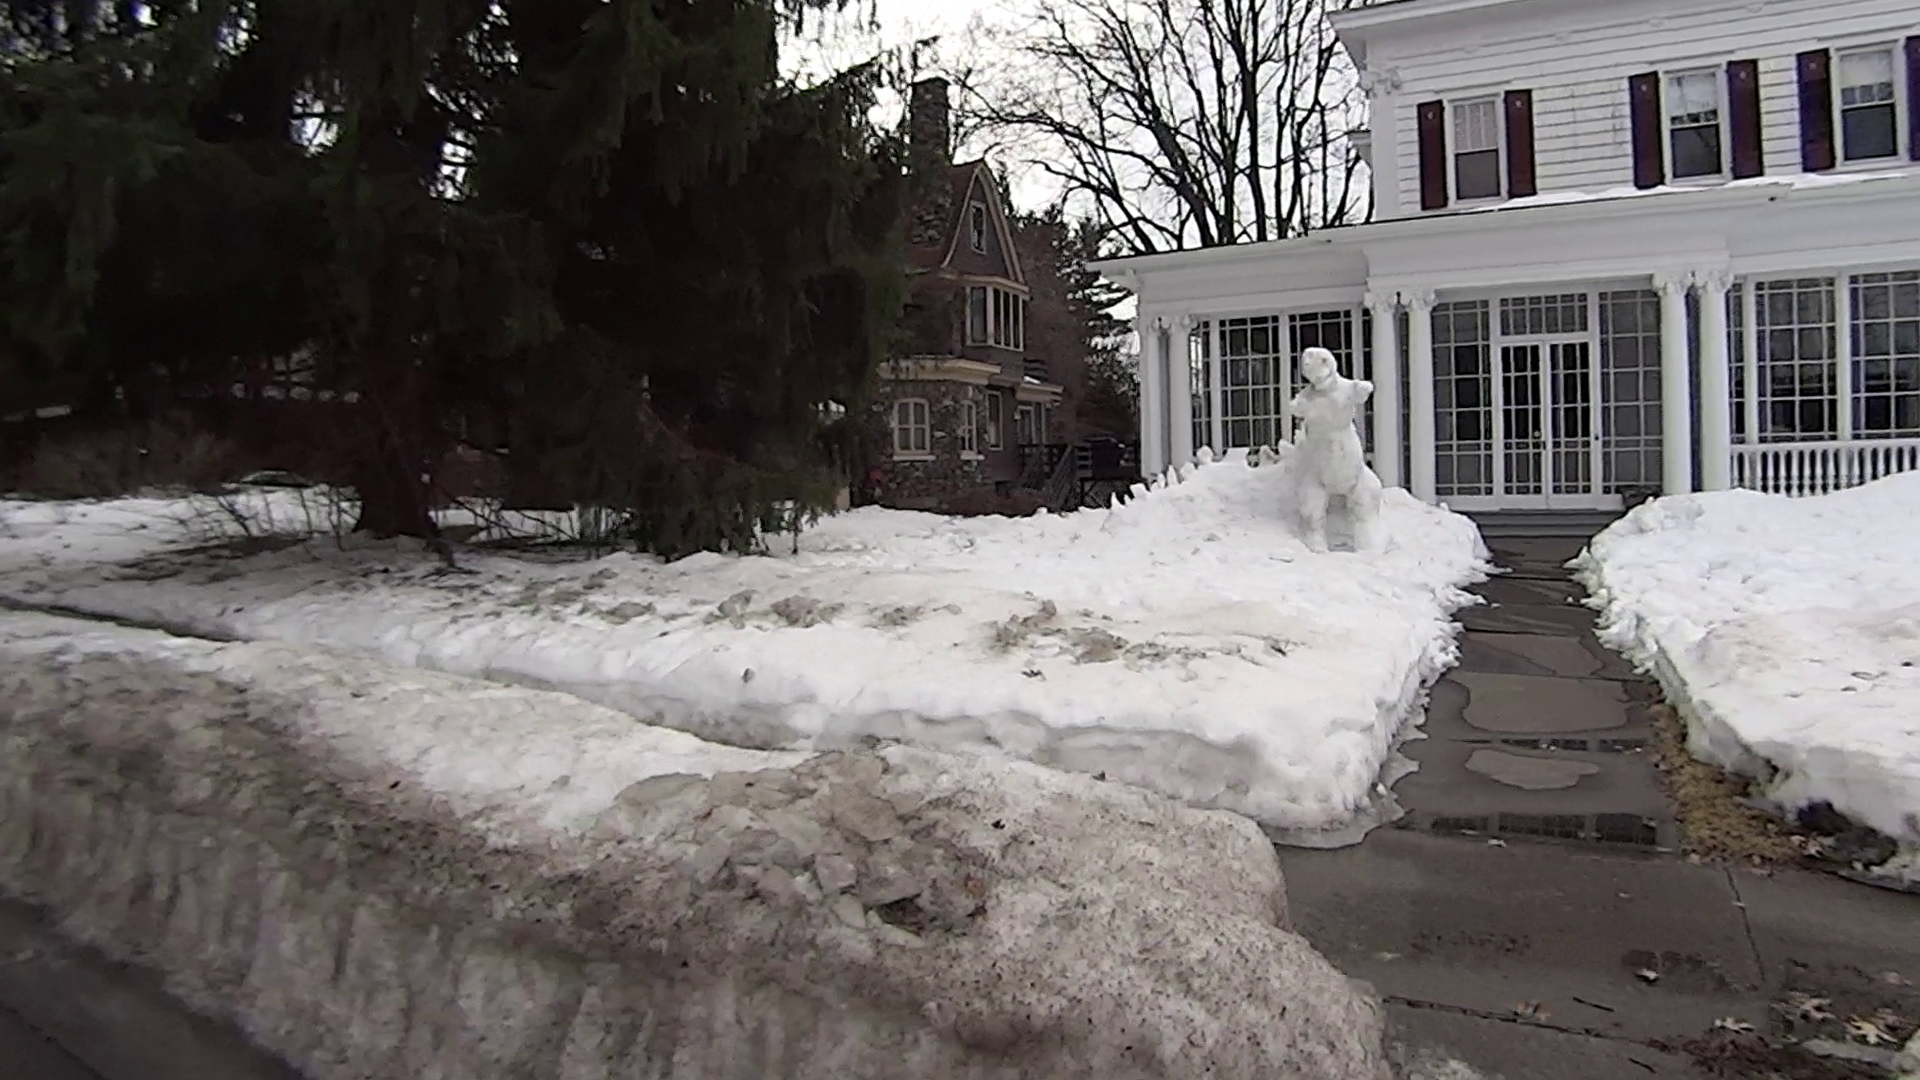
Applying Main=-25, Edge=-12.5, Zoom=+8 flattens them enough to be acceptable:
Sony HDR-AS30V 170 angle – corrected
The main effect of the Zoom parameter seems to be discarding the severely distorted remnants around the edges of the corrected 170° view. Sometimes, those pixels around the edges can be very, very important, so I’d rather make that decision after the fact.
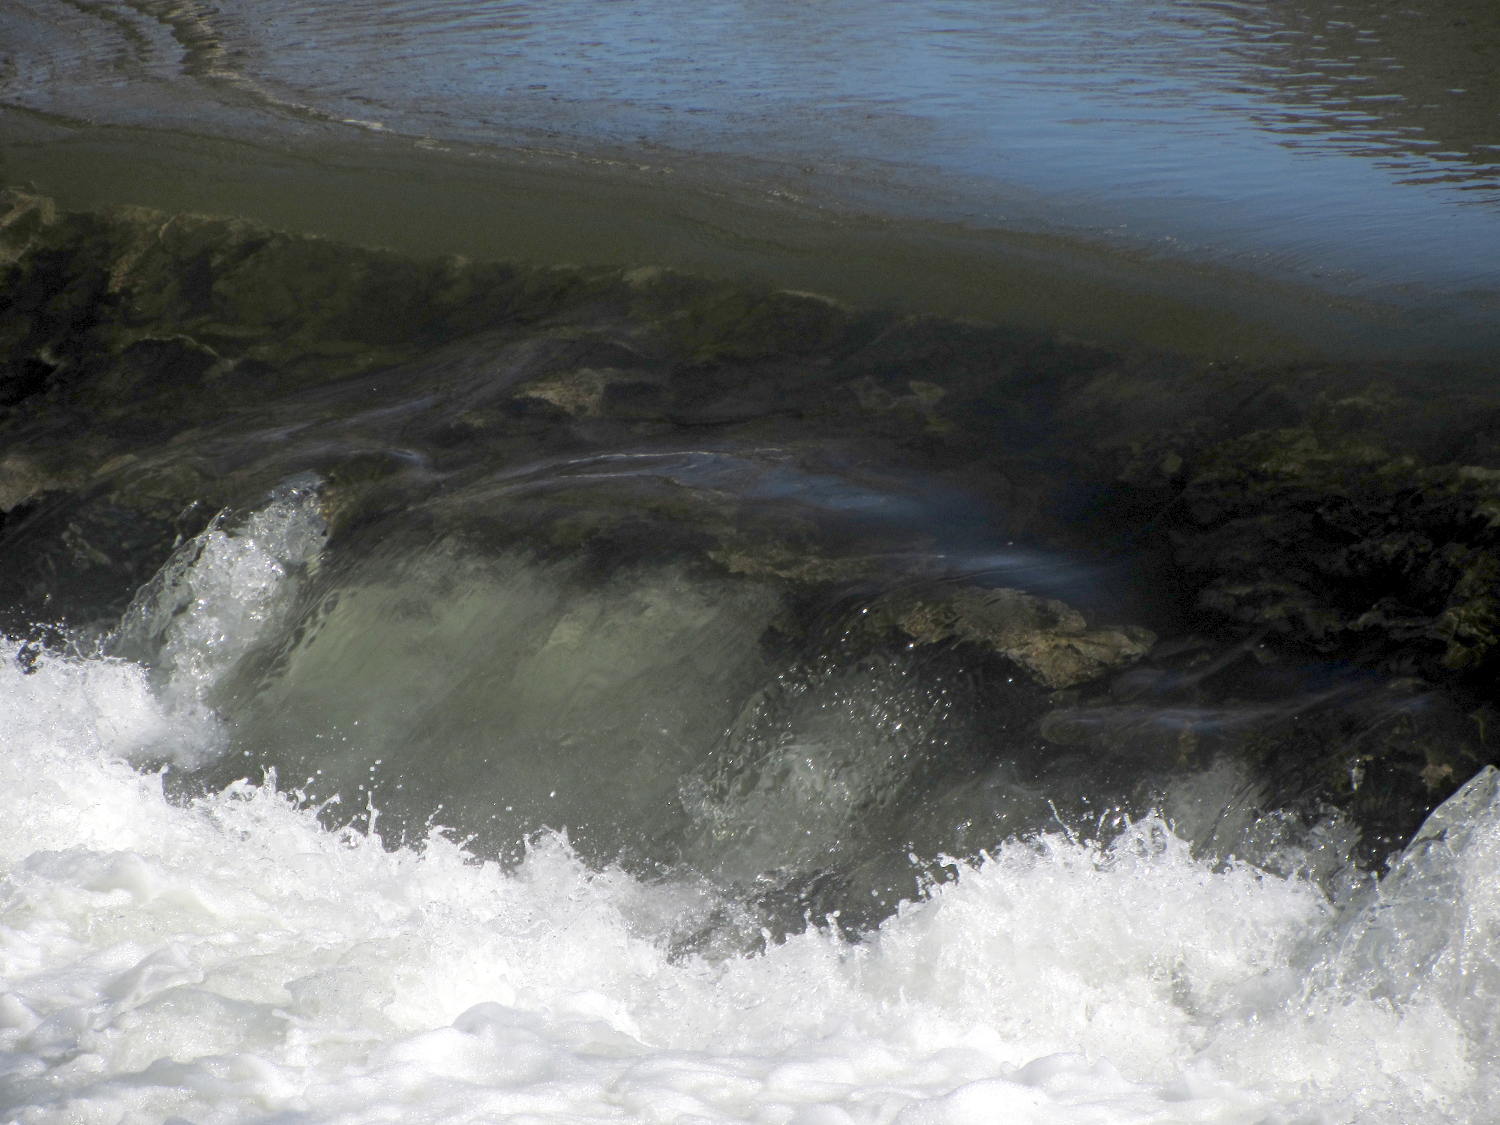
Recent rains and snowmelt raised the level of the Mighty Wappingers Creek a bit:
Red Oaks Mill Dam – 2014-04-06
It’s not flood stage, but there’s plenty of water flowing over the dam:
Red Oaks Mill Dam – crumbled top – 2014-04-06
The crumbled rubble fill hardly disturbs the flow until the bottom falls out at the downstream edge:
Red Oaks Mill Dam – crumbled top detail – 2014-04-06
I once spotted a job offer for a live-in dam tender over in Wallkill, but it turned out to be Internet debris; they automated the process and no longer need a human. I want to live in the powerhouse next to a dam, but it’s not to be…
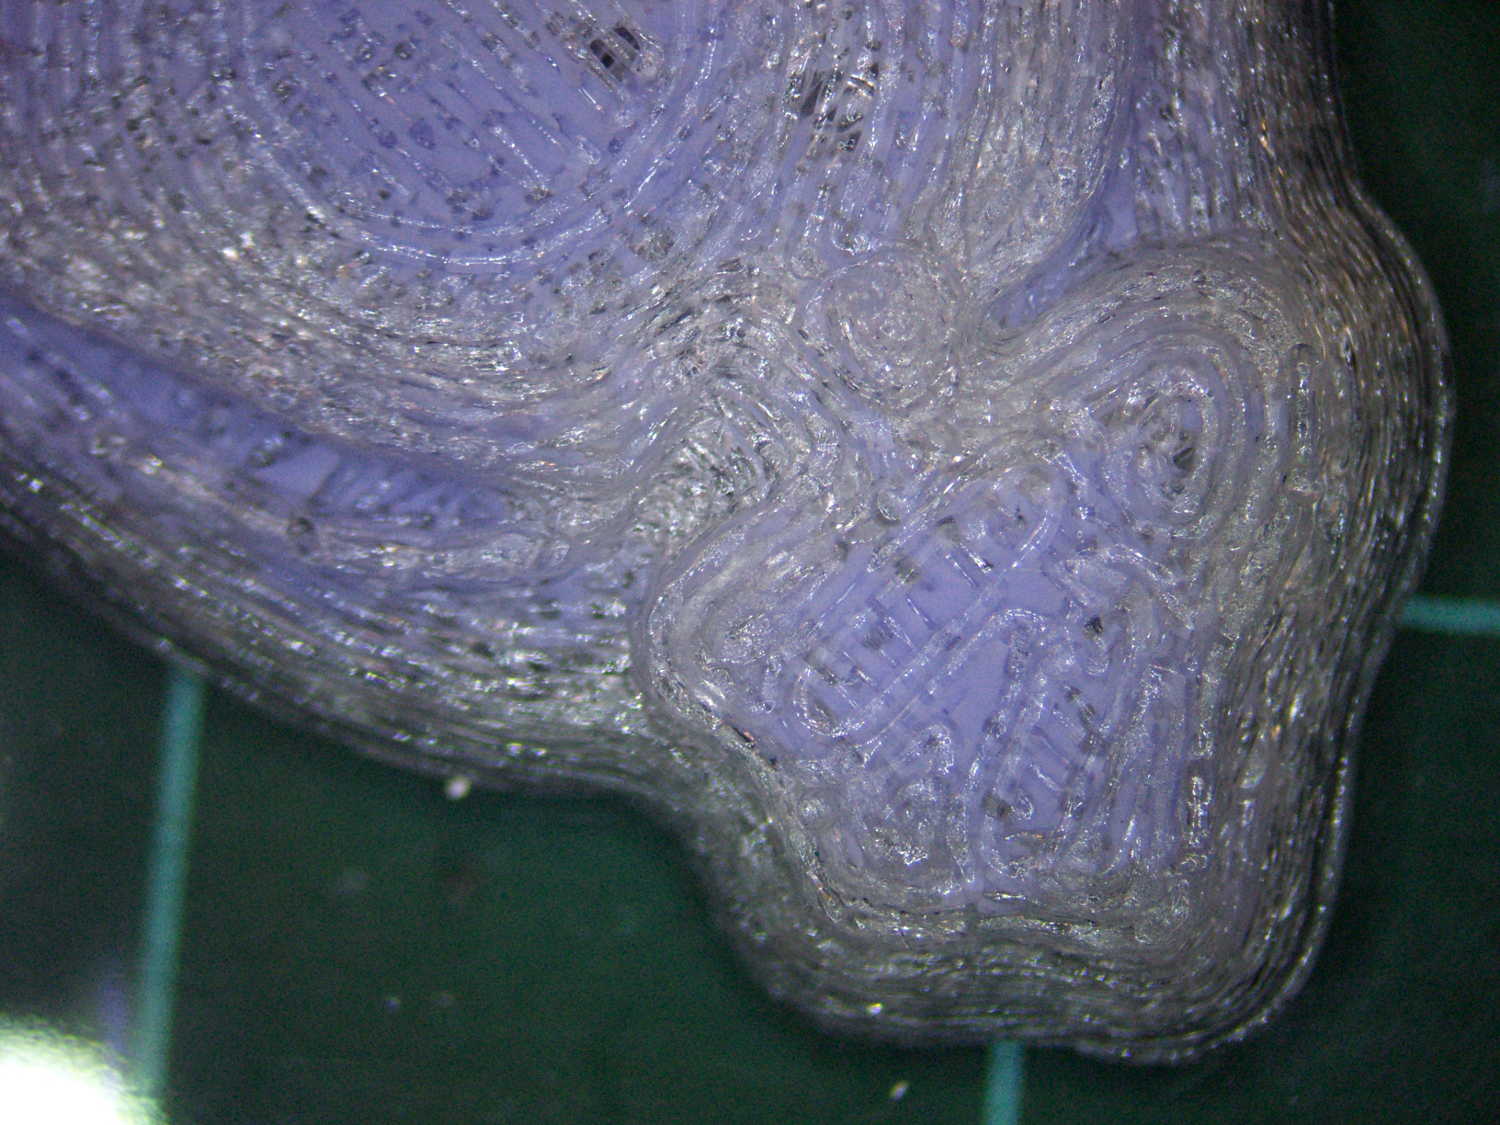
The PLA positive, after removing the silicone negative, showing the silicone below the surface:
Tux Gradient – PLA positive detail
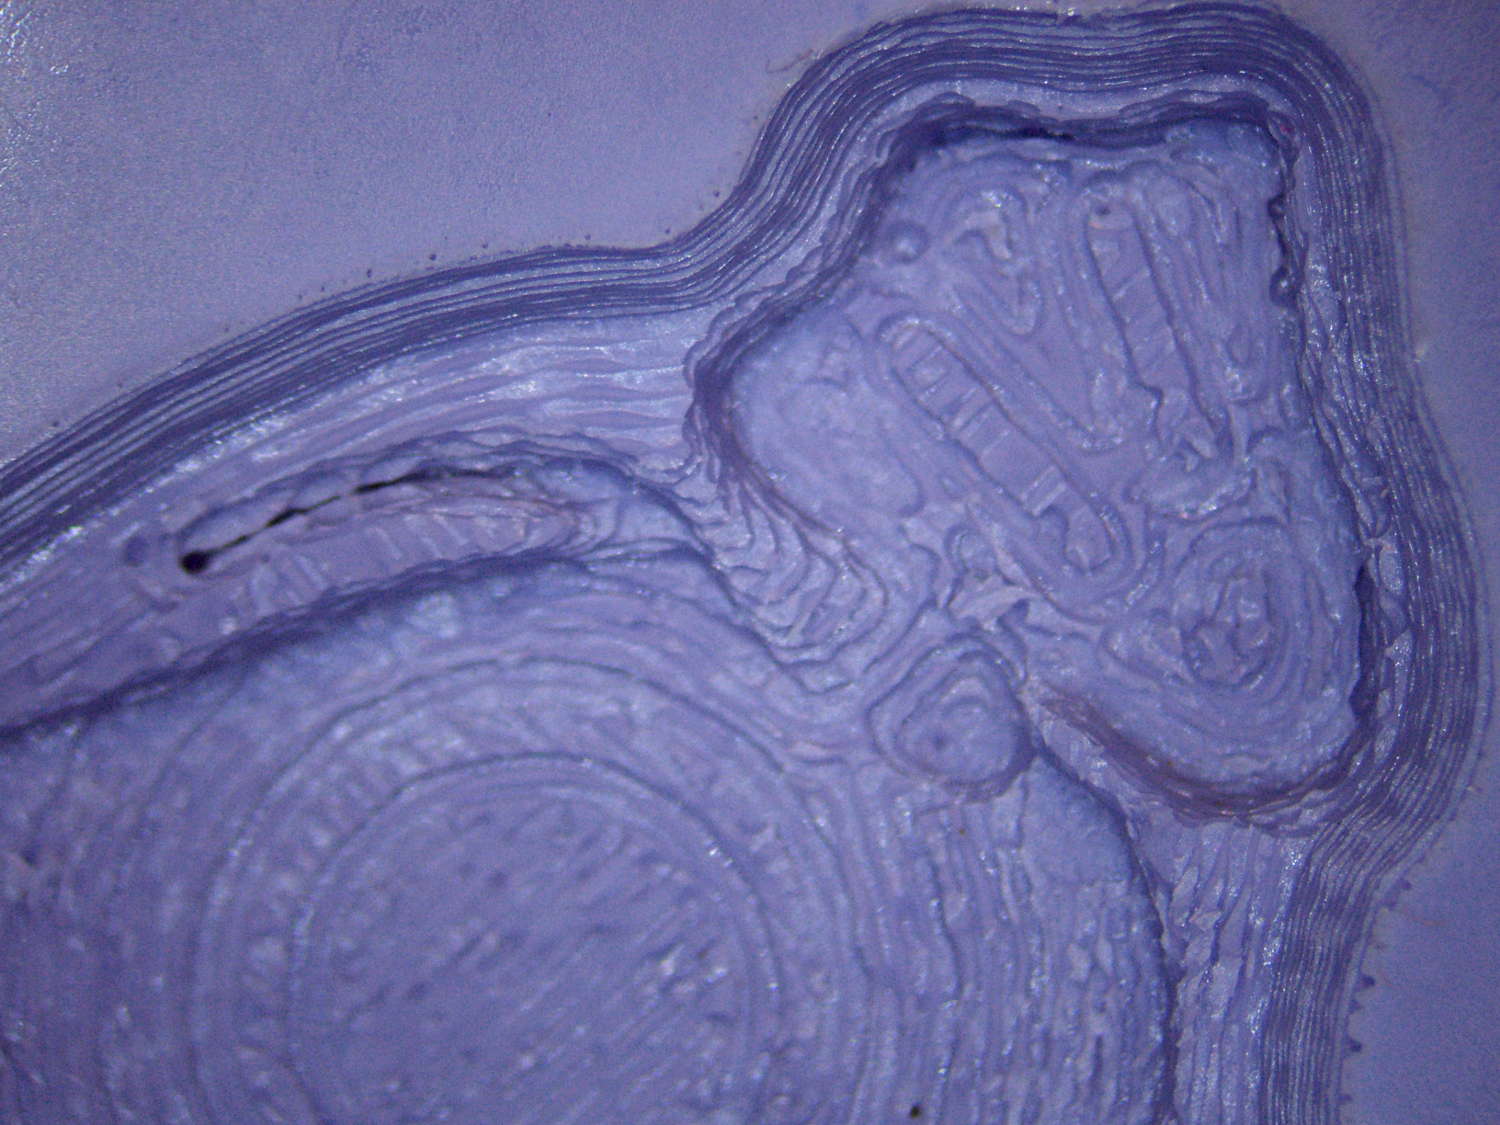
The corresponding silicone negative cavity, flipped top-to-bottom:
Tux Gradient – silicone negative detail
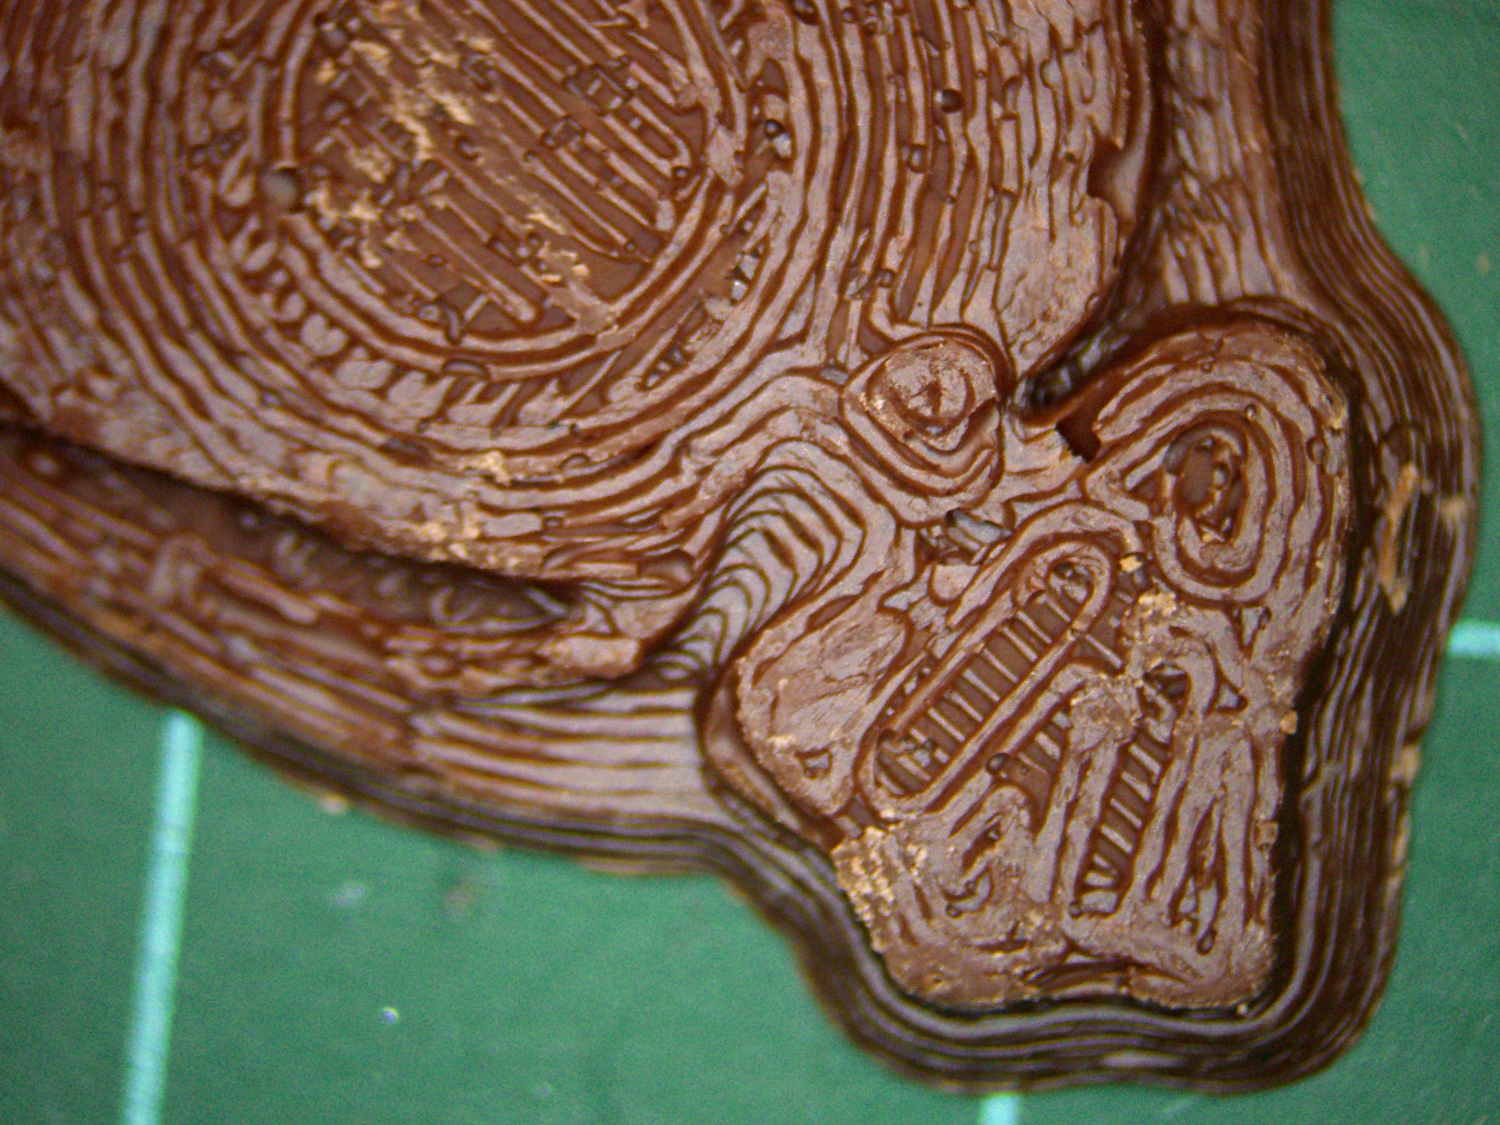
The milk chocolate result, although probably not from the same cavity:
Tux Gradient – milk chocolate detail
The radial gradient on the tummy comes through clearly and, I think, pleasingly, even though it’s only a few layers tall. The threads defining the flipper just above (to the left, in these images) of the foot show where the flipper crosses the tummy and foot level. I didn’t expect the foot webbing grooves to get that ladder-like texture, but I suppose having non-slip foot treads would be an advantage.
If you don’t mind the hand-knitted texture, which I don’t, this process seems perfectly workable.