Ed Nisley's Blog: Shop notes, electronics, firmware, machinery, 3D printing, laser cuttery, and curiosities. Contents: 100% human thinking, 0% AI slop.
That container lives in the garage, where the air temperature pretty much tracks the weather.
When the air in the main compartment heats up, it pushes fluid up into the dispensing compartment. Although both caps were screwed on finger-tight, apparently the smaller cap leaks just enough that the pumped fluid can push the air out through the not-so-good seal.
Another few weeks and it’d be sitting in a puddle!
We are not dog people, so being awakened at 12:45 one morning by a large dog barking directly under the bedroom windows wasn’t expected. After a bit of flailing around, I discovered the dog parked under the windows on the other end of the bedroom:
Dog on patio
That’s entirely enough dog that I was unwilling to venture outside and attempt to affix it to, say, the patio railing, where it could await the town’s animal control officer in the morning:
Dog upright
It’s not a stray, because it wears two collars: one with leash D-rings and the other carrying a black electronics box that could be anything from a GPS tracker to a shock box that’s supposed to keep it inside one of those electronic fences. If the latter, a battery change seems past due.
Being a dog, it spent the next two hours in power-save mode on the patio, intermittently moaning / growling / barking at every state change in the back yard: scurrying rodents, falling leaves, far-distant sirens, neighborhood dogs, you name it. We would be dog people to want that level of launch-on-warning, but we’re not.
If parvovirus were available through Amazon Prime, I’d be on it like static cling. By the kilogram on Alibaba, perhaps?
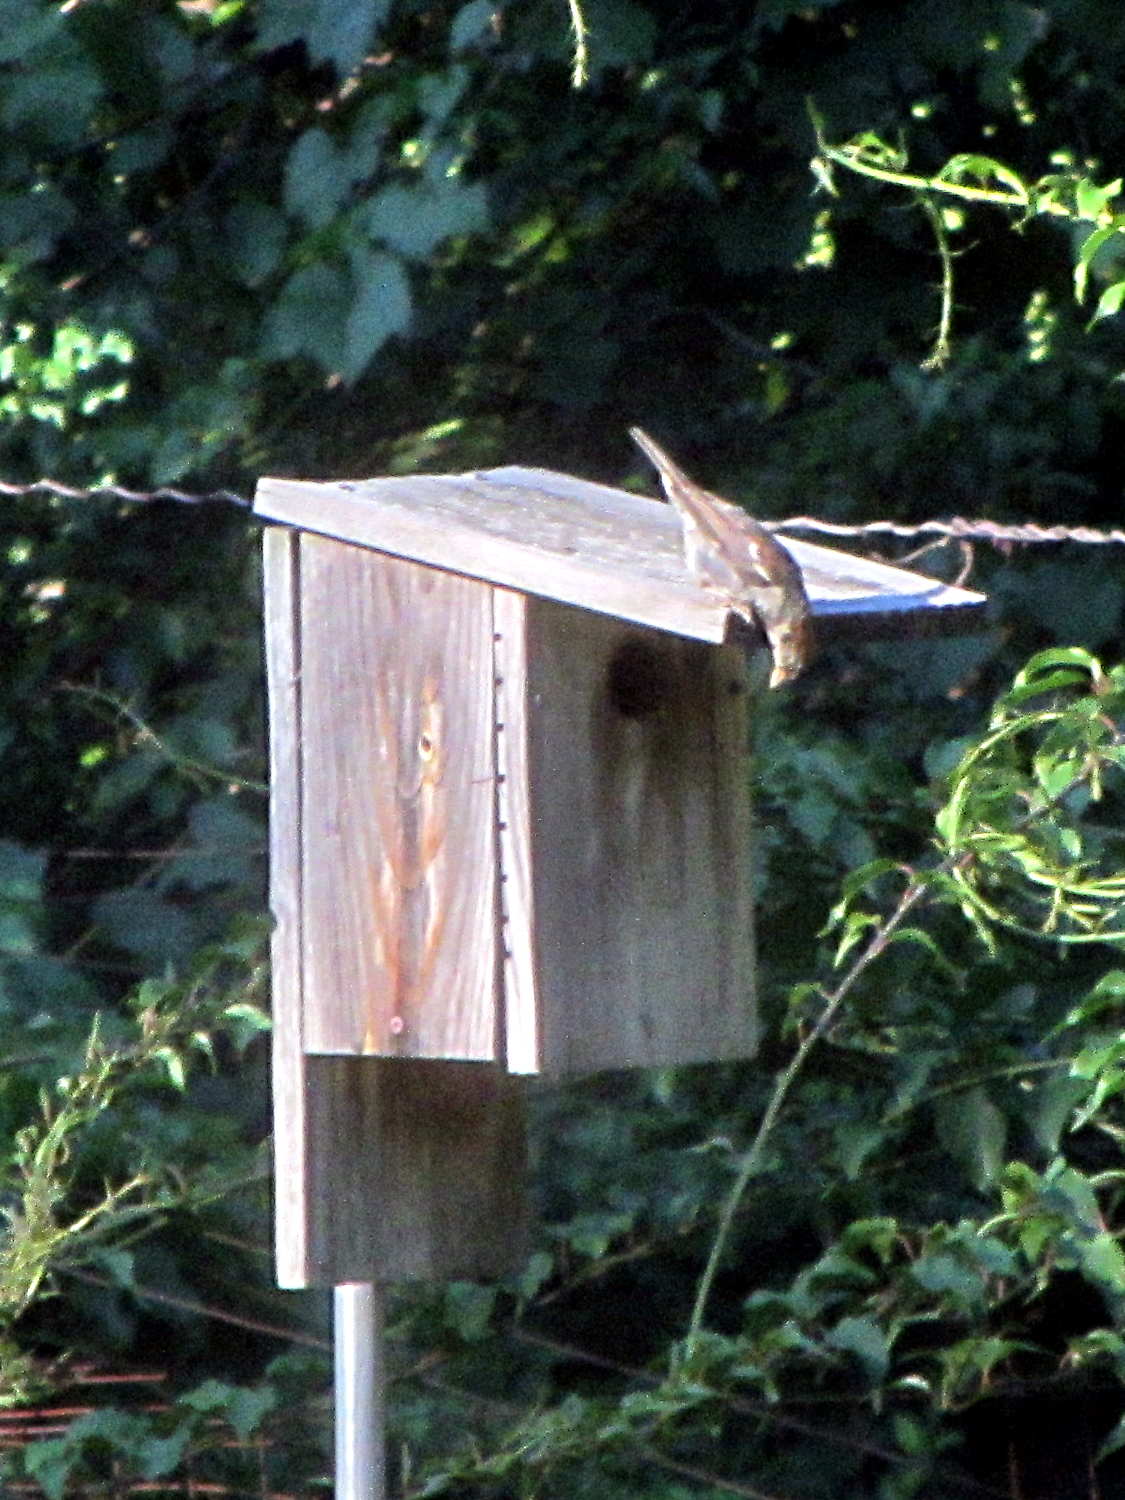
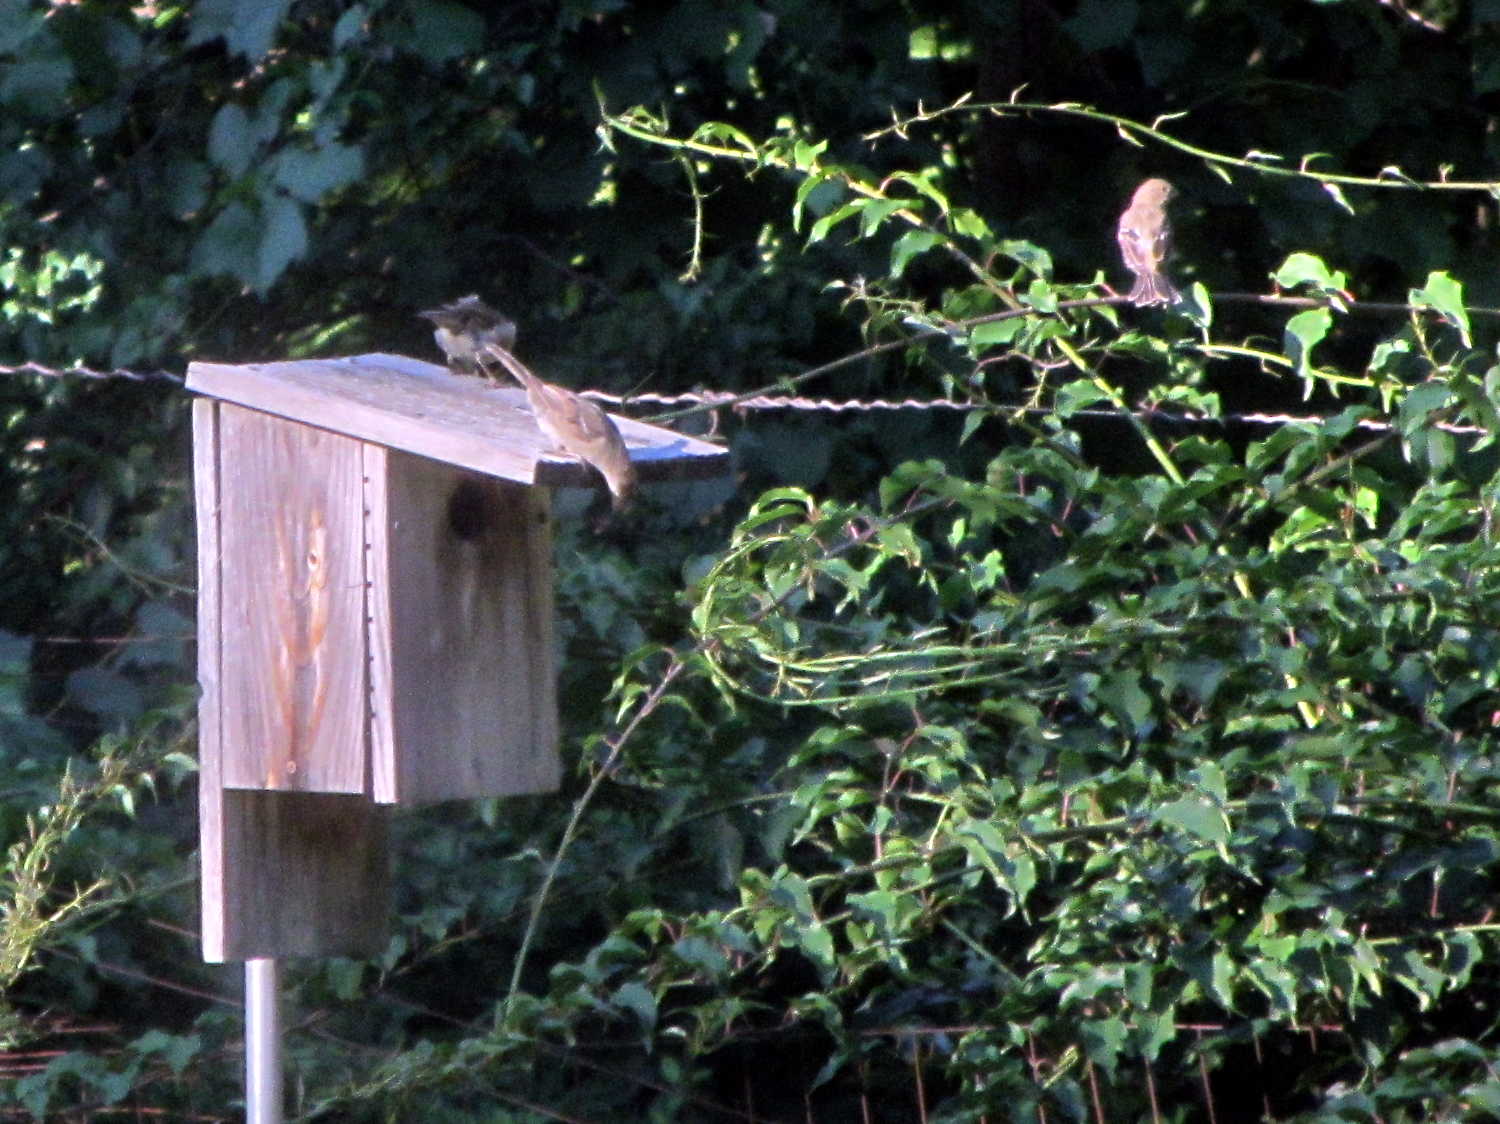
Mary used a garbage can lid to shelter some plants, left it in the garden for a while, and a critter moved into the new shelter. She first noticed two well-prepared front entrances:
Garden shelter – front entrances
And a rear entrance or, perhaps, the emergency exit:
Garden shelter – rear entrance
Gingerly lifting the lid, she found a dismantled bird corpse:
Garden shelter – bird corpse
Along with a large stash of sour cherries from a nearby bush:
Garden shelter – sour cherry stash
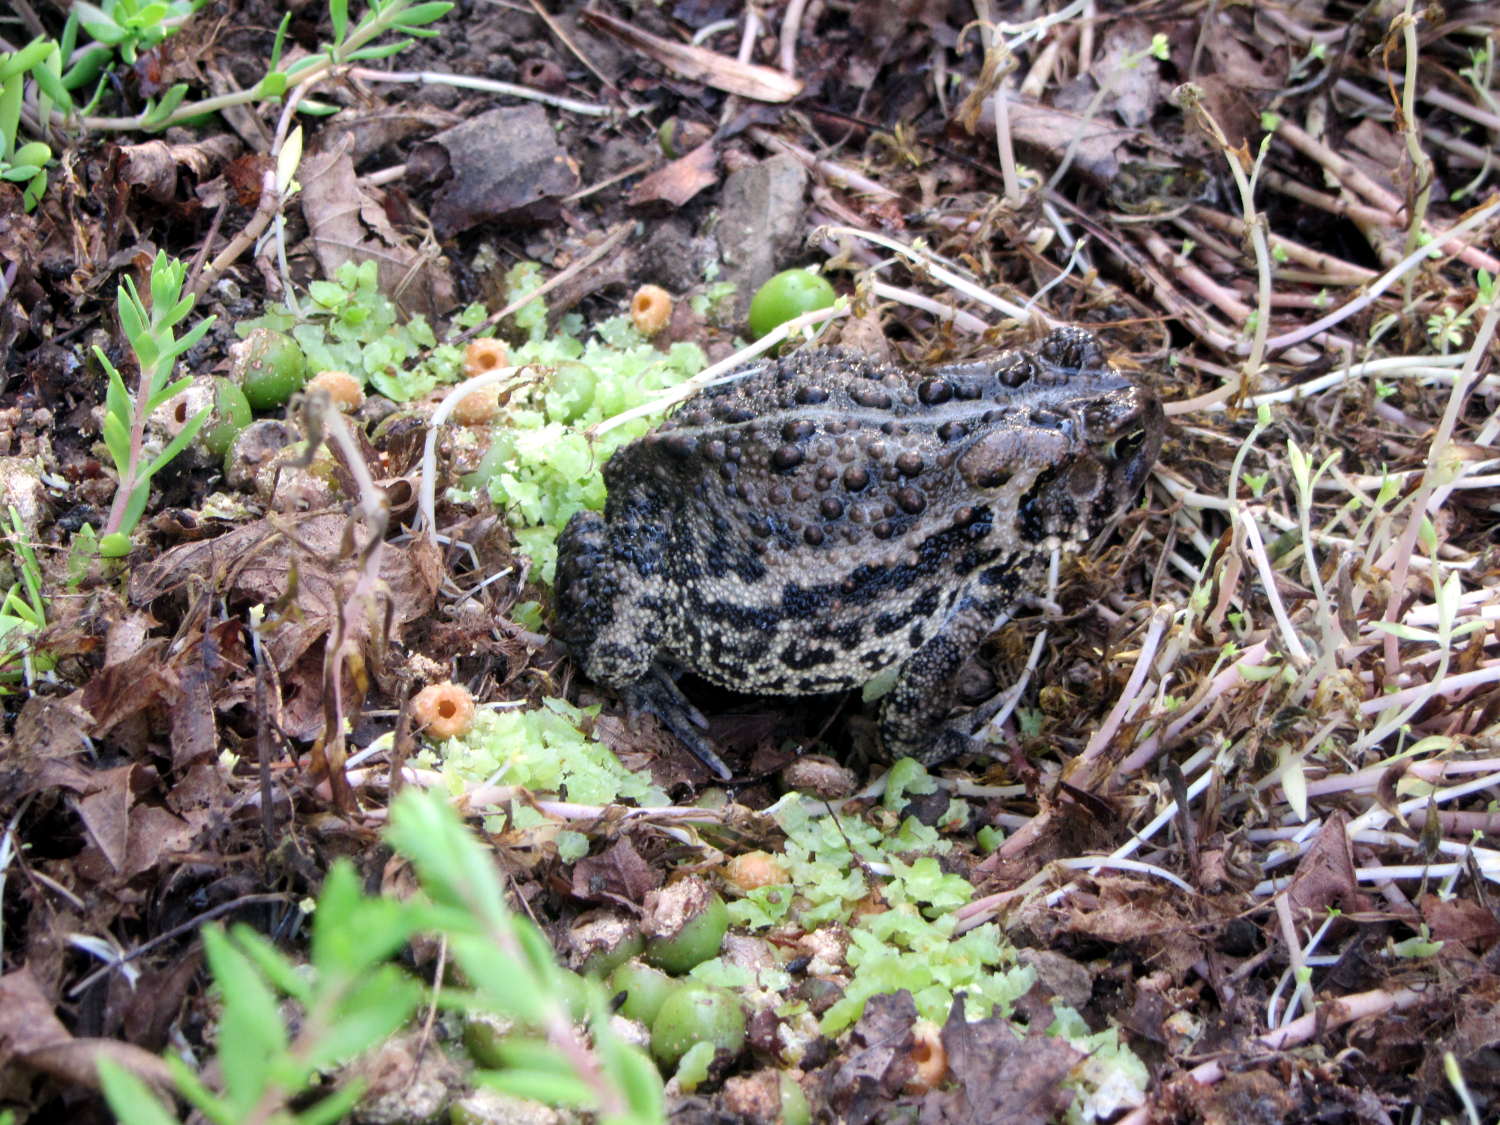
A good-size toad kept an eye on the proceedings:
Garden shelter – toad in lair
We didn’t know toads ate sour cherries, but the evidence seems clear:
Garden shelter – toad on sour cherries
The image of a toad taking down a bird can’t be unseen, but, more likely, a recently fledged nestling took shelter and couldn’t figure out how to get out again.
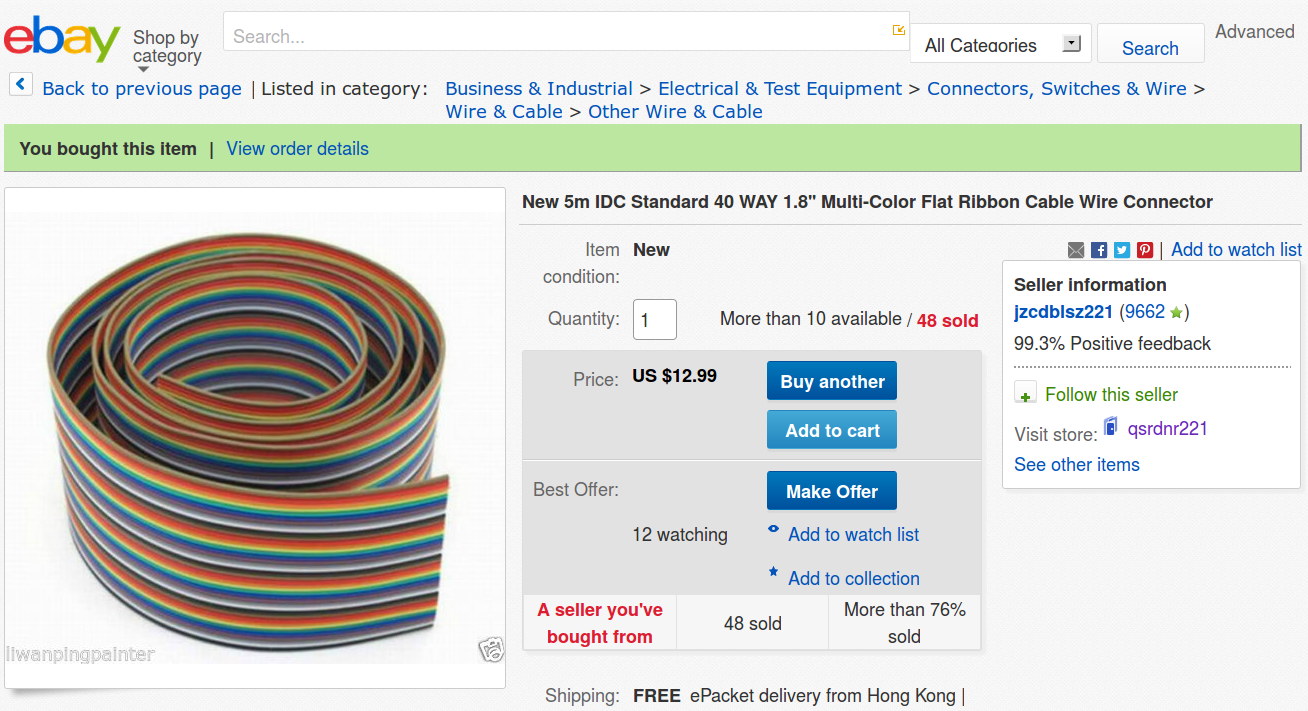
What’s wrong with this picture? (clicky for more dots)
eBay – 40 pin IDC cable – header
Not obvious?
Here’s the description, slightly reformatted for clarity:
New 5m IDC Standard 40 WAY 1.8” Multi-Color Flat Ribbon Cable Wire Connector
Description
Type: IDC standard.
10 colors, 4 group, total 40 pcs cables per lot
5 meter per lot.
width: 4.7 cm / 1.8 inch
Package content: 5M Flat Color Ribbon Cable
If you divide the 1.8 inch cable width by its 40 conductors, you find the wires lie on a 45 mil pitch. If you were expecting this “IDC standard” cable to fit in standard insulation displacement cable connectors with a 50 mil pitch, you’d be sorely disappointed. You can get metric ribbon cable with a 1 mm = 39 mil pitch, but this ain’t that, either.
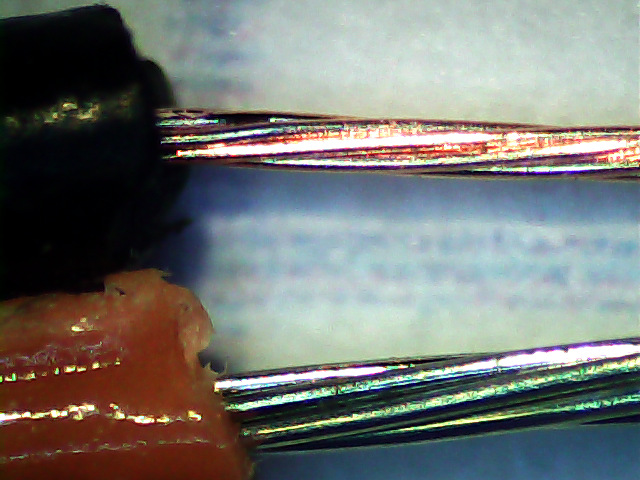
Here’s what an individual eBay wire (black jacket) looks like, compared to a wire from a standard ribbon cable (red jacket):
Ribbon cable – 26 AWG – eBay vs standard
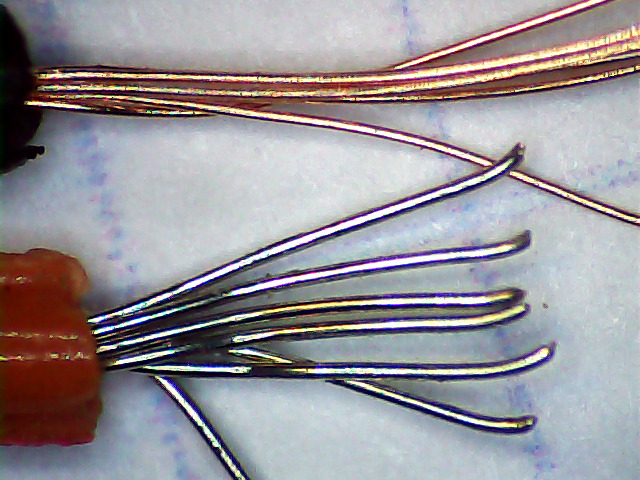
A closer look at the strands making up the wires:
Ribbon cable – 26 AWG – eBay vs standard – strands
As nearly as I can measure with my trusty caliper, the eBay ribbon cable has wire slightly smaller than 30 AWG, made up of seven 40 AWG strands, as opposed to standard 26 AWG wire made of seven 34 AWG strands. The good stuff might be 28 AWG / 7×36 AWG, but I was unwilling to break out the micrometer for more resolution.
I’d like to say I noticed that before buying the cable, but it came to light when I measured the total resistance of the whole cable: 80 Ω seemed rather high for 200 meters of 26 AWG wire. The wire tables say that’s about right for 31 AWG copper, though.
Changing the AWG number by three changes the conductor area by a factor of two, so you’re getting less than half the copper you expected. Bonus: it won’t fit any IDC connectors you have on the shelf, either.
Turns out a recent QEX article suggested building an LF loop antenna from a ribbon cable, so I was soldering all the conductors in series, rather than using connectors, and it should work reasonably well despite its higher DC resistance.