Ed Nisley's Blog: Shop notes, electronics, firmware, machinery, 3D printing, laser cuttery, and curiosities. Contents: 100% human thinking, 0% AI slop.
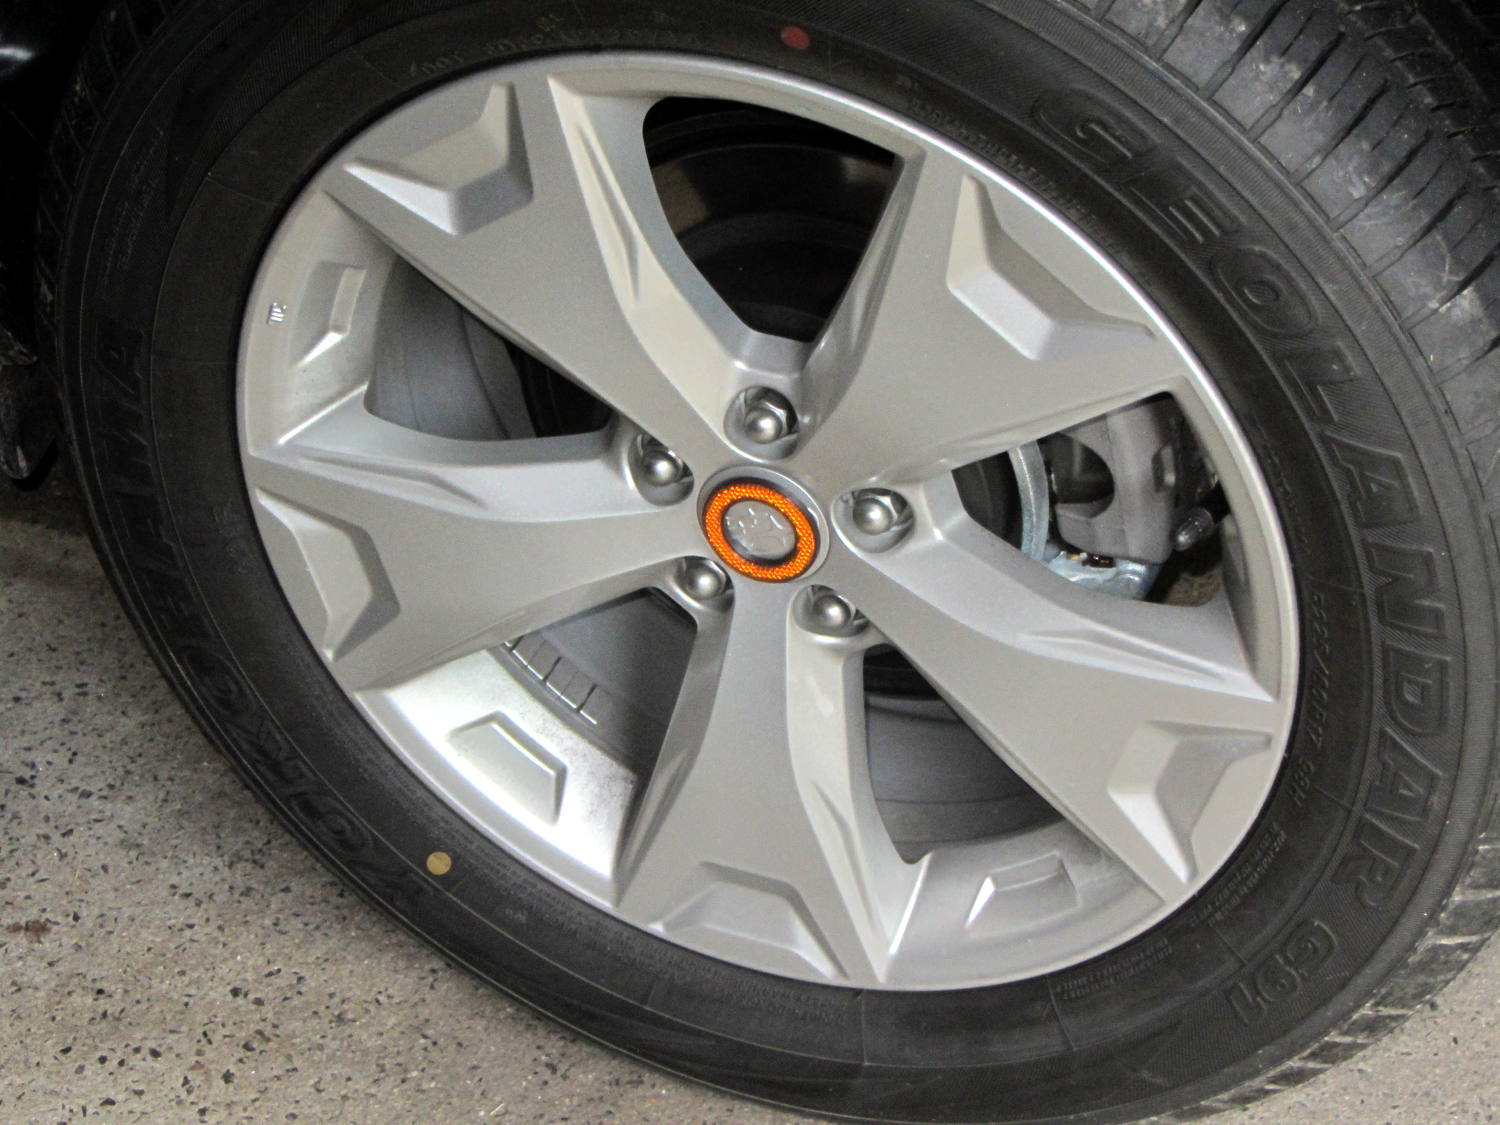
Inspired by our Larval Engineer’s threat promise to decorate the Sienna, I just had to do this to the Forester:
Forester wheel cover decoration
They’re intended to fit around the keyhole under a car door handle, but cars don’t look like that these days; they were a surplus deal from long, long ago.
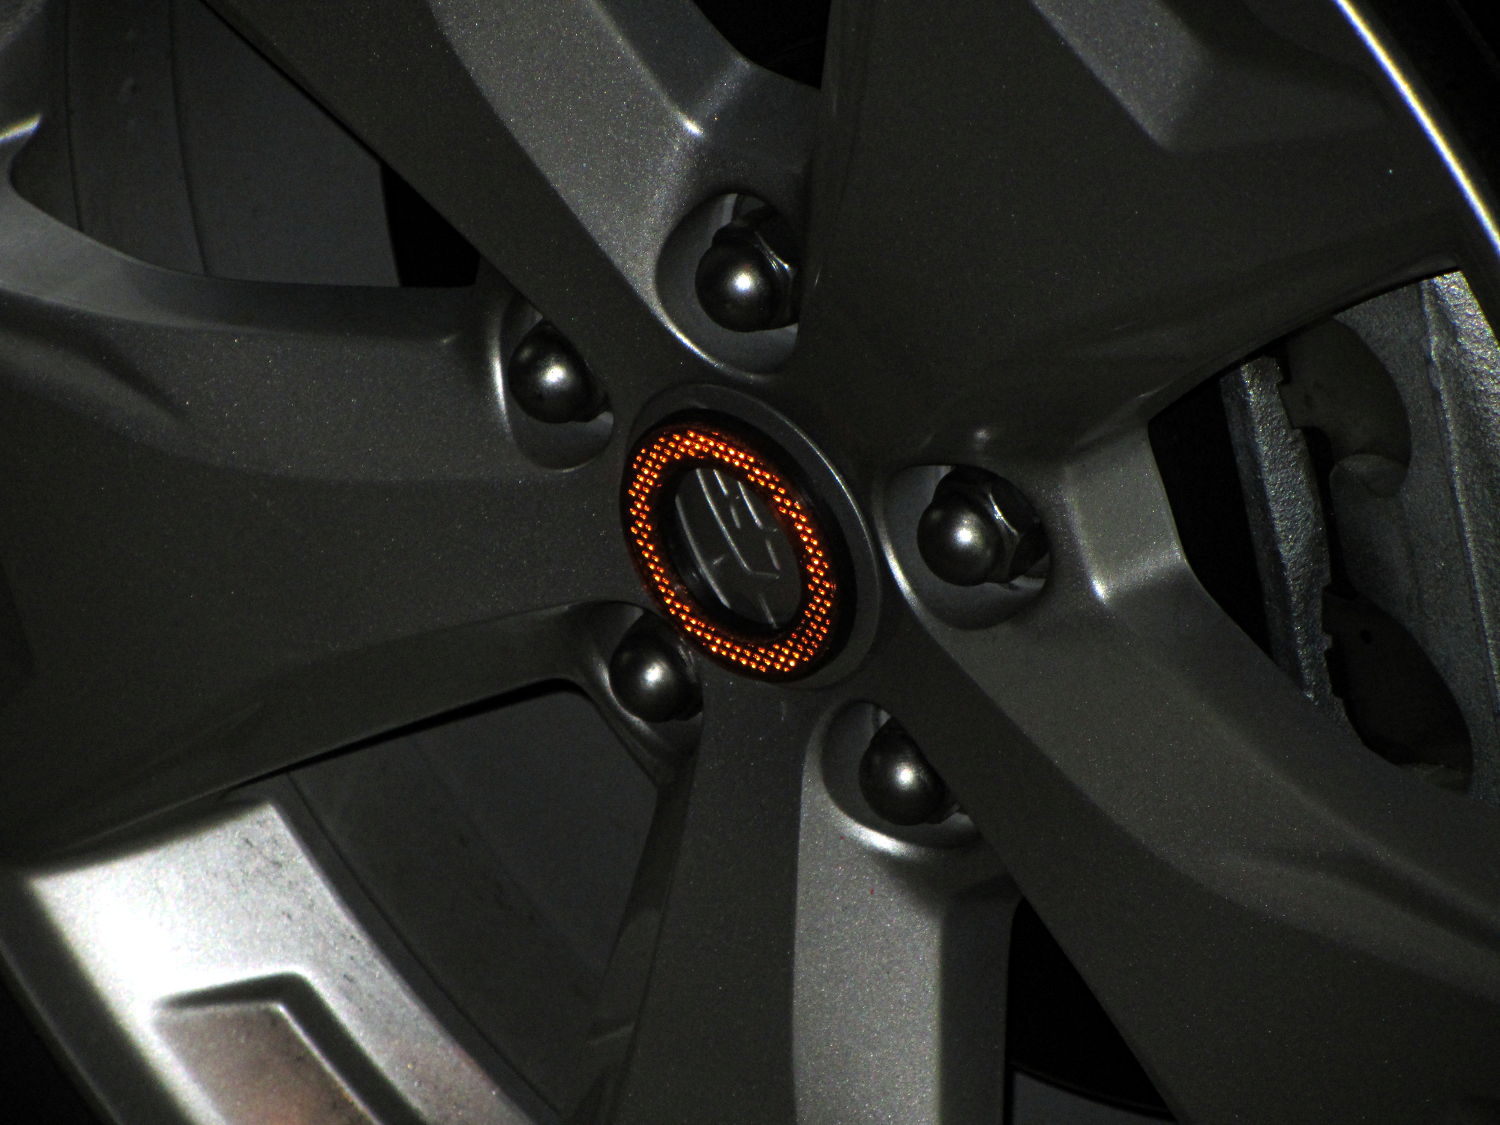
The reflectors stand out nicely in subdued light:
Forester wheel cover decoration – flash
The hub covers have an embossed Subaru logo and the reflector has thin foam tape, so it’ll be interesting to see how long they last. Worst case: 3D printed replacement hub covers with integral reflectors.
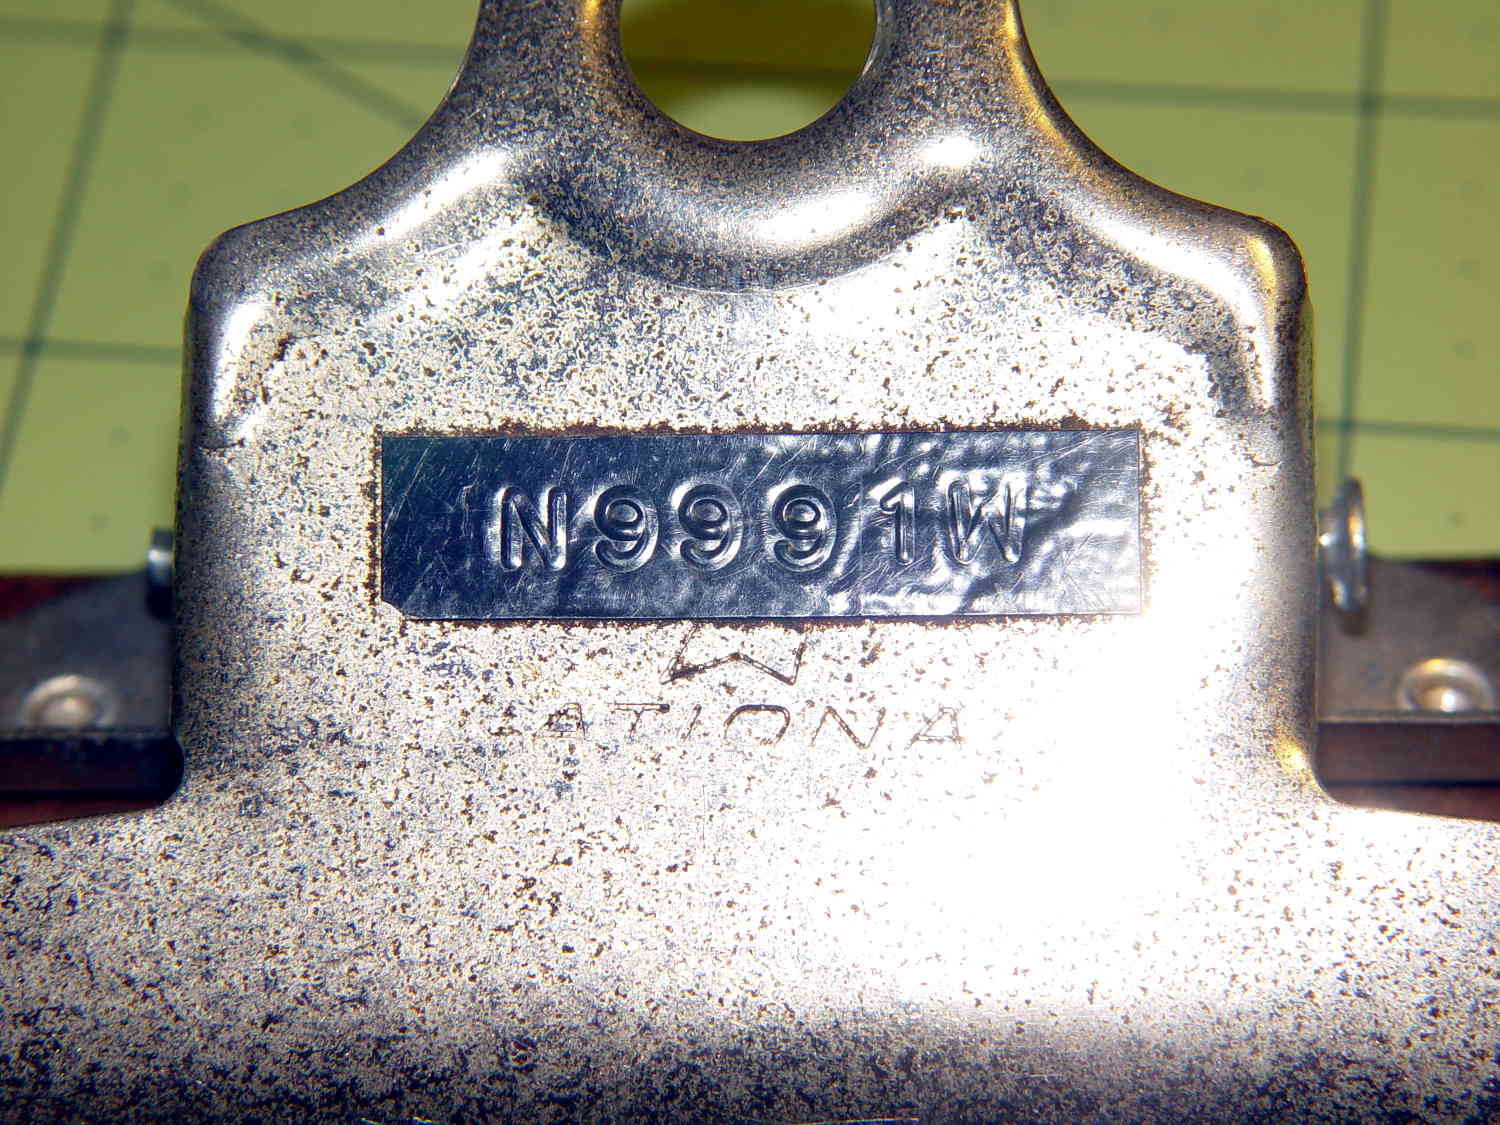
Back in 1998, we bought this house “with contents” and spent the next year sorting the heap. Among the treasures was a half-size clipboard with a black Dymo label on the clamp:
N9991W clipboard – front
And what’s obviously an airplane checklist on the back:
N9991W clipboard – back
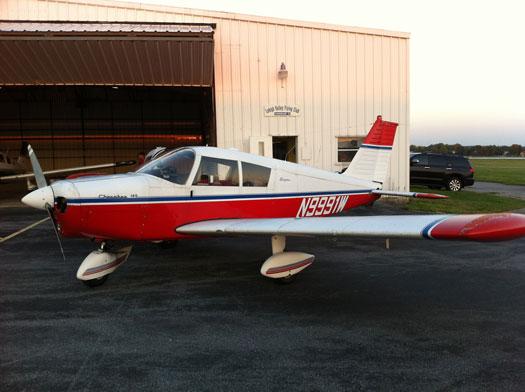
I looked up N9991W back then and didn’t find anything useful; it was early on with the Internet, so perhaps the records weren’t so readily available. Time passed, our daughter grew up using the clipboard for this-and-that, and it accumulated the usual scuffs and doodles.
It’s a Piper Cherokee 140 built in 1967 and, after nigh onto half a century, it looks just fine, doesn’t it?
There’s no way to know how that clipboard came to rest in what was to become our basement, probably no later than the mid-1980s, but it’s good to know they’re both still around.
May it continue to land with the shiny side up and the rubber side down…
Huh. Who’d’a thunk it? That’s just too good to pass up…
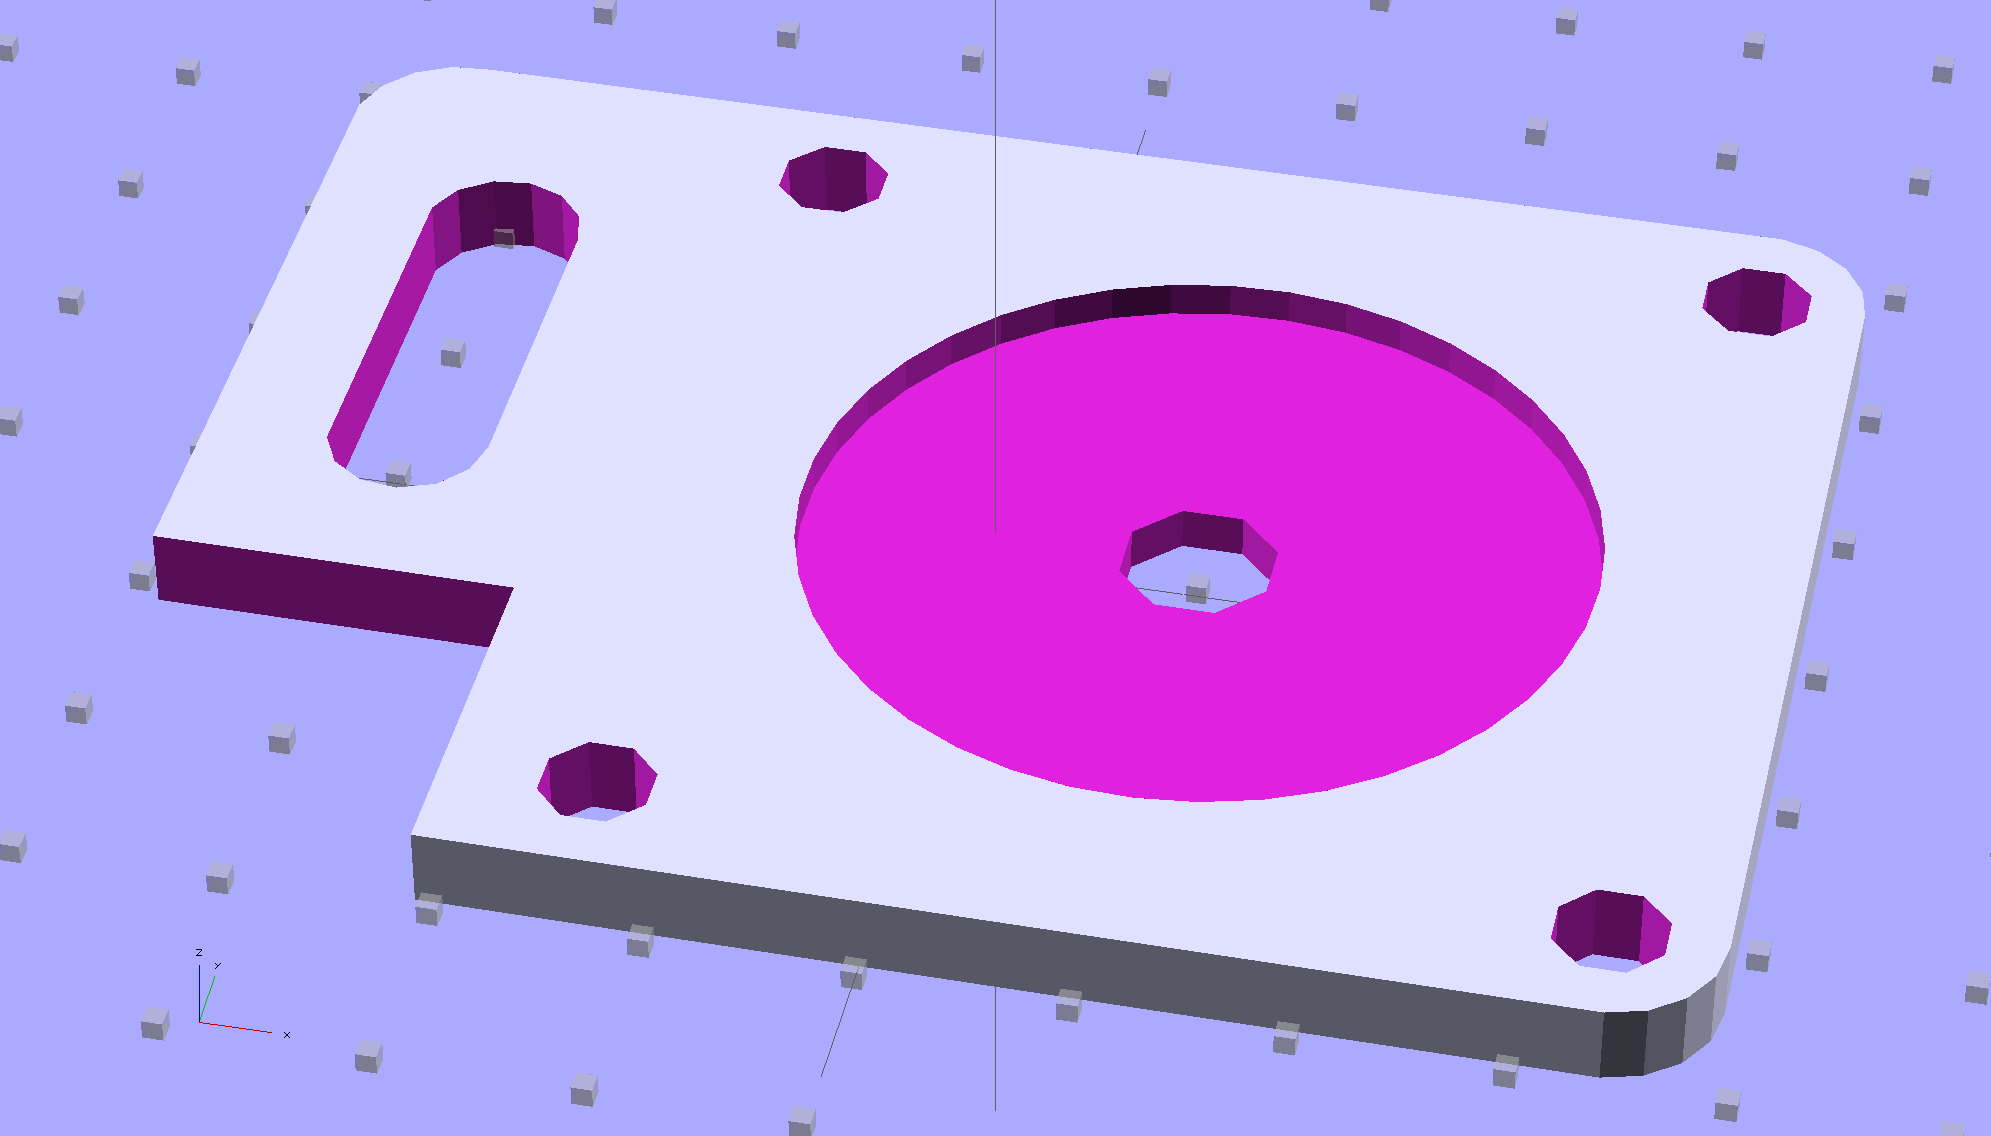
Although you wouldn’t use PLA for the real motor mount, this was easy:
Drive Motor Mount – solid model
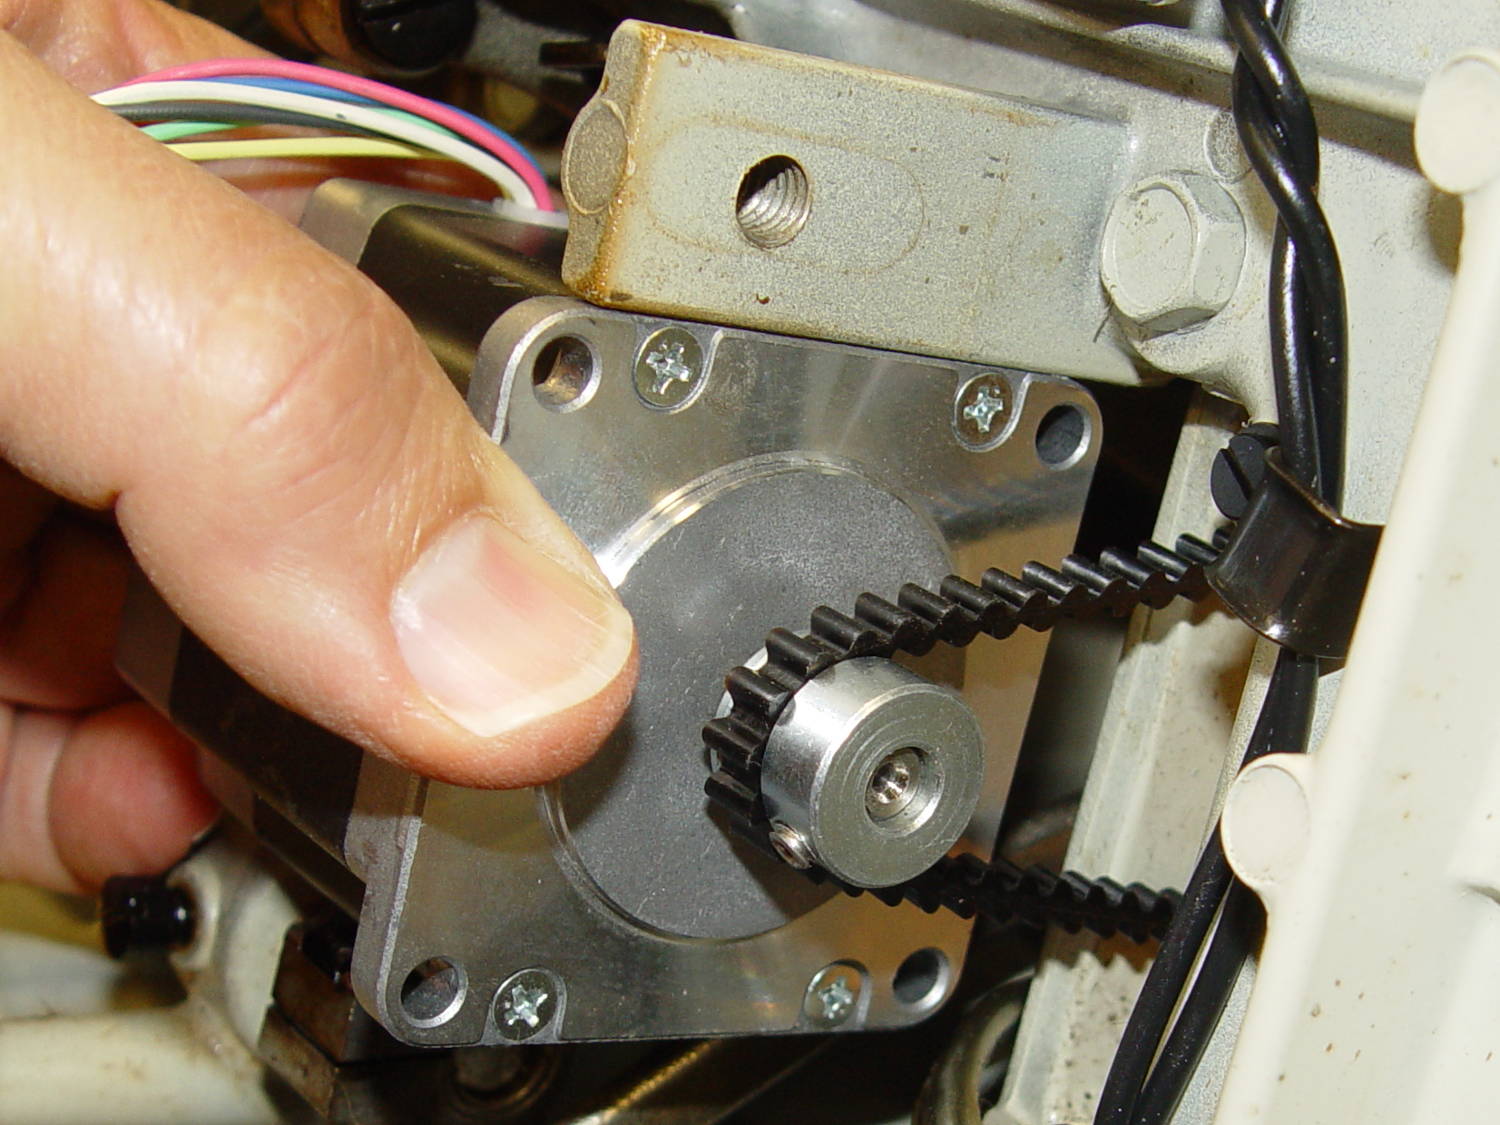
And the whole affair fits pretty much like you’d expect:
Kenmore 158 – NEMA 23 stepper – on adapter
The NEMA 23 motor doesn’t have the same end profile as the AC motor and the adapter plate gets in the way of the pulley, but flipping the pulley end-for-end perfectly aligned the belt.
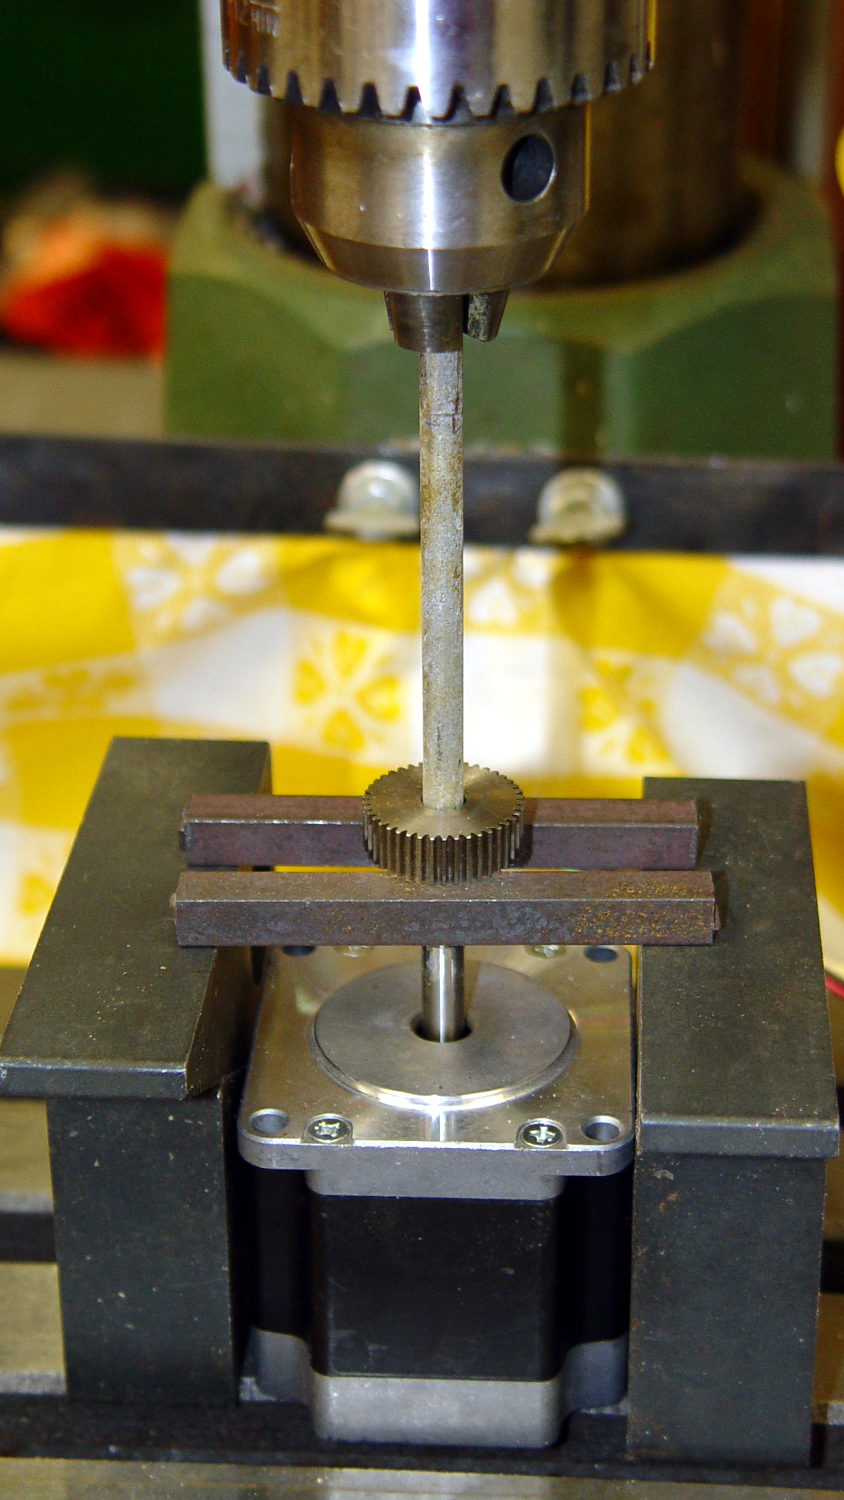
For whatever it’s worth, here’s how I removed the pressed-on gear from the shaft:
NEMA 23 Stepper – removing gear
I’m pretty sure I have a little gear puller somewhere, but it’s not where I expected to find it, which means it could be anywhere.
Much to my astonishment, the shafts on both motors are exactly 1/4″ inch. I filed a flat on the shaft to avoid having the setscrew goober the poor thing.
A stepper isn’t the right hammer for this job, because it can’t possibly reach 8000 rpm, but it’ll be good enough to explore the parameter space and weed out the truly stupid mistakes. A brushless DC motor from halfway around the planet would fit in the same spot.
The OpenSCAD source code:
// NEMA 23 Stepper Mounting Plate
// Ed Nisley - KE4ZNU - June 2014

Layout = "Build";			// Build Show

//- Extrusion parameters must match reality!
//  Print with 4 shells and 3 solid layers

ThreadThick = 0.20;
ThreadWidth = 0.40;

HoleWindage = 0.2;			// extra clearance

Protrusion = 0.1;			// make holes end cleanly

AlignPinOD = 1.70;			// assembly alignment pins: filament dia

inch = 25.4;

function IntegerMultiple(Size,Unit) = Unit * ceil(Size / Unit);

//----------------------
// Dimensions
// Origin at bottom front corner of plate as mounted on machine
//	motor mounted on rear surface, so recess is on that side

PlateThick = 4.0;				// overall plate thickness

SlotOffset = [10.0,13.0,0];		// center nearest origin, motor in X+,Y+ direction
SlotSize = [8.0,25.0];			// diameter of mounting screw , overall end-to-end length

CutoutOffset = [0.0,40.0,0];	// cutout around machine casting
CutoutSize = [18.0,18.0];

MotorBase = 58.0;				// square base plate side
MotorHoleOC = 47.2;				// hole center-to-center spacing
MotorHoleOffset = MotorHoleOC/2;
MotorHoleDia = 5.0;
MotorBaseCornerRadius = (MotorBase - MotorHoleOC)/2;

FlangeWidth = 20.0;				// mounting flange

MotorCenter = [(FlangeWidth + MotorBase/2),(MotorBase/2),0];		// XY of shaft centerline

MotorShaftDia = 7.0;			// allow some clearance

HubDia = 38.5;					// allow some clearance
HubHeight = 1.8;

//----------------------
// Useful routines

module PolyCyl(Dia,Height,ForceSides=0) {			// based on nophead's polyholes

  Sides = (ForceSides != 0) ? ForceSides : (ceil(Dia) + 2);

  FixDia = Dia / cos(180/Sides);

  cylinder(r=(FixDia + HoleWindage)/2,
           h=Height,
           $fn=Sides);
}

module ShowPegGrid(Space = 10.0,Size = 1.0) {

  RangeX = floor(100 / Space);
  RangeY = floor(125 / Space);

	for (x=[-RangeX:RangeX])
	  for (y=[-RangeY:RangeY])
		translate([x*Space,y*Space,Size/2])
		  %cube(Size,center=true);

}

//----------------------
// Build it!

module BasePlate() {

	difference() {
//		cube([(MotorCenter[0] + MotorBase/2),MotorBase,PlateThick],center=false);
		linear_extrude(height = PlateThick) {
			hull() {
				translate([MotorBaseCornerRadius,MotorBaseCornerRadius])
					circle(r=MotorBaseCornerRadius);
				translate([MotorBaseCornerRadius,MotorBase - MotorBaseCornerRadius])
					circle(r=MotorBaseCornerRadius);
				translate([FlangeWidth + MotorBase - MotorBaseCornerRadius,MotorBase - MotorBaseCornerRadius])
					circle(r=MotorBaseCornerRadius);
				translate([FlangeWidth + MotorBase - MotorBaseCornerRadius,MotorBaseCornerRadius])
					circle(r=MotorBaseCornerRadius);
			}
		}

		translate(MotorCenter - [0,0,Protrusion]) {
			rotate(180/8)
				PolyCyl(MotorShaftDia,(PlateThick + 2*Protrusion),8);		// shaft hole
			PolyCyl(HubDia,(HubHeight + Protrusion));						// hub recess
			for (x=[-1,1] , y=[-1,1]) {
				translate([x*MotorHoleOffset,y*MotorHoleOffset,0])
					rotate(180/8)
						PolyCyl(MotorHoleDia,(PlateThick + 2*Protrusion),8);
			}
		}

		translate(SlotOffset - [0,0,Protrusion]) {							// adjustment slot
			linear_extrude(height = (PlateThick + 2*Protrusion))
				hull() {
					circle(d=SlotSize[0]);
					translate([0,(SlotSize[1] - SlotSize[0])])
						circle(d=SlotSize[0]);

				}
		}

		translate(CutoutOffset - [Protrusion,0,Protrusion])
			linear_extrude(height = (PlateThick + 2*Protrusion))
				square(CutoutSize + [Protrusion,Protrusion]);
	}
}

ShowPegGrid();

if (Layout == "Show") {
	BasePlate();
}

if (Layout == "Build") {
	translate([-(SlotOffset[0] + MotorBase/2),MotorBase/2,PlateThick])
		rotate([180,0,0])
			BasePlate();
}
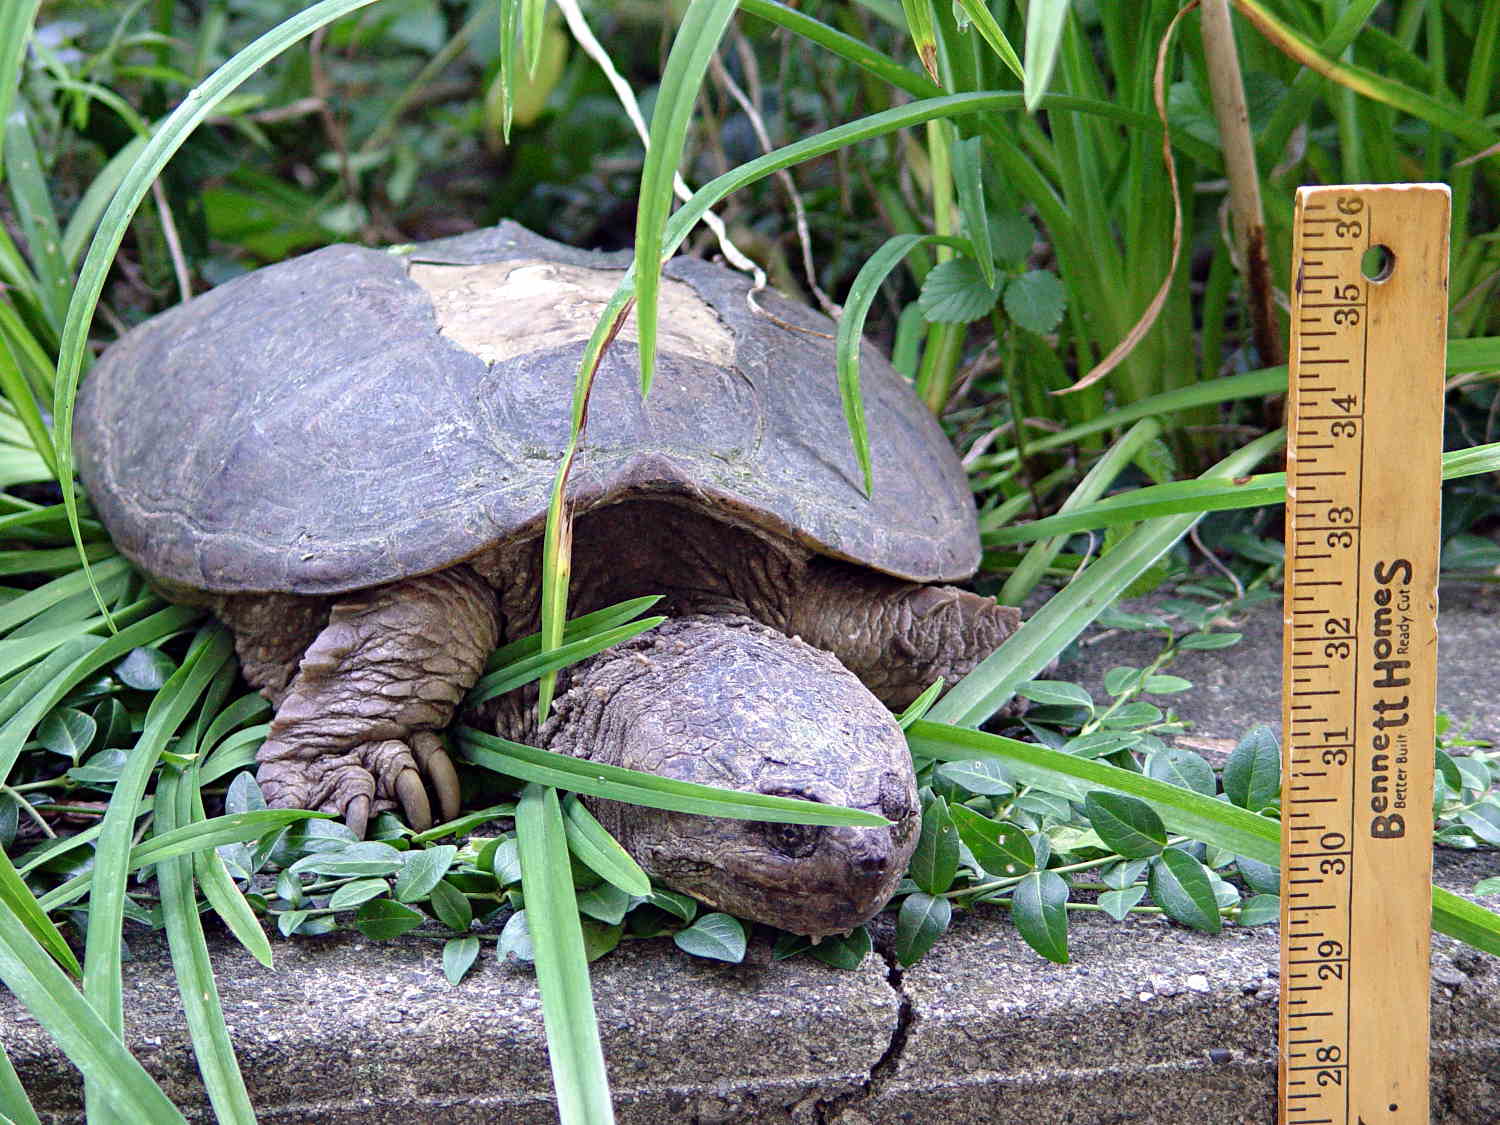
That’s a fairly large snapping turtle in the middle of the Dutchess Rail Trail, between Morgan Lake and the Violet Avenue tunnel.
Snappers can move just under the speed of light for about a foot in order to latch onto you, but they’re not quite as fast while turning around: always pass to their rear. You do not attempt to save them from their folly at being in the middle of the road / trail / driveway: they have absolutely no patience with meddlers.
Turtles lay eggs around this time of year, which means they’re on the move, which means they cross roads, which means they get mashed. We’ve seen maybe half a dozen smashed turtles on our usual routes.
Quite some years ago, we found one of its relations in the flower garden beside our house, where it climbed at least 18 inches of vertical concrete block to see what was inside. It was about two feet long, jaws to tail, and obviously a survivor:
Snapping Turtle on wall
Those missing plates probably didn’t help its attitude in the least.
It eventually klonked down to the driveway without our assistance:
Snapping Turtle on driveway
After a pause for gimbal unlocking and compass recalibration, it ambled off toward the Mighty Wappingers Creek. The wall gets much shorter to the right, which is likely where it climbed up.
These seem to be ordinary birch logs, cut into short chunks, sporting a top crosscut loaded with fire starter:
Light-n-Go Bonfire Log – stacked
The front of the label makes them seem wonderfully eco-friendly, but the fine print on the back shows that they’re from the Old World:
Light-n-Go Bonfire Log – origin label
There’s surely a universe where shipping heat-treated firewood from Estonia to Poughkeepsie makes perfect sense. I just didn’t realize I was living in it.
Our Forester has three knobs that control air direction / speed / temperature. Knobs are much better than buttons, because you can adjust them without looking. At least, that’s the ideal situation.
Here’s the setting for airflow to the footwell:
Subaru Forester – Airflow knob – feet – daylight
Here’s what it looks like with airflow to the cabin:
Subaru Forester – Airflow knob – face – daylight
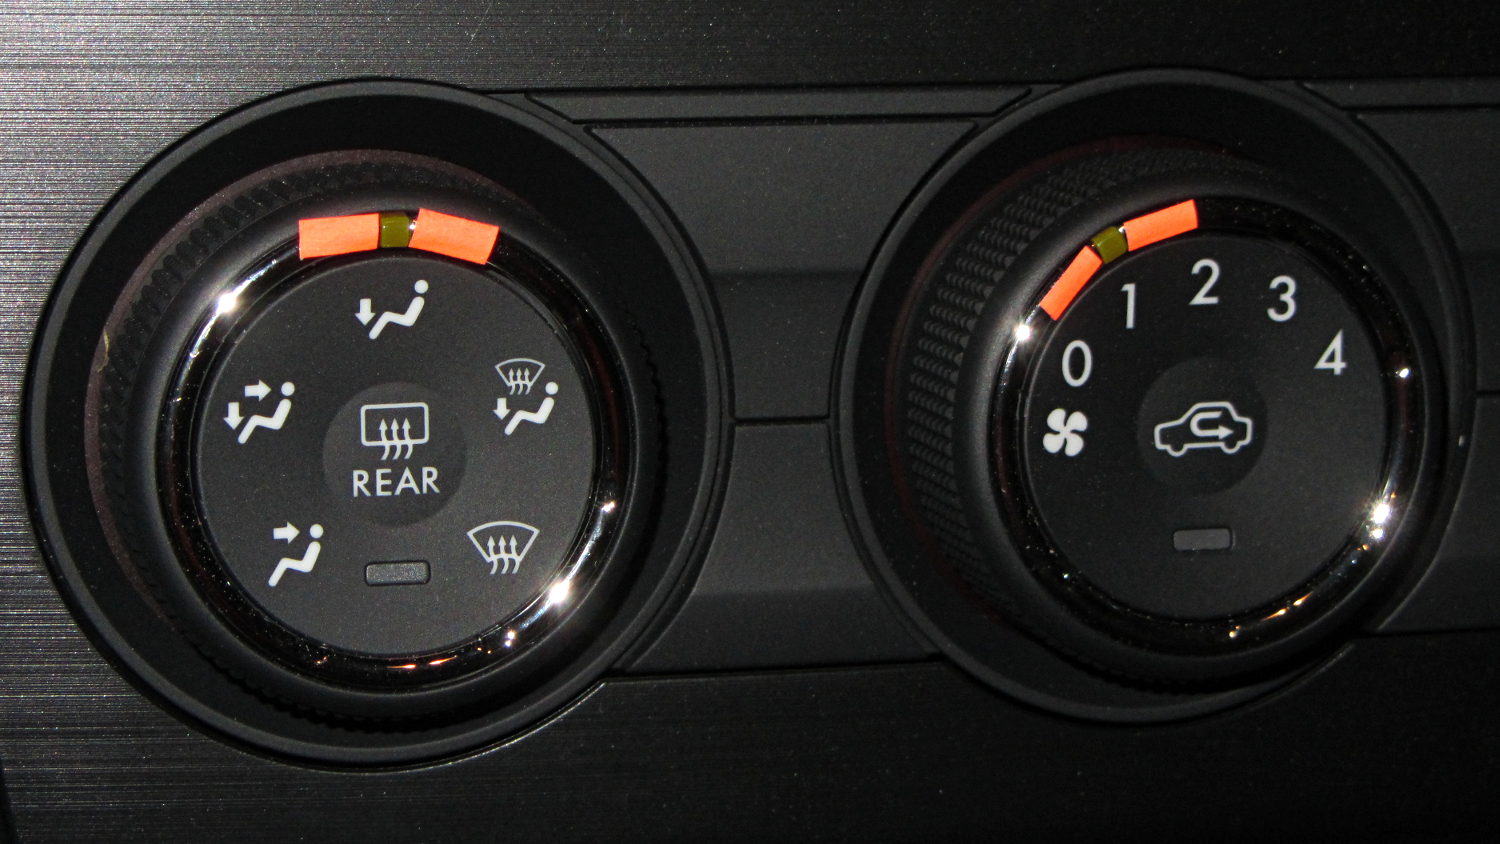
The knob has no tactile position indicator. That greenish rectangle, located in one of seven symmetric dimples that camouflage its position, is barely visible in normal light, invisible with sunglasses, and not apparent to the touch.
Well, if conspicuous is what you want, I can fix that:
Subaru Forester – knobs – highlighted
Fluorescent tape will fade quickly, but it’ll last until something better comes along. Perhaps a small pointer epoxied onto the knurled surface, extending around to the indicator?