Ed Nisley's Blog: Shop notes, electronics, firmware, machinery, 3D printing, laser cuttery, and curiosities. Contents: 100% human thinking, 0% AI slop.
Some years back, I bought a lifetime supply of stainless steel machine screws in the usual sizes, all in 1- and 2-inch lengths. I was always cutting the things to length anyway, so why not start with nice screws?
The problem with cutting a screw is holding it securely enough that it doesn’t fly off into a far corner of the shop, but without goobering either the threads or the head.
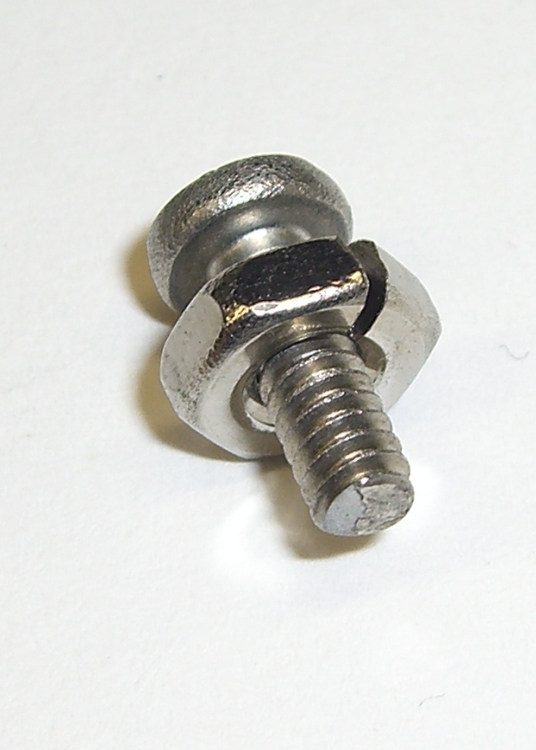
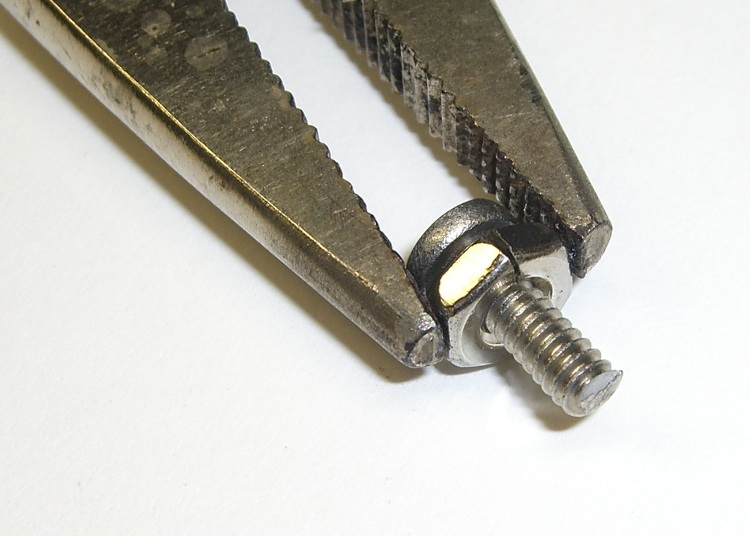
The secret, at least as far as I can tell, is slitting a nut to make a secure clamp for sawing, filing, and grinding. I ran a slitting saw through a nut to get the result you see here. Although it’s awkward, a slit through a point means grabbing the nut on two parallel sides squeezes the slot closed: exactly what you want.
Screw firmly under control
Slit a bunch of nuts whenever you get set up to do this, because those ugly thread ends on the cut screws tend to chew ’em up. If you have any foresight, you’ll thread the nut on the screw before you cut it, but that doesn’t work for really short screws.
Yeah, a lifetime supply of all different screw sizes and all different lengths would be nice, but I really don’t spend a whole lot of my life cutting screws…
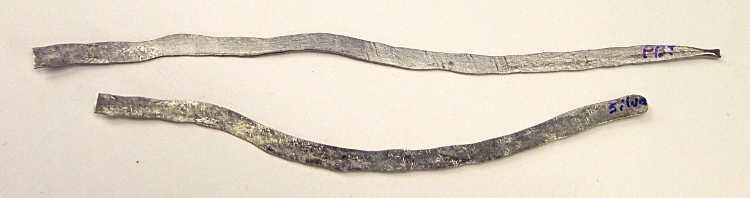
I needed more solder ribbon for resistance soldering, so I figured I should make a batch of the stuff. Put a length of silver solder between folded paper, hammered it on the vise anvil with a polished brass hammer, and it worked fine.
Flushed with success, I did the same with some ordinary rosin-core lead solder for the next time I must solder a shield or some such.
Solder Ribbons
Just snip off the appropriate length and fire up the iron…
We took down the deer netting around the garden yesterday, which involves pulling a zillion staples out of the wood posts. I put some salvaged hard-drive head motor magnets to good use: one magnet inside my jacket sleeve to hold the other magnet in place, then just drop staples near them.
Shazam… no staples in the ground!
You can actually buy such things, with cute Velcro straps and all, but why? You’ve been saving those magnets for years: put ’em to use!
A discussion there reminded me to mention a good habit taught by my buddy Eks: when you must look something up, write the information where you’ll see it the next time you need it.
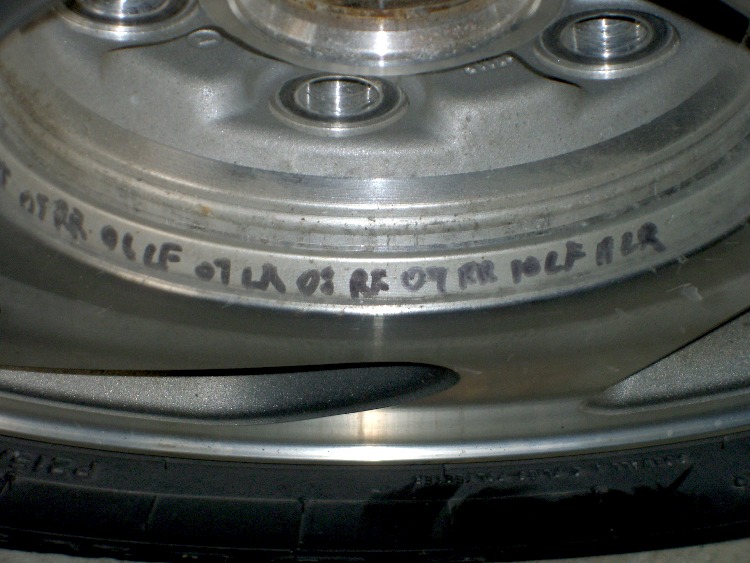
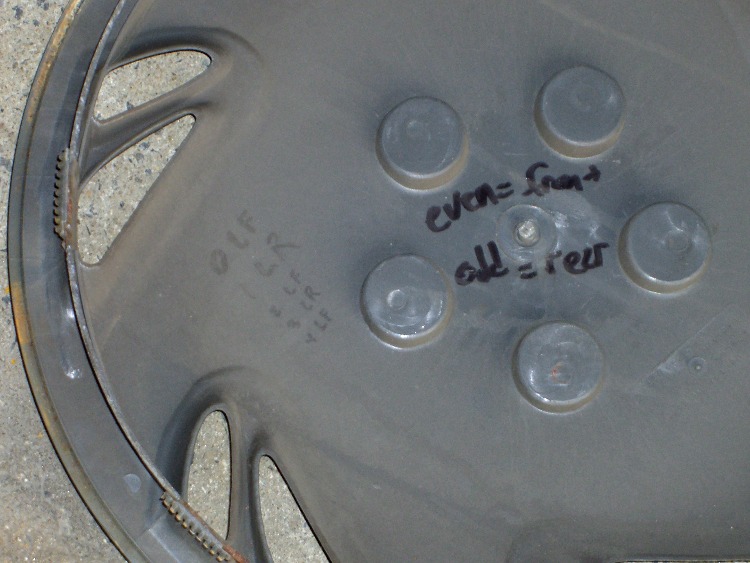
So, for example, each of the van wheels sports its own tire-rotation schedule inside the cover. When it’s time to swap tires in early spring and late autumn, I pry the cover off, read where the tire should go, and do the deed. I write ’em down four or five years at a time, so there’s not much thinking involved.
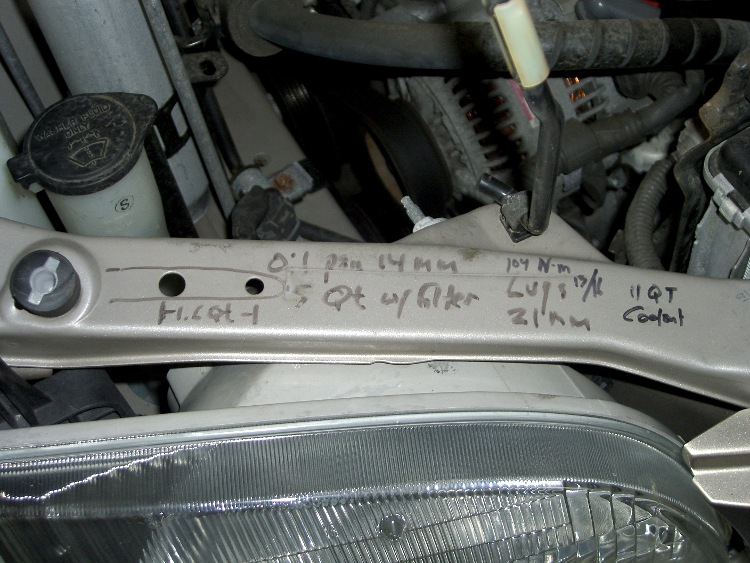
The engine compartment has all the most-often-used wrench sizes and capacities.
I write the oil change & inspection info in the maintenance schedule booklet that came with the van, although after a decade that’s pretty much full up.
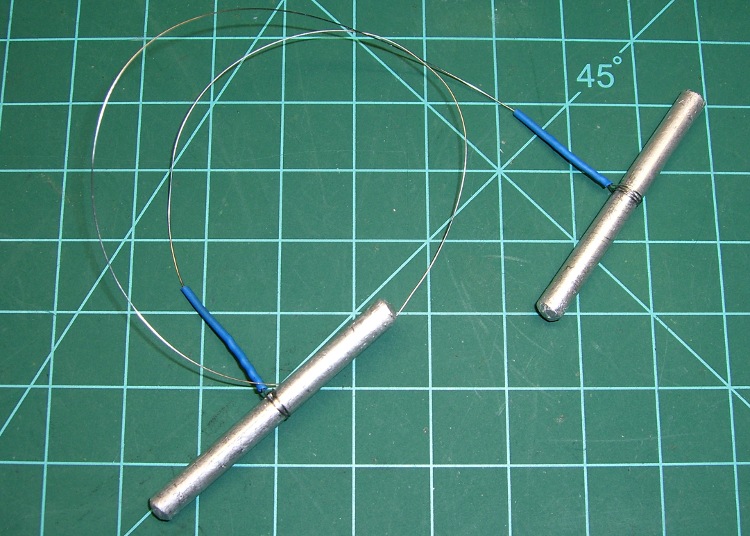
Just chopped up a 5-lb lump of Provolone into 2-oz chunks for pizza, which brings this simple shop project to mind: a cheese garrotte.
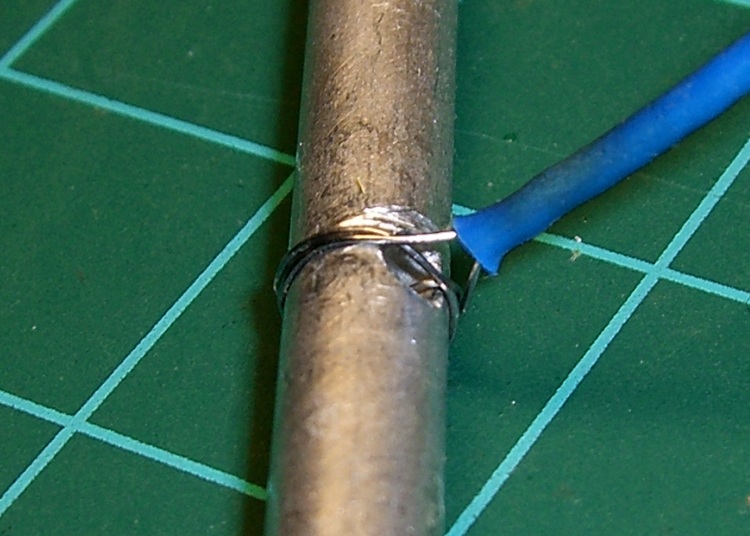
It’s about a foot of 0.011-inch (call it 0.25 mm) stainless steel wire with the ends wrapped around some aluminum rod, neatly tied off with heatshrink tubing.
Usage is about what you’d expect: it cuts cheese like nothing else on earth. The only trick is maintaining a straight line, which is easier (for me, at least) when I cut vertically downward.
It’s difficult to cut all the way to the bottom and that wire is rough on the fingertips, so I tend to flip the cheese over and pull sideways for the last inch or two. Maybe not a perfect cut, but good enough.
Cheese Garrotte Handle Detail
Construction nuance: loop the wire around the handle once or twice, pass it through the hole, then do another loop before twisting the end. If you run the wire directly through the hole, it’ll break on the far-side sharp edge after a while, even when you countersink the hole.
I put a shallow groove around the handle, but that’s likely not needed. You can certainly get fancier with the handles if you like. This one is dishwasher safe, which makes up for a lot.
You really, really need heatshrink tubing over the bare wire ends, as the tip of a 11-mil stainless wire is indistinguishable from a needle.
For about the last week I’ve noticed a soft clicking-buzzing sound somewhere near the dashboard / center console of our 2000 Toyota Sienna. I tried some on-the-fly isolation, but it wasn’t related to motion, engine on/off, CD or tape player, fan, or anything else. Finally Mary noticed it, too, and we spent half an hour in the garage yanking fuses and wiggling things until we tracked it down to below the passenger seat.
Now, in the good old days, that was empty space, but in the Sienna it’s where the rear-area heater lives. Shoving the seat forward to the stop exposed the heater and, sure enough, it’s buzzing and clicking. Intermittently, somewhat randomly, but very steadily.
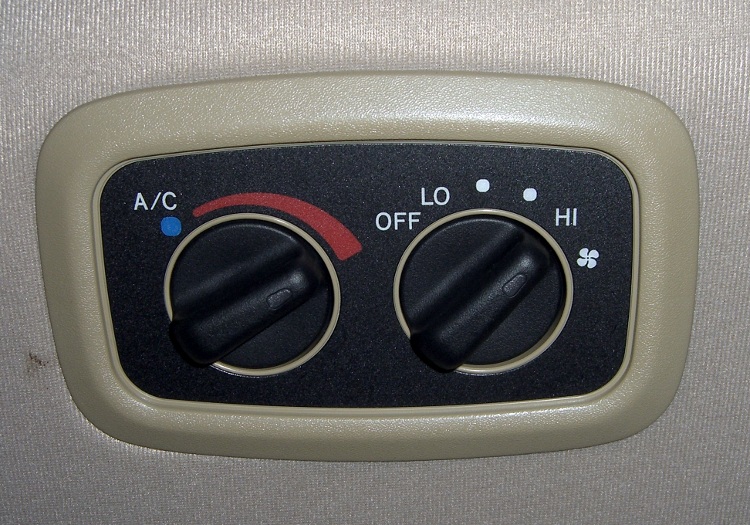
Rear Temperature Control
With that as a hint, I twisted the rear-area temperature control (on the headliner behind the driver seat) and shazam the noise stopped. The control has detents and when moving the control to each detent the heater makes a faint buzzing. I suspect the control adjusts a valve that regulates engine coolant flow inside the heater.
It’s not obvious whether the control is a pure-digital rotary encoder or a potentiometer, so I decided to investigate: it’s already sorta busted, what’s to lose? The bezel comes off by prying its door-side edge outward. The white plastic frame has two screws into the metal structure under the roof. The two electrical connectors are, of course, the positive-latching kind that you pull the little tab until you break your fingernail and then realize that you should push it instead.
Temperature Control – Interior View
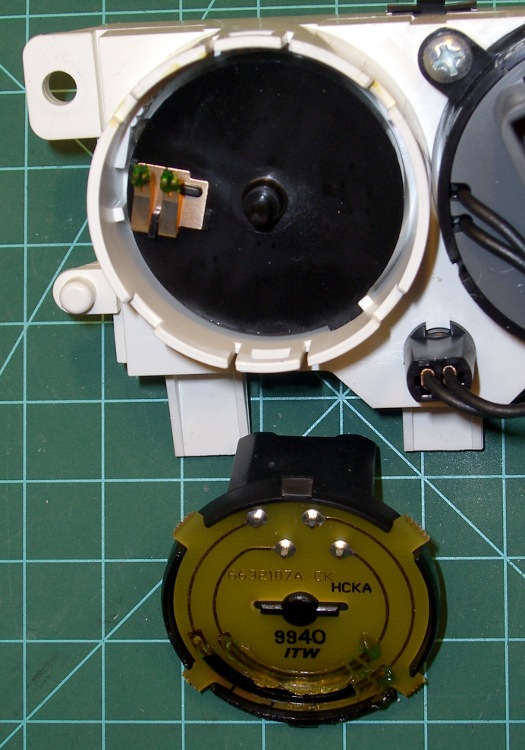
Taking the control apart reveals that it’s a potentiometer with some switching contacts. The two bifurcated spring-finger contacts on the black plastic disk short the resistive element to the inner metallic track.
Resistive Element
The metal contacts appeared slightly grody, but with no major corrosion. The resistive track looked just fine.
The offending control position would be to the left side of the element as shown in the pictures here: there’s nothing obviously wrong at that spot. I think the maximum-heat position is off the resistive element entirely, resting on the far left end of the metal traces, but the control wasn’t quite set to that spot. Perhaps the problem was that the contacts became intermittent at the exact edge of the element.
I smoothed the collection of anti-oxidation grease over the tracks, covered the contacts with their own blobs, put everything back together, and it works fine.
We tend to put the control at A/C during the summer and at maximum heat during the winter. I suppose the poor thing got frustrated after we moved it a month or so ago…
The money saved with this repair might just pay to have the Toyota dealer replace the spark plugs. The shop manual says that task starts by removing the windshield bezel and all the stuff above the engine intake manifold; the job costs upwards of 300 bucks. I can barely see the rear plugs with a looong inspection mirror angled just so while lying on the floor under the van, so it’s truly a nontrivial operation.