|
// Vacuum Hose Fittings |
|
// Ed Nisley KE4ZNU July 2016 |
|
|
|
Layout = "FVacFitting"; // PVCtoHose ExpandRing PipeToPort FVacPipe FVacFitting |
|
|
|
//- Extrusion parameters must match reality! |
|
// Print with 2 shells and 3 solid layers |
|
|
|
ThreadThick = 0.25; |
|
ThreadWidth = 0.40; |
|
|
|
HoleWindage = 0.2; |
|
|
|
Protrusion = 0.1; // make holes end cleanly |
|
|
|
//———————- |
|
// Dimensions |
|
|
|
ID = 0; |
|
OD = 1; |
|
LENGTH = 2; |
|
|
|
Pipe = [34.0,(41.0 + HoleWindage),16.0]; // 1 inch PVC pipe fitting |
|
|
|
VacPortSander = [30.0,31.3,25]; // vacuum port on belt sander (taper ID to OD over length) |
|
VacNozzle = [30.1,31.8,30.0]; // nozzle on vacuum hose (taper ID to OD over length) |
|
|
|
MINOR = 0; |
|
MAJOR = 1; |
|
PITCH = 2; |
|
FORM_OD = 3; |
|
|
|
HoseThread = [32.0,(37.0 + HoleWindage),4.25,(1.8 + 0.20)]; // vacuum tube thread info |
|
|
|
NumSegments = 64; // .. number of cylinder approximations per turn |
|
$fn = NumSegments; |
|
|
|
ThreadLength = 4 * HoseThread[PITCH]; |
|
ScrewOAL = ThreadLength + HoseThread[PITCH]; |
|
|
|
WallThick = 2.5; |
|
|
|
echo(str("Pitch dia: ",HoseThread[MAJOR])); |
|
echo(str("Root dia: ",HoseThread[MAJOR] – HoseThread[FORM_OD])); |
|
echo(str("Crest dia: ",HoseThread[MAJOR] + HoseThread[FORM_OD])); |
|
|
|
|
|
//———————- |
|
// Wrap cylindrical thread segments around larger plug cylinder |
|
|
|
module CylinderThread(Pitch,Length,PitchDia,ThreadOD,PerTurn,Chirality = "Right") { |
|
|
|
CylFudge = 1.02; // force overlap |
|
ThreadSides = 6; |
|
|
|
RotIncr = 1/PerTurn; |
|
PitchRad = PitchDia/2; |
|
|
|
Turns = Length/Pitch; |
|
NumCyls = Turns*PerTurn; |
|
|
|
ZStep = Pitch / PerTurn; |
|
|
|
HelixAngle = ((Chirality == "Left") ? -1 : 1) * atan(Pitch/(PI*PitchDia)); |
|
CylLength = CylFudge * (PI*(PitchDia + ThreadOD) / PerTurn) / cos(HelixAngle); |
|
|
|
for (i = [0:NumCyls-1]) { |
|
Angle = ((Chirality == "Left") ? -1 : 1) * 360*i/PerTurn; |
|
translate([PitchRad*cos(Angle),PitchRad*sin(Angle),i*ZStep]) |
|
rotate([90+HelixAngle,0,Angle]) rotate(180/ThreadSides) |
|
cylinder(r1=ThreadOD/2, |
|
r2=ThreadOD/(2*CylFudge), |
|
h=CylLength, |
|
center=true,$fn=ThreadSides); |
|
} |
|
} |
|
|
|
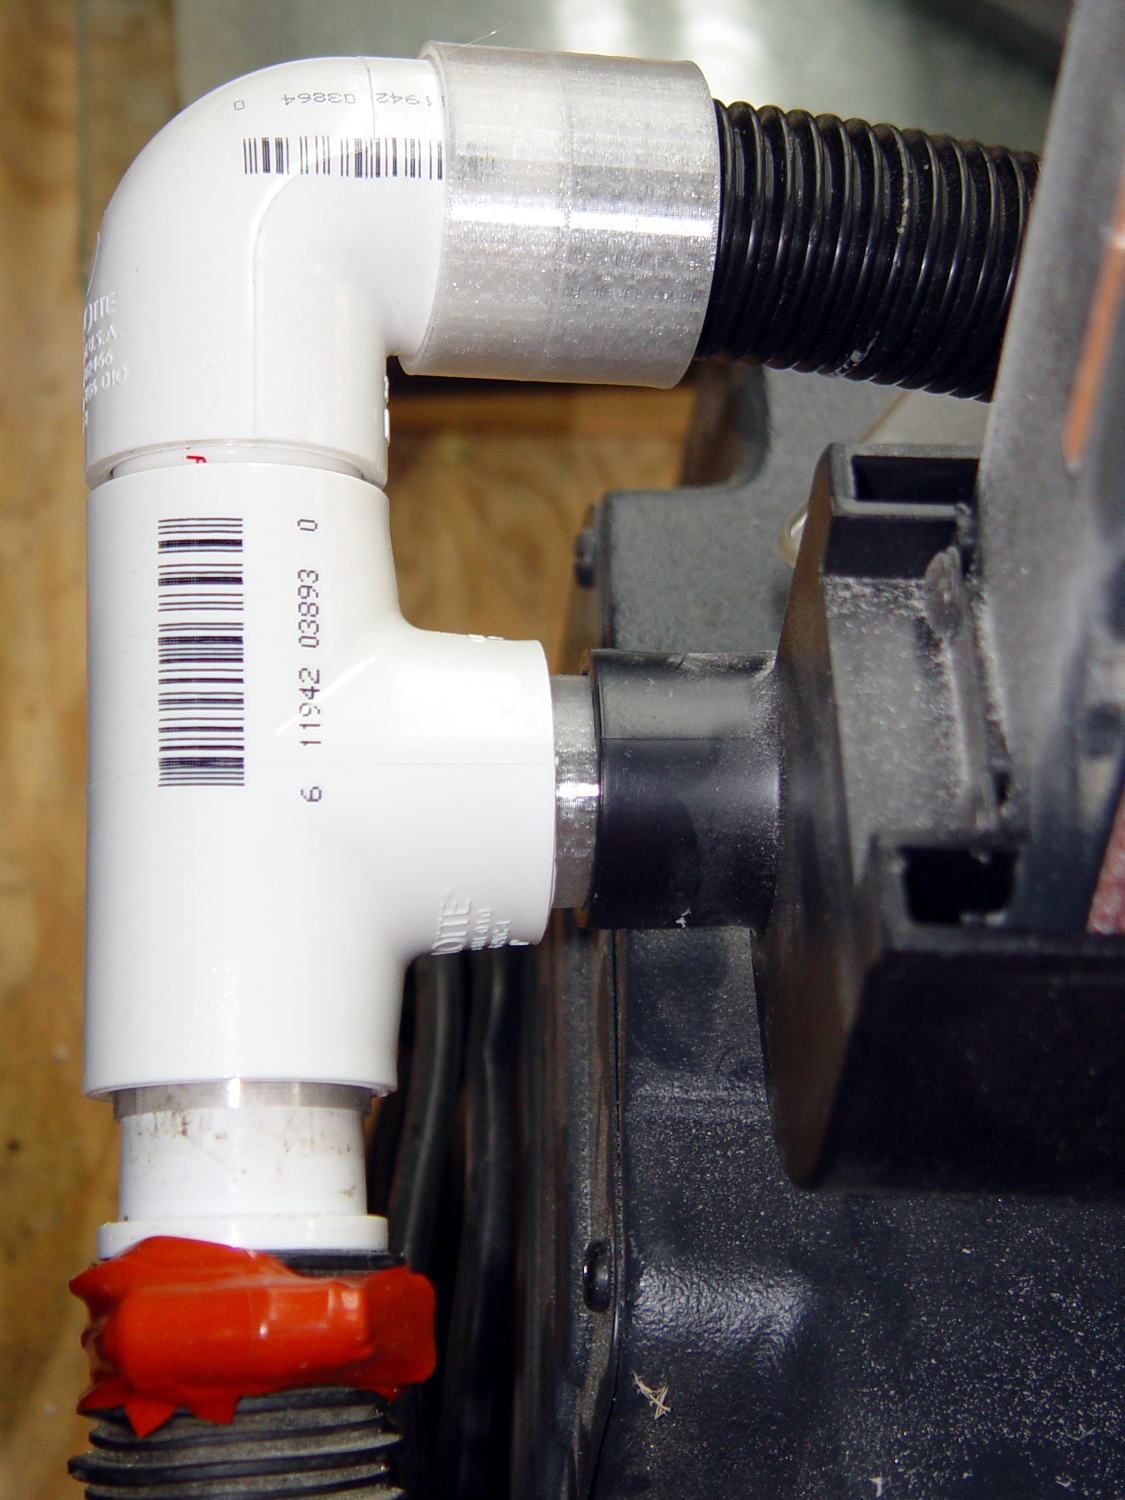
//– PVC fitting to vacuum hose |
|
|
|
module PVCtoHose() { |
|
|
|
Fitting = [34.0,41.0,16.0]; // 1 inch PVC elbow |
|
Adapter = [HoseThread[MAJOR],(Fitting[OD] + 2*WallThick + HoleWindage),(ScrewOAL + Fitting[LENGTH])]; // dimensions for entire fitting |
|
|
|
union() { |
|
difference() { |
|
cylinder(d=Adapter[OD],h=Adapter[LENGTH]); // overall fitting |
|
translate([0,0,-Protrusion]) // remove thread pitch dia |
|
cylinder(d=HoseThread[MAJOR],h=(ScrewOAL + 2*Protrusion)); |
|
translate([0,0,(ScrewOAL – Protrusion)]) // remove PVC fitting dia |
|
cylinder(d=(Fitting[OD] + HoleWindage),h=(Fitting[LENGTH] + 2*Protrusion)); |
|
} |
|
|
|
translate([0,0,HoseThread[PITCH]/2]) // add the thread form |
|
CylinderThread(HoseThread[PITCH],ThreadLength,HoseThread[MAJOR],HoseThread[FORM_OD],NumSegments,"Left"); |
|
} |
|
} |
|
|
|
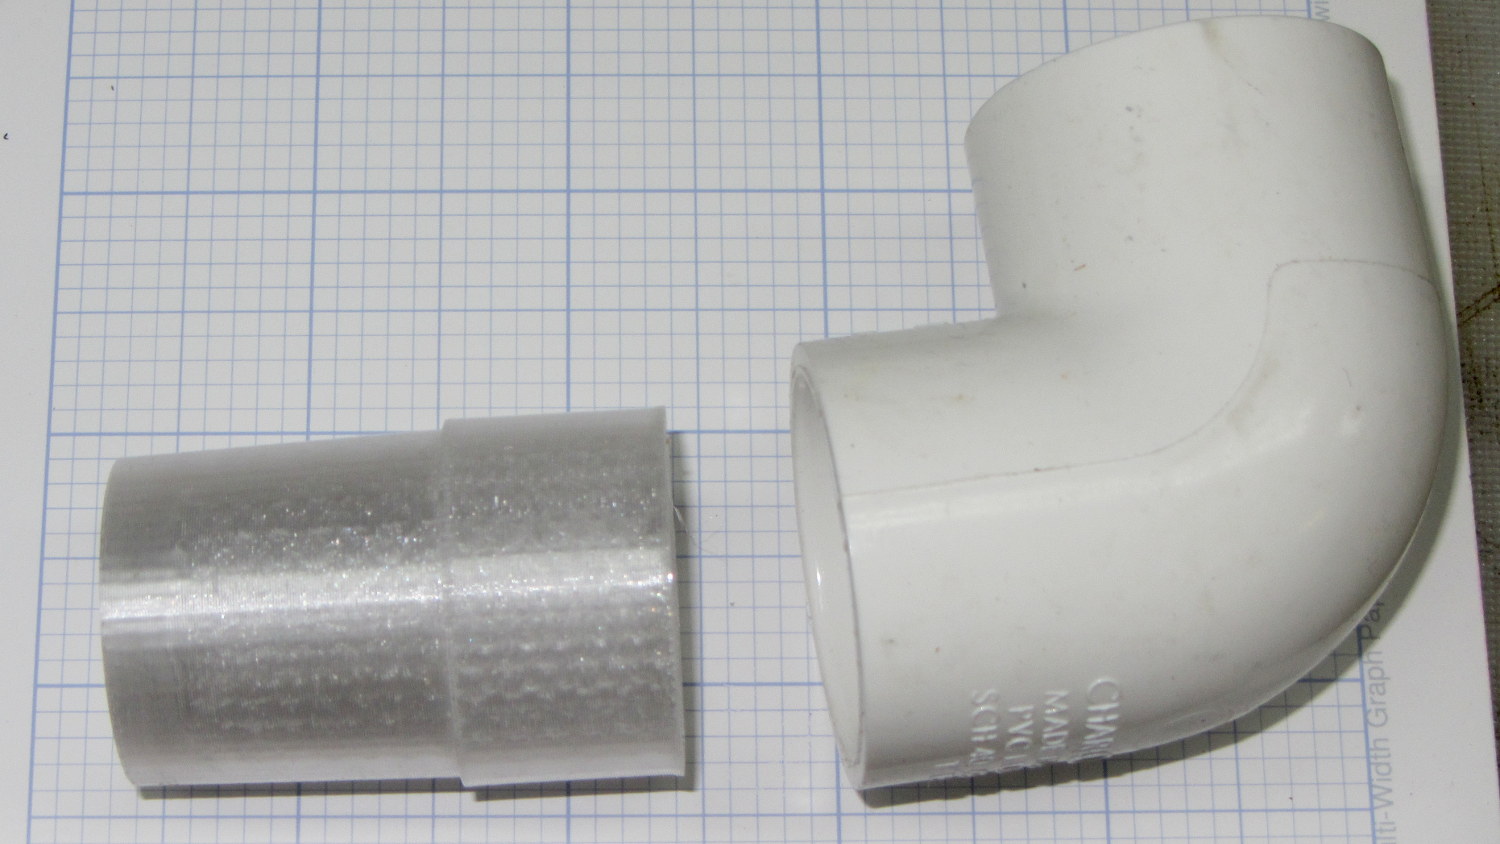
//– Expander ring from small OD to large ID PVC fittings |
|
// So a small elbow on the bandsaw fits into the hose adapter, which may not be long-term useful |
|
|
|
module ExpandRing() { |
|
|
|
Fitting_L = [34.0,41.0,16.0]; // 1 inch PVC pipe elbow |
|
Fitting_S = [26.8,32.8,17]; // 3/4 inch PVC elbow |
|
|
|
difference() { |
|
cylinder(d1=Fitting_L[OD],d2=(Fitting_L[OD] – HoleWindage),h=Fitting_L[LENGTH]); // overall fitting |
|
translate([0,0,-Protrusion]) |
|
cylinder(d=(Fitting_S[OD] + HoleWindage),h=(Fitting_L[LENGTH] + 2*Protrusion)); |
|
} |
|
} |
|
|
|
//– 1 inch PVC pipe into vacuum port |
|
// Stick this in the port, then plug a fitting onto the pipe section |
|
|
|
module PipeToPort() { |
|
|
|
Pipe = [26.5,33.5,20.0]; // 1 inch Schedule 40 PVC pipe |
|
|
|
difference() { |
|
union() { |
|
cylinder(d=Pipe[OD],h=(Pipe[LENGTH] + Protrusion)); |
|
translate([0,0,(Pipe[LENGTH] – Protrusion)]) |
|
cylinder(d1=VacNozzle[OD],d2=VacNozzle[ID],h=VacNozzle[LENGTH]); |
|
} |
|
translate([0,0,-Protrusion]) |
|
cylinder(d=Pipe[ID],h=(Pipe[LENGTH] + VacNozzle[LENGTH] + 2*Protrusion)); |
|
} |
|
} |
|
|
|
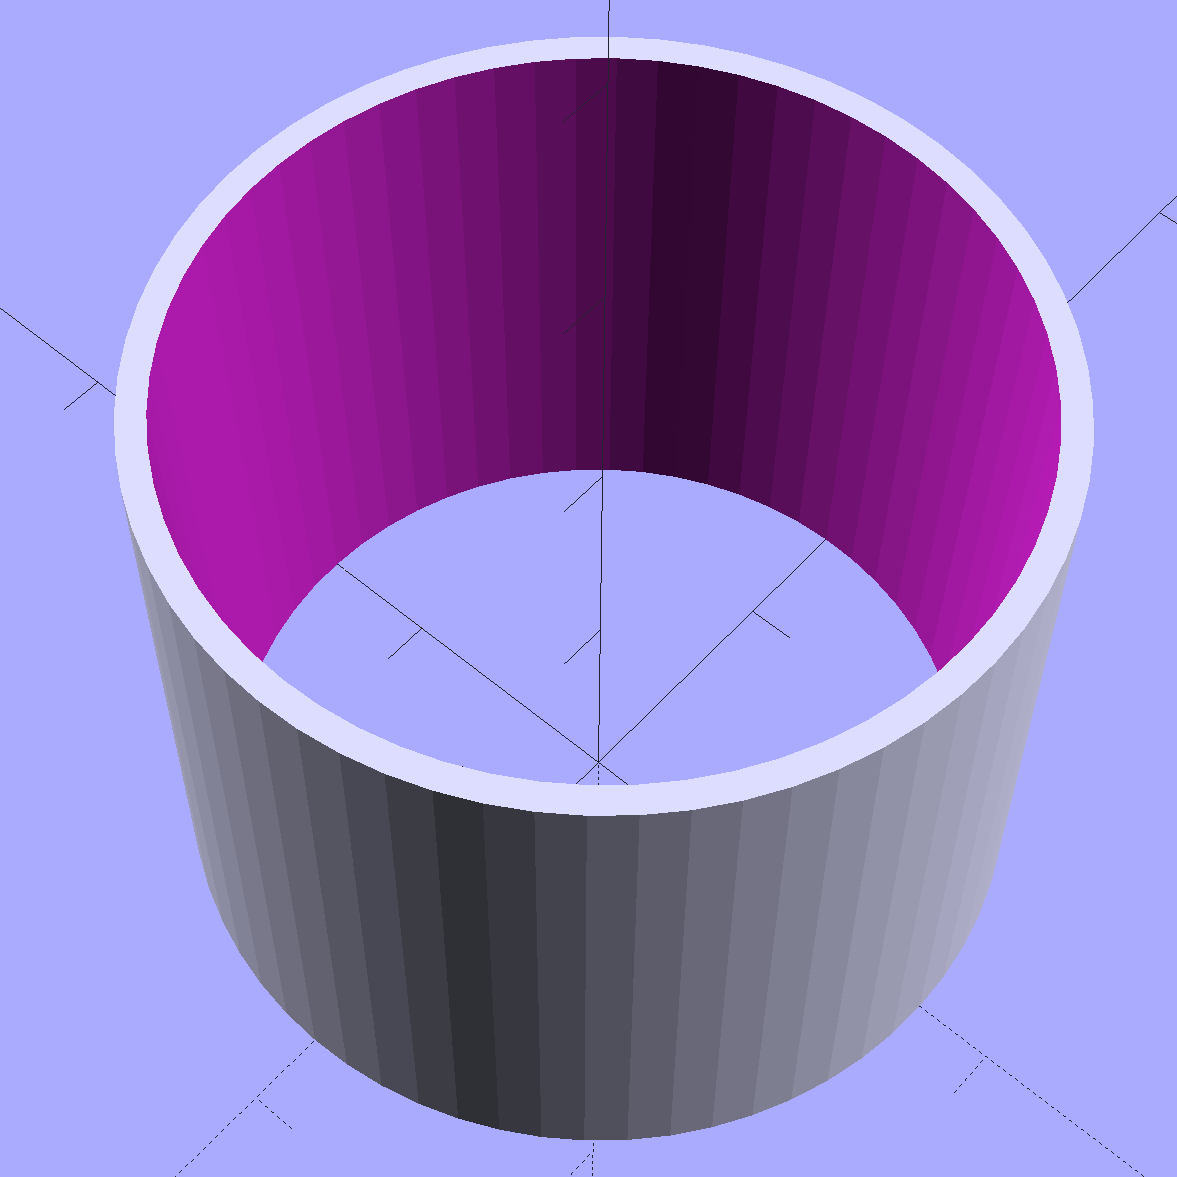
//– Female Vac outlet inside PVC pipe |
|
// Plug this into PVC fitting, then plug hose + nozzle into outlet |
|
|
|
module FVacPipe() { |
|
|
|
Pipe = [26.5,33.5,20.0]; // 1 inch Schedule 40 PVC pipe |
|
|
|
difference() { |
|
cylinder(d=Pipe[OD],h=VacPortSander[LENGTH]); |
|
translate([0,0,-Protrusion]) |
|
cylinder(d1=VacPortSander[ID],d2=VacPortSander[OD],h=(VacPortSander[LENGTH] + 2*Protrusion)); |
|
} |
|
} |
|
|
|
|
|
//– Female Vac outlet on 3/4 inch fitting OD |
|
// Jam this onto OD of fitting, plug hose + nozzle into outlet |
|
|
|
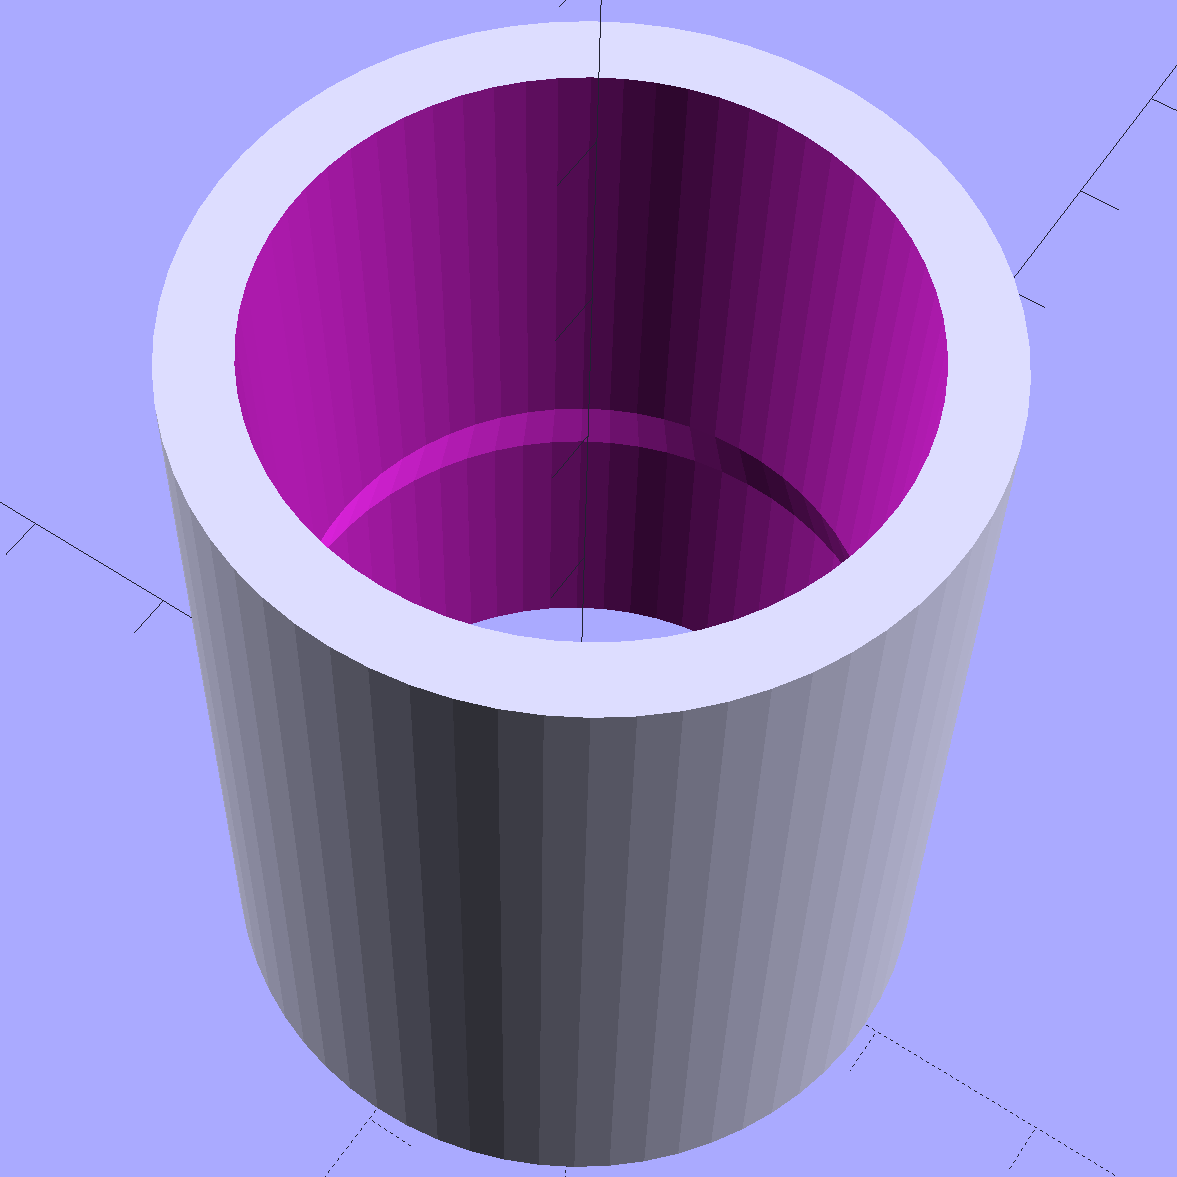
module FVacFitting() { |
|
|
|
Adapter = [26.5,(33.5 + 2*WallThick),17.0]; // overall adapter |
|
VacPortSander = [30.0,31.3,25]; // vacuum port on belt sander (taper ID to OD over length) |
|
Fitting = [26.8,32.8,17]; // 3/4 inch PVC elbow |
|
|
|
TaperLength = 5.0; // inner taper to avoid overhang |
|
|
|
difference() { |
|
cylinder(d=Adapter[OD],h=Adapter[LENGTH]); // overall fitting |
|
translate([0,0,-Protrusion]) |
|
cylinder(d=(Fitting[OD] + HoleWindage),h=(Adapter[LENGTH] + 2*Protrusion)); |
|
} |
|
|
|
translate([0,0,Adapter[LENGTH]]) |
|
difference() { |
|
cylinder(d=Adapter[OD],h=TaperLength); |
|
translate([0,0,-Protrusion]) |
|
cylinder(d1=(Fitting[OD] + HoleWindage),d2=VacPortSander[ID],h=(TaperLength + 2*Protrusion)); |
|
} |
|
|
|
translate([0,0,(TaperLength + Adapter[LENGTH])]) // vac fitting |
|
difference() { |
|
cylinder(d=Adapter[OD],h=VacPortSander[LENGTH]); |
|
translate([0,0,-Protrusion]) |
|
cylinder(d1=VacPortSander[ID],d2=VacPortSander[OD],h=(VacPortSander[LENGTH] + 2*Protrusion)); |
|
} |
|
|
|
|
|
} |
|
|
|
//———- |
|
// Build things |
|
|
|
if (Layout == "PVCtoHose") |
|
PVCtoHose(); |
|
|
|
if (Layout == "ExpandRing") { |
|
ExpandRing(); |
|
} |
|
|
|
if (Layout == "PipeToPort") { |
|
PipeToPort(); |
|
} |
|
|
|
if (Layout == "FVacPipe") { |
|
FVacPipe(); |
|
} |
|
|
|
if (Layout == "FVacFitting") { |
|
FVacFitting(); |
|
} |