The Smell of Molten Projects in the Morning

Ed Nisley's Blog: Shop notes, electronics, firmware, machinery, 3D printing, laser cuttery, and curiosities. Contents: 100% human thinking, 0% AI slop.

Category: Machine Shop

Mechanical widgetry

  • Work Sharp Precision Sharpener: Knob Lock

    Work Sharp Precision Sharpener: Knob Lock

    Having recently sharpened a small blade at a very low angle, I must put in a good word for the knob lock found on Printables:

    WorkSharp - knob lock
    WorkSharp – knob lock

    The protrusion on the tab fits into the back side of the frame, but it works well enough in front, too.

    Wearing cut-resistant gloves remain a good idea.

  • Cheap HD USB Camera: Base Disassembly

    Cheap HD USB Camera: Base Disassembly

    A brace of cheap HD USB cameras may improve the scenery around here during video meetings. They were $16, marked down from an absurd $130:

    HD USB Camera price history
    HD USB Camera price history

    Some poor schlubs certainly dropped more than twice the price of a Genuine Logitech camera on these critters, but a nearly total lack of demand must have had some effect.

    They do take their stylin’ cues from Logitech, although the speckled pattern on a shiny plastic sheet is amusing:

    HD USB Camera - styling vs Logitech C920
    HD USB Camera – styling vs Logitech C920

    Unsurprisingly, the lens is fixed / manual focus. What looked like focus rings were in different positions on the two cameras:

    HD USB Camera - lens focus notches
    HD USB Camera – lens focus notches

    It turns out the rings were not glued in place, perhaps because they have absolutely no effect on the camera’s focus. Maybe there’s another camera model where they rotate the lens in a threaded socket, but this ain’t that.

    The front panel has three pores:

    • A red Power LED is always on when it’s plugged in
    • A green On the air LED lights up when the camera is selected; I have no idea what the WiFi-ish glyph is supposed to represent
    • The “advanced noise canceling microphone” sits behind a pore offscreen left; the claim seems dubious.

    Because these may go into smaller spaces, I dismantled the base to see what was involved. Most of the screws lie underneath thin foam sheets:

    HD USB Camera - ball mount interior
    HD USB Camera – ball mount interior

    The lower plate has a tripod mount and a folding bracket:

    HD USB Camera - baseplate interior
    HD USB Camera – baseplate interior

    The camera body has a ball mount with a few degrees of movment:

    HD USB Camera - ball mount detail
    HD USB Camera – ball mount detail

    Reassembled and stuck inside the laser cabinet with some good double-sided foam tape, it definitely produces a better image than the previous camera:

    Platform camera view
    Platform camera view

    Whatever noise cancellation the mic may provide is irrelevant in there: nobody’s listening.

  • Stick Blender Bearing Failure

    Stick Blender Bearing Failure

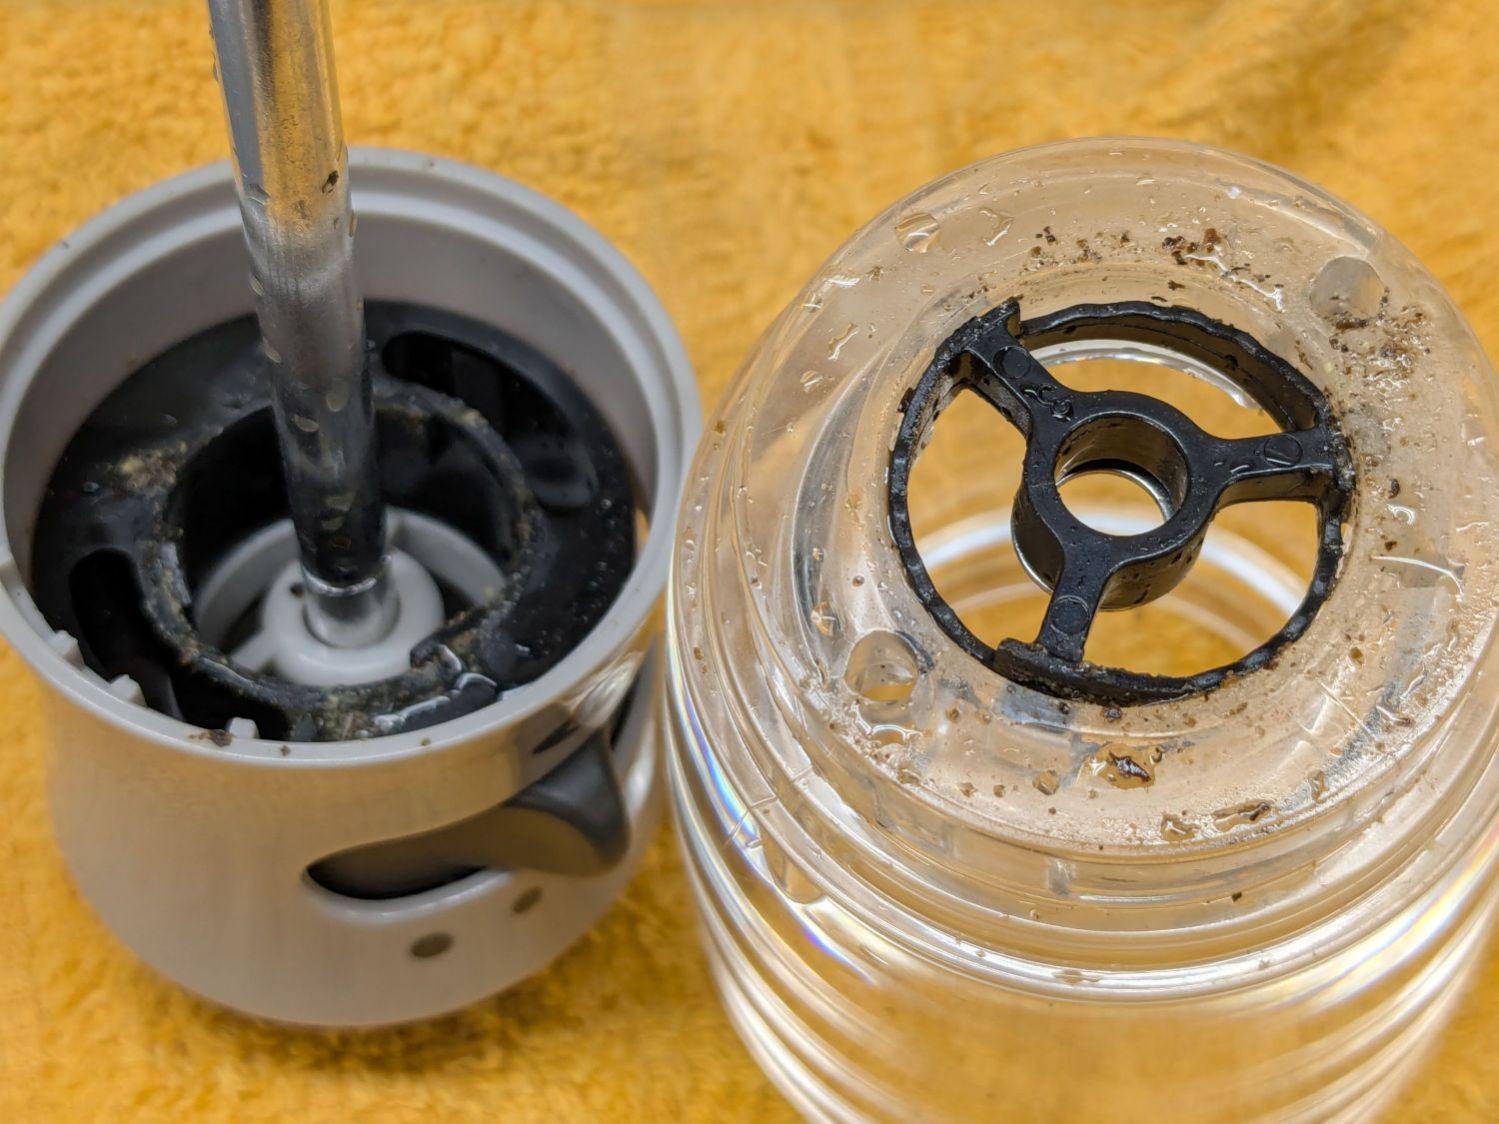
    The business end of a cheap stick blender we bought a year ago to replace the previous stick blender (*):

    Fresko stick blender
    Fresko stick blender

    This one failed just slightly beyond the duration of its one-year warranty, apparently with one of the shaft bearings seized to the extent of making the blade un-turnable even by (carefully protected) finger force.

    With nothing to lose (and a new blender inbound), it stood in the Basement Shop in that orientation for a week while I dripped penetrating oil around the shaft and wiggled the blade slightly back-and-forth. The bearing eventually broke free and the blade turned reluctantly.

    Still having nothing to lose, I gave the shaft a few shots with a drift punch, moving it a few millimeters in each direction. This apparently disturbed the seized bearing just enough to let it turn less reluctantly, with more penetrating oil improving the situation.

    Mixing a jar of water went well, even on high speed, but I doubt the bearing is in good health. We decided a blender with penetrating oil tucked up inside should be disqualified for food processing.

    When it first locked up, I bought a significantly more expensive stick blender, knowing full well more money does not imply better design / better materials / more QC. This one is now designated as a Cold Backup blender for garden & shop use.

    (*) For the record, my 3D printed shaft adapter failed while converting garden tomatoes into thick & zesty pizza sauce. I’m unsurprised PETG-CF wasn’t up to the task.

  • Punched Cards: Almost Automated Punching

    Punched Cards: Almost Automated Punching

    With a printed card in a fixture and aligned to the punch pattern, all that’s left is to Fire The Laser:

    Punched cards - laser fixture - cut
    Punched cards – laser fixture – cut

    When the card drops free, then:

    1. Remove card from fixture
    2. Insert next card
    3. Import next SVG file
    4. Verify alignment
    5. Fire The Laser

    The gotcha lies in Step 3, which requires mousing & clicking through a tedious file selection dialog. For whatever reason, Windows / LightBurn does not remember your place in the file directory, so you must not only remember which card you just punched, but maneuver to the next card in the sequence.

    It turns out there exists a lightly documented SendUDP.exe command-line program to send a file to the running LightBurn instance, which will (in the case of an SVG file) import it and center the layout at the middle of the workspace.

    Which means a Windows batch file can feed SVG files, one at a time, in order, to LightBurn. Before importing the file, however, LightBurn verifies you want to blow away the previous layout:

    LightBurn - Confirm import
    LightBurn – Confirm import

    Tapping D lets the import proceed.

    The feed-lb.bat batch file:

    @echo off
    for %%f in (%1) do (
        echo Sending: %%f
        "c:\Program Files\LightBurn_Prerelease\sendudp" "%CD%\%%f"
        pause
    )
    echo Done!
    

    Because the SVG files have convenient sequential names, this does what’s needed:

    …snippage…>.\feed-lb.bat Cards\Tests\test-?-lb.svg
    Sending: Cards\Tests\test-1-lb.svg
    Press any key to continue . . .
    Sending: Cards\Tests\test-2-lb.svg
    Press any key to continue . . .
    

    Set up the process:

    1. Start LightBurn with the proper layer defaults
    2. Start a Command Prompt
    3. Get to the proper directory
    4. Run feed-lb.bat aimed at the SVG files
    5. Align the first card
    6. Click in LightBurn window
    7. Alt-S to start cutting

    When the cutting is done, the loop continues:

    1. Replace / align card
    2. Click the Command Prompt window
    3. Hit (almost) any key to send the next file
    4. Click the LightBurn window
    5. D to discard old layout / import next SVG
    6. Alt-S to start cutting
    7. Iterate

    Assuming you don’t spend too much time aligning a card, punching it can take up to four minutes. This process is definitely not competitive with an experienced operator on a real IBM 029 keypunch machine, but it’s as good as it gets in the Basement Shop.

    One wrinkle: The imported SVG file uses LightBurn layer colors, so the various shapes appear on those layers with their default speed / power cut settings. It’s your responsibility to make the cut setting defaults match the cardstock, because that’s the only way (short of per-card clicking) to make it happen.

    Another wrinkle: the Command Prompt window opens at your Windows home directory, thus requiring a little setdir.bat file in there to get you where you want to go:

    @echo off
    z:
    cd "\Project Files\Laser Cutter\Punched Cards\Programs\"
    dir
    

    Now it’s just a matter of punching and stacking cards:

    Punched cards - storage trays
    Punched cards – storage trays

    It’ll take a while before I’m ready for the next step …

  • Punched Cards: Print vs. Punch Alignment

    Punched Cards: Print vs. Punch Alignment

    The printed card layout has targets in all four corners:

    Test Card 3 - unpunched
    Test Card 3 – unpunched

    Which are at exactly the same positions as the targets in the punched card layout, because they come from the same source code:

    Punched Cards - laser SVG layout
    Punched Cards – laser SVG layout

    The alignment problem has several parts:

    • The 1/3 Letter sheets aren’t exactly (11 inch)/3 tall, because neither the paper cutter nor my cutting hand have any particular accuracy
    • The printer’s feed rollers don’t maintain the sheet’s angular or positional alignment as it travels through the printer
    • A fractional-millimeter misalignment between the printed characters and the evaporated holes is obvious
    • Performing an intricate alignment dance on each card guarantees at least an occasional misstep

    I initially thought “Well, of course, I’ll just use LightBurn’s Print and Cut tool to match them up.” After some fumbling around, PnC is entirely too heavyweight for the problem at hand and a much simpler / faster / easier technique works better.

    It turns out LightBurn imports SVG files centered on the layout grid representing the laser platform:

    LightBurn - imported SVG layout
    LightBurn – imported SVG layout

    So putting the card fixture dead-center on the platform lines them up pretty closely:

    Punched cards - laser fixture overview
    Punched cards – laser fixture overview

    After importing an SVG, use Move Laser to Selection to put it in the middle of the upper right target, then create a Saved Position imaginatively called UR:

    LightBurn - Move window UR position
    LightBurn – Move window UR position

    Repeat for the lower left target to create the LL position.

    Because the targets are on 200×80 mm centers and the middle of the platform is at (350,250), the target positions will be nice round numbers:

    • UR = (250,210)
    • LL = (450,290)

    Yes, the coordinates run backwards, because that’s how Ruida controllers deal with a home position in the rear right corner of the platform.

    You define those positions once, because all the cards are the same size and end up in the same location on the platform.

    Although I expected to slide the cards under the fixture’s retaining lip from the front, it turns out an easier way is:

    • Gently buckle the card center upward
    • Align it against the rear edge
    • Slide the left edge under its lip
    • Lower the center while sliding the right edge under its lip
    • Tuck the card under the rear lip
    • Verify the front edge aligns with the marked lines, which means it’s properly in the fixture

    The magnets hold the fixture against the honeycomb:

    Punched cards - laser fixture alignment
    Punched cards – laser fixture alignment

    The fixture can still slide with firm finger pressure and the card can move a little bit within the fixture. Note that leaning on the honeycomb will press it (and the fixture) downward enough to put the dot at a slightly different position; if you align while leaning, recheck the dot’s position after you unlean.

    Move the laser to the UR position and skooch the fixture to align the upper right target to the red dot:

    Red dot vs printed target alignment
    Red dot vs printed target alignment

    The blue lines are nominally 0.2 mm wide and actually about 0.3 mm wide, so the red dot is 0.3 mm diameter. If your red dot is larger, better focus and a polarizing filter will help.

    I periodically fire a test pulse to verify the red dot matches the actual laser beam position:

    Red dot vs printed target vs laser spot alignment
    Red dot vs printed target vs laser spot alignment

    That slight mismatch adds to the overall positioning error.

    Repeat for the LL target, recheck UR to make sure it didn’t move, iterate as needed.

    The printed card is now aligned to the hole pattern about to be burned into it.

    Although this sounds like a lot of faffing, it goes surprisingly quickly because all the cards are Pretty Close™ to identical and the adjustments are very small. Although it’s possible to park the laser head at the UR position, I prefer to have it out of the way while unloading & loading the cards, then move it directly to UR to check the new card.

    Fire The Laser:

    Test Card 3 - punched
    Test Card 3 – punched

    I love it when a plan comes together:

    Test Card 3 - punched - detail
    Test Card 3 – punched – detail

    A dash of automation helps when doing more than one card, which, believe it or not, involves a Windows batch file …

  • Punched Cards: Test Card Generator Script

    Punched Cards: Test Card Generator Script

    The Punched Card.py program can generate a set of test cards to simplify tweaking the rest of the process:

    • Test Card 1 - unpunched
    • Test Card 2 - unpunched
    • Test Card 3 - unpunched
    • Test Card 4 - unpunched
    • Test Card 5 - unpunched

    The Bash script calls the Python program twice to generate the two SVG files for printing and punching each card, which seemed simple enough.

    Unfortunately, sending the SVG file directly to the printer demonstrated my lack of understanding of that whole process, so the script now:

    • Converts the SVG to a PNG file
    • Composites the logo image into a first blank-card sized PNG image
    • Composites the logo underneath the card PNG to a second PNG
    • Composites that PNG onto a Letter page in the proper position to hit a 1/3 Letter blank card to a third PNG

    Which goes a little something like this:

    #/usr/bin/bash
    outdir="Cards/Tests/"
    prefix="test"
    for i in $(seq 5)
    do
        printf "Test pattern %s: print" ${i}
        python Punched\ Card.py --layout print --test $i --seq 0 > ${outdir}test-${i}-pr.svg
        printf ", punch"
        python Punched\ Card.py --lbsvg --layout laser --test $i --seq 0 > ${outdir}test-${i}-lb.svg
    
        tf1=$(mktemp --suffix=.png ${prefix}-XXXX)
        printf ", Inkscape → PNG"
        inkscape --actions="select-all; page-fit-to-selection; export-dpi:300" --export-filename=$tf1 ${outdir}${prefix}-${i}-pr.svg
    
        printf ", Imagemagick → logo"
        tf2=$(mktemp --suffix=.png ${prefix}-XXXX)
        magick composite ${outdir}"Card logo.png" -gravity center -geometry "x880+0+20" -size 2421x1004 canvas:white $tf2
    
        printf ", Imagemagick → page"
        tf3=$(mktemp --suffix=.png ${prefix}-XXXX)
        magick composite $tf1 $tf2 $tf3
        magick composite -density 300 -gravity east -geometry "97.0%x97.9%+100-50" $tf3 -size 3300x2550 canvas:white ${outdir}${prefix}-${i}-lt.png
    
        #printf ", PNG → printer"
        #lp -d EPSON_ET-3830_Series -o media=TLetter ${outdir}${prefix}-${i}-lt.png
    
        rm $tf1 $tf2 $tf3
        printf ", done\n"
    done


    Although the script could print the final PNG for each card as it’s generated, I prefer to print them after eyeballing the results to fix the inevitable bloopers:

    lp -d EPSON_ET-3830_Series -o media=TLetter Cards/Tests/test-?-lt.png
    

    Using ImageMagick to slam PNG images around was significantly less complex and more direct than trying to contort the SVG file to produce the same result. In particular:

    • Uniformly scaling the logo image to fit the card height actually worked, as opposed to specifying the logo file as an image in SVG file.
    • Scaling the card PNG while compositing it onto the final page PNG worked much consistently, which counts for a lot.
    • Hitting the middle of a 1/3 Letter blank fed from the printer’s paper tray required tedious trial-and-error.

    The Cards/Tests/ output directory lives in the Programs directory with the Bash and Python programs, which made sense at the time.

    The Card logo.png file also lives in Cards/Tests/ so I can have a different logo for each set of cards. A symlink to the appropriate logo file in Logos simplifies changing the artwork.

    None of the constants will match your setup, so have fun.

  • Punched Cards: Character Translation & Positioning

    Punched Cards: Character Translation & Positioning

    With SVG scaling more-or-less settled, converting a line of text into the SVG layouts for printing and punching is reasonably straightforward feasible.

    The Python program contains several test patterns:

    TestStrings = ( " " * NumCols,      # blank card for printing
                    "█" * NumCols,      # lace card for amusement
                    "0123456789 ABCDEFGHIJKLMNOPQRSTUVWXYZ abcdefghijklmnopqrstuvwxyz",
                    "¢.<(+|!$*);¬,%_>?:#@'=" + '"' + "&-/█",
                    "▯" * NumCols,      # hack for row number alignment
                    )


    A Contents string contains the characters going onto the card, which can come from either the command line or TestStrings:

    if args.test:       # test patterns used without changes
        Contents = TestStrings[args.test - 1].ljust(NumCols,' ')
    
    else:               # real cards need cleaning
        Contents = ''.join(itertools.chain(*args.contents))
    
        if args.seq:
            nl = 8 - len(args.prefix)
            Contents = Contents.ljust(NumCols - 8,' ')[:(NumCols - 8)]
            Contents = Contents + f"{args.prefix}{args.seq:0{nl}d}"
        else:
            Contents = Contents.ljust(NumCols,' ')[:NumCols]
    
        if not args.lower:
            Contents = Contents.upper()


    The args.seq command line option gives either the starting sequence number or, when zero, leaves the original text unchanged. Adding sequence numbers to the Apollo AGC source code is non-canon; so be it. All of the adjusting turns Contents into an 80 character string.

    The CharMap converts each Unicode character in Contents into a list of the holes to be punched in that column:

    CharMap = {
        " ": (),
        "0": (0,),
        "1": (1,),
    … snippage …
        "Z": (10,9),
        "a": (12,10,1),
    … snippage …
        "&": (12,),
        "-": (11,),
        "/": (10,1),
        "█": (12,11,10,1,2,3,4,5,6,7,8,9),      # used for lace card test pattern
        "▯": (12,10,2,4,6,8),      # used for alignment tests with hack for row numbers
    }


    The numbers in the list are effectively “row names” which must be translated into the physical row index (from the top of the card, because Y coordinates increase downward in SVG files):

    RowMap = (2,3,4,5,6,7,8,9,10,11,2,1,0)


    The top three card rows are named “12 / 11 / 10”, with the “10 row” in the same place as the “0 row” = third row from the top = index 2, which is why the mapping is not one-to-one.

    Whereupon punching the holes goes a little something like this:

    if args.layout == "laser":
        for c in range(len(Contents)):
            glyph = Contents[c]
            if not (glyph in CharMap):
                glyph = ' '
            for rn in CharMap[glyph]:
                r = RowMap[rn]
                HoleEls.append(
                    svg.Rect(
                        x=svg.mm(BaseHoleAt[X] + c*HoleOC[X] - HoleSize[X]/2),
                        y=svg.mm(BaseHoleAt[Y] + r*HoleOC[Y] - HoleSize[Y]/2),
                        width=svg.mm(HoleSize[X]),
                        height=svg.mm(HoleSize[Y]),
                        stroke=HoleCut,
                        stroke_width=svg.mm(DefStroke),
                        fill="none",
                    )
                )


    Mercifully, everything is in millimeters and LightBurn plunks the holes exactly where they should be:

    Punched Cards - laser SVG layout
    Punched Cards – laser SVG layout

    That’s the LightBurn layout with the rectangles on the black layer set to Fill. The SVG rectangles have fill="none" because LightBurn uses only the vector stroke, so you’ll see hollow rectangles in any other program. The card outline goes on the red layer set to Line for cutting.

    Punching evaporating those holes must happen on the printed card made with the same text string, which requires another pass through the program with different command-line parameters.
    A real blank card has a digit corresponding to the row name printed in every column, much like the bottom card:

    Punched cards - lace and blank tests
    Punched cards – lace and blank tests

    In these cards, the digits aren’t printed at the positions where holes will appear:

    Punched Cards - print SVG layout
    Punched Cards – print SVG layout

    Preventing a digit sliver from peeking around the edge of a hole makes the text-to-hole alignment look better than it really is. As a bonus, if the holes evaporated in the 9 row don’t match up with the missing digits, poking the STOP button on the laser minimizes the damage; for these cards, I can tolerate a slight punching error.
    FWIW, back in the day you could get cards printed with any ink color you wanted, as long as you were buying a million or two. While green ink is non-canon for the cards I remember, it was possible.

    Not printing a digit requires some gyrations:

    if args.layout == "print":
        xoffset = 0.3                  # tiny offsets to align chars with cuts
        yoffset = 1.5
        for c in range(NumCols):
            glyph = Contents[c]
            rnx = CharMap[glyph]        # will include row name 10 aliased as row name 0
            for rn in range(10):
                pch = RowGlyphs[rn]     # default is digit for row
                if ((rn in rnx) or ((rn == 0) and (10 in rnx))):  # suppress punched holes
                    pch = RowGlyphs[-1] if glyph == "▯" else " "  # except for alignment tests
                r = RowMap[rn]
                TextEls.append(
                    svg.Text(
                        x=svg.mm(BaseHoleAt[X] + c*HoleOC[X] + xoffset),
                        y=svg.mm(BaseHoleAt[Y] + r*HoleOC[Y] + yoffset),
                        class_=["holes"],
                        font_family="Arial",        # required by LightBurn
                        font_size="3.0mm",          # required by LightBurn
                        text_anchor="middle",
                        text=pch
                    )
                )


    The xoffset and yoffset values come from empirical measurements and will likely not match whatever your printer produces.

    The text and hole layout assume the corner targets have been aligned, so the final alignment depends on at least:

    • Eyeballometric positioning of red dot at target center
    • Red dot pointer to actual laser spot alignment
    • Correct focus distance
    • Printer stability in both X and Y

    The font gets selected by the class_ and font_family attributes, with Inkscape requiring the former and LightBurn the latter. Just to keep things interesting, each program ignores the other attribute. The class_ attribute selects one of the Style entries emitted while blurting out the accumulated SVG elements:

     if not args.debug:
        canvas = svg.SVG(
            width=svg.mm(PageSize[X]),
            height=svg.mm(PageSize[Y]),
            elements=[
               svg.Style(
                   text =   f"\n.attrib{{ font: 2mm Arial;  fill:{CardText}}}" +
                            f"\n.holes{{ font: 3.0mm Arial;  fill:{CardText}}}" +
                            f"\n.cols{{ font: 1.5mm Arial;  fill:{CardText}}}" +
                            f"\n.dotty{{ font: 4.0mm KEYPUNCH029; fill:{CardGray}}}" +
                            f"\n.dottylc{{ font: italic 4.0mm KEYPUNCH029; fill:{CardGray}}}"
                ),
                ToolEls,
                MarkEls,
                CardEls,
                TextEls,
                HoleEls,
            ],
        )
    
        print(canvas)


    The print(canvas) statement squirts the SVG text to stdout, where the Bash script directs it into a suitable file.

    The Contents string appears across the top of the card in a dark-ish gray-ish color resembling a well-worn IBM 029 keypunch machine ribbon, with the KEYPUNCH029 font providing gritty 5×7 verisimilitude:

    if args.layout == "print":
        xoffset = 0.3
        for c in range(len(Contents)):
            glyph = Contents[c]
            if not (glyph in CharMap):
                glyph = ' '
            fc = "dottylc" if curses.ascii.islower(glyph) else "dotty"
            glyph = svg.escape(glyph)               # escape the characters that wreck SVG syntax
            TextEls.append(
                svg.Text(
                    x=svg.mm(BaseHoleAt[X] + c*HoleOC[X] + xoffset),
                    y=svg.mm(5.0),                  # align just below card edge
                    class_=[fc],
                    font_family="KEYPUNCH029",      # required by LightBurn
                    font_size="4.0mm",              # required by LightBurn
                    text_anchor="middle",
                    text=glyph
                )
            )


    Although lowercase letters on a punched card are definitely non-canon, the args.lower command-line switch applies italic to them and the font maps them to uppercase.

    Dumping unfiltered text into an SVG file allows code injection attacks, which I discovered when this test card passed through:

    "¢.<(+|!$*);¬,%_>?:#@'=" + '"' + "&-/█"
    

    The svg.escape() function replaces characters like “&” with “&amp;”., which I filed under “Things I should have learned by now.”

    Two passes through the program with appropriate switches and the same text will produce two matching SVG files. Although they’re scaled to the same size, the SVG-to-be-printed requires considerable processing before the printer sees it …