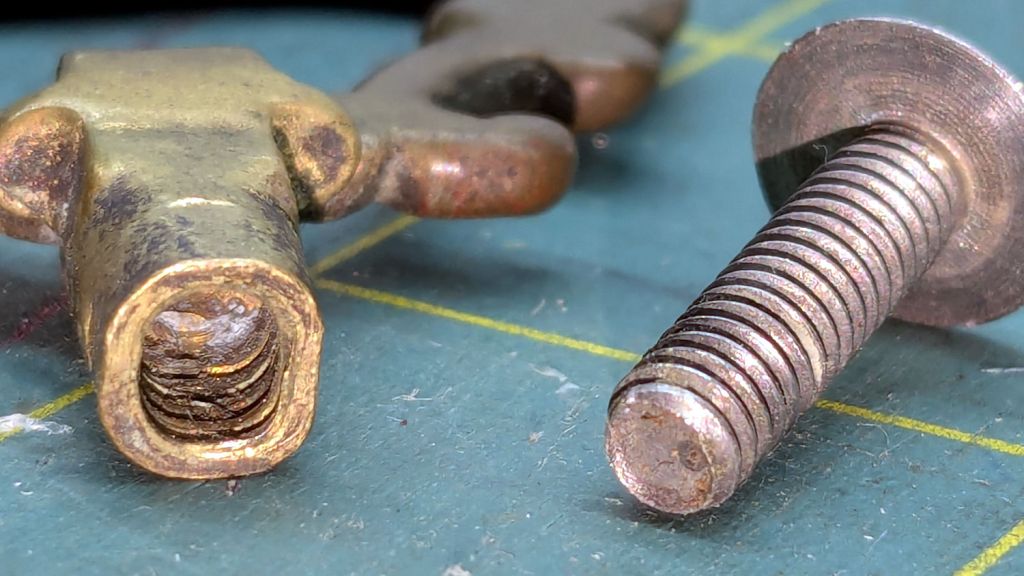
A small sewing notions cabinet, once my mother’s, now holds some of Mary’s supplies and, a few days ago, had one of its drawer pulls fall off. While preemptively tightening all the screws, I found one no longer held onto its pull:
They don’t make drawer pulls like that any more!
As I see things, it can be forgiven for losing its grip after nearly a century.
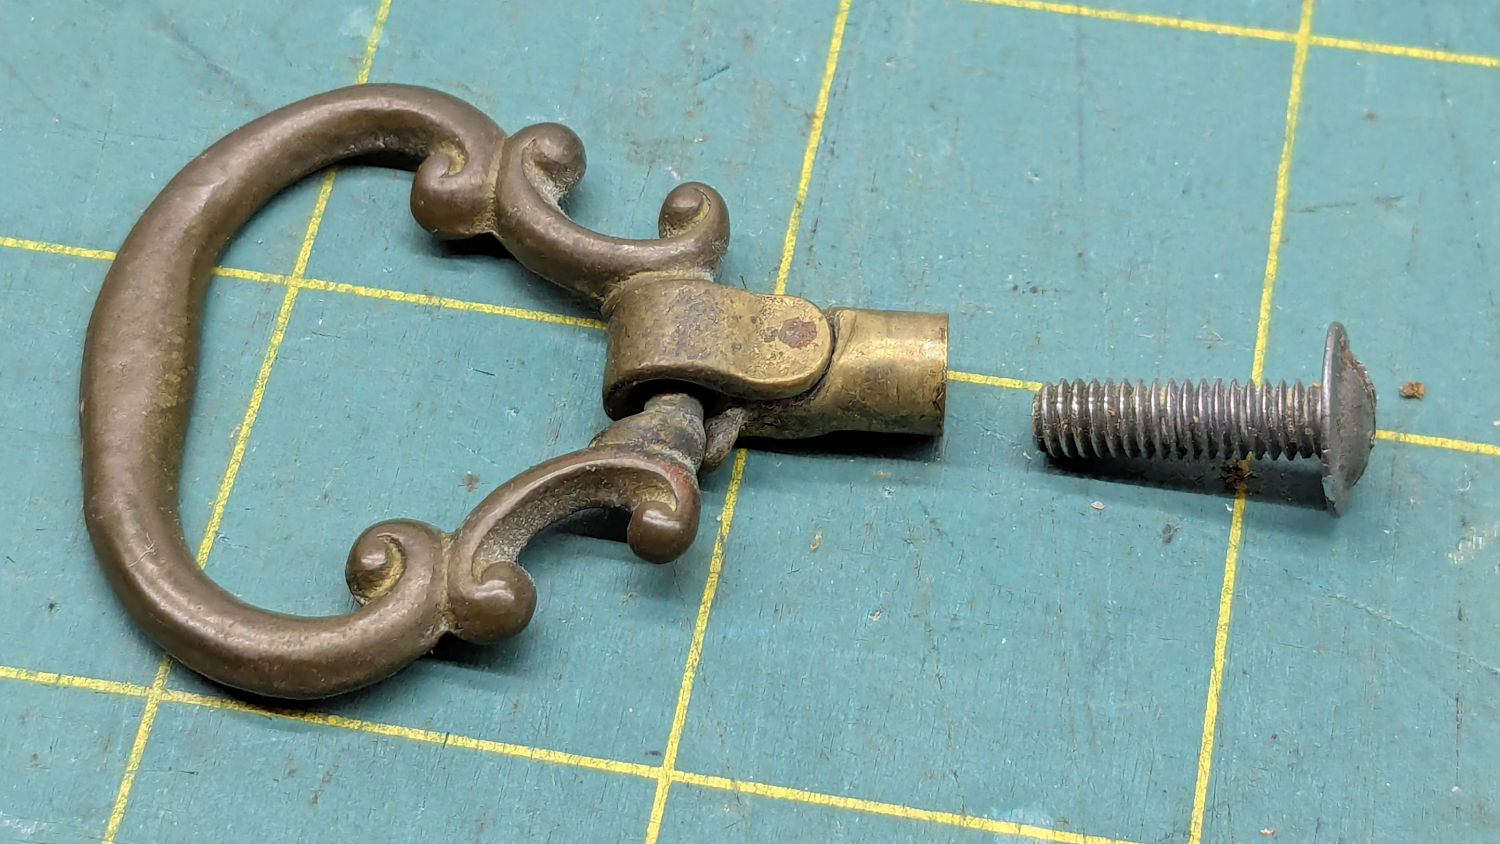
Thread the screw in as far as it will go and lay the pull flat on the bench vise anvil:
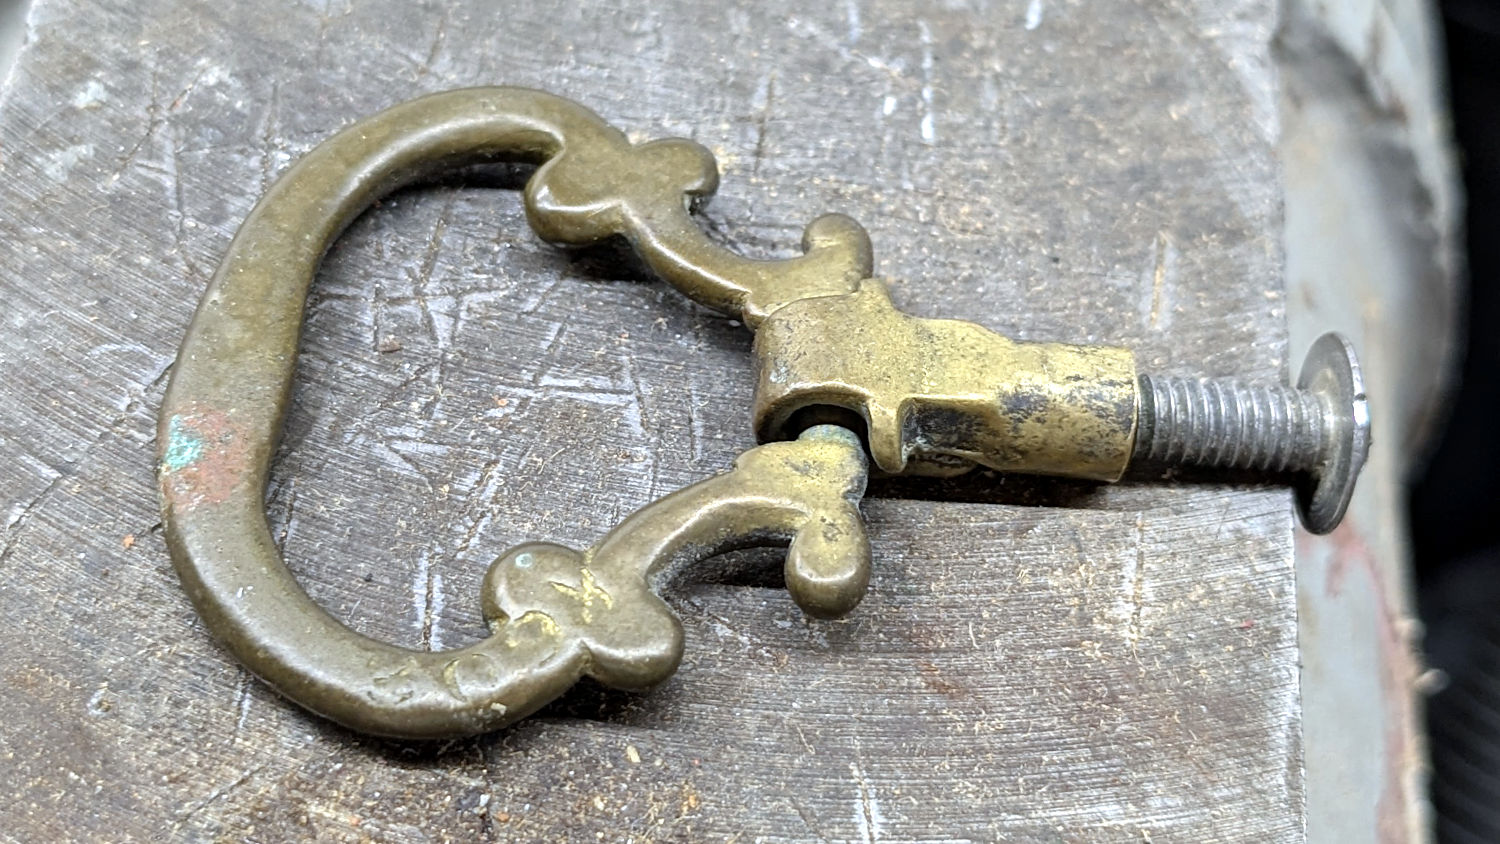
A few gentle whacks with a pin punch on top and bottom, plus a tap on each side, compressed the pull’s remaining threads around & into the screw:
Put it back in its drawer, snug the screw, and it’s all good.
That should suffice for at least the remainder of its first century …