Ed Nisley's Blog: Shop notes, electronics, firmware, machinery, 3D printing, laser cuttery, and curiosities. Contents: 100% human thinking, 0% AI slop.
Although replacing the Sonicare E5000 battery six years ago was supposed to be the last time I’d do that, the poor thing died leaving most of a year’s supply of brush heads in the drawer.
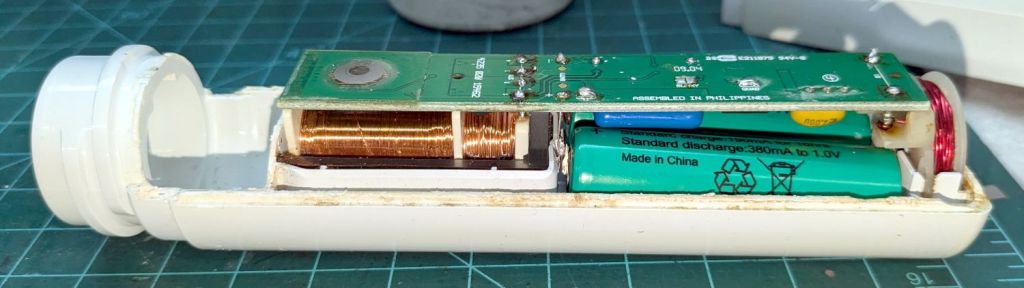
Half a quartet of NiMH AA cells should keep it happy while using up that stash:
Sonicare Toothbrush – NiMH AA cells installed
The AA cells sit at a jaunty angle due to re-re-using the original contact tabs soldered into the PCB.
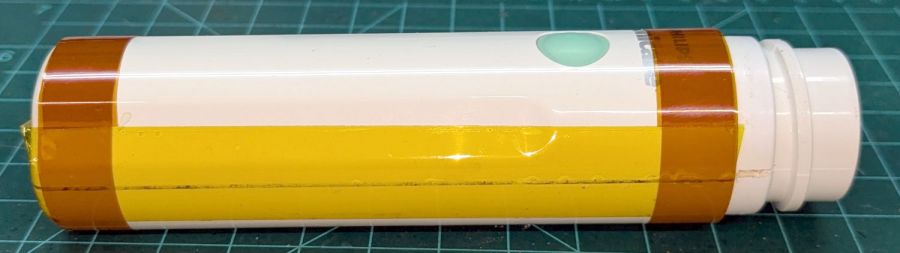
I’m getting pretty good at taping the case closed:
Sonicare Toothbrush – Kapton tape
Although I have no pictures to prove it, the other half of the AA cell quartet restored youthful vigor to the Norelco T770 beard trimmer. Having interior pictures made finding and popping its case latches so much easier.
If they think you’re crude, go technical; if they think you’re technical, go crude. I’m a very technical boy. So I decided to get as crude as possible. These days, thought, you have to be pretty technical before you can even aspire to crudeness.
William Gibson — Johnny Mnemonic
Now that the trees have shed most of their leaves / needles, it’s time to get the accumulation off the roof edges. Fortunately, the upstairs windows overlook the biggest piles and, after I considered and rapidly rejected the notion of using the wind stick, Mary convinced me a roof rake would suffice by deploying a too-short broom.
After considering and rejecting several decreasingly elaborate variations of 3D-printed pole-to-pusher-plate adapter nonsense that almost involved our pole saw, this happened:
Roof Rake – in use
The wood pole comes from a left-behind assortment atop the garage’s open ceiling joists and the pusher plate comes from the cardboard box treasure trove.
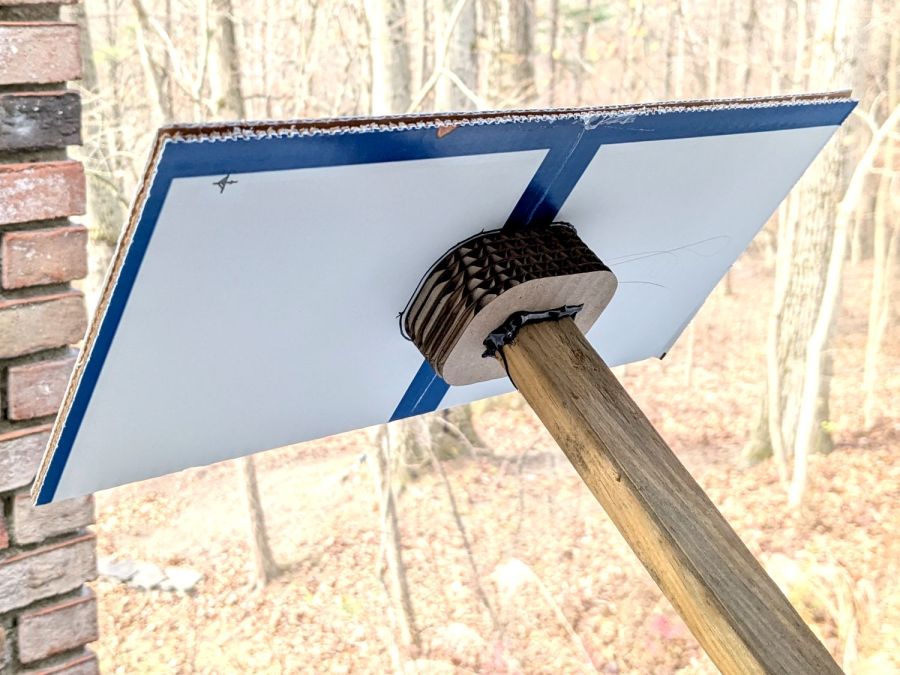
A laser cutter makes close-fitting rings and hot-melt glue sticks those plates together with gleeful abandon:
Roof Rake – detail
The blue-and-white cardboard plate consists of two box flaps glued together, the glued-up stack of half a dozen rings transfers the torque from the plate to the pole, and the whole affair took the better part of fifteen minutes from idea to cool-enough glue.
It’s back on the garage joists for next year, unless we decide that pole has a higher purpose in life. Worst case, it loses two inches of length.
Bonus: Chore accomplished before the predicted weekend snowfall!
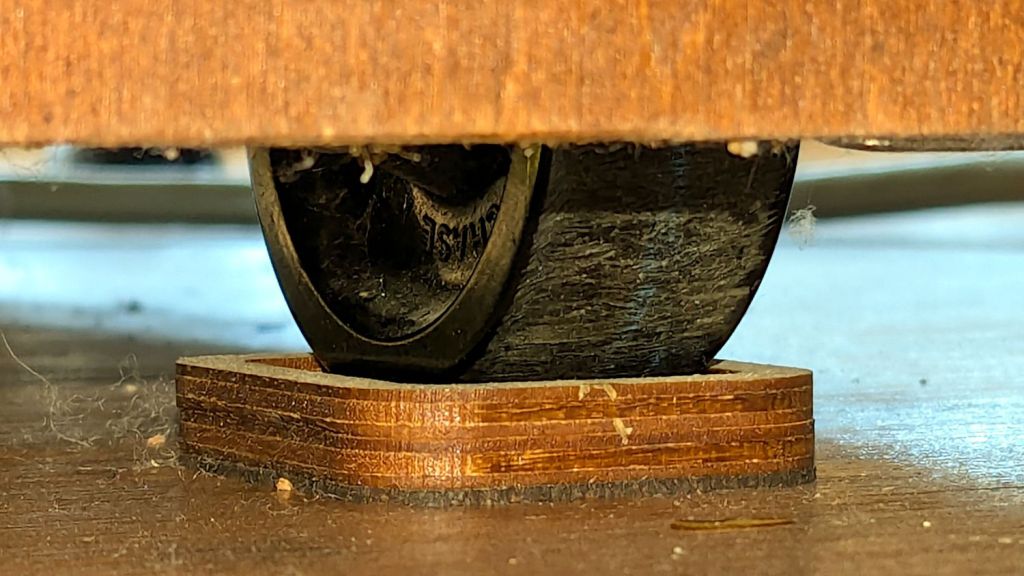
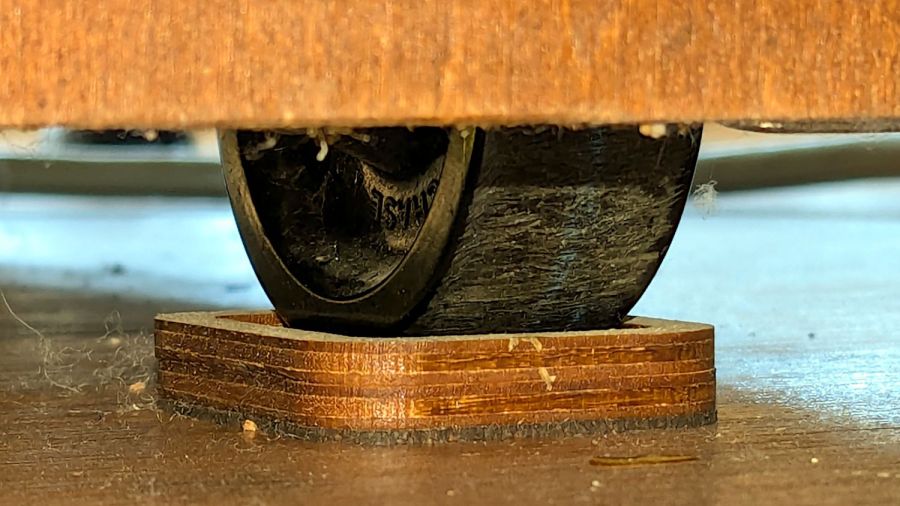
Mary’s much-improved / -repaired Sears Sewing Table wanted to move around on the wood floor in the Sewing Room, so I captured its casters in little pads:
Sears Sewing Table caster pad – installed
A layer of 1 mm cork with PSA adhesive provides griptivity against the floor, a solid layer of 3 mm plywood spreads the wheel force over the cork, and a top ring of 3 mm plywood captures the wheel.
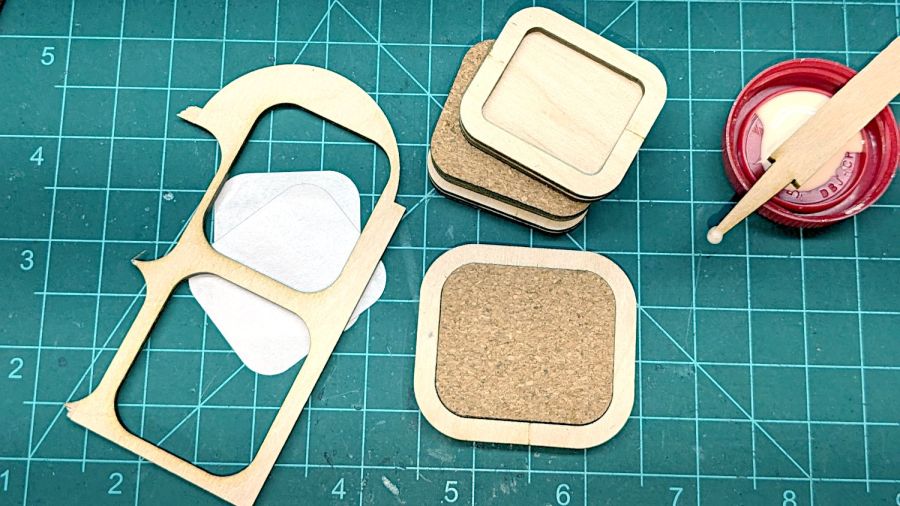
Which looked like this during gluing:
Sears Sewing Table caster pad – gluing fixtures
The scrap on the left served to align cork & plywood; it came from the plywood contributing the shapes. The ring around the cork is a glued-up pair of plywood rings (4 mm wide, outset from the perimeter of the pads) serving to align the two plywood layers.
Verily: time spent making a fixture is never wasted!
And having a laser cutter makes fixtures trivially easy, at least for simple fixtures like those.
A flurry of alerts informed us about charges on an “inactive” credit card account: someone started using my card from a joint account with Mary. Our two cards have different numbers and security codes, although they produce charges to the same account.
The account was inactive for a simple reason: I’d never taken my card out of its mailer and never bought anything with that number. It was activated when Mary turned on her card, although it still carries that sticker:
Invalidated credit card
The customer service agent discovered Amazon had already issued a refund, so apparently the transaction tripped their fraud monitors.
He canceled that number and I’ll get another card, which I intend to continue not using, in a few days.
What I do not understand: how did my card number and security code end up in play, given that I never used it? AFAICT, the only two places that number appears are on the card and in the issuer’s database.
Do you know how such things work?
A casual web search for the (now invalidated) credit card number produces no hits. The simplest explanation: search engines don’t return results for sixteen digits resembling a credit card number.
Verily: just because you’re not paranoid doesn’t mean they’re not out to get ya!
Here’s what I think is going on, referring to the 4×8 foot (!) machine in that discussion and lightly edited to improve readability & fix minor errors …
Mirror 1 alignment gets the beam parallel to the Y axis, averaged over the gantry travel between front and rear. The path length variation on your machine is four feet.
Mirror 2 alignment gets the beam parallel to the X axis, averaged over the laser head travel from left to right. The path length variation on your machine is eight feet.
When the laser head is in the left rear corner, the total path length is maybe a foot or two. When it’s in the front right corner, the total path length is upwards of twelve feet.
The “Fourth Corner” problem comes from a slight angular misalignment of Mirror 1, because you (and I and everybody) must set it with a maximum path length around four feet (Mirror 1 to Mirror 2 with the gantry at the front end of the machine). But with the laser head in the right front corner, the path length (Mirror 1 to Mirror 3) is three times longer, so the error due to a slightly mis-set angle at Mirror 1 is correspondingly larger.
A tiny tweak to Mirror 1 changes the spot position at Mirror 2 by very little, but moves the spot at Mirror 3 by much more due to the longer path length.
Tweaking Mirror 1 cannot compensate for a warped machine frame, but it will get the beam alignment as good as it can be made.
The next point of contention was my “middle of the mirror” suggestion. AFAICT, the spot burned into the target at each mirror marks only the useful part of the beam with stray energy in a halo around it. Centering the spot keeps that stray energy away from the mirror mounts, so it doesn’t cause unnecessary heating. This will be particularly important with a high-power laser.
Angular adjustment of each mirror puts the beam parallel to the axes, but cannot also center it on the mirrors. After it’s aligned, the path from the laser tube through the nozzle depends on the position of the tube relative to the nozzle: moving the tube up/down and front/back moves the beam position on the mirrors and through the nozzle, but (in an ideal world) doesn’t change the angular alignment.
So after aligning the beam parallel to the axes, you must move the laser tube, the mirrors (up/down left/right front/back), and maybe the laser head to center the beam in the mirrors and also in the nozzle. Because we don’t live in an ideal world, moving any of those pieces wrecks their angular alignment, so it’s an iterative process.
The goal is to reach this point:
Beam Alignment – Mirror 3 detail – 2023-09-16
Those are five separate pulses, one each at the four corners and center of the platform.
The beam then goes pretty much through the center of the laser head and lens:
An entry from The New Garden Encylopedia, copyright 1936 through 1946, gives recommendations for using arsenical poisons in your garden:
Arsenical poisons
My father always said anybody who talks fondly of The Good Old Days wasn’t alive back then. He was and thought things had definitely improved since then.