Ed Nisley's Blog: Shop notes, electronics, firmware, machinery, 3D printing, laser cuttery, and curiosities. Contents: 100% human thinking, 0% AI slop.
For reasons not relevant here, we had to make a booklet out of a PDF file that contained several wide tables that should print in landscape mode, but were tagged as portrait pages. As a further complication, the pdftops utility I normally use complained vociferously about nearly every page:
Syntax Warning: FoFiType1::parse a line has more than 255 characters, we don't support this
A bit of fiddling produced this recipe, with pdf2ps in place of the usual pdftops:
For reasons which are, trust me on this, not relevant here, we now have a third Kenmore 158 sewing machine: a freebie that sat under a roof leak in an unused room some years ago and wasn’t cleaned before being stored. Even though not much water got inside the covers, the bobbin winder shaft froze solid.
Two black screws hold it to the cover and provide a slight adjustment of the tire-to-handwheel distance:
Bobbin Winder – old tire
Prior to this adventure, I soaked the shaft in penetrating oil for a week or two, but to no avail.
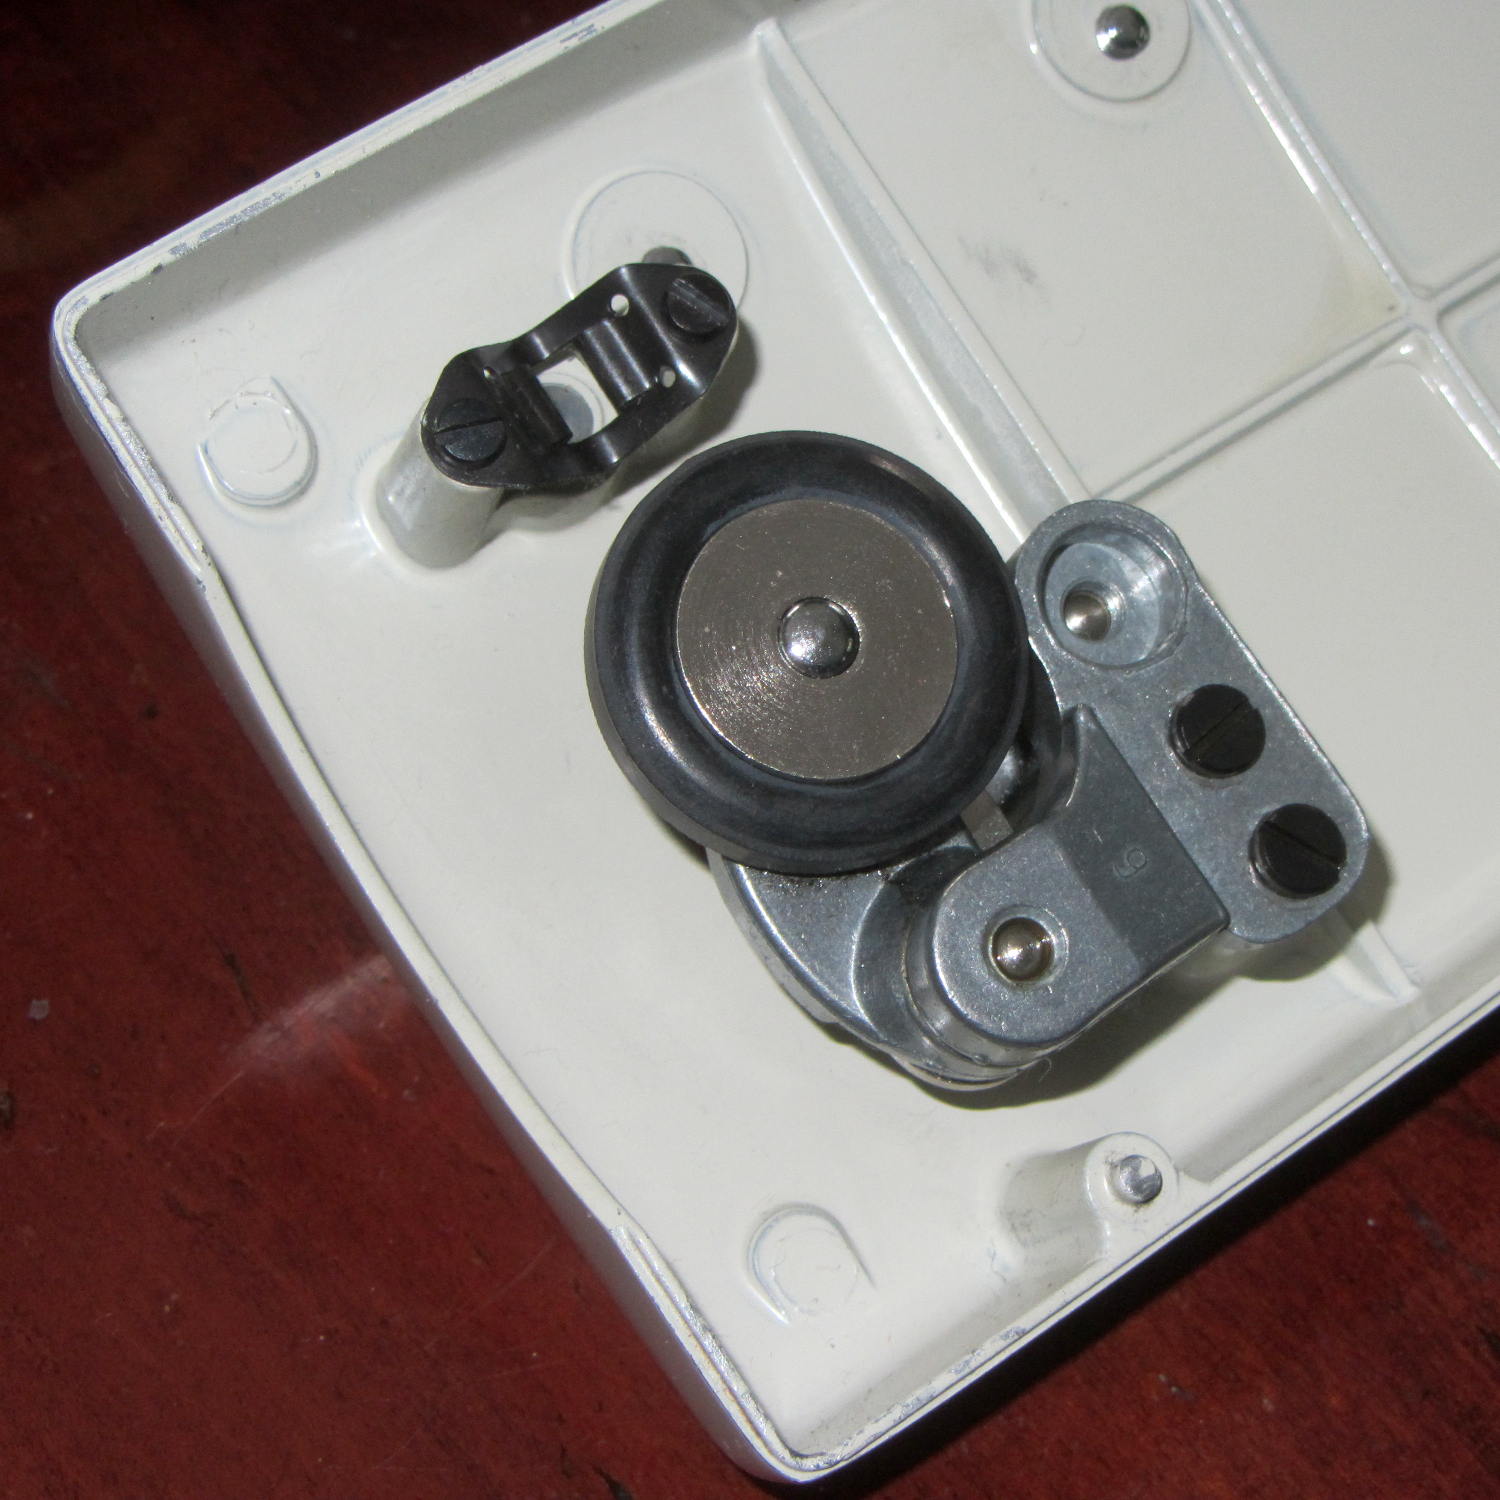
I didn’t take any before-the-repair photos, but it looked like this afterward, with the new tire installed…
From the top right (looking over the handwheel):
Bobbin Winder – assembled – top right
Notice the small rectangular hole just below the larger section of the shaft in the protruding part of the pot metal housing. That’s supposed to be an oil hole, but it’s also a fine water inlet.
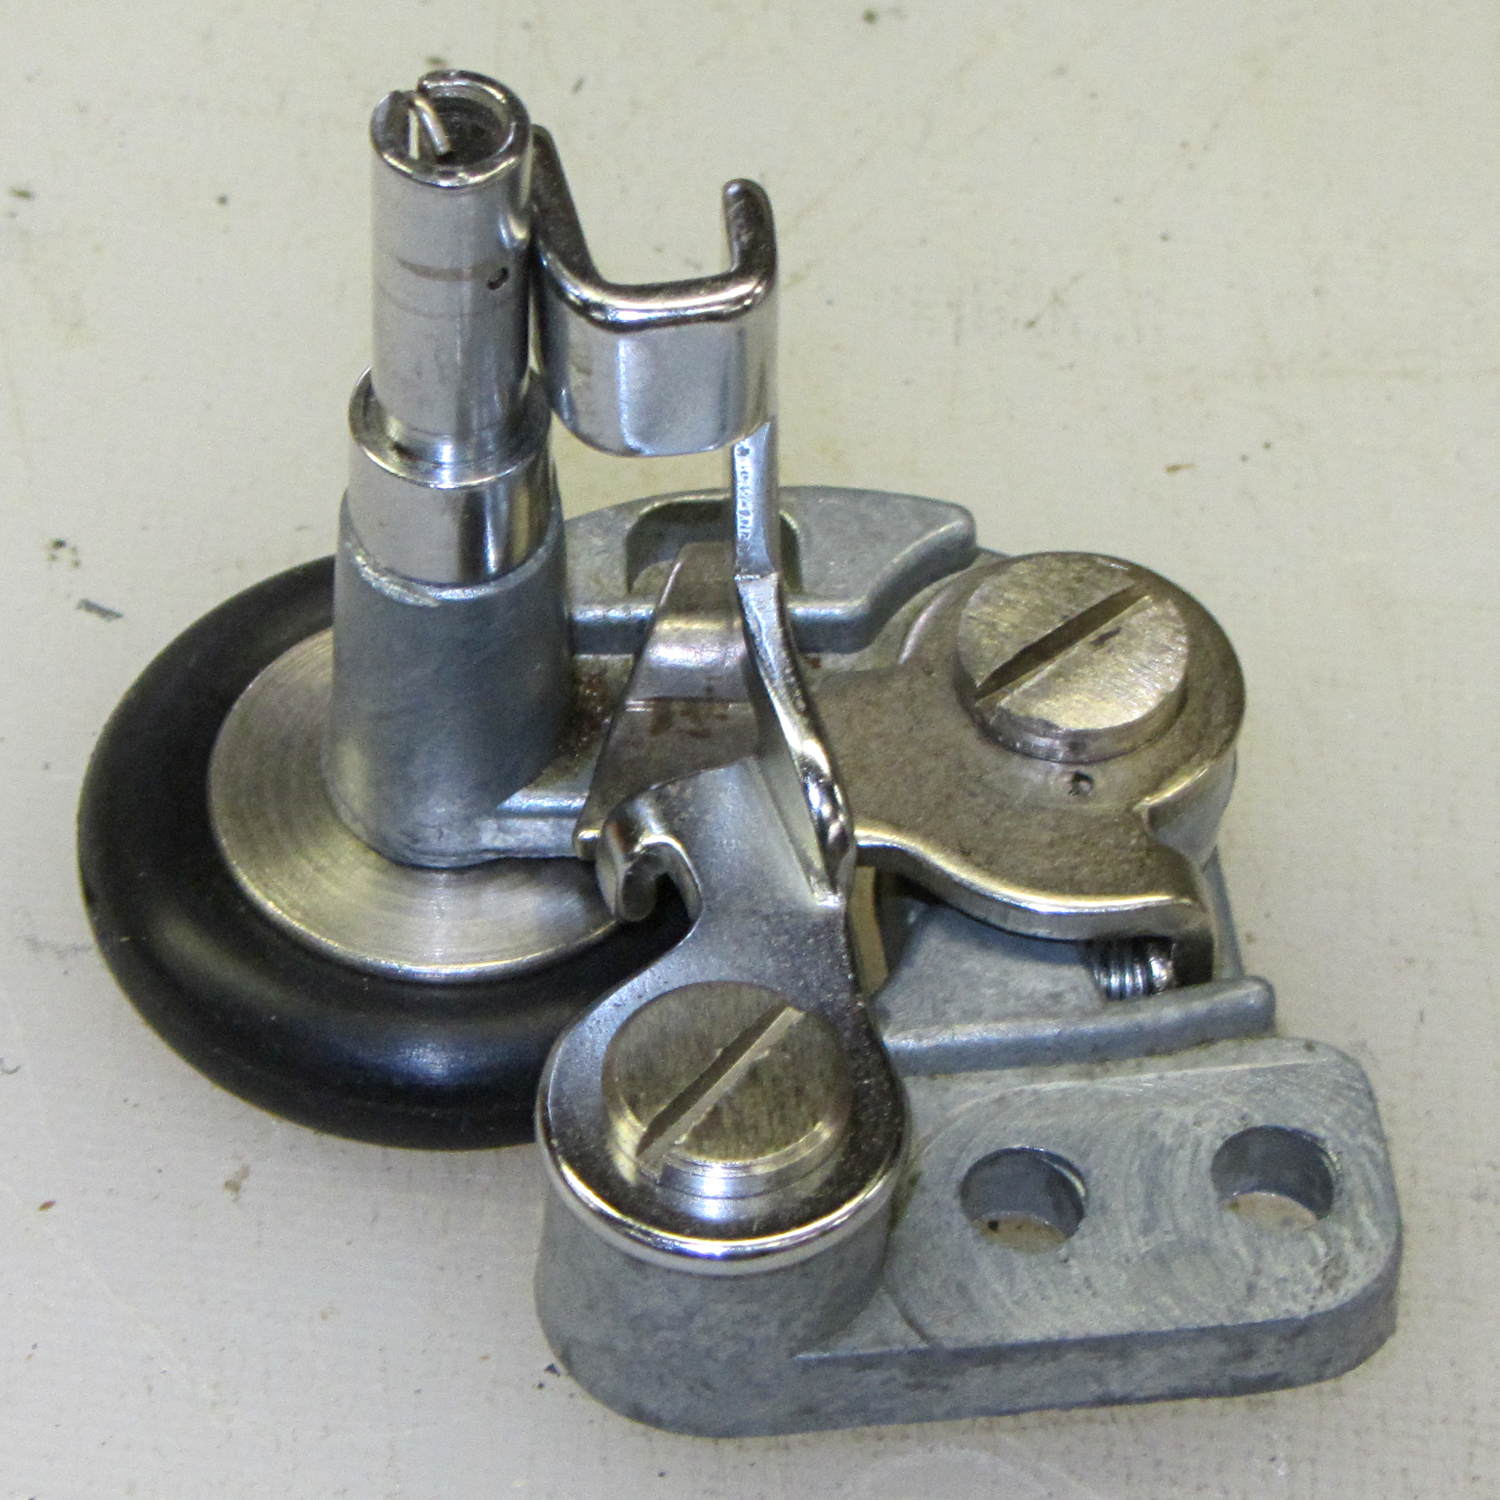
From the top left:
Bobbin Winder – assembled – top left
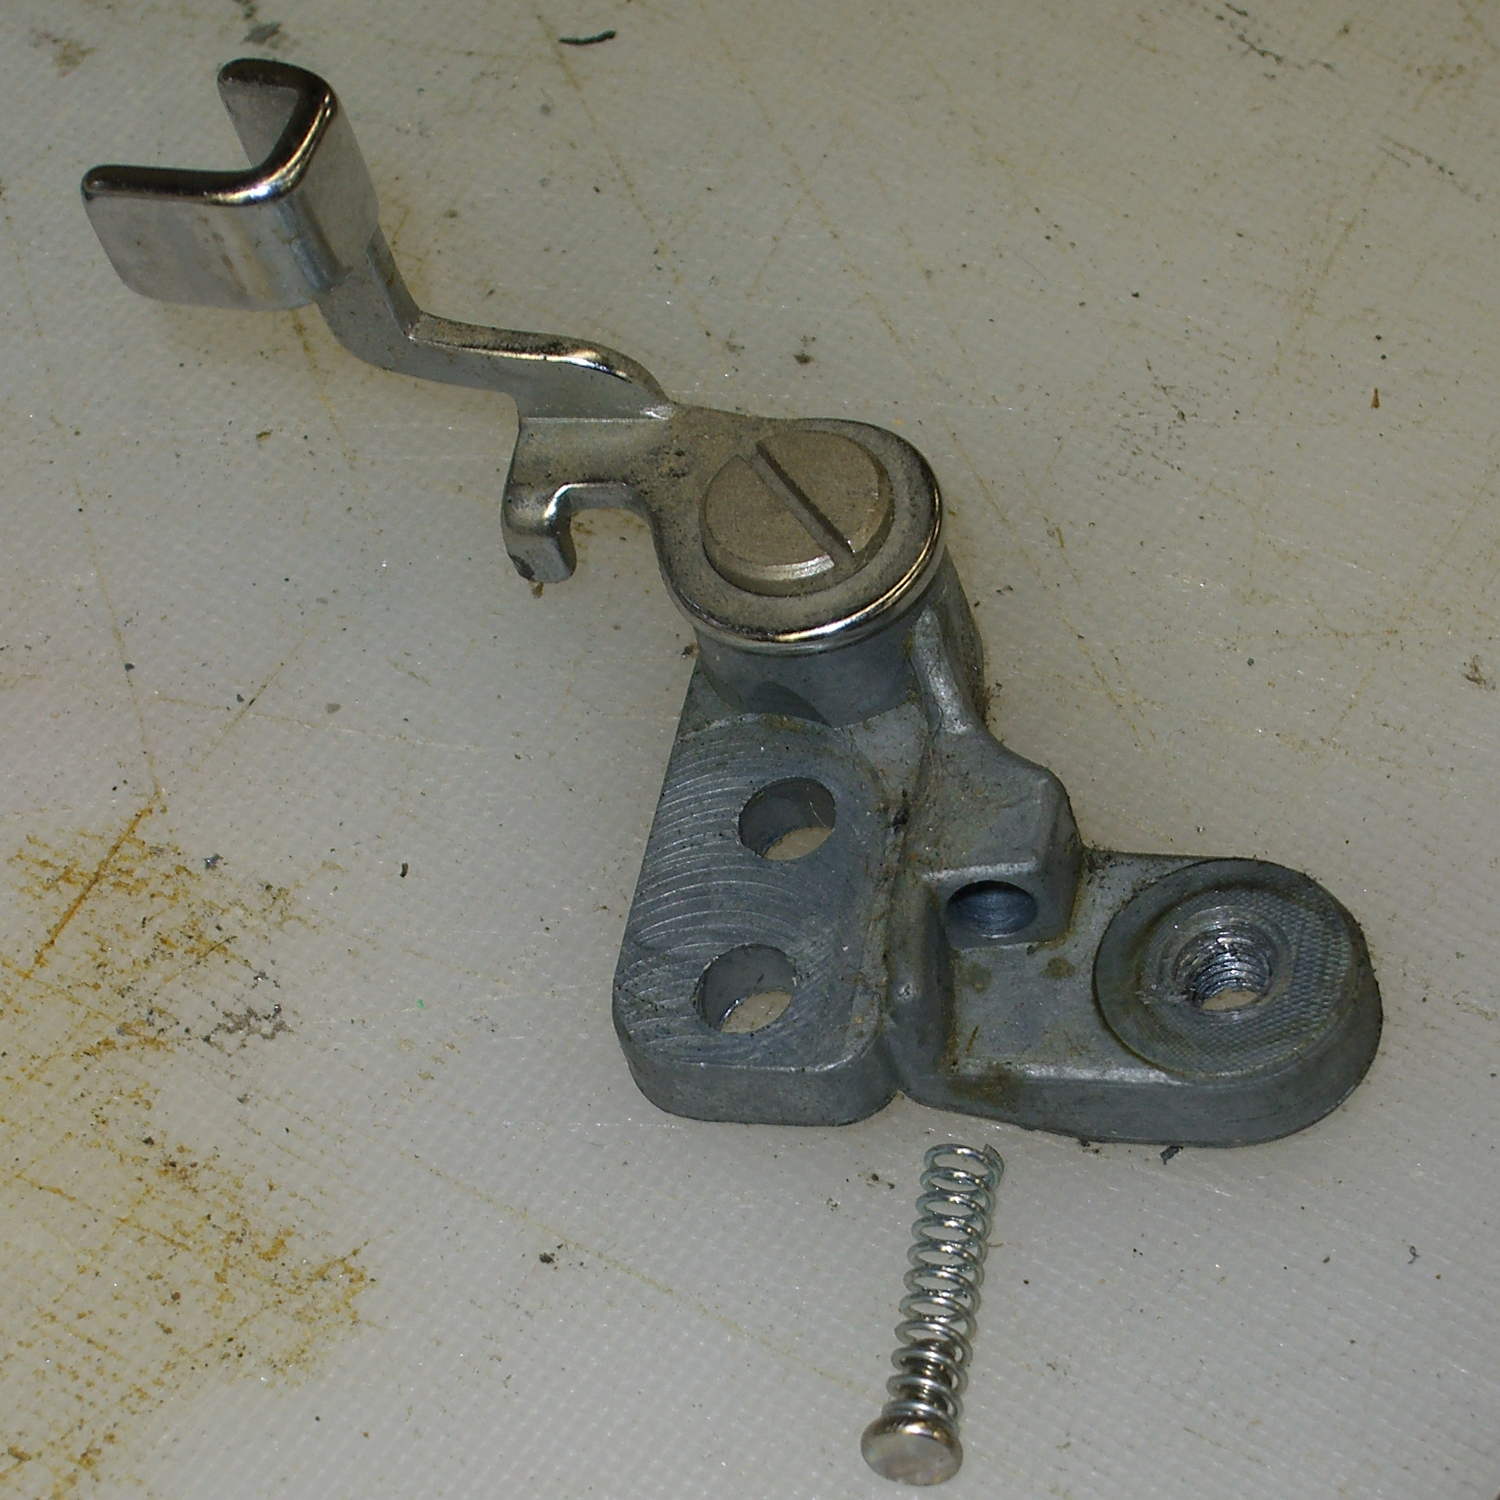
The two obvious screws remove the obvious parts, but beware the compression spring:
Bobbin Winder – fill sense lever
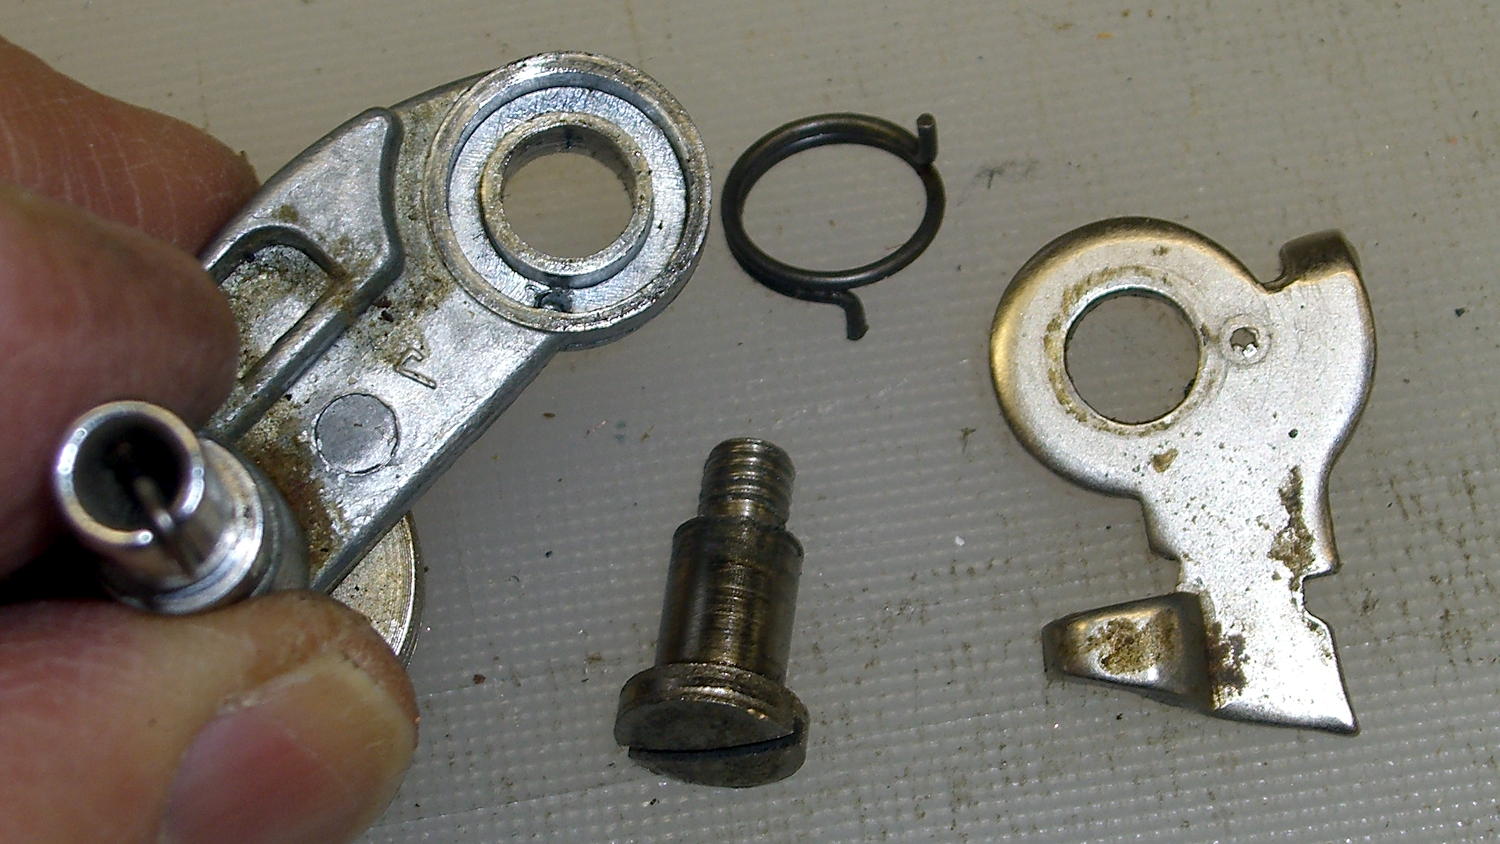
And the torsion spring:
Bobbin Winder – drive latch
Some experimentation with a strap wrench rotated the wheel on the (still firmly frozen) shaft, which suggested the joint was a press fit without a setscrew, splines, or adhesive.
Grabbing the shaft lightly in a machinist’s vise, resting it atop the bench vise, and giving it a few shots with a drift punch drove it downward through the housing:
Bobbin Winder – driving out spindle
More gentle beating produced this heartrending scene:
Bobbin Winder – corroded shaft
Water just isn’t any good at all for unlubricated steel in a pot-metal bushing…
Anyhow, the shaft & housing cleaned up well, although they look a tad grody, and everything went back together in the reverse order.
I added a drop of light oil through the lube port, chucked the shaft in the drill press, spun it for a minute at low speed to wear off a slight binding, and it’s all good again.
The bobbin winder atop the Kenmore 158 sewing machine has a rubber tire that contacts a ribbed ring on the inside surface of the handwheel; the clutch knob disengages the main shaft and you run the motor at top speed. As you’d expect, both age and wear take their toll on the rubber, to the extent that the winder on Mary’s machine stopped turning. I swapped it for the slightly less decrepit winder on the Crash Test Dummy, but that was obviously a stop-gap measure.
I mistakenly thought the metal wheel consisted of two plates that clamped a rubber disk in place, with no possibility of removal:
Bobbin Winder – old tire
The fact that the spare parts list didn’t include the rubber disk helped convince me.
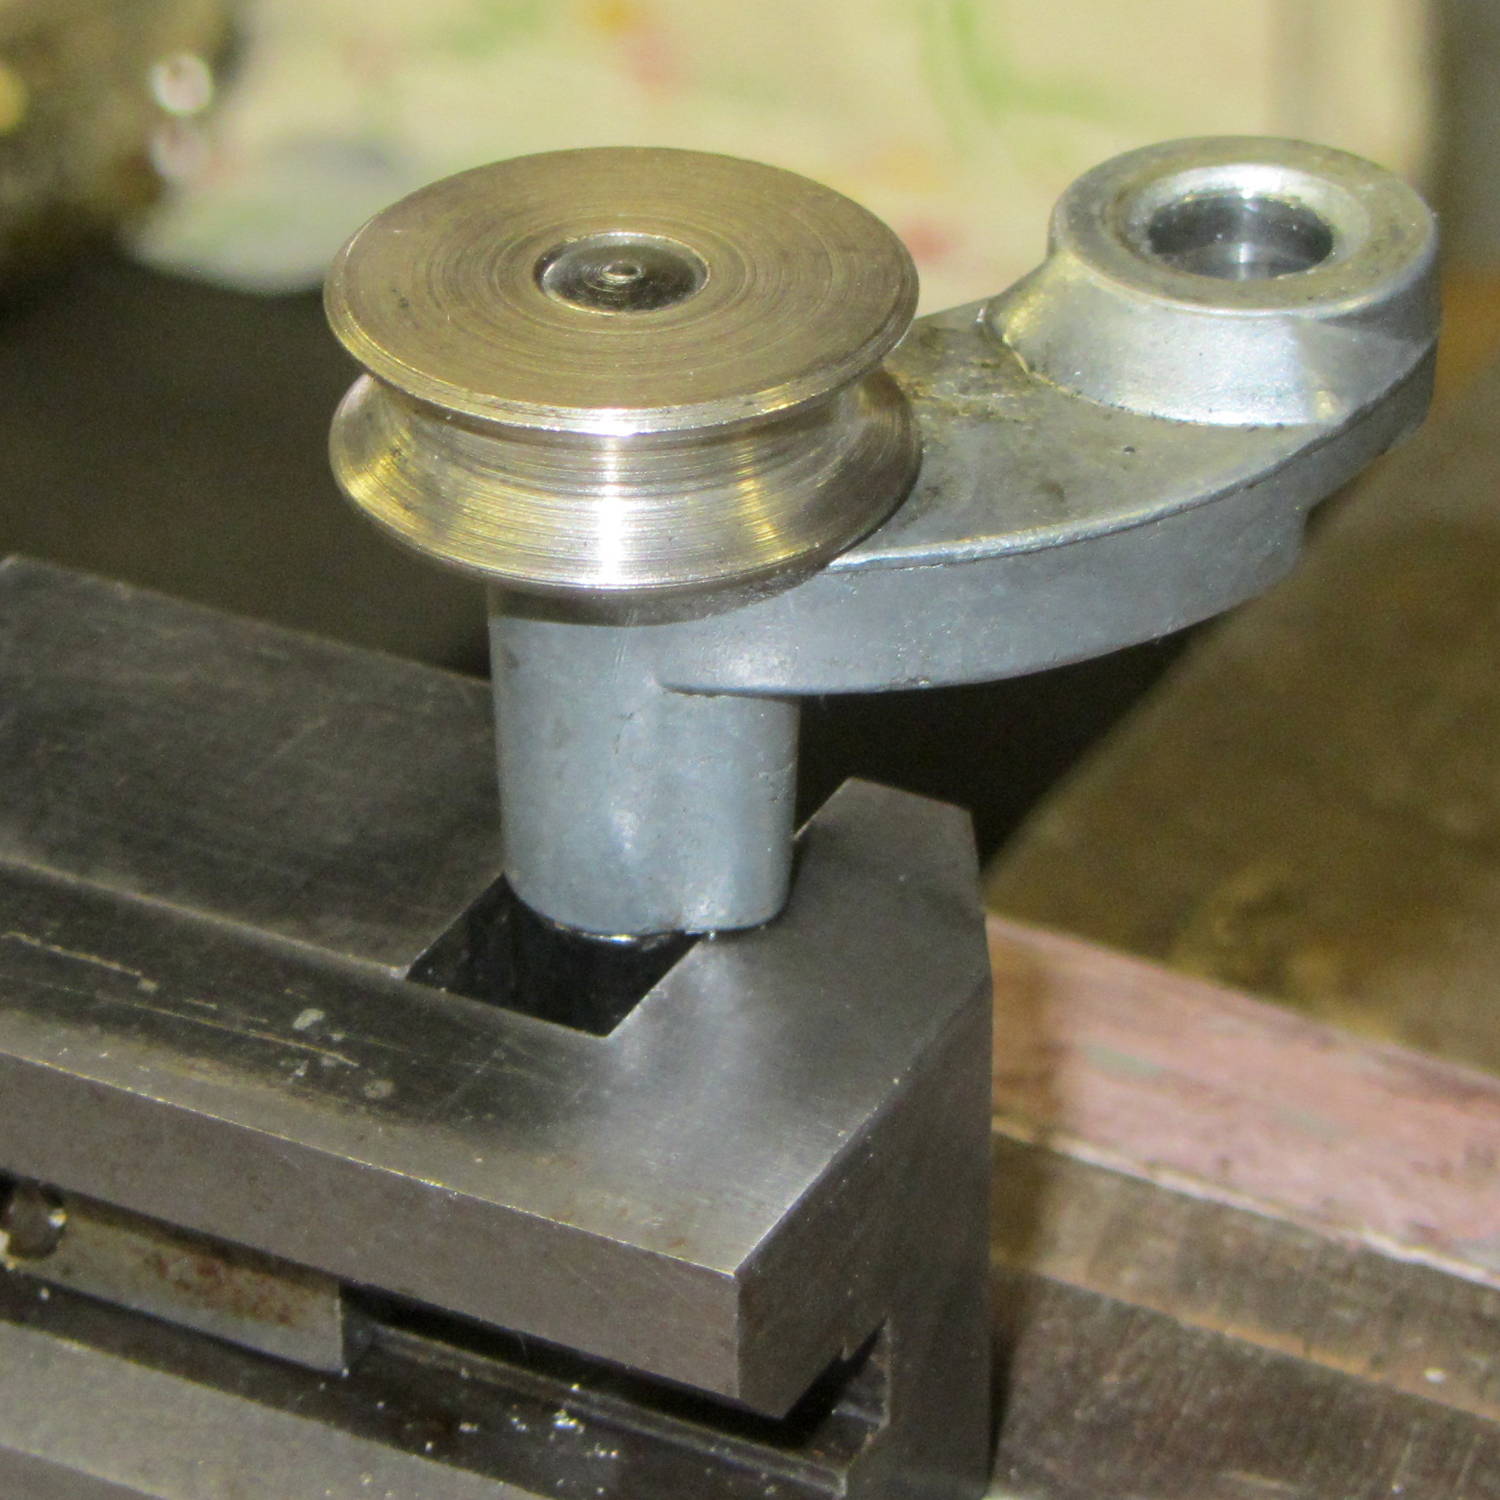
Eventually, I stumbled over replacement “tires” on, of course, eBay that suggested how to dismount them:
Bobbin Winder – wheel and tires
Yup, that sucker slides right off.
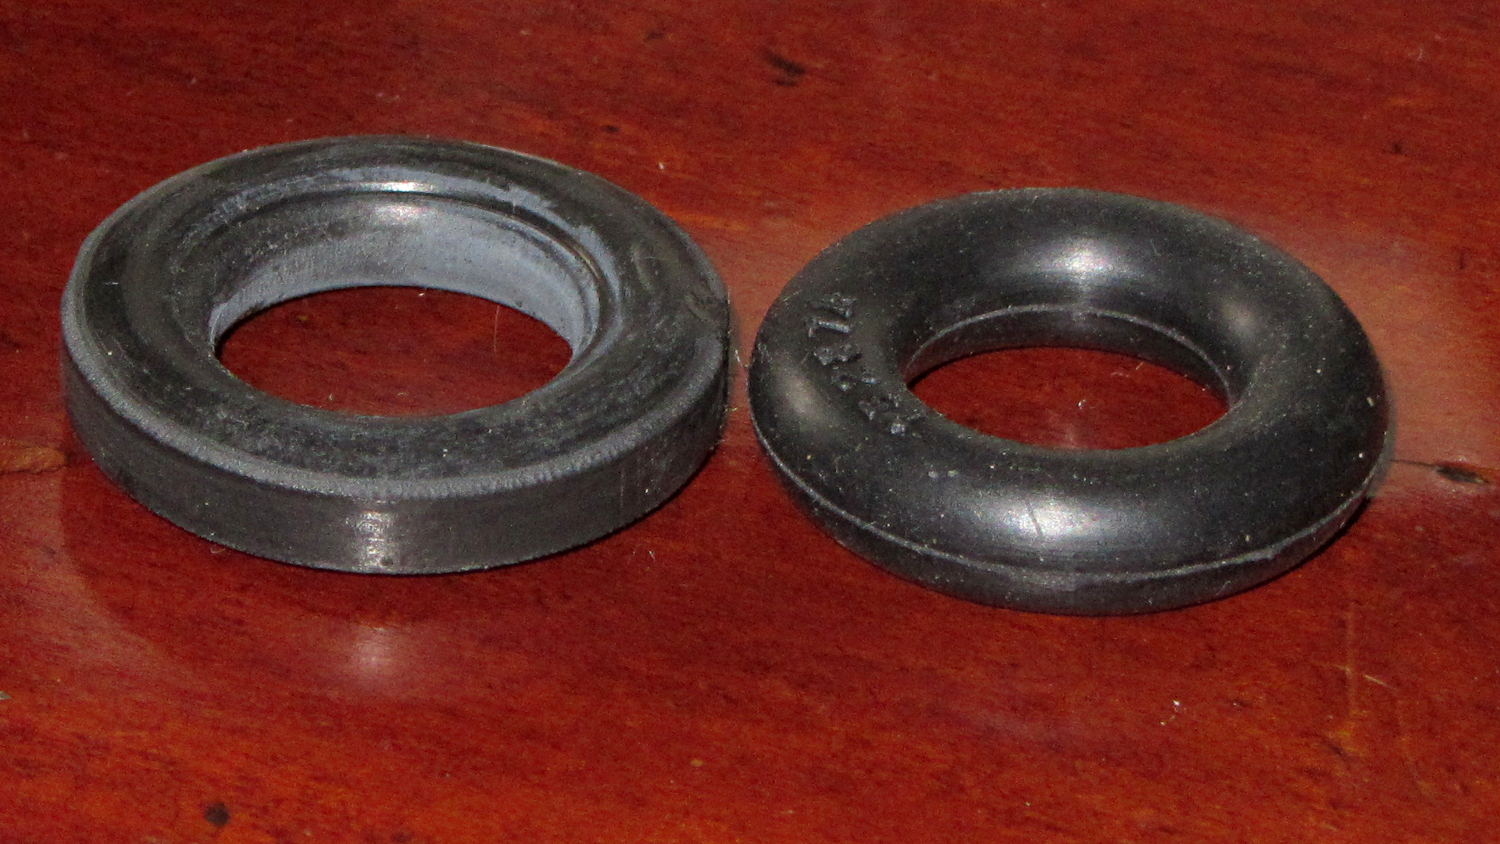
Anyhow, the replacements seem to be standard industrial O-rings, rather than the original tire with a flattened rim:
Bobbin Winder – old vs new tire
The new tires measure 28.94 mm OD on the bench (I don’t trust that last digit, either) and 29.56 mm OD installed. The (hardened and cracked) old tires measure 29.94, 30.06, and 30.28 mm OD on the bench; that’s a radius anywhere from 0.2 mm to 0.4 mm larger. The winder’s mounting screws provide a very small adjustment range that helps a bit.
Knowing that I needed an O-ring, I checked the assortment of “standard size” O-rings I bought many, many years ago, which once again failed to offer up anything suitable. To the best of my knowledge, that kit has never had the right size; apparently, every application uses a different standard.
The O-ring definitely puts less rubber on the handwheel than the tire, but seems to drive the bobbin winder well enough to fill a handful of bobbins without any of the previous drama.
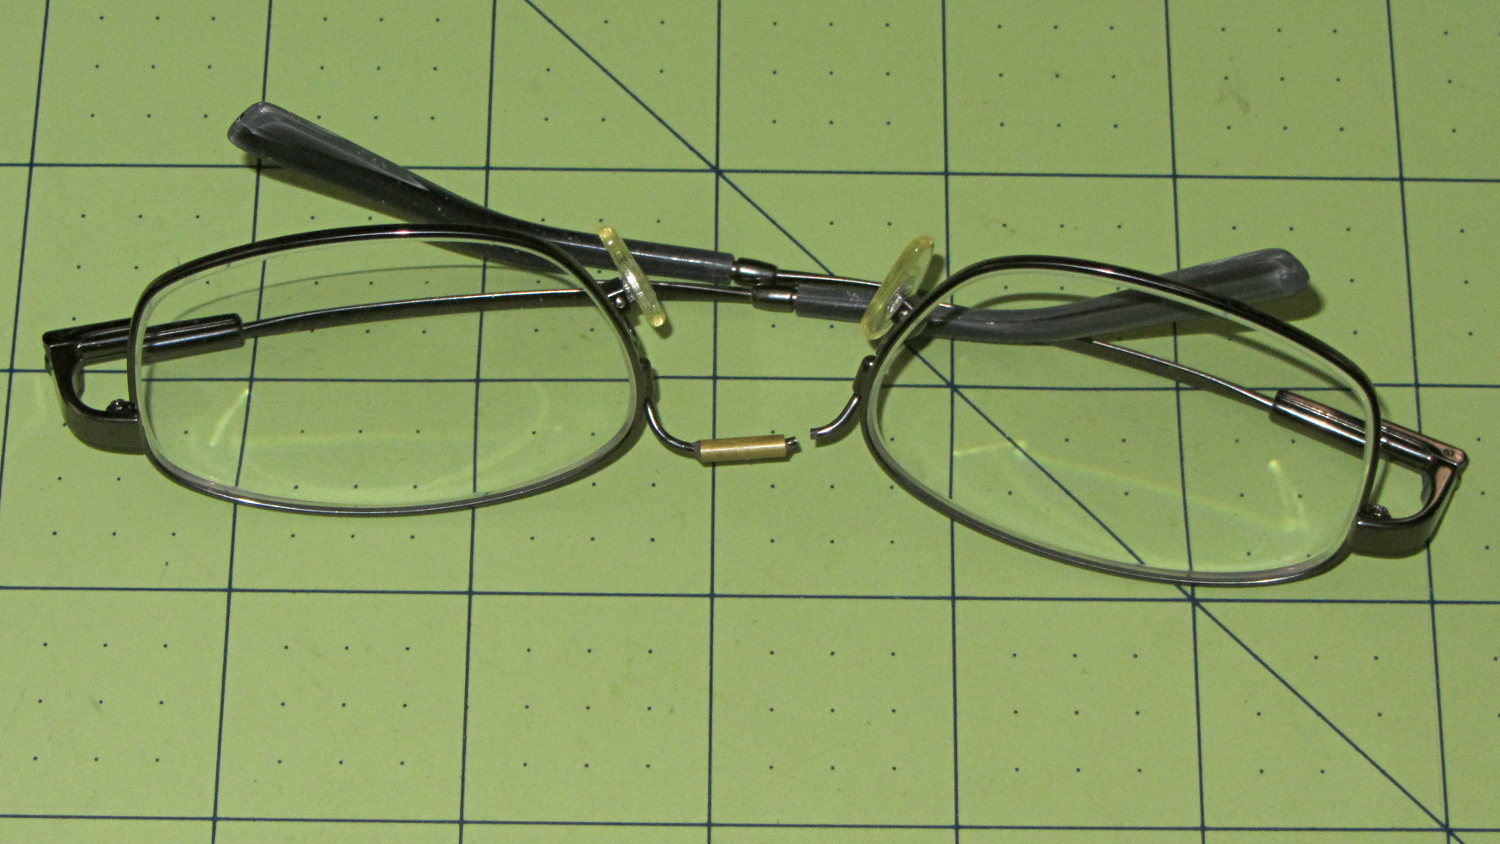
Having repaired these once before, I wasn’t too surprised when this happened:
Eyeglasses – broken nose bridge wire
Evidently the “titanium” has fatigued, because the repair lasted barely nine months.
Rather than try to fix them again, I sent my new prescriptions halfway around the planet and, a bit under two weeks later, had three glasses: normal, computer, and sun. This time, I went with 38 mm tall lenses, a heavier nose bridge, and traditional aviator sunglasses.
For the record, the regular prescription was:
Tweaking that by +0.75 diopter on the sphere puts my far point focus on the monitors across the desk and backing -0.75 diopter from the adder keeps the same near-point reading correction:
Computer prescription – 2014-12
They’re all no-line progressive bifocals made from 1.57 high-index plastic with anti-reflection coating, for a grand total of $135 delivered.
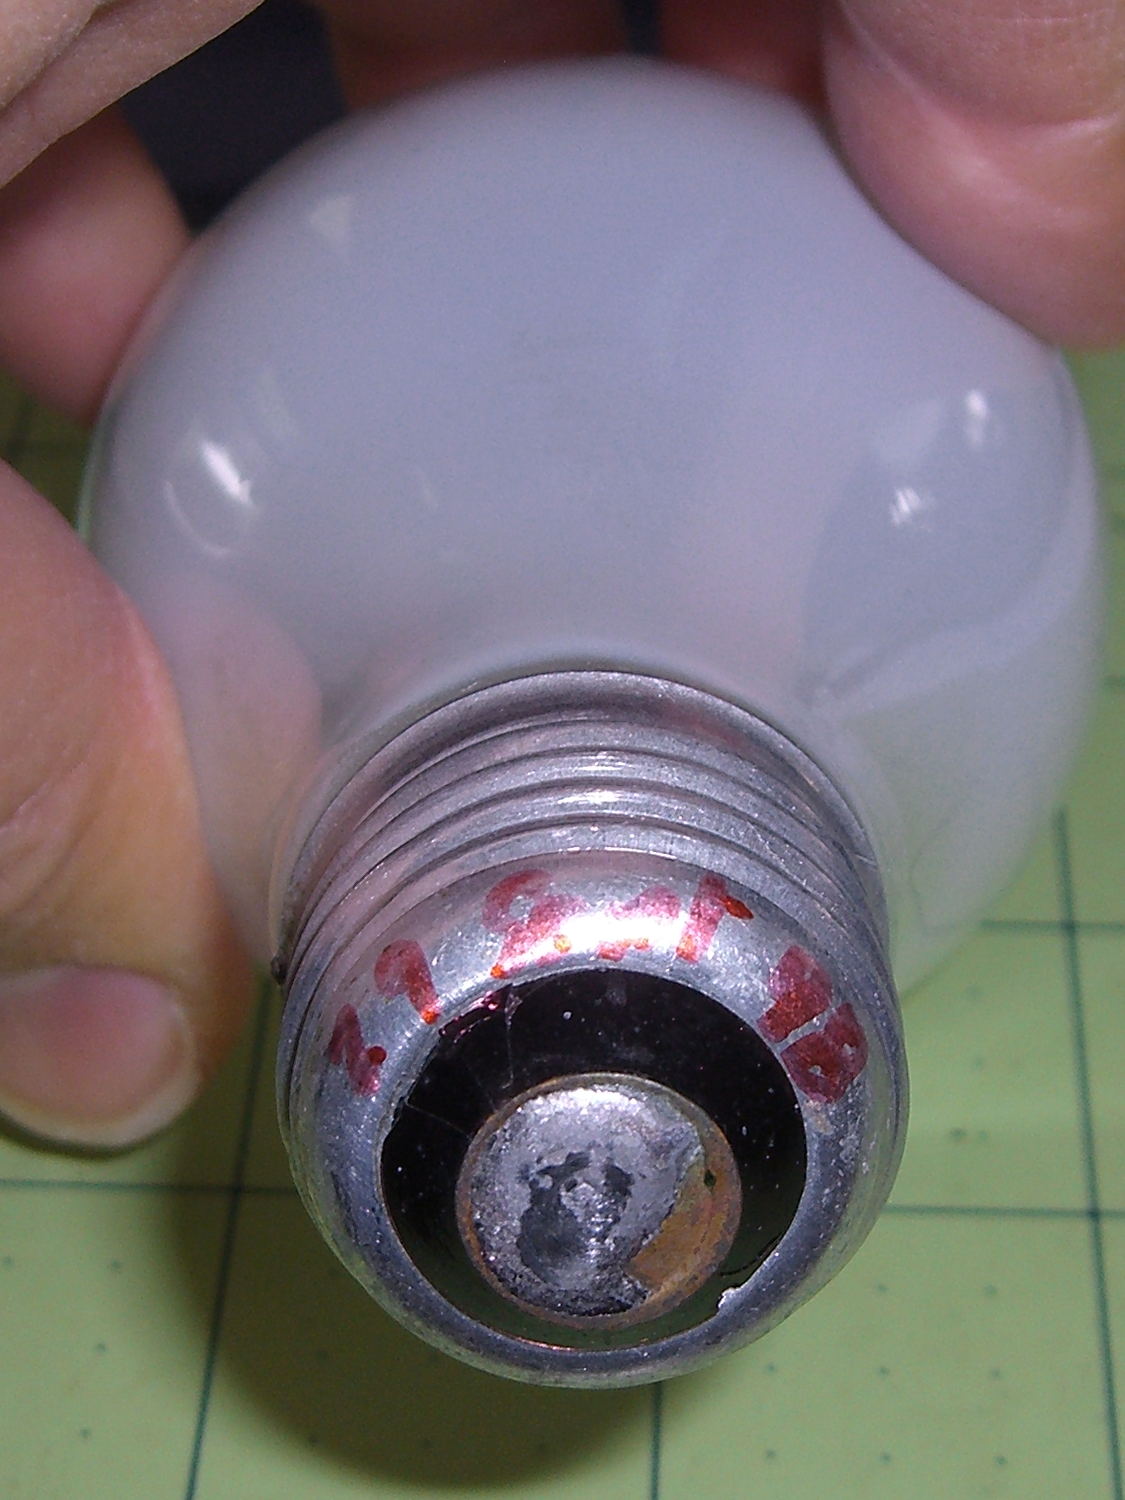
One of the four 40 W bulbs in the classic 1955 fixture over the front bathroom mirror burned out, leading to this discovery:
40 W bulb – lifetime
Yup, I installed that bulb in late September 1998, when we repainted that bathroom (for the first time since the original owners painted it in 1955). Getting a decade and a half from an incandescent bulb in regular use ain’t all that bad, sez I. Two other bulbs appeared in mid 2014, replacing bulbs with barely 6 years of service. Inexplicably, the third bulb has no date; I must be slipping.
Having burned through the 40 W bulb stash, I put two 60 W incandescents in the center sockets, leaving me with four new-old-stock bulbs on the shelf. Might be a lifetime supply for this house…
The Crash Test Dummy machine arrived from the usual eBay seller in a cardboard box with a few rigid foam strips and some closed-cell foam sheets tossed inside. The seller thought the machine was “adequately protected”, which turned out to be, at best, optimistic:
Kenmore 158 – Crash Test Dummy Case
Fortunately, the crushed case protected the sewing machine itself and, given that I specifically bought it with the intent of making mistakes thereupon, it worked well enough. At one point, it vibrated off a desk, landed face-down on the concrete basement floor, and now the stitch selection / length cam followers don’t follow their cams very well at all.
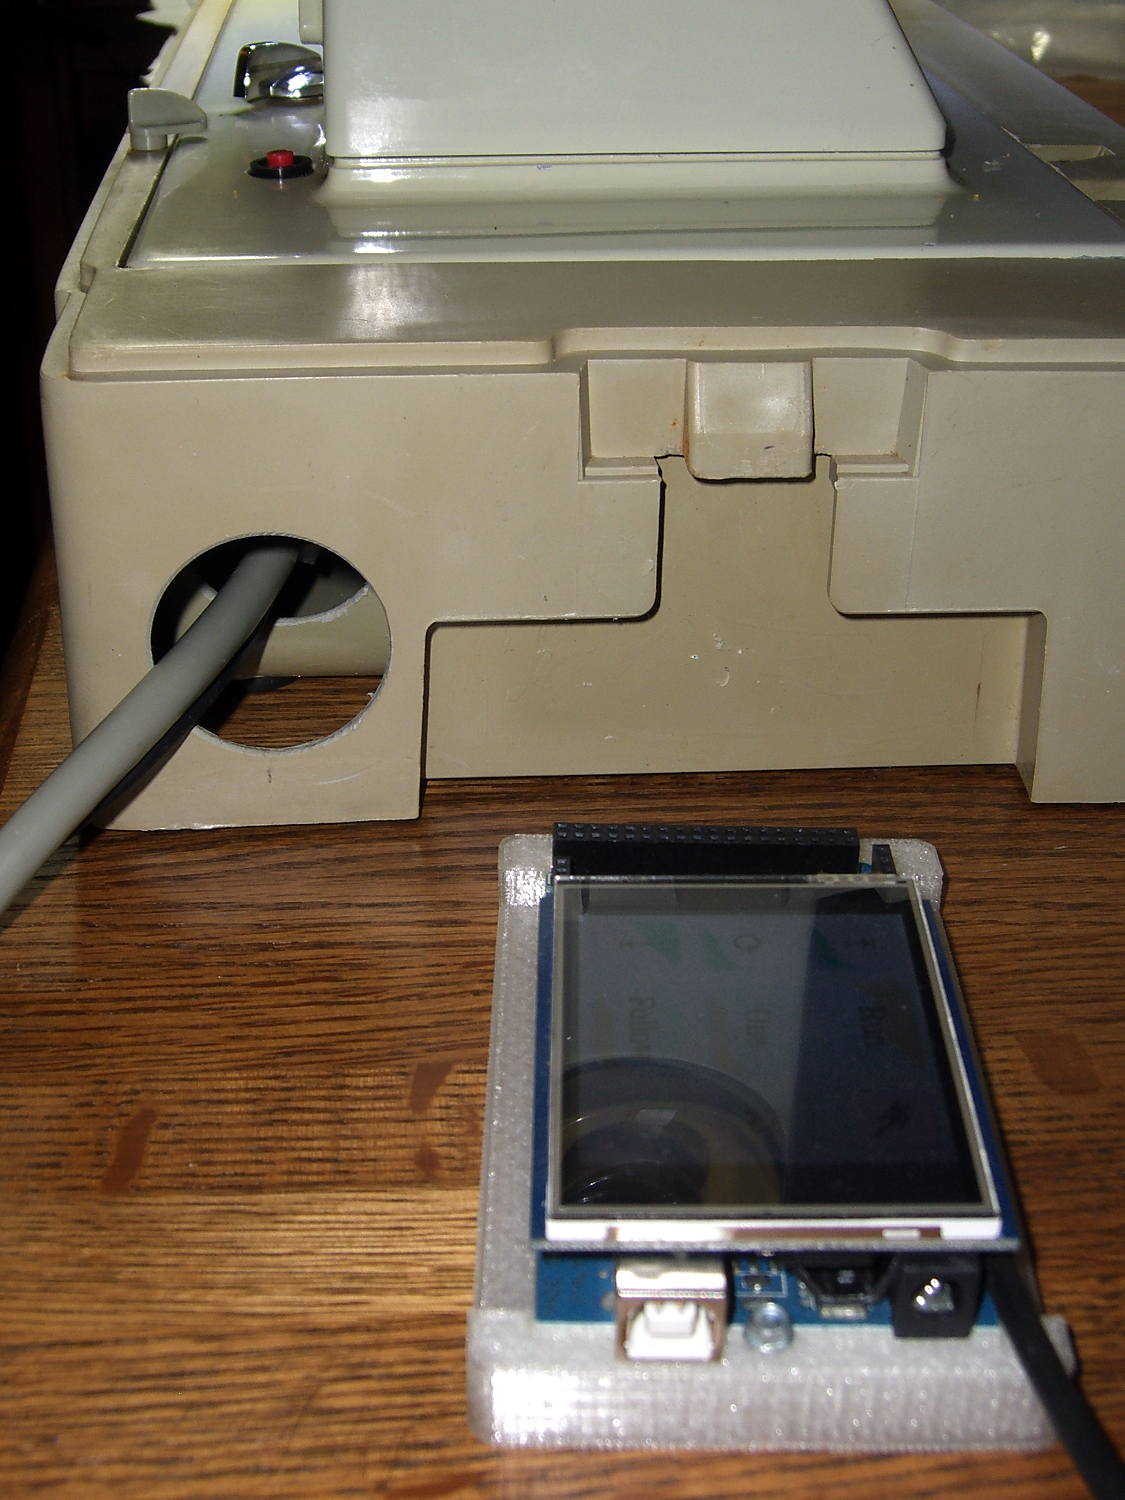
I modified the cracked-but-workable base to pass the connectors on the AC motor power and LED power / position sensor cables:
Kenmore 158 Base – cable hole
That was done by chucking a hole saw in the drill press, running at lowest speed, resting the other end of the case on my thigh, and tipping my foot to drive the case upward into the saw. Worked surprisingly well, but I’d appreciate it if you didn’t use that technique yourself.
Now that the Crash Test Dummy resembles a sewing machine again, running a few trial stitches in scrap fabric showed that it works well enough for straight-line sewing and free-motion quilting:
Kenmore 158 Crash Test Dummy – test stitching
We installed it in the Quilting Room, ready for a more extensive evaluation on an actual quilt…
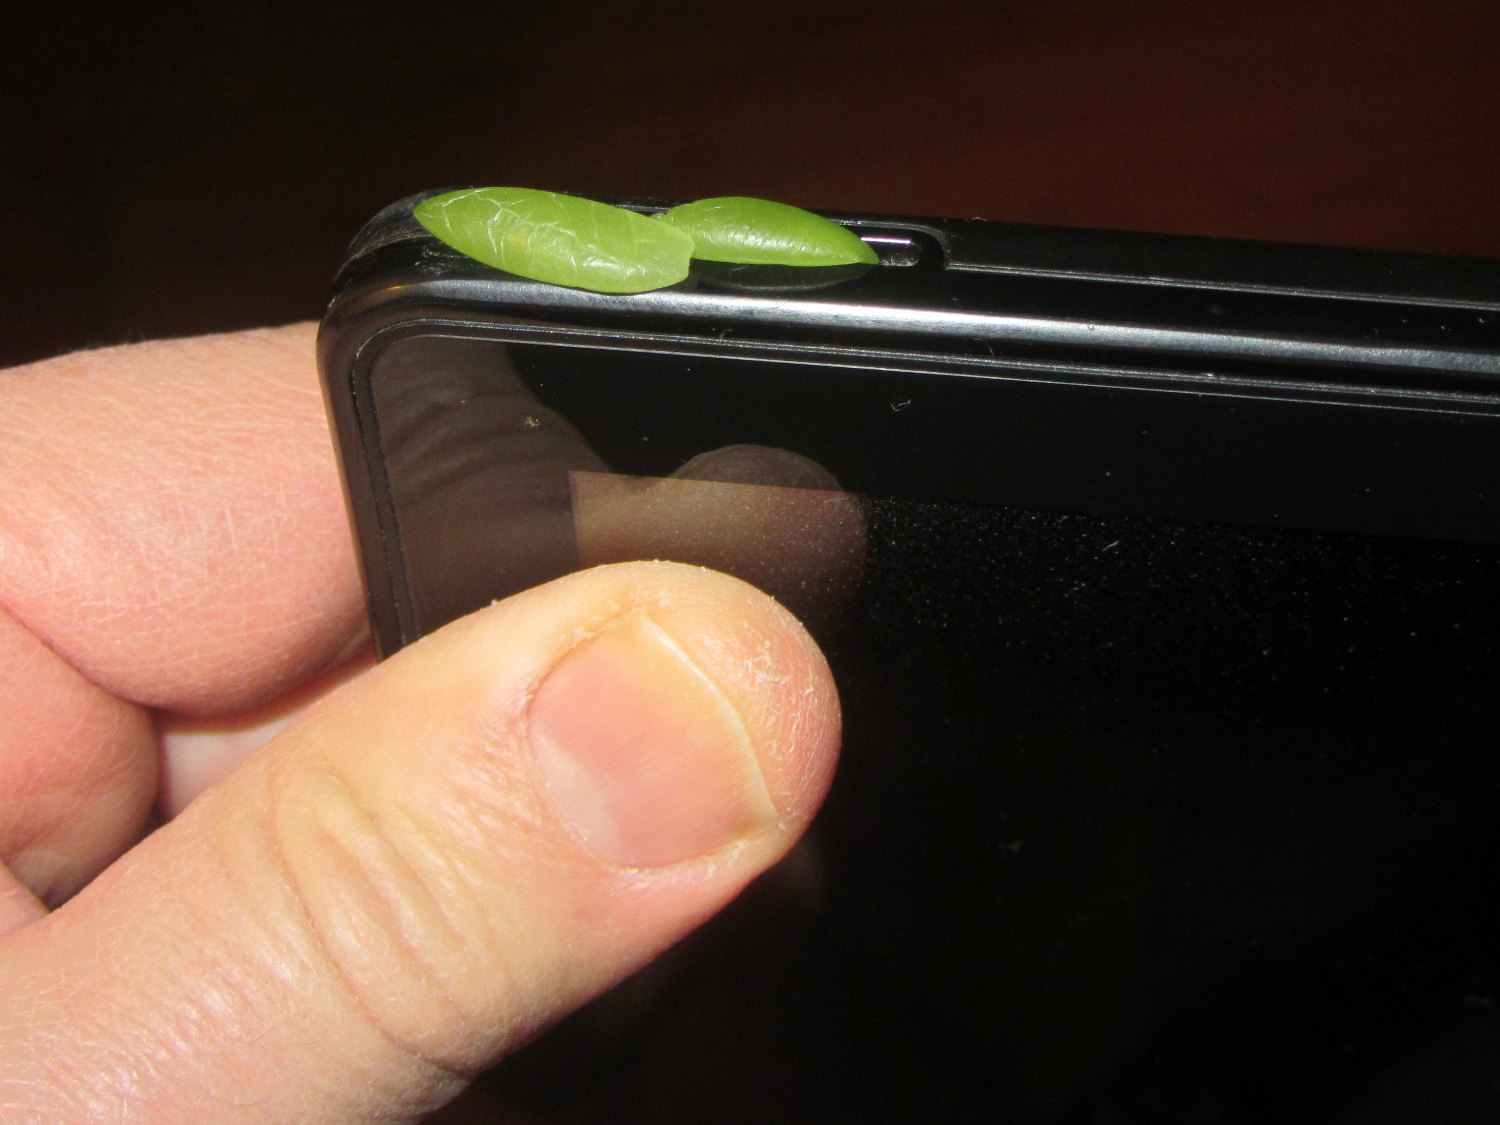
So I pulled my trusty Kindle Fire out of my pocket, only to find slugs racing across the edge:
Lambs Tail leaves atop Kindle Fire
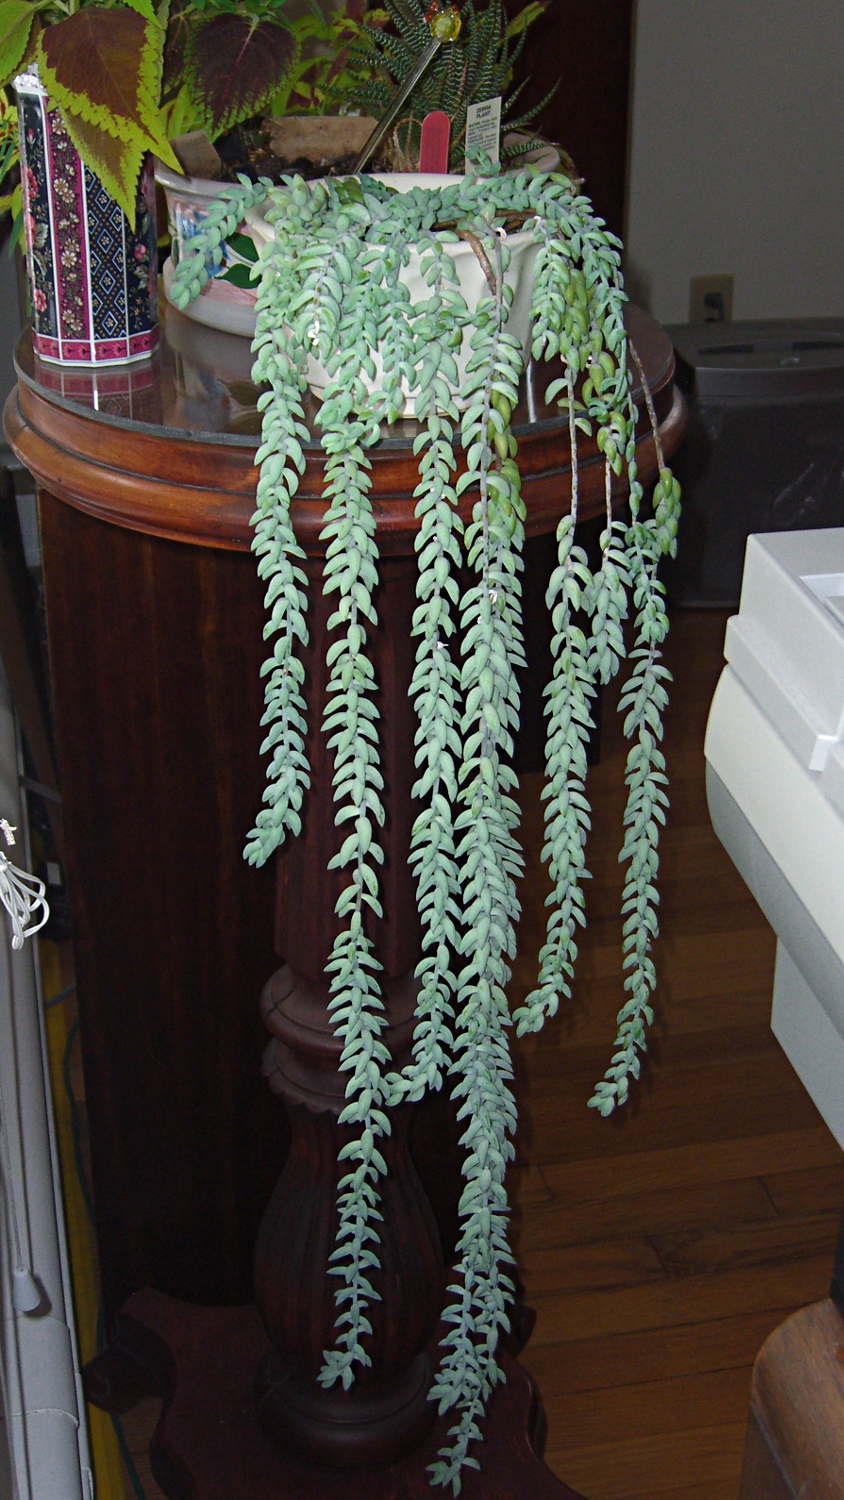
Turns out those are leaves of the Sedum Morganianum, a.k.a. Lamb’s Tail, plant next to the window behind my desk:
Sedum Morganianum – Lambs Tail
I’d been leaning in there past the plant stand to swap cables for the new portrait monitor, brushed against the plant, and knocked some leaves into my pocket. The bare sections on the right side are entirely my fault, although not entirely during this incident; the leaves seem perfectly willing to fall off during a harsh glance.
You can find more than you probably want to know about the care & feeding of Sedum Morganianum, some of which suggests that those tendrils have reached pretty nearly their maximum length. If past experience is any guide, the heavy glazed ceramic pot will eventually overbalance and auto-trim the stems to a length suitable for replanting in a new & intact pot.