Ed Nisley's Blog: Shop notes, electronics, firmware, machinery, 3D printing, laser cuttery, and curiosities. Contents: 100% human thinking, 0% AI slop.
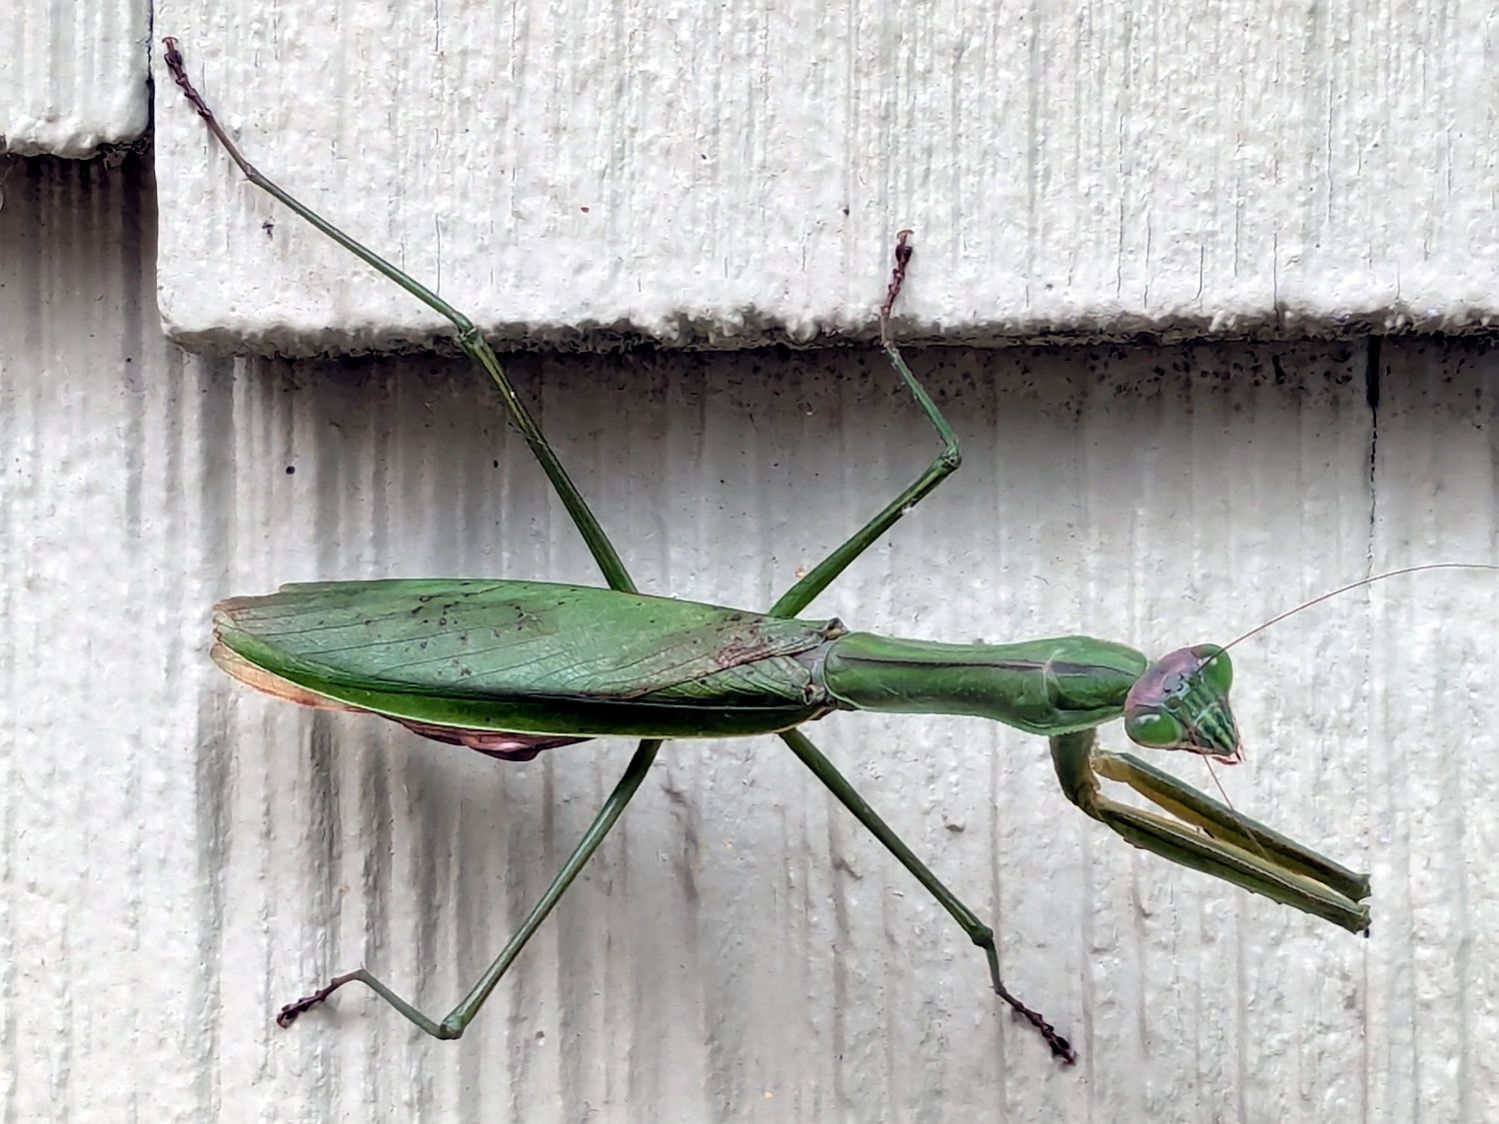
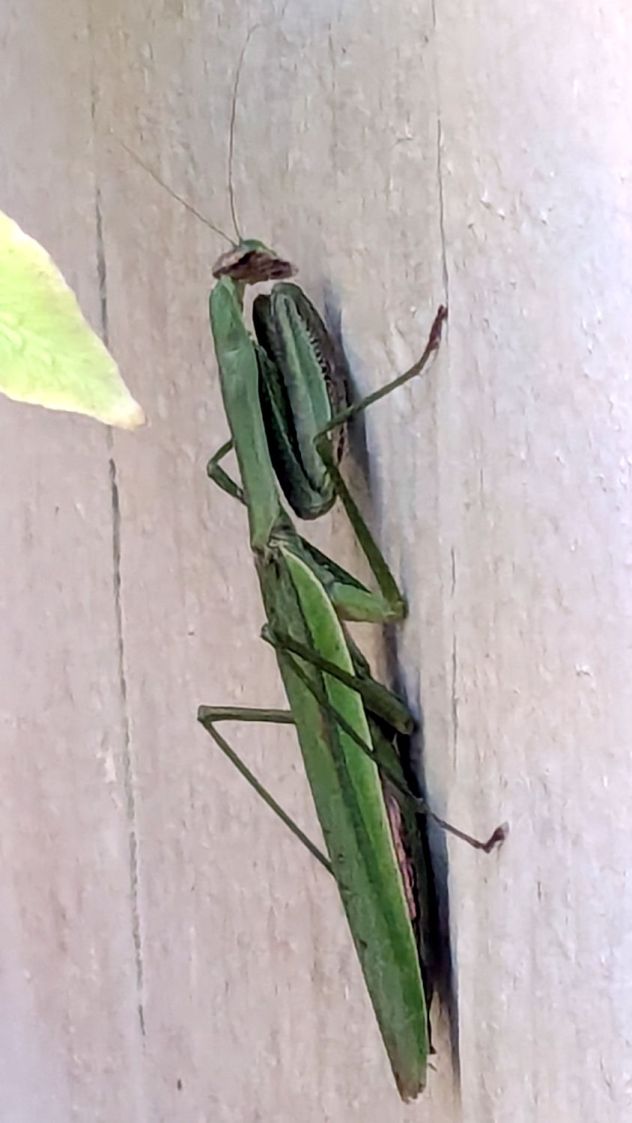
The next morning found it huddled against the cold:
Mantis – chilled
It had reached operating temperature and gone about its business a few hours later.
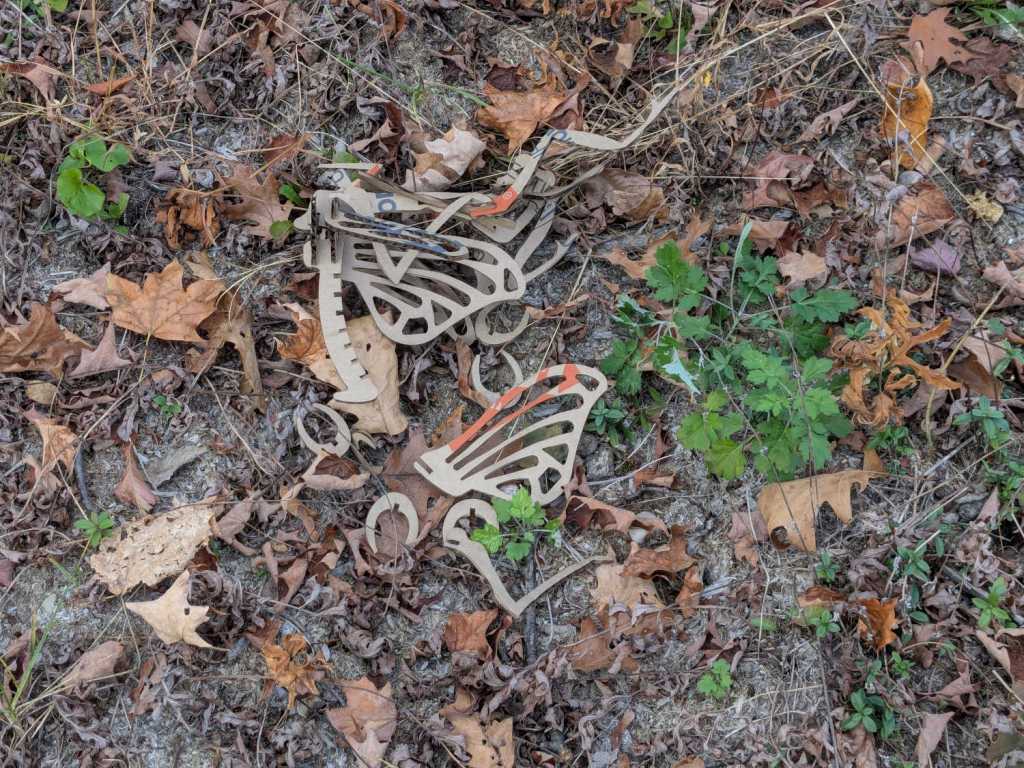
I deployed a cardboard Mantis in its honor as a seasonally appropriate yard decoration, but mine didn’t survive the night nearly as well as the real one:
I discovered this commentary, in several variations in different contexts, after attending the Poughkeepsie No Kings protest last weekend:
You are allowed to say, at any point, “I can’t support this”.
Even if you did.
Even if you were unsure.
You can say, at any point, “This has gone too far.”
And, while the best time to say that was earlier, the second best time is now.
That is relevant, because the Executive branch of the United States government has internalized two facts:
There are no rules
There are no consequences
The President and the Executive branch now act with the knowledge that the separation of powers, the checks and balances, and the restrictions written into the US Constitution no longer apply.
Justifications based on Constitutional hairsplitting are irrelevant. The Founding Fathers did not intend the Executive branch to operate as it does now.
Justifications based on “But what about …?” are irrelevant. The scale of current malfeasance dwarfs all precedent; there are no valid comparisons.
Justifications based on “But Congress is dysfunctional!” are irrelevant. It takes only one to dysfunction and the parties have been swapping irresponsibility for decades.
I commend to your attention the Army Talk Orientation Fact Sheet 64 from March 1945. It is straight-up US WWII propaganda with a rosy view of the Soviet Union, but you should fact-check all items in the section “Can We Spot It?” on page 4 against current events.
Should you think your particular identity, institution, tradition, behavior, property, possessions, protection, legality, or beliefs will remain untouched because you’re in a particular group, you are incorrect.
I changed my voter registration to “No Party” several decades ago, when it became evident the Republican Party had lost interest in whatever small-government / low-deficit / personal-responsibility principles it may have once had; thinking it had those principles was likely a misunderstanding on my part.
I cannot support many planks of the Democratic Party’s platform, either, but they remain based in rule-of-law and have some appreciation of what functions a government should perform.
I still vote in every election and intend to continue doing so.
WordPress likes images and this seems appropriate:
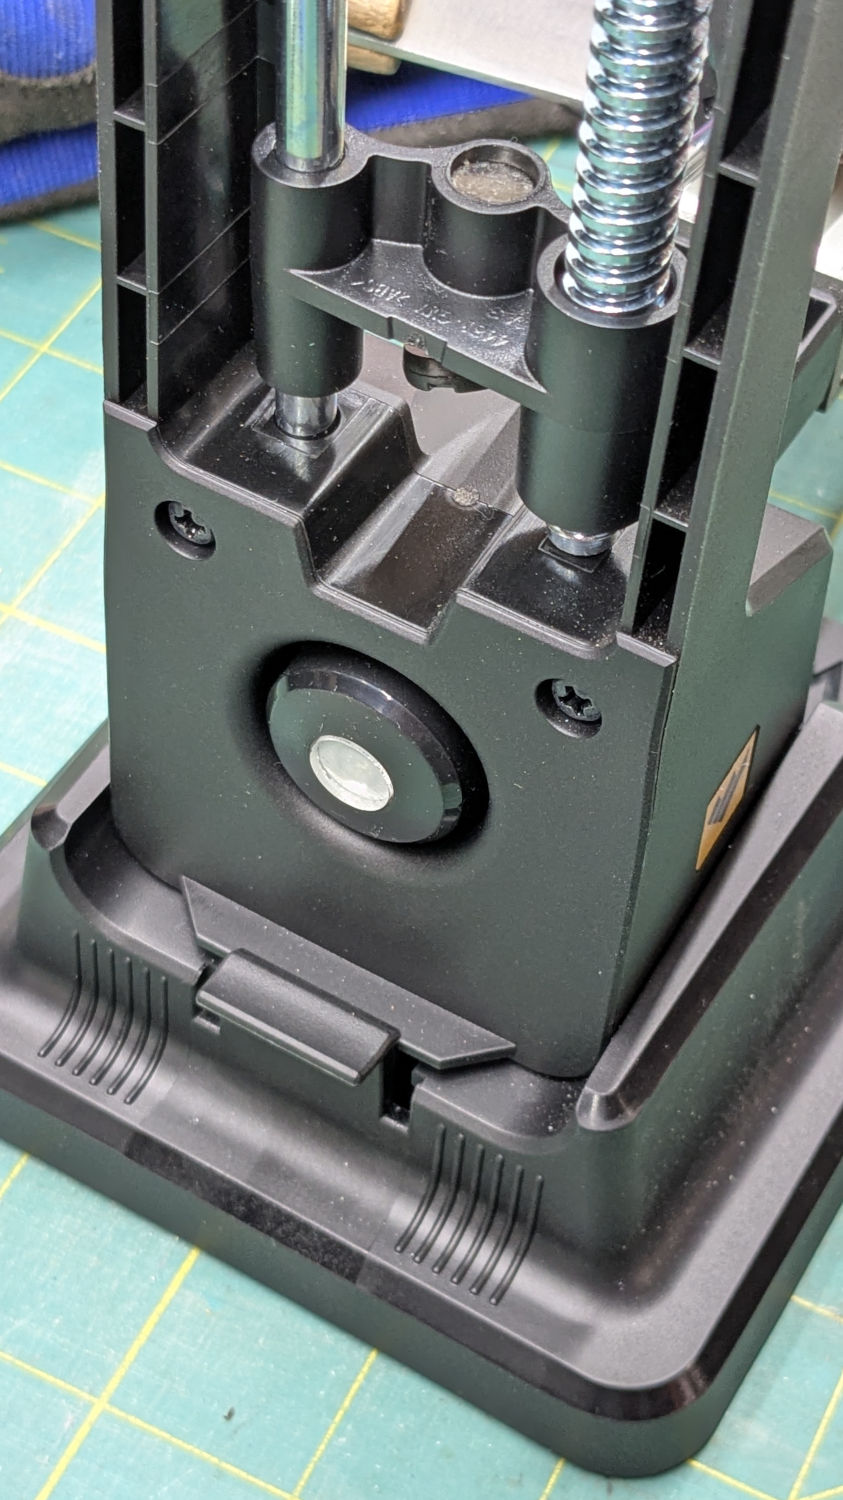
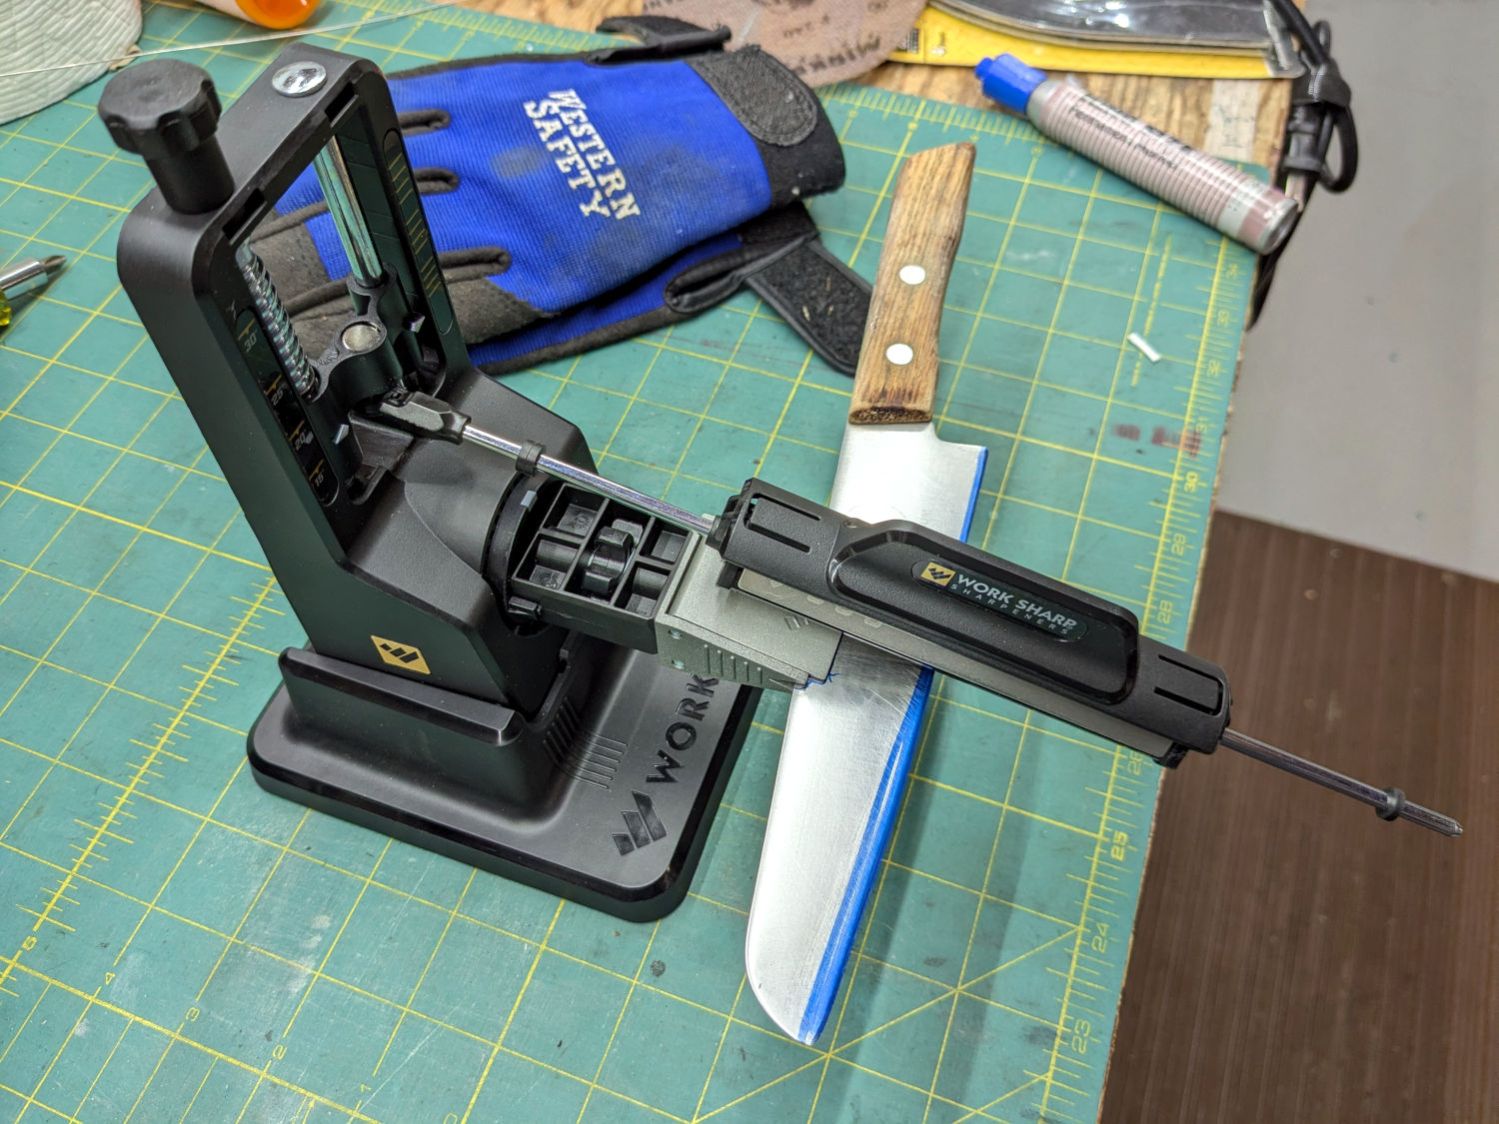
Protip: Wear gloves, because you’re working in front of an unprotected and eventually very sharp blade.
The blade-holding clamp snaps magnetically into a rotating chuck so you can flip the knife over, at least if it’s not quite as long as that one. The chuck index has a spring-loaded release button:
Work Sharp Knife Sharpener – rear view
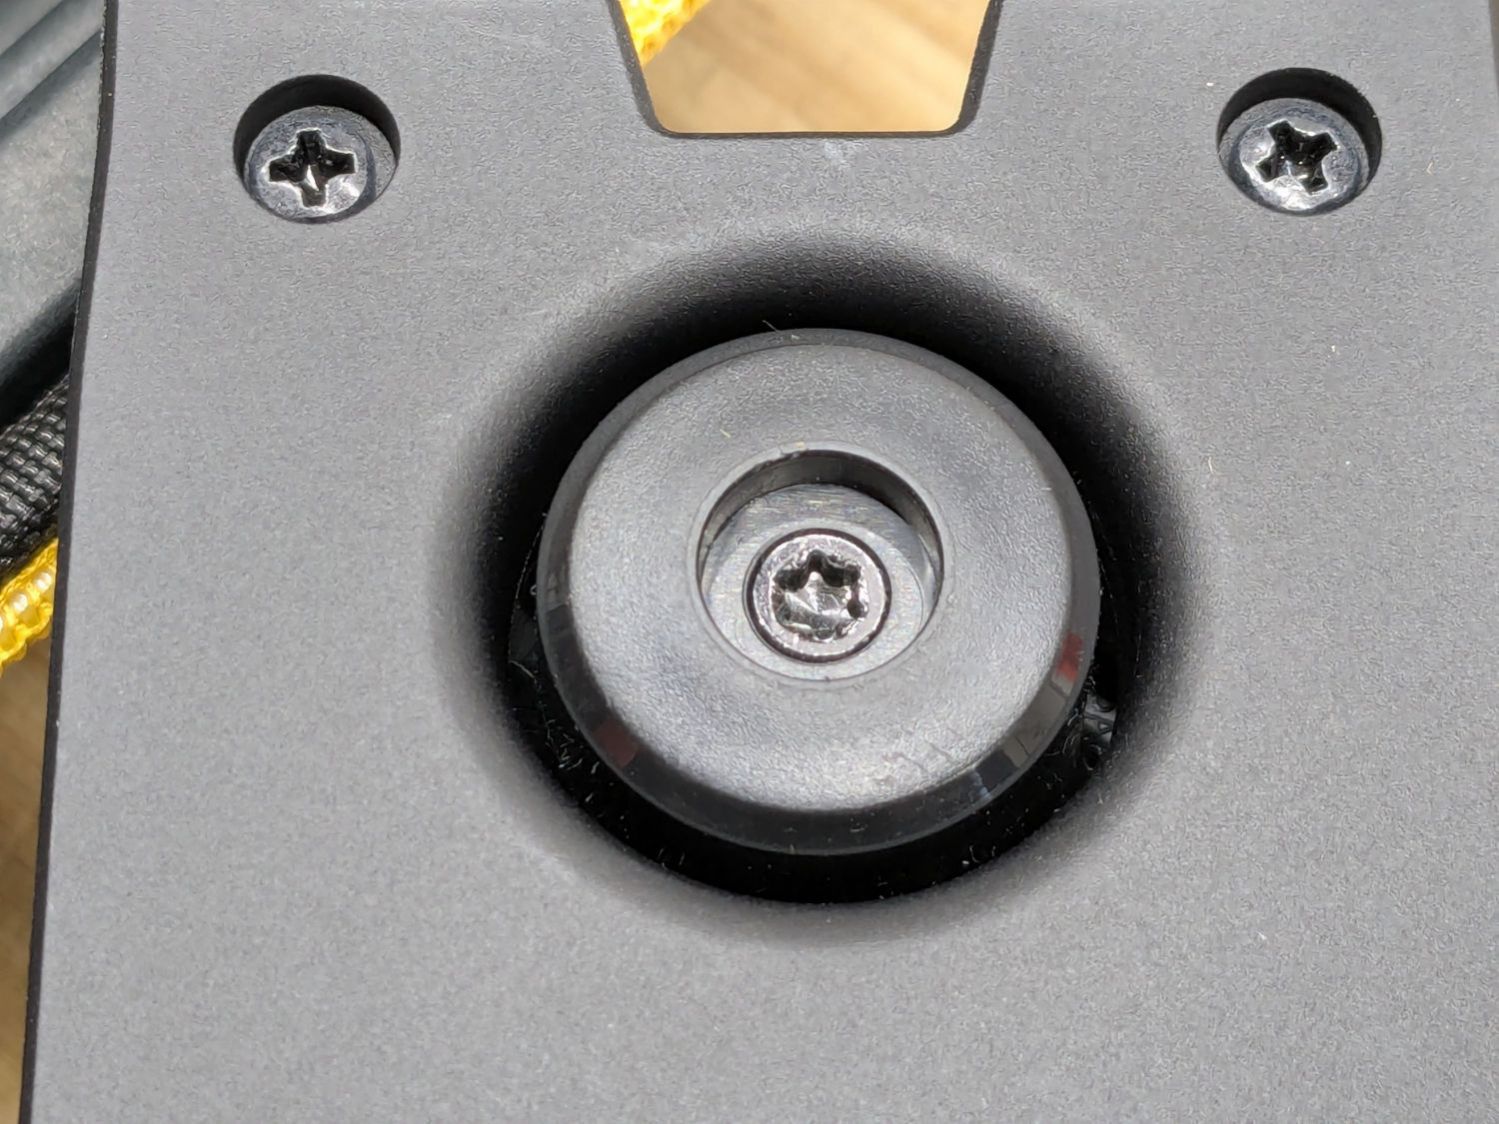
The spring is powerful and the button arrived with a recess around the screw holding the chuck together:
Work Sharp Knife Sharpener clamp button – as received
Pressing the button hard enough to release the chuck hurt my index finger, but their Tech Support said it’s like that and that’s the way it is. Turning the screw adjusts the spring compression, but I think this situation calls for “more secure” rather than “easy to push”.
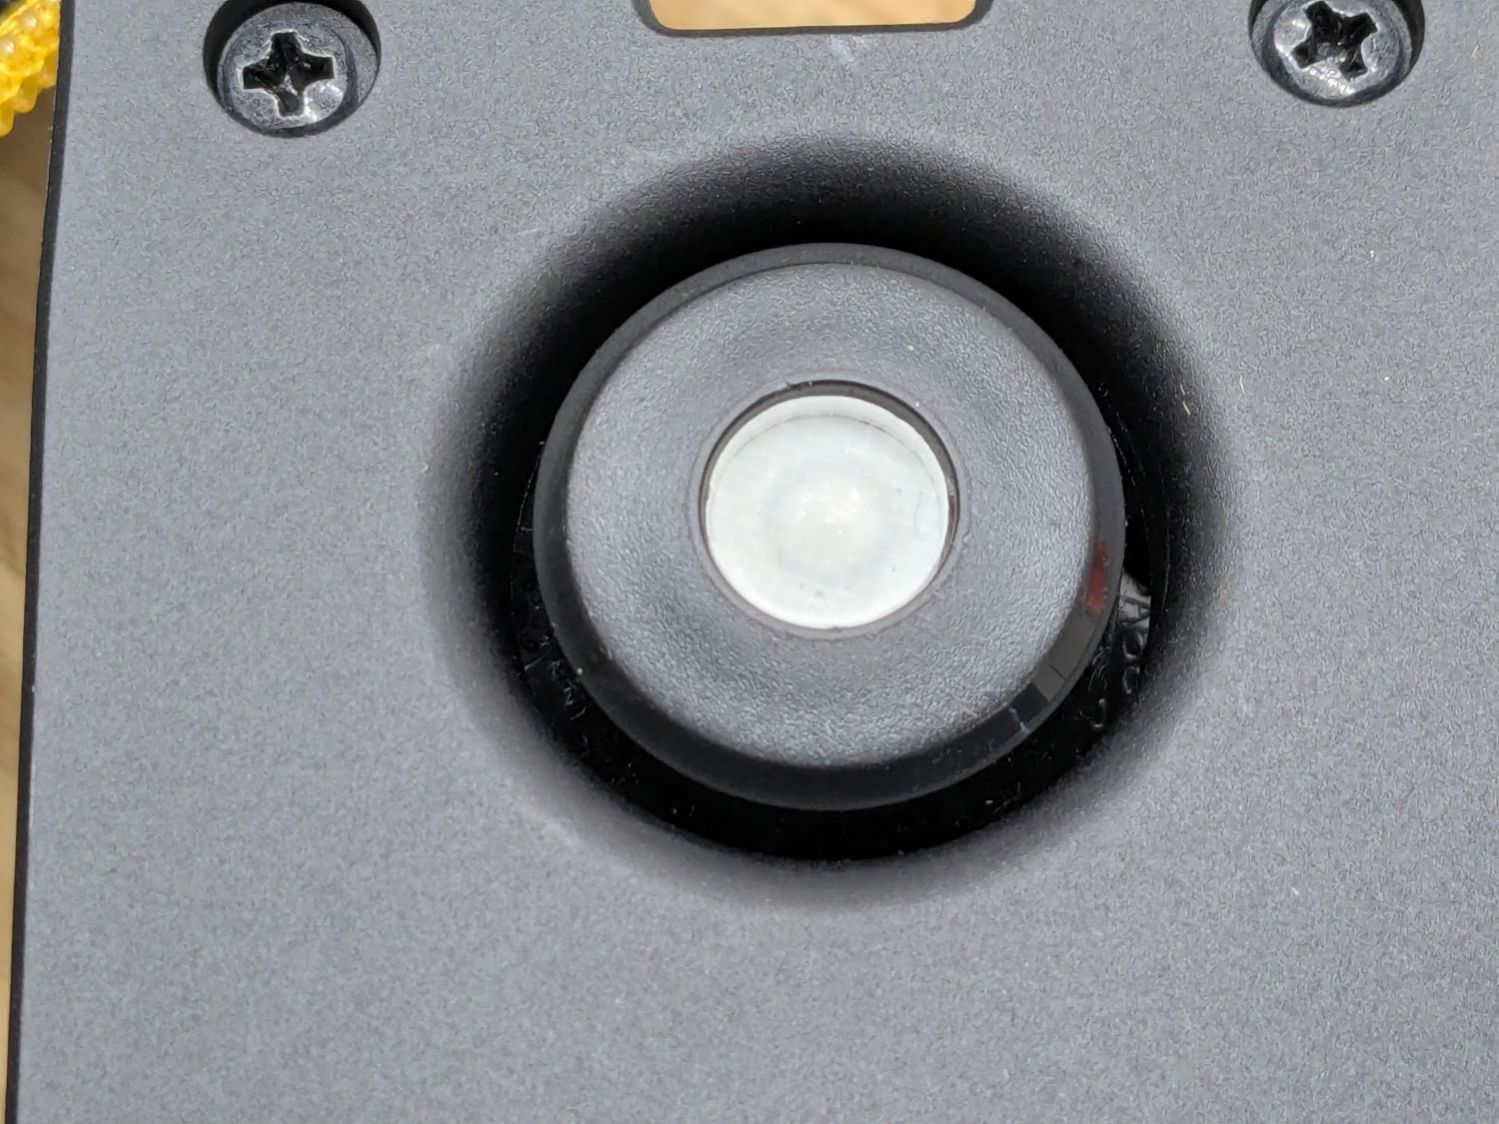
Fortunately, I have a laser cutter and know how to use it:
Work Sharp Knife Sharpener clamp button – filled
Despite appearances, it’s a 10 mm disk of 4.3 mm clear acrylic stuck to the screw head with a snippet of white double-sided tape and flush with the surrounding plastic surface.
A smooth button makes my index finger much happier …
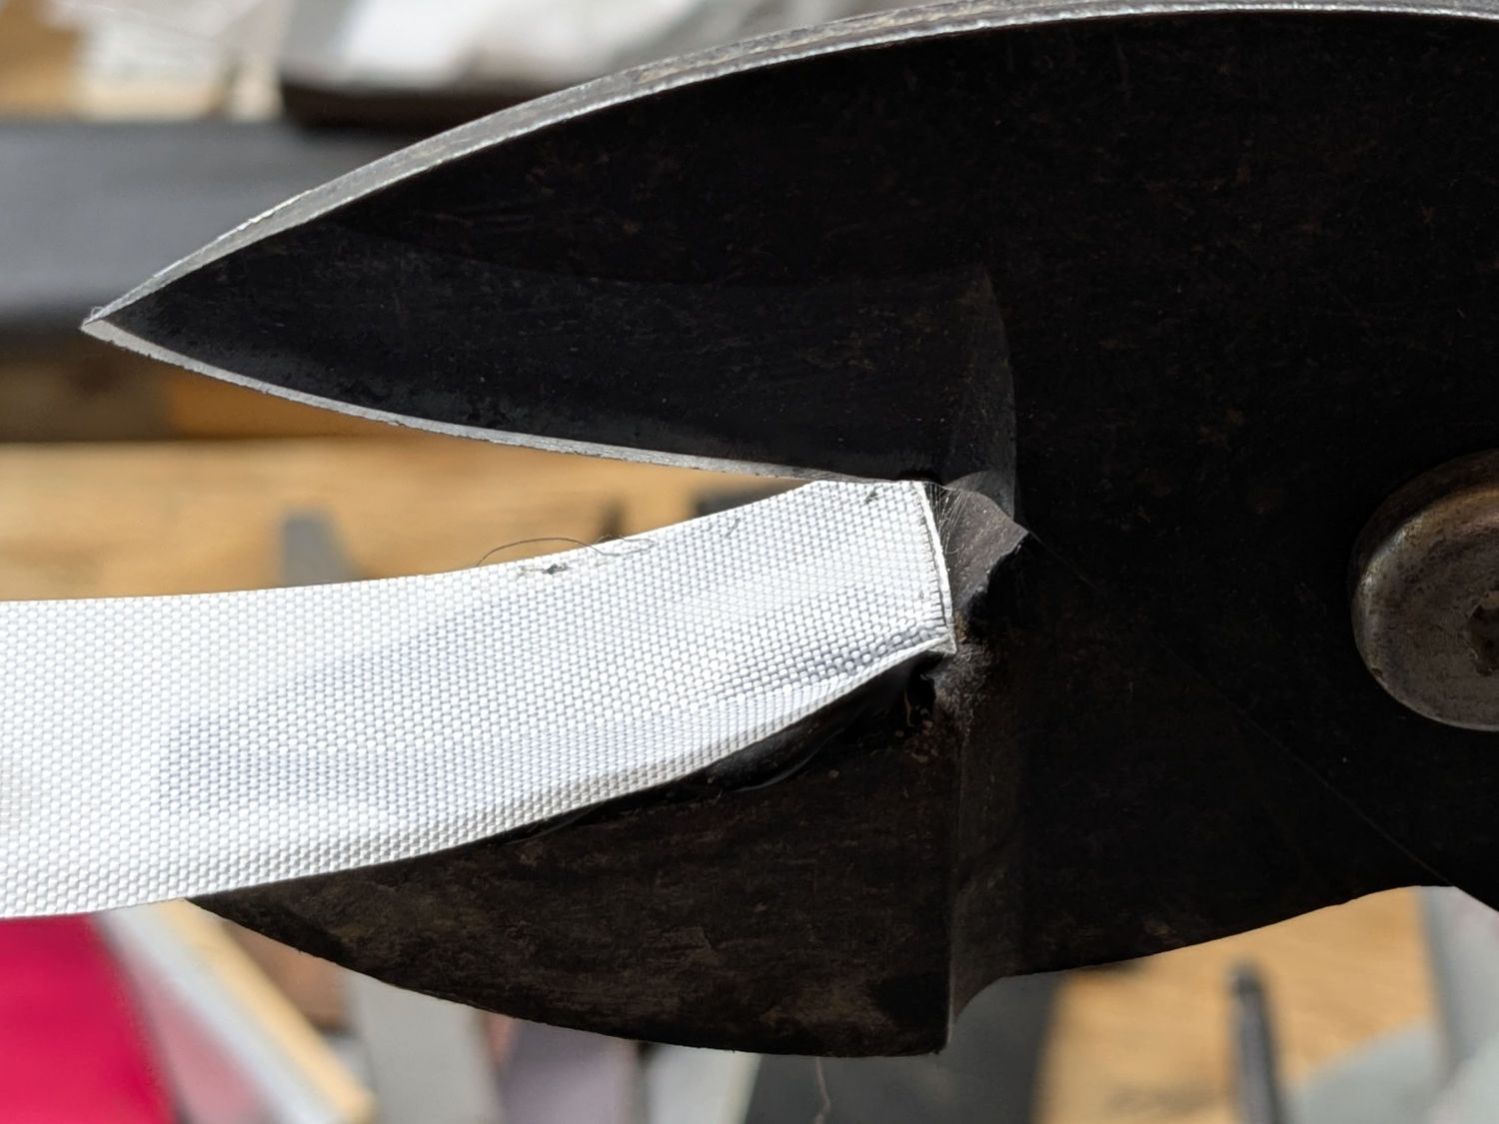
The Fiskars PowerGear lopper Mary uses in the garden had occasionally encountered a tomato cage wire and the blade had a few dents. We recently had a bunch of knives / blades / tools sharpened by somebody who knows what he’s doing and, while the lopper blade is now deadly sharp, grinding the dents out changed its shape enough that it no longer met the opposing plastic (probably glass-filled nylon) anvil.
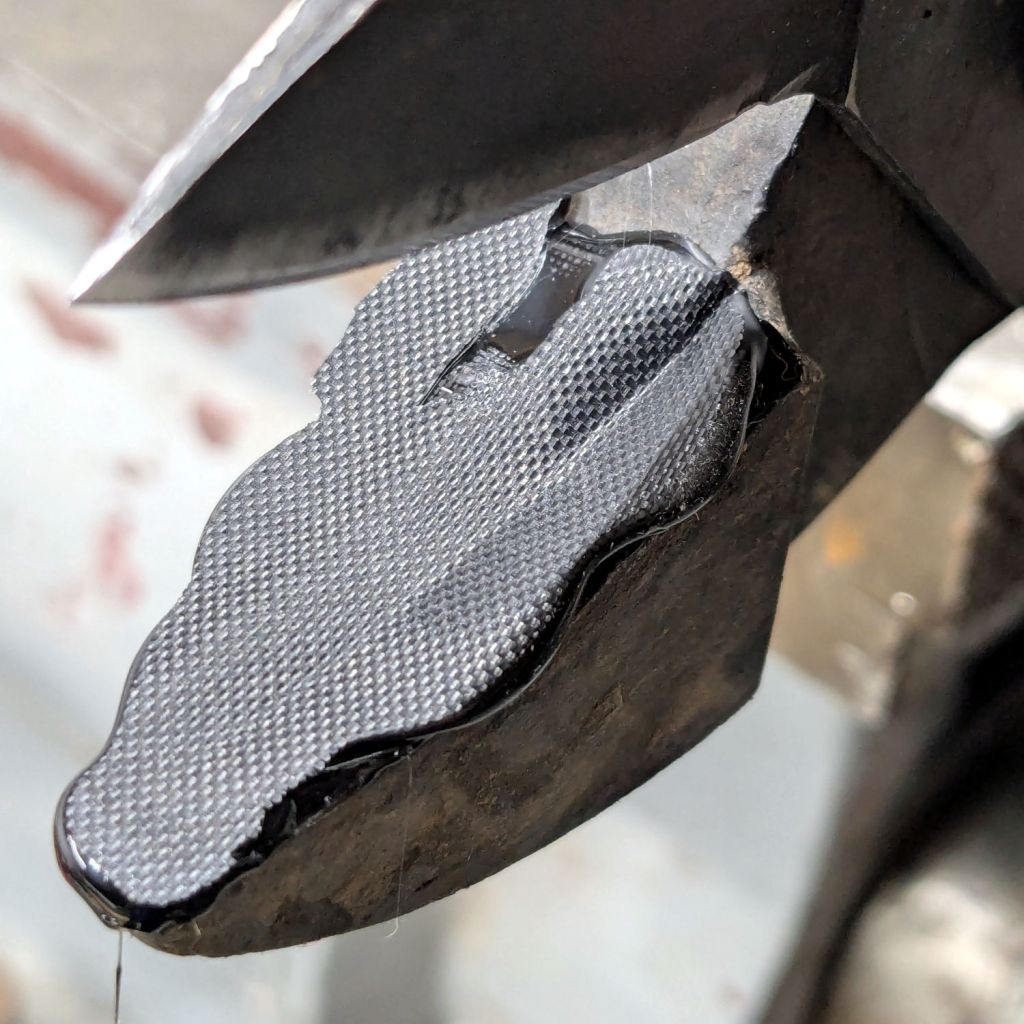
For lack of anything smarter, I cleaned the anvil, spread a layer of hot-melt glue over the surface, squished it flat with a snippet of PTFE fabric, and closed the jaws:
Fiskars lopper jaw repair – silicone cloth indent
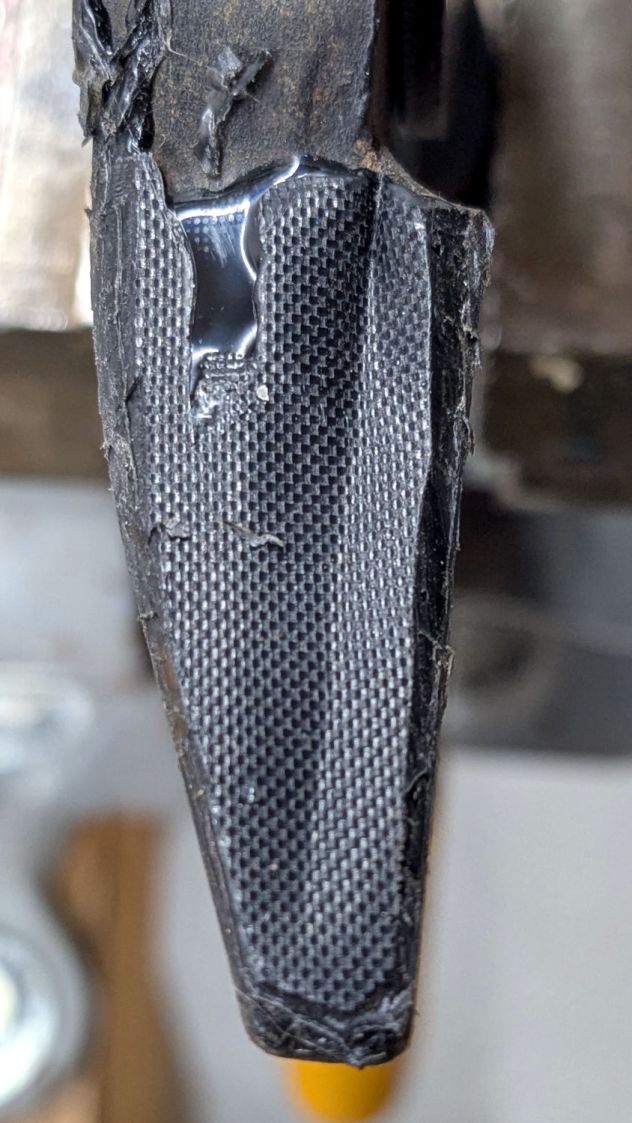
Which left a blobular layer on both sides of the now perfectly matched blade channel:
Fiskars lopper jaw repair – blade indent
Trimming off the blobs made it slightly more presentable:
Fiskars lopper jaw repair – trimmed edges
The textured surface definitely looks great, even if the rest looks like the hack job it is.
I’m hoping the glue layer has enough traction on the anvil to survive the duty it gets in the garden, where Mary uses it to harvest cabbages & suchlike. I’m sure the occasional cage wire will test its resolve, but we’ll know more next summer.
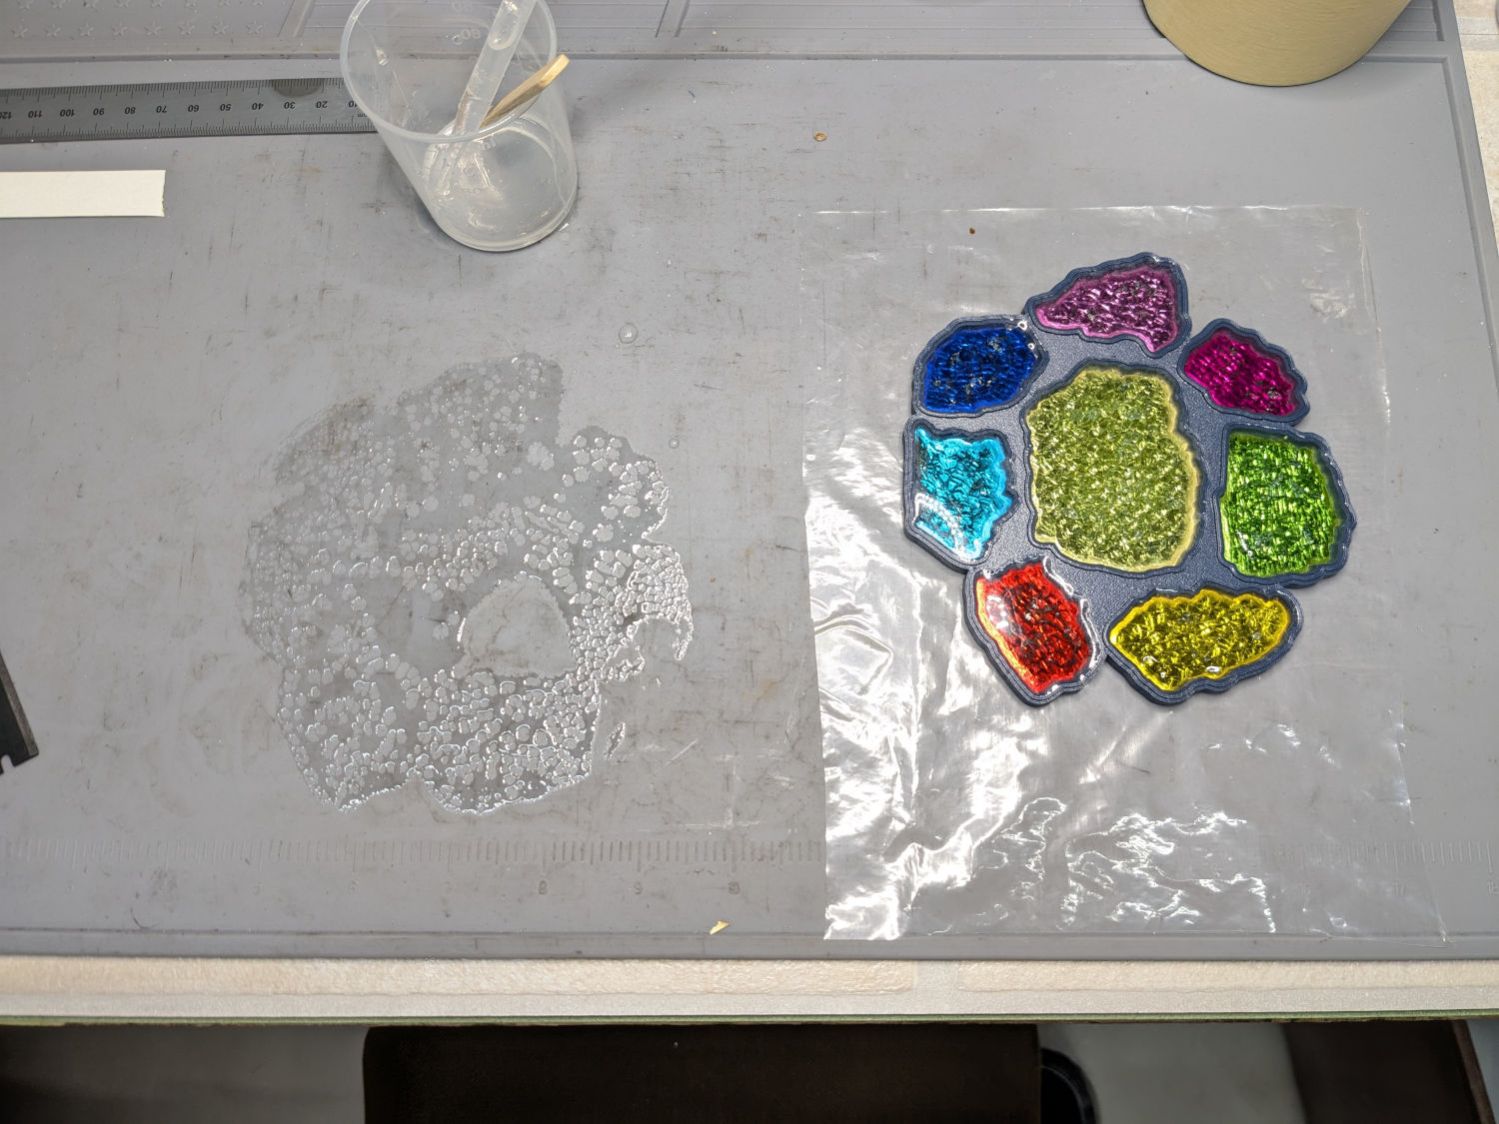
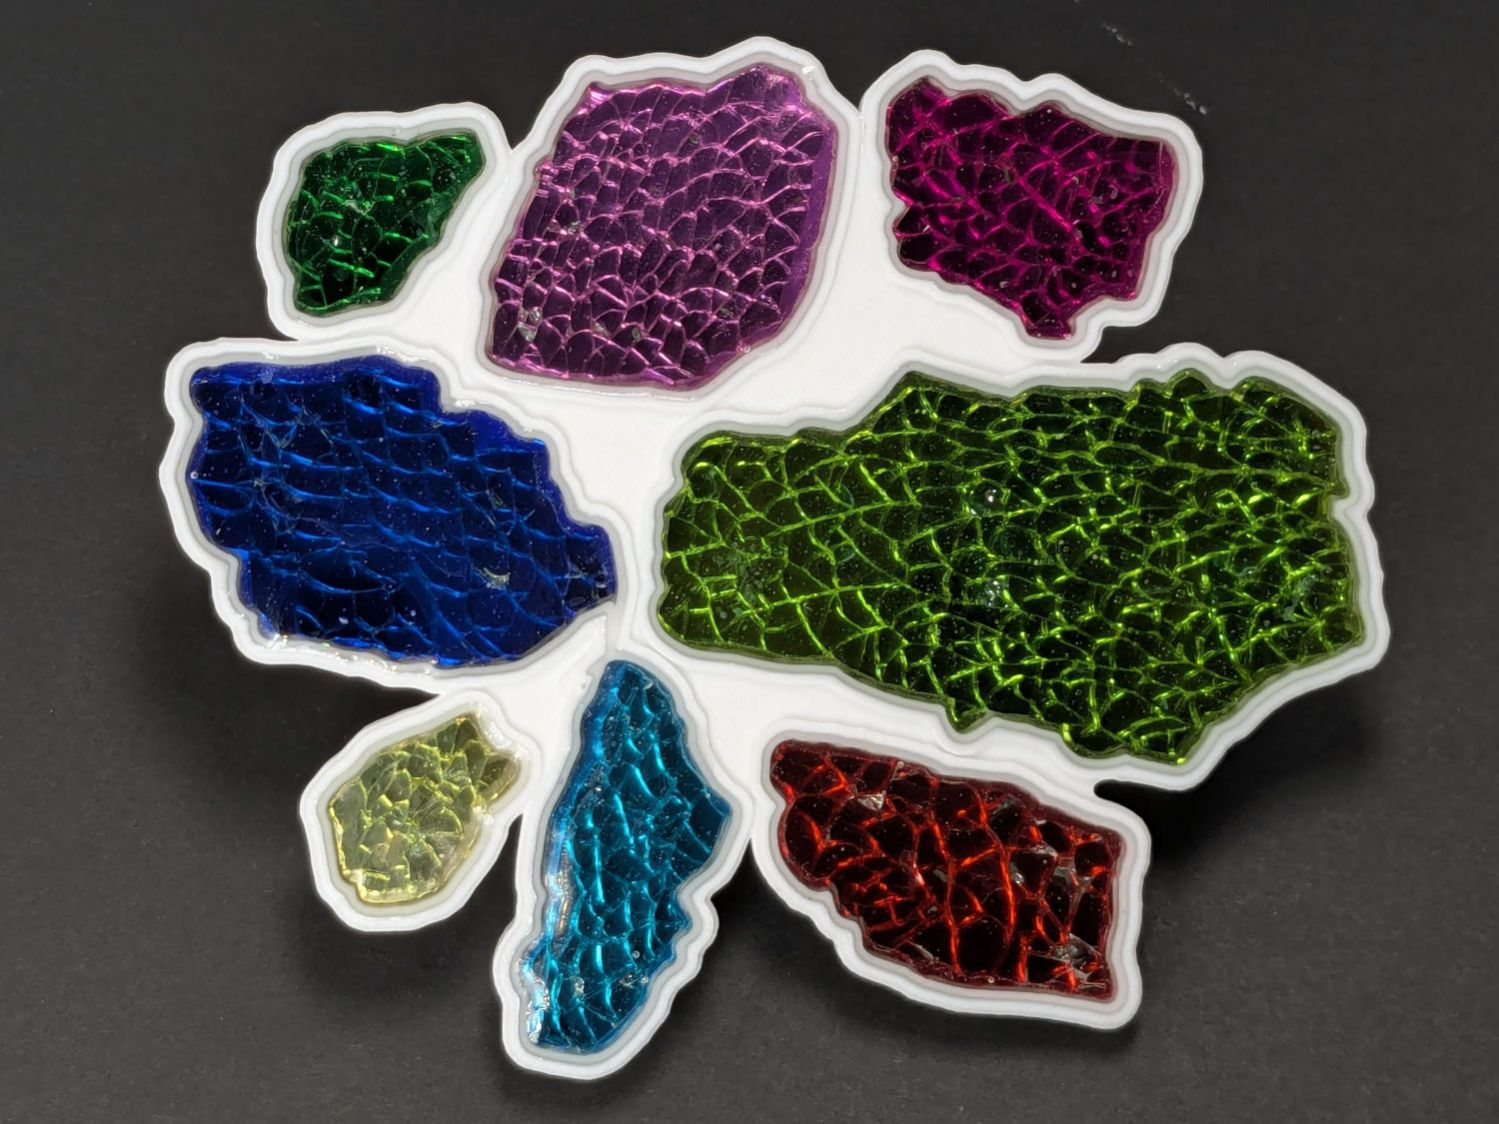
Each of the glass fragments in a 3D printed coaster sits atop a metallized paper reflector in its own recess and gets covered with epoxy:
Printed Coasters – epoxy fill
That’s an early printed coaster with the epoxy pool covering the entire surface. Putting a rim around each fragment to form separate pools works better.
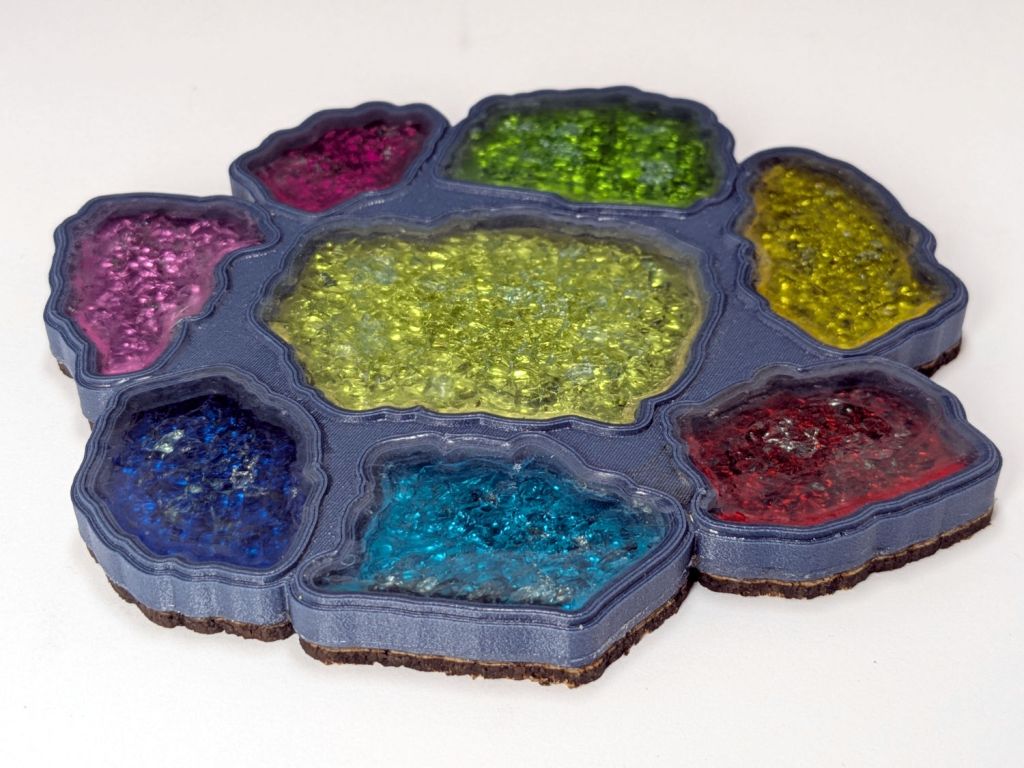
Assuming I do a tidy job of filling the recesses, this process worked exactly as you’d expect until I printed a coaster with blue PETG-CF filament:
Printed Coaster – Set C – oblique
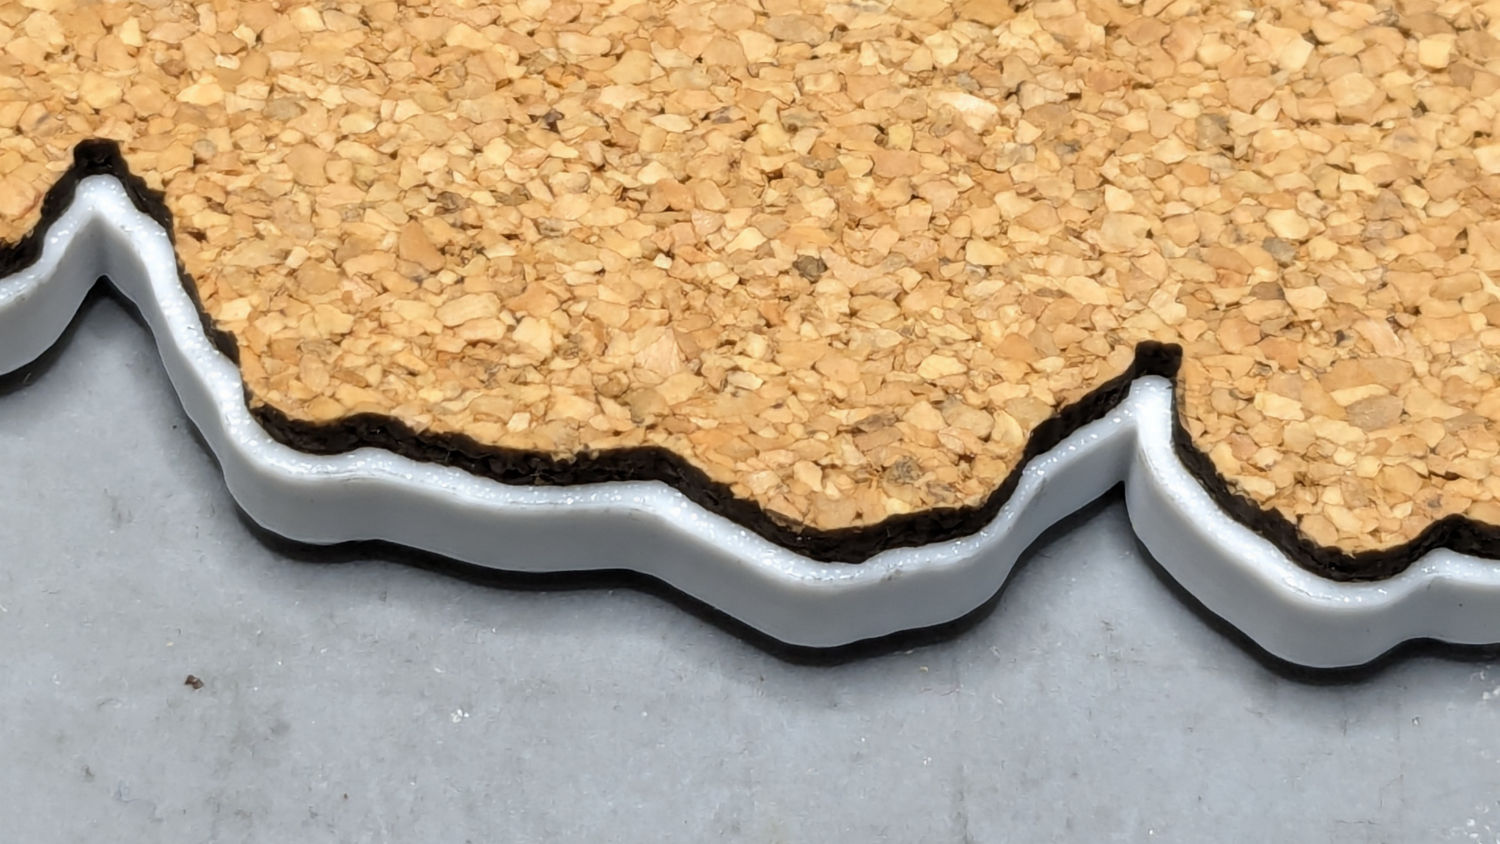
Other than a slightly ragged cork layer motivating me to make the cork slightly smaller and use a fixture to align it properly, the coaster looks reasonably good. However, a close inspection shows all the epoxy pools are slightly recessed below their rims.
It turns out printing PETG-CF with an extrusion multiplier of 0.8, which I figured based on fitting threaded parts together, doesn’t fuse the threads into an epoxy-tight surface:
Printed Coasters – PETG-CF leakage – footprint
Fortunately, I’d been working on a silicone mat that could take a joke. I managed to move the coaster to a plastic sheet and refill the drained pools, although they continued to drain while curing.
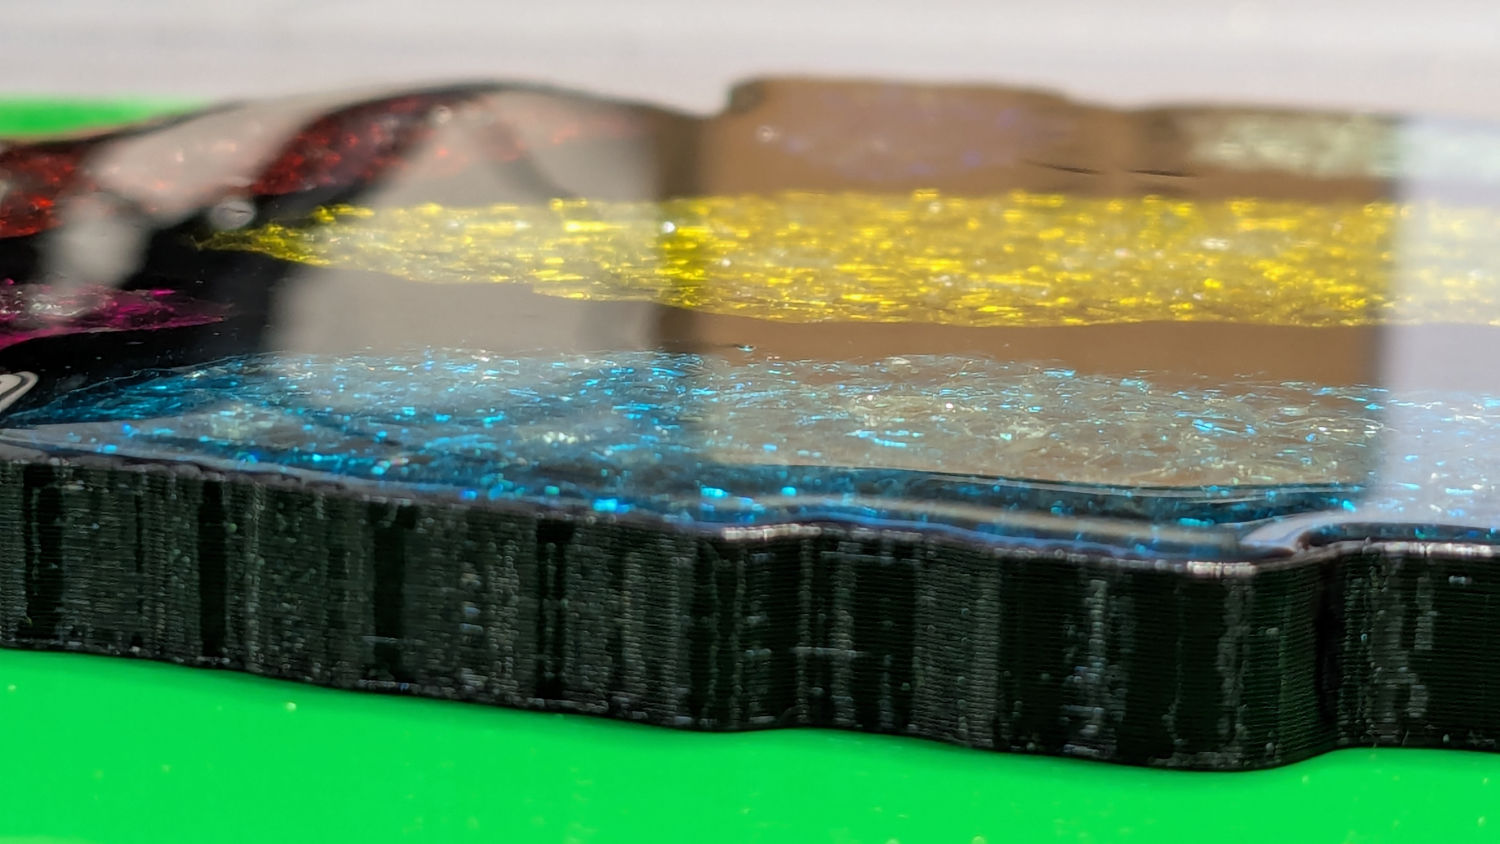
After the epoxy cured to a rubbery texture, I scraped off the meniscus around the perimeter of the coaster, but the bottom shows it cured in a pool of its own making:
Printed Coasters – PETG-CF leakage
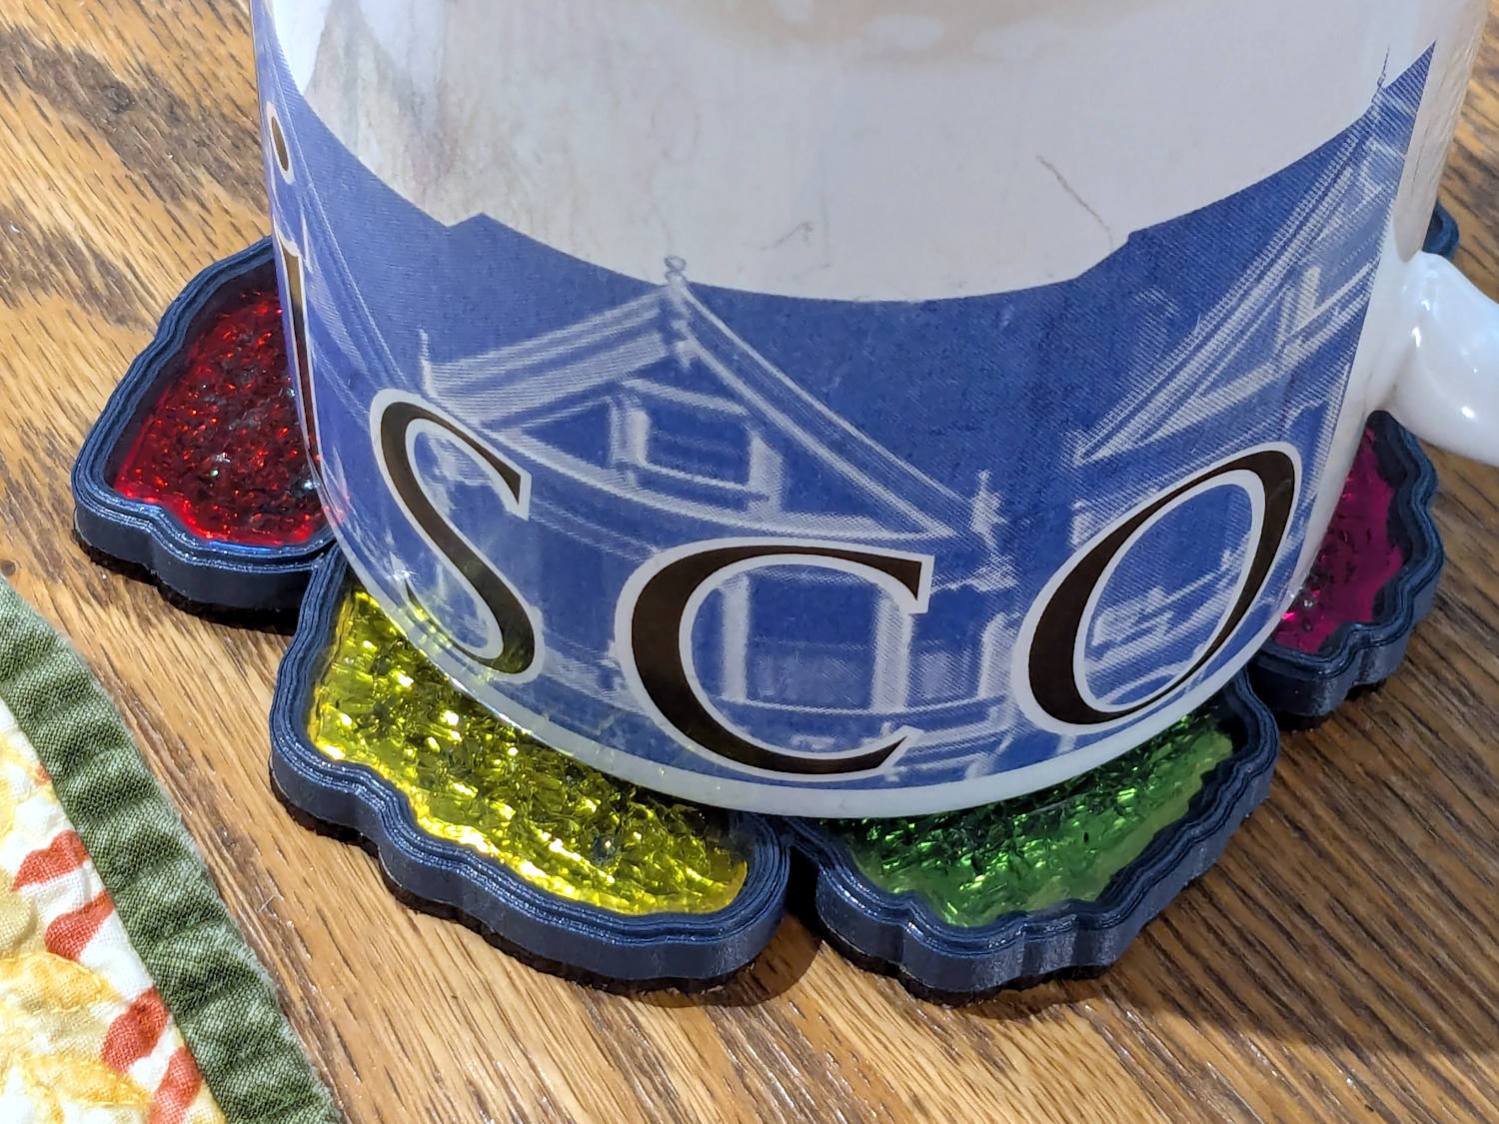
The cork conceals the evidence and the result looks good enough for my simple needs:
Smashed Glass 3D Printed Coaster – Set C – in use
Memo to self: Use the correct filament preset for the job!
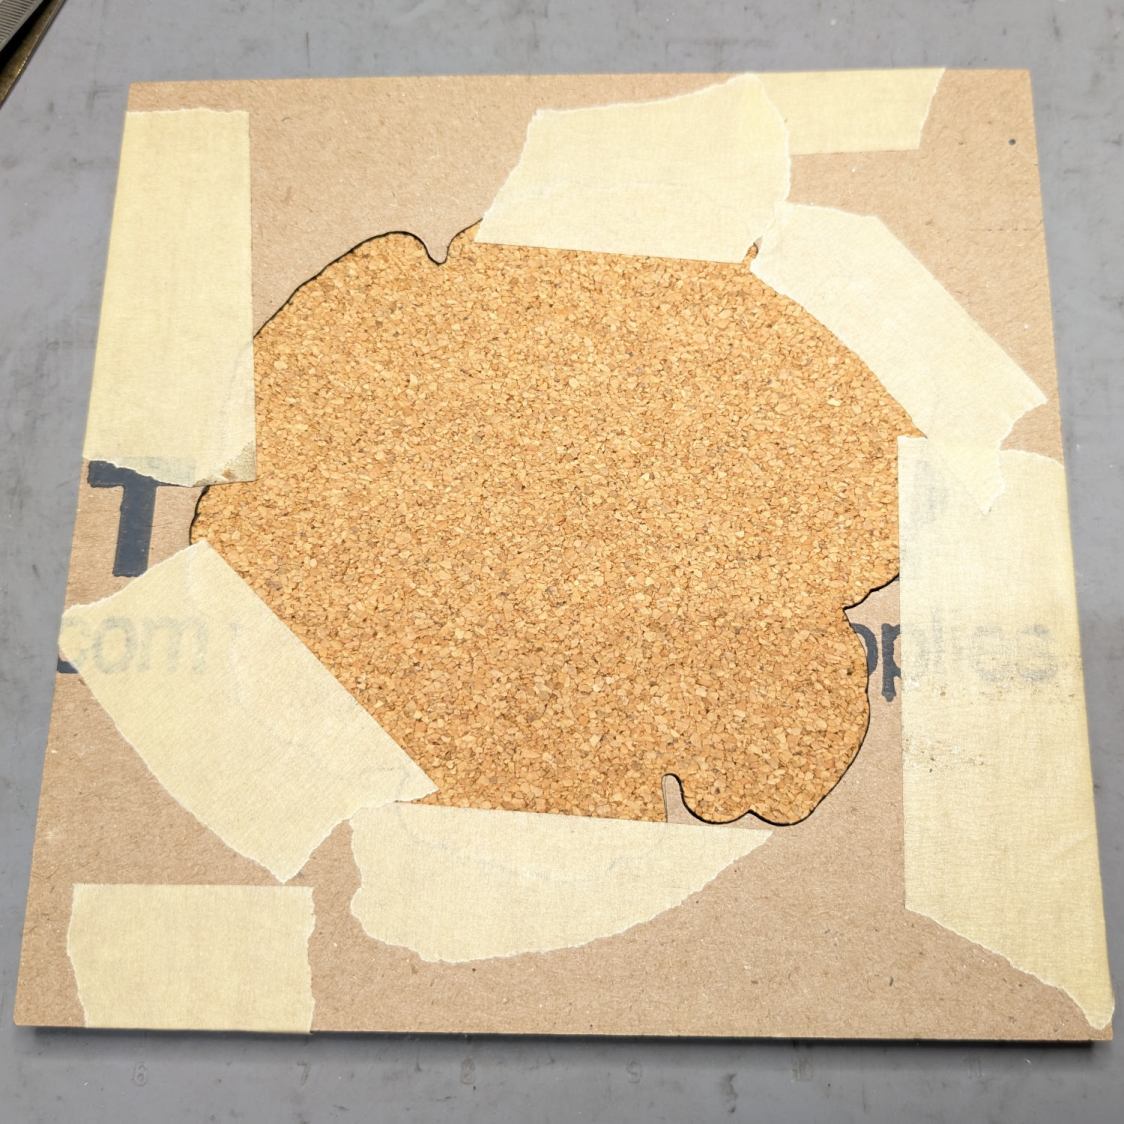
A sheet of craft adhesive holds them together; stick a generous rectangle of adhesive on the cork, then cut them at the same time. However, given the irregular perimeter, it’s basically impossible (for me, anyway) to align the cork + adhesive with the printed frame.
A single-use fixture made from corrugated cardboard make that task trivially easy:
Printed Coaster – cork alignment fixture – detail
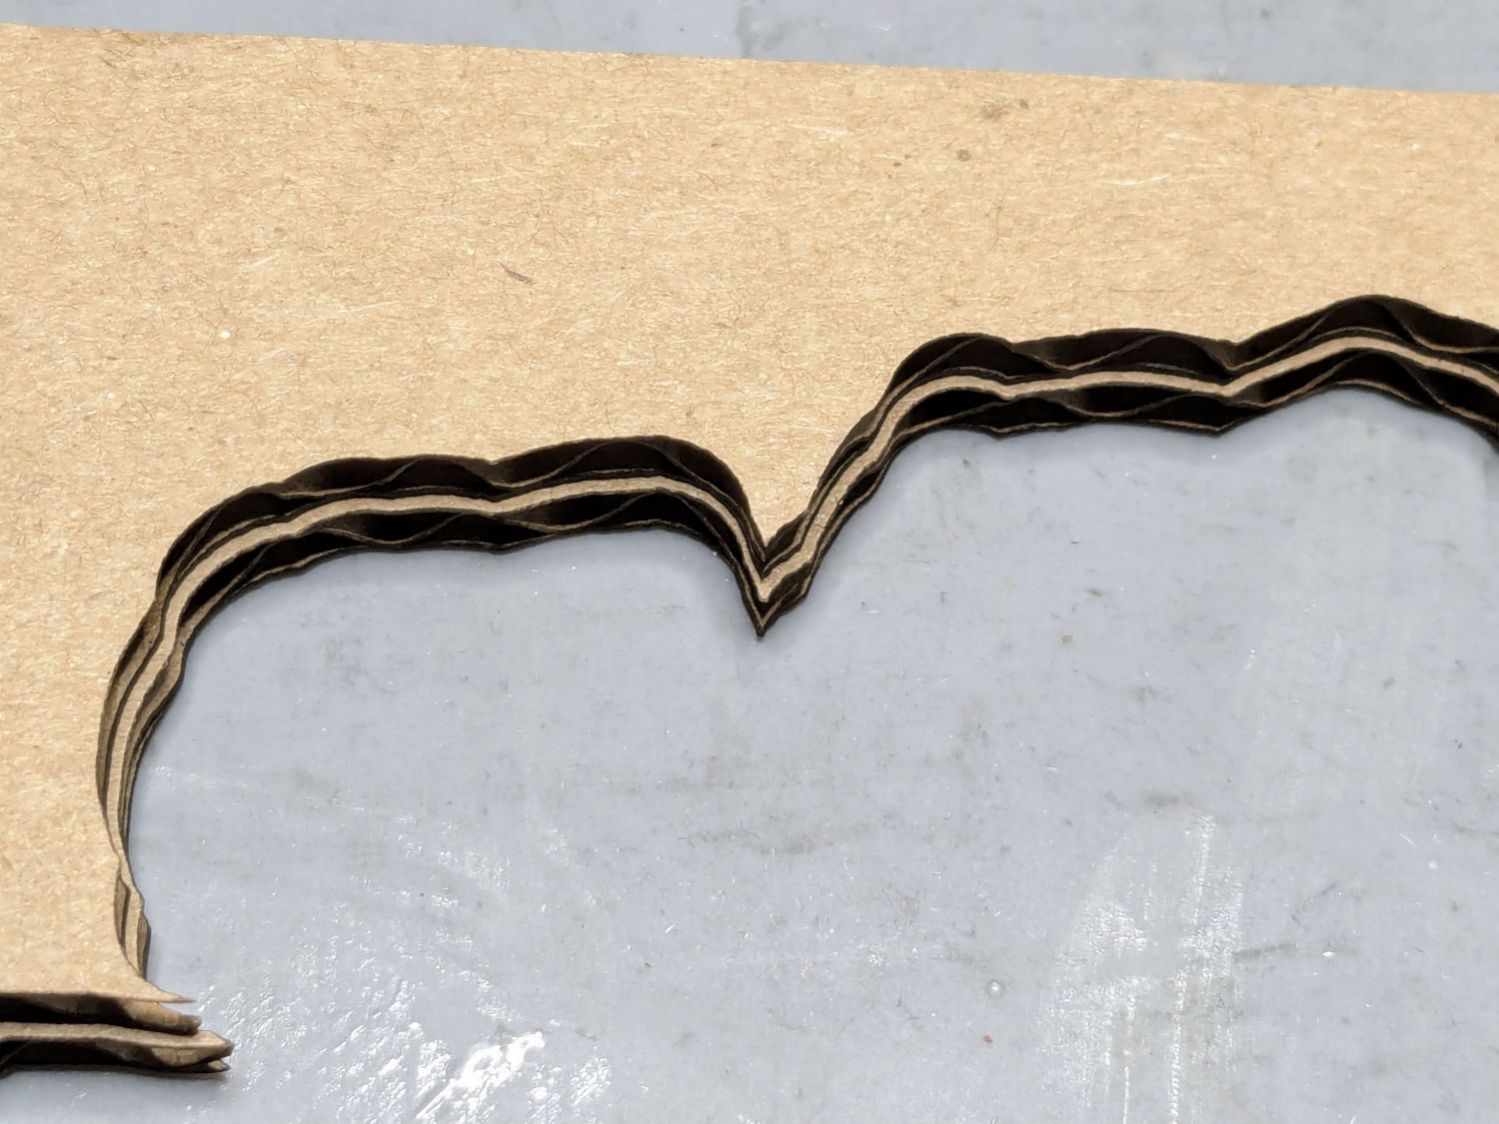
The LightBurn layout shows the cork layer and the two fixture pieces:
The cork shape is offset 0.5 mm inward from the Perimeter shape, but I found offsetting the cardboard cut by only 0.3 mm inward produced a snug fit around the cork. The other piece of cardboard gets cut with the exact Perimeter shape and no offset, with the laser kerf providing just enough clearance for a very snug fit on the printed shape.
Align the two pieces of cardboard by eye to match their inner shapes as shown in the picture, tape them together, and the fixture is ready. In principle, the outer edges should exactly coincide: Trust, but verify.
Peel off the craft adhesive paper and put the cork in the bottom of the fixture. The cork comes off a roll and really wants to roll up again, making the masking tape holding it flat mandatory:
Printed Coasters – cork alignment template
Yes, that’s a different coaster.
Flip the fixture over, drop the coaster in place, press firmly together, peel the tape, and pull out the finished coaster:
Printed Coasters – white PETG finished
The fixture goes in the recycling bin, as those fragments will never pass this way again.