Ed Nisley's Blog: Shop notes, electronics, firmware, machinery, 3D printing, laser cuttery, and curiosities. Contents: 100% human thinking, 0% AI slop.
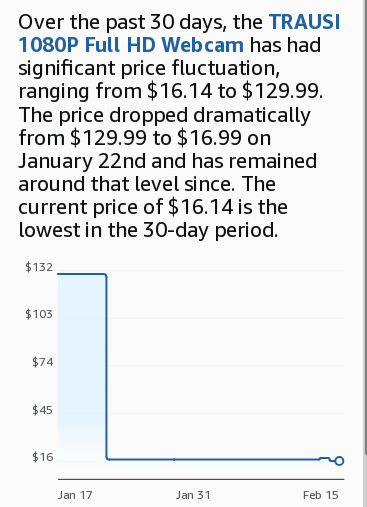
A brace of cheap HD USB cameras may improve the scenery around here during video meetings. They were $16, marked down from an absurd $130:
HD USB Camera price history
Some poor schlubs certainly dropped more than twice the price of a Genuine Logitech camera on these critters, but a nearly total lack of demand must have had some effect.
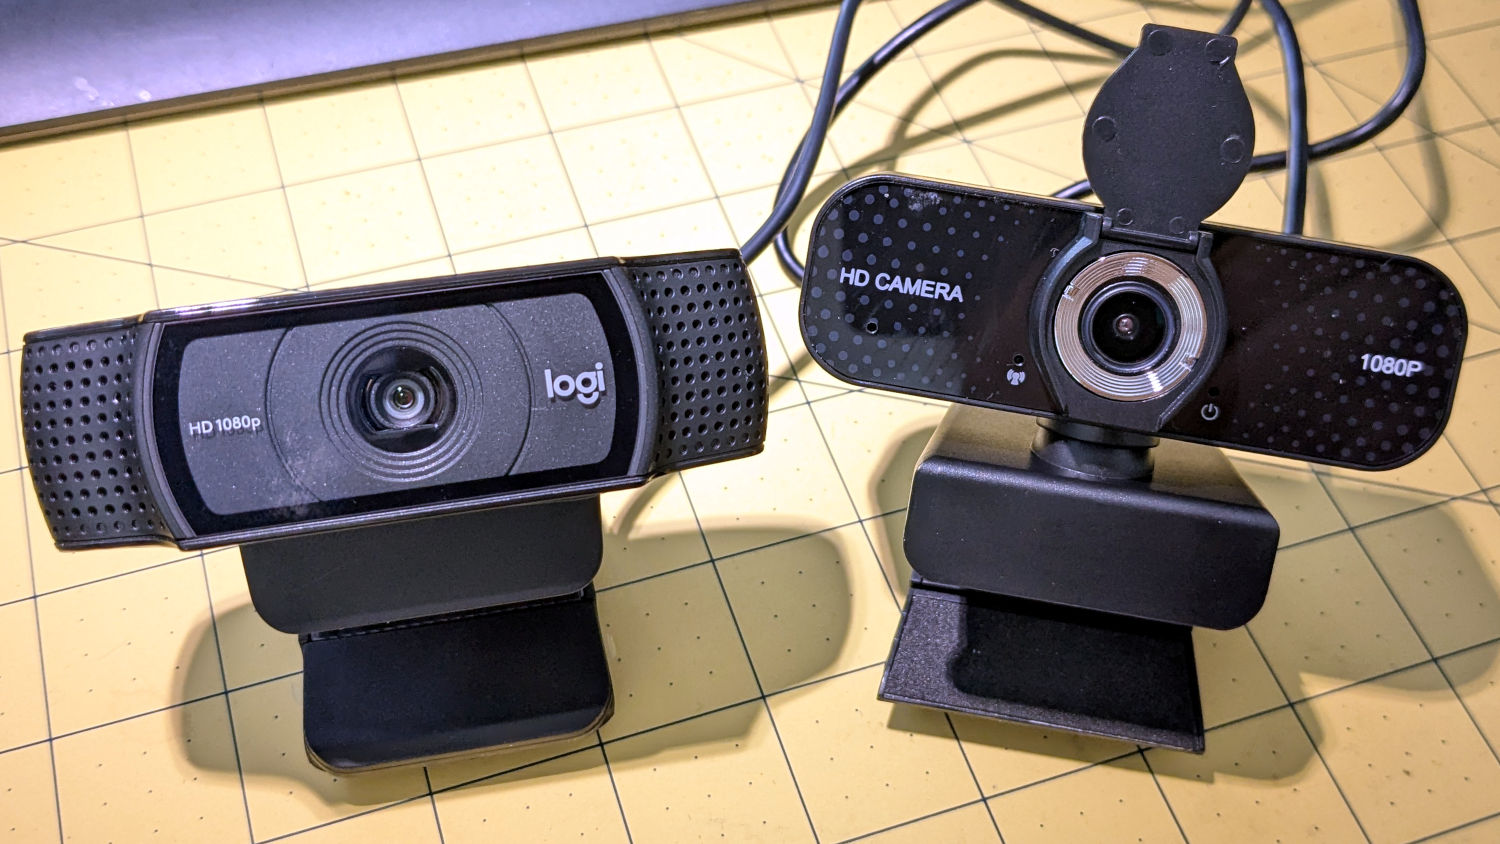
They do take their stylin’ cues from Logitech, although the speckled pattern on a shiny plastic sheet is amusing:
HD USB Camera – styling vs Logitech C920
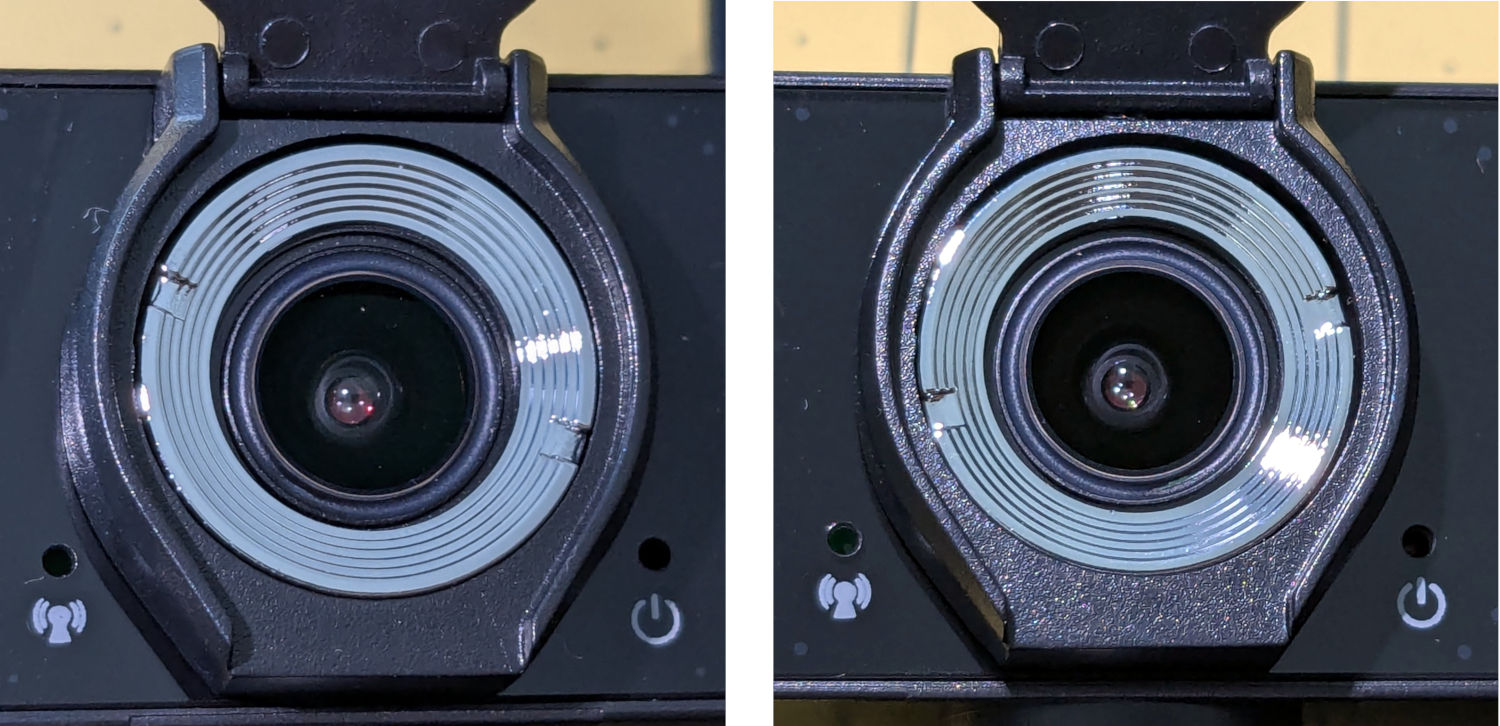
Unsurprisingly, the lens is fixed / manual focus. What looked like focus rings were in different positions on the two cameras:
HD USB Camera – lens focus notches
It turns out the rings were not glued in place, perhaps because they have absolutely no effect on the camera’s focus. Maybe there’s another camera model where they rotate the lens in a threaded socket, but this ain’t that.
The front panel has three pores:
A red Power LED is always on when it’s plugged in
A green On the air LED lights up when the camera is selected; I have no idea what the WiFi-ish glyph is supposed to represent
The “advanced noise canceling microphone” sits behind a pore offscreen left; the claim seems dubious.
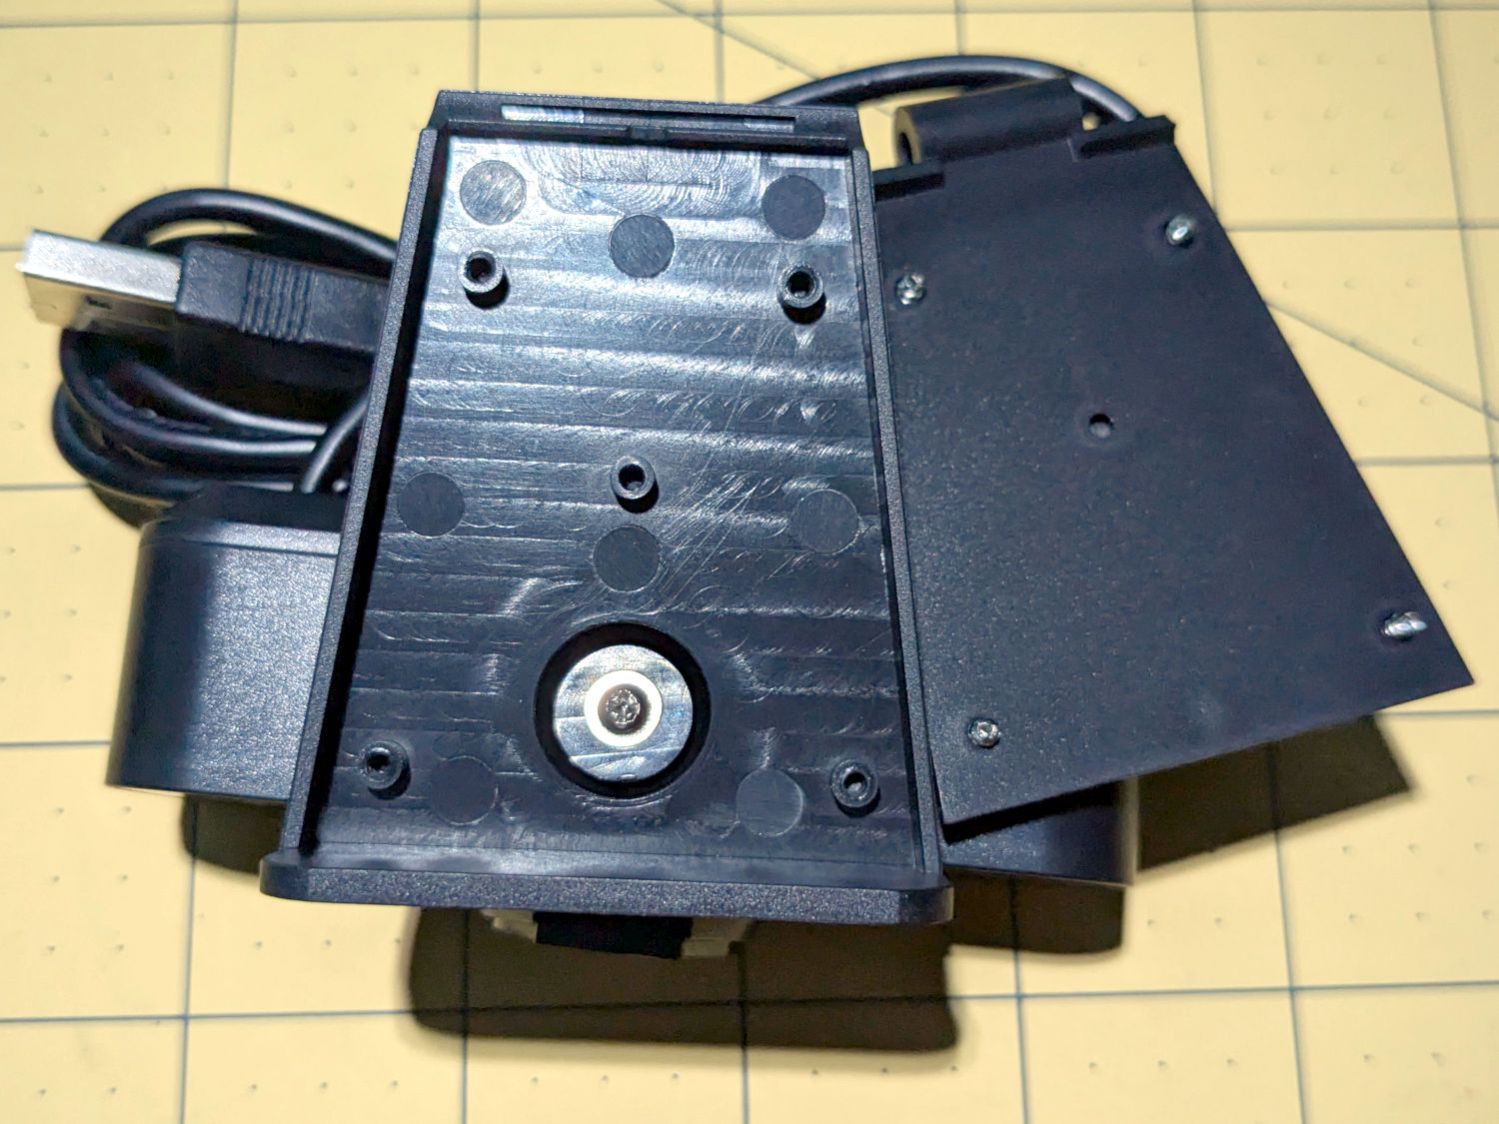
Because these may go into smaller spaces, I dismantled the base to see what was involved. Most of the screws lie underneath thin foam sheets:
HD USB Camera – ball mount interior
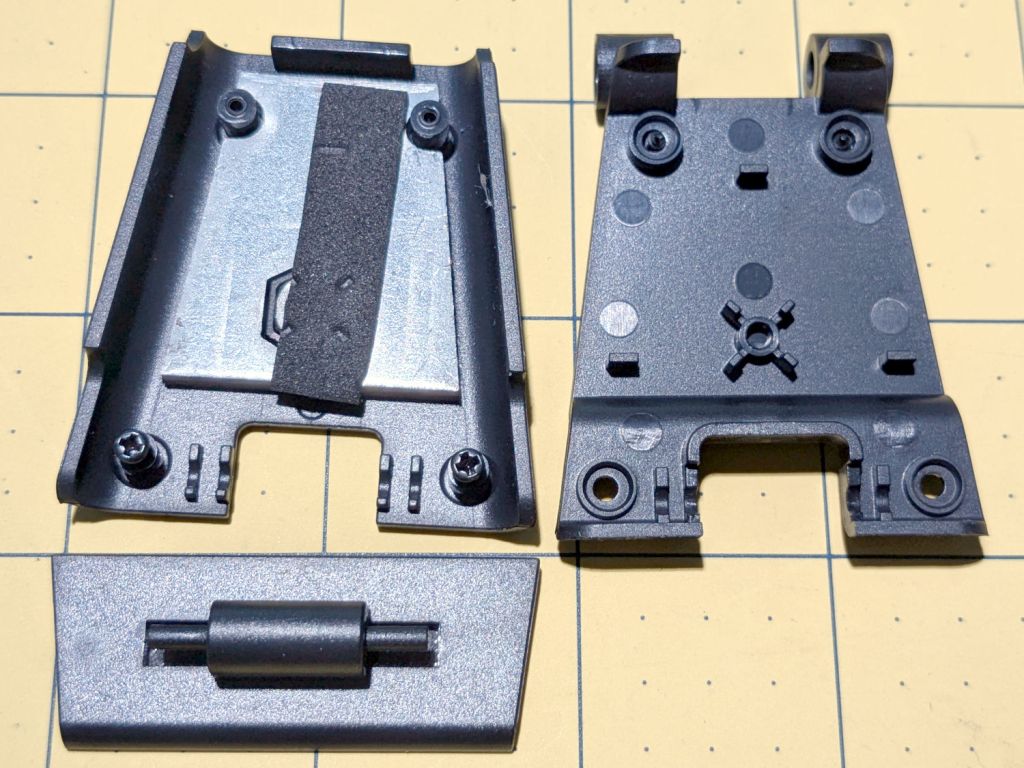
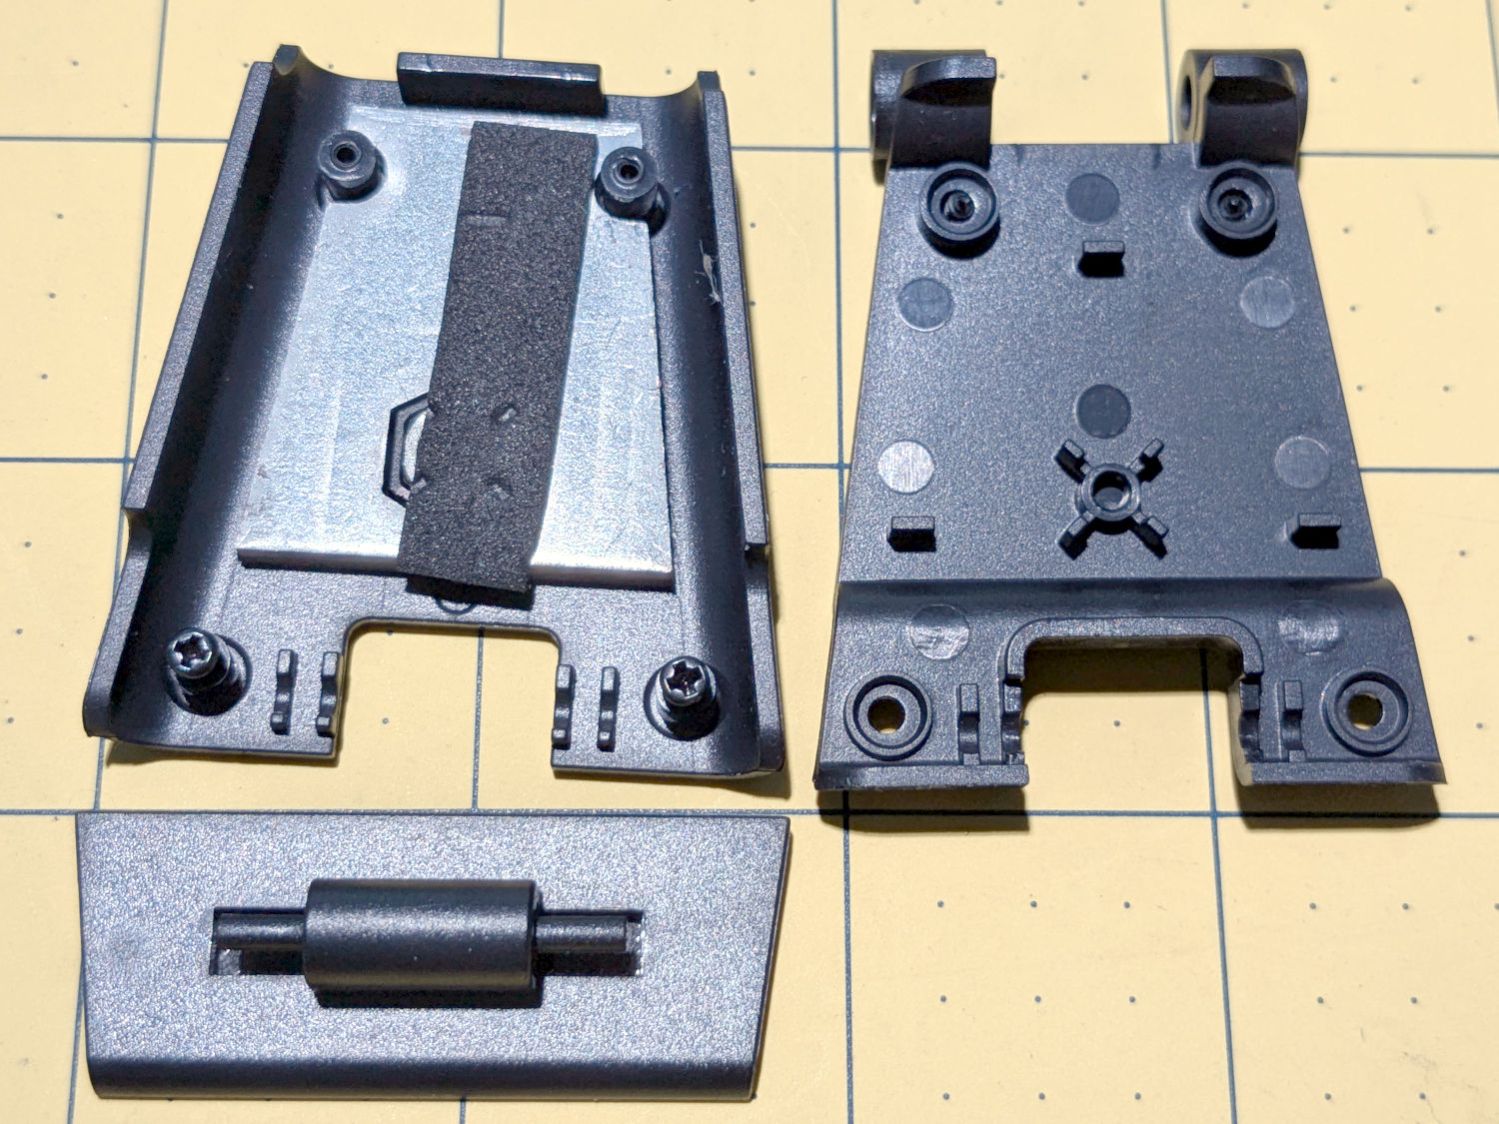
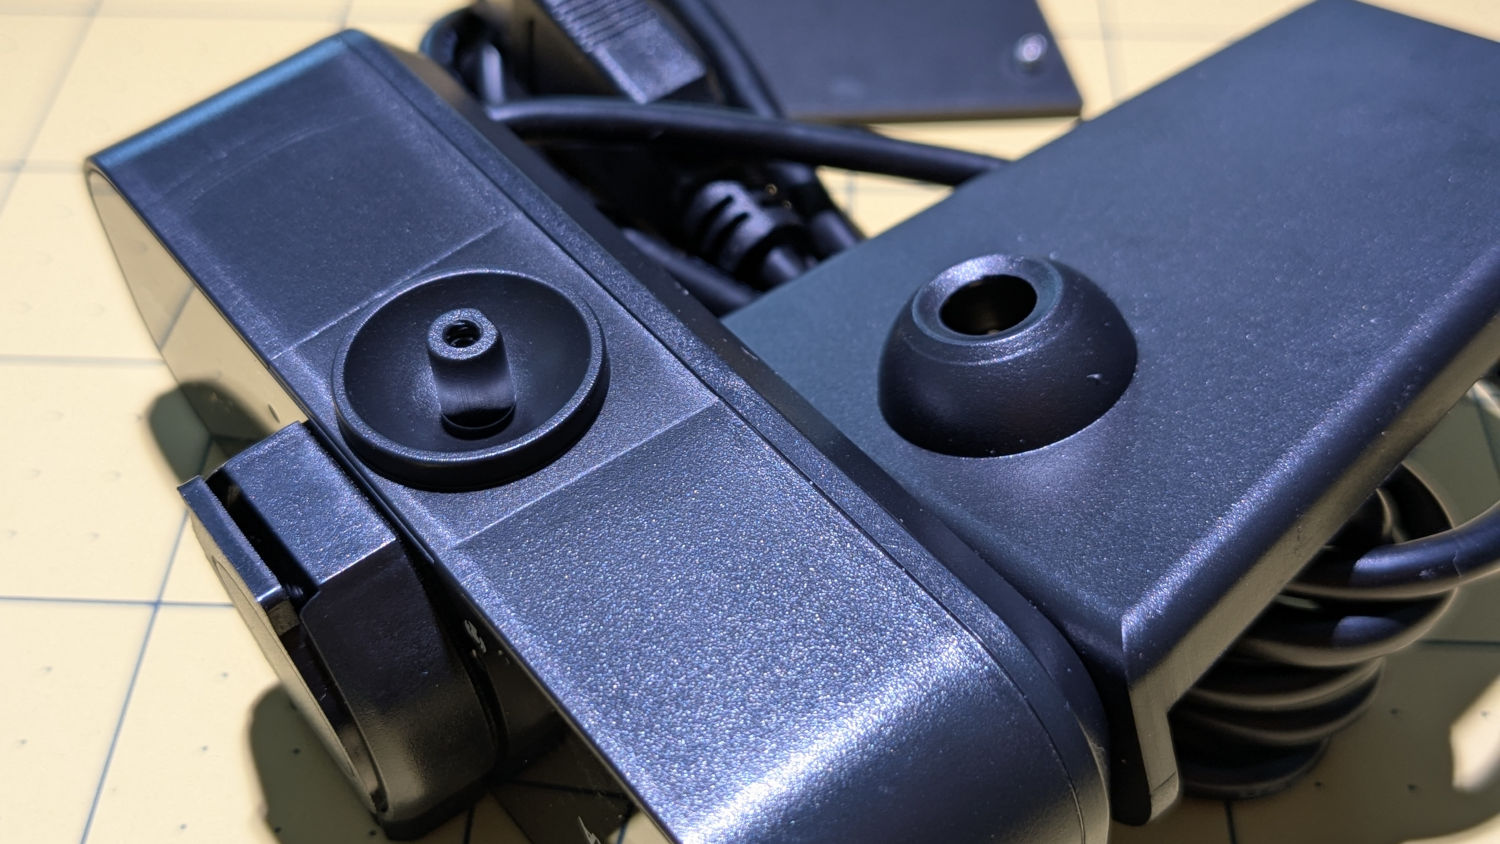
The lower plate has a tripod mount and a folding bracket:
HD USB Camera – baseplate interior
The camera body has a ball mount with a few degrees of movment:
HD USB Camera – ball mount detail
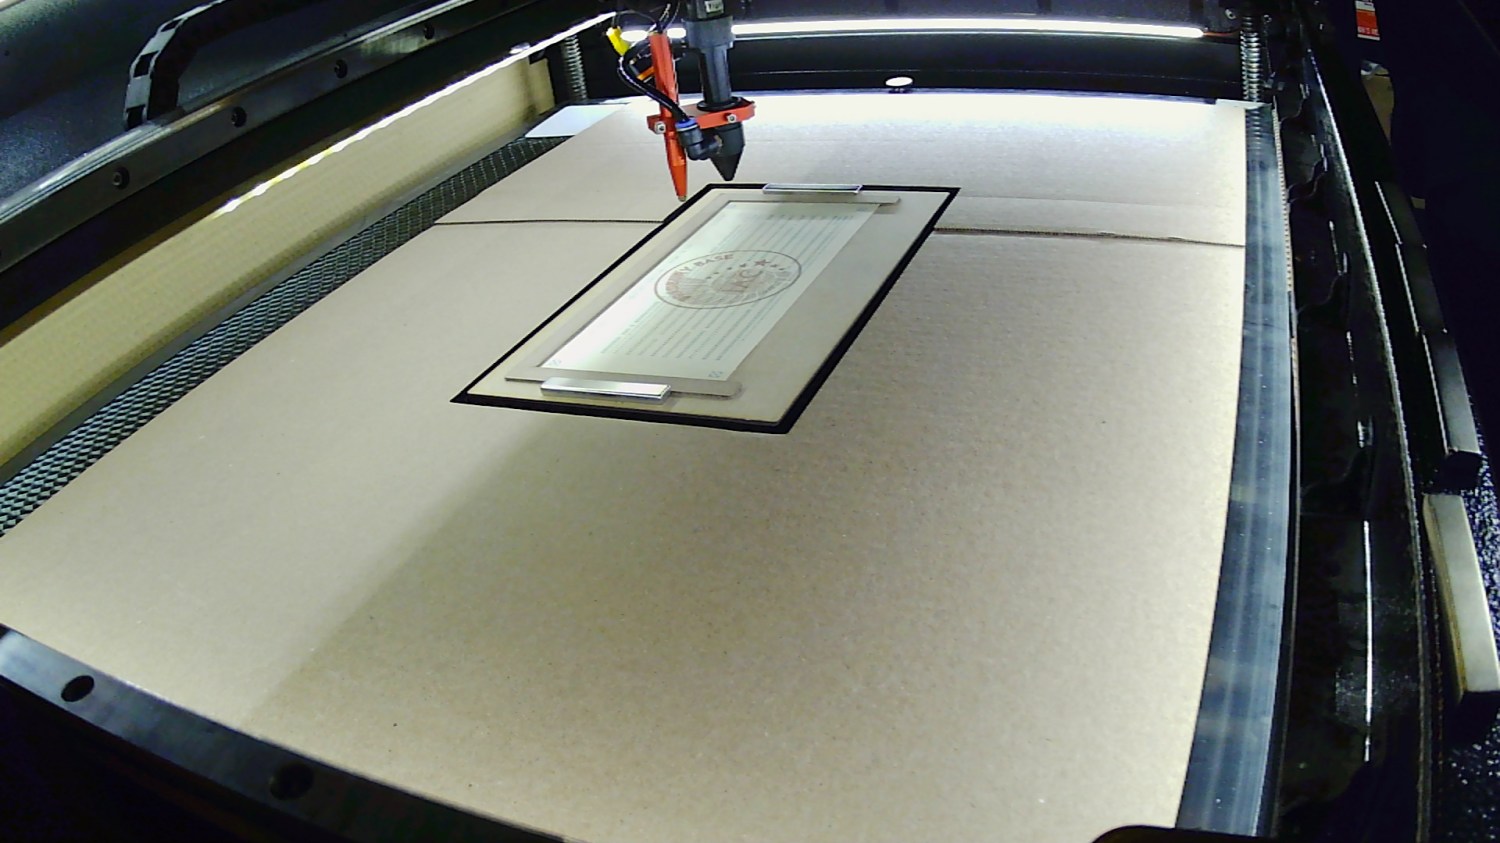
Reassembled and stuck inside the laser cabinet with some good double-sided foam tape, it definitely produces a better image than the previous camera:
Platform camera view
Whatever noise cancellation the mic may provide is irrelevant in there: nobody’s listening.
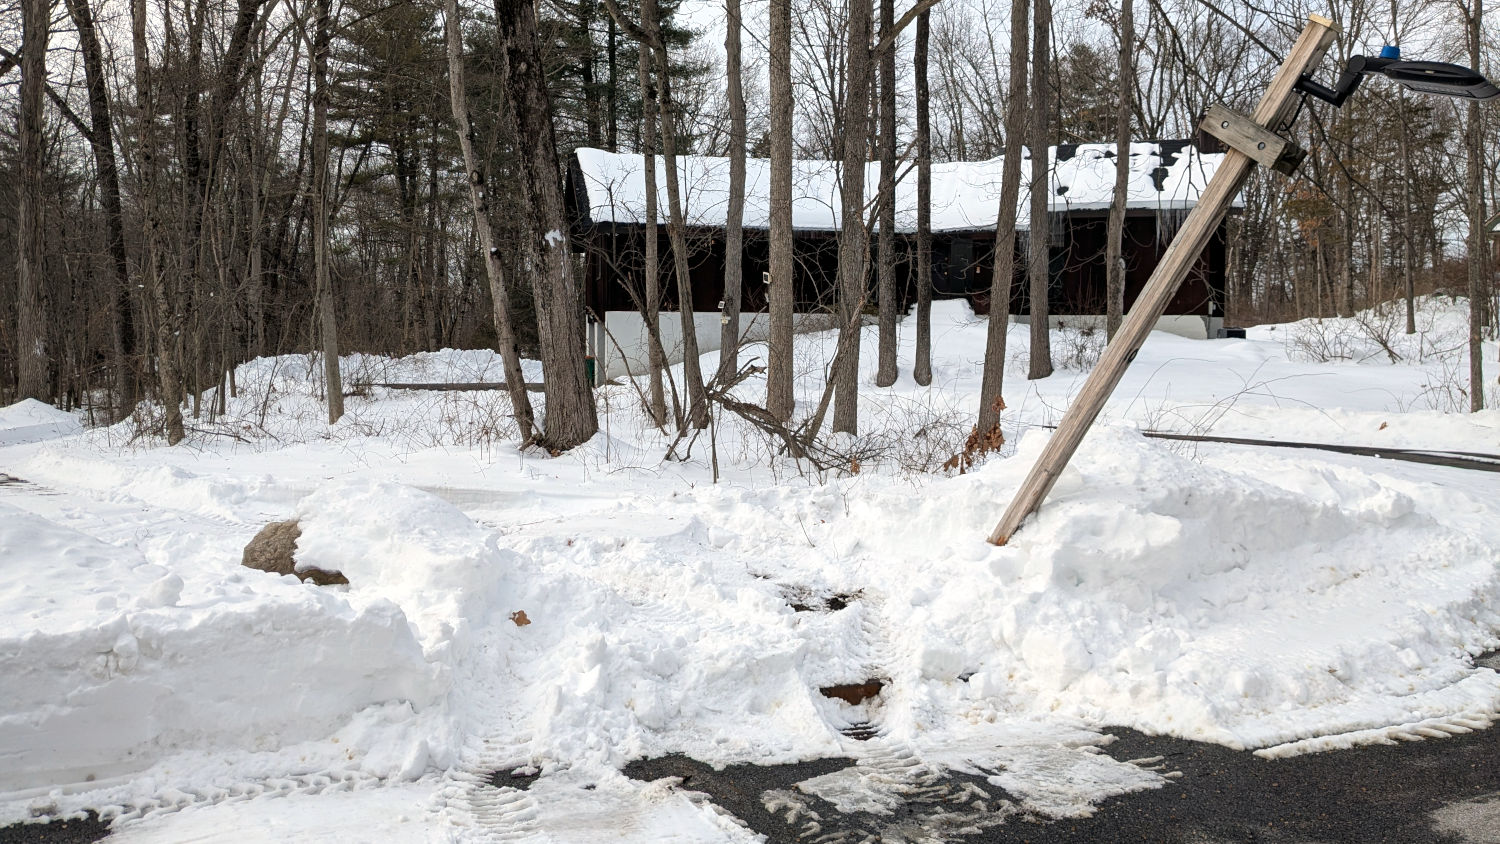
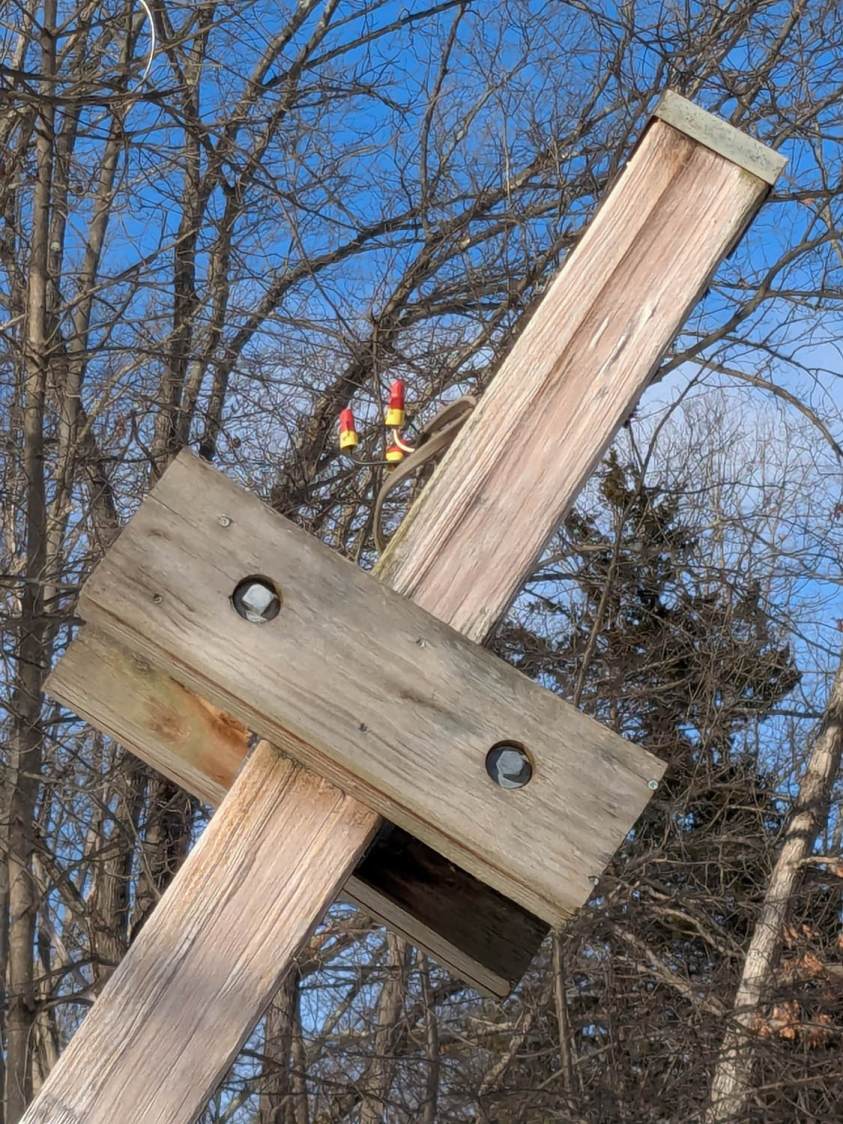
Vassar College sent a plow along the walking path linking the campus with the faculty enclave on Old Silvermine Place, but the clearance between the lamp pole and the boulder blocking the entrance wasn’t quite adequate.
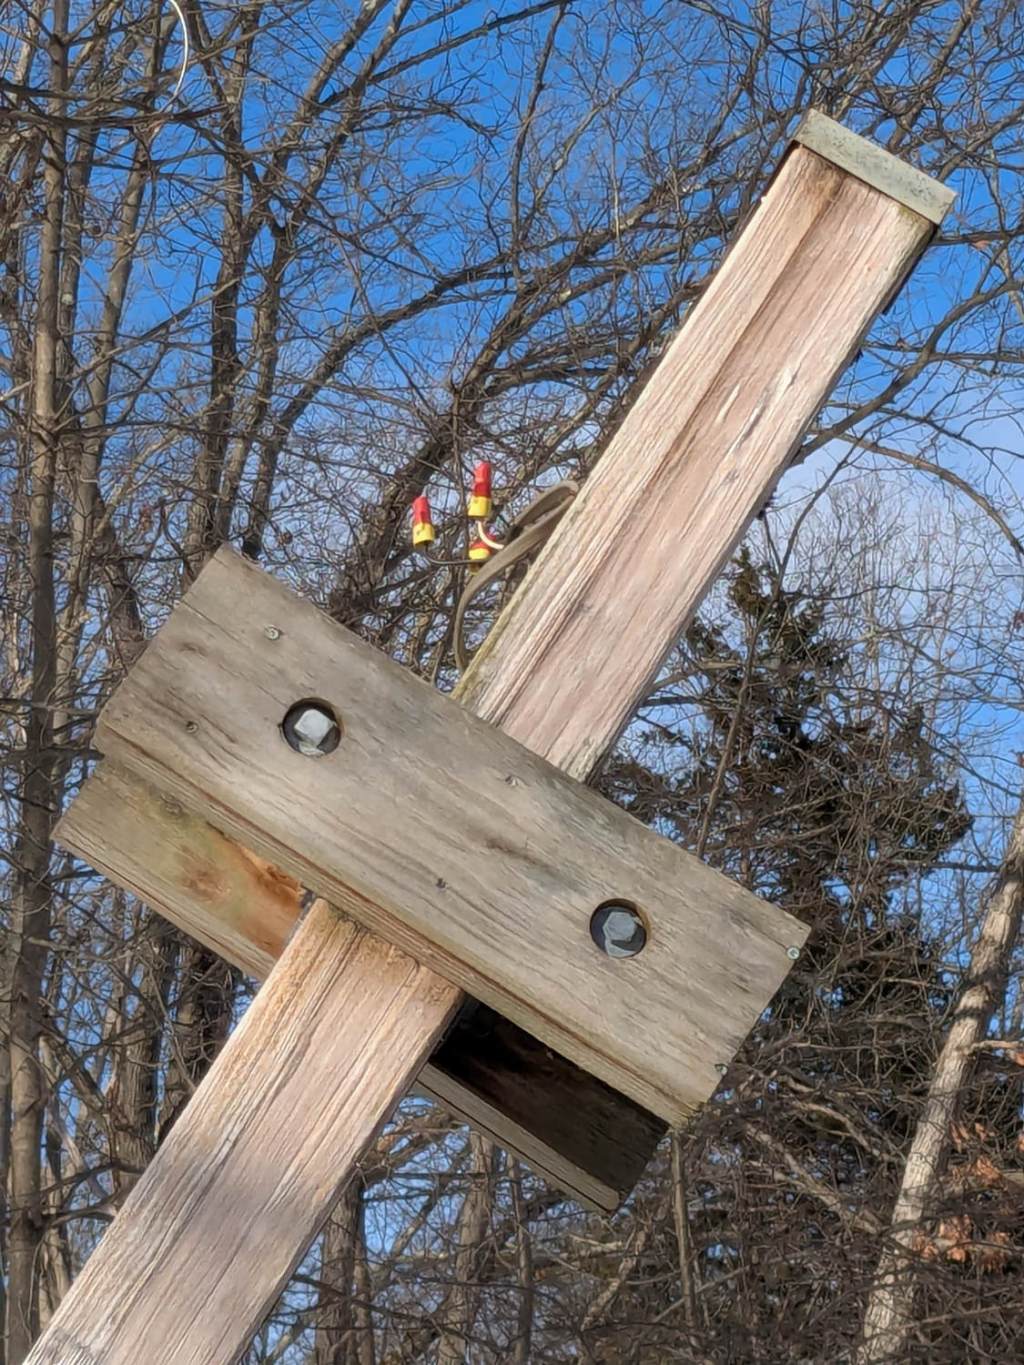
Some days later, the light fixture was missing and the power cable sported three cheerful wire nuts:
Damaged pole – wire nuts
Another pole has been lying flat on the ground for (at least) the last two years and I’ve always wondered if its wires (within easy reach) were live under their nuts. Knowing the lamp power is 277 VAC from a 480 VAC three-phase service, I’m disinclined to find out.
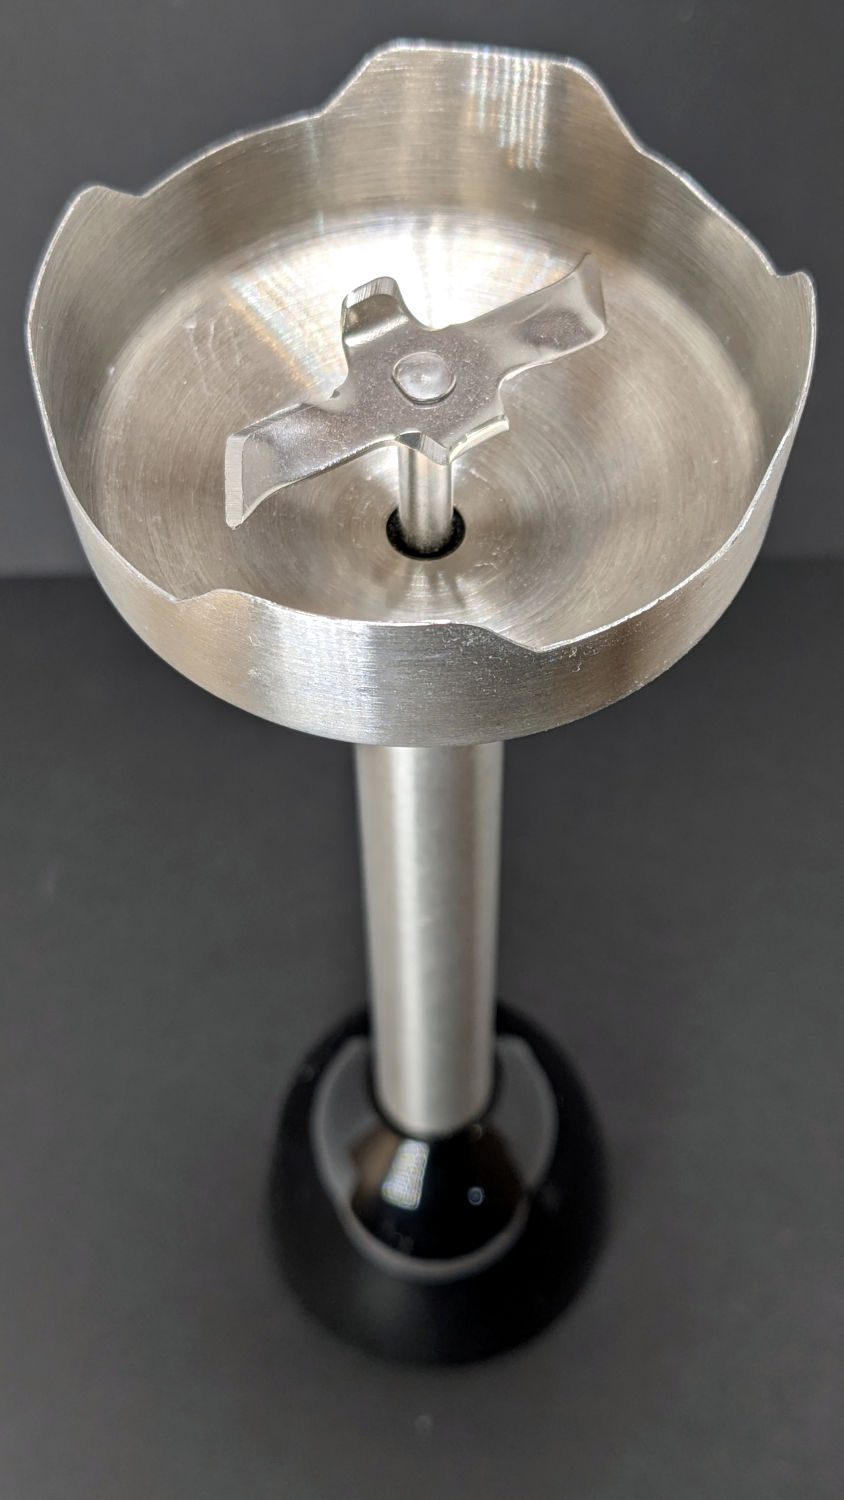
The business end of a cheap stick blender we bought a year ago to replace the previous stick blender (*):
Fresko stick blender
This one failed just slightly beyond the duration of its one-year warranty, apparently with one of the shaft bearings seized to the extent of making the blade un-turnable even by (carefully protected) finger force.
With nothing to lose (and a new blender inbound), it stood in the Basement Shop in that orientation for a week while I dripped penetrating oil around the shaft and wiggled the blade slightly back-and-forth. The bearing eventually broke free and the blade turned reluctantly.
Still having nothing to lose, I gave the shaft a few shots with a drift punch, moving it a few millimeters in each direction. This apparently disturbed the seized bearing just enough to let it turn less reluctantly, with more penetrating oil improving the situation.
Mixing a jar of water went well, even on high speed, but I doubt the bearing is in good health. We decided a blender with penetrating oil tucked up inside should be disqualified for food processing.
When it first locked up, I bought a significantly more expensive stick blender, knowing full well more money does not imply better design / better materials / more QC. This one is now designated as a Cold Backup blender for garden & shop use.
(*) For the record, my 3D printed shaft adapter failed while converting garden tomatoes into thick & zesty pizza sauce. I’m unsurprised PETG-CF wasn’t up to the task.
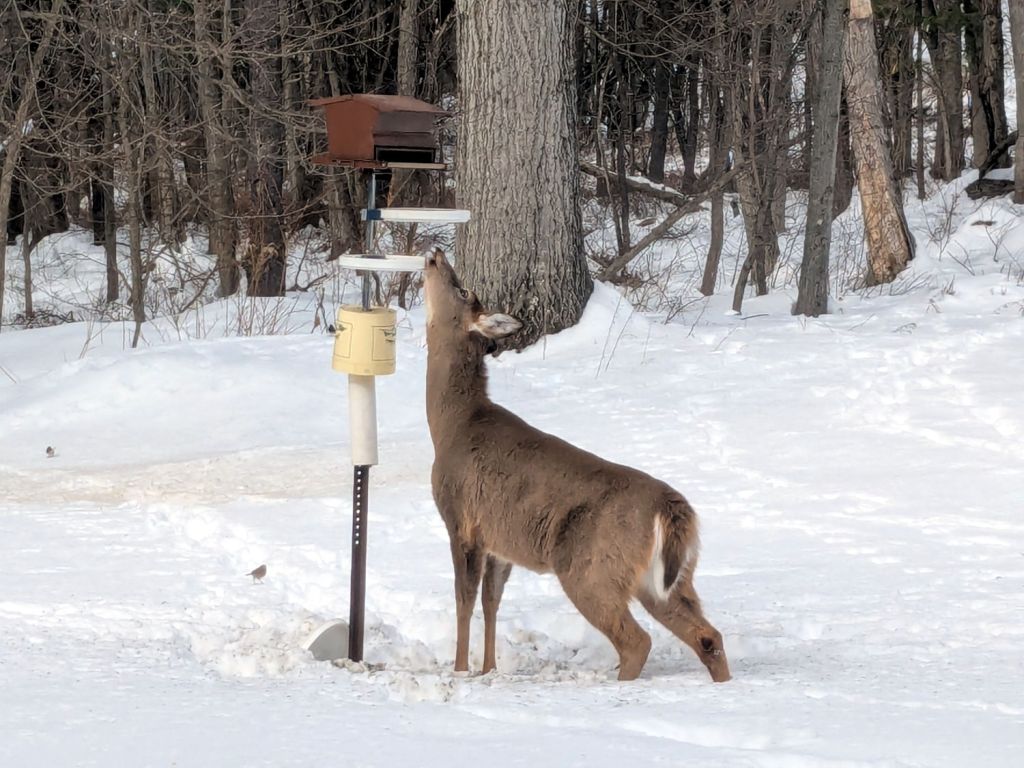
The deer managed to unfurl enough tongue to reach over the edge, but the birds leave very few intact seeds and I suspect the result was just a mouthful of dry hulls.
The woods beyond that large tree is Vassar College territory, with its conspicuous lack of undergrowth due to the overly large deer population eating essentially everything. Vassar has an annual deer cull in the Preserve, but plenty of deer remain in the surrounding area and it’s not unusual to see six deer browsing in our yard.
The gotcha lies in Step 3, which requires mousing & clicking through a tedious file selection dialog. For whatever reason, Windows / LightBurn does not remember your place in the file directory, so you must not only remember which card you just punched, but maneuver to the next card in the sequence.
It turns out there exists a lightly documentedSendUDP.exe command-line program to send a file to the running LightBurn instance, which will (in the case of an SVG file) import it and center the layout at the middle of the workspace.
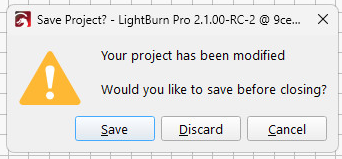
Which means a Windows batch file can feed SVG files, one at a time, in order, to LightBurn. Before importing the file, however, LightBurn verifies you want to blow away the previous layout:
LightBurn – Confirm import
Tapping D lets the import proceed.
The feed-lb.bat batch file:
@echo off
for %%f in (%1) do (
    echo Sending: %%f
    "c:\Program Files\LightBurn_Prerelease\sendudp" "%CD%\%%f"
    pause
)
echo Done!
Because the SVG files have convenient sequential names, this does what’s needed:
…snippage…>.\feed-lb.bat Cards\Tests\test-?-lb.svg
Sending: Cards\Tests\test-1-lb.svg
Press any key to continue . . .
Sending: Cards\Tests\test-2-lb.svg
Press any key to continue . . .
Set up the process:
Start LightBurn with the proper layer defaults
Start a Command Prompt
Get to the proper directory
Run feed-lb.bat aimed at the SVG files
Align the first card
Click in LightBurn window
Alt-S to start cutting
When the cutting is done, the loop continues:
Replace / align card
Click the Command Prompt window
Hit (almost) any key to send the next file
Click the LightBurn window
D to discard old layout / import next SVG
Alt-S to start cutting
Iterate
Assuming you don’t spend too much time aligning a card, punching it can take up to four minutes. This process is definitely not competitive with an experienced operator on a real IBM 029 keypunch machine, but it’s as good as it gets in the Basement Shop.
One wrinkle: The imported SVG file uses LightBurn layer colors, so the various shapes appear on those layers with their default speed / power cut settings. It’s your responsibility to make the cut setting defaults match the cardstock, because that’s the only way (short of per-card clicking) to make it happen.
Another wrinkle: the Command Prompt window opens at your Windows home directory, thus requiring a little setdir.bat file in there to get you where you want to go:
@echo off
z:
cd "\Project Files\Laser Cutter\Punched Cards\Programs\"
dir
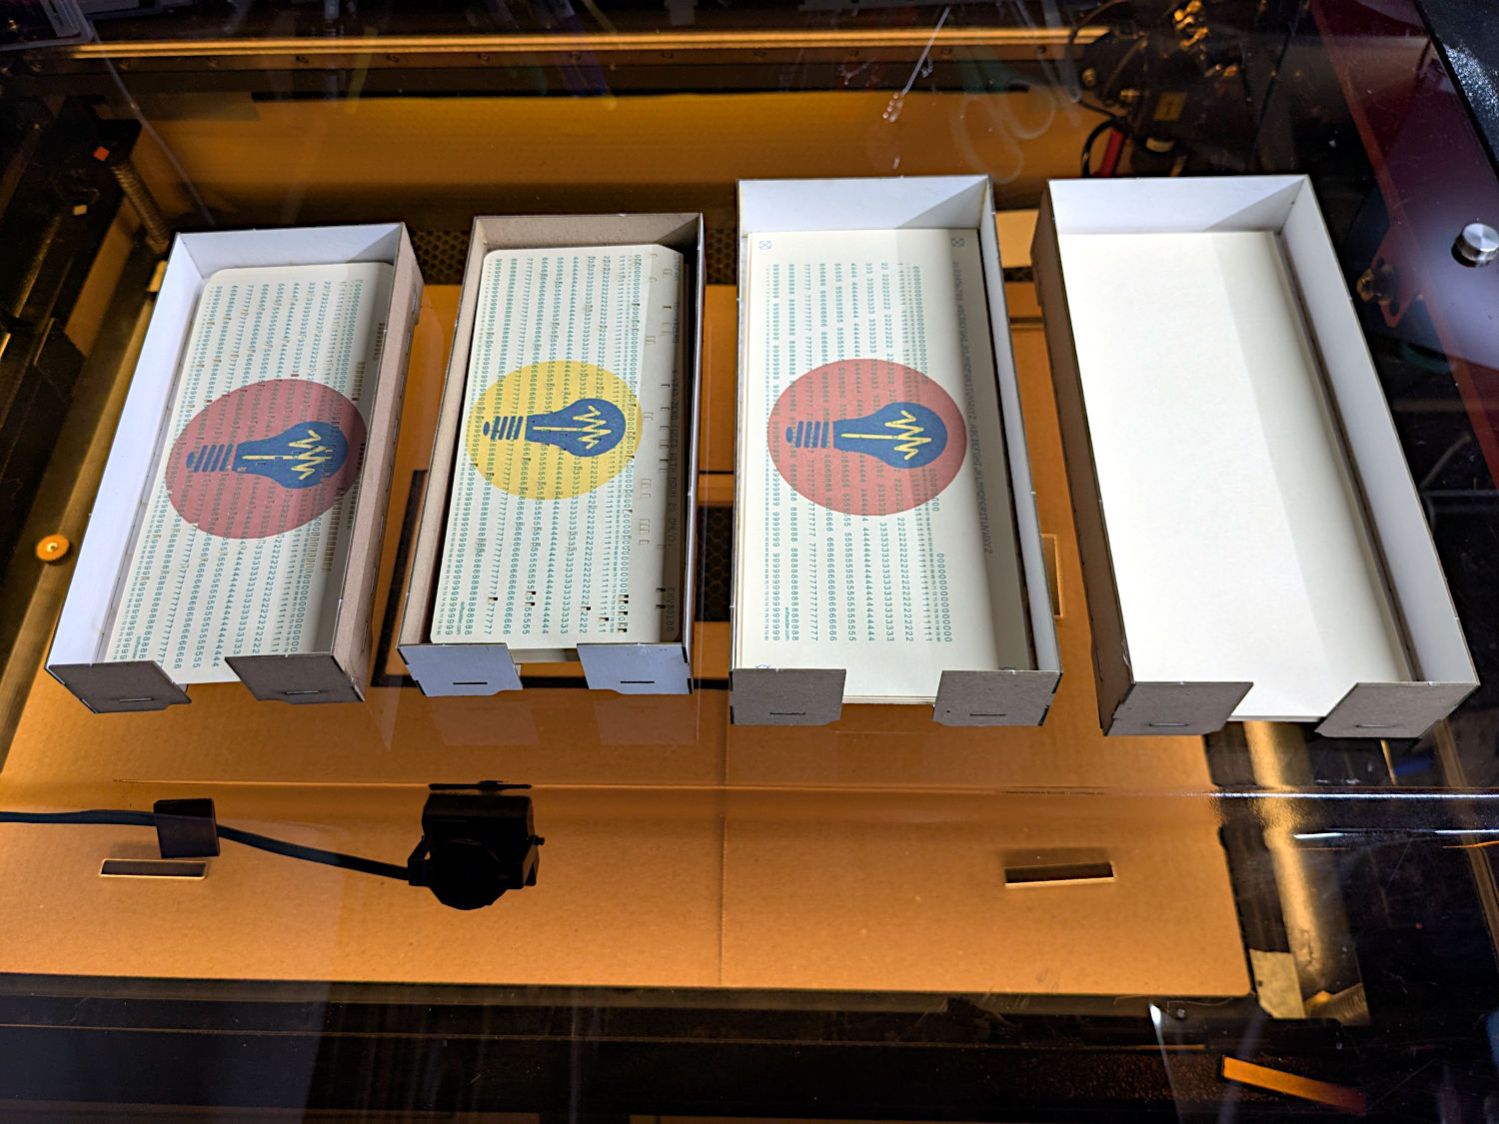
Now it’s just a matter of punching and stacking cards:
Punched cards – storage trays
It’ll take a while before I’m ready for the next step …
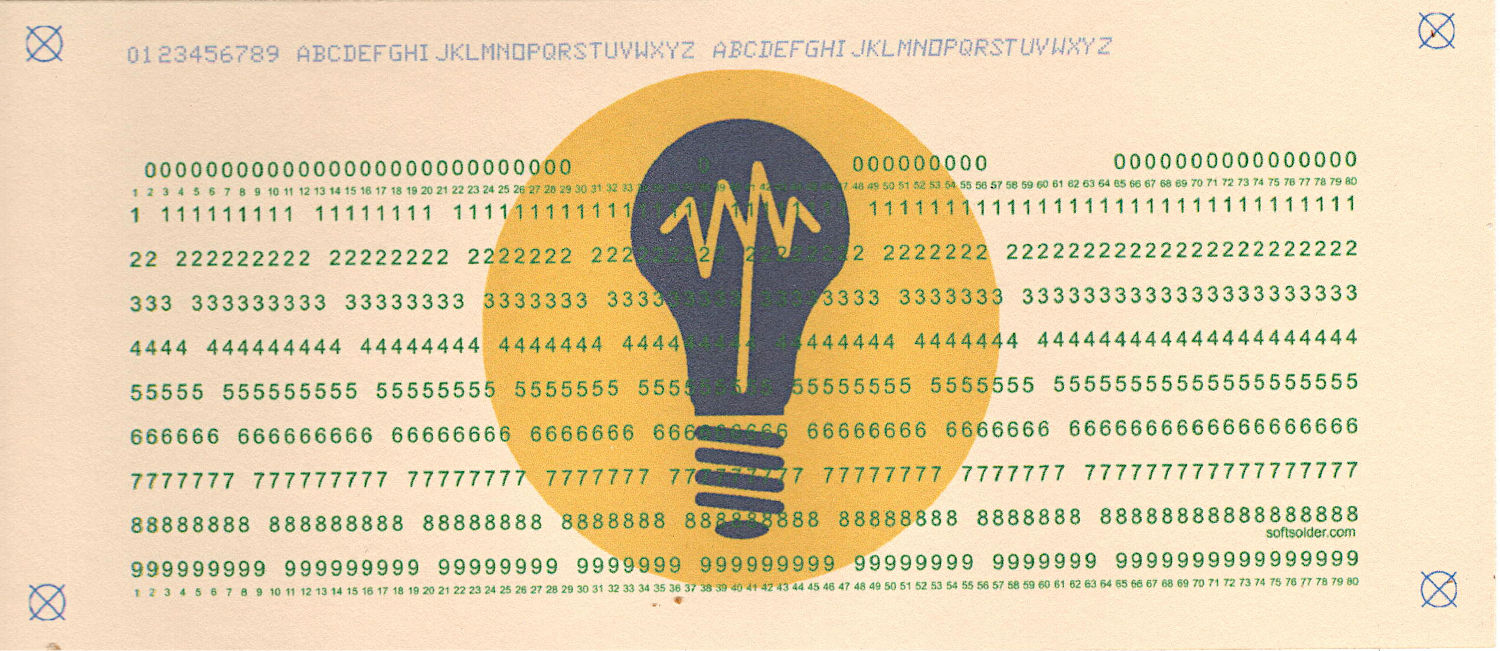
The 1/3 Letter sheets aren’t exactly (11 inch)/3 tall, because neither the paper cutter nor my cutting hand have any particular accuracy
The printer’s feed rollers don’t maintain the sheet’s angular or positional alignment as it travels through the printer
A fractional-millimeter misalignment between the printed characters and the evaporated holes is obvious
Performing an intricate alignment dance on each card guarantees at least an occasional misstep
I initially thought “Well, of course, I’ll just use LightBurn’s Print and Cut tool to match them up.” After some fumbling around, PnC is entirely too heavyweight for the problem at hand and a much simpler / faster / easier technique works better.
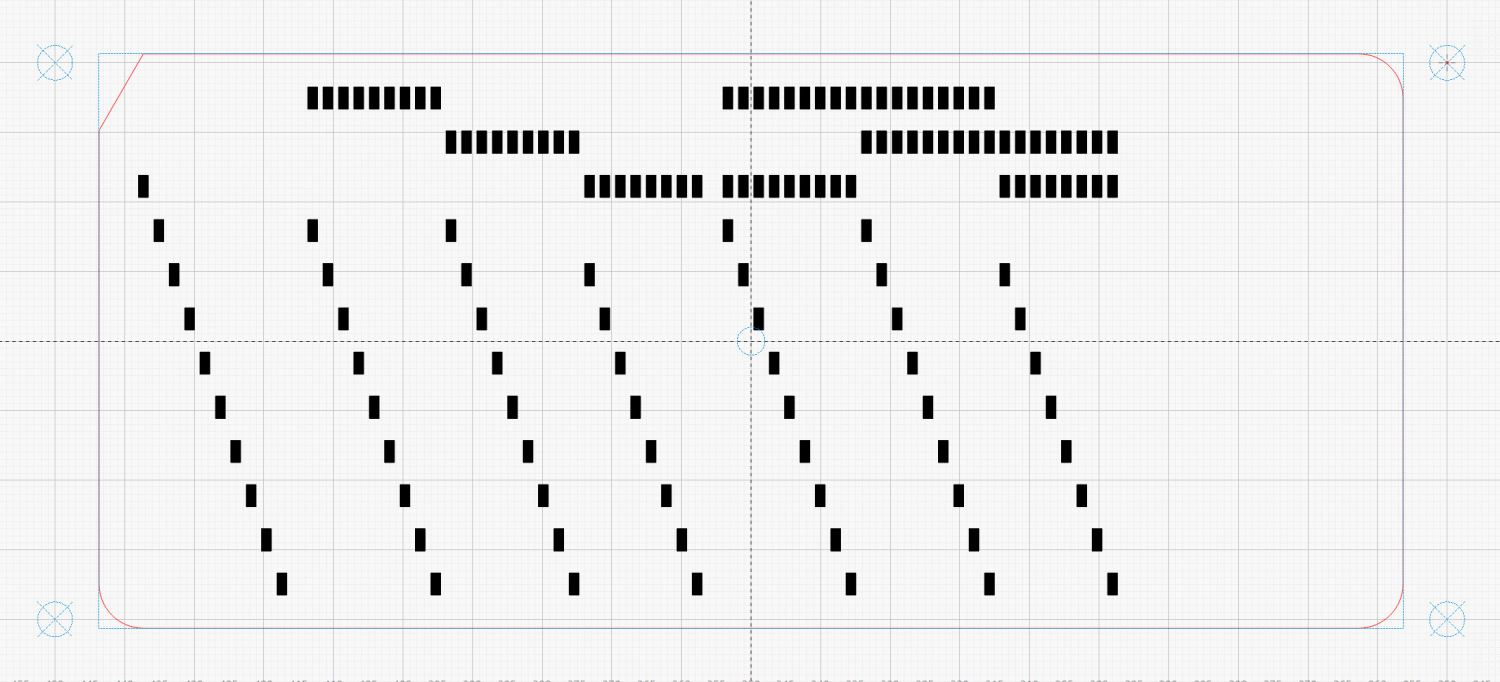
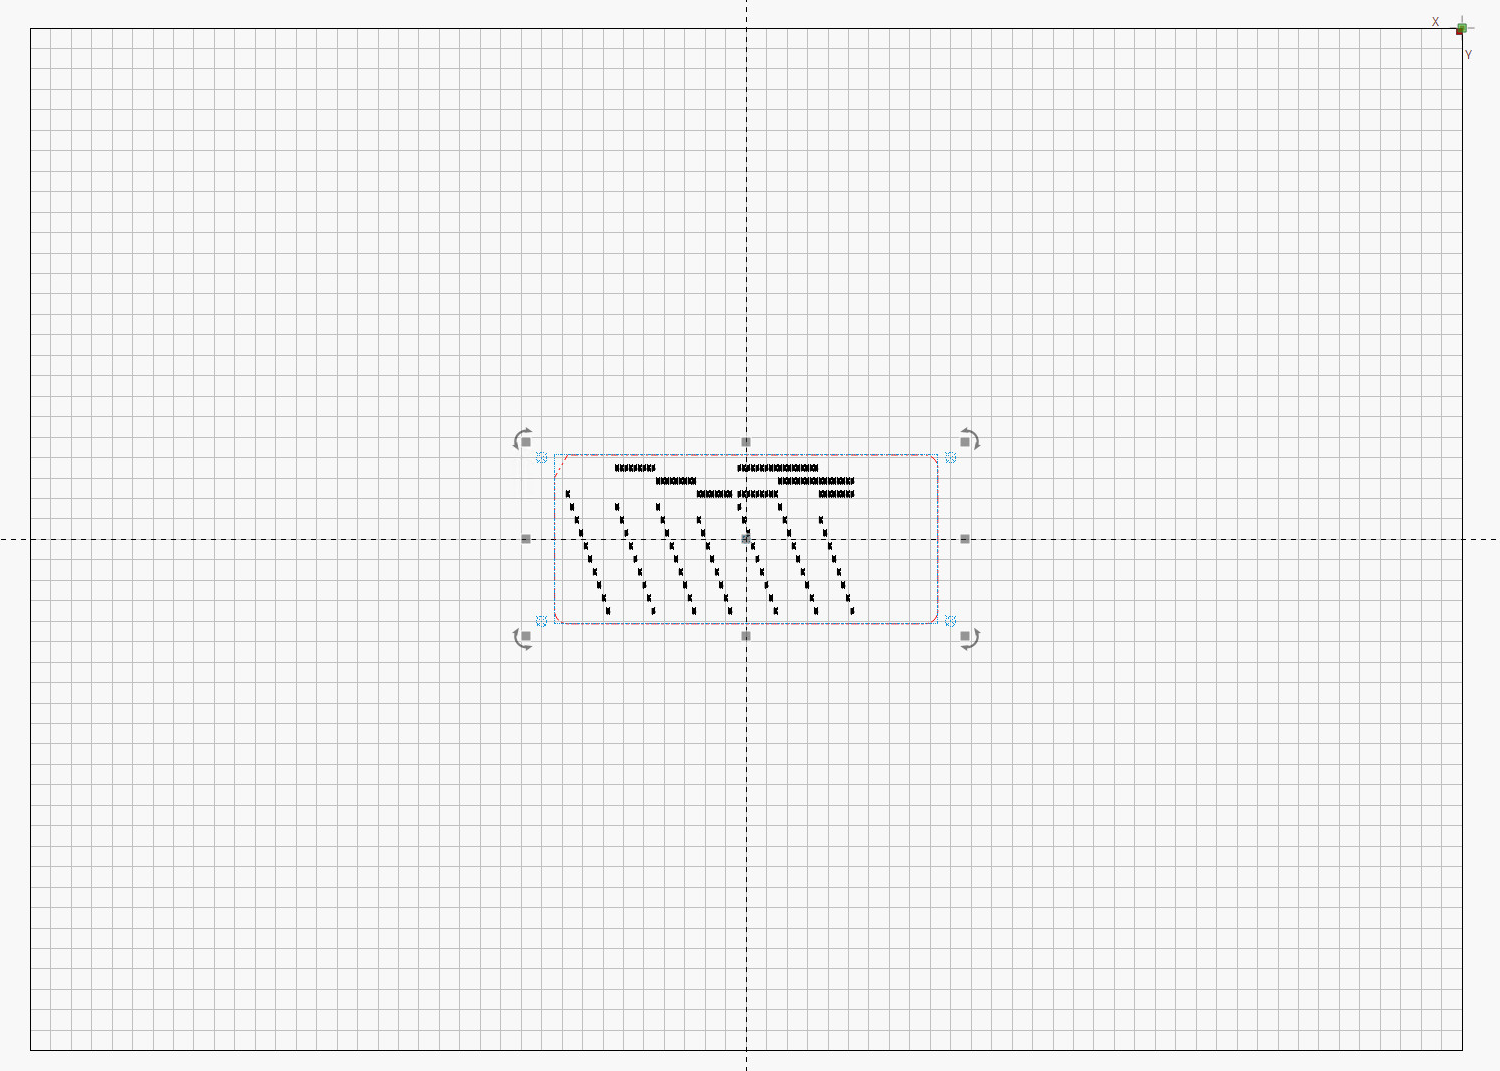
It turns out LightBurn imports SVG files centered on the layout grid representing the laser platform:
LightBurn – imported SVG layout
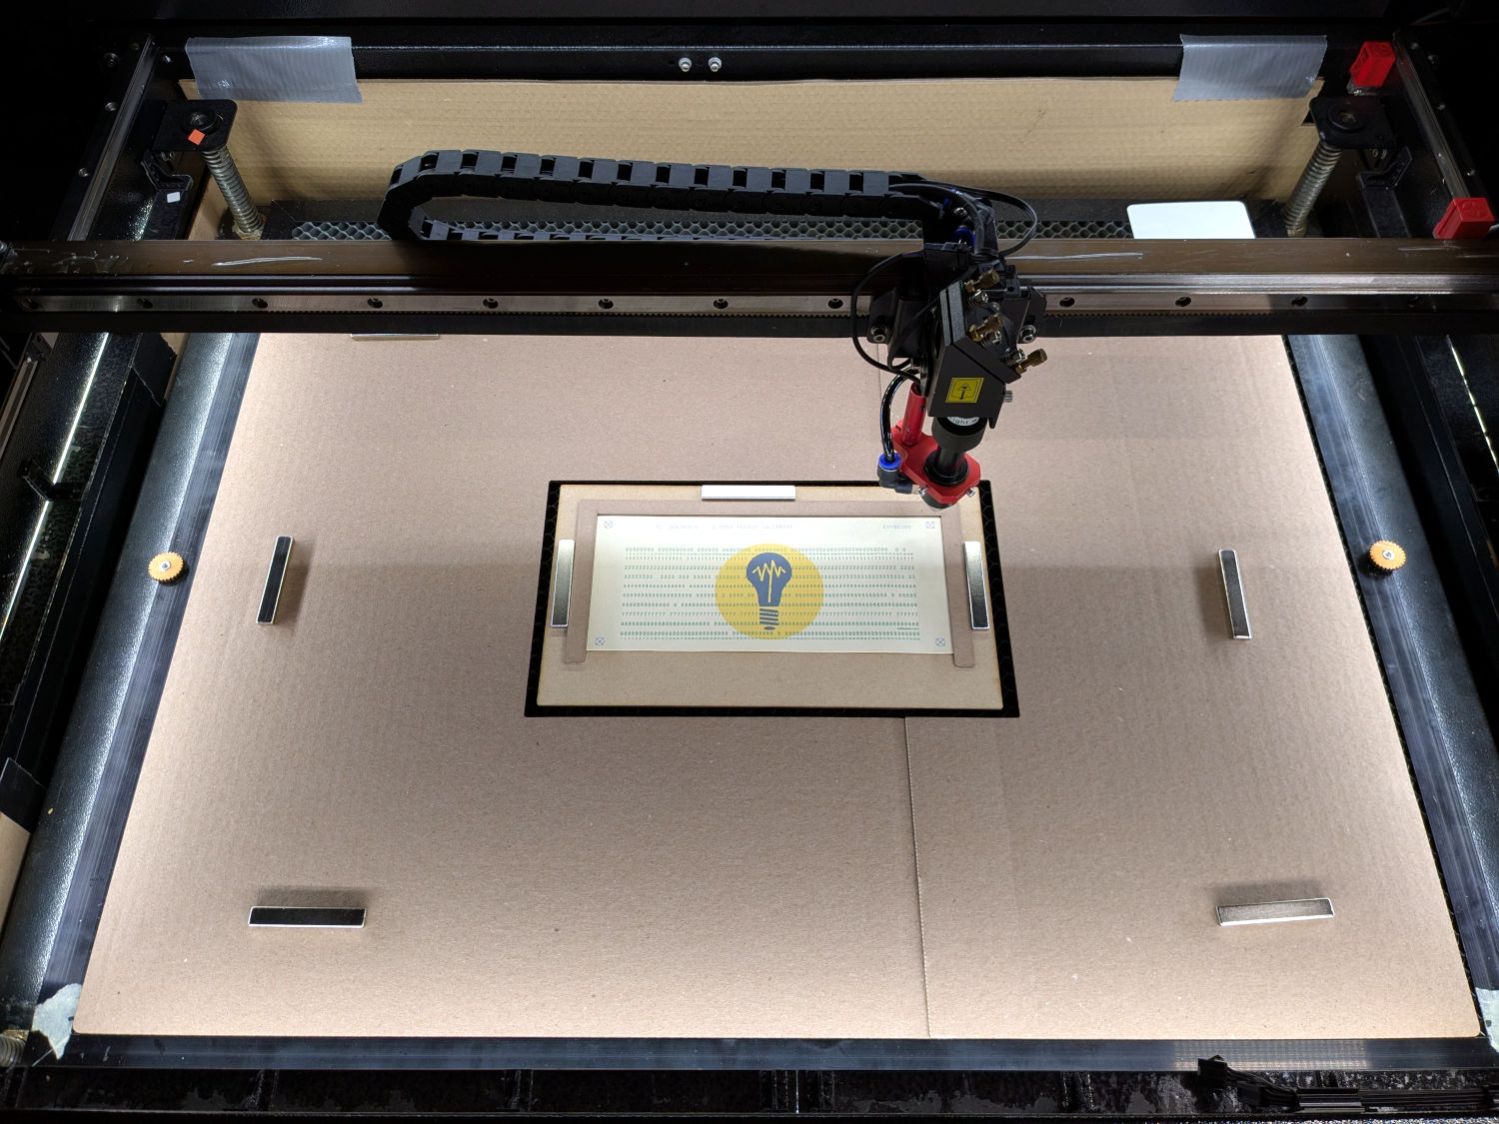
So putting the card fixture dead-center on the platform lines them up pretty closely:
Punched cards – laser fixture overview
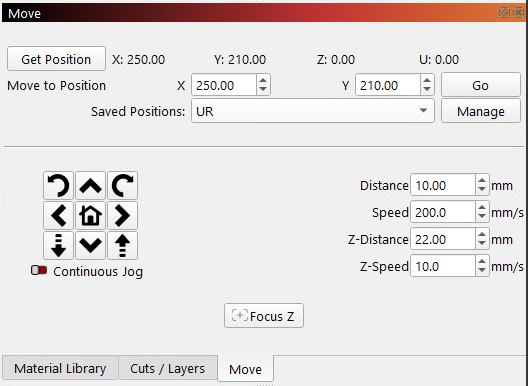
After importing an SVG, use Move Laser to Selection to put it in the middle of the upper right target, then create a Saved Position imaginatively called UR:
LightBurn – Move window UR position
Repeat for the lower left target to create the LL position.
Because the targets are on 200×80 mm centers and the middle of the platform is at (350,250), the target positions will be nice round numbers:
UR = (250,210)
LL = (450,290)
Yes, the coordinates run backwards, because that’s how Ruida controllers deal with a home position in the rear right corner of the platform.
You define those positions once, because all the cards are the same size and end up in the same location on the platform.
Although I expected to slide the cards under the fixture’s retaining lip from the front, it turns out an easier way is:
Gently buckle the card center upward
Align it against the rear edge
Slide the left edge under its lip
Lower the center while sliding the right edge under its lip
Tuck the card under the rear lip
Verify the front edge aligns with the marked lines, which means it’s properly in the fixture
The magnets hold the fixture against the honeycomb:
Punched cards – laser fixture alignment
The fixture can still slide with firm finger pressure and the card can move a little bit within the fixture. Note that leaning on the honeycomb will press it (and the fixture) downward enough to put the dot at a slightly different position; if you align while leaning, recheck the dot’s position after you unlean.
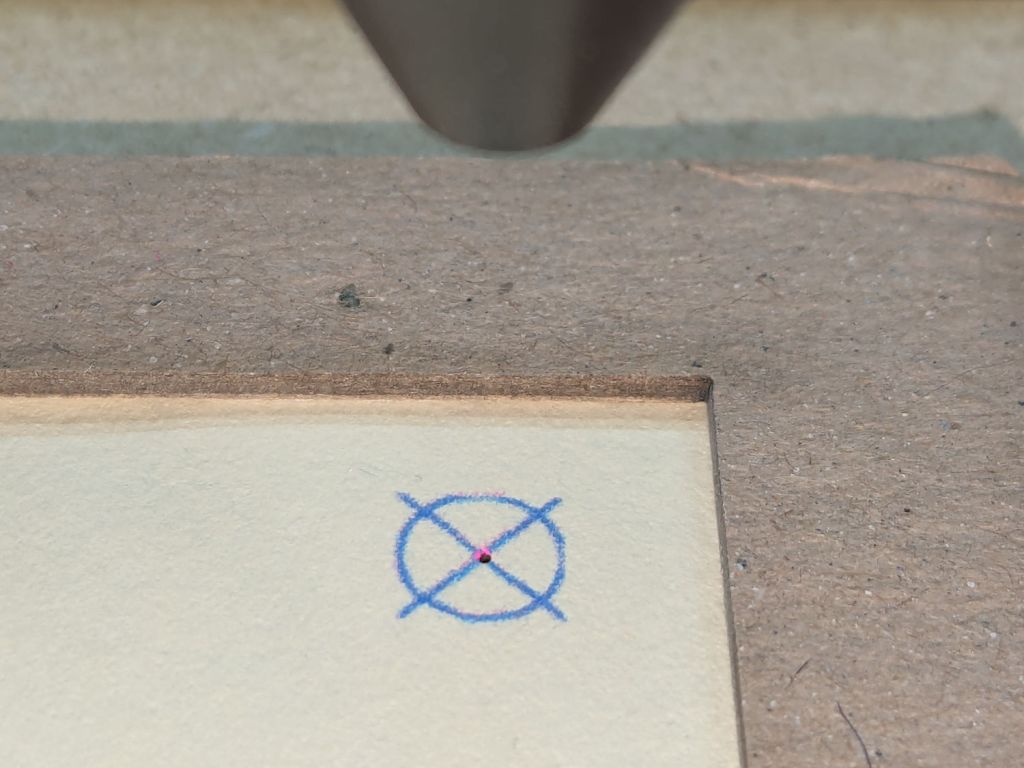
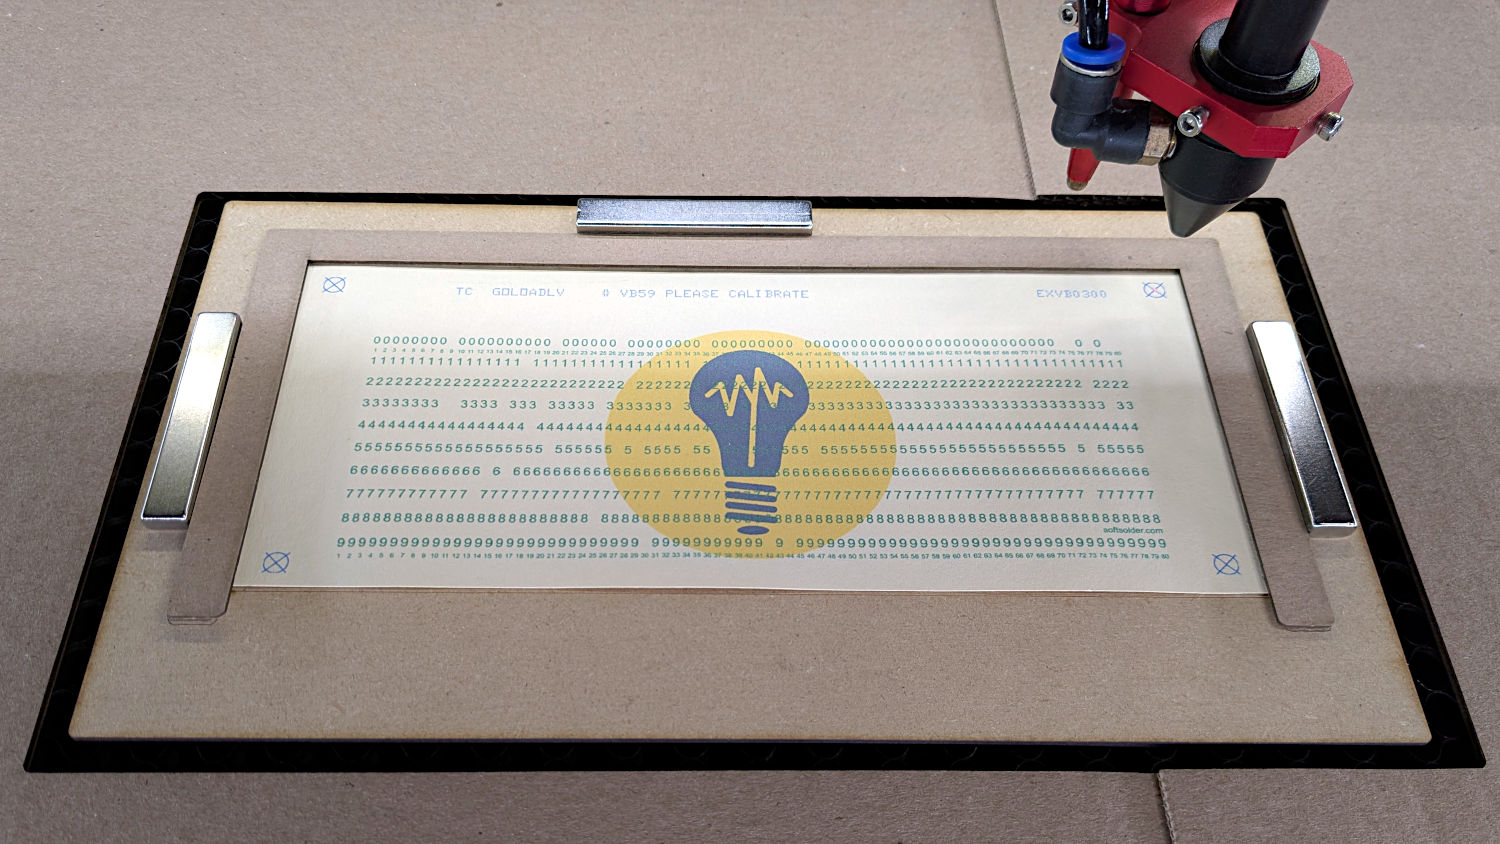
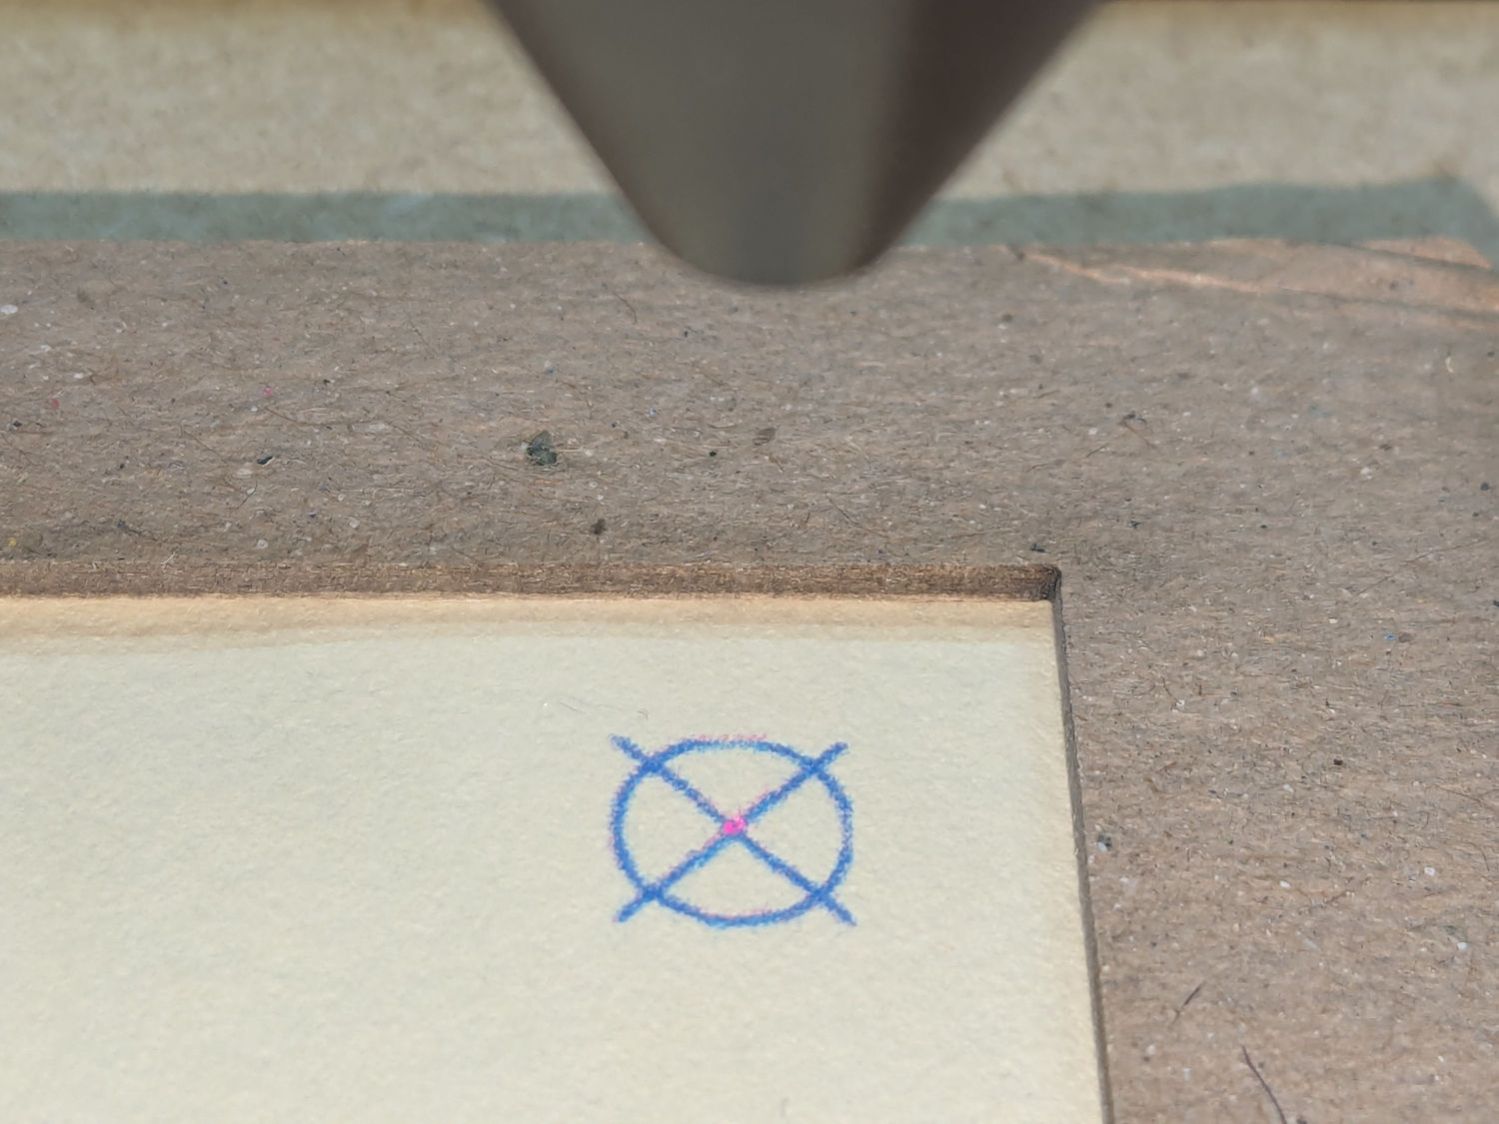
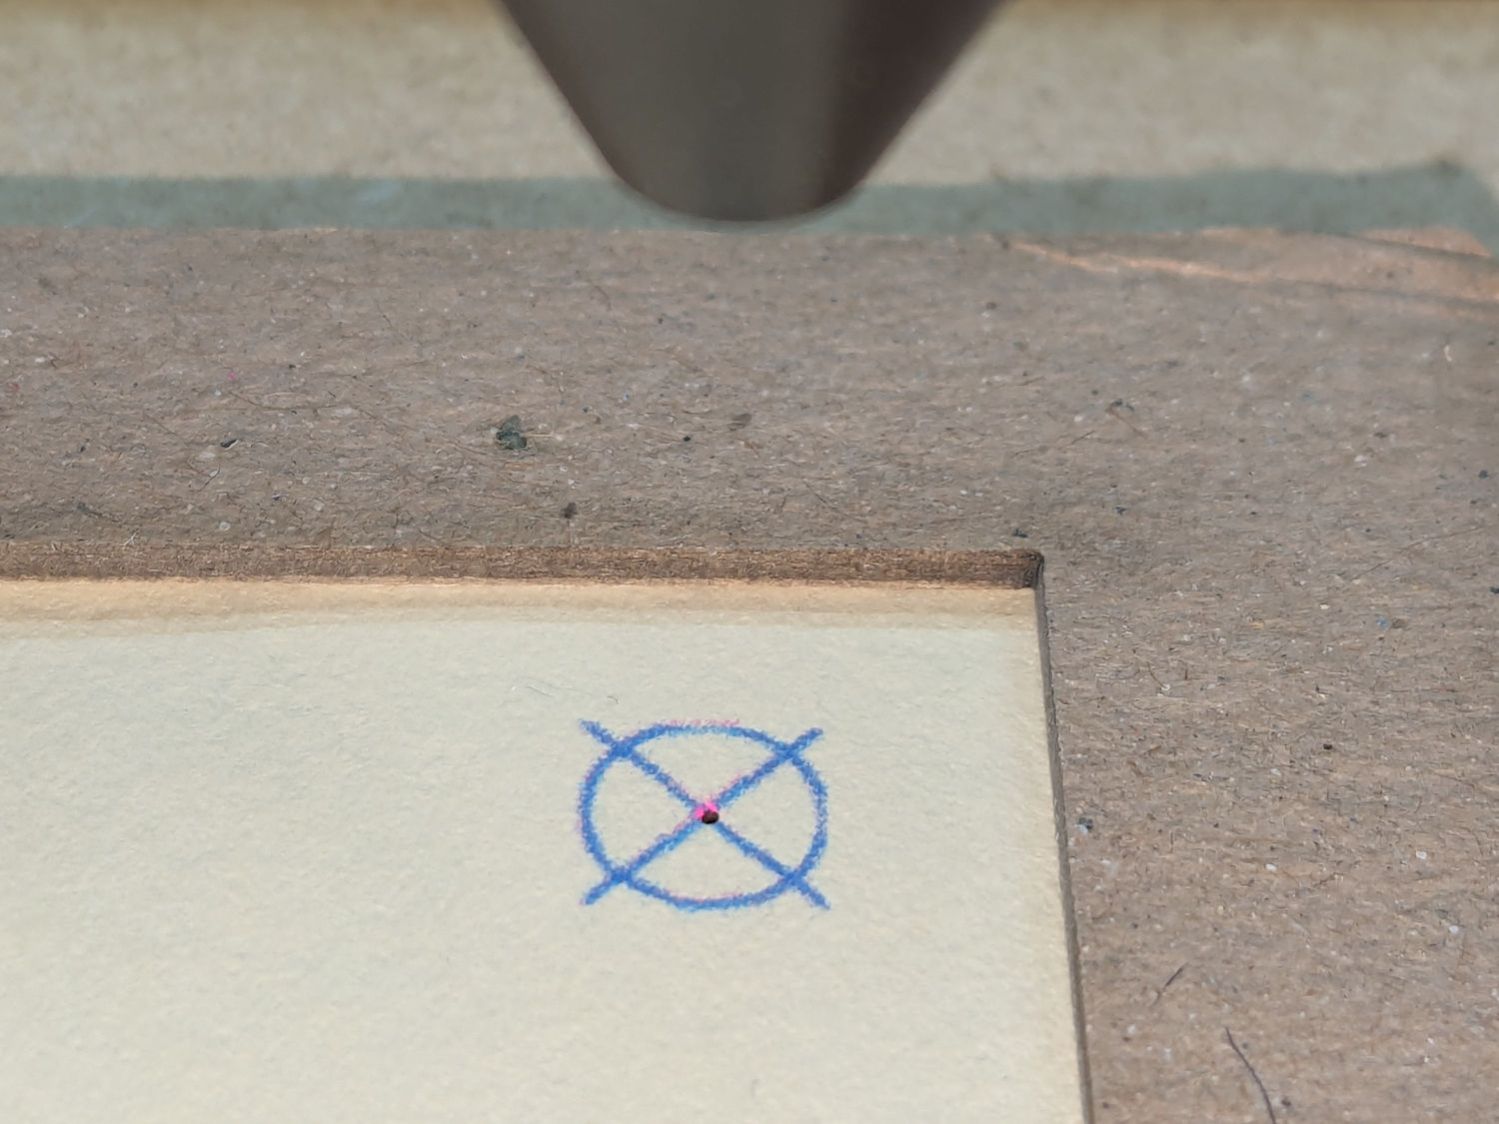
Move the laser to the UR position and skooch the fixture to align the upper right target to the red dot:
Red dot vs printed target alignment
The blue lines are nominally 0.2 mm wide and actually about 0.3 mm wide, so the red dot is 0.3 mm diameter. If your red dot is larger, better focus and a polarizing filter will help.
I periodically fire a test pulse to verify the red dot matches the actual laser beam position:
Red dot vs printed target vs laser spot alignment
That slight mismatch adds to the overall positioning error.
Repeat for the LL target, recheck UR to make sure it didn’t move, iterate as needed.
The printed card is now aligned to the hole pattern about to be burned into it.
Although this sounds like a lot of faffing, it goes surprisingly quickly because all the cards are Pretty Close™ to identical and the adjustments are very small. Although it’s possible to park the laser head at the UR position, I prefer to have it out of the way while unloading & loading the cards, then move it directly to UR to check the new card.
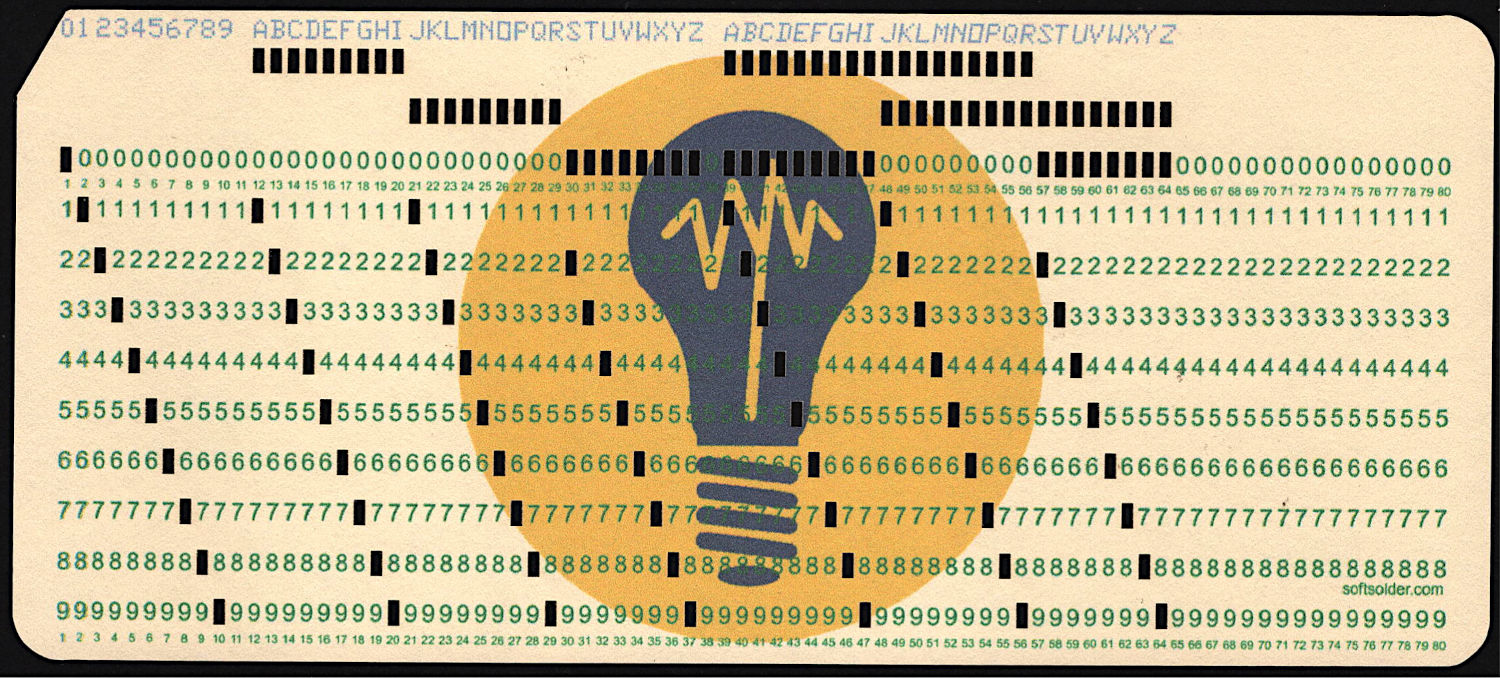
Fire The Laser:
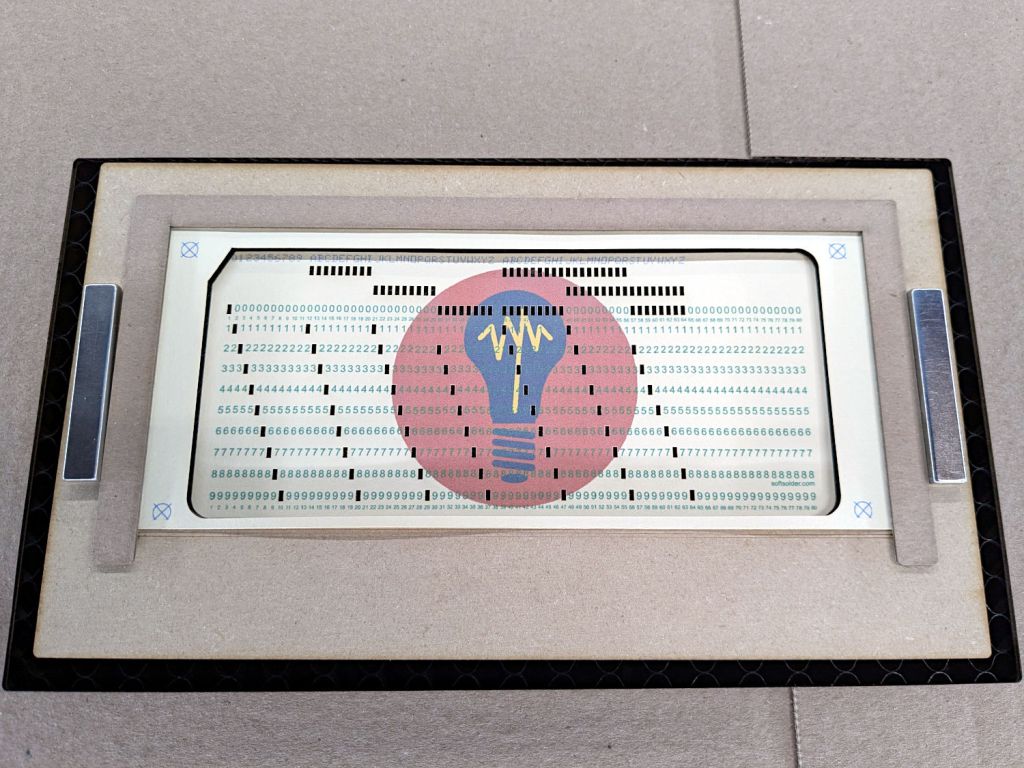
Test Card 3 – punched
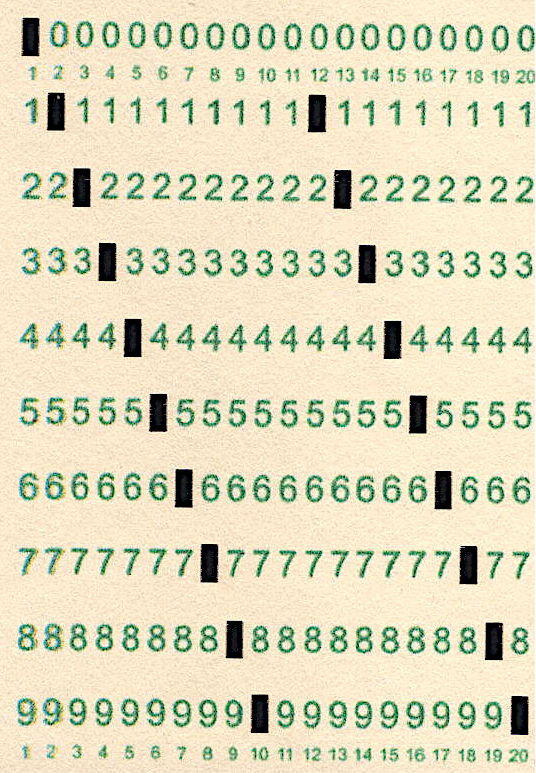
I love it when a plan comes together:
Test Card 3 – punched – detail
A dash of automation helps when doing more than one card, which, believe it or not, involves a Windows batch file …

 The Smell of Molten Projects in the Morning