I volunteered to reform the hulking electrolytic capacitors in a long-unused S-100 Bus computer:

Yes, it’s built into a recycled modem case. No, they don’t make modems like they used to, either. Regrettably, the five status indicators on the left were not set up as Der Blinkenlichten.
The inside view:
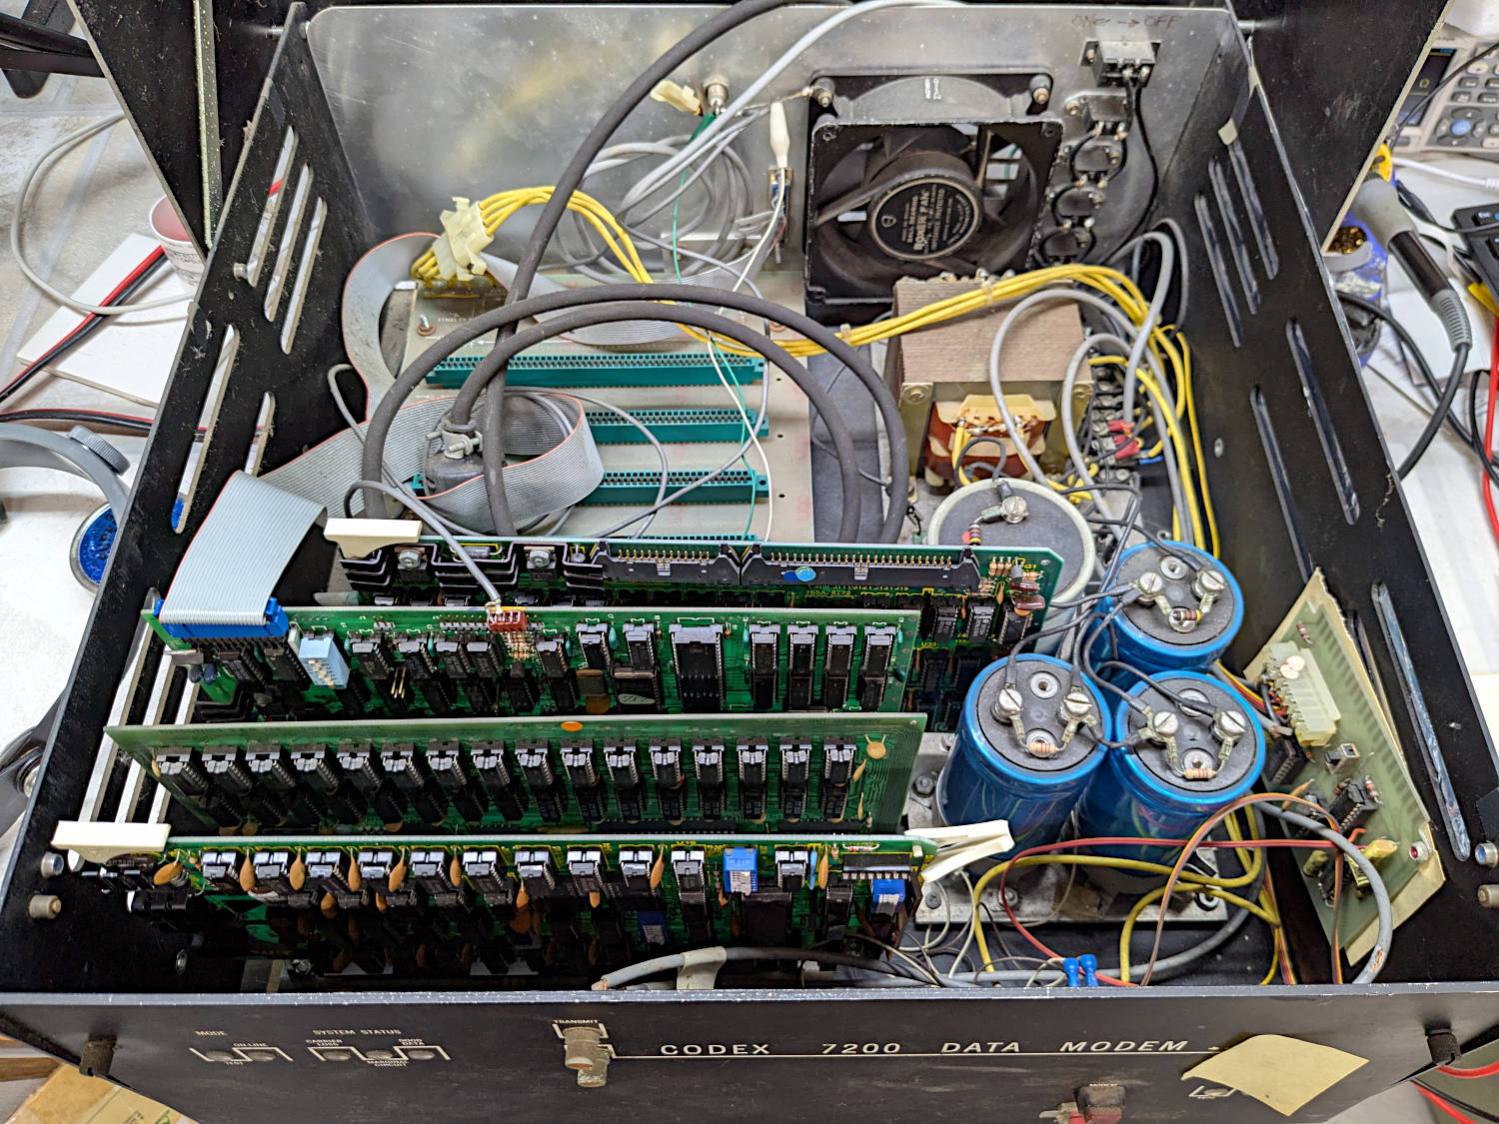
The multi-winding transformer in the back feeds bridge rectifiers (out of sight behind the caps) producing bulk DC:

The gray cap is 52 mF = 52000 µF 15 V for the +5 V regulators supplying the TTL logic on each board.
Two of the three blue caps (each 9 mF = 9000 µF 50 V) are for the +12 V and -12 V supplies. I think the third cap is a separate supply for a different purpose, but I did not trace out the wiring.
The on-board regulators seem to use solid electrolyte caps that should still be in fine shape you should replace on principle, per ericlscott’s experience. You’d want to bring up each board separately while probing the voltages; the box of stuff accompanying the system has an extender card that should make probing easier.
I hoped to boot the thing after restoring the caps, but a casual inspection showed wire corrosion:
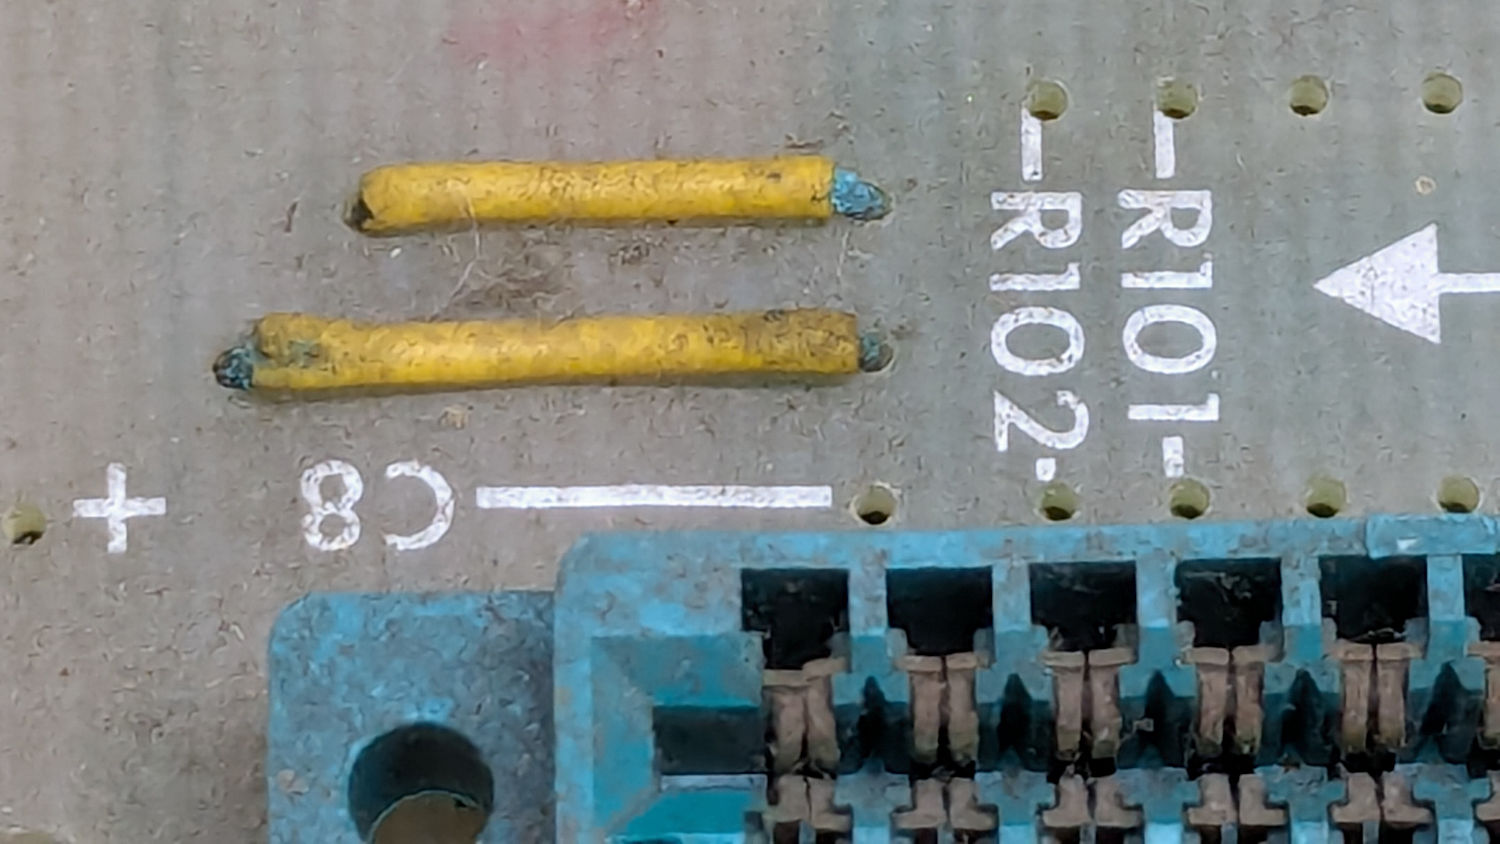
You’d want to pull the backplane out and replace those jumpers, as well as clean the bus contacts, before applying power.
The system has two 8 inch floppy drives in a separate case with its own power supply:

There was some corrosion in there, too:

So I confined myself to reforming the caps and must let someone with more powerful motivation restore the rest of the system before trying to connect everything and booting CP/M.
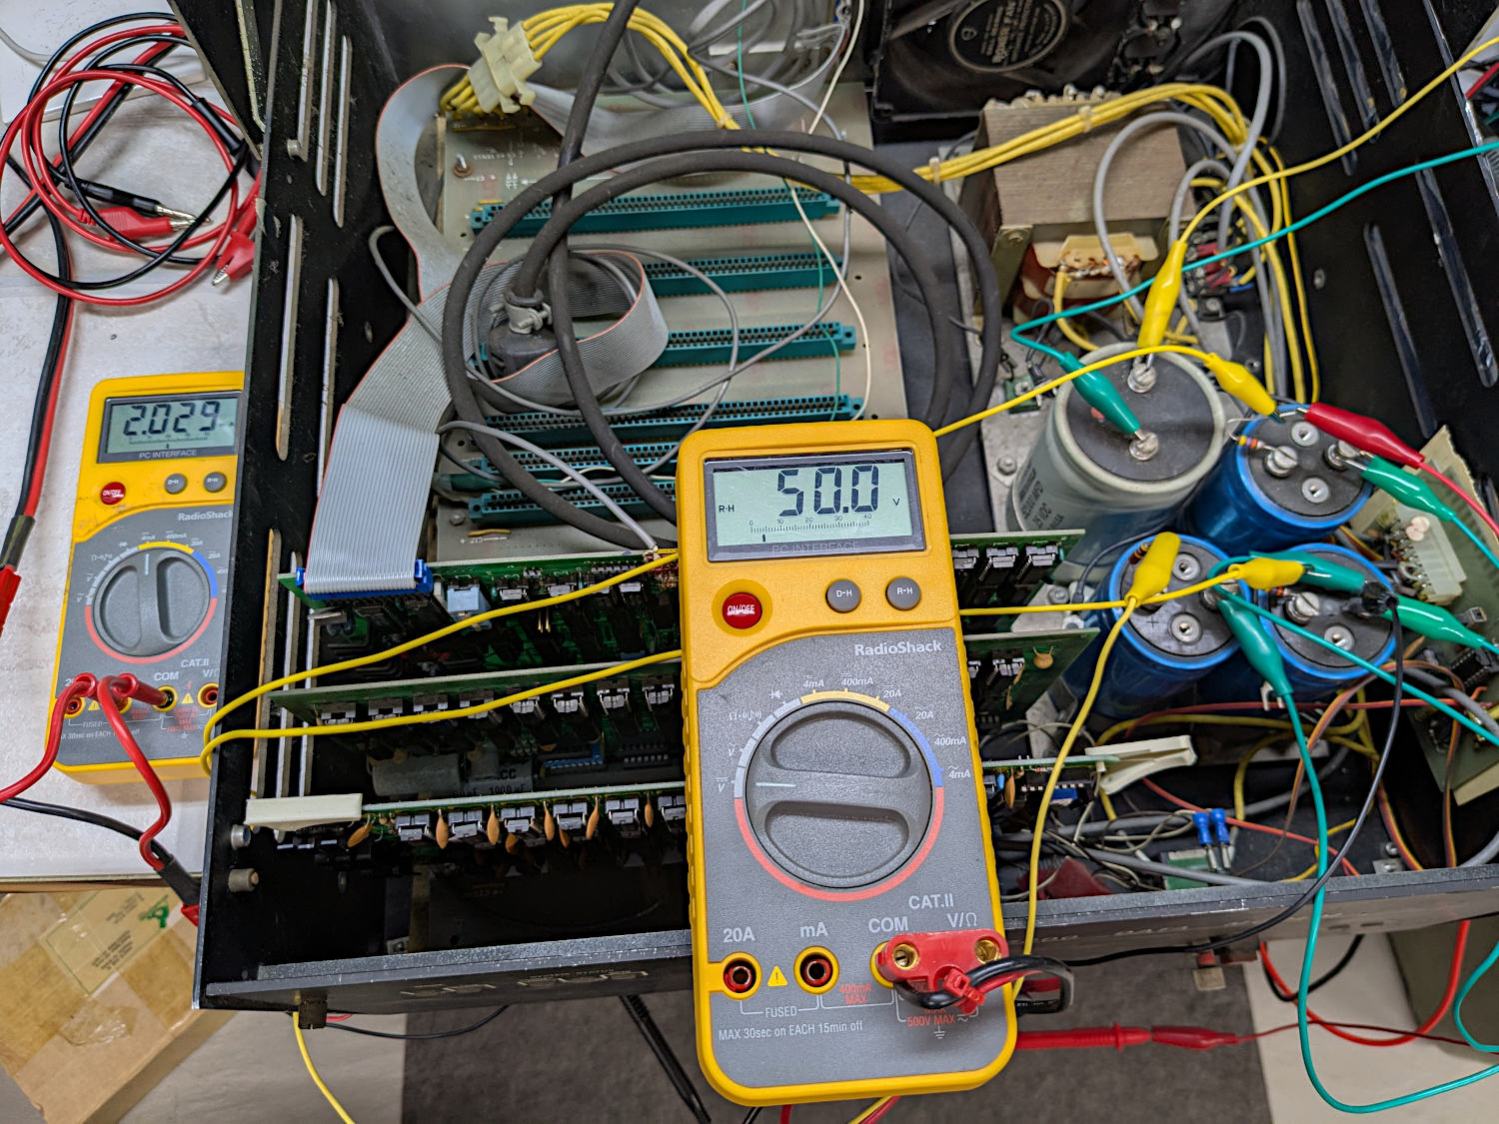
The general idea behind “reforming” an electrolytic capacitor is to regrow the oxide layer separating the anode and cathode electrodes, which involves passing a current of about 1 mA for as long as it takes to bring the terminal voltage up to the cap’s maximum rated voltage:

That setup consists of an absurd number of PowerPole adapters putting the meter in series with a fuseholder repurposed to hold resistors to limit the current, with leads eventually ending up on the capacitor:
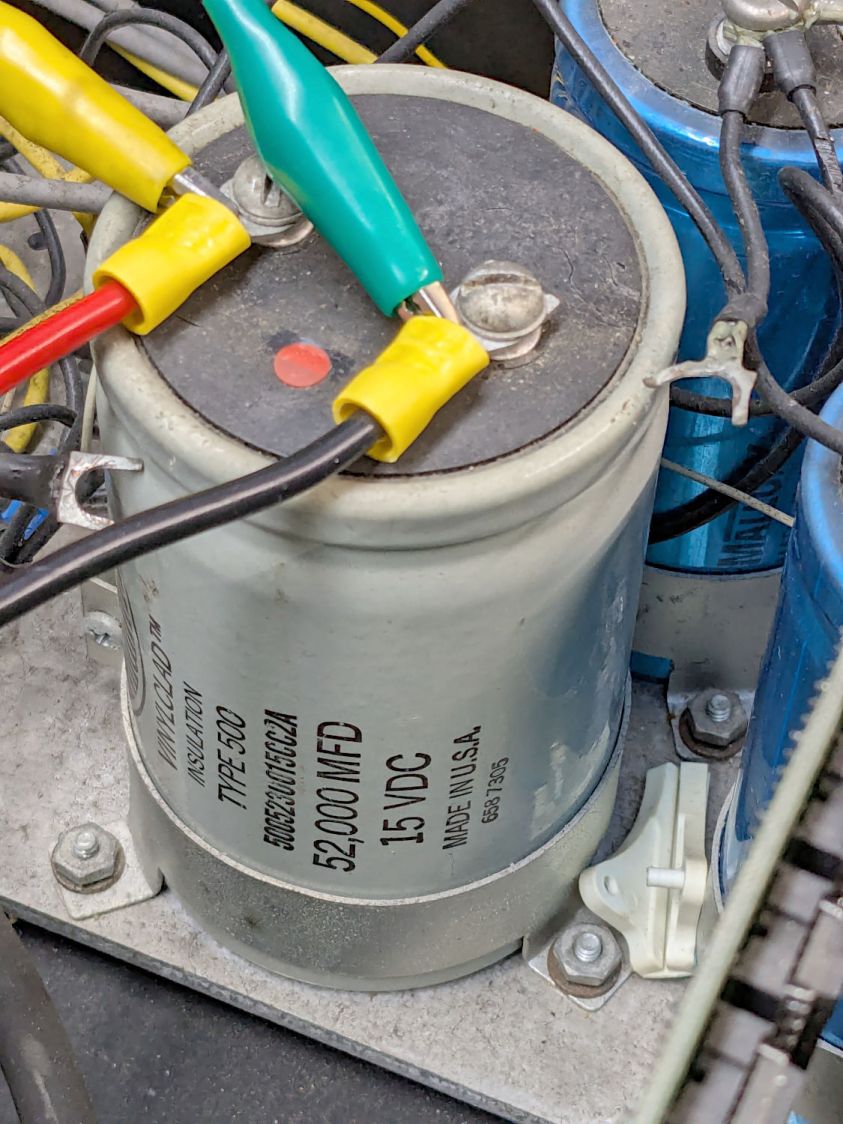
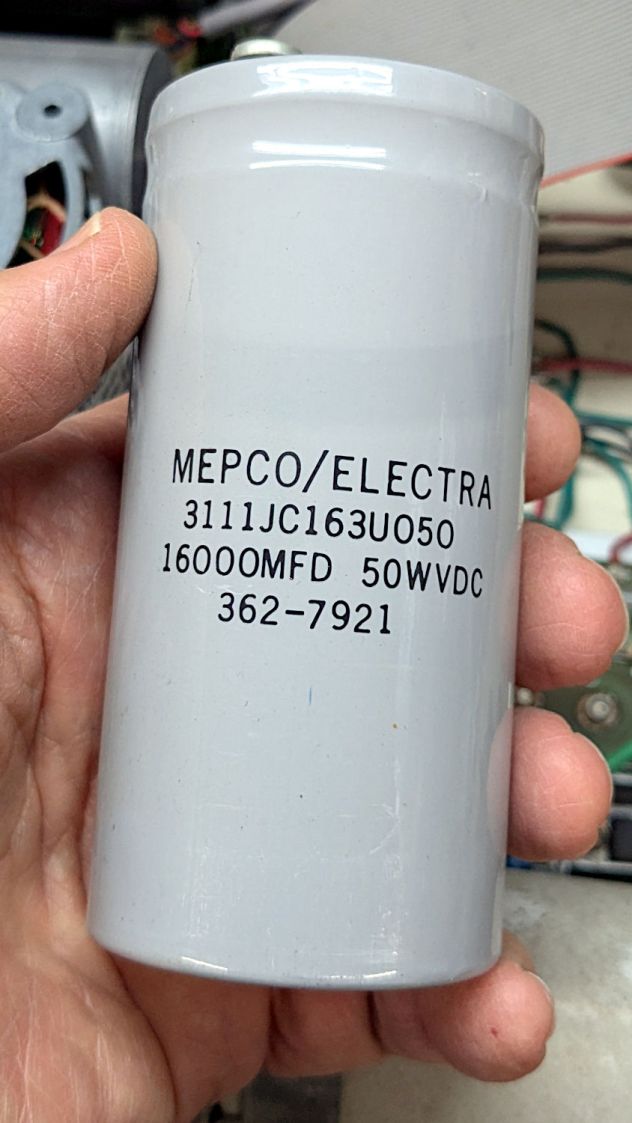
The red dot is the overpressure vent, not a polarity marker.
Apparently the Greek mu symbol wasn’t in the font available for the labels, as all the capacitors use m in its place: that capacitor is 52 mF = 52000 µF.
The white plastic ejection handle belongs on the right end of the CPU board seen in the second picture, which was not plugged into its slot when I opened the case. I snapped the handle in place and plugged the board in just to keep it out of trouble. The case does not have board guide slots along the edges that would let the handle eject the board, but all that was definitely in the nature of fine tuning back then.
I started with +15 V through a 16.9 kΩ resistor and swapped in 3.3 kΩ, 1 kΩ, and 220 Ω resistors as the cap voltage crept upward over the course of two days and eventually settled to a steady state:
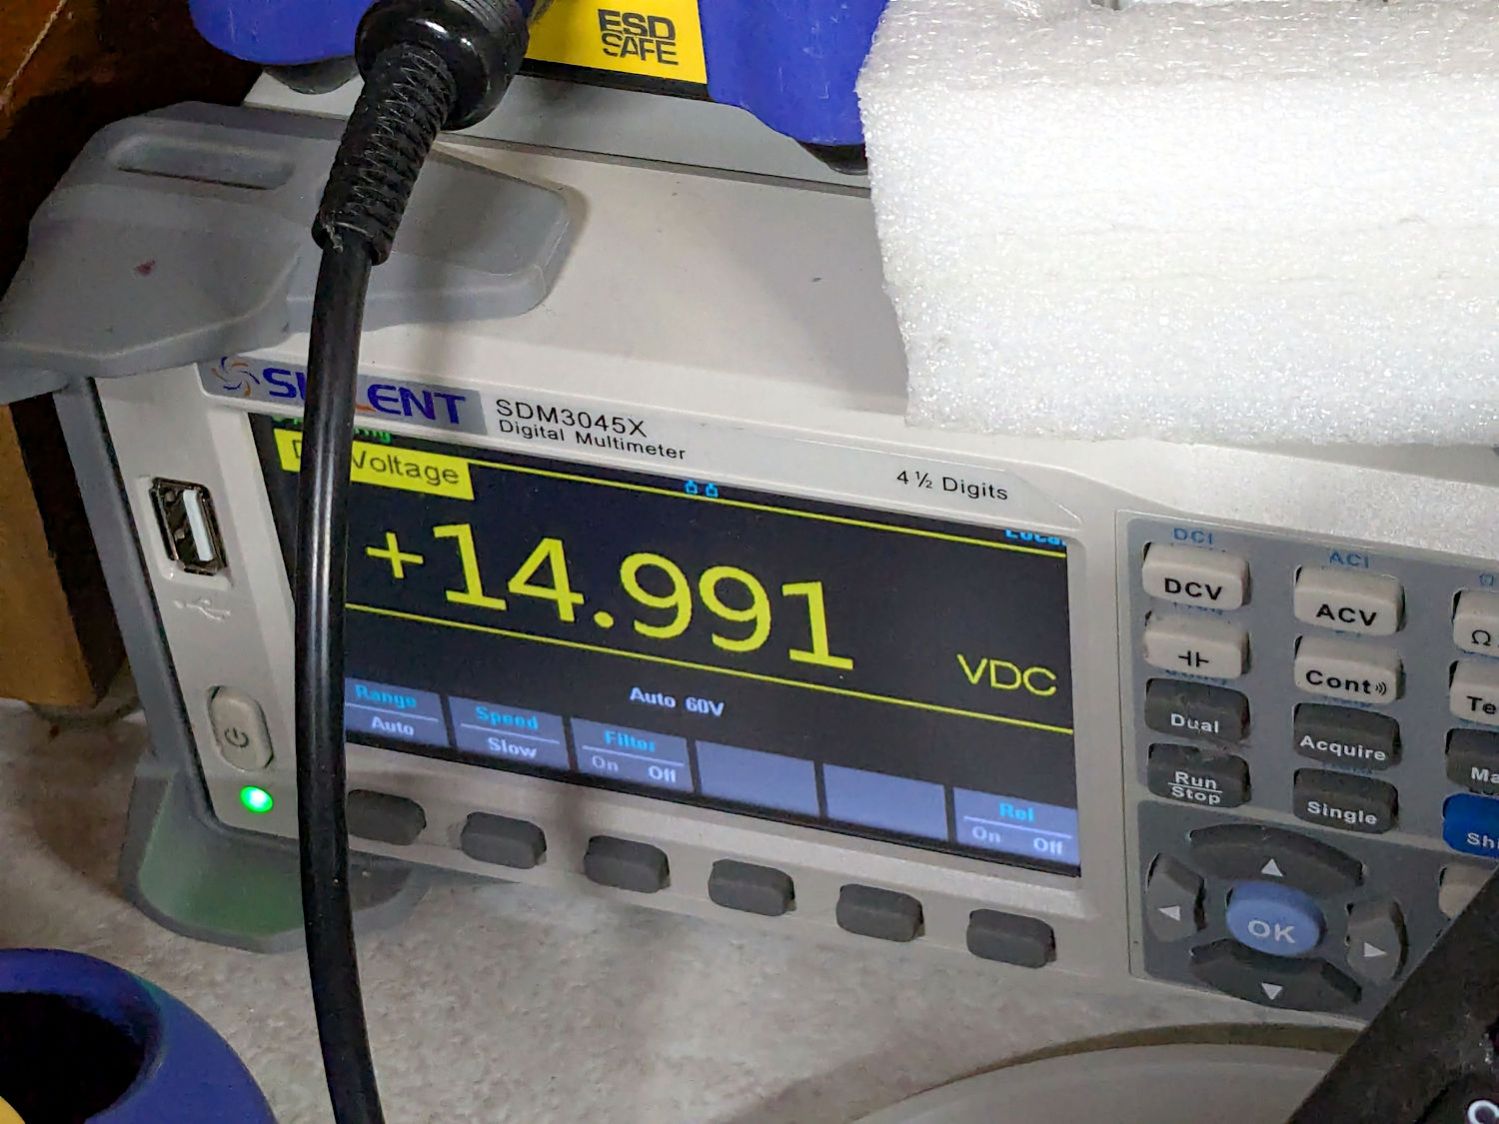
After discharging, the cap measured 59.5 mF with a 0.3 Ω ESR, which definitely seemed Good Enough.
I reformed the three 9 mF 50 V caps at the same time by applying 50 V to three resistors captured on their screw terminals, changing the resistors as the voltages rose:
Those three caps eventually measured (clockwise from upper right):
- 9.66 mF, 1.0 Ω ESR
- 9.76 mF, 2.6 Ω ESR
- 10.46 mF, 3.4 Ω ESR
The ESRs suggest they’re somewhat dried out, but I’d be tempted to run them anyway, because the on-board regulators should knock down the ripple.
All of the reformed caps had leakage currents of a few hundred microamps. They’re not new capacitors and never will be, but they may be Good Enough.
Getting the caps out of the diskette drive power supply required easing the entire supply frame / heatsink out of the case before unscrewing the capacitor clamps:
That one eventually measured 22.1 mF with 0.14 Ω ESR. Its sibling, nominally 38 mF at 15 V, came in at 48.9 mF with 0.95 Ω ESR.
The power supply PCB carries a handful of smaller aluminum electrolytic caps that are impossible to remove without unsoldering all the TO-3 transistor leads coming through the aluminum heatsink / frame, then completely dismantling the power supply:

Although I reformed the big caps, I think a better plan would be to replace the whole thing with a contemporary switching supply. AFAICT it has 24 V and 5 V outputs; because we live in the future, dual-output switchers are cheap & readily available.
And then I closed the cases to get them ready for the next part of their adventure …

Comments
7 responses to “S-100 Bus Computer: Capacitor Reforming”
Would a constant-current bench supply work just as well without fiddling with load resistors?
Probably not, because the vital part seems to include never exceeding a milliamp or two, lest the current punch through the still-too-thin oxide film. My supplies do have a constant-current mode, but it’s digital and has 10 mA steps, so that’s out.
Toward the end, though, I really wanted a honkin’ big rheostat with a knob. :grin:
also: https://www.youtube.com/watch?v=ow78cUDdTOg
It is entirely possible I have now heard everything …
I’m sure and your colleagues know to replace the tantalum caps that are most likely on the cards being used as bypass caps. These have a tendency to explode after a few decades whether they’re used or not. I had one go off in a Compaq luggable that I had missed and I could see the flash through the floppy door. It was unnerving to say the least.
I knew they detonated when soldered in backwards, but not due to old age: I’ll pass on the warning and update the post.
Thanks!
[…] ring into the flashlight’s aluminum threads a few times re-formed (unrelated to recent electrolytic capacitor reforming) its goobered threads well enough to fit and work perfectly […]