Thinking of strapping a big external cell next to my Sony HDR-AS30V helmet camera, I took a look inside a defunct NP-BX1 lithium batteries:
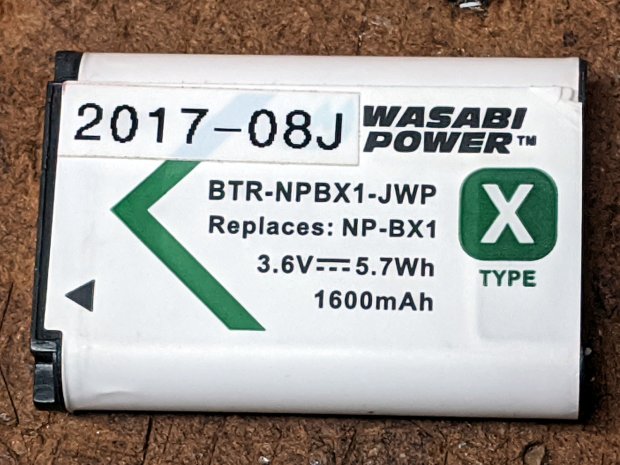
It’s a scant 43 mm long, 9.5 mm thick, and 29.5 mm wide. You’ll find more grisly details in the solid models for the NP-BX1 battery test fixture and battery holders for blinky LEDs.
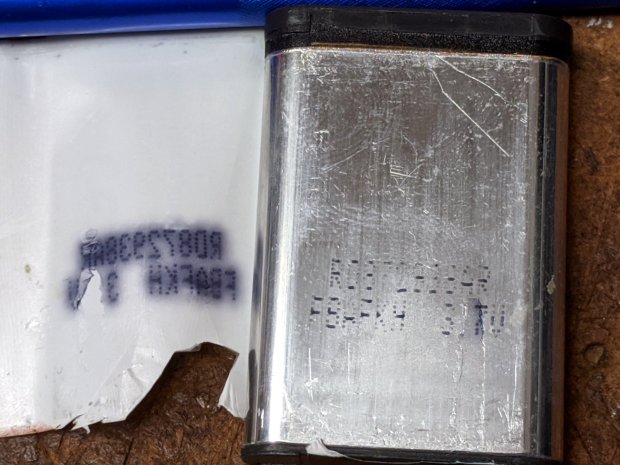
Peeling off the wrapper holding the end caps in place reveals some ID on the cell:
The bottom end cap is just a plastic bumper held on with glue and tape:
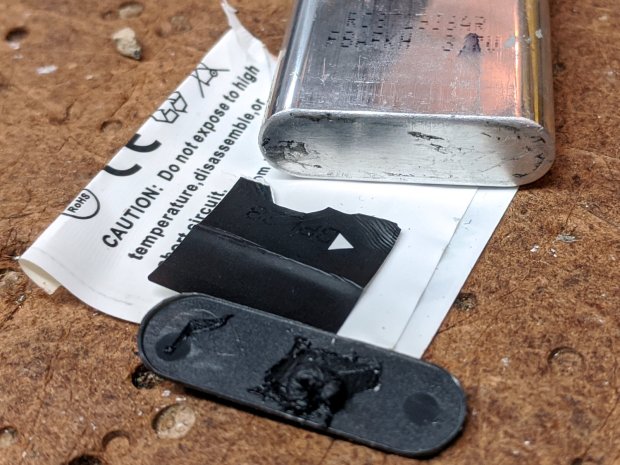
The top end cap has keying indents, identifies the terminals, and falls off without the wrapper:
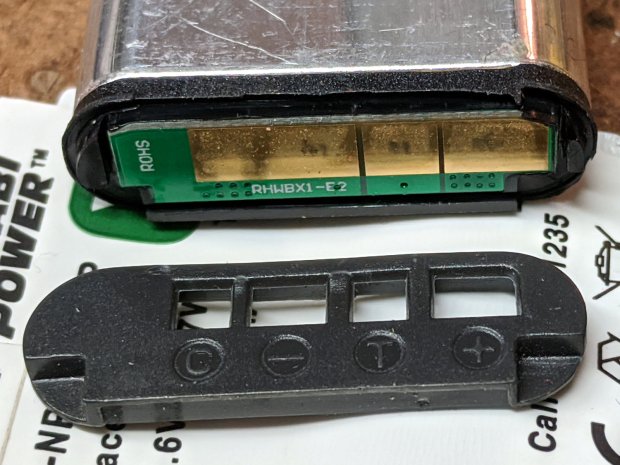
The C and – terminals use the same PCB pad.
The black plastic around the PCB pulls just far enough away from the cell to expose the tabs welded to the terminals:
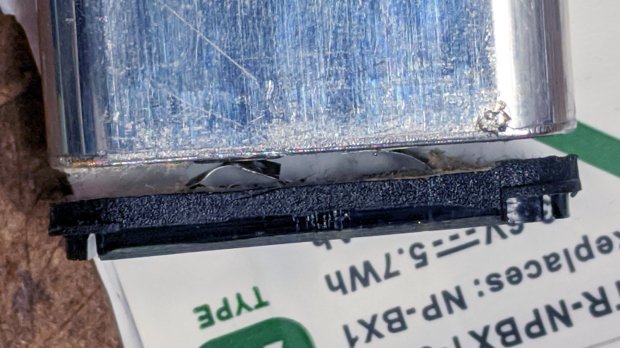
Snip ’em and it’s done:
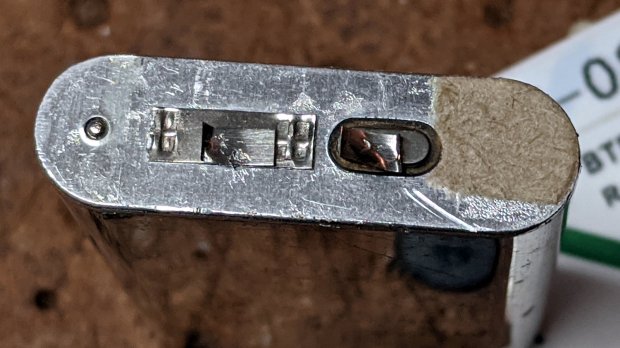
As with all lithium cells, the can is + and the isolated tab is -.
Given that I have a stack of tabbed 18650 cells, I’m thinking of building a cell into a structure snapping into the AS30V’s helmet mount, along with a charge controller PCB. I normally remove the camera from the helmet and bring it inside and, since I must open the back to extract the MicroSD card, plugging a USB cable into the charger isn’t much of an imposition.
More pondering is in order.
