Adding tape bumps to the worn Kinesis keyboard demonstrated I really need tactile home keys, so I popped the tops and fired up the Sherline mill:

That’s a genuine 2 mm carbide end mill, poked 1 mm into the key cap, snuggled right up against the front edge.
Two epoxy dabs and some wiping later:
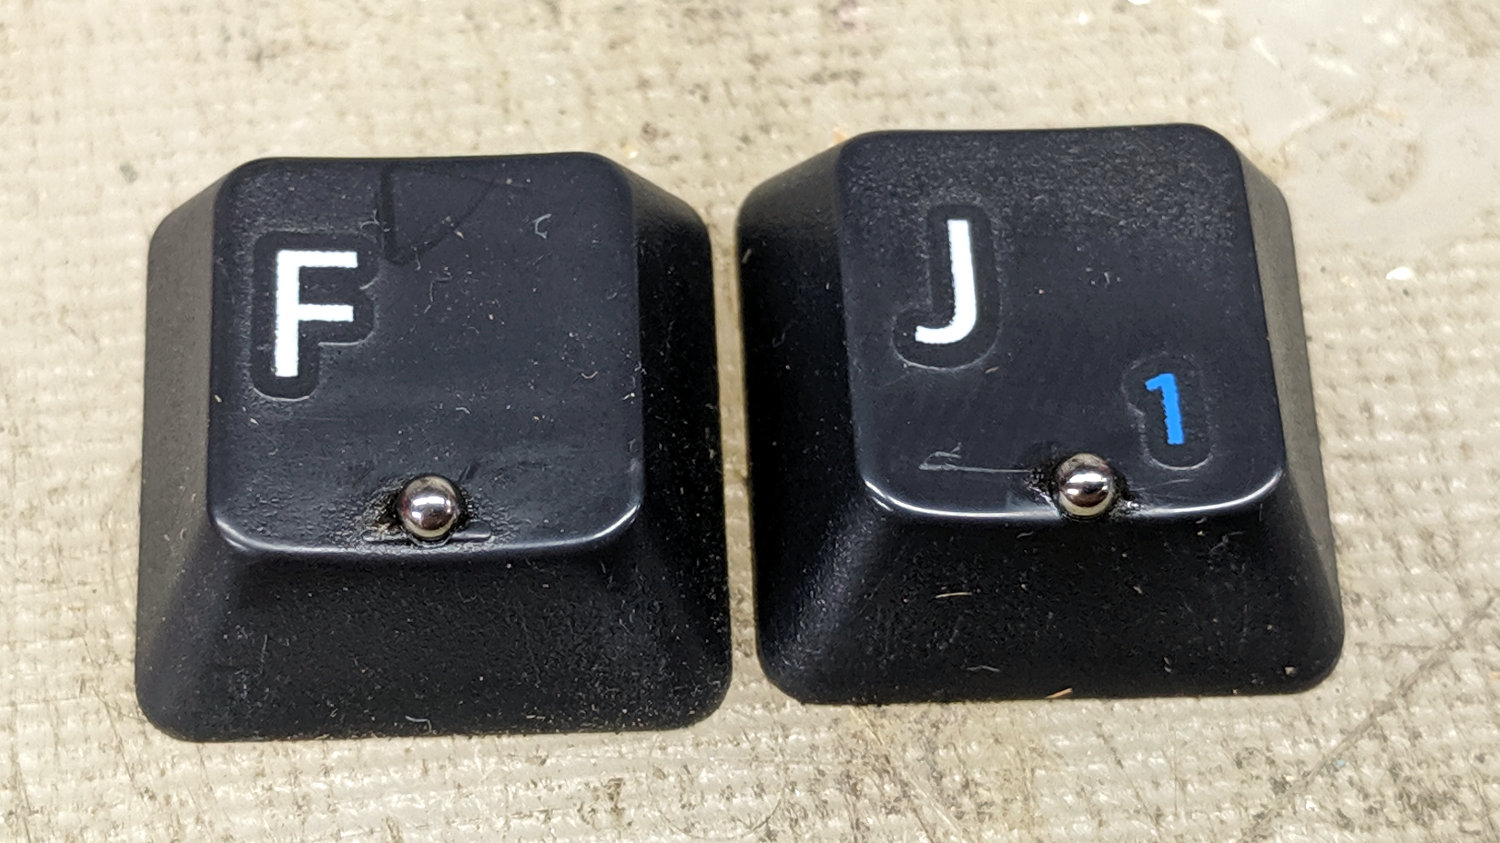
The careful alignment on the F key tells you I did it first; obviously, I should make better fixtures.
The holes could be slightly larger and maybe slightly deeper, but the bearings feel just right.
Indeed, they work so well a ball now distinguishes the far-flung Delete and Backspace keys:
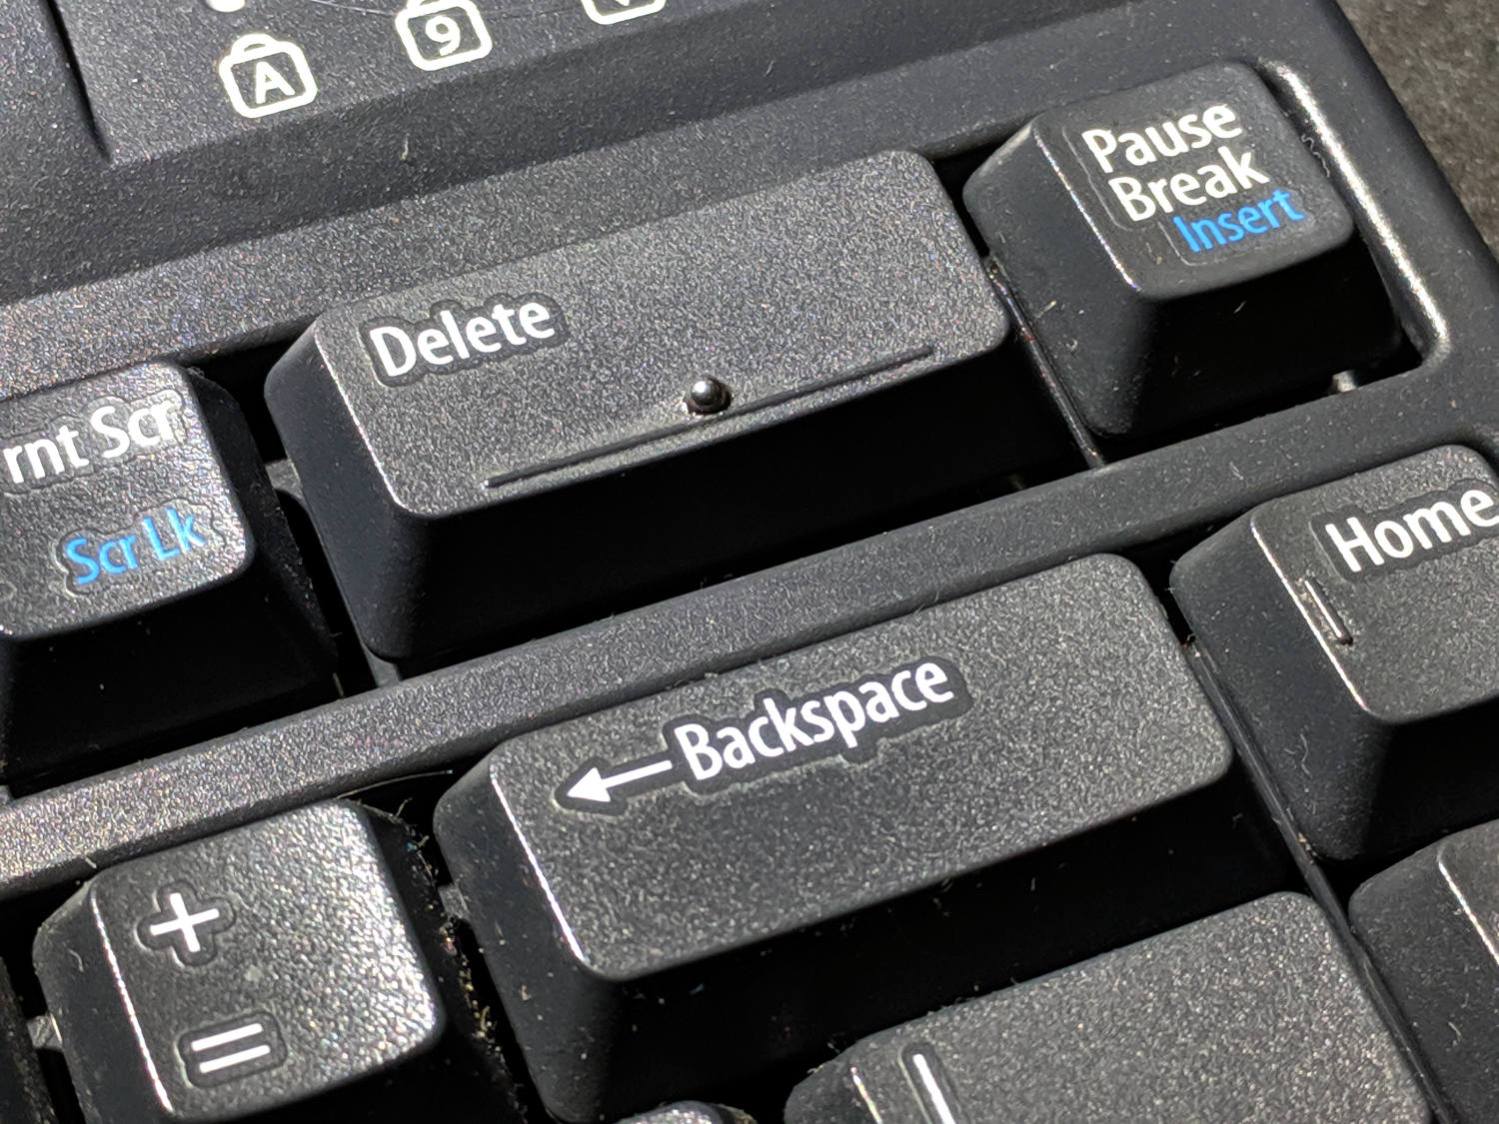
Now, to see how long the epoxy lasts …

Comments
One response to “Kinesis Freestyle 2: Steel Tactile Bumps”
[…] Hard to believe, but I’ve been using the white keypad for plain old numeric entry with the keypad-less Kinesis Freestyle 2 keyboard. […]