One cannot (or, perhaps, should not attempt to) solder parts to 14 AWG wires seated in a 3D printed battery holder base, so I cleaned up the edges of two polycarbonate scraps:
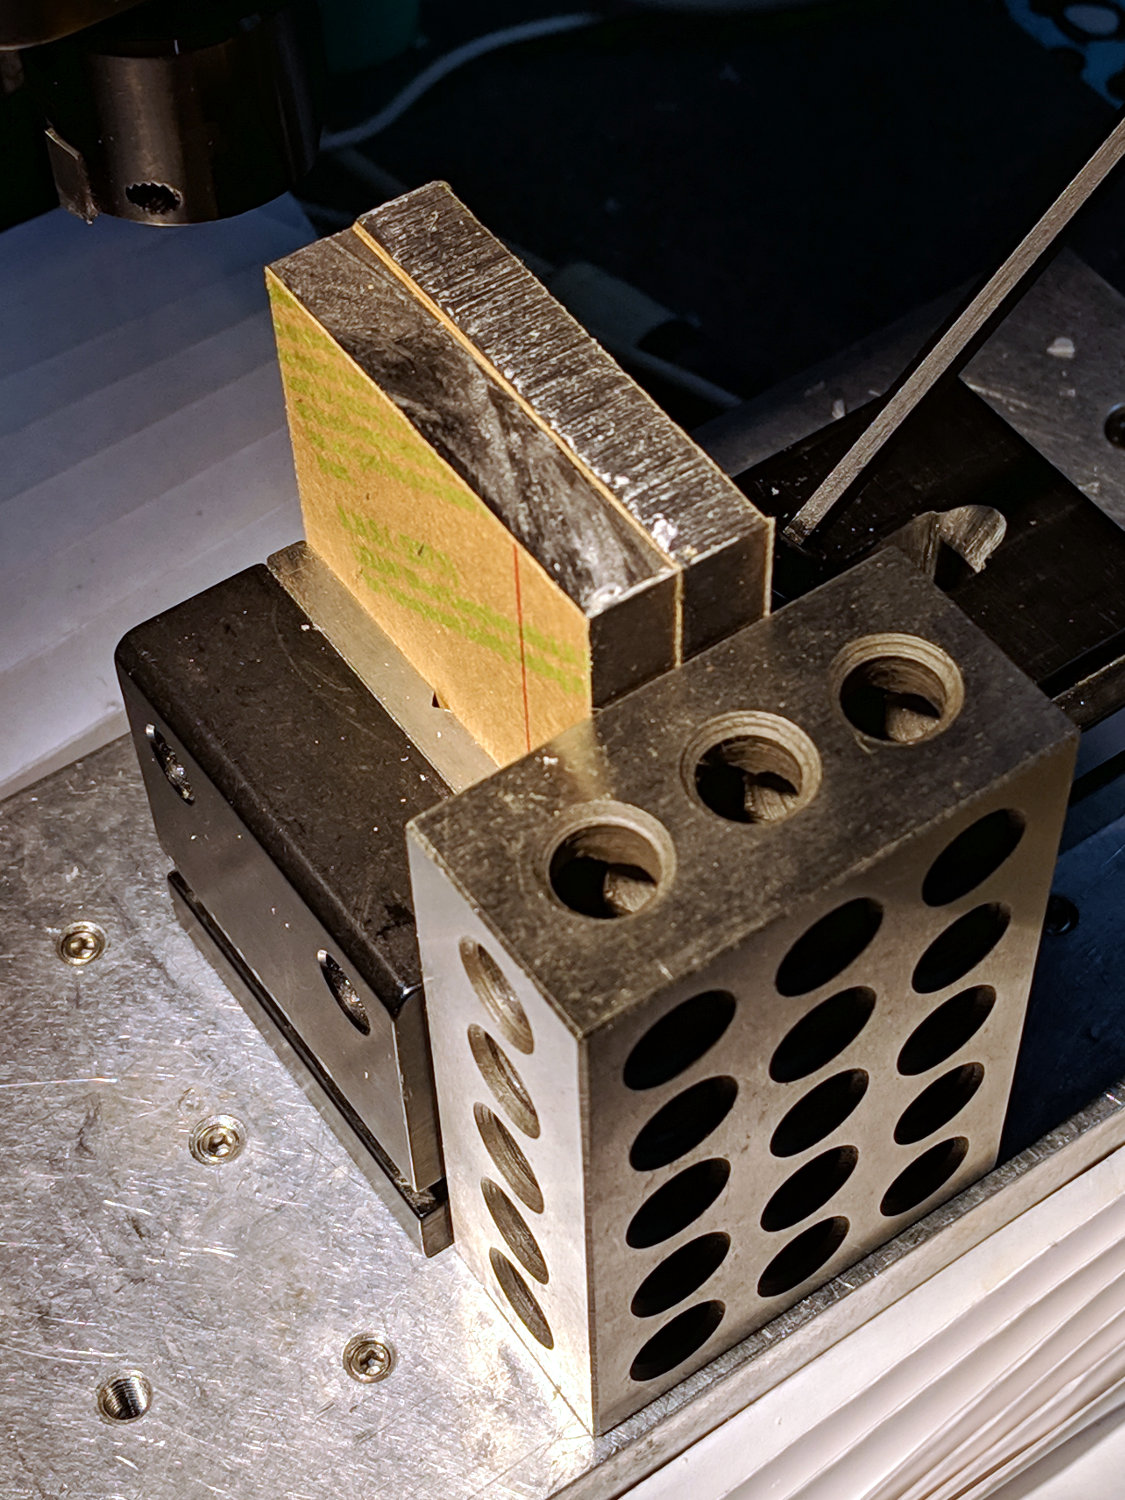
Then drilled holes to match the strut positions:
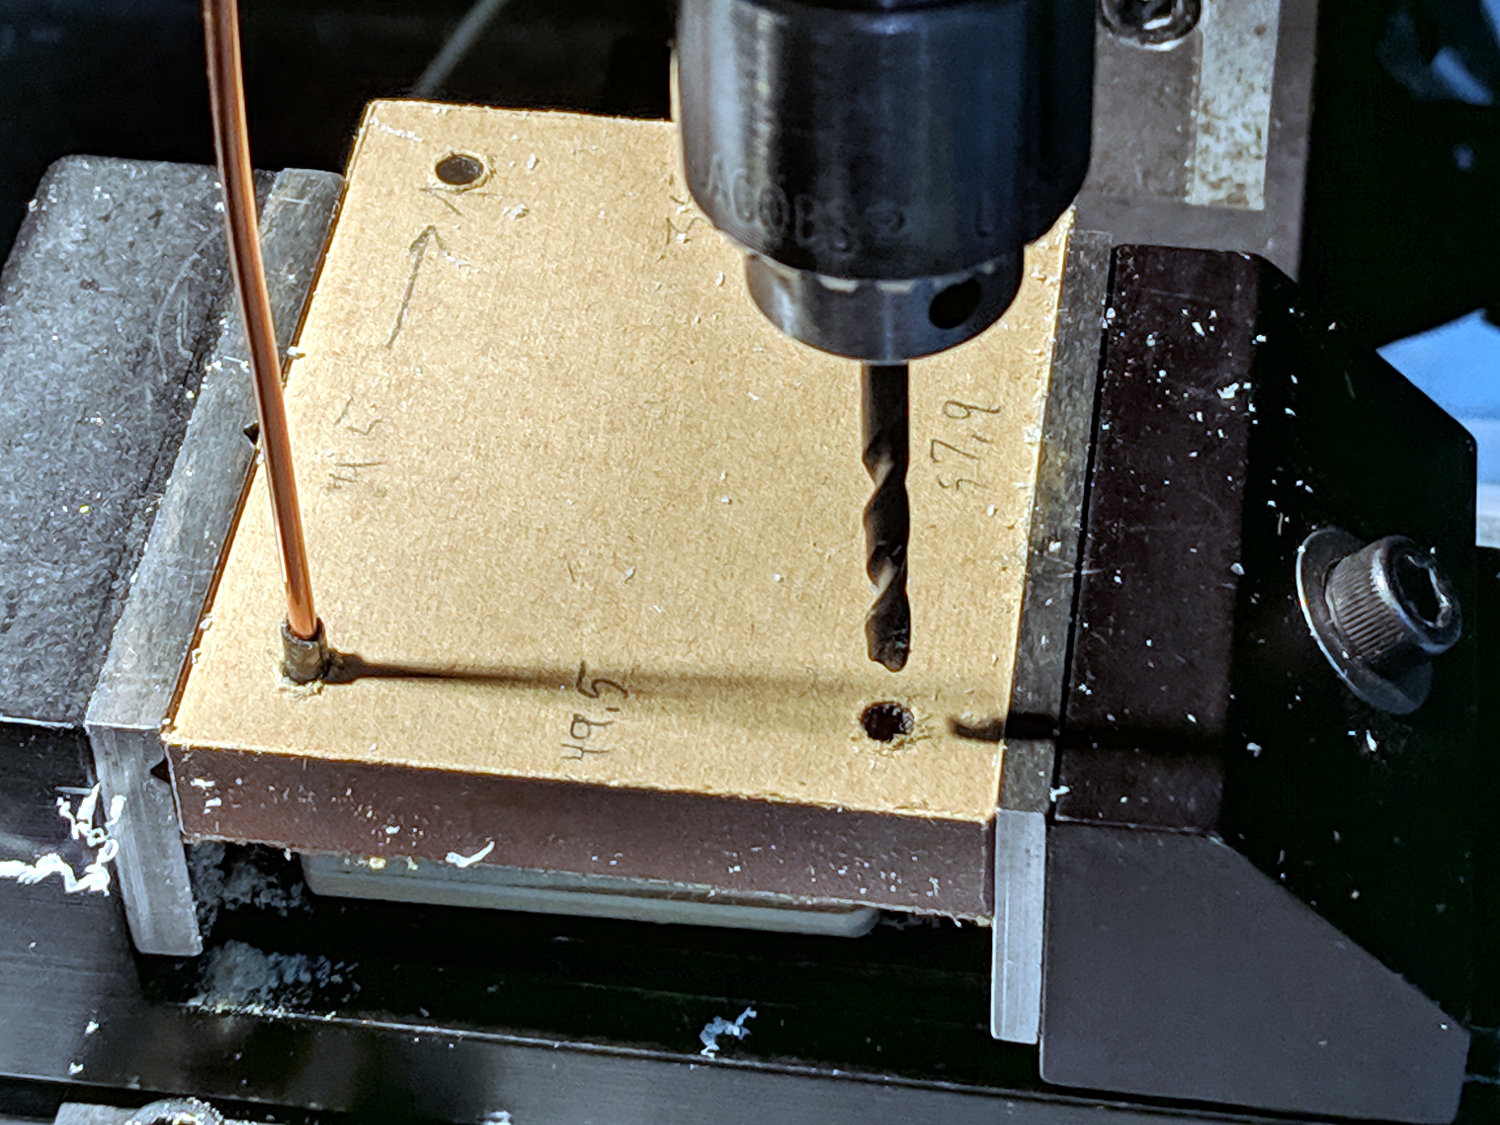
The holes fit snippets of the original wire insulation, because, after all, polycarbonate is a thermoplastic, too.
Stretch some copper wire to straighten and work-harden it, add insulation snippets, then maneuver everything in place:

I definitely need a third (and maybe a fourth) hand to hold each part, the solder, and the iron, but at least the wires won’t walk away in the middle of the process.

Comments
2 responses to “Astable Multivibrator: RGB LED Strut Fixture”
If it were critical, solder paste would make it a wee bit easier. OTOH, it needs to be refrigerated. Shelf life seems to be one year.
Pneumatic applicators are wonderful for larger SMT projects, but the manual syringes would do for small projects. Still way more expensive than I’d like.
[…] a cardboard support under the soldering fixture helped hold all the parts in […]