The Smell of Molten Projects in the Morning

Ed Nisley's Blog: Shop notes, electronics, firmware, machinery, 3D printing, laser cuttery, and curiosities. Contents: 100% human thinking, 0% AI slop.

Month: November 2015

  • White LED Failures

    Well, that didn’t take long:

    Ring Light Mount - failed LEDs
    Ring Light Mount – failed LEDs

    The two dim LEDs to the left are actually very faintly lit, so I think the dark one has failed nearly open.

    When I installed those nine central LEDs, I didn’t notice that the bag (from the usual eBay source, IIRC) contained two different types of white LEDs. The difference shows up clearly under UV that lights up the yellow phosphor:

    Ring Light Mount - failed LEDs in UV
    Ring Light Mount – failed LEDs in UV

    By random chance, each of the three groups has one non-fluorescing LED. If I can extricate them from their epoxy tomb, maybe I can figure out which one failed.

    Rather than replace those, I’ll try a new-fangled chip-on-board light source, even though that might require a current limiter and maybe a heatsink. Obviously, this is getting out of hand, but maybe the same folks who can’t make a white LED can make a functional COB assembly for a buck… [sigh]

  • Monthly Image: Fireworks Moonwalk

    The Poughkeepsie Bridge always looks good in its necklace lights:

    Fireworks Moonwalk - Poughkeepsie Bridge
    Fireworks Moonwalk – Poughkeepsie Bridge

    Each catenary carries a string of lights that produces a slight double-exposure effect. It’s not your eyes, there really are two closely spaced lights.

    The moon hadn’t yet risen, so the southern sky got completely dark. That makes for an easy-to-assemble south-facing panorama with Poughkeepsie on the left:

    Walkway Panorama - South View - 2015-10-29
    Walkway Panorama – South View – 2015-10-29

    There’s also a north panorama from a previous moonwalk.

    The fireworks launched from a barge in the middle of the Hudson River to eliminate the hassle of flaming debris falling on bystanders:

    Fireworks Moonwalk - Fireworks
    Fireworks Moonwalk – Fireworks

    A stiff south wind blew the smoke over the Walkway, far to our right; everybody in that section got a good introduction to fireworks chemistry.

    A good time was had by all!

  • Poughkeepsie Day School Mini MakerFaire

    In the (admittedly unlikely) event you’re in the neighborhood today, visit the Poughkeepsie Mini MakerFaire. I’ll be doing a “Practical 3D Printing” show-n-tell in one of the tiny music practice rooms in the main hallway, handing out tchochkes, and generally talking myself hoarse. The HP 7475A plotter will be cranking out Superforumulas next door, too, because everybody loves watching a plotter.

    Usually, I print dump trucks or some such, but yesterday I hammered out the models for two adapters that mate the new vacuum cleaner to some old tools, so I’ll be doing live-fire production printing. I’m sure you can get adapters on Amazon, but what’s the fun in that?

    The magic wand that sucks dust off the evaporator coils under the refrigerator slides into the bottom end of this one:

    Refrigerator Coil Wand Adapter
    Refrigerator Coil Wand Adapter

    And the snout of this slides into the tiny floor brush that fits into spots the new one can’t reach:

    Floor Brush Adapter
    Floor Brush Adapter

    And, with a Faire wind in my sails, perhaps I can run off the bits required for a hard drive mood light:

    Hard Drive Mood Light - solid model - Show view
    Hard Drive Mood Light – solid model – Show view

    More details on all those later…

  • Hard Drive Platter Mood Light: Neopixel Firmware

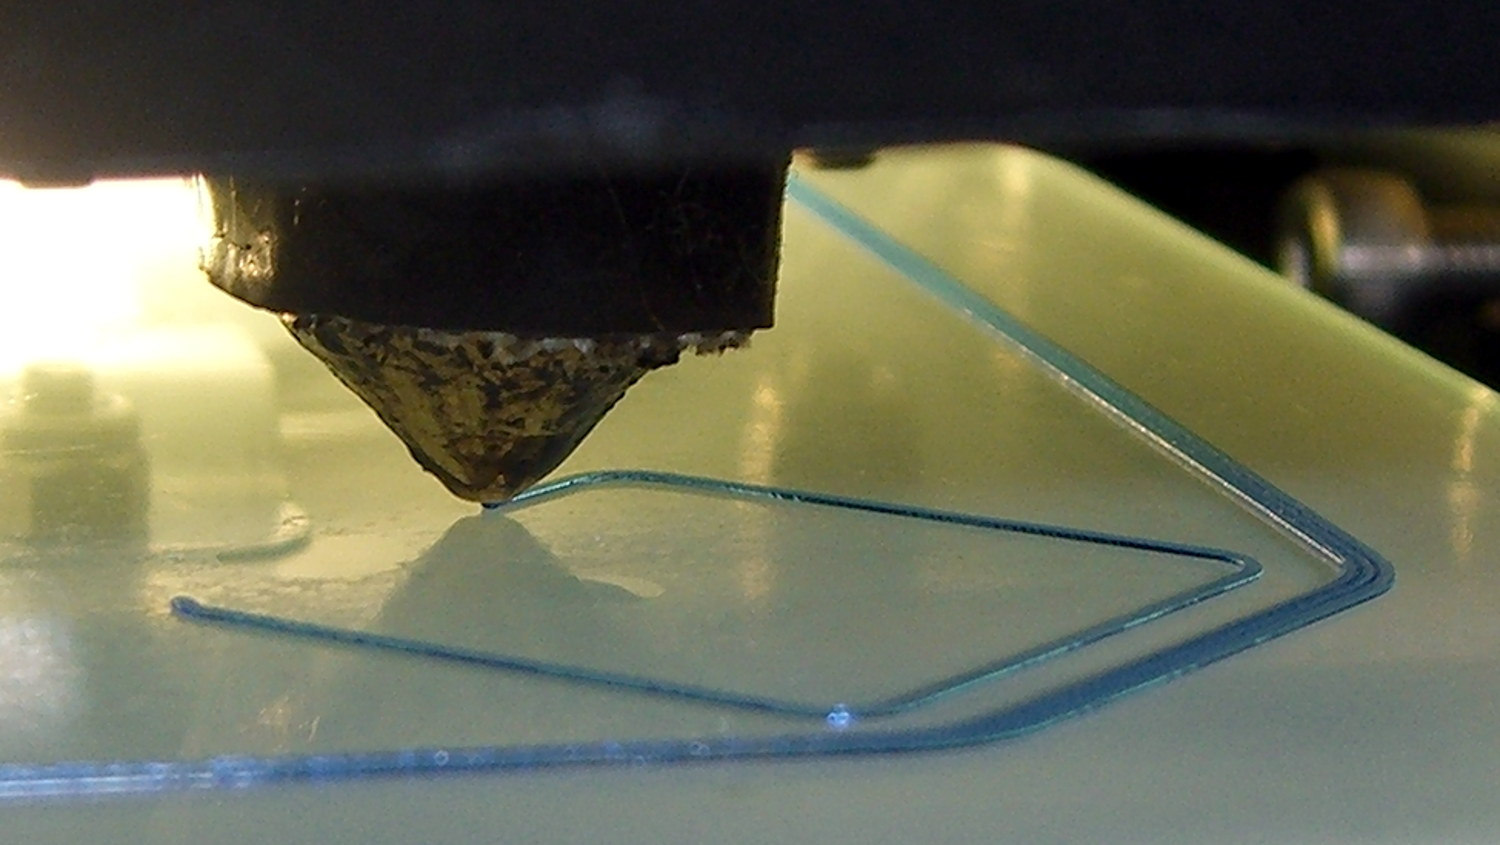
    Having accumulated a pile of useless hard drives, it seemed reasonable to harvest the platters and turn them into techie mood lights (remember mood lights?). Some doodling showed that four of Adafruit’s high-density Neopixel strips could stand up inside the 25 mm central hole, completely eliminating the need to putz around with PWM drivers and RGB LEDs: one wire from an Arduino Pro Mini and you’re done:

    const byte PIN_NEO = 6;				// DO - data out to first Neopixel
    

    The firmware creates three sine waves with mutually prime periods, then updates the RGB channels with raised-sine values every 10 ms. The PdBase constant defines the common conversion from milliseconds to radians:

    const float PdBase = 0.05 * TWO_PI / 1000.0;	// scale time in ms to radians
    

    The leading 0.05 = 1/20 means the sine wave will repeat every 20 s = 20000 ms.

    Dividing that period by three small primes produces an RGB pattern that will repeat every 5x11x17 = 935 PdBase cycles = 18.7×10³ s = 5.19 h:

    const float Period[] = {PdBase/5.0,PdBase/11.0,PdBase/17.0};		// mutually prime periods
    

    That’s languid enough for me, although I admit most of the colors look pretty much the same. Obviously, you can tune for best picture by dinking with a few constants.

    A Phase array sets the starting phase to 3π/2 = -90 degrees:

    float Phase[] = {3.0 * HALF_PI,3.0 * HALF_PI,3.0 * HALF_PI};		// sin(3π/2 ) = -1, so LEDs are off
    

    Jiggling those starting phases produces a randomized initial color that’s close to dark:

    	MillisNow = MillisThen = millis();
    	randomSeed(MillisNow + analogRead(6) + analogRead(7));
    	printf("Phases: ");
    	for (byte i=0; i<3; i++) {
    		Phase[i] += random(-1000,1000) * HALF_PI / 1000.0;
    		printf("%d ",(int)(Phase[i]*RAD_TO_DEG));
    	}
    	printf(" deg\r\n");
    

    With all that in hand, converting from time to color goes like this:

    uint32_t SineColor(unsigned long t) {
    byte rgb[3];
    
    	for (byte i=0; i<3; i++) {
    			rgb[i] = Intensity[i]/2.0 * (1 + sin(t * Period[i] + Phase[i]));
    	}
    	return strip.Color(rgb[0],rgb[1],rgb[2]);
    }
    

    The rest of the code scales neatly with the strip length defined in the magic instantiation:

    Adafruit_NeoPixel strip = Adafruit_NeoPixel(12, PIN_NEO, NEO_GRB + NEO_KHZ800);
    

    Although the colors change very slowly, shifting them all one chip toward the end of the 144 Neopixel strip at each update produces a noticeable difference that reassured me this whole mess was working:

    		for (int i=strip.numPixels()-1; i>0; i--) {
    			c = strip.getPixelColor(i-1);
    			strip.setPixelColor(i,c);
    		}
    
    		c = SineColor(MillisNow);
    		strip.setPixelColor(0,c);
    		strip.show();
    

    And with that in hand, It Just Worked…

    However, it’s worth noting that each Neopixel draws a bit over 60 mA at full white, which works out to a smidge under 9 A for a 144 LED strip. Because they’re PWM devices, the LEDs are either full-on or full-off, so the peak current can actually be 9 A, regardless of any reduced duty cycle to limit the intensity.

    The Adafruit driver includes an overall intensity control, but I added an Intensity array with separate values for each channel:

    float Intensity[] = {128.0,128.0,128.0};							// pseudo current limit - PWM is always full current
    

    That would allow throttling back the blue LEDs a bit to adjust the overall color temperature, but that’s definitely in the nature of fine tuning.

    The Adafruit Neopixel guide recommends a honkin’ big cap right at the strip, plus a 470 Ω decoupling resistor at the first chip’s data input. I think those attempt to tamp down the problems caused by underpowered supplies and crappy wiring; running it at half intensity produced a maximum average current just under the supply’s 3 A limit.

    The complete Arduino source code:

    // Neopixel mood lighting for hard drive platter sculpture
    // Ed Nisley - KE4ANU - November 2015
    
    #include <Adafruit_NeoPixel.h>
    
    //----------
    // Pin assignments
    
    const byte PIN_NEO = 6;				// DO - data out to first Neopixel
    
    const byte PIN_HEARTBEAT = 13;		// DO - Arduino LED
    
    //----------
    // Constants
    
    const int UPDATEMS = 10ul - 4ul;		// update LEDs only this many ms apart minus loop() overhead
    
    const float PdBase = 0.05 * TWO_PI / 1000.0;	// scale time in ms to radians
    
    const float Period[] = {PdBase/5.0,PdBase/11.0,PdBase/17.0};		// mutually prime periods
    float Phase[] = {3.0 * HALF_PI,3.0 * HALF_PI,3.0 * HALF_PI};		// sin(3π/2 ) = -1, so LEDs are off
    float Intensity[] = {128.0,128.0,128.0};							// pseudo current limit - PWM is always full current
    
    //----------
    // Globals
    
    unsigned long MillisNow;
    unsigned long MillisThen;
    
    Adafruit_NeoPixel strip = Adafruit_NeoPixel(12, PIN_NEO, NEO_GRB + NEO_KHZ800);
    
    uint32_t FullWhite = strip.Color(255,255,255);
    uint32_t FullOff = strip.Color(0,0,0);
    
    //--- figure color from time in ms
    
    uint32_t SineColor(unsigned long t) {
    byte rgb[3];
    
    	for (byte i=0; i<3; i++) {
    			rgb[i] = Intensity[i]/2.0 * (1 + sin(t * Period[i] + Phase[i]));
    	}
    	return strip.Color(rgb[0],rgb[1],rgb[2]);
    }
    
    //-- Helper routine for printf()
    
    int s_putc(char c, FILE *t) {
      Serial.write(c);
    }
    
    //------------------
    // Set the mood
    
    void setup() {
    	
    uint32_t c;
    
    	pinMode(PIN_HEARTBEAT,OUTPUT);
    	digitalWrite(PIN_HEARTBEAT,LOW);	// show we arrived
    
    	Serial.begin(57600);
    	fdevopen(&s_putc,0);				// set up serial output for printf()
    
    	printf("Mood Light with Neopixels\r\nEd Nisley - KE4ZNU - November 2015\r\n");
    	
    /// set up Neopixels
    	
    	strip.begin();
    	strip.show();
    	
    // lamp test: run a brilliant white dot along the length of the strip
    	
    	printf("Lamp test: walking white\r\n");
    	
    	strip.setPixelColor(0,FullWhite);
    	strip.show();
    	delay(500);
    	
    	for (int i=1; i<strip.numPixels(); i++) {
    		digitalWrite(PIN_HEARTBEAT,HIGH);
    		strip.setPixelColor(i-1,FullOff);
    		strip.setPixelColor(i,FullWhite);
    		strip.show();
    		digitalWrite(PIN_HEARTBEAT,LOW);
    		delay(500);
    	}
    	
    	MillisNow = MillisThen = millis();
    	randomSeed(MillisNow + analogRead(6) + analogRead(7));
    	printf("Phases: ");
    	for (byte i=0; i<3; i++) {
    		Phase[i] += random(-1000,1000) * HALF_PI / 1000.0;
    		printf("%d ",(int)(Phase[i]*RAD_TO_DEG));
    	}
    	printf(" deg\r\n");
    	
    	c = SineColor(MillisNow);
    	printf("Initial time: %08lx -> color: %08lx\r\n",MillisNow,c);
    	
    	for (int i=0; i<strip.numPixels()-1; i++) {
    		strip.setPixelColor(i,c);
    	}
    	
    	strip.show();
    	
    }
    
    //------------------
    // Run the mood
    
    void loop() {
    	
    byte r,g,b;
    uint32_t c;
    
    	MillisNow = millis();
    	if ((MillisNow - MillisThen) > UPDATEMS) {
    		digitalWrite(PIN_HEARTBEAT,HIGH);
    		
    		for (int i=strip.numPixels()-1; i>0; i--) {
    			c = strip.getPixelColor(i-1);
    			strip.setPixelColor(i,c);
    		}
    
    		c = SineColor(MillisNow);
    		strip.setPixelColor(0,c);
    		strip.show();
    
    		MillisThen = MillisNow;
    		digitalWrite(PIN_HEARTBEAT,LOW);
    	}
    }
    
    
  • 3D Printer Nozzle-to-Platform Gap Visualization

    Here’s what the 0.35 mm diameter nozzle of my Makergear M2 looks like when printing a 0.40×0.25 mm thread on borosilicate glass with a coating of hairspray:

    M2 V4 nozzle - thinwall box first layer
    M2 V4 nozzle – thinwall box first layer

    The dimensions:

    Extrusion Dimensions
    Extrusion Dimensions

    Some common household objects at the same scale:

    Objects vs Thread Comparison
    Objects vs Thread Comparison

    The accuracy required is literally hair-fine: being off by the diameter of the hair on your head can wreck the first layer of the printed object.

    One turn of the M3 screws supporting the M2 platform move the mounting point by twice the thread thickness. Their positions on the platform amplify the motion by about a factor of two, so if you’re tweaking the screws by more than 1/6 turn at a time, you’re overdoing it.

    For first-layer nozzle-to-platform distance adjustment:

    • If it increases by 0.25 mm, the plastic won’t touch the platform
    • If it decreases by 0.25 mm, the plastic won’t come out of the nozzle

    For platform alignment:

    • If your printer can’t maintain the proper gap to within ±0.10 mm across the entire platform, it won’t produce accurate results
    • Platform alignment that looks good probably isn’t

    After you do a coarse alignment and set the Extrusion Multiplier to get accurate thread width, print thinwall hollow boxes and use your trusty digital calipers to make the platform settings & adjustments perfect.

    Works for me, anyhow. All I do is slice whatever object I’ve just designed, turn the M2 on, and print it. No muss, no fuss, no wasted motion: It Just Works.

    The sketches come from my Digital Machinist column (DM 10.4). They’ve been covering a bunch of 3D printing topics, so if you’re interested in that kind of stuff…

  • Sony NP-BX1 Batteries: Wasabi vs. SterlingTEK

    The combined results of the six most recent NP-BX1 batteries for my Sony HDR-AS30V helmet camera:

    Sony NP-BX1 - Wasabi FG - STK ABCD - Ah scale - 2015-11-03
    Sony NP-BX1 – Wasabi FG – STK ABCD – Ah scale – 2015-11-03

    One might reasonably conclude all six came from the same factory; the STK B battery looks like a dud. The two replacement batteries from STK performed slightly better than the first pair.

    The Wasabi and SterlingTEK batteries all carry a 1600 mA·h rating that’s far in excess of their actual 1000-ish mA·h performance. If they were advertised as 1.0 A·h batteries, they’d meet their specifications (for small values of “meet”), but nobody would buy a second-tier battery with less capacity than the Sony OEM battery’s 1.24 A·h.

    If you rummage around in previous posts, I did verify that battery capacity does increase with decreasing test current, but definitely not by the 60% needed to reach 1600 mA·h.

    Because most devices these days operate at constant power from a boost supply, presenting the results against a watt·hour scale would make sense:

    Sony NP-BX1 - Wasabi FG - STK ABCD - Wh scale - 2015-11-03
    Sony NP-BX1 – Wasabi FG – STK ABCD – Wh scale – 2015-11-03

    That doesn’t change the overall rankings, such as they are, but does include the effect of higher terminal voltage.

    The claimed specifications:

    • Sony OEM – 4.5 W·h
    • Wasabi – 5.7 W·h
    • STK – 5.9 W·h

    The Sony battery actually performed about as advertised, but the others fall short on this scale, too.

    They should survive for hour-long rides with the GPS tracker turned off, which is about as much as I want to ride at once. I’ll eventually autopsy the STK B battery, which won’t last all that long.

    Credit where credit is due: after I sent the first test results to STK, they sent a pair of replacement batteries and, based on the second test results, refunded the entire purchase price. I’m reluctant to give a five-star rating for customer service, because shipping mis-advertised products should carry a zero-star rating.

  • Wasabi Power NP-BX1 Performance vs. Battery Date Codes

    I also bought another pair of Wasabi Power NP-BX1 batteries to see if they were as good as before:

    Sony NP-BX1 - Wasabi AB CDE FG - when new - 2015-11-03
    Sony NP-BX1 – Wasabi AB CDE FG – when new – 2015-11-03

    The red traces are the original units (AB, January 2014), the blue traces are the next three batteries (CDE, October 2014), the purple traces are the new pair (FG, October 2015), and the green trace is the OEM Sony battery, all tested when more-or-less new.

    So, about the same as before, not as good as the first pair.

    That may show a year on the warehouse shelf doesn’t affect lithium batteries very much, because the date codes atop the batteries, labeled in order of arrival:

    • AB = BMK20
    • CDE = BNI18
    • FG = BNI13

    Assuming my interpretation of the date codes is correct, the last two digits indicate the day of manufacture: the most recent two batteries (F and G, arrived a few days ago) are five days older than the previous three (C, D, and E, arrived Oct 2014); all five were manufactured in September 2014, a bit over a year ago. The first two were built in November 2013.

    Huh…

    The problem with lithium batteries is that no two devices use the same battery, even when the batteries are functionally identical, so distributors must stock an acre of separate items, each of which move pathetically few units. Perhaps the top ten items make up for the rest?