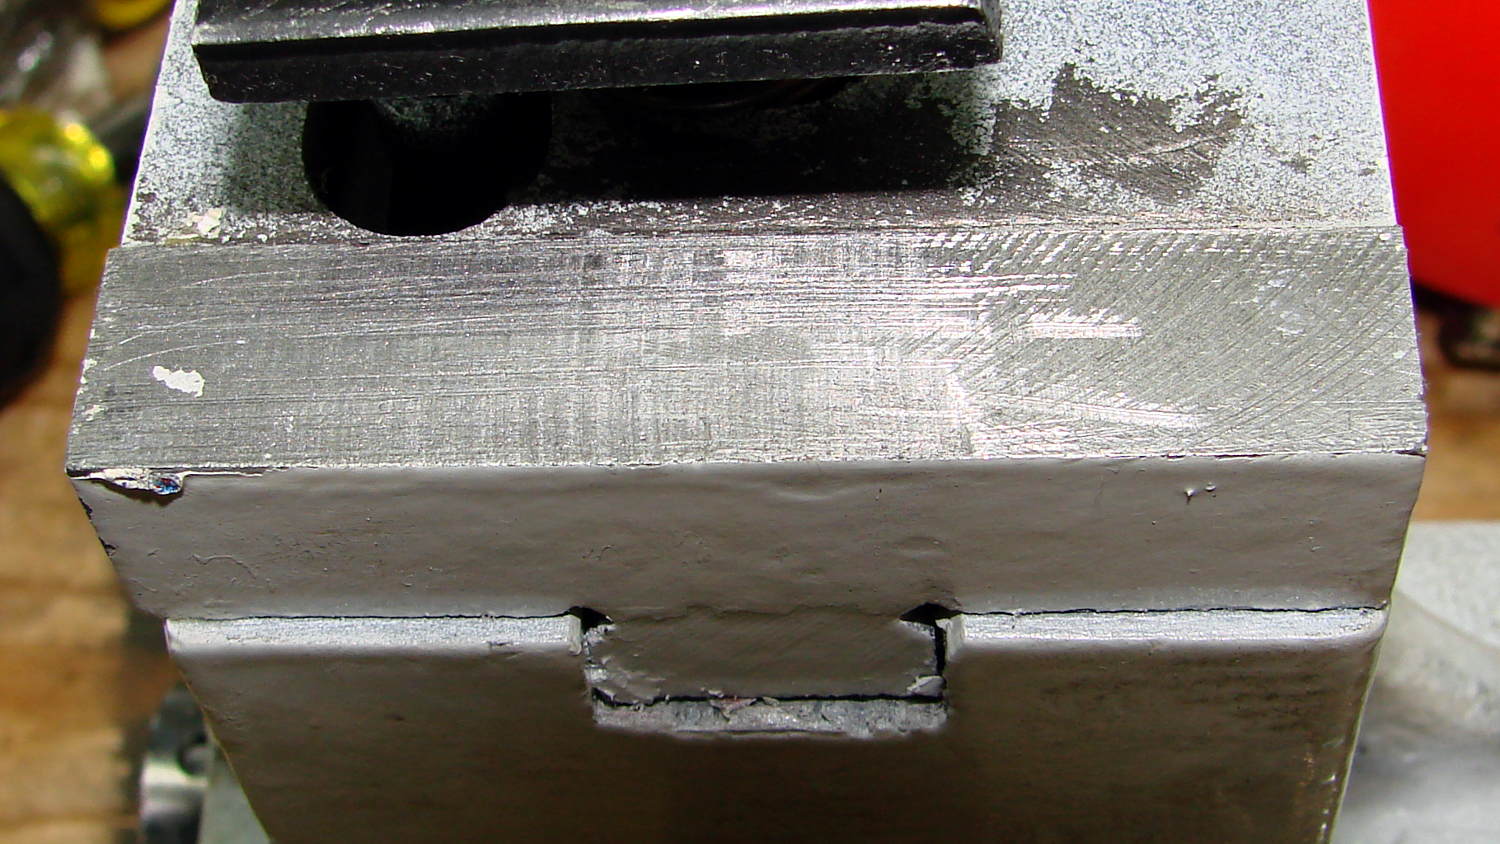
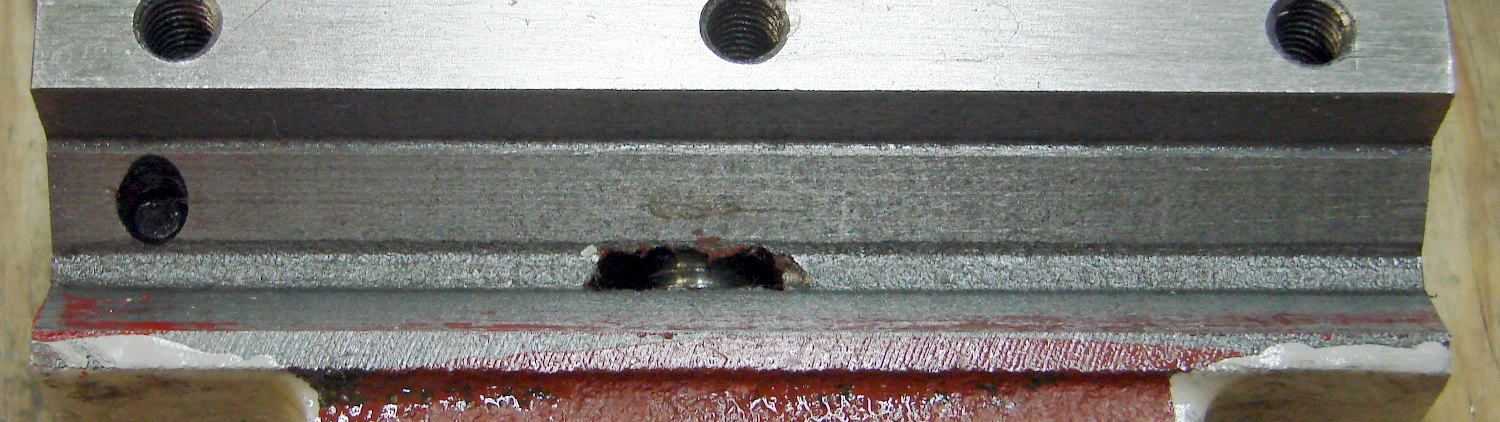
About the third time I removed the mini-lathe’s change gear cover by deploying a 4 mm hex wrench on its pair of looong socket head cap screws, I realized that finger-friendly knobs were in order:
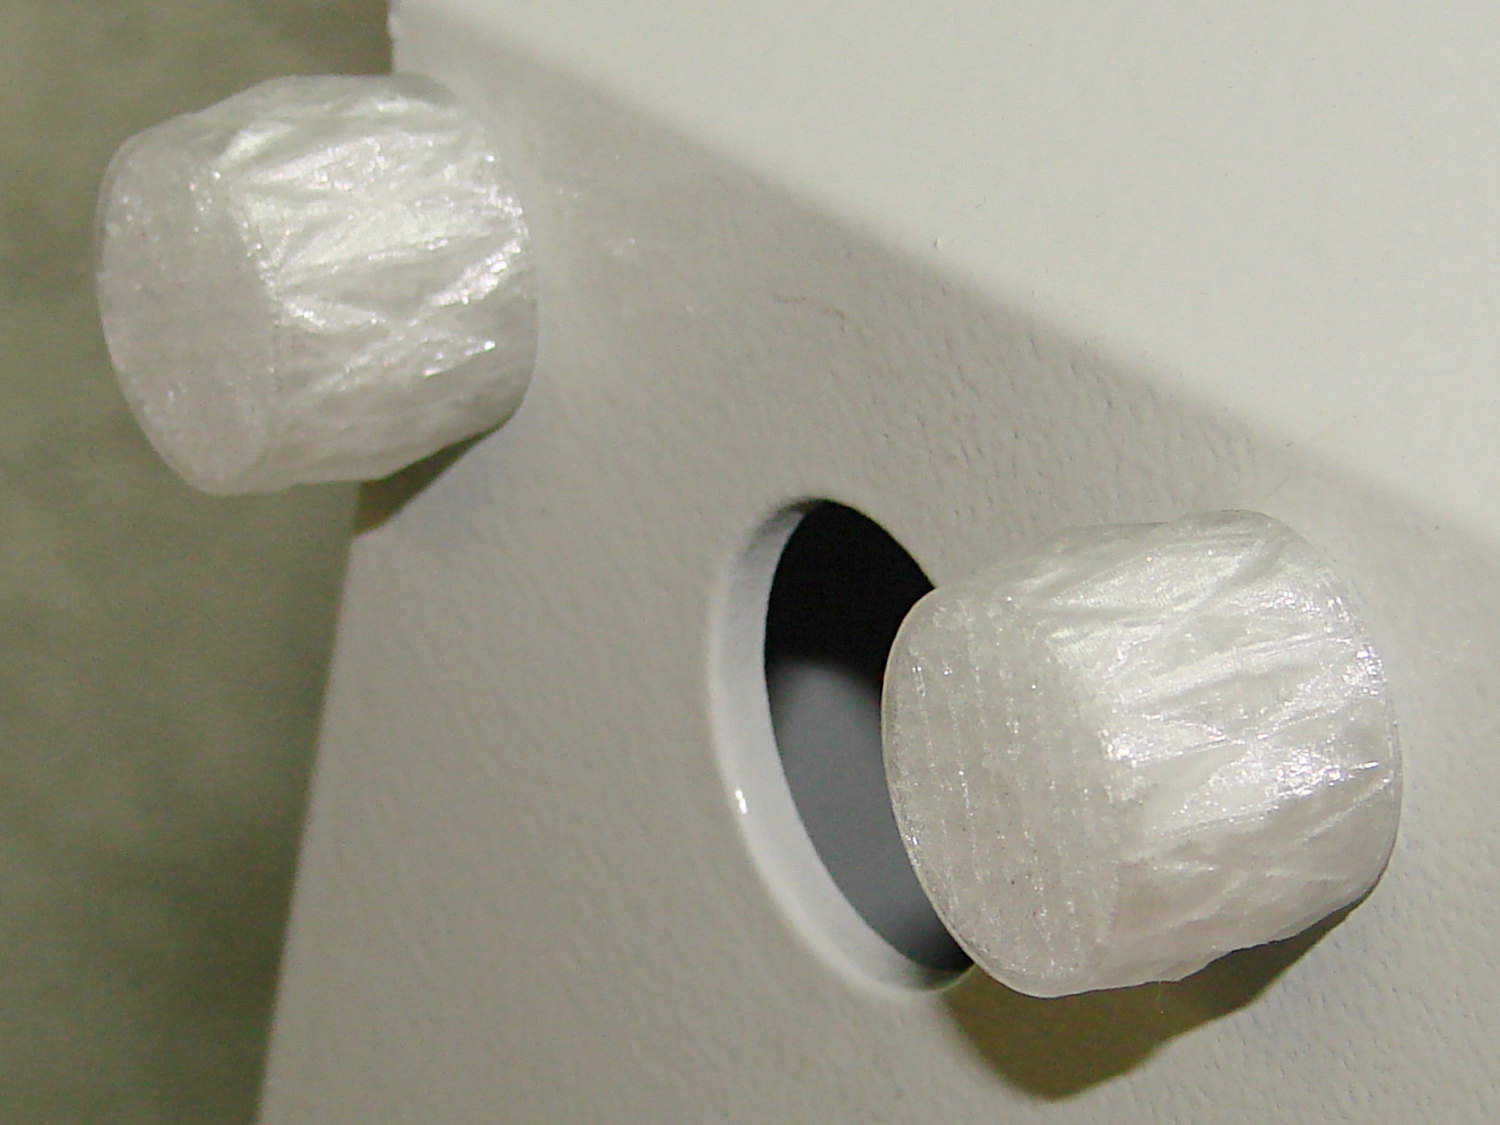
A completely invisible length of 4 mm hex key (sliced off with the new miter saw) runs through the middle of the knob into the screw, with a dollop of clear epoxy holding everything together:
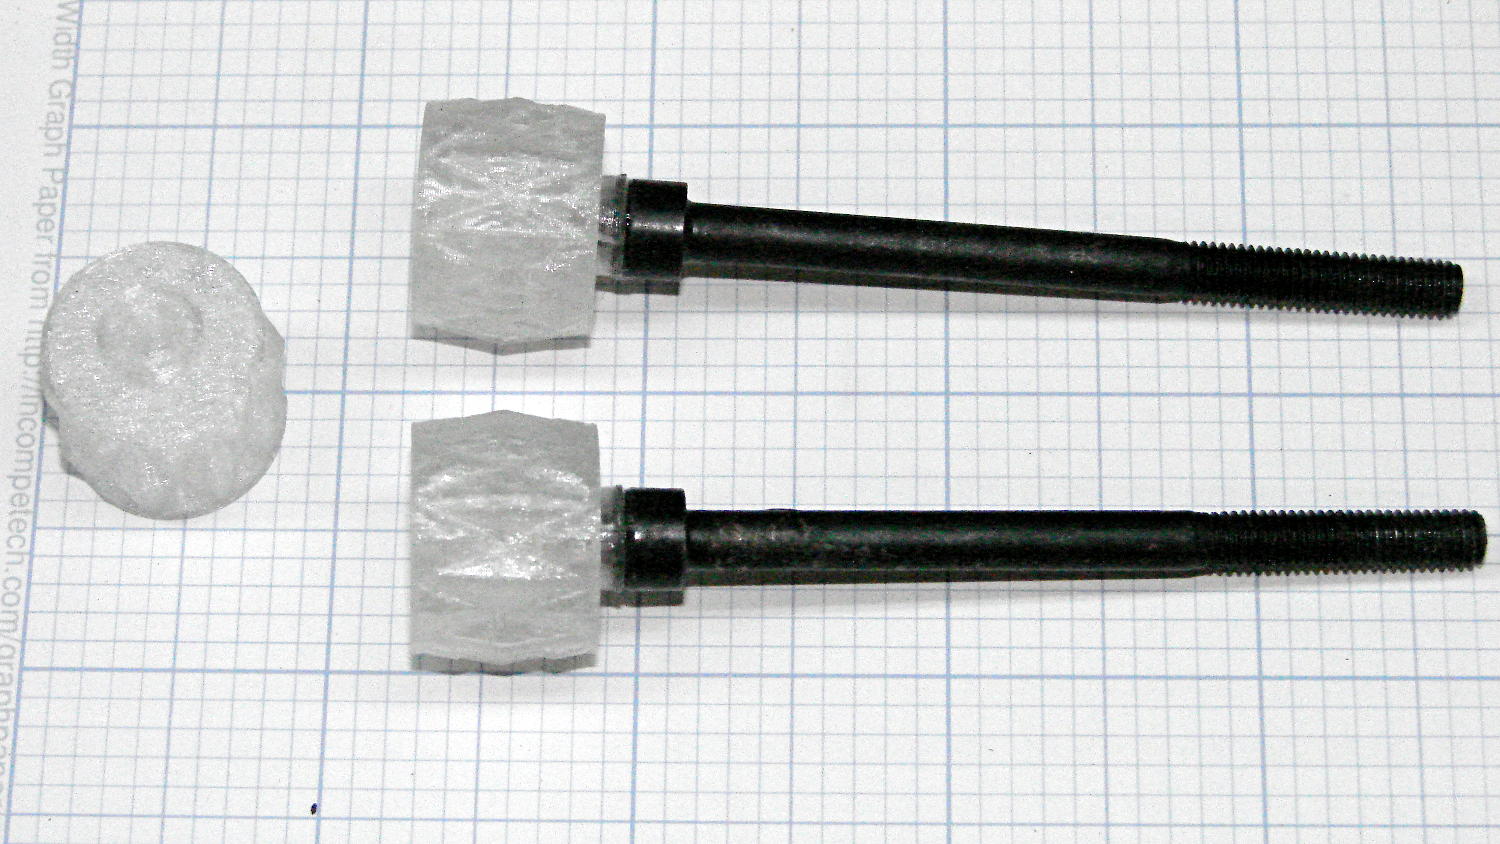
The 2 mm cylindrical section matches the screw head, compensates for the 1.5 mm recess, and positions the knobs slightly away from the cover:
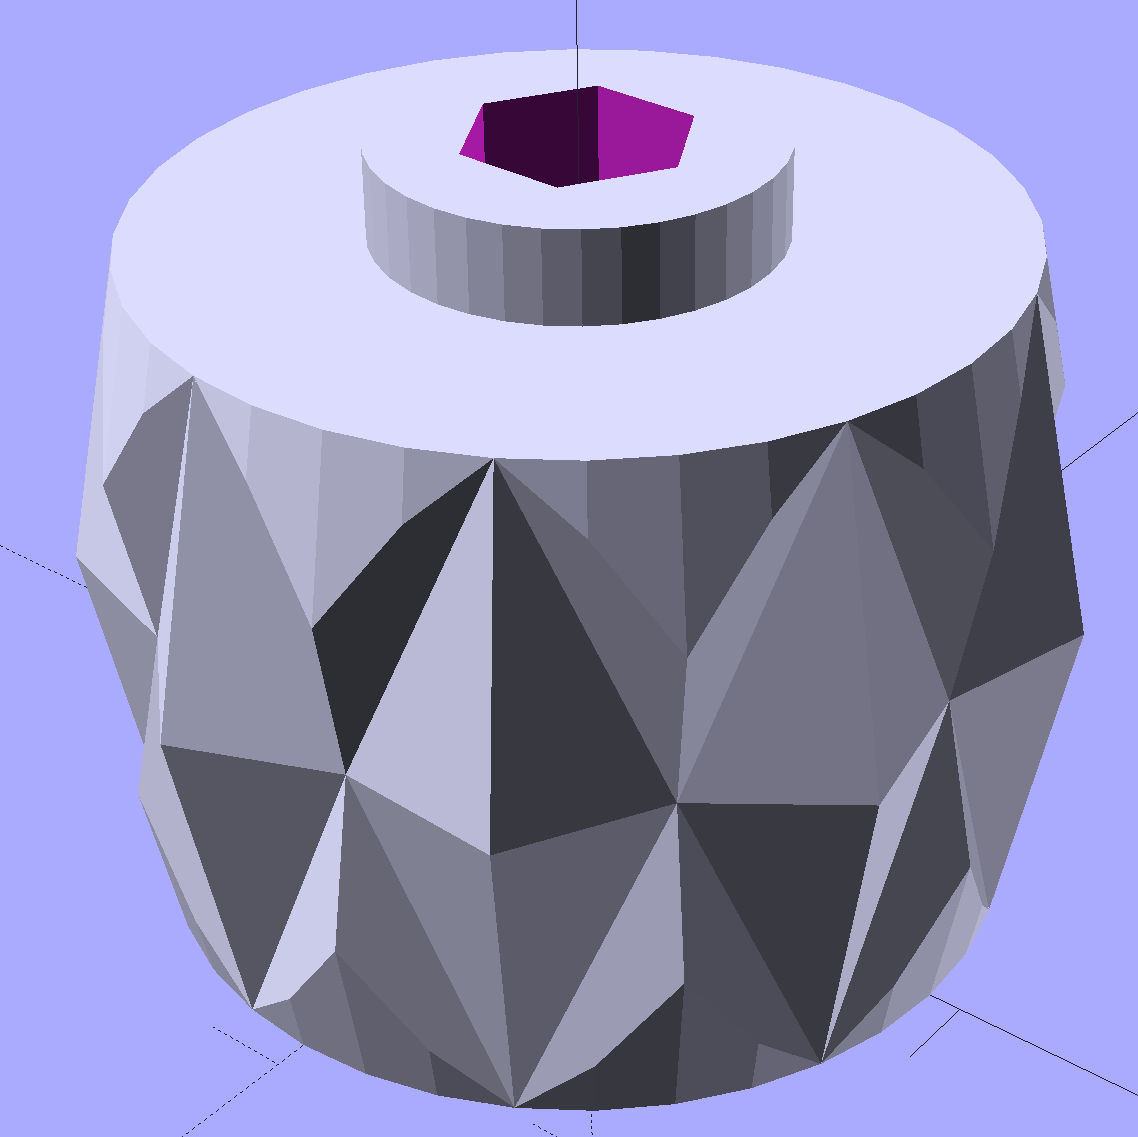
They obviously descend from the Sherline tommy bar handles.
I built three of ’em at a time to get a spare to show off and to let each one cool down before the next layer arrives on top:

The top and bottom surfaces have Octagram Spiral infill that came out nicely, although it’s pretty much wasted in this application:

I have no explanation for that single dent in the perimeter.
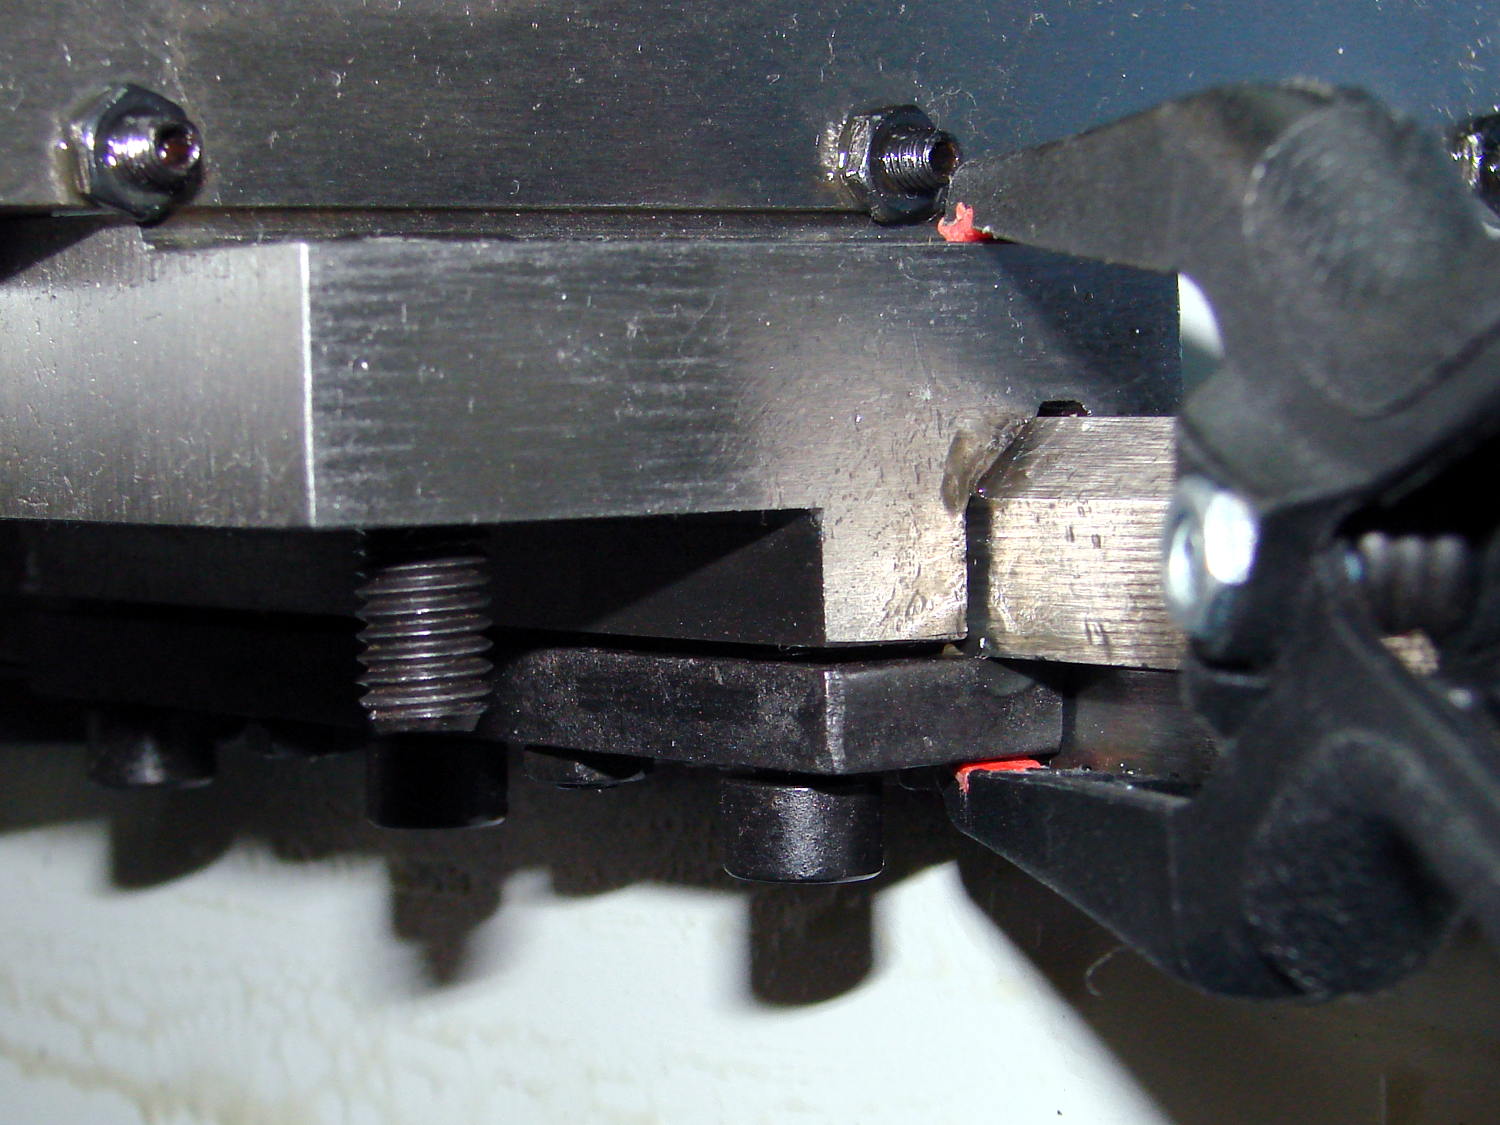
The cover hangs from those two screws, which makes it awkward to line up, so I built a shim to support the cover in the proper position:
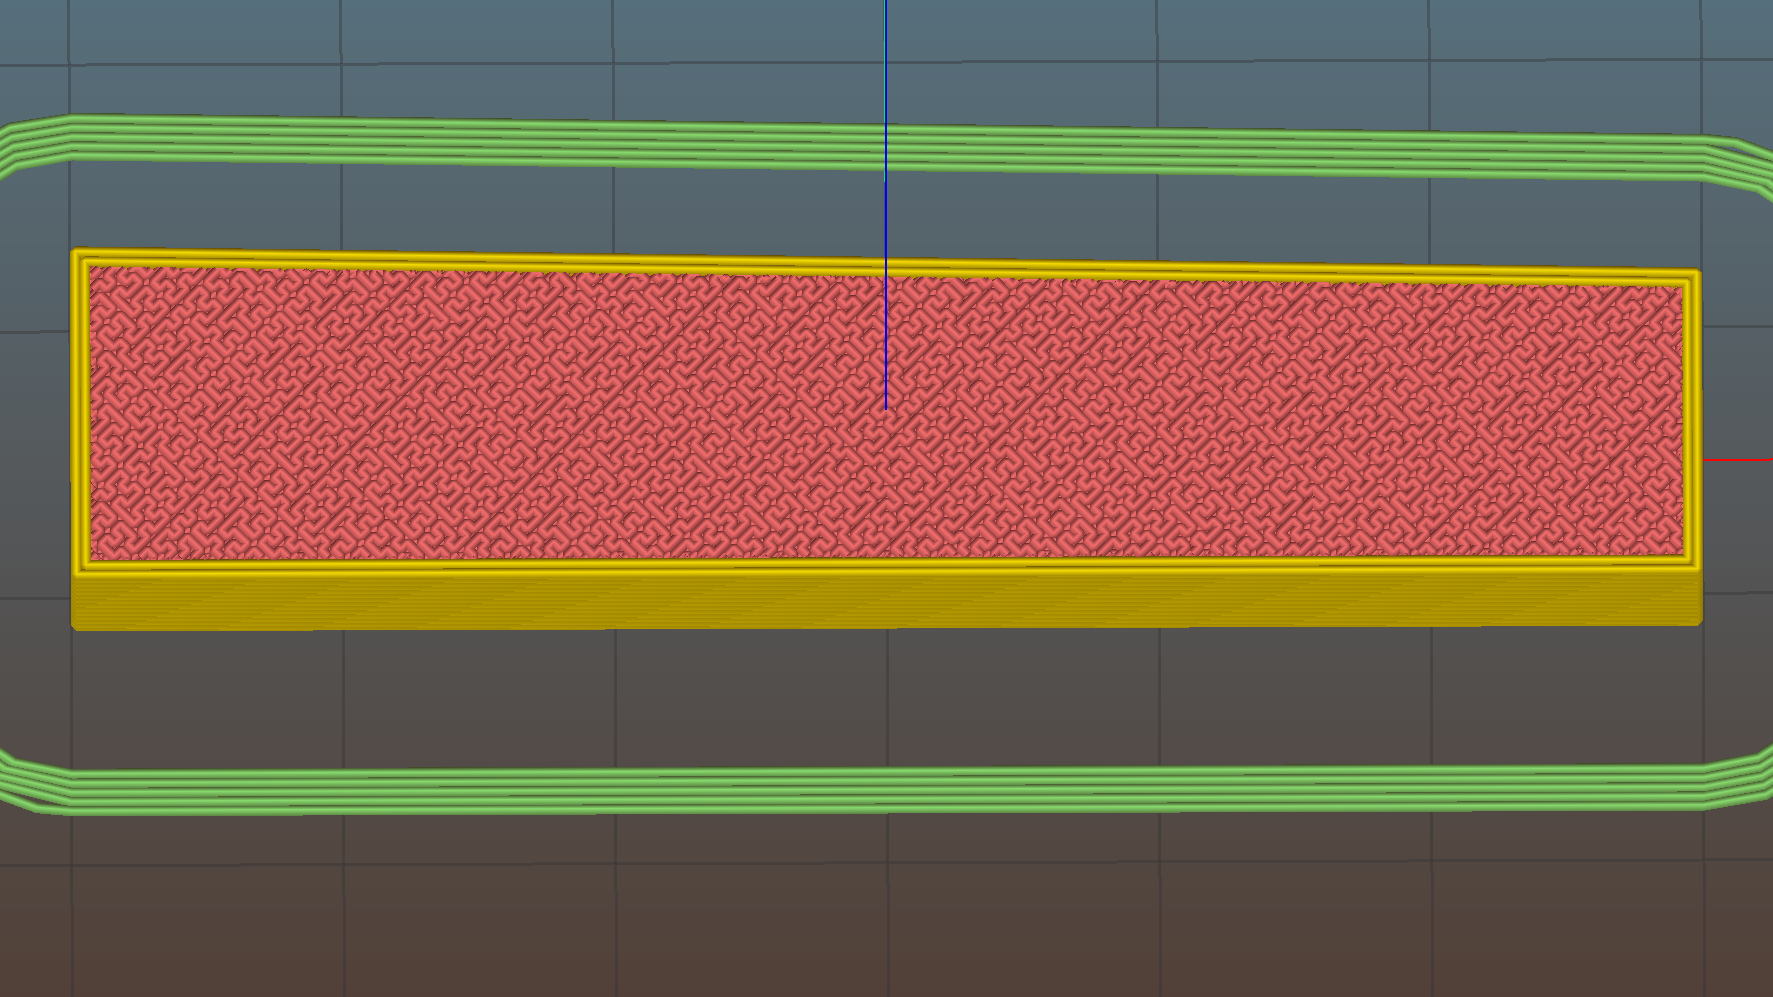
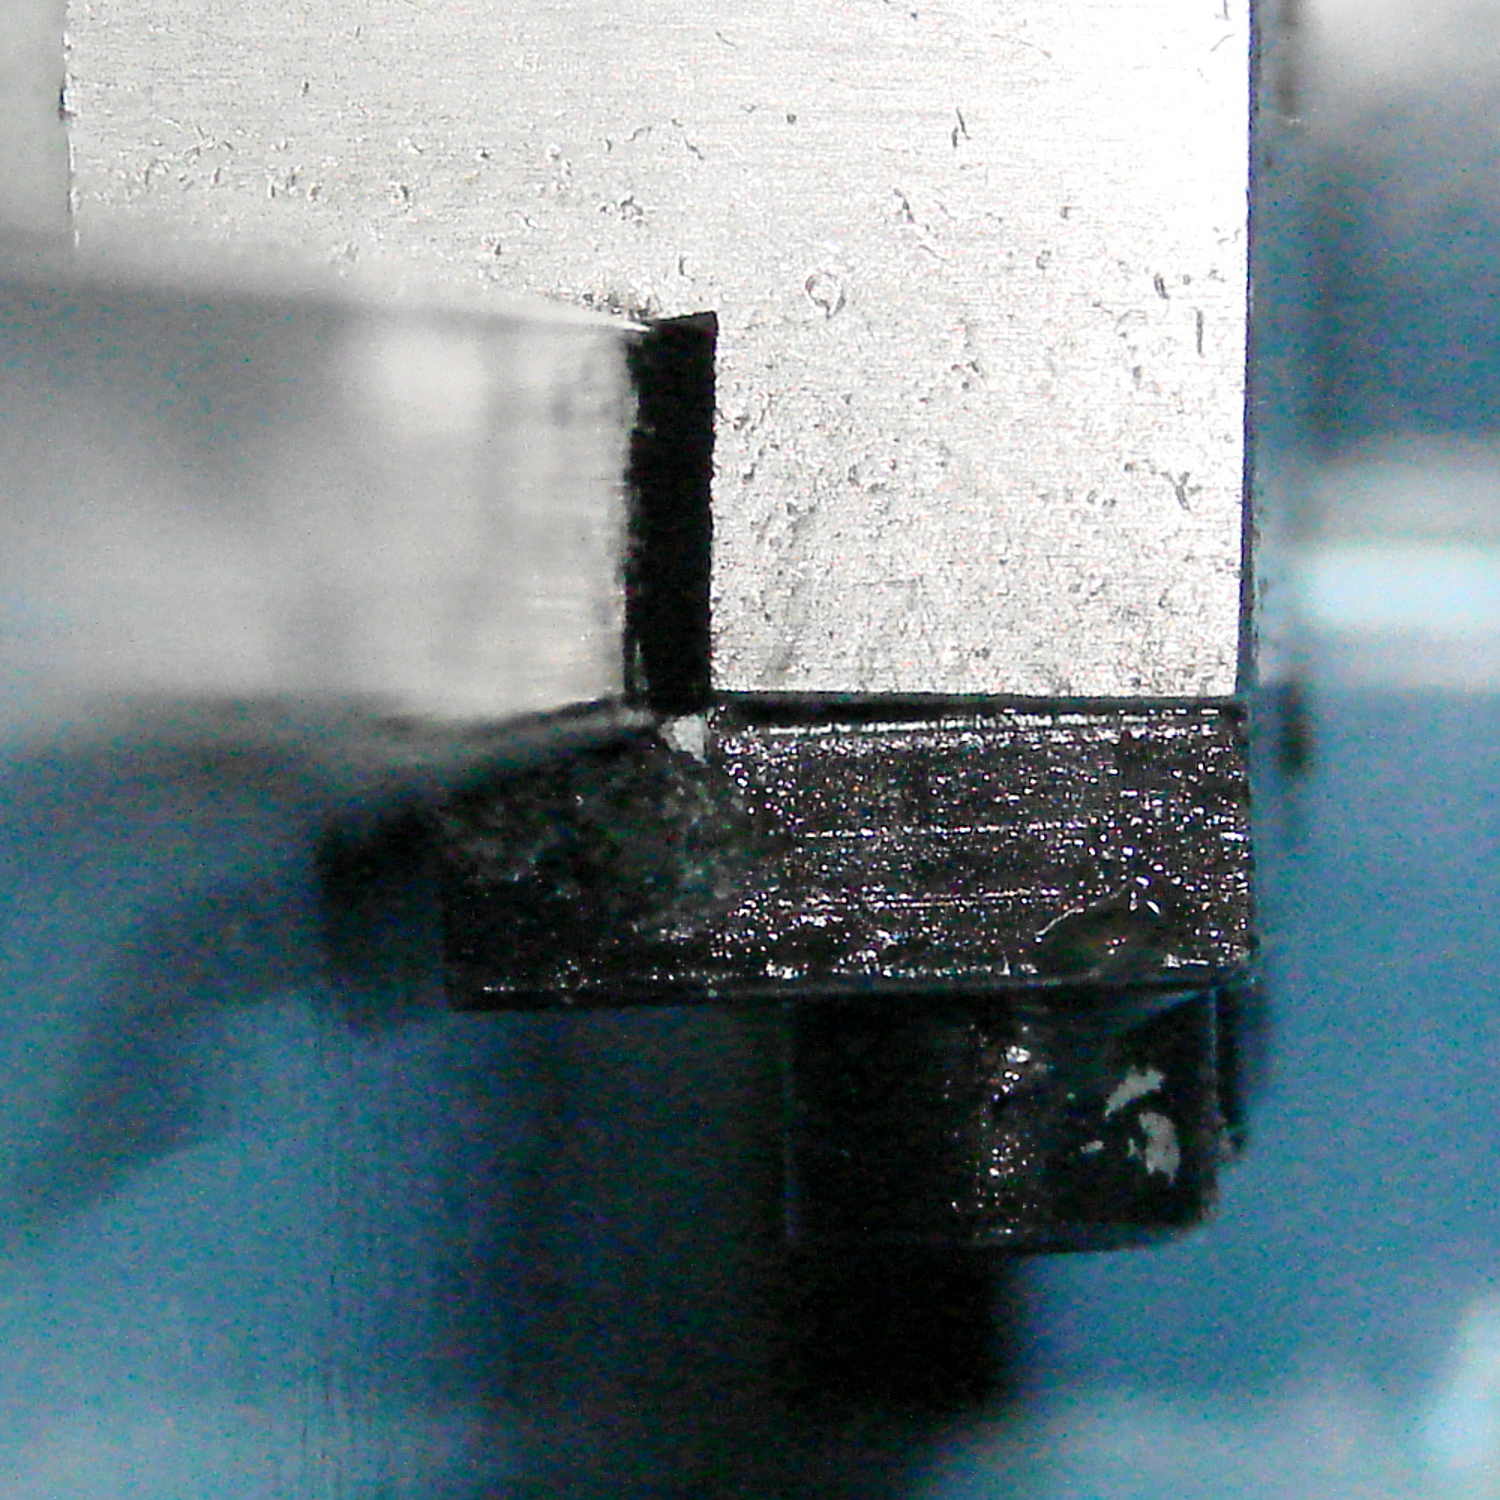
Nope, it’s not quite rectangular, as the change gear plate isn’t mounted quite square on the headstock:

I decided when if that plate eventually gets moved / adjusted / corrected, I’ll just build a new shim and move on. A length of double-sticky tape holds it onto the headstock.
Mounting the cover now requires only two hands: plunk it atop the shim, press it to the right so the angled side settles in place, insert screws, and it’s done.
A short article by Samuel Will (Home Shop Machinist 35.3 May 2016) pointed out that any chips entering the spindle bore will eventually fall out directly into the plastic change gears and destroy them. He epoxied a length of PVC pipe inside the cover to guide the swarf outside, but I figured a tidier solution would be in order:

The solid model looks just like that:
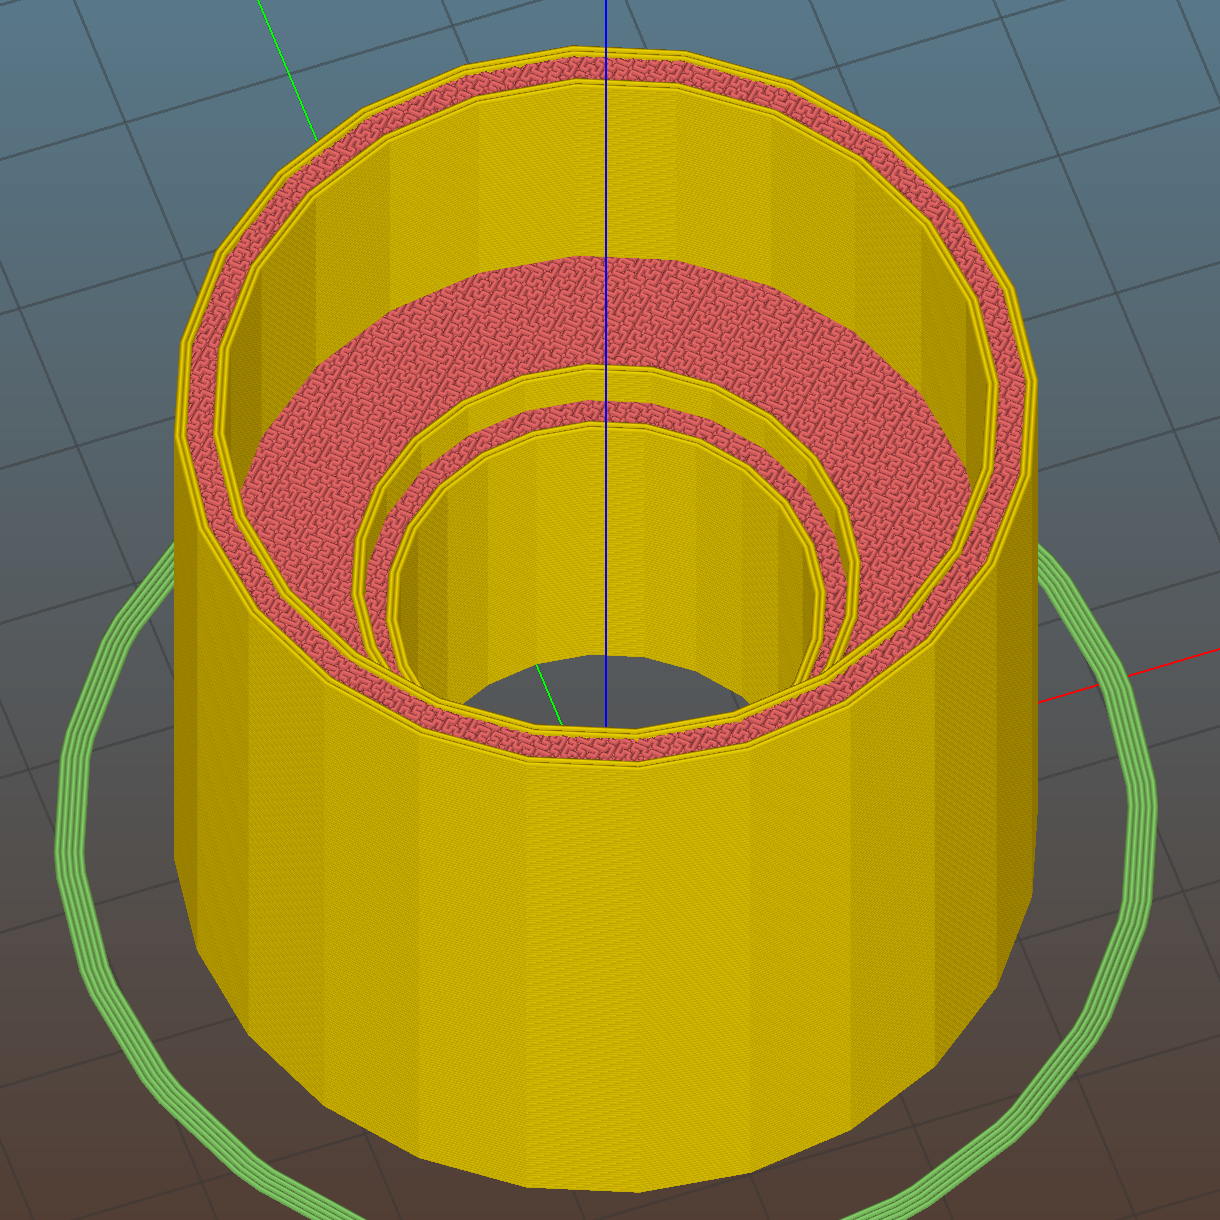
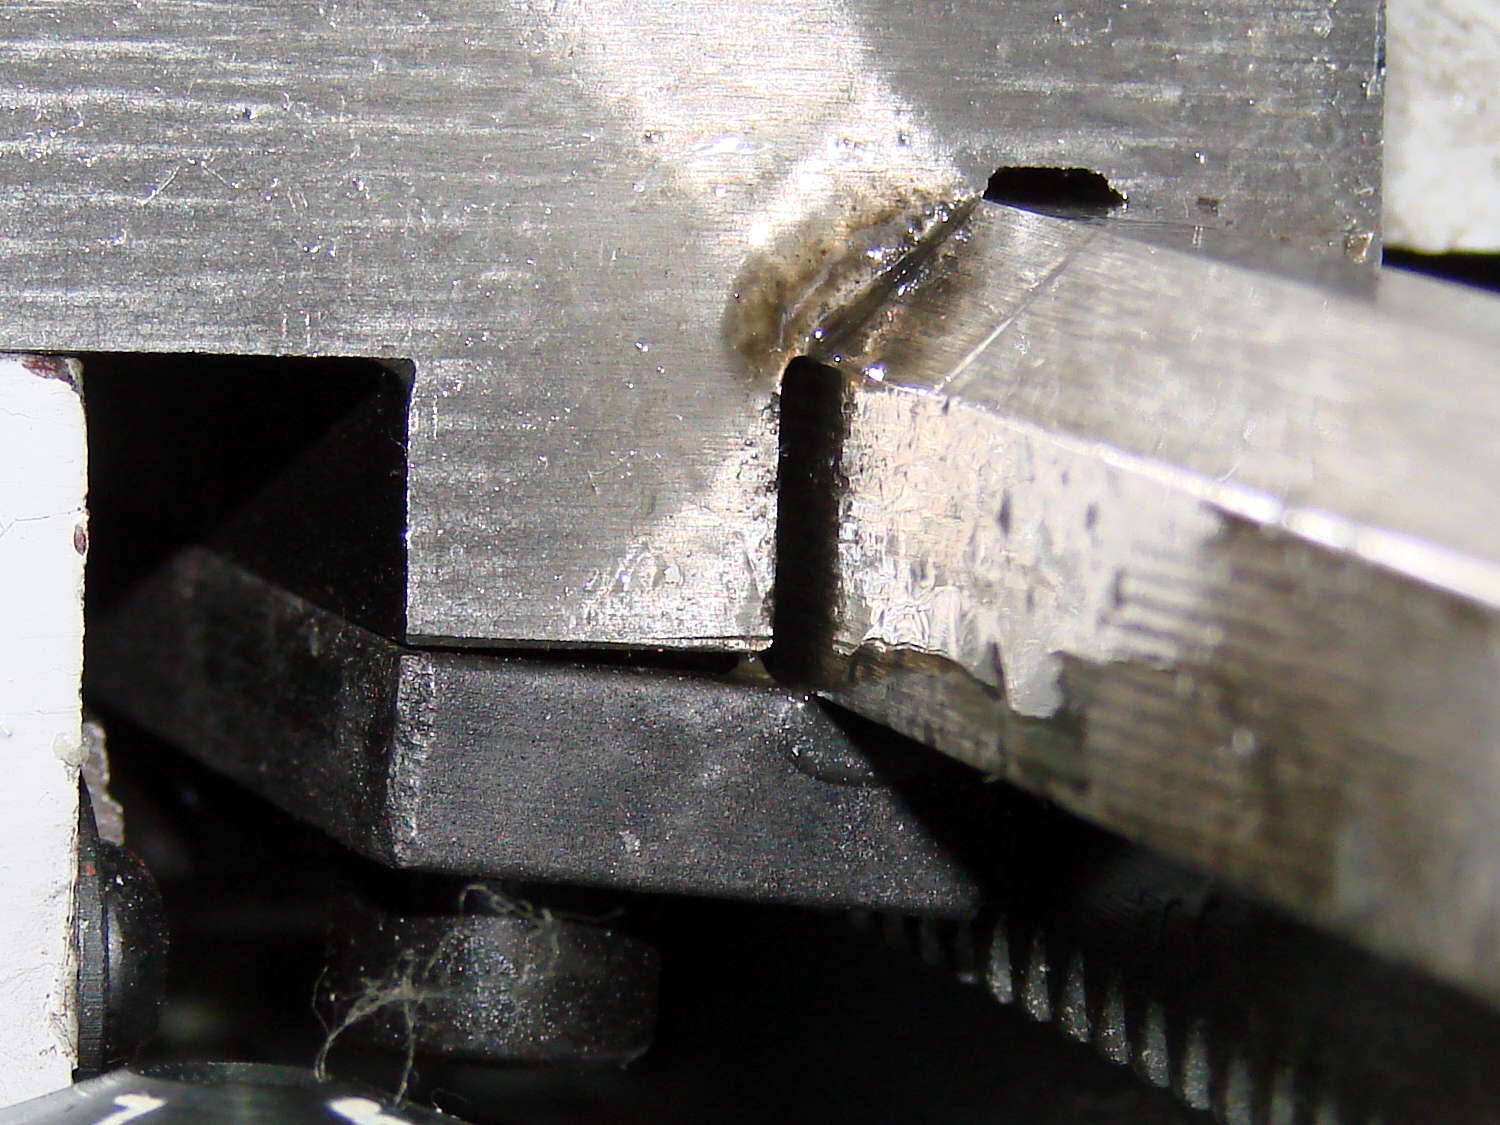
The backside of the shield has three M3 brass inserts pressed in place. I marked the holes on the cover by the simple expedient of bandsawing the base of the prototype shield (which I needed for a trial fit), lining it up with the spindle hole, and tracing the screw holes (which aren’t yet big enough for the inserts):
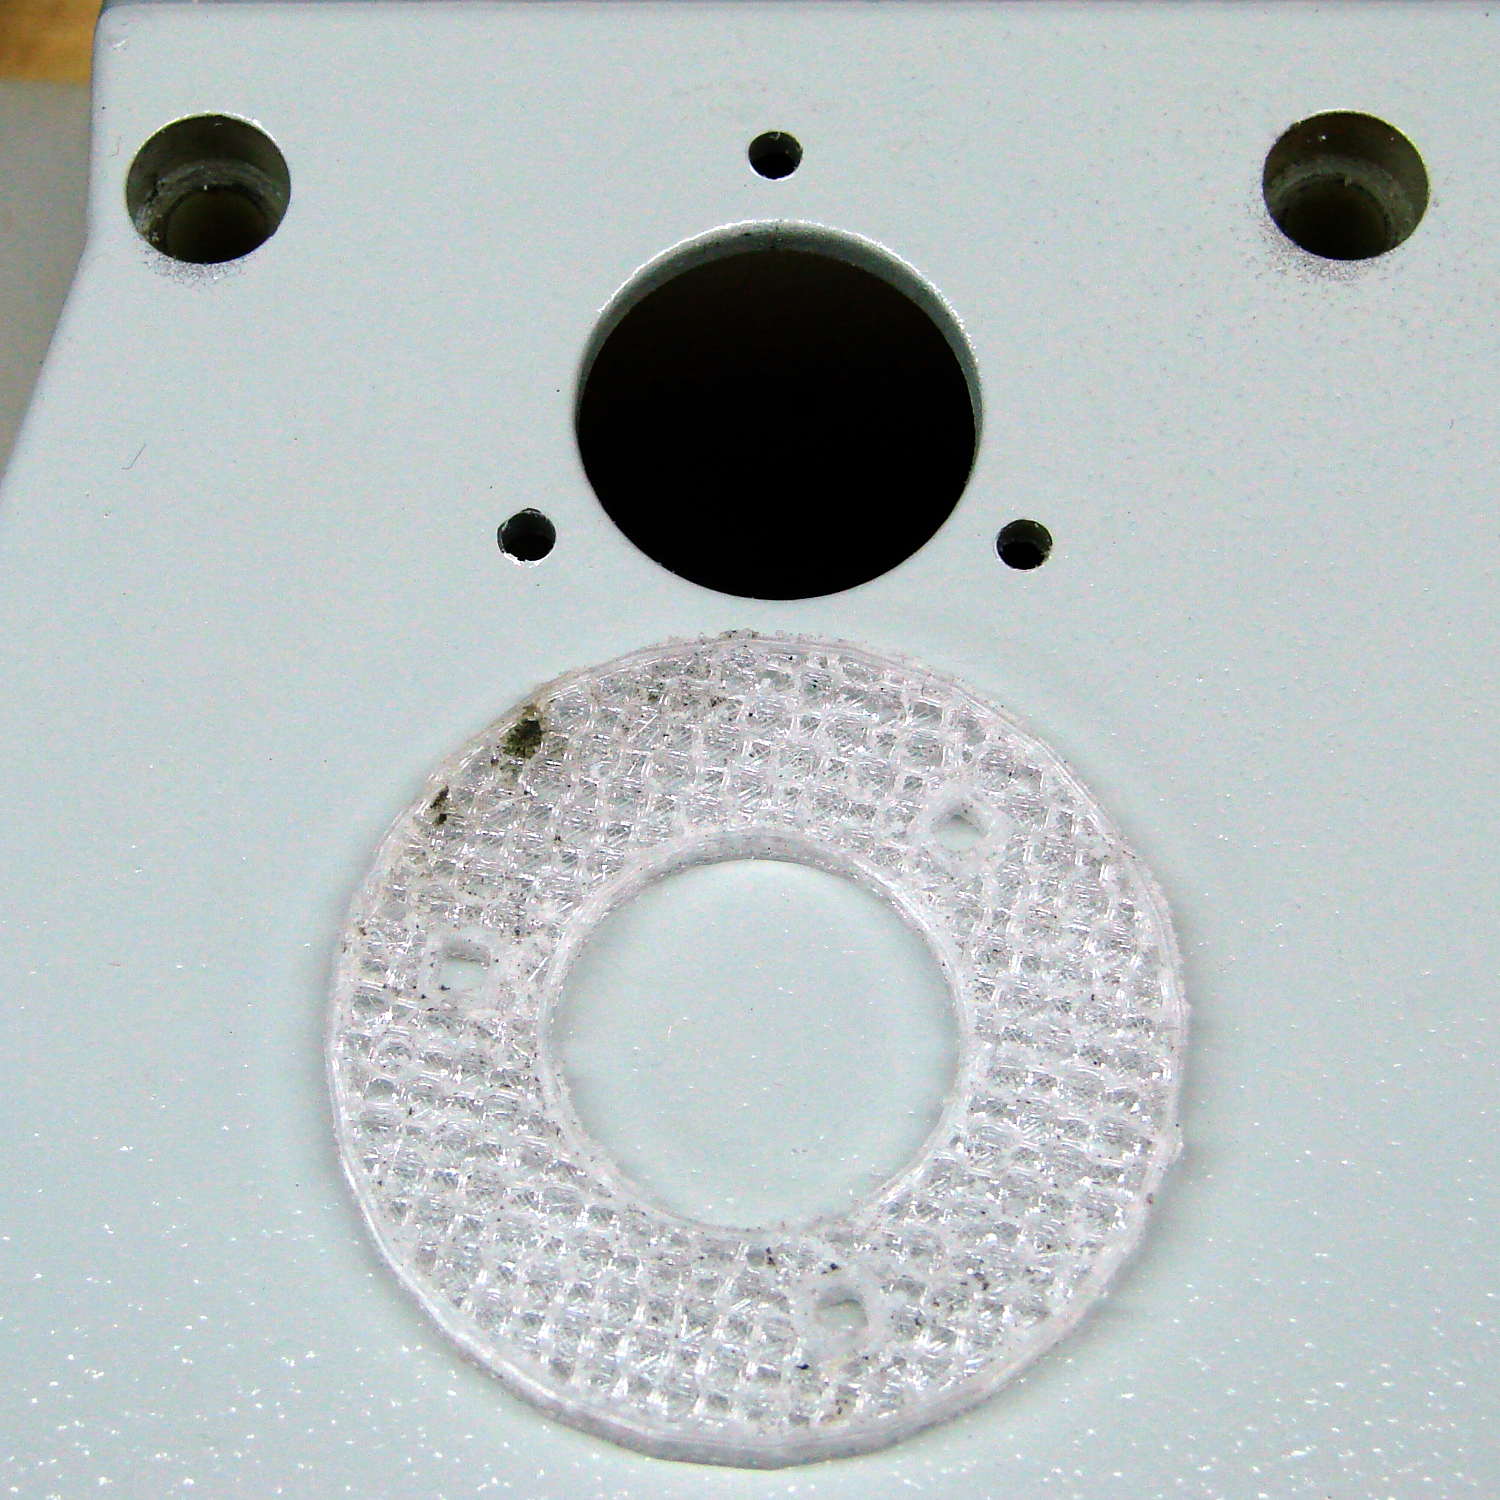
Yeah, that’s burned PETG snot around 10 o’clock on the shield. You could print a separate template if you prefer.
The various diameters and lengths come directly from my lathe and probably won’t be quite right for yours; there’s a millimeter or two of clearance in all directions that might not be sufficient.
Don’t expect the cover hole to line up with the spindle bore:

I should build an offset into the shield that jogs the holes in whatever direction makes the answer come out right, but that’s in the nature of fine tuning; those holes got filed slightly egg-shaped to ease the shield a bit to the right and it’s all good.
Heck, having the spindle line up pretty closely with the tailstock seems like enough of a bonus for one day.
The OpenSCAD source code as a GitHub Gist:
| // Tweakage for LMS Mini-Lathe cover | |
| // Ed Nisley – KE4ZNU – June 2016 | |
| Layout = "Shaft"; // Knob Shim Shaft | |
| use <knurledFinishLib_v2.scad> | |
| //- Extrusion parameters must match reality! | |
| // Print with 2 shells and 3 solid layers | |
| ThreadThick = 0.20; | |
| ThreadWidth = 0.40; | |
| HoleWindage = 0.3; // extra clearance to improve hex socket fit | |
| Protrusion = 0.1; // make holes end cleanly | |
| inch = 25.4; | |
| //———————- | |
| // Dimensions | |
| //- Knobs for cover screws | |
| HeadDia = 8.5; // un-knurled section diameter | |
| HeadRecess = 2.0; // … length inside cover surface + some clearance | |
| SocketDia = 4.0; // hex key size | |
| SocketDepth = 10.0; | |
| KnurlLen = 15.0; // length of knurled section | |
| KnurlDia = 20.0; // … diameter at midline of knurl diamonds | |
| KnurlDPNom = 12; // Nominal diametral pitch = (# diamonds) / (OD inches) | |
| DiamondDepth = 1.5; // … depth of diamonds | |
| DiamondAspect = 4; // length to width ratio | |
| KnurlID = KnurlDia – DiamondDepth; // dia at bottom of knurl | |
| NumDiamonds = ceil(KnurlDPNom * KnurlID / inch); | |
| echo(str("Num diamonds: ",NumDiamonds)); | |
| NumSides = 4*NumDiamonds; // 4 facets per diamond | |
| KnurlDP = NumDiamonds / (KnurlID / inch); // actual DP | |
| echo(str("DP Nom: ",KnurlDPNom," actual: ",KnurlDP)); | |
| DiamondWidth = (KnurlID * PI) / NumDiamonds; | |
| DiamondLenNom = DiamondAspect * DiamondWidth; // nominal diamond length | |
| DiamondLength = KnurlLen / round(KnurlLen/DiamondLenNom); // … actual | |
| TaperLength = 0*DiamondLength; | |
| //- Shim to support cover | |
| CoverTopThick = 2.0; | |
| ShimThick = 10.0; | |
| ShimCornerRadius = 2.0; | |
| ShimPoints = [[0,0],[60,0],[60,(13.5 – CoverTopThick)],[0,(14.5 – CoverTopThick)]]; | |
| //- Shaft extension to keep crap out of the change gear train | |
| ID = 0; | |
| OD = 1; | |
| LENGTH = 2; | |
| Shaft = [24.0,30.0,41.0]; // ID=through, OD=thread OD, Length = cover to nut seat | |
| ShaftThreadLength = 3.0; | |
| ShaftSides = 6*4; | |
| ShaftNut = [45,50,16]; // recess around shaft nut, OD = outside of cover | |
| Insert = [3.5,5.0,8.0]; // 3 mm threaded insert | |
| NumCoverHoles = 3; | |
| CoverHole = [Insert[OD],35.0,12.0]; // ID = insert, OD = BCD, LENGTH = screw hole depth | |
| ShaftPoints = [ | |
| [Shaft[ID]/2,0], | |
| [ShaftNut[OD]/2,0], | |
| [ShaftNut[OD]/2,Shaft[LENGTH]], | |
| [ShaftNut[ID]/2,Shaft[LENGTH]], | |
| [ShaftNut[ID]/2,Shaft[LENGTH] – ShaftNut[LENGTH]], | |
| [Shaft[OD]/2, Shaft[LENGTH] – ShaftNut[LENGTH]], | |
| [Shaft[OD]/2, Shaft[LENGTH] – ShaftNut[LENGTH] – ShaftThreadLength], | |
| [Shaft[ID]/2, Shaft[LENGTH] – ShaftNut[LENGTH] – ShaftThreadLength], | |
| ]; | |
| //———————- | |
| // Useful routines | |
| module PolyCyl(Dia,Height,ForceSides=0) { // based on nophead's polyholes | |
| Sides = (ForceSides != 0) ? ForceSides : (ceil(Dia) + 2); | |
| FixDia = Dia / cos(180/Sides); | |
| cylinder(r=(FixDia + HoleWindage)/2, | |
| h=Height, | |
| $fn=Sides); | |
| } | |
| //- Build things | |
| if (Layout == "Knob") | |
| difference() { | |
| union() { | |
| render(convexity=10) | |
| translate([0,0,TaperLength]) // knurled cylinder | |
| knurl(k_cyl_hg=KnurlLen, | |
| k_cyl_od=KnurlDia, | |
| knurl_wd=DiamondWidth, | |
| knurl_hg=DiamondLength, | |
| knurl_dp=DiamondDepth, | |
| e_smooth=DiamondLength/2); | |
| color("Orange") // lower tapered cap | |
| cylinder(r1=HeadDia/2, | |
| r2=(KnurlDia – DiamondDepth)/2, | |
| h=(TaperLength + Protrusion), | |
| $fn=NumSides); | |
| color("Orange") // upper tapered cap | |
| translate([0,0,(TaperLength + KnurlLen – Protrusion)]) | |
| cylinder(r2=HeadDia/2, | |
| r1=(KnurlDia – DiamondDepth)/2, | |
| h=(TaperLength + Protrusion), | |
| $fn=NumSides); | |
| color("Moccasin") // cylindrical extension | |
| translate([0,0,(2*TaperLength + KnurlLen – Protrusion)]) | |
| cylinder(r=HeadDia/2,h=(HeadRecess + Protrusion),$fn=NumSides); | |
| } | |
| translate([0,0,(2*TaperLength + KnurlLen + HeadRecess – SocketDepth + Protrusion)]) | |
| PolyCyl(SocketDia,(SocketDepth + Protrusion),6); // hex key socket | |
| } | |
| if (Layout == "Shim") | |
| linear_extrude(height=(ShimThick)) // overall flange around edges | |
| polygon(points=ShimPoints); | |
| if (Layout == "Shaft") | |
| difference() { | |
| rotate_extrude($fn=ShaftSides,convexity=5) | |
| polygon(points=ShaftPoints); | |
| for (i=[0:NumCoverHoles-1]) | |
| rotate(i*360/NumCoverHoles) | |
| translate([CoverHole[OD]/2,0,-Protrusion]) | |
| rotate(180/8) | |
| PolyCyl(Insert[OD],15,8); | |
| } |
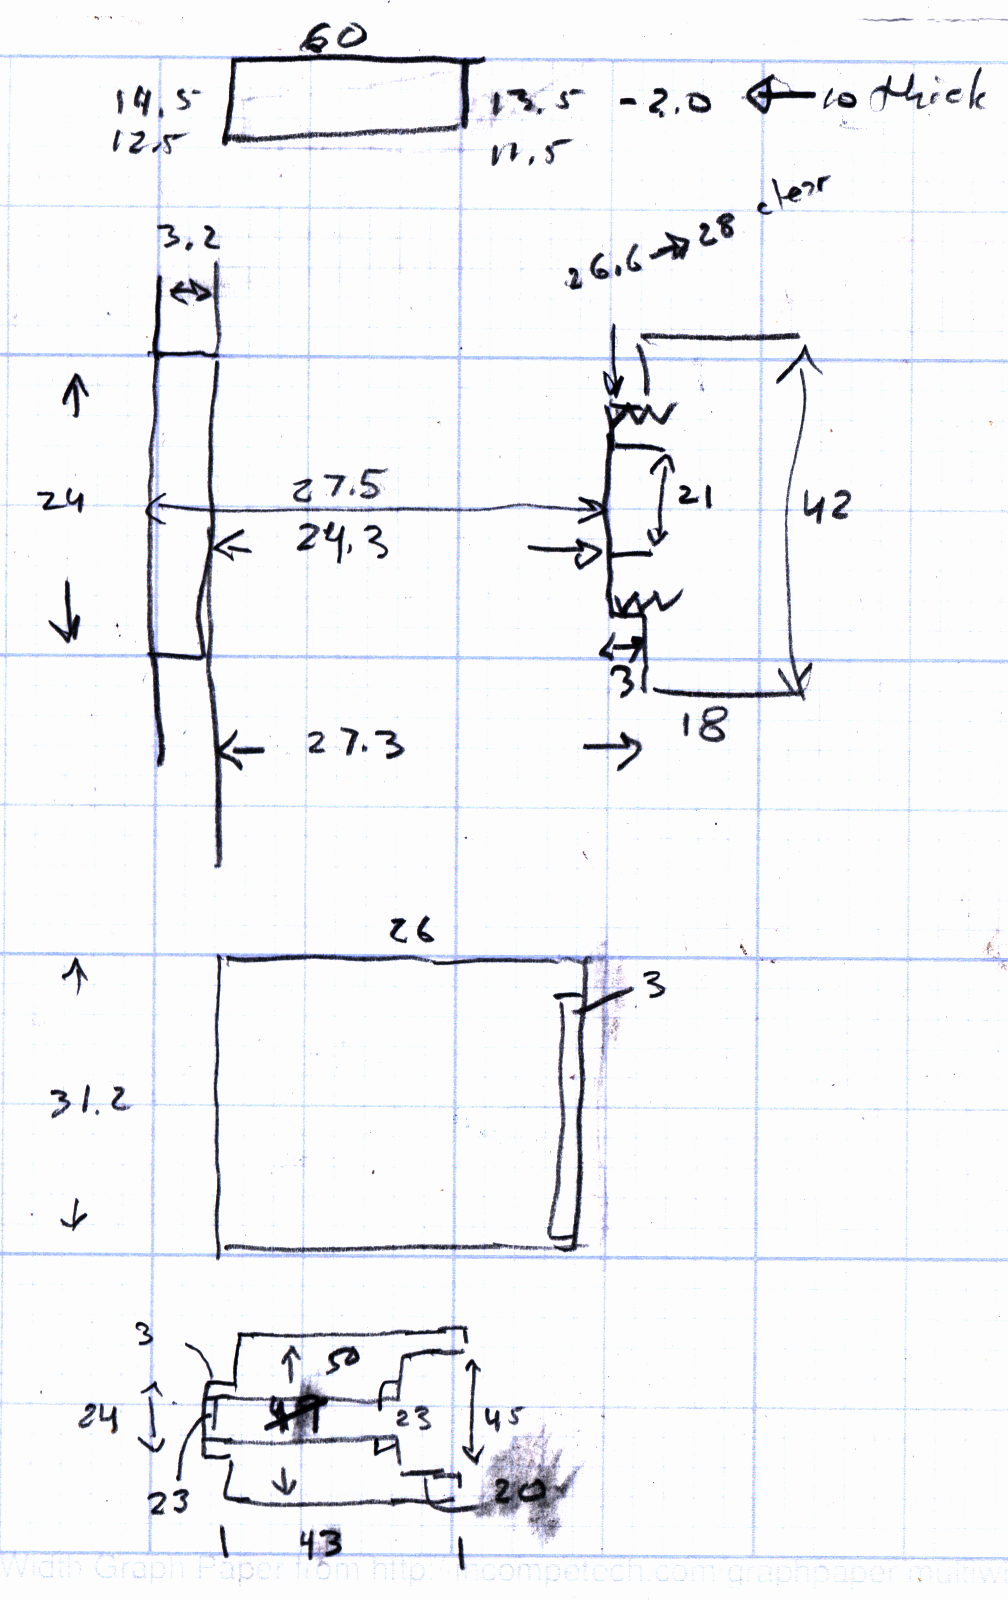
The original doodle with more-or-less actual dimensions and clearances and suchlike: