|
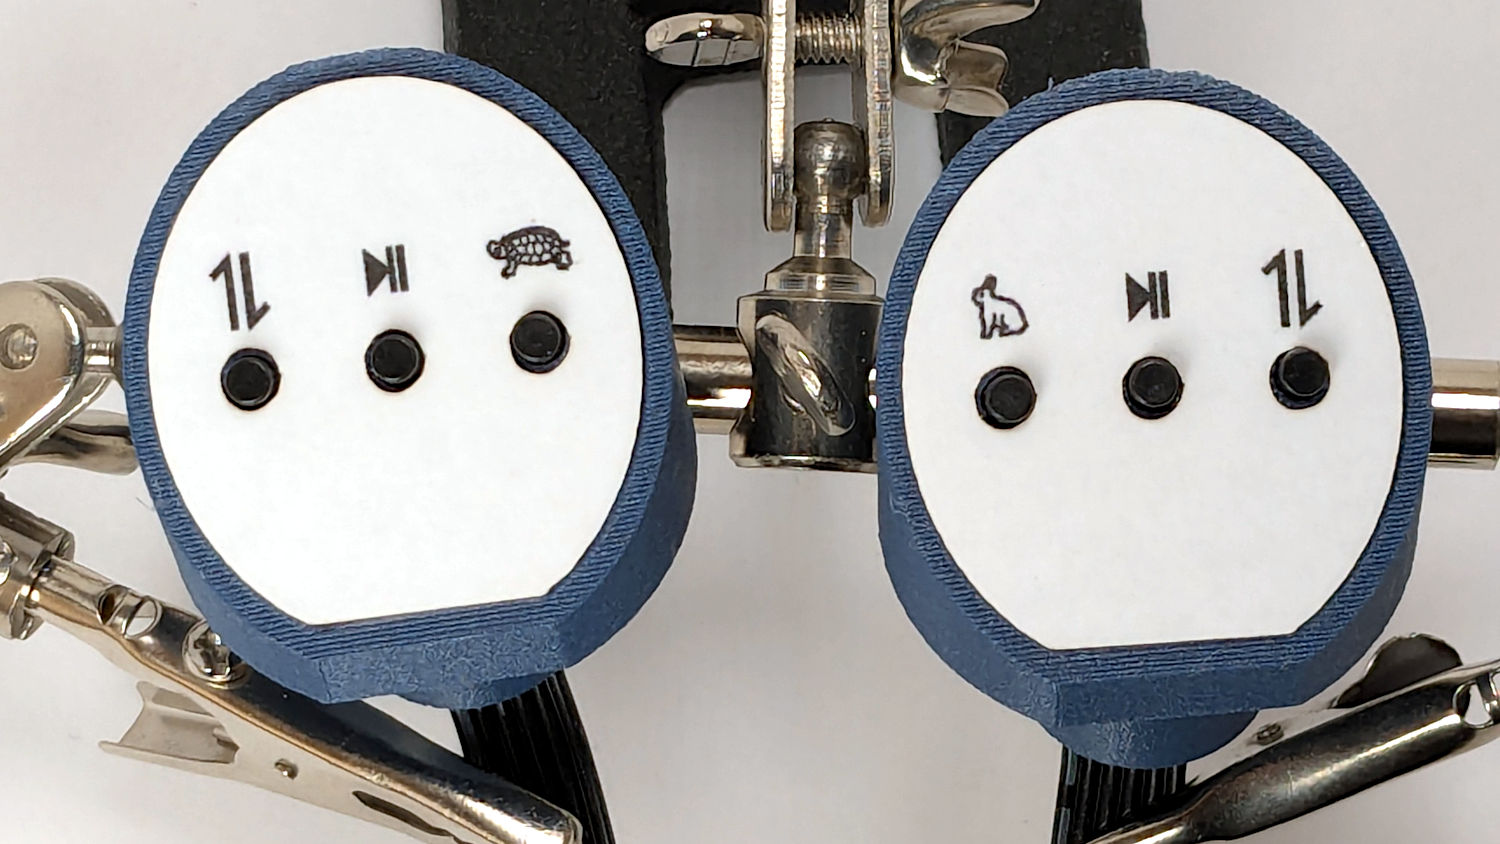
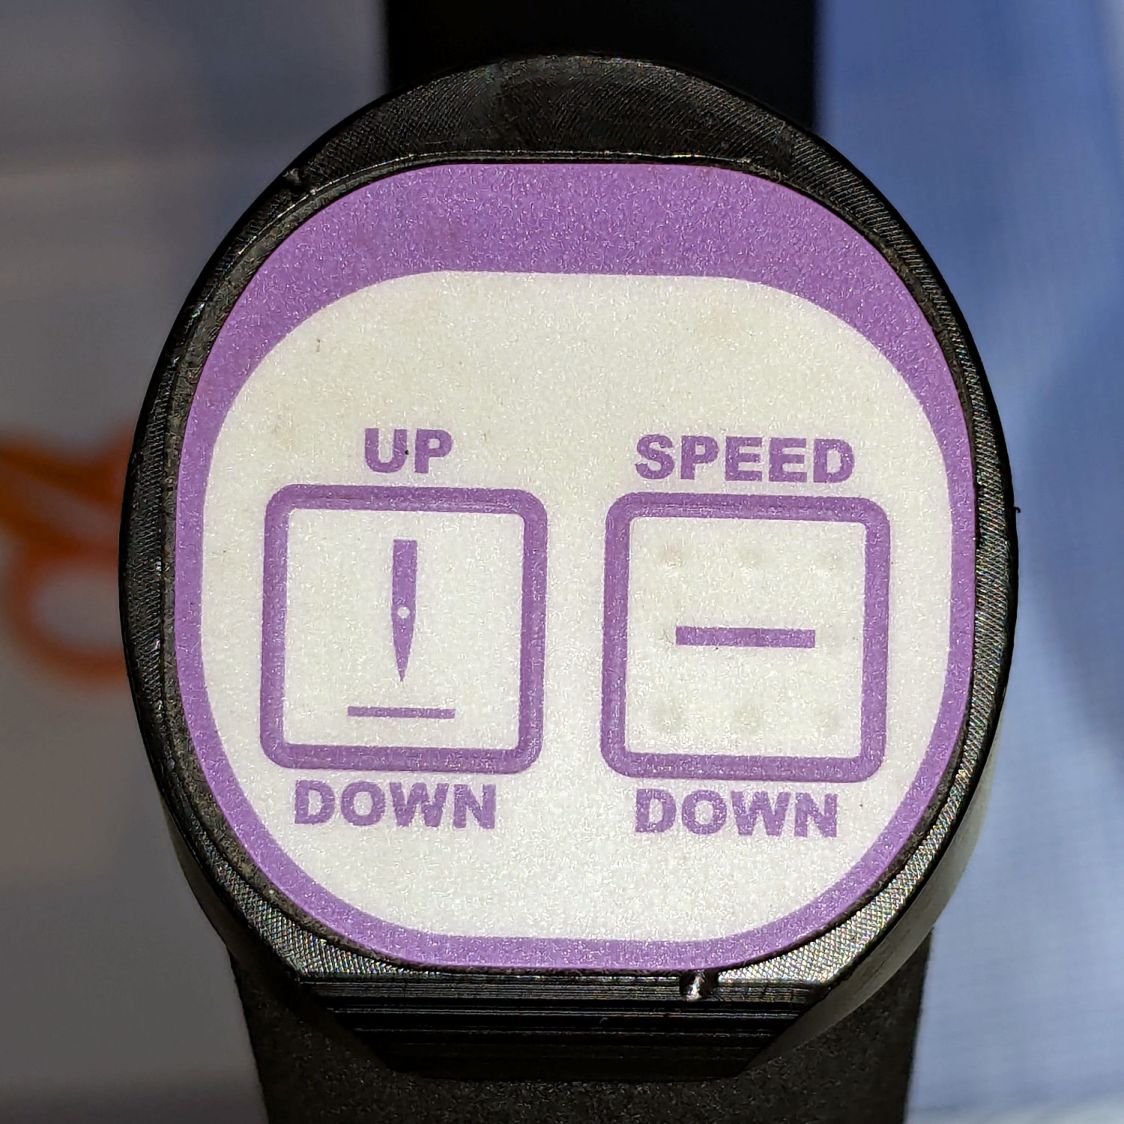
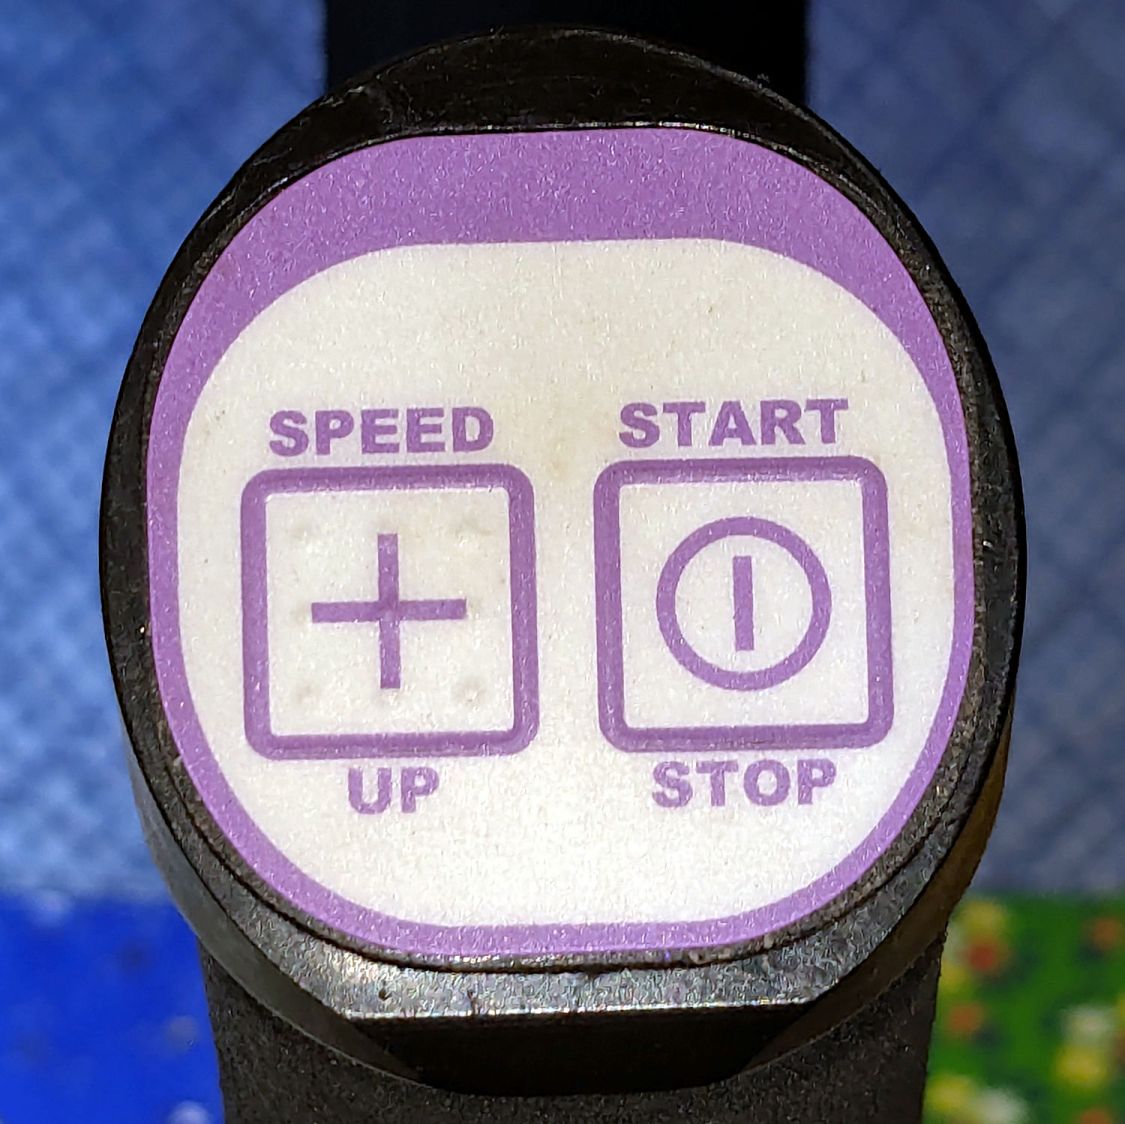
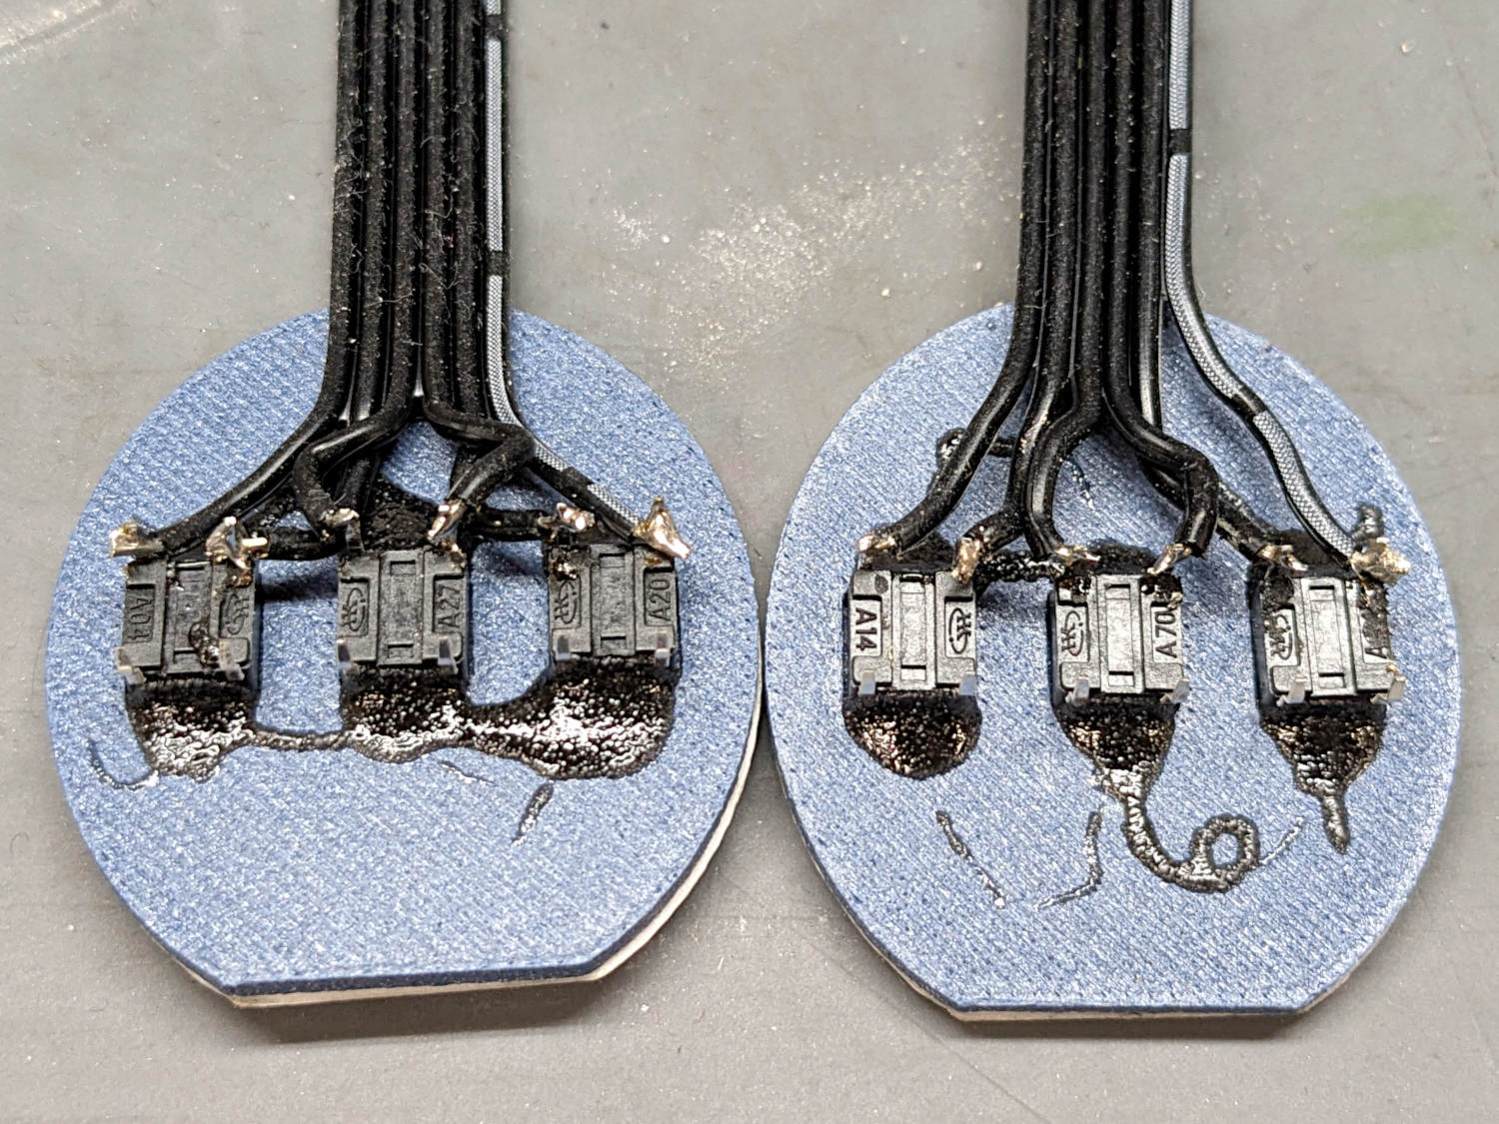
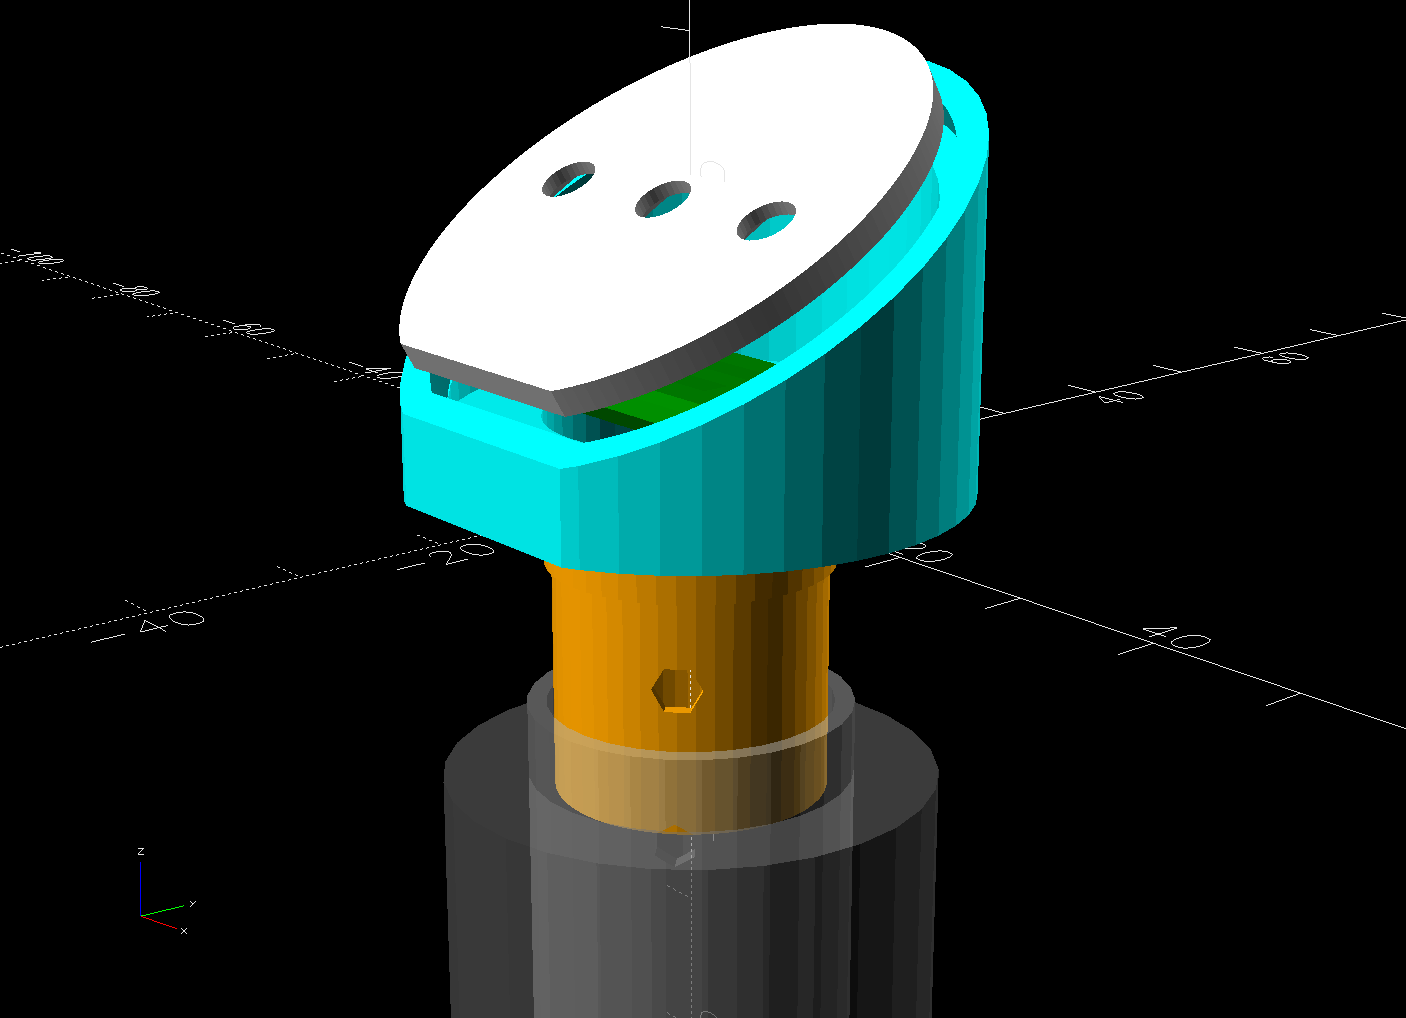
// Handiquilter HQ Sixteen handlebar control button caps |
|
// Ed Nisley – KE4ZNU |
|
// 2025-04-05 |
|
|
|
include <BOSL2/std.scad> |
|
|
|
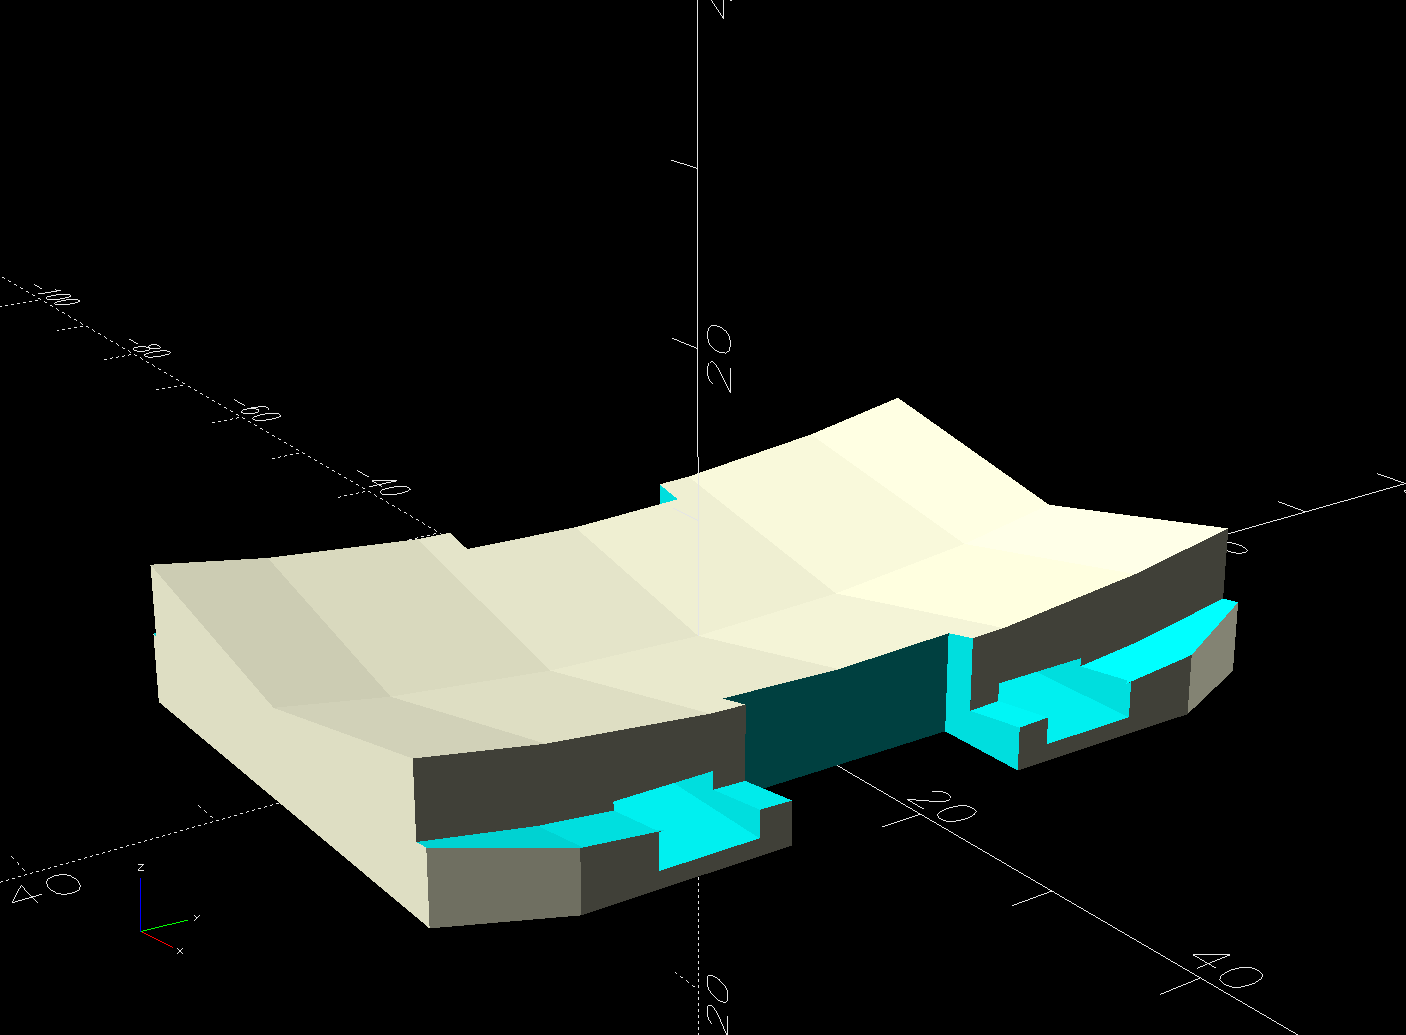
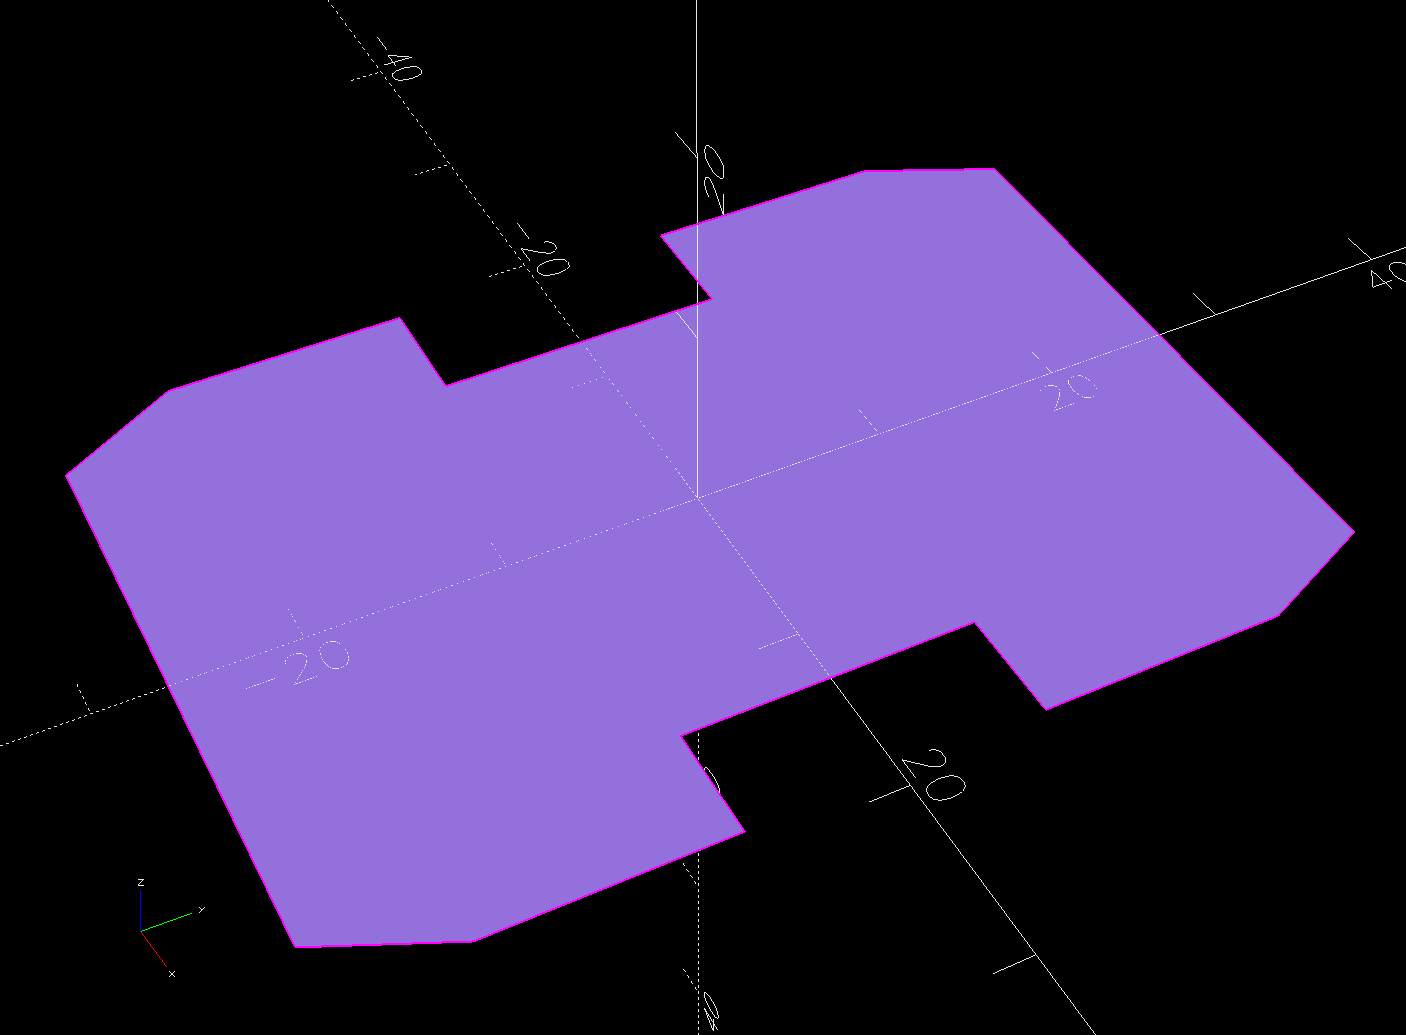
Layout = "Show"; // [Show,Build,Grip,Body,Face,FaceBack,Plug,CableLock] |
|
|
|
// Angle w.r.t. handlebar |
|
FaceAngle = 30; // [10:45] |
|
|
|
// Separation in Show display |
|
Gap = 5; // [0:20] |
|
|
|
/* [Hidden] */ |
|
|
|
HoleWindage = 0.2; |
|
Protrusion = 0.1; |
|
NumSides = 2*3*4; |
|
|
|
WallThick = 3.0; |
|
|
|
ID = 0; |
|
OD = 1; |
|
LENGTH = 2; |
|
|
|
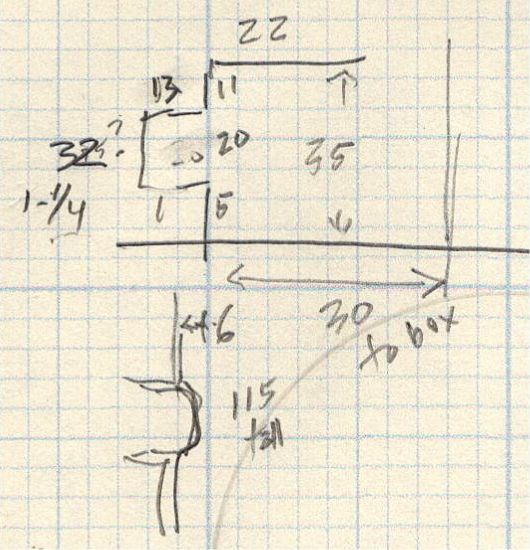
Grip = [19.7,22.4,15.0]; // (7/8)*INCH = 22.2 mm + roughness, LENGTH=OEM insertion depth |
|
GripRadius = Grip[OD]/2; |
|
|
|
FoamOD = 34.0; // handlebar foam |
|
FoamRadius = FoamOD/2; |
|
|
|
SwitchBody = [6.3,6.3,4.0]; // does not include SMD leads |
|
SwitchStemOD = 3.5 + 2*HoleWindage; |
|
SwitchOC = 10.0; // center-to-center switch spacing |
|
LabelThick = 0.5; // laminated overlay |
|
|
|
FaceRim = 2.0; // rim around faceplate |
|
FaceThick = 2.0; // … plate thickness |
|
FaceDepth = FaceThick + LabelThick; // inset allowing for faceplate label |
|
|
|
CapOD = 38.0; // overall cap diameter |
|
CapTrim = FoamRadius; // flat trim on front |
|
CapBase = 5.0; // bottom thickness |
|
Cap = [FoamOD – FaceRim,CapOD,CapBase + CapOD*tan(FaceAngle)]; |
|
echo(Cap=Cap); |
|
|
|
TargetSize = 4.0; // laser alignment targets |
|
TargetsOC = [40.0,40.0]; |
|
|
|
Cable = [10.0,2.0,WallThick]; // aperture for cable lock |
|
|
|
ScrewAngles = [-45,45]; // mounting screws |
|
Screw = [2.0,3.0,7.0]; // OEM = sheet metal screw |
|
ScrewOffset = 6.0; // from top of grip tube |
|
|
|
SquareNut = [3.0,5.5,2.3 + 0.4]; // M3 square nut OD = side, LENGTH + inset allowance |
|
NutInset = GripRadius – sqrt(pow(GripRadius,2) – pow(SquareNut[OD],2)/4); |
|
|
|
PlugOA = [(Grip[ID] – 2*WallThick),(Grip[ID] – 1.0),(CapBase + ScrewOffset + 10.0)]; |
|
echo(PlugOA=PlugOA); |
|
|
|
//———- |
|
// Define objects |
|
|
|
//—– |
|
// Handlebar tube |
|
|
|
module GripTube() { |
|
|
|
difference() { |
|
tube(3*Grip[LENGTH],GripRadius,Grip[ID]/2,anchor=TOP); |
|
for (a = ScrewAngles) { |
|
down(ScrewOffset) zrot(a-90) |
|
right(GripRadius) |
|
yrot(90) cylinder(d=Screw[OD],h=Screw[LENGTH],center=true,$fn=6); |
|
|
|
} |
|
} |
|
} |
|
|
|
//—– |
|
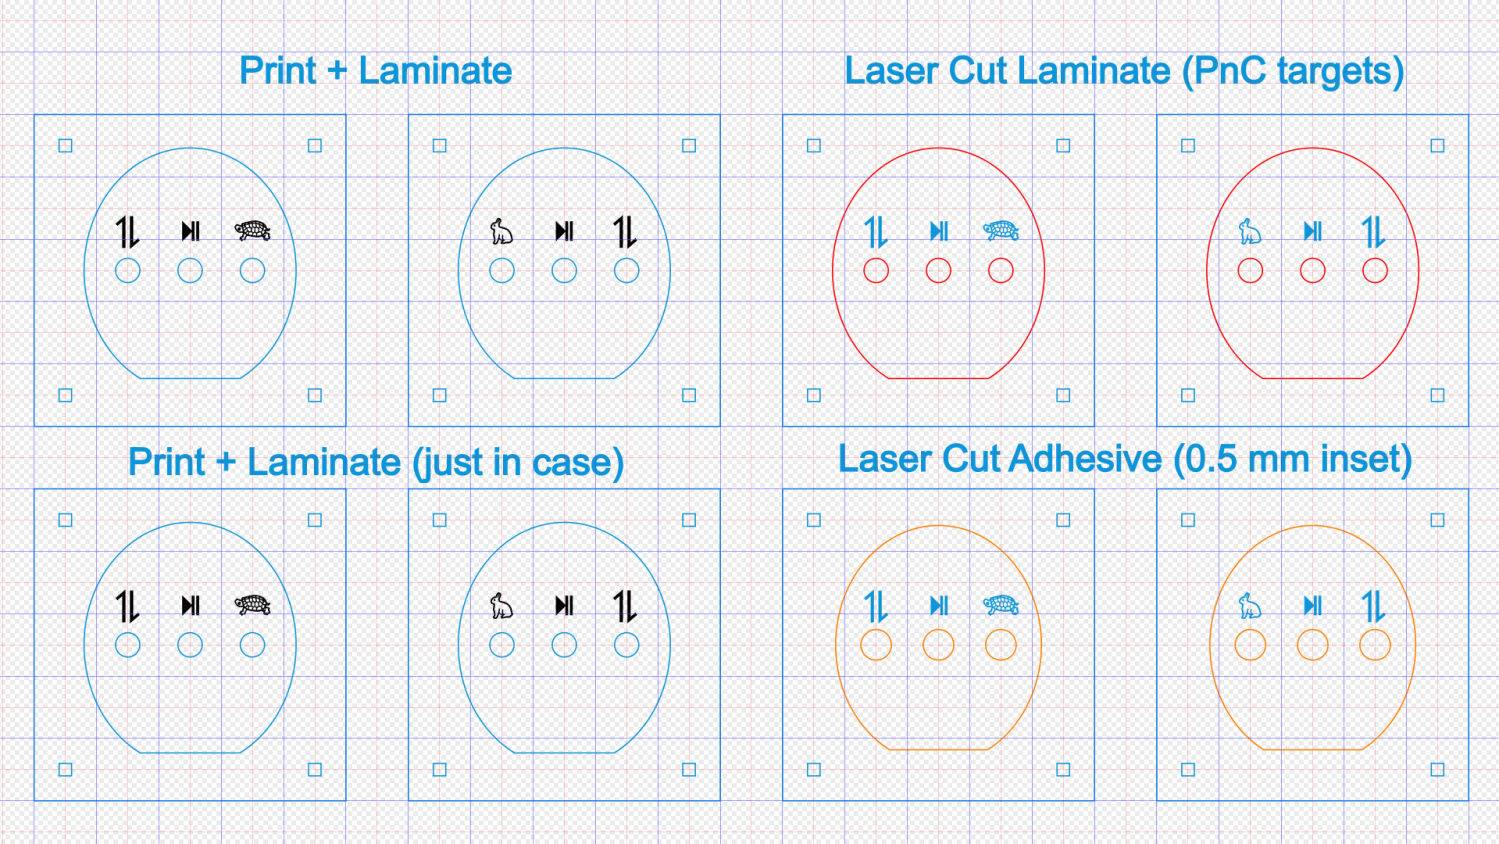
// SVG outline of faceplate for laser cuttery |
|
|
|
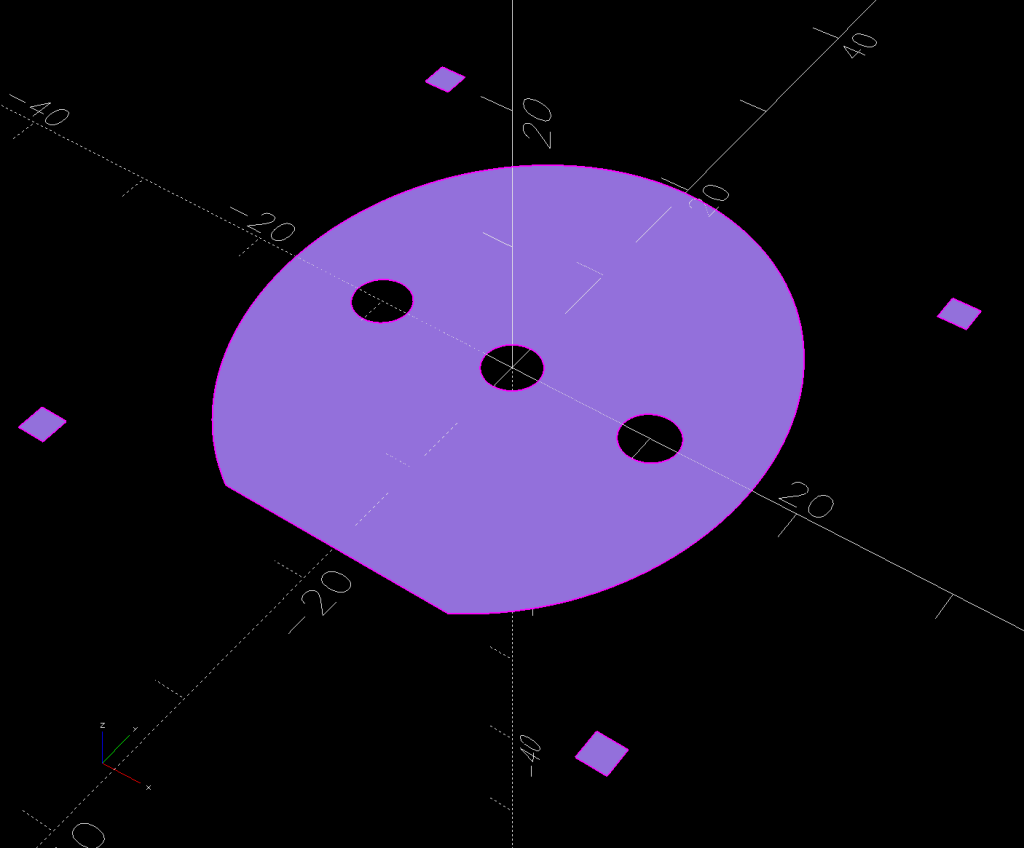
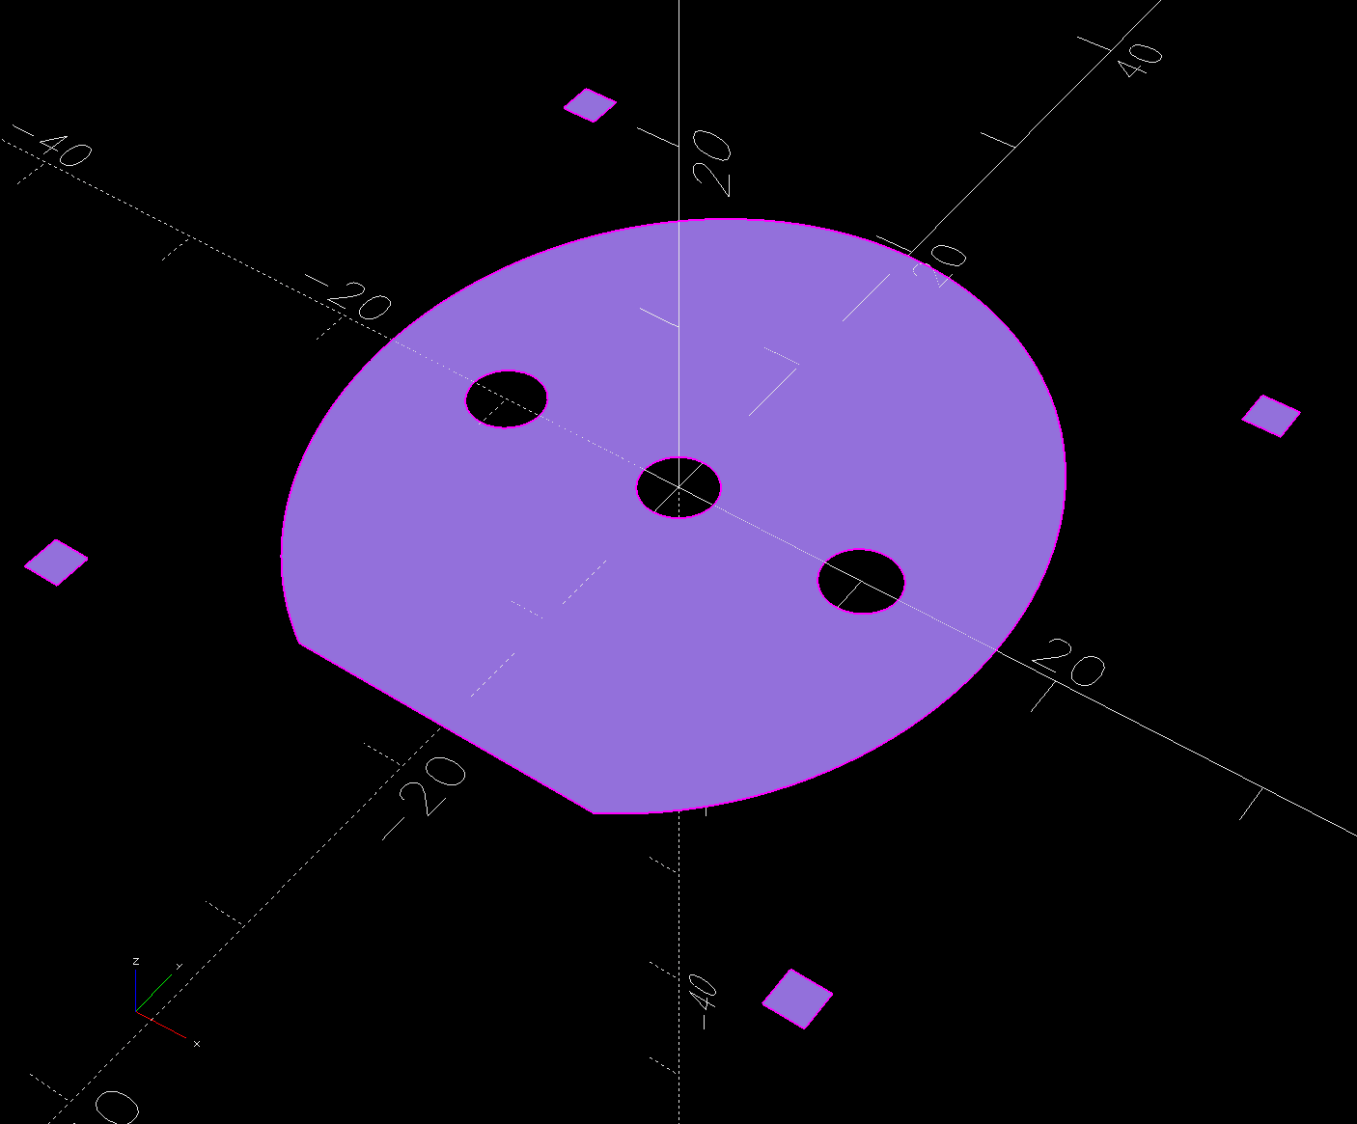
module FaceShape(Holes=true,Targets=false) { |
|
|
|
difference() { |
|
|
|
scale([1,1/cos(FaceAngle)]) |
|
difference() { |
|
circle(d=(Cap[OD] – 2*FaceRim),$fn=144); |
|
fwd(CapTrim – FaceRim) |
|
square(Cap[OD],anchor=BACK); |
|
} |
|
|
|
if (Holes) |
|
for (i=[-1:1]) // arrange switch stem holes |
|
right(i*SwitchOC) |
|
zrot(180/8) circle(d=SwitchStemOD,$fn=32); |
|
|
|
} |
|
|
|
if (Targets) |
|
for (i = [-1,1], j = [-1,1]) |
|
translate([i*TargetsOC.x/2,j*TargetsOC.y/2]) |
|
square(2.0,center=true); |
|
} |
|
|
|
//—– |
|
// Faceplate backing sheet |
|
// Switch bodies indented into bottom, so flip to build |
|
|
|
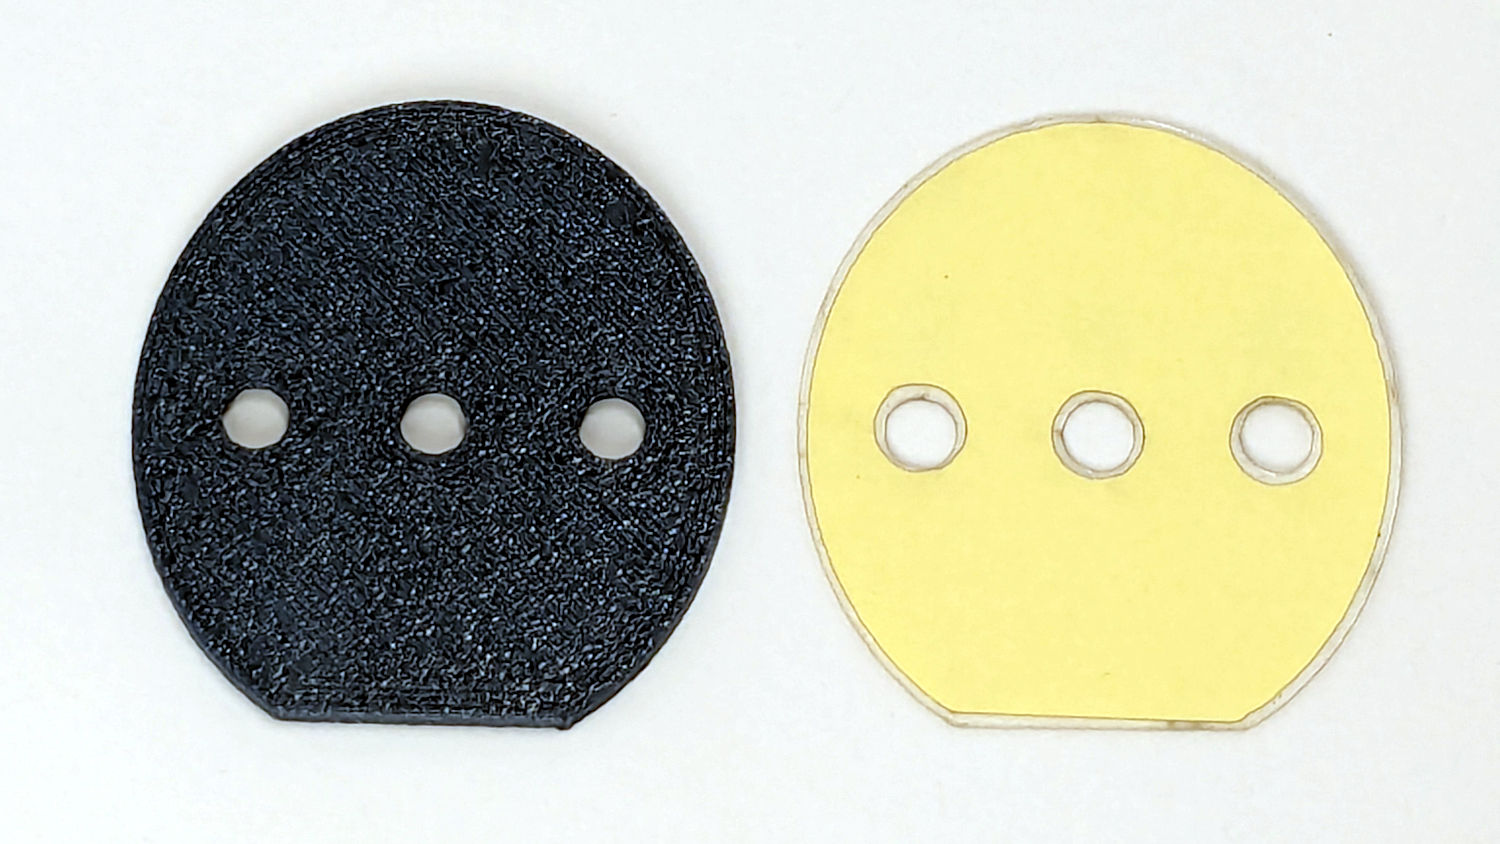
module FacePlate(Thick=FaceThick,Holes=true) { |
|
|
|
difference() { |
|
linear_extrude(height=Thick,convexity=5) |
|
FaceShape(Holes); |
|
up(SwitchBody.z/4) |
|
for (i = [-1:1]) |
|
right(i*SwitchOC) |
|
cube(SwitchBody,anchor=TOP); |
|
} |
|
} |
|
|
|
|
|
//—– |
|
// Cap body |
|
|
|
module CapBody() { |
|
|
|
$fn=48; |
|
|
|
up(CapBase + (Cap[OD]/2)*tan(FaceAngle)) xrot(FaceAngle) |
|
difference() { |
|
xrot(-FaceAngle) |
|
down(CapBase + (Cap[OD]/2)*tan(FaceAngle)) |
|
difference() { |
|
cylinder(d=Cap[OD],h=Cap[LENGTH]); |
|
fwd(CapTrim) down(Protrusion) |
|
cube(2*Cap[LENGTH],anchor=BACK+BOTTOM); |
|
up(CapBase) |
|
difference() { |
|
cylinder(d=Cap[ID],h=Cap[LENGTH]); |
|
fwd(CapTrim – 2*FaceRim) |
|
cube(2*Cap[LENGTH],anchor=BACK+BOTTOM); |
|
} |
|
down(Protrusion) |
|
cylinder(d=Grip[ID],h=Cap[LENGTH]); |
|
} |
|
cube(2*Cap[OD],anchor=BOTTOM); |
|
down(FaceDepth) |
|
FacePlate(FaceDepth + Protrusion,Holes=false); |
|
} |
|
|
|
} |
|
|
|
//—– |
|
// Plug going into grip handlebar |
|
|
|
module CapPlug() { |
|
|
|
$fn=48; |
|
|
|
difference() { |
|
tube(PlugOA[LENGTH],id=PlugOA[ID],od=PlugOA[OD],anchor=BOTTOM) |
|
position(TOP) |
|
tube(CapBase,id=PlugOA[ID],od=Grip[ID],anchor=TOP); |
|
for (a = ScrewAngles) |
|
up(PlugOA.z – CapBase – ScrewOffset) zrot(a-90) |
|
right(PlugOA[ID]/2) |
|
yrot(90) { |
|
cube([SquareNut[OD],SquareNut[OD],SquareNut[LENGTH] + NutInset],center=true); |
|
zrot(180/6) |
|
cylinder(d=(SquareNut[ID] + 2*HoleWindage),h=PlugOA[ID],center=true,$fn=6); |
|
} |
|
} |
|
|
|
} |
|
|
|
//—– |
|
// Lock plate for ribbon cable |
|
|
|
module CableLock() { |
|
|
|
difference() { |
|
cuboid([2*Cable.x,PlugOA[ID],WallThick],rounding=WallThick/2,anchor=BOTTOM); |
|
for (j = [-1,1]) |
|
back(j*Cable.y) down(Protrusion) |
|
cube(Cable + [0,0,2*Protrusion],anchor=BOTTOM); |
|
} |
|
|
|
} |
|
|
|
//———- |
|
// Build things |
|
|
|
if (Layout == "Grip") { |
|
color("Silver",0.5) |
|
GripTube(); |
|
} |
|
|
|
if (Layout == "Face") |
|
FaceShape(Targets=true); |
|
|
|
if (Layout == "FaceBack") |
|
FacePlate(); |
|
|
|
if (Layout == "Body") |
|
CapBody(); |
|
|
|
if (Layout == "Plug") |
|
CapPlug(); |
|
|
|
if (Layout == "CableLock") |
|
CableLock(); |
|
|
|
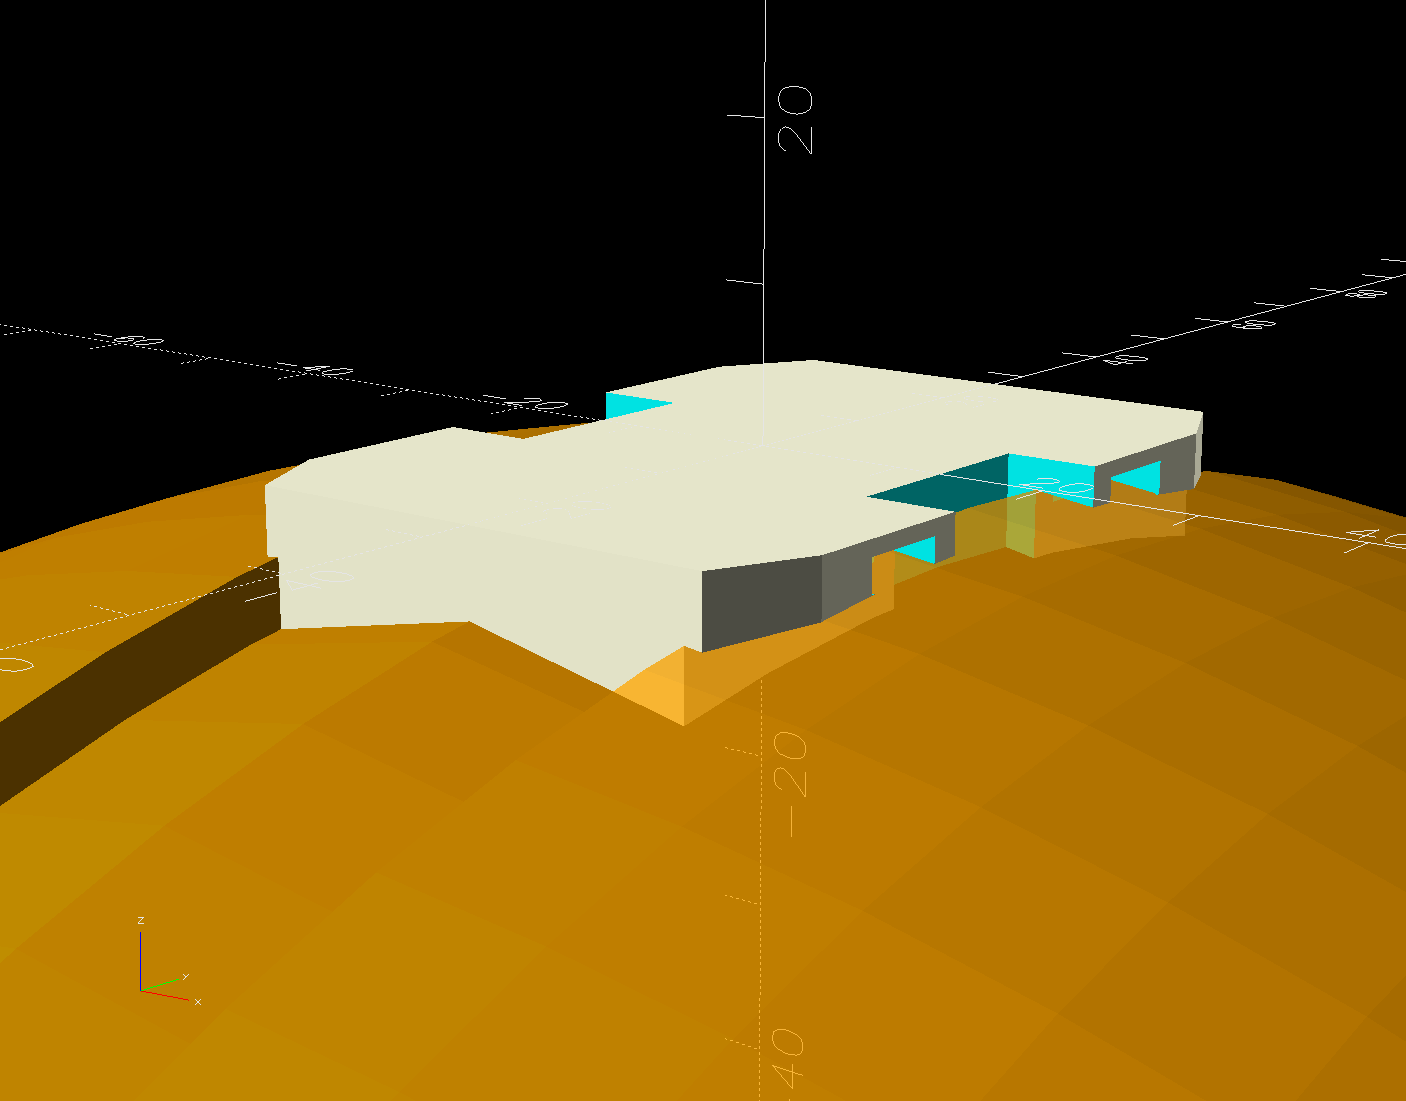
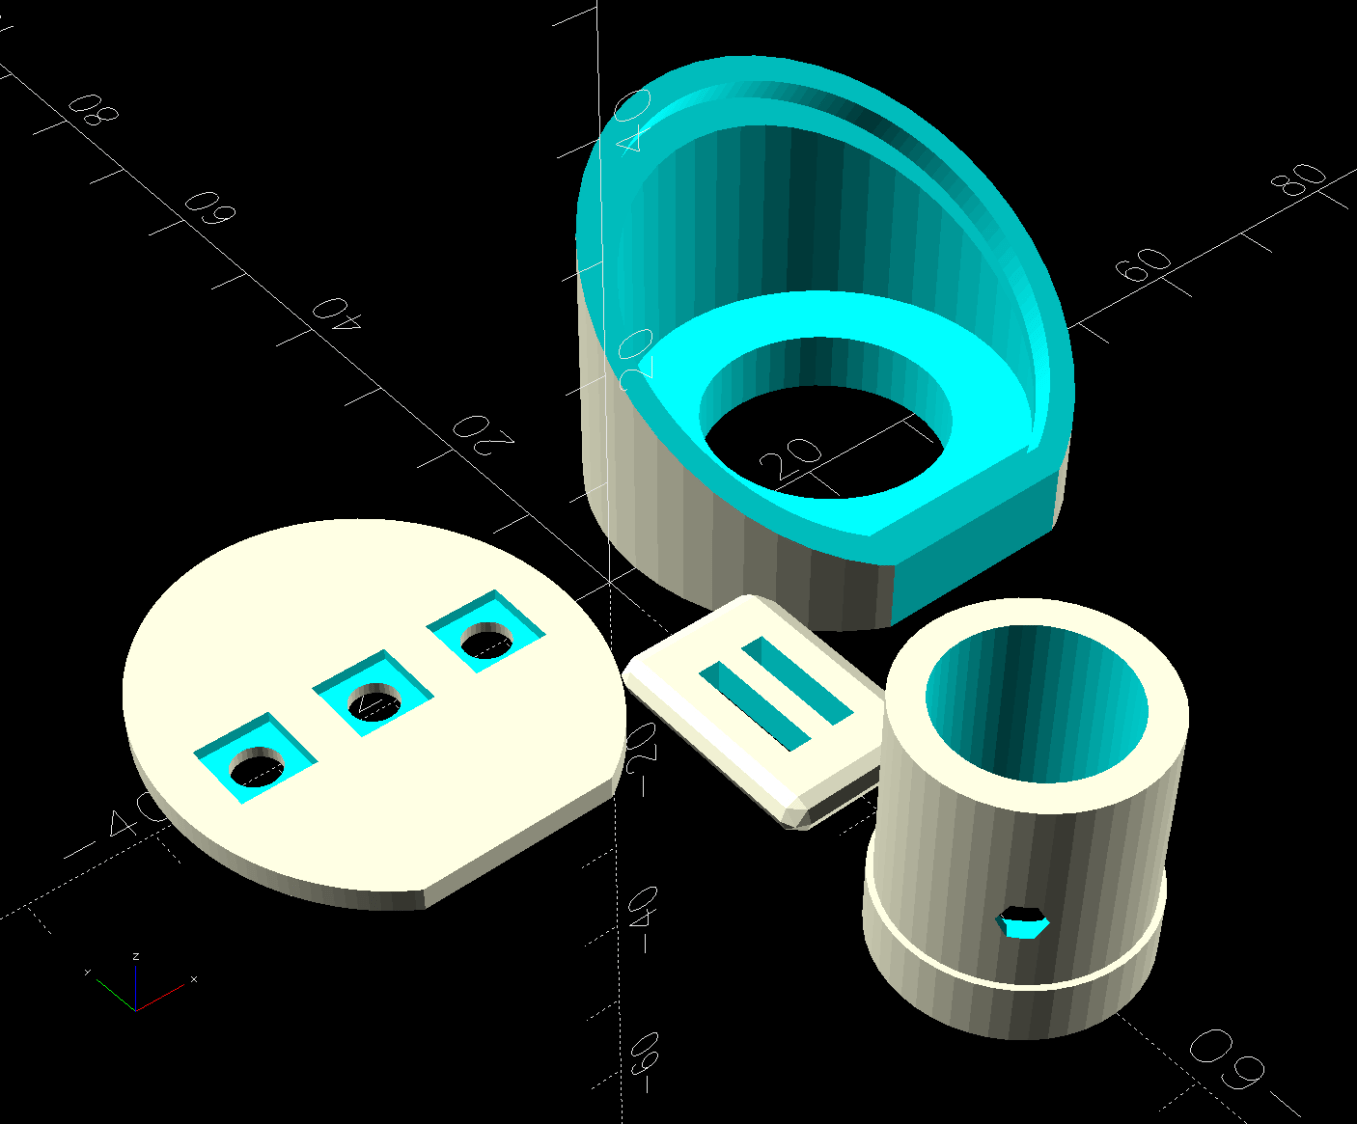
if (Layout == "Show") { |
|
|
|
color("Green") |
|
up(CapBase) |
|
CableLock(); |
|
|
|
color("Orange") |
|
down(Gap) |
|
down(PlugOA[LENGTH] – CapBase) |
|
CapPlug(); |
|
|
|
color("Cyan",(Gap > 4)? 1.0 : 0.2) |
|
CapBody(); |
|
|
|
color("White",(Gap > 4)? 1.0 : 0.5) |
|
up(Gap*cos(FaceAngle)) fwd(Gap*sin(FaceAngle)) |
|
up(CapBase + (Cap[OD]/2)*tan(FaceAngle) – FaceDepth) |
|
back(FaceDepth*sin(FaceAngle)) xrot(FaceAngle) |
|
FacePlate(); |
|
|
|
down(3*Gap) { |
|
color("Silver",0.5) |
|
GripTube(); |
|
|
|
down(Gap) |
|
color("Gray",0.5) |
|
tube(3*Grip[LENGTH],FoamRadius,Grip[OD]/2,anchor=TOP); |
|
} |
|
} |
|
|
|
if (Layout == "Build") { |
|
right((Gap + Cap[OD])/2) |
|
CapBody(); |
|
left((Gap + Cap[OD])/2) |
|
zrot(180) up(FaceThick) xrot(180) |
|
FacePlate(); |
|
fwd(Gap + Cap[OD]) |
|
up(PlugOA[LENGTH]) xrot(180) zrot(180) |
|
CapPlug(); |
|
fwd(Cap[OD]/2) |
|
zrot(90) |
|
CableLock(); |
|
} |