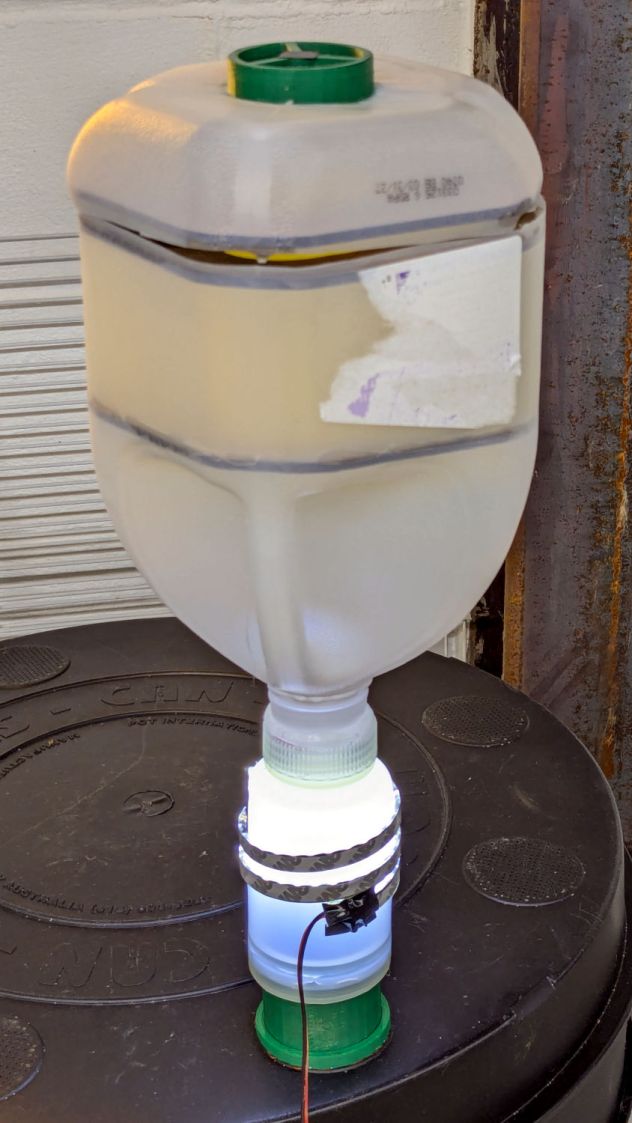
Despite freezing the kitchen scraps going into the worm bin since the previous fruit fly infestation, a zillion flies are now in residence. Lacking the peppermint-stick tube of yesteryear, I conjured another fly trap from common household items:
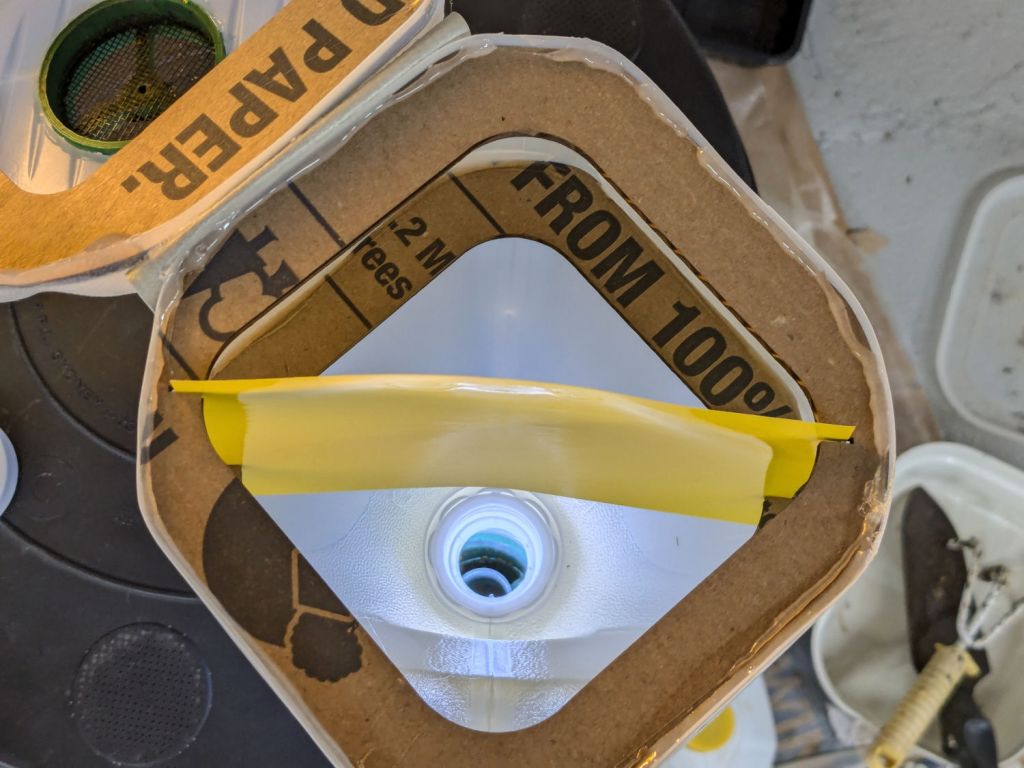
The gap around the top got a strip of tape after I took the picture.
The gallon jug has cardboard stiffeners supporting a sheet of the sticky paper I used for the onion fly traps:

I was all set to 3D print a threaded adapter to join the two bottles when I realized they already had lids. A few minutes of lathe work added a passageway:
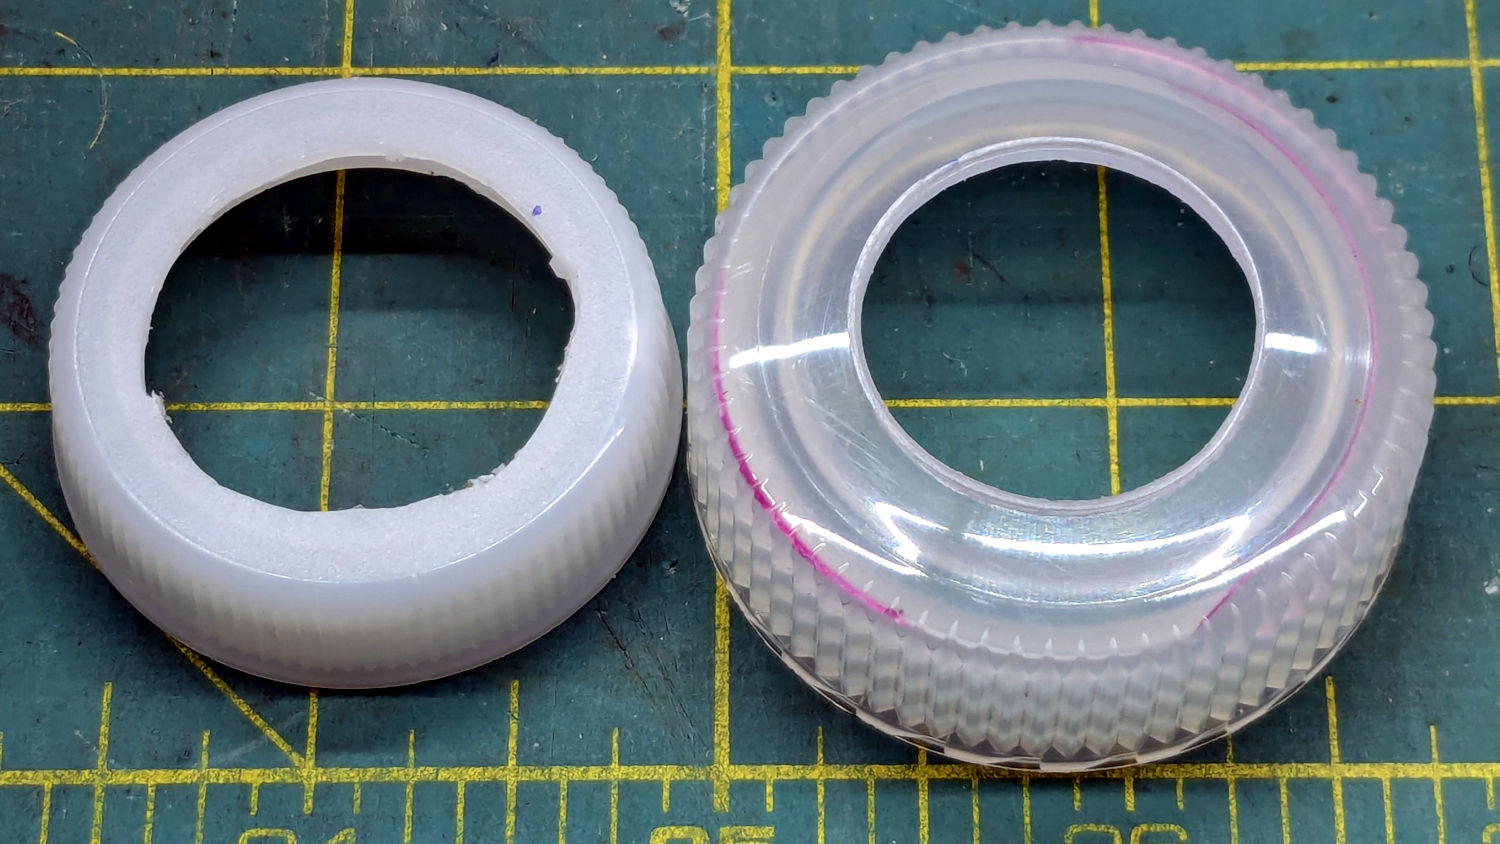
They’re held together by a generous ring of hot melt glue:
The LED strip provides enough light to simultaneously attract the flies and repel the worms.
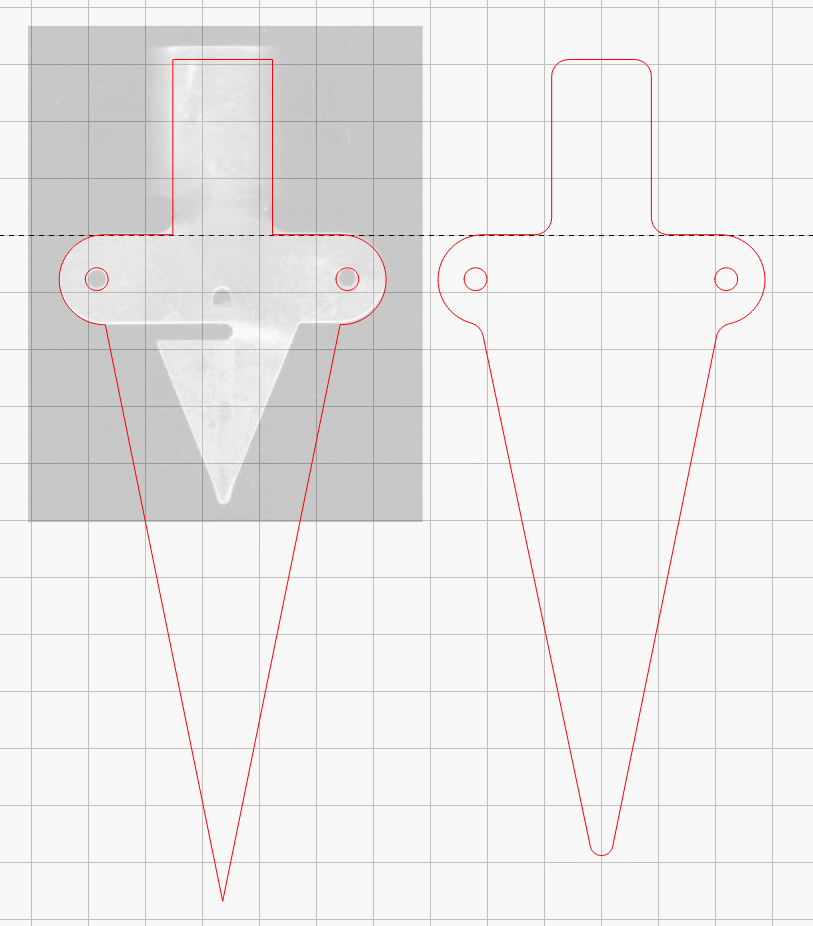
The laser cuttery looks like this:
The white shape in the black block is a scan of the cut-open jug, with the other shapes in that row being rectangularized versions. The two tiny notches in the Top and Bottom shapes hold the sticky paper.
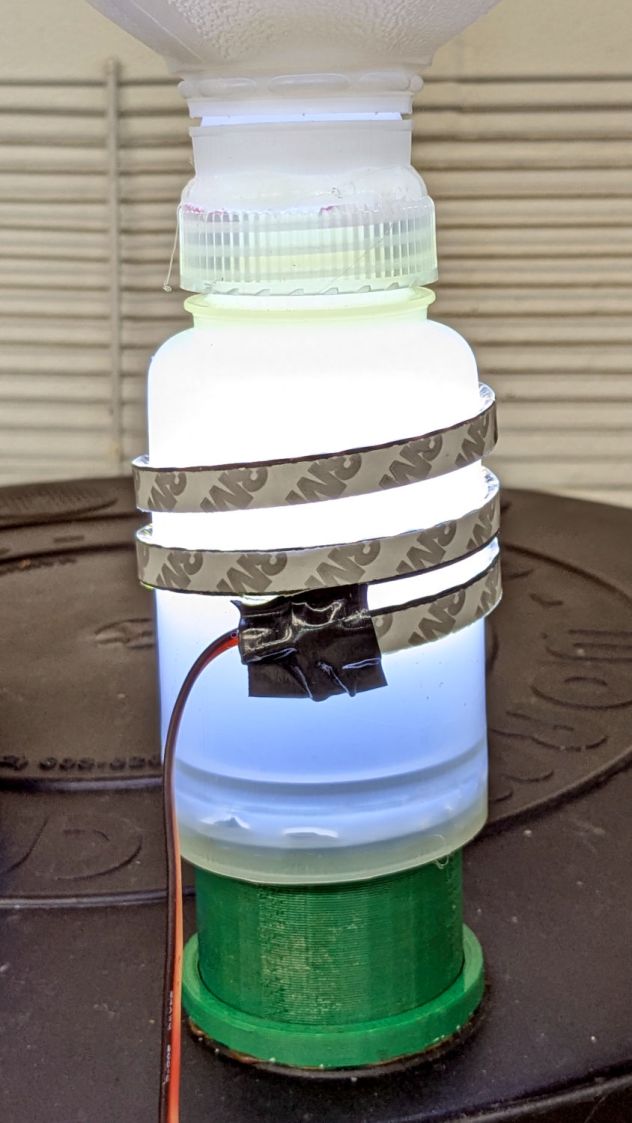
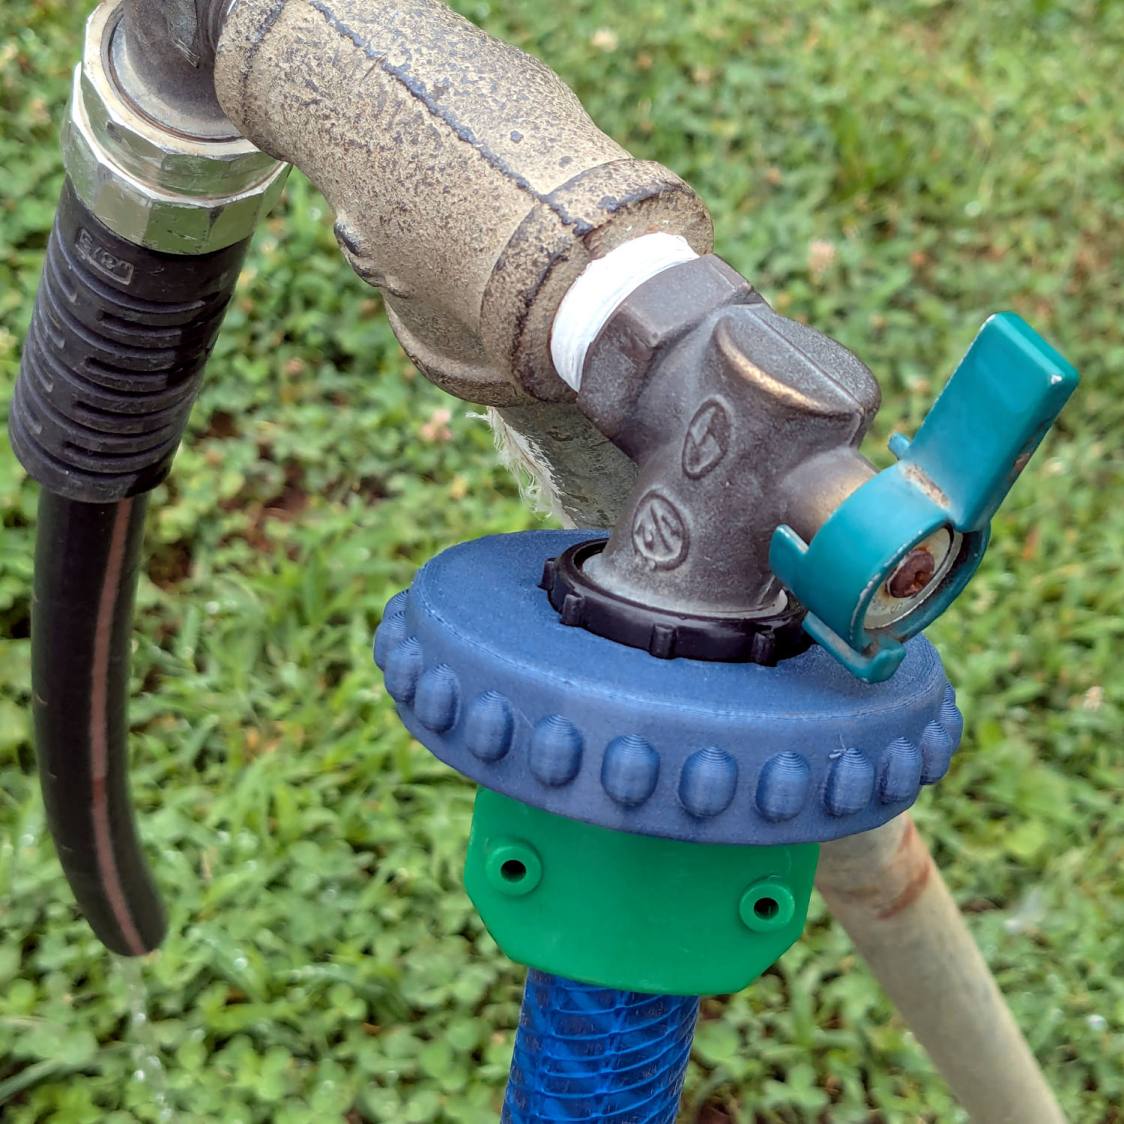
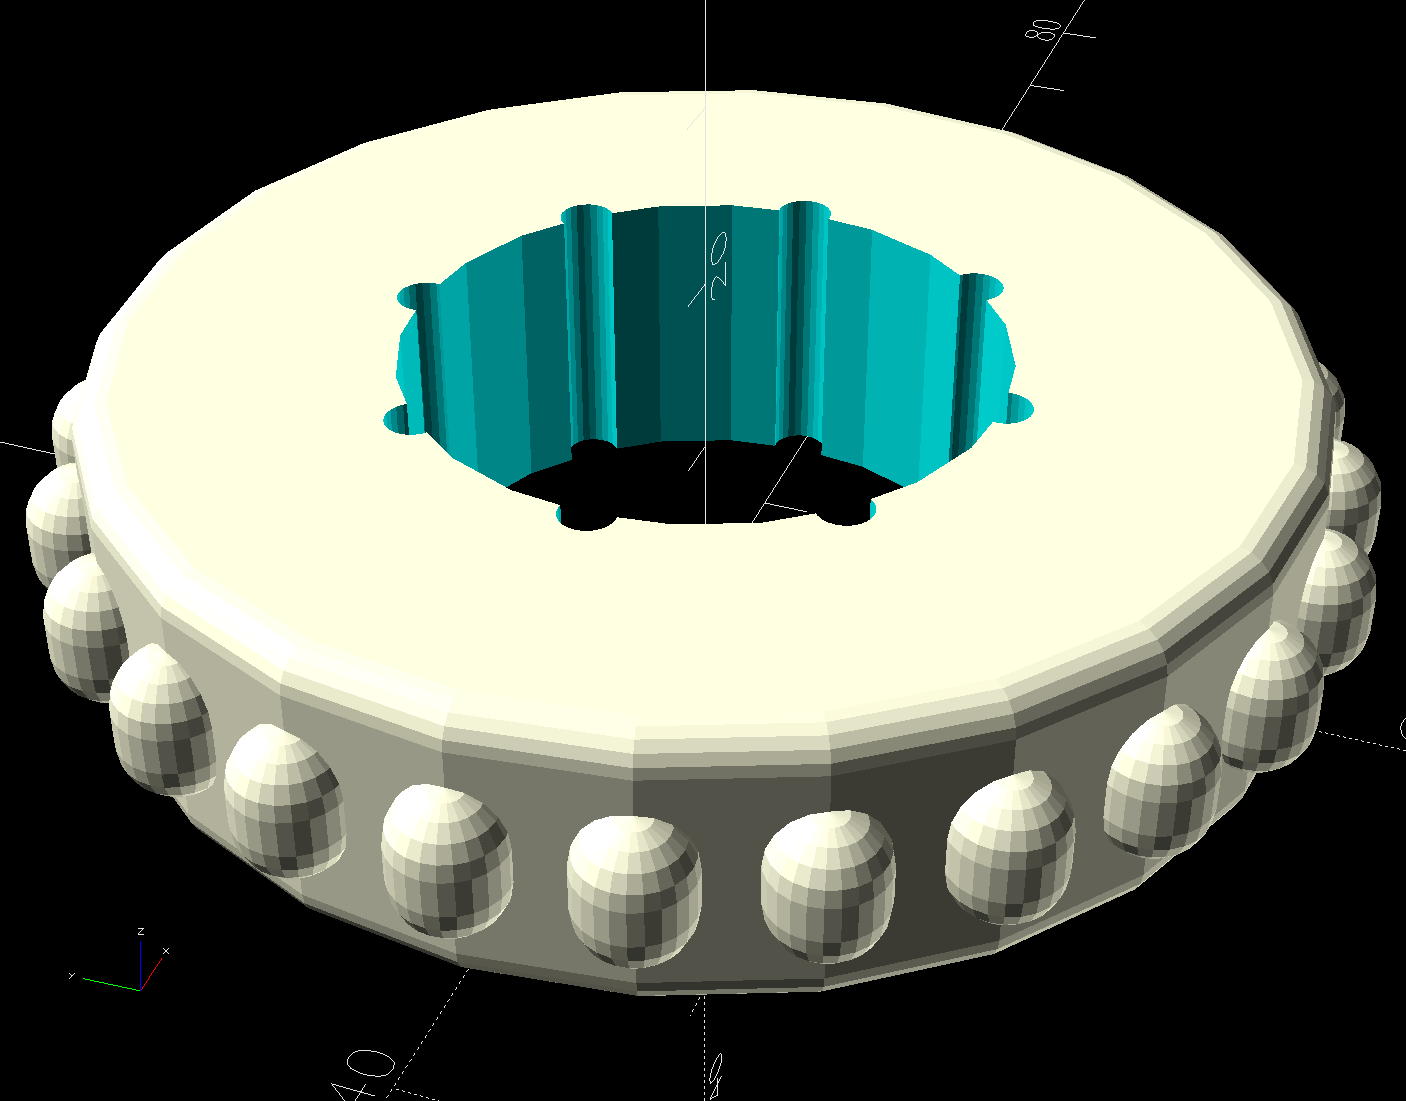
The two rings at the top adapt the LED-wrapped bottle to the existing fitting on the worm bin from the previous episode. They’re visible as shadows near the bottom of the bottle.
The circle is a laser-cut hole in the gallon jug bottom for the screened plug made for the pepermint-stick tube; the less said about that operation the better.
So far, so good, although previous experience suggests the flies will be breeding ahead of their (considerable) losses for the next few weeks.


