-
Countersunk Screw Recess Fillers
For reasons not relevant here, a friend must fill several pre-drilled countersunk flat-head screw holes with brass plugs suitable for M5 screws. These proof-of-concept samples give the general idea, with the red blotch on the left marking the first attempt:
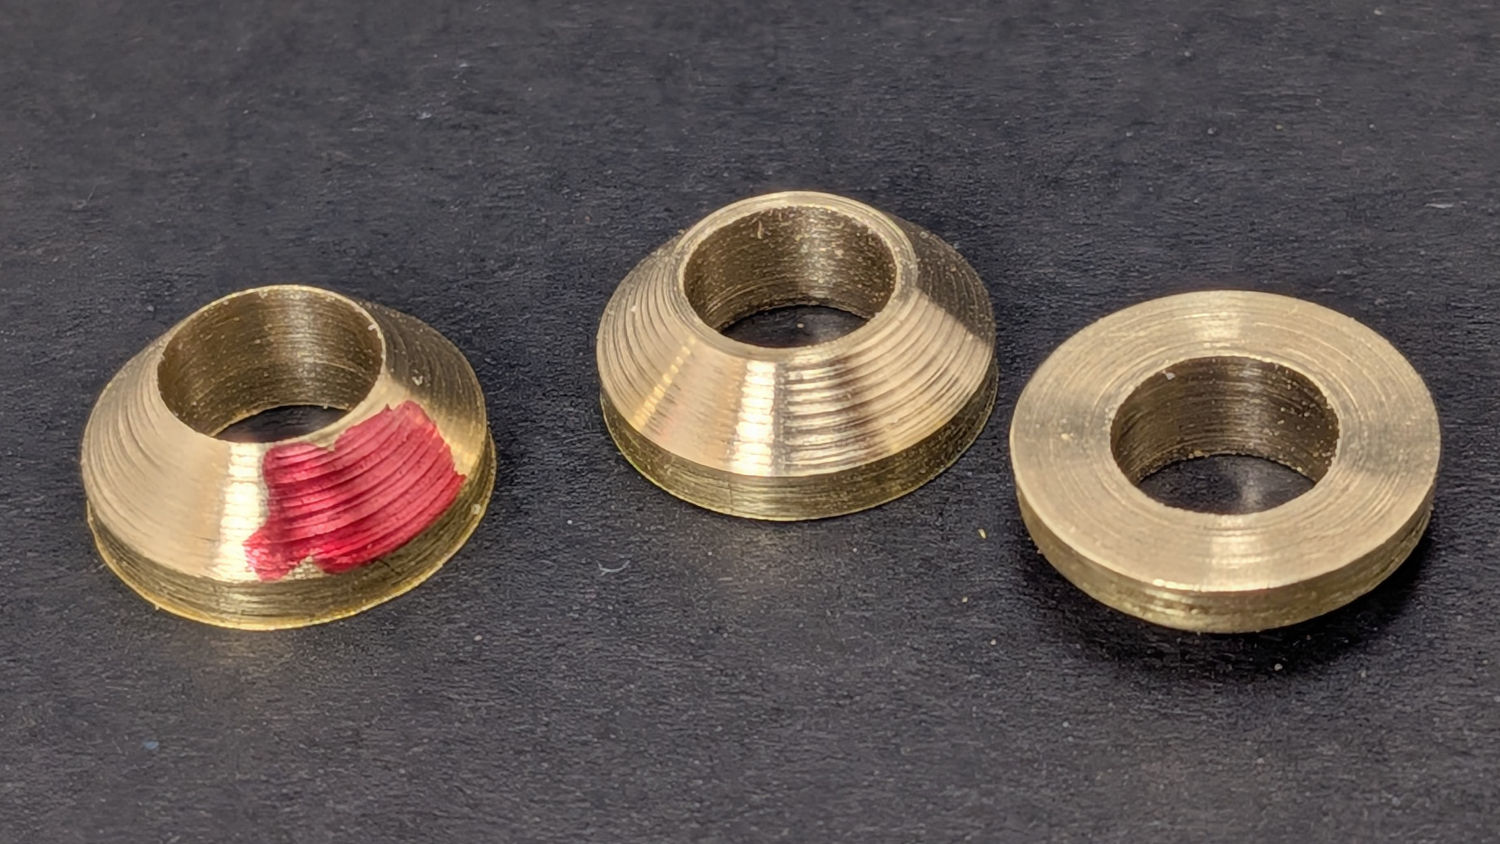
Shelf flush screw fillers – samples He gets to make as many as needed …
The flat-head screws have an 82° included angle, so the lathe compound angle must be 41°. Tiny Lathe lacks sufficient reach to accomplish that on the front side, but cutting the back of the brass rod with the spindle running in reverse will work:
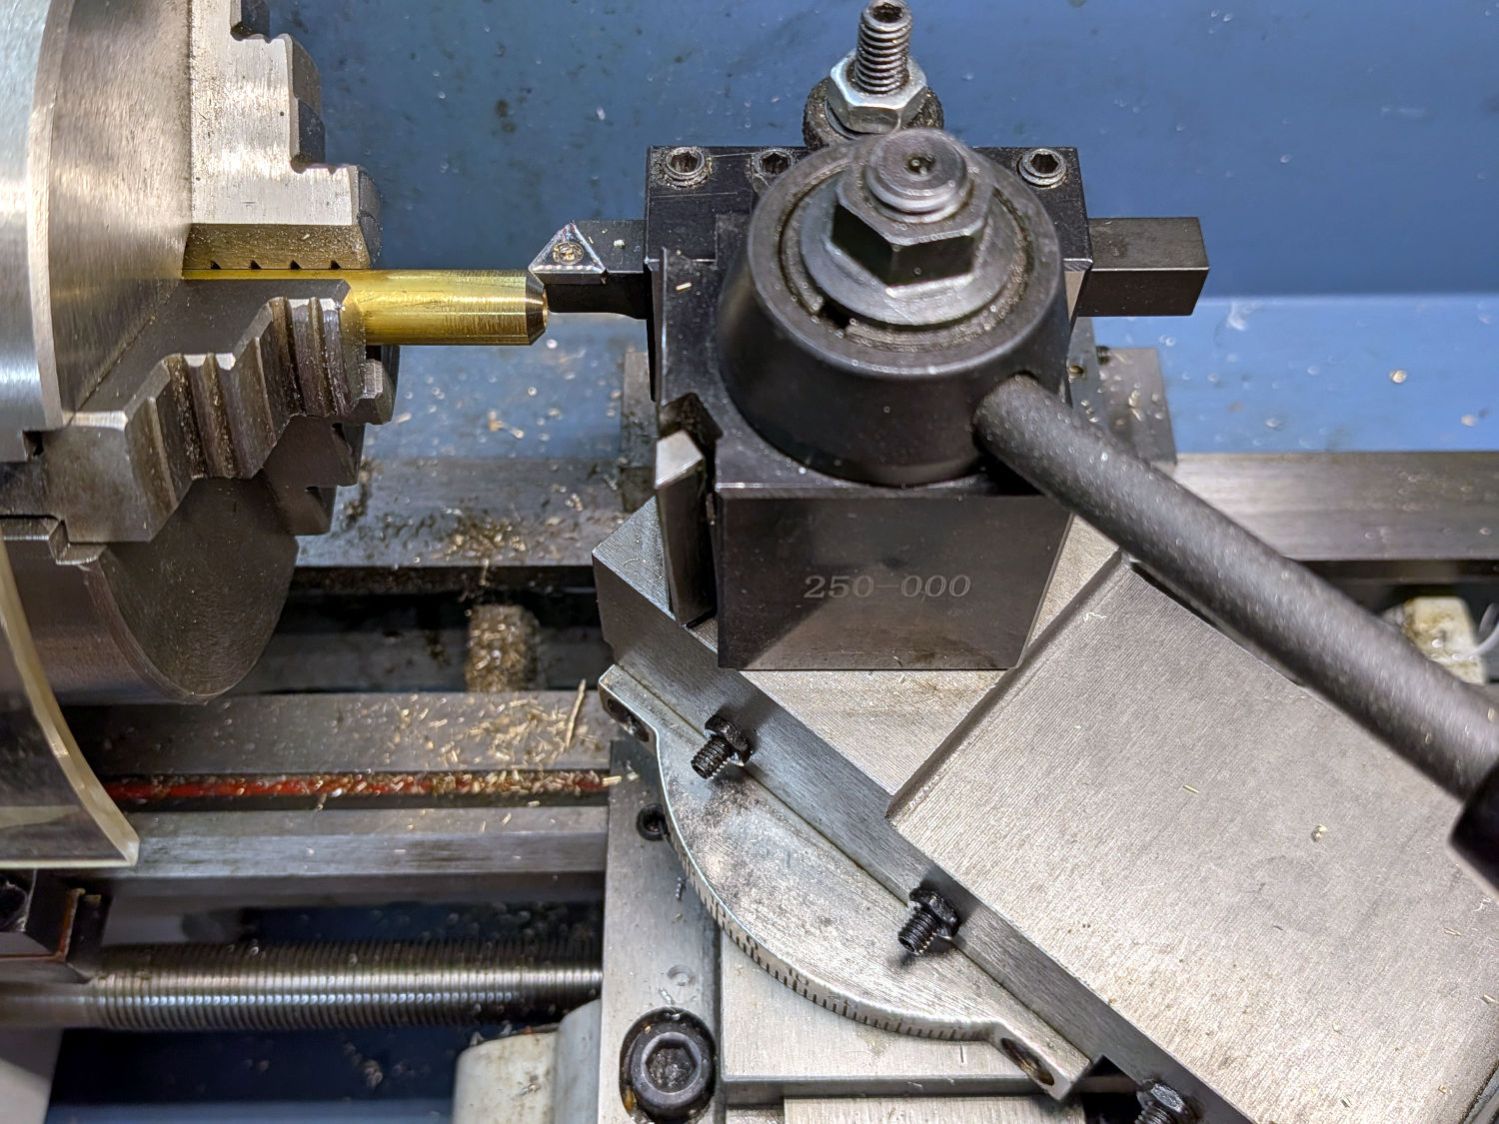
Shelf flush screw fillers – lathe setup The quick-change tool post is aligned parallel with the lathe bed to put the tools at the proper angle.
It turns out 41° is about as far as the compound will go:
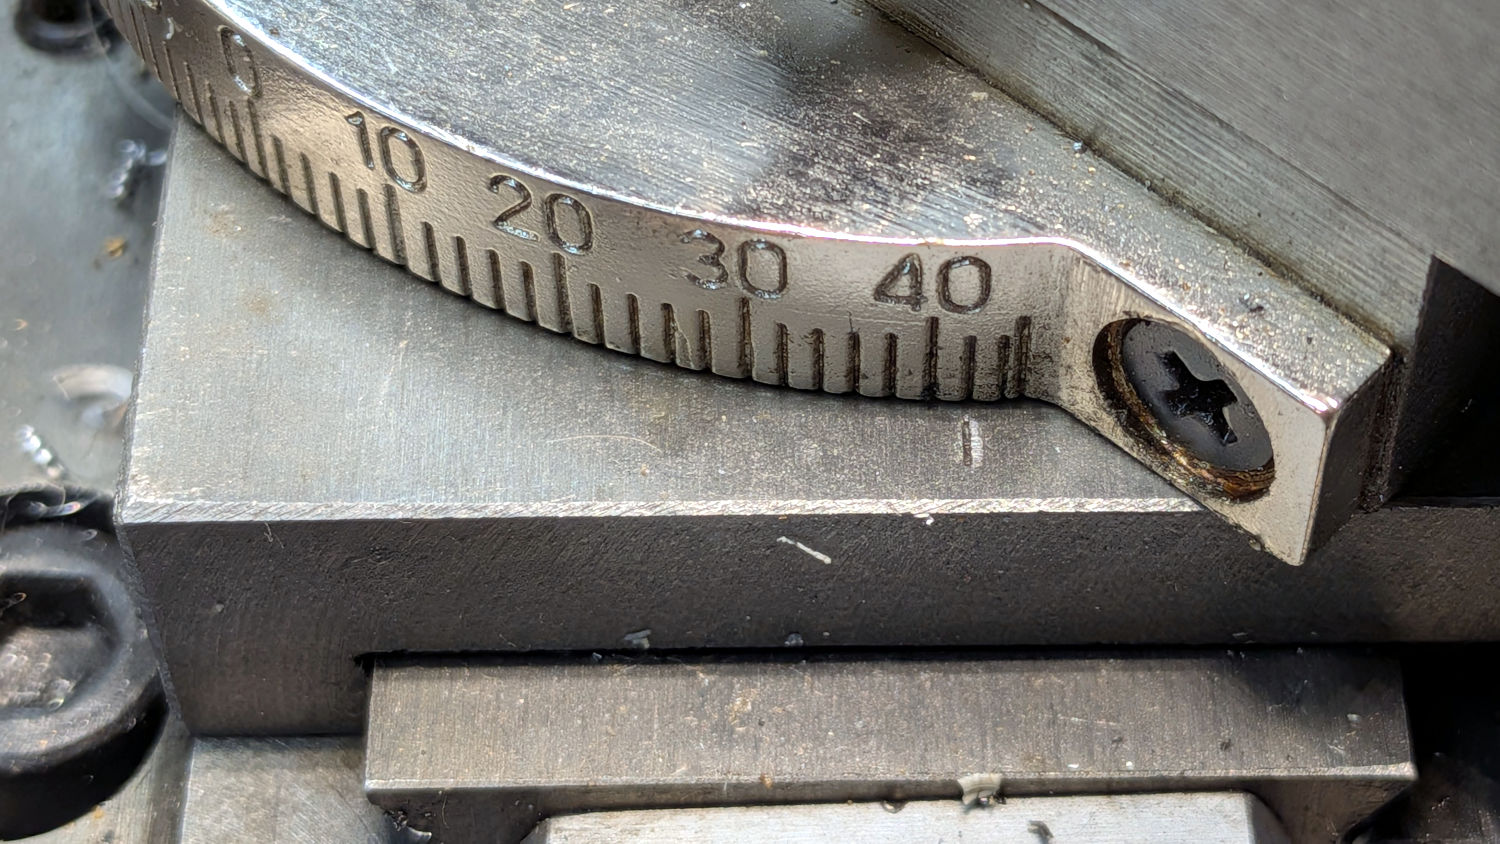
Shelf flush screw fillers – compound angle setting This, readers of long memory may recall, is the mini-lathe with the cross-slide DRO interfering with the compound enough to prevent it from cutting ordinary 60° screw threads, which is why the angle tops out at 42° instead of 60° in both directions.
The filler needs a 5.1 mm hole for EZ clearance, which is straightforward:
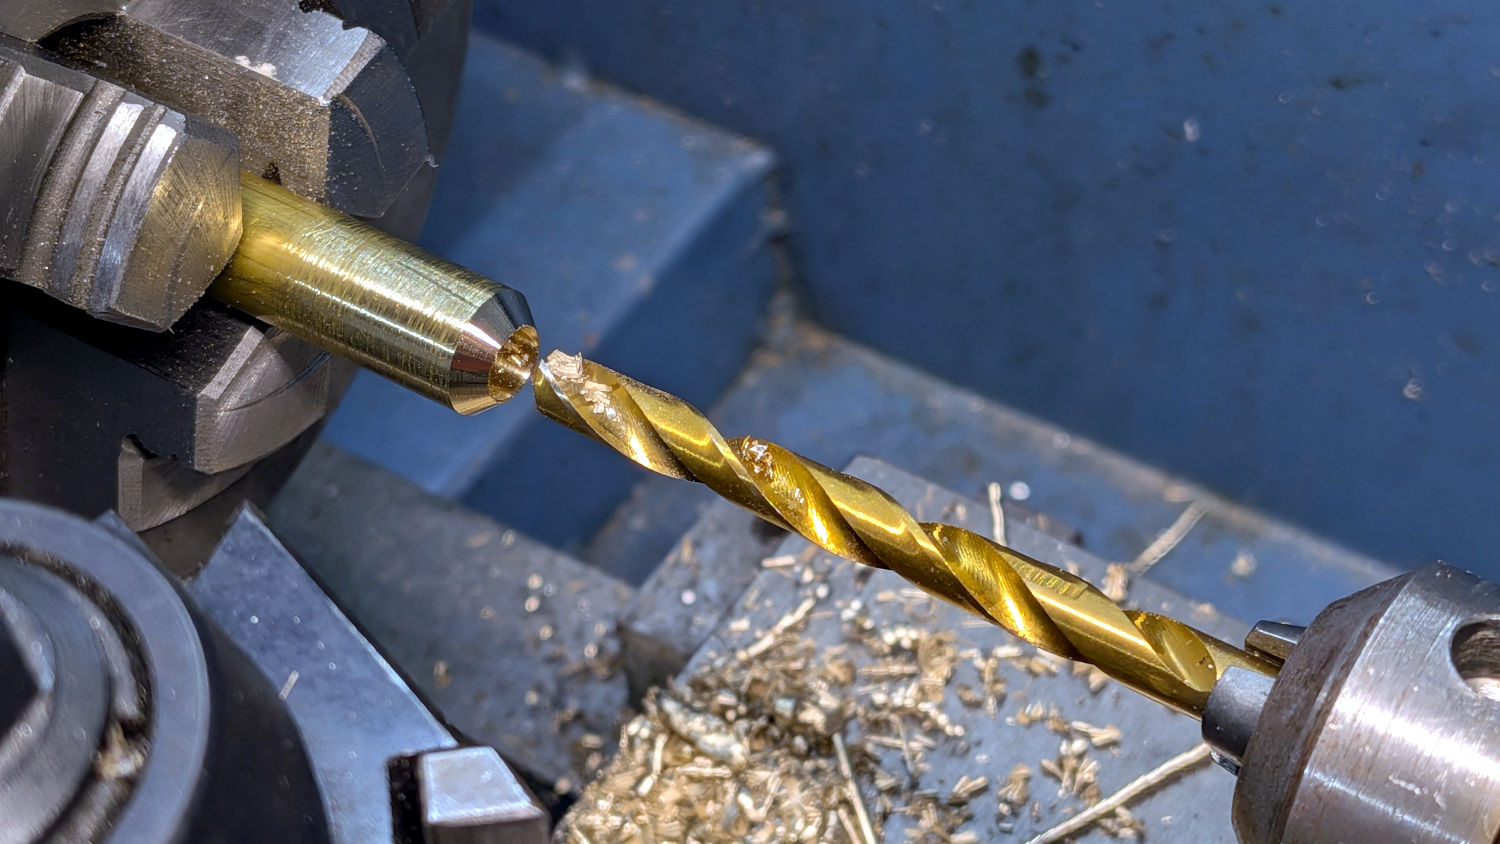
Shelf flush screw fillers – drilling That was the first attempt after I got the compound angle worked out, which is why it eventually got the red mark. You want to drill on a flat end after countersinking with a center drill. It’s also good practice to drill only a few diameters deep, rather than trying to gun-drill sufficient hole for half a dozen fillers with one poke.
Run the spindle in reverse to cut the 41° angle on the back side:
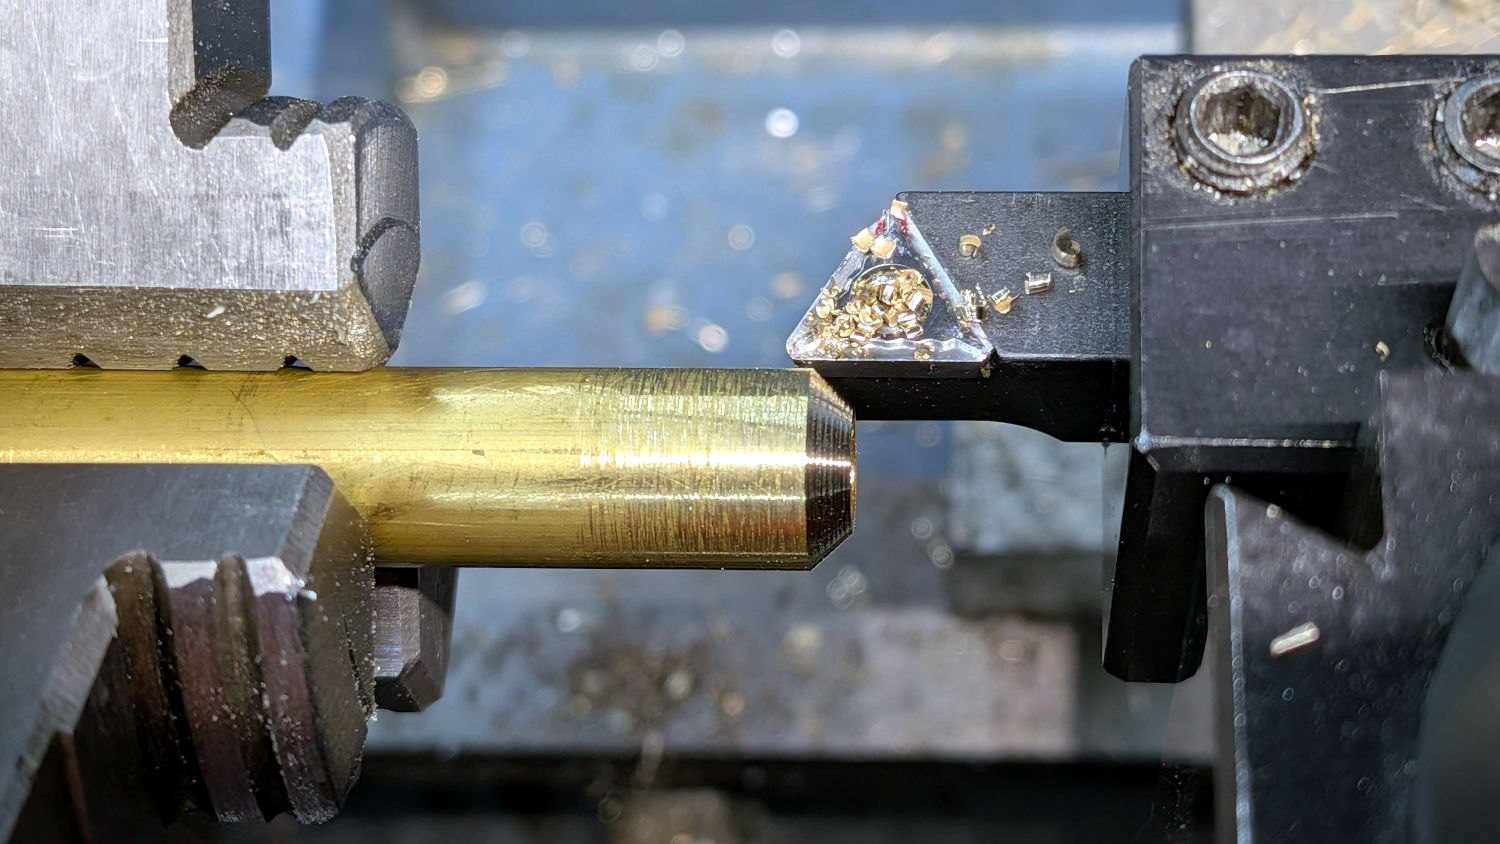
Shelf flush screw fillers – backside cutting – detail Run the spindle forward to separate the finished filler with a cutoff tool:
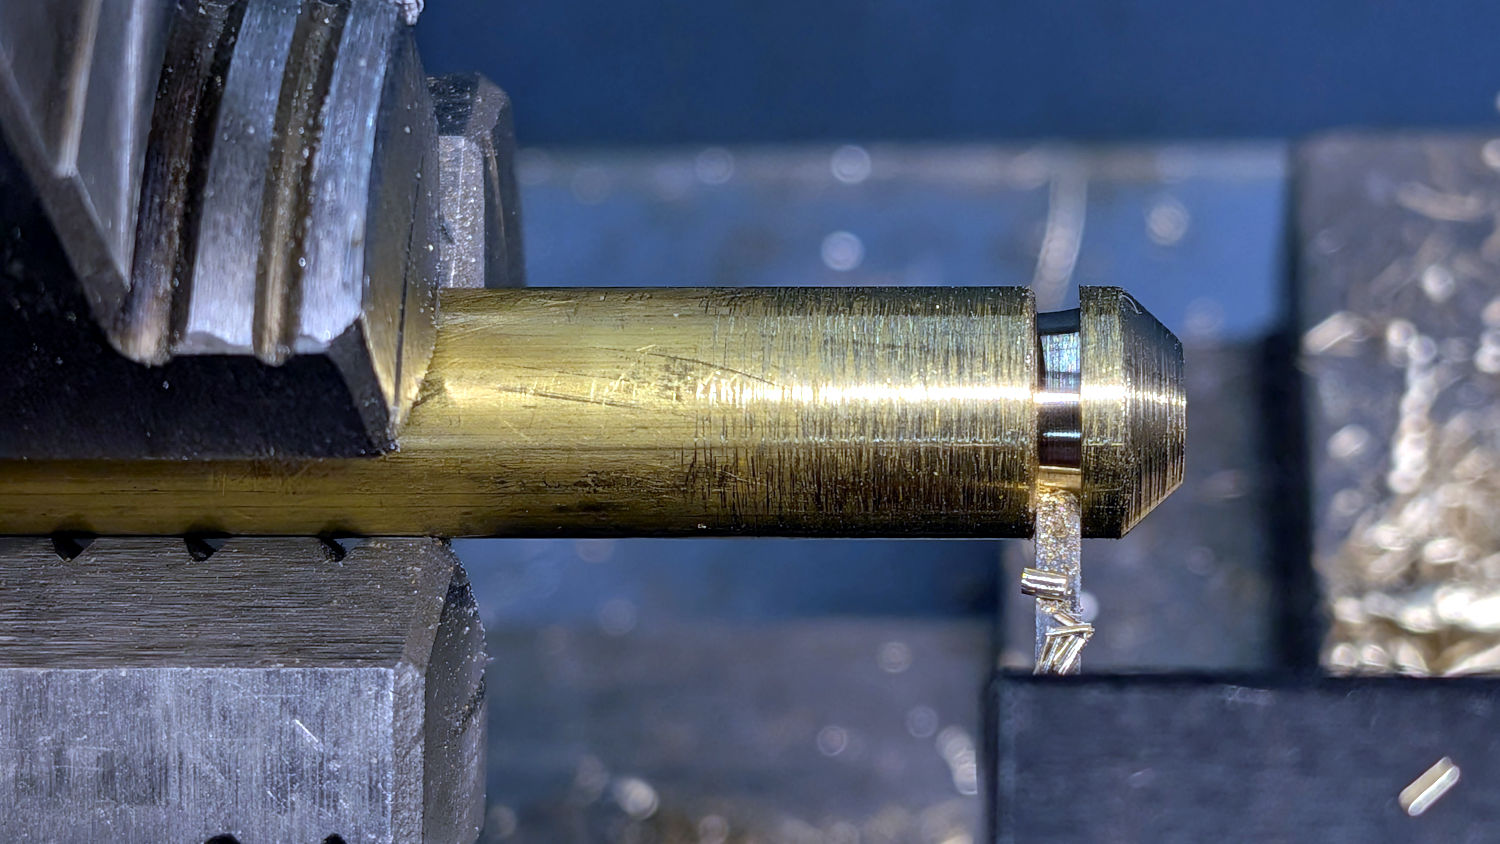
Shelf flush screw fillers – parting off The length isn’t critical, so holding a millimeter scale against the right side of the tool and eyeballing the distance from the end of the taper should suffice.
Filing to polish, deburring to finger-frendliness, and similar activities are in the nature of fine tuning.
Now for some Quality Shop Time!
-
Subscribe
Subscribed
Have a WordPress.com account? Log in now.

