-
Methanol Package Labeling
I am so glad methanol is a liquid, not a crystalline powder, because this could be totally misinterpreted:
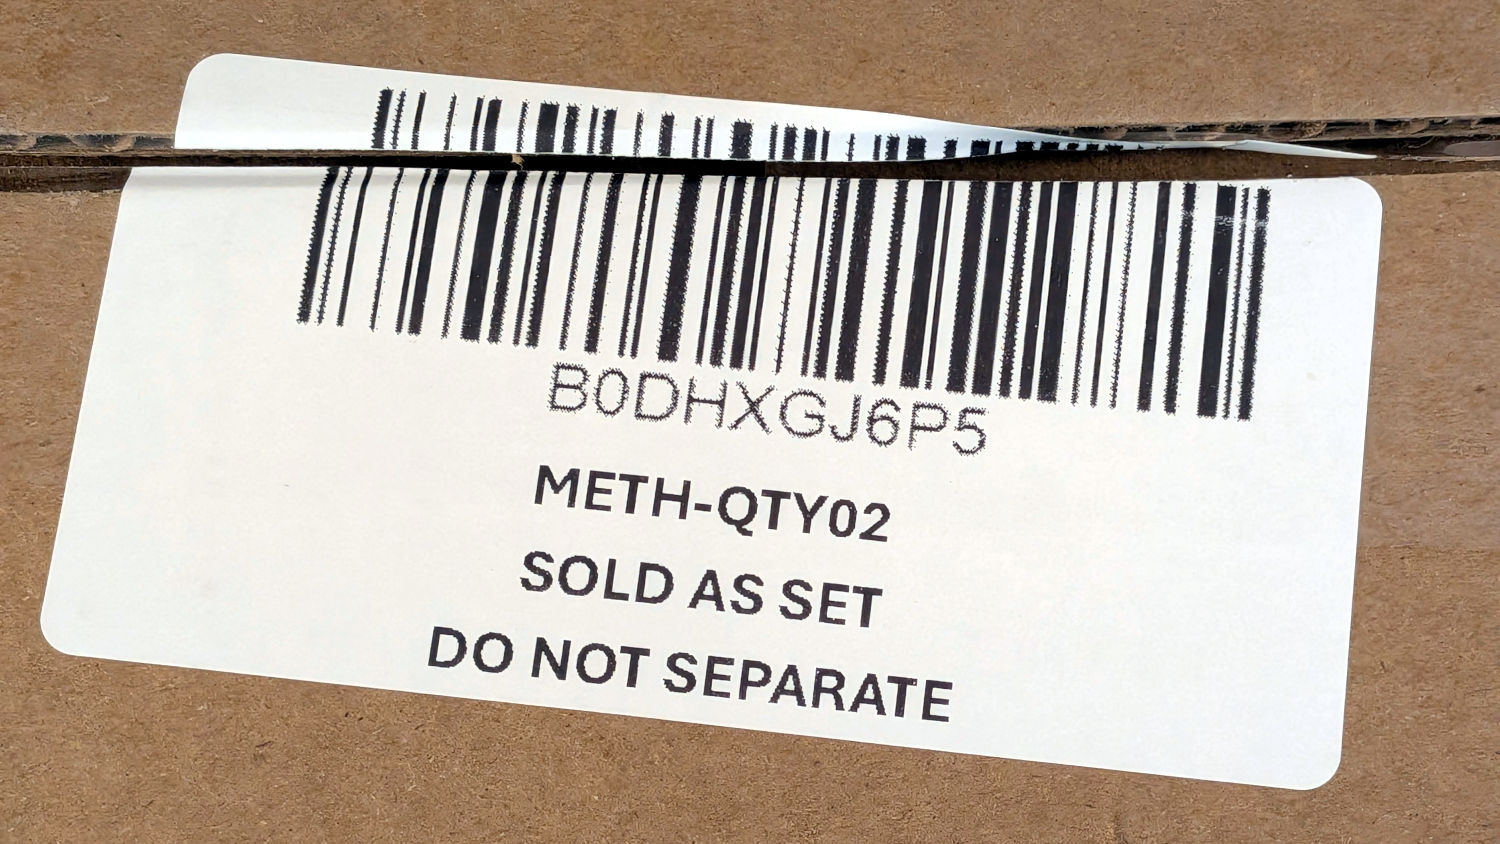
Methanol package label A recent LightBurn forum discussion pointed out methanol is a good solvent for borax to produce dark-brown to black laser engravings in wood. In round numbers, 20% w/w borax will dissolve in methanol at room temperature.
I understand the toxicity warnings and don’t plan to spray it indoors. OK?
-
Subscribe
Subscribed
Already have a WordPress.com account? Log in now.
