-
Bypass Lopper Bumper
I used the long-handled bypass lopper to harvest the 3D printed soaker hose splices and clamps, which made the sad state of the lopper’s bumper painfully obvious:
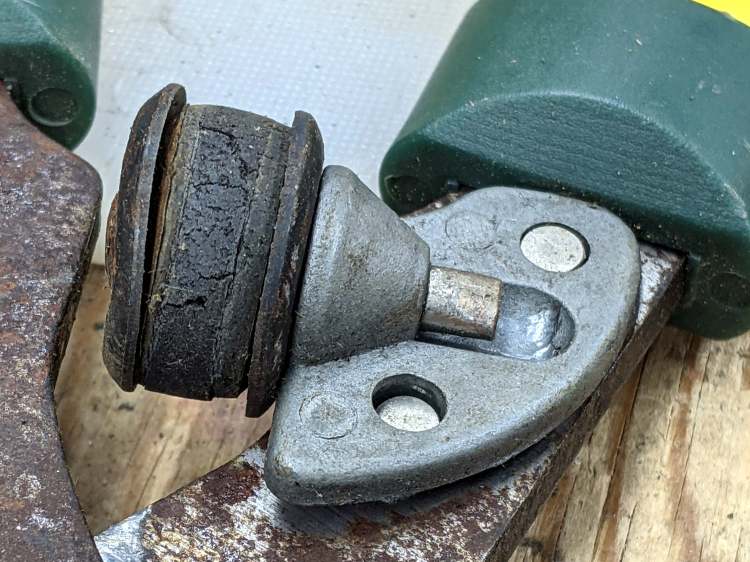
Bypass Lopper – OEM bumper Contrary to what you might think, those rivets never had a head on this side and the bumper seems to be held in place by an interference fit with the plastic handle cover.
A bit of cutoff wheel work removed the crimped end on the 5 mm stud holding the bumper to the pot-metal dingus:

Bypass Lopper – shaft cut Whacking it with a punch separated all the parts:
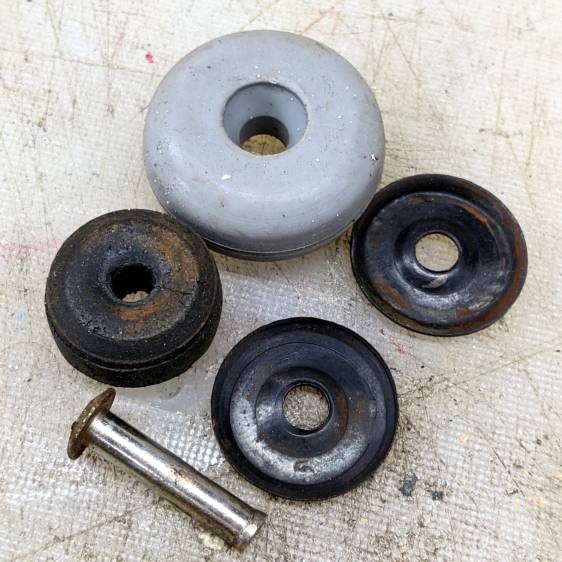
Bypass Lopper – bumper parts The gray thing is a silicone rubber vibration isolator that’s a bit too large in all dimensions, but surely Close Enough™ for present purposes.
A length of 5 mm shaft became the new stud, with M3×0.5 threads tapped into both ends and a pair of random screws held in place with red Loctite:
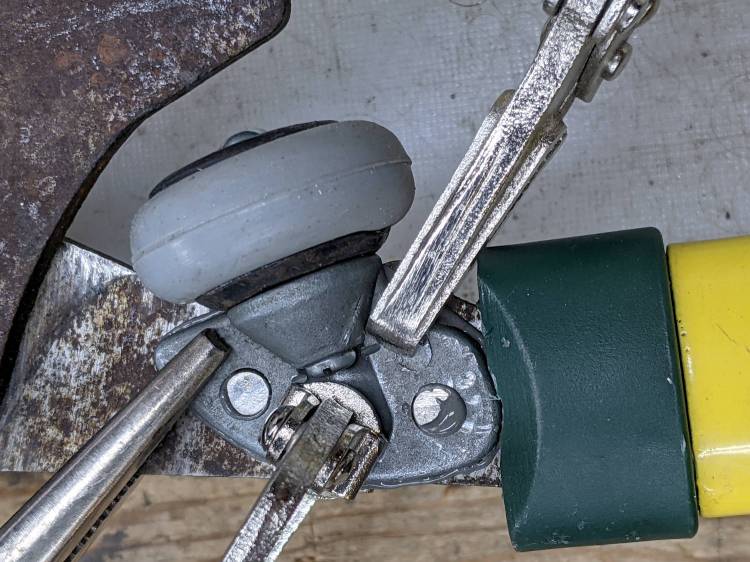
Bypass Lopper – epoxy curing There are no pix of the drilling and threading, as it was accomplished after a shiny-new 2.7 mm “titanium” metric drill from a not-dirt-cheap set shattered in the shaft:
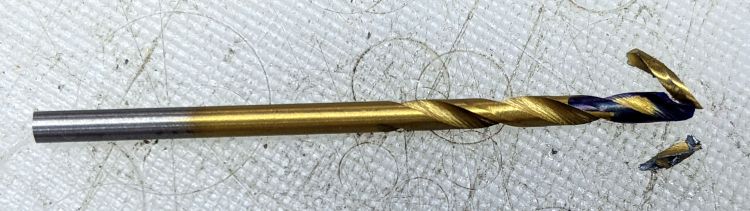
Shattered metric drill The blue color on the flutes is Sharpie to remind me it’s defunct. I completed the mission using a #36 drill with no further excitement.
The dingus is now held to the lopper with JB Weld and, should that fail, I’ll drill-n-tap the rivets and be done with it.
-
Subscribe
Subscribed
Have a WordPress.com account? Log in now.

