Ed Nisley's Blog: Shop notes, electronics, firmware, machinery, 3D printing, laser cuttery, and curiosities. Contents: 100% human thinking, 0% AI slop.
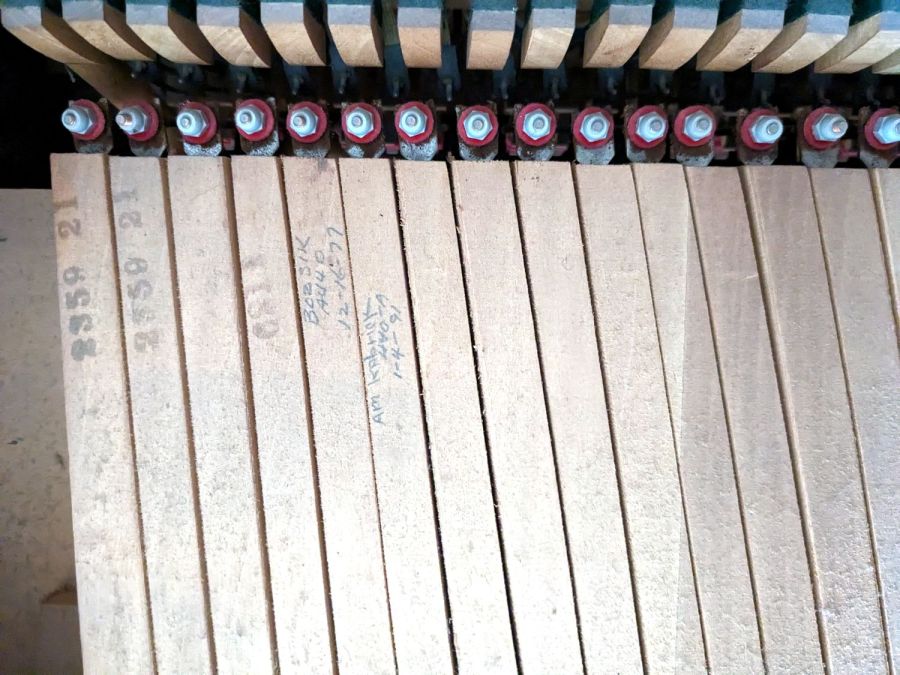
It’s apparently customary for piano tuners to annotate their work on the keys, starting after the serial numbers on the bass notes at the left end:
Piano tuner notes
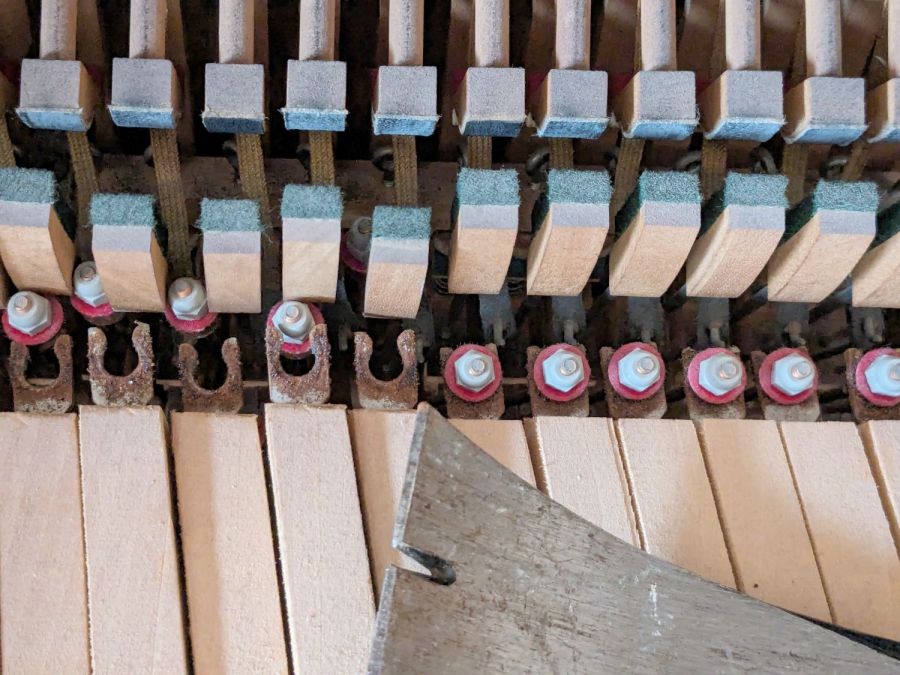
After admiring that, you can pop the hammer links off with a prybar:
Detaching piano keys
All 88 keys stack neatly into a Home Depot Extra Small moving box, filling it about 2/3 full, starting with the bass keys on the bottom:
Boxed piano keys
I harvested the lovely wood panels, then the scrapper hauled the carcass to the transfer station. Perhaps it raised the secret chord when it hit the bottom …
Lest you wonder why we didn’t try to contact X, who would surely be interested in a free piano: we did. Believe me, we tried, for many values of X, only to find nobody wants a piano in this day and age.
I thought cleaning that mess up would solve an intermittent power problem, but the camera continued to fail immediately after being deployed and finally refused to work at all.
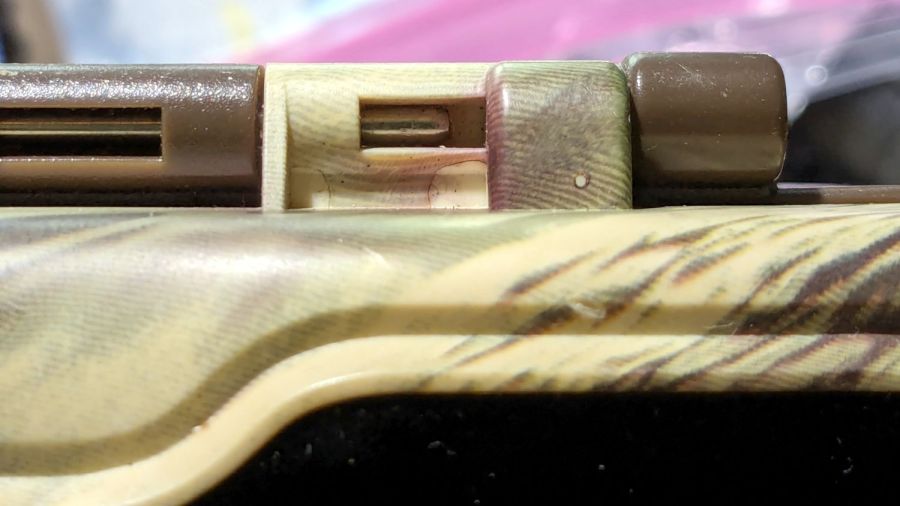
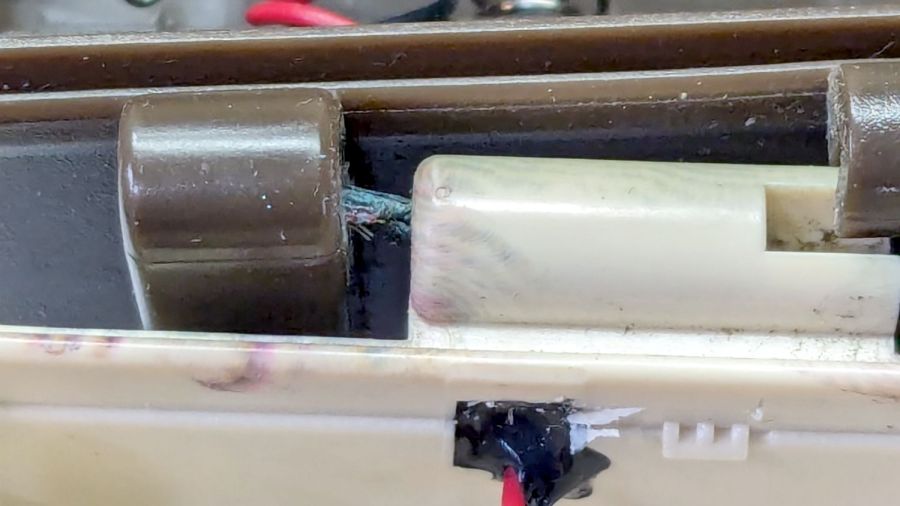
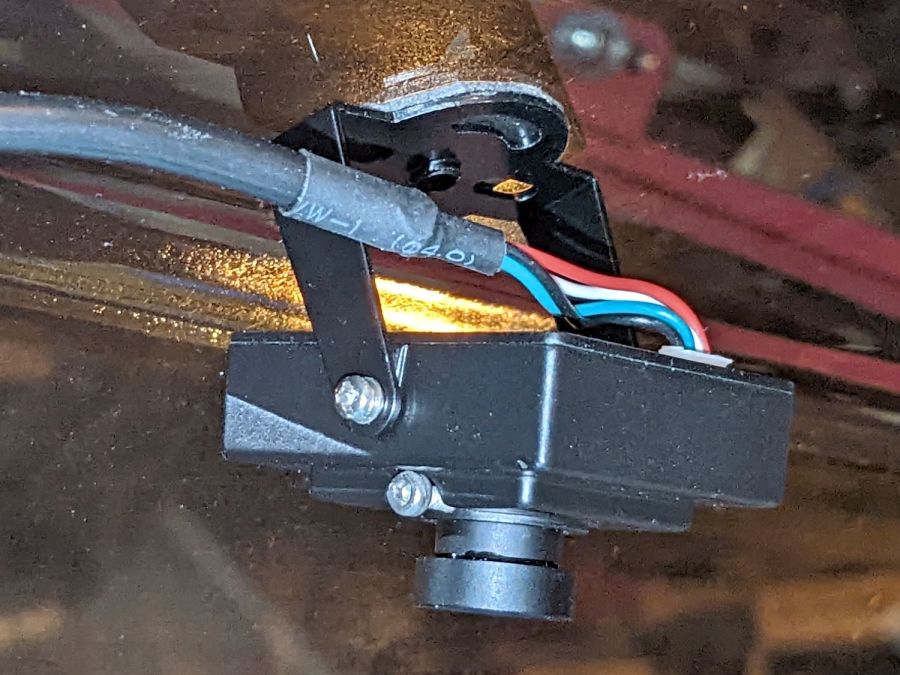
The camera case has eight (!) AA cells in one half connected to the electronics in the other half by a pair of wires that pass through the hinge between the halves:
M50 Trail Cam – pivot wire route
The steel rod is the hinge pivot, with the battery half wearing brown and the electronics half in lighter plastic. As you’ll see in a bit, the rod is fixed in the electronics half and the battery half pivots around it.
The two short case sections on the right contain the two wires carrying the 6 V battery power. Some gentle manipulation suggested the fault lay inside those hinge sections, which meant I had to figure out how to get them apart.
The other end of the steel rod has a knurled section jammed firmly into the electronics half, but I managed to carve away just enough plastic to expose just enough of the knurl to get just enough of a grip (yes, with a pair of genuine Vise-Grip 10WR Locking Pliers, accept no substitutes) to yoink the rod out:
M50 Trail Cam – extracted pivot
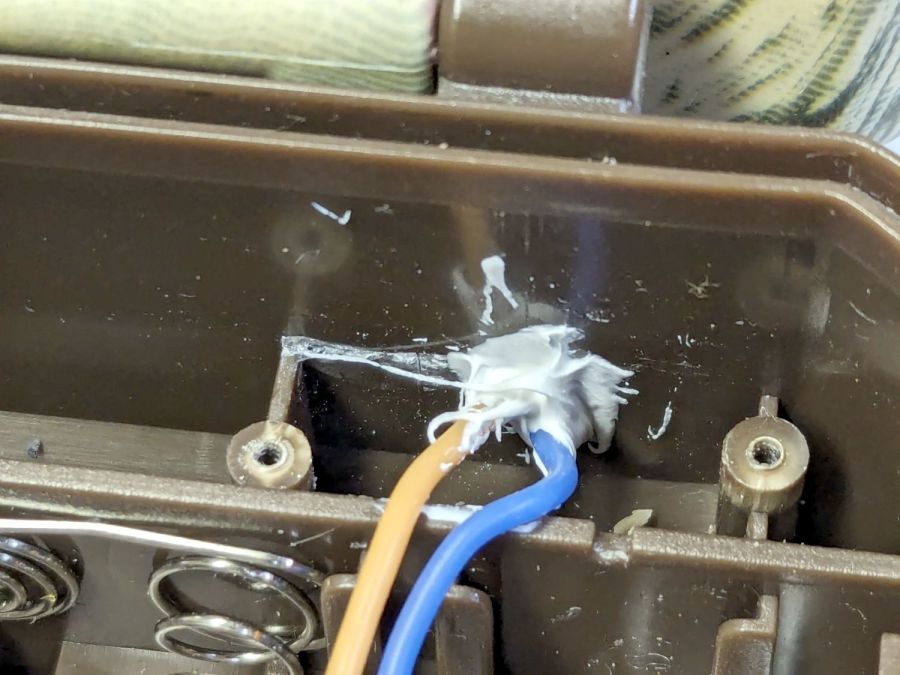
With the hinge released, the problem became immediately obvious:
M50 Trail Cam – failed hinge wires
Yes, those are wire strands poking out of the hole in the left hinge section.
A tedious needle-nose tweezer session extracted the remains of the wires from the hinge and cleaned out the adhesive:
M50 Trail Cam – extracted OEM PVC wires
Although those two hinge sections are hollow with plenty of room for the wire, it seems the assembler squirted adhesive into both sections to glue the wires in place. As a result, every time I opened the case to charge the batteries, maybe two millimeters of wire twisted 180° degrees. The wonder is that it lasted as long as it did.
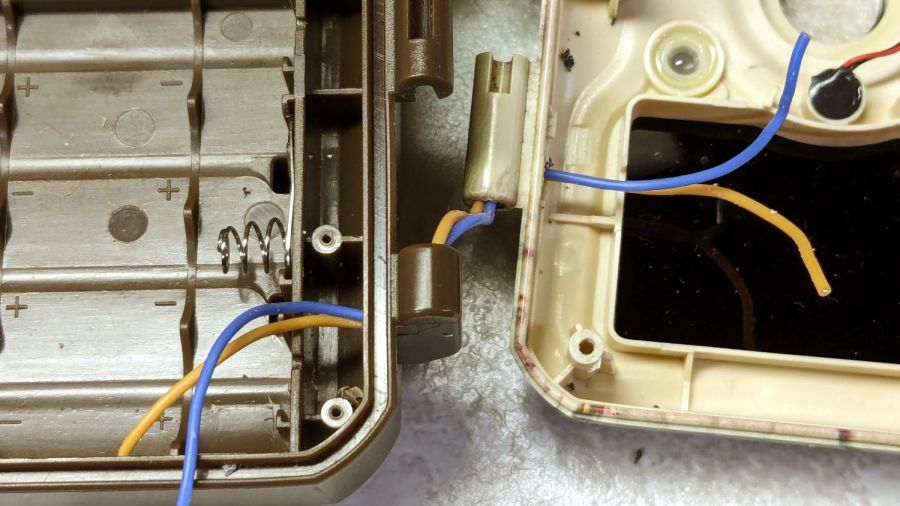
I snaked a pair of 20 AWG silicone-insulated wires through the hinge sections:
M50 Trail Cam – silicone rewiring
The OEM wires had PVC insulation, which is a terrible choice for wires that will undergo lots of flexing, but that’s what SJCam used.
Two untidy blobs of acrylic caulk do at least as good a job of sealing the case openings as the black gunk visible in the earlier pictures:
M50 Trail Cam – new caulk
I left all of the wire in the hinge un-stuck, hoping the twist will distribute itself over maybe 5 mm of wire and last longer.
In anticipation of future repairs, however, I left enough of the knurled end of the hinge rod exposed to get an easy grip:
M50 Trail Cam – restaked pivot
Solder the new wires to the old pads, assemble in reverse order, and it works as well as it ever did:
The alert reader will note I did not reset the camera clock after charging the batteries, a process requiring the janky SJCam app.
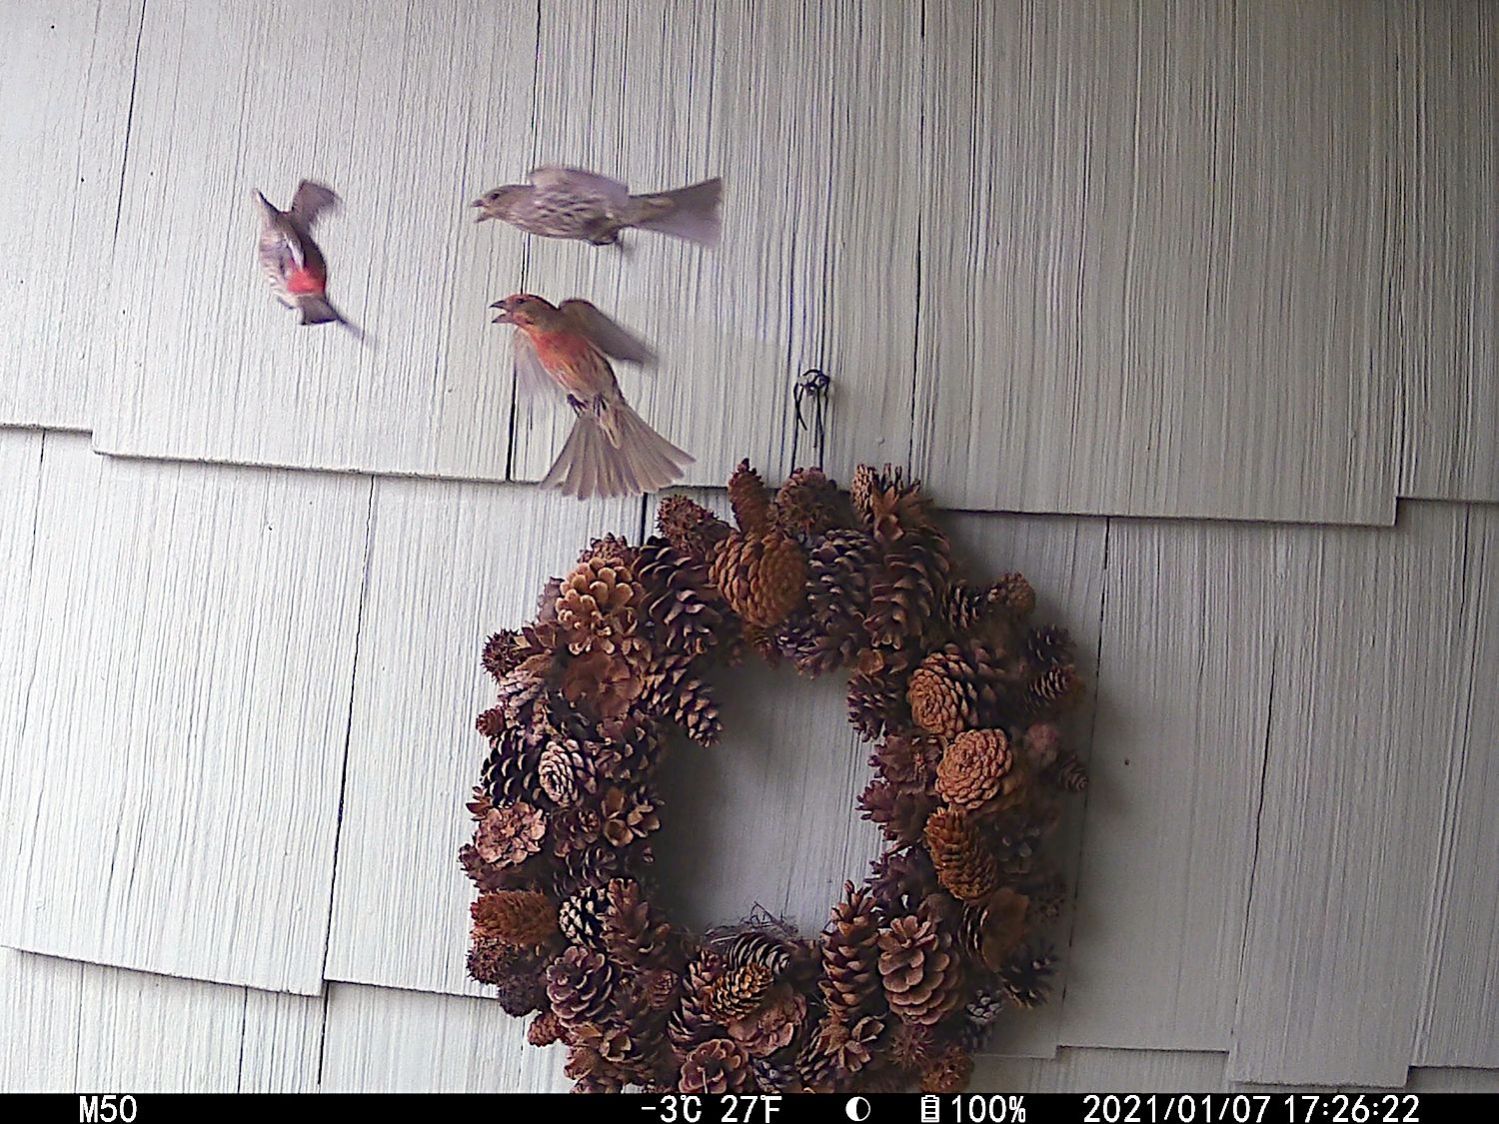
The two finches on the right have been constructing a nest in the wreath hanging at our front door. They tolerate our presence, although they’d be happier if delivery folks dropped packages elsewhere.
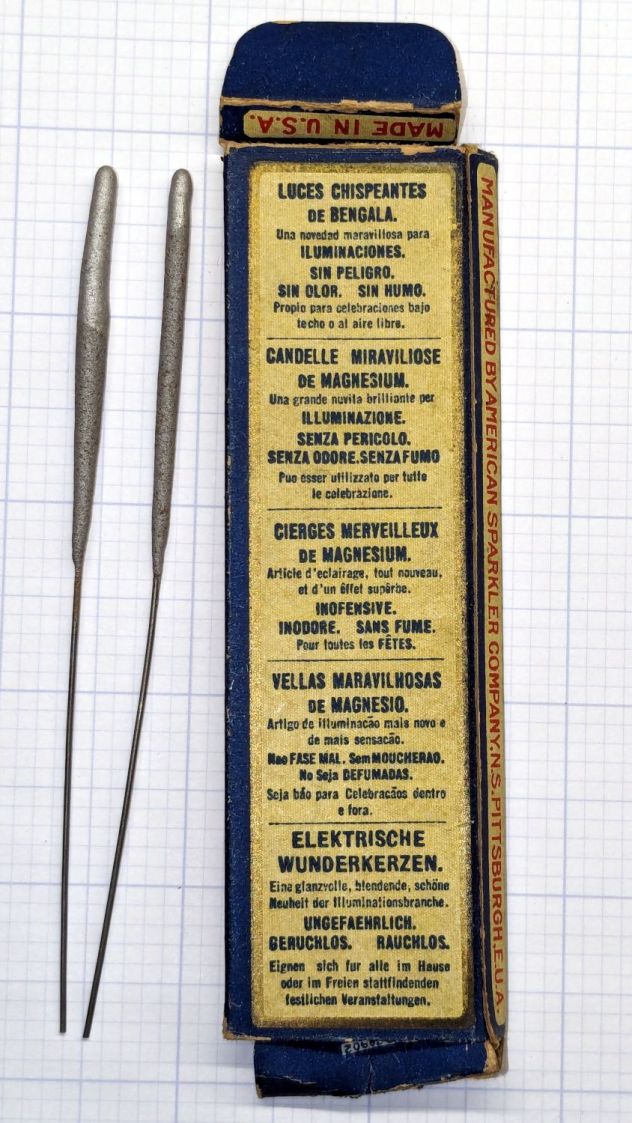
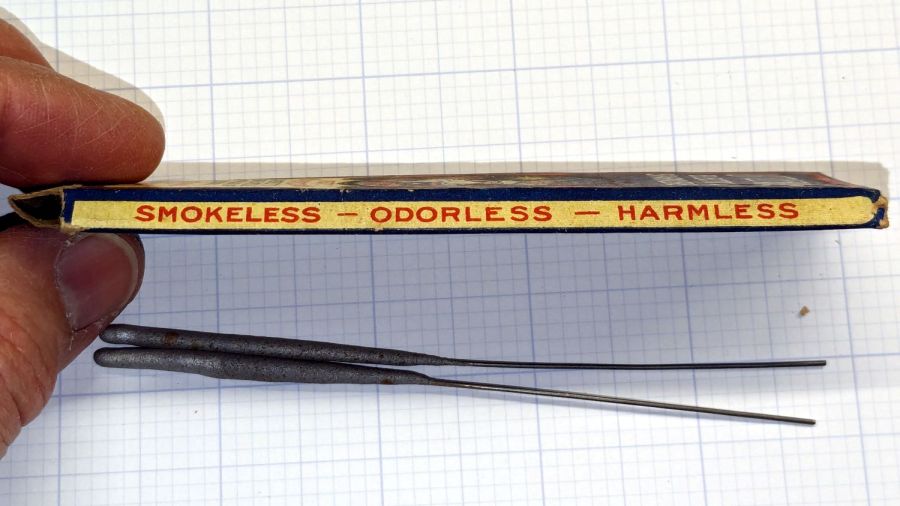
The back of the box gets downright multilingual, although there’s no English-language mention of “magnesium” anywhere on the box:
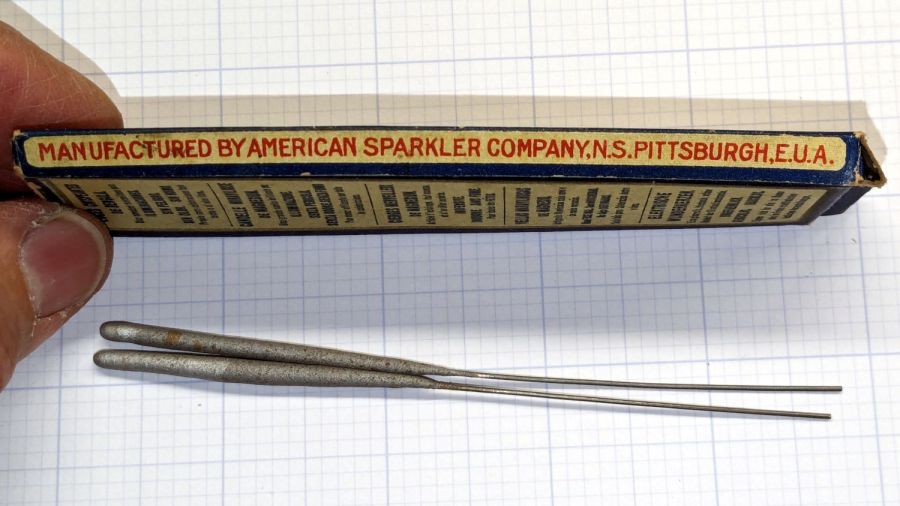
Little Fairy Electric Sparklers – box backLittle Fairy Electric Sparklers – box rightLittle Fairy Electric Sparklers – box left
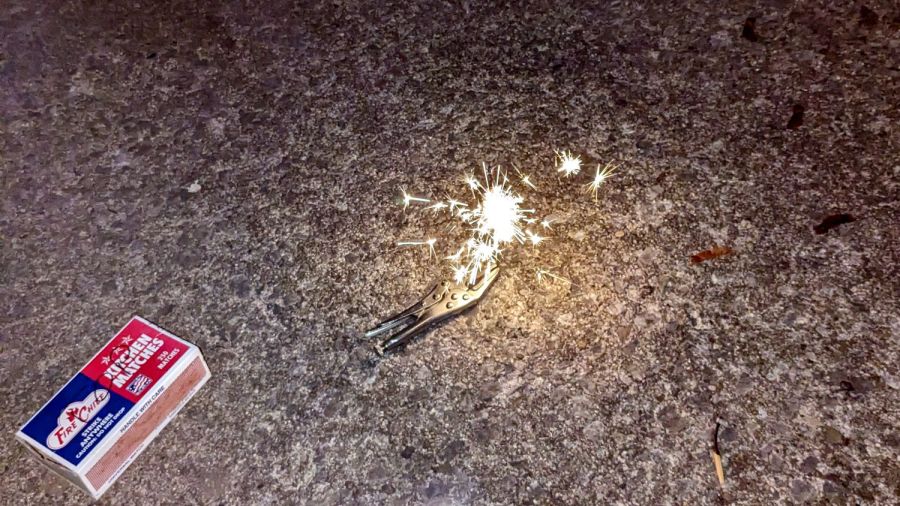
They are most assuredly not electric, which means they have no batteries to corrode and they still work fine:
Little Fairy Electric Sparklers – test firing
They emerged from a box of my father’s memorabilia, most likely packed away by his parents, so they date back to the early part of the previous century. The American Sparkler Company is long defunct, but the Internet never forgets.
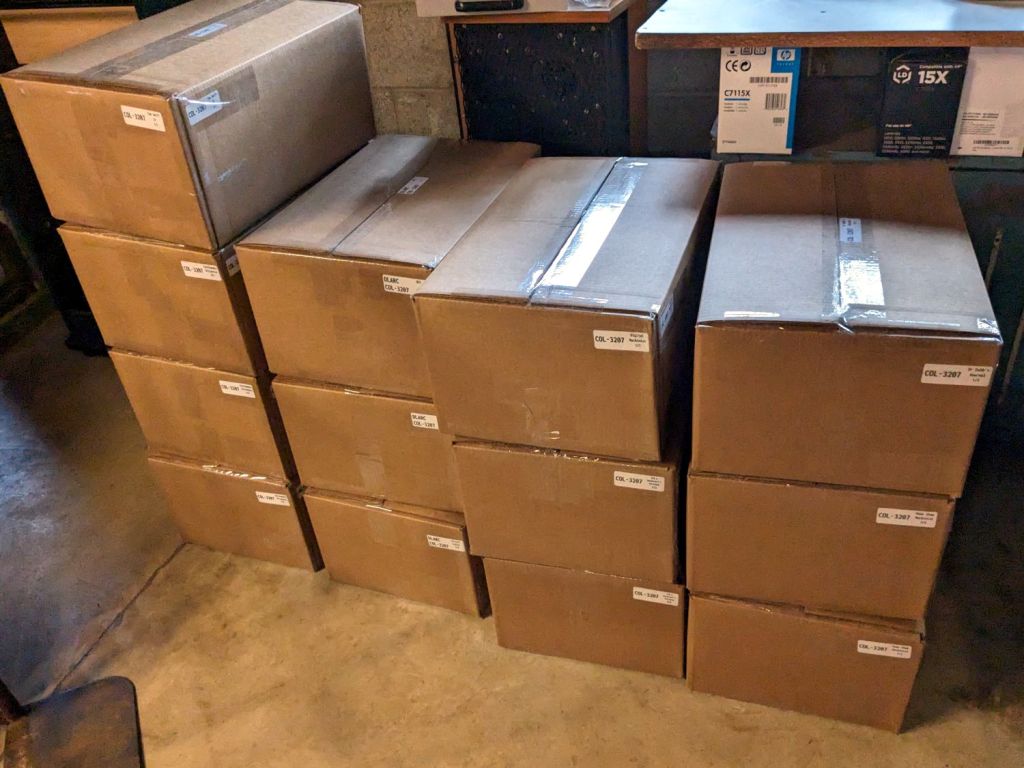
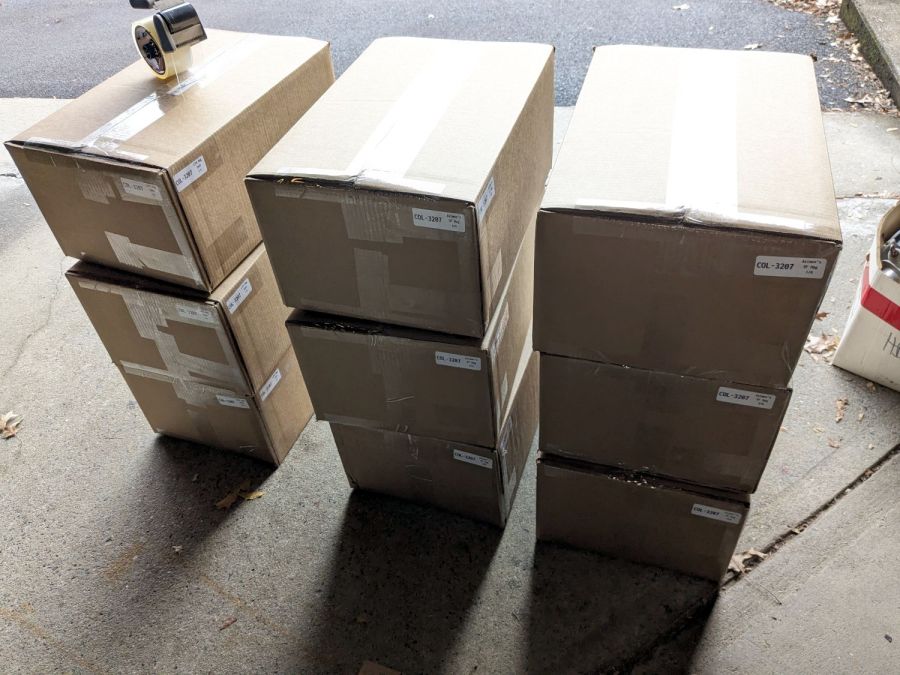
They’re also accepting our 14th Edition of the Encylopædia Britannica (back when folks realized global war was a thing, but before knowing the recently concluded horror was the first), two dozen Tom Swift Jr books (largely responsible for much of the rest of my life), three years of LIFE magazines from the mid-1940s needing no further description, and a few other goodies:
Archive boxes – B
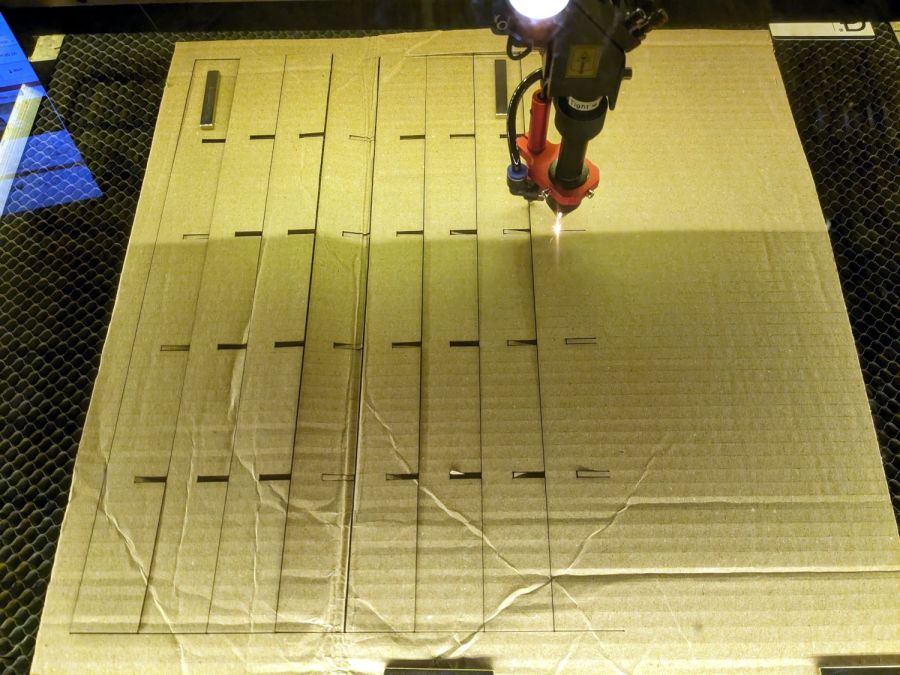
They want boxes packed as solidly as possible to withstand shipping & warehousing, so I converted nearly all of my scrap cardboard into bracing and padding:
Archive boxes – cutting gridwork
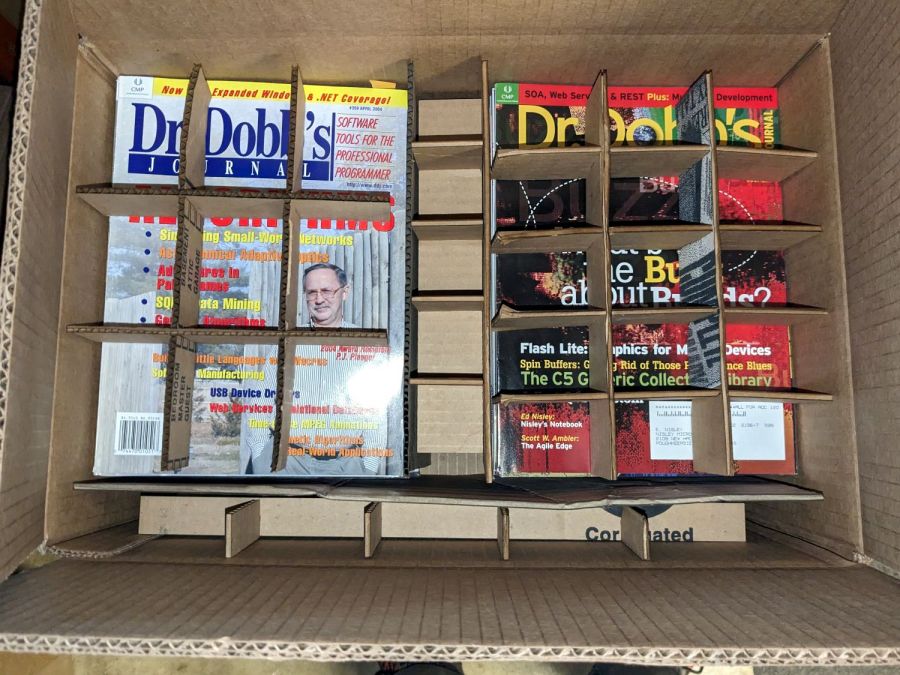
The grids are Tray Inserts generated at festi.info:
Archive boxes – internal bracing
Here, try one yourself:
TrayInsert – sample QR code
That will set up a grid filling the gap between two stacks of magazines in the Archive’s standard 12×18×8 inch box. You’ll also want simple rectangles for the sides & tops, but those are easy.
They preferred the laser cutter’s inevitable campfire smell to smashed boxes full of crumpled magazines. AFAICT, you might be able to crush the box, but if you did the magazines wouldn’t have survived anyway.
While I was turning this year’s leaves into mulch for next year’s vegetables, a supervisor landed on my glove:
Pale Green Assassin Bug – front
I thought it was a very small stick insect covered with leaf chaff, but it turned out to be a Pale Green Assassin Bug nymph with built-in armor and spines:
Pale Green Assassin Bug – rear
Something like that, anyway.
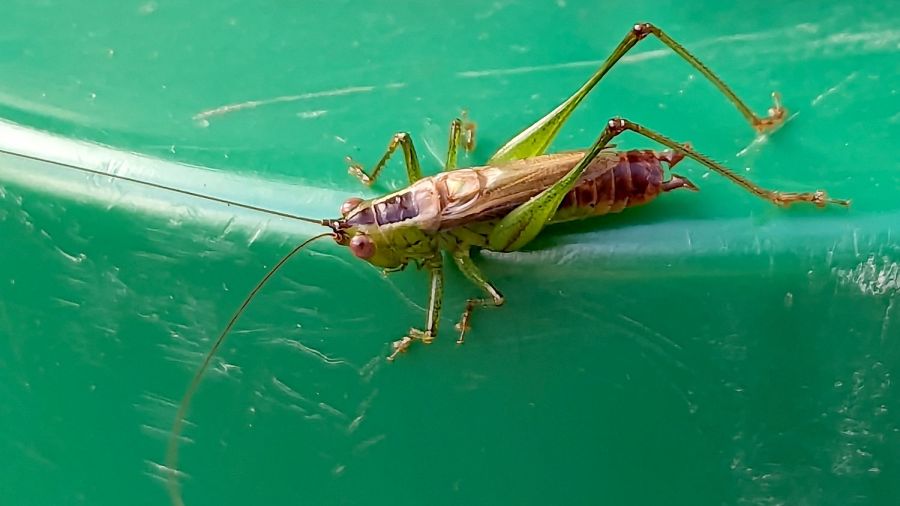
This katydid supervised while I put the tools away:
Short-winged Meadow Katydid
Those scary stern claspers must come in handy for something, but I’d rather not be on the receiving end.
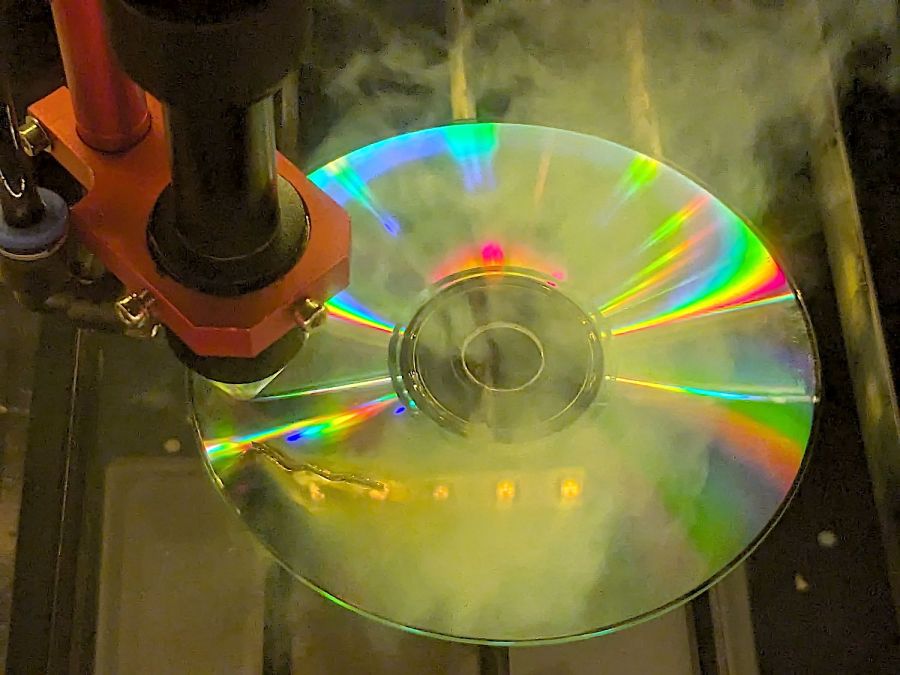
Just to see what happens, I tried cutting a shape from a scrap CD-R:
Laser cut CD – in progress
Cutting polycarbonate is a terrible idea, because that cloud consists primarily of The Big Stink™. AFAICT, the cutting fumes are not much more toxic than what burns off acrylic / wood / whatever, but they definitely smell much worse.
In any event, the laser produces a clean cut:
Laser cut CD – on platform
Modulo the charred edges and discoloration:
Laser cut CD – finished
Some of that buffs right out, but overall it’s not worth the effort unless you really need tiny diffraction gratings.
Until a month or two ago, when it began disconnecting randomly.
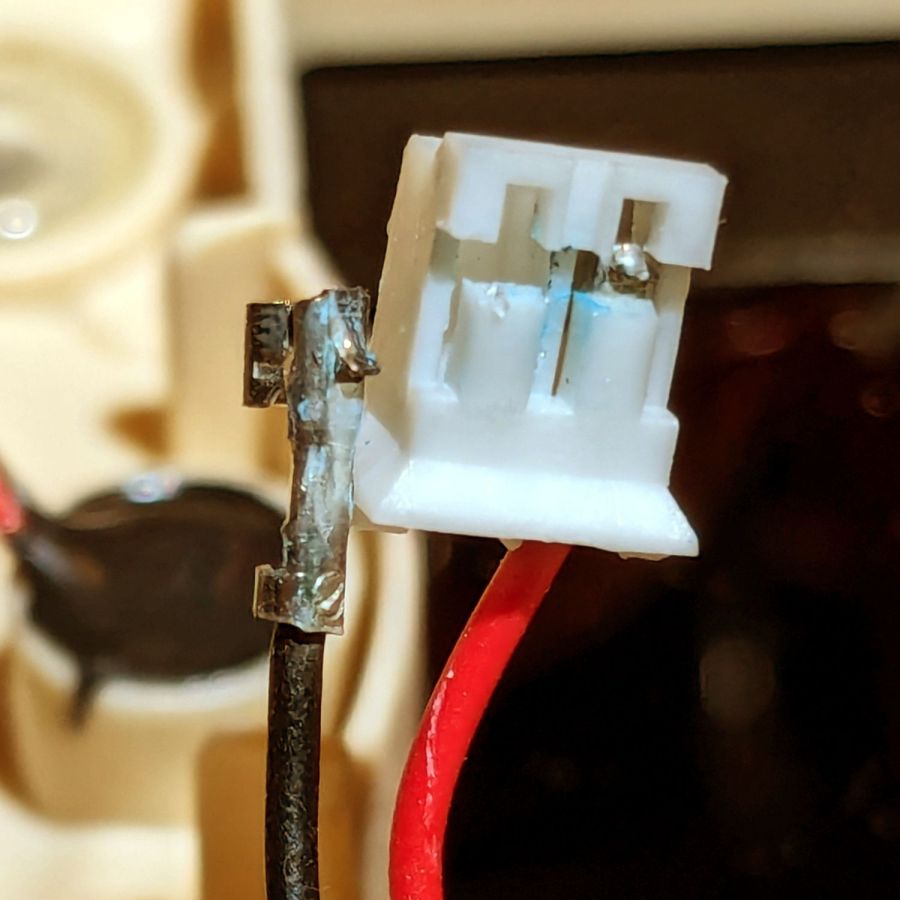
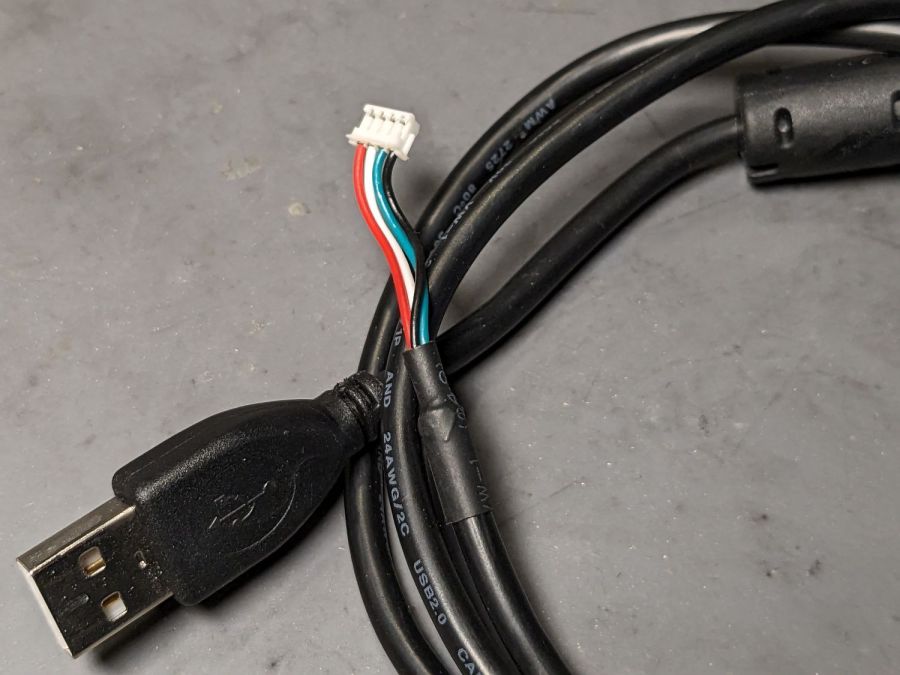
The camera cable has a standard USB A connector on one end and what looks like a 1.5 mm JST ZH connector on the other:
Laser cutter camera cable
Of course, it’s not quite long enough, so it plugs into a good-quality 1 meter USB 3.0 extender to the PC sitting atop the laser cabinet.
Some low-effort tweaks were unavailing:
Different USB ports
Different USB extension cable to the ports
Hub vs. direct
Eventually, some rummaging in the Box o’ USB Cables produced a cable from a different camera and, as you might expect, swapping the two identical cables solved the problem.
I have no idea what’s going on, but I’d lay significant money that when this cable gets flaky, swapping the original cable back in will solve the problem once again.