Ed Nisley's Blog: Shop notes, electronics, firmware, machinery, 3D printing, laser cuttery, and curiosities. Contents: 100% human thinking, 0% AI slop.
I’ll be volunteering at the TCHFFRC this weekend, so if you happen to be near Hartford CT, drop in to see some high-pressure robot debugging.
You’ll find me behind the Robot Inspection Table, making sure everybody’s building robots that meet the same specifications. That’s a step up from a few years ago, when I got to dress the Granny Doll used in the RoboWaiter Contest…
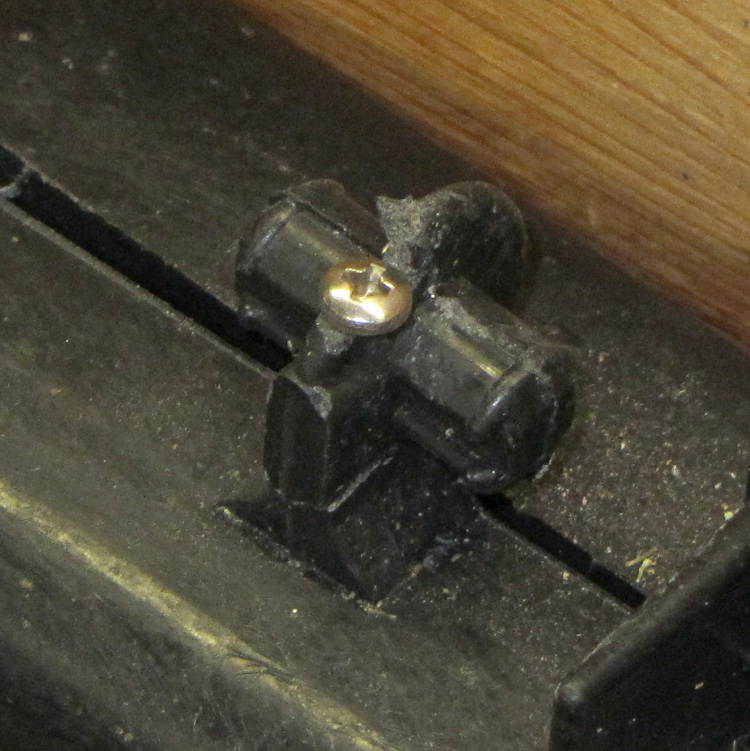
While extricating the sawhorses from the garage, one of the bright yellow cap strips fell off. Whether by coincidence or not, it was the same one I’d previously repaired after sawing completely through the poor thing, but this time the failure came from what’s called inherent vice in the molded bracket-and-pin feature that holds the cap in place:
Fractured sawhorse top pin
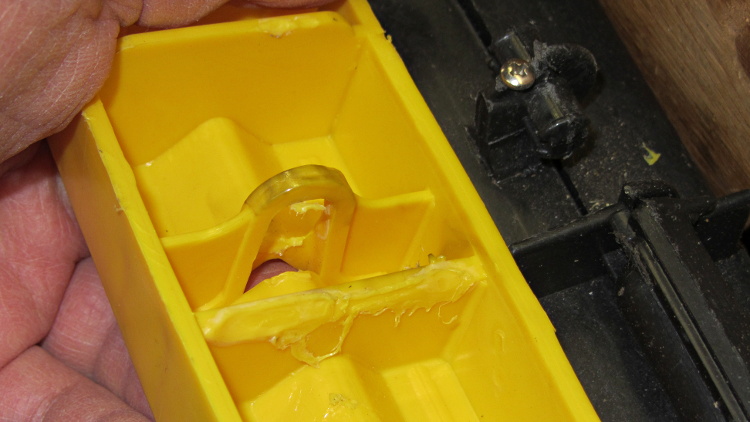
I filed a flat on the top of the bracket, drilled a 4-40 clearance hole, and then held everything in place while drilling a 4-40 tapping hole into the sawhorse. There was just enough plastic to make all that work, at least for the not very strenuous conditions it should experience around here:
Fractured sawhorse top pin – with screw
While trying to reassemble the cap, I discovered why the bracket broke. The yellow cap has a bulkhead with an opening for the pin, plus a solid bulkhead that butts against the hinge along the top of the sawhorse. The bulkheads lie too close together: you simply cannot get the opening over the pin on this end with the cap parallel to the top of the sawhorse, which you must do in order to get the pin in the corresponding hole on that end.
Evidently they had the same problem at the factory and “solved” it by melting the bulkhead with a hot blade:
Sawhorse top cover – factory bodge
That didn’t really help me, but I carved off a few more slices to weaken the solid bulkhead enough to bend it around the hinge. I think the strain involved in the original assembly, plus what happened when I had to take it apart to fix the sawed-off end, weakened the bracket enough to snap off at some point over the winter.
A wannabe spammer inadvertently sent me a nice comment-spam template:
{{You must|You need to|You have to|You should} {take advantage of|make the most of|benefit from|take full advantage of} {all the|all of the|each of the|every one of the} software advancements that {happen to be|are actually|are|are generally} {a successful|an effective|an excellent|a prosperous} {Internet marketer|Online marketer|Internet entrepreneur|Affiliate marketer}. {If your|In case your|Should your|When your} work {begins to|starts to|actually starts to} suffer, {the competition|your competition|competition|your competitors} could {leave you|make you|create} {in the|within the|inside the|from the} dust. Show {that you are|that you will be|that you are currently|you are} always {on the|around the|in the|about the} {cutting edge|innovative|leading edge|really advanced}, {and they will|and they can} {learn to|learn how to|figure out how to|discover how to} trust {you and your|both you and your|you and the|your} products.
Multiplying the number of choices together gives a tidy 4.8×10⁹ different comments, each one heartbreakingly close to making sense.
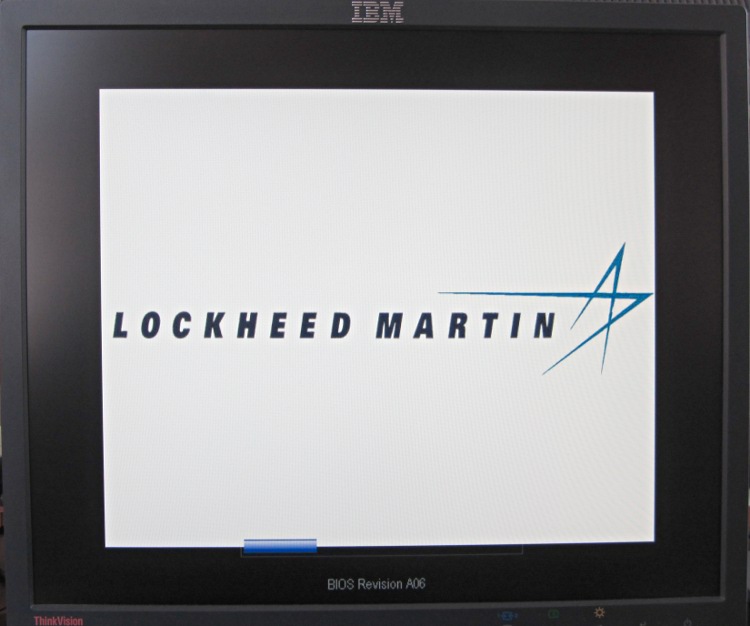
Just got another off-lease Dell, fired it up for the first time, and the BIOS presented this splash screen:
Optiplex 780 BIOS A06 Splash
Updating the BIOS from A06 to A13 restored the default Dell logo, but I really miss having a Genuine Lockheed Martin PC.
The Windows 7 Professional installed on the disk started up in “first time” mode, so they did scrub the drive. It does have RAID enabled, though, which may confuse the Linux installation I have yet to do.
I wish I could put my logo on the BIOS splash screen…