The Smell of Molten Projects in the Morning

Ed Nisley's Blog: Shop notes, electronics, firmware, machinery, 3D printing, laser cuttery, and curiosities. Contents: 100% human thinking, 0% AI slop.

Category: Machine Shop

Mechanical widgetry

  • Harbor Freight Bar Clamp: Plywood Handle

    Harbor Freight Bar Clamp: Plywood Handle

    After only a dozen years, one of the 3D printed replacement handles for my Harbor Freight bar clamps snapped exactly where you’d expect:

    HF bar clamp - plywood handle
    HF bar clamp – plywood handle

    The replacement this time around is laser-cut plywood, with a pair of 3 mm sheets glued together to just about match the original thickness:

    HF bar clamp - plywood handle gluing
    HF bar clamp – plywood handle gluing

    I hacked the OpenSCAD code to use its projection() operation to export the outline of the solid model on the XY plane, inhaled the SVG into LightBurn, replaced the original chunky hole with a Real Circle, cut a pair of them, discovered I messed up the diameter, tweaked that, cut a pair that fit perfectly, and that was that.

    Flushed with success, I cut another pair to replace the (not yet failed) handle in the other HF bar clamp and restarted the failure clock.

    Not as fancy as something milled on the Sherline, but way easier and, if it lasts another decade, I’ll call it a win.

    The WordPress AI had fun with this post:

    HF Bar Clamp Handle - WP AI image
    HF Bar Clamp Handle – WP AI image

    The thing over on the left must be a 3D printer, but what’s floating in the middle? Those hand tools look downright scary.

  • Plumb Bobs: Kevlar Lines

    Plumb Bobs: Kevlar Lines

    Having had considerable success re-stringing the seat on Mary’s Tour Easy with Kevlar line, this seemed like a good idea:

    Plumb bobs - Kevlar braided line
    Plumb bobs – Kevlar braided line

    They’re a pair of plumb bobs I’ve had forever, with ten feet of 100 pound Kevlar line in place of their original (and well-worn) string. The key parameter is the 1 mm diameter to fit the holes in the bobs, with the 20 pound working strength being grossly overqualified.

    Because it’s braided line, the bobs no longer spin merrily when deployed, which is a major win.

    They hibernate in pill bottles during their downtime, where the line doesn’t get nearly as tangled as you might imagine.

    Admittedly, I don’t deploy plumb bobs all that often, but in recent months I have needed to know what was directly below something else often enough to remind me to get this done.

    The WordPress AI image for this post is, as usual, disturbing:

    Plumb Bobs - WP AI image
    Plumb Bobs – WP AI image

    I like the perfectly rendered gibberish text. Is that a bizarre spade drill in the lower left? So many pills!

  • Home Depot Glacier Faucet Re-alignment

    Home Depot Glacier Faucet Re-alignment

    The kitchen sink faucet came from the Home Depot Glacier line:

    HD Glacier Bay kitchen faucet - overview
    HD Glacier Bay kitchen faucet – overview

    A “FastMount” push-and-turn nut secures the central pillar to the deck, although it had worked loose since it was installed some years ago. After retightening the nut, however, the faucet spout and handle remained loose, which I eventually figured out was due to the central pillar having worked loose from the plastic body inside the spout.

    The solution involved releasing the FastMount nut, pulling the whole affair out of the deck, and tightening the threaded pillar into the body. After a few false starts, I applied a pair of grippy leather gloves and a firm grasp to twist the pillar another quarter turn into the body, after which it installed properly:

    HD Glacier Bay kitchen faucet - realigned
    HD Glacier Bay kitchen faucet – realigned

    The mark on the far left shows how much I twisted the pillar:

    HD Glacier Bay kitchen faucet - misaligned front mark
    HD Glacier Bay kitchen faucet – misaligned front mark

    If I don’t tell anybody, they’ll never notice.

    I fear this will not be permanent, in which case I must disconnect all the plumbing, take the faucet into the Basement Shop, and have my way with it. Most likely this will involve thread locking compound applied to parts that aren’t visible without a complete disassembly.

    For the record, the setscrew securing the faucet handle to the valve fits a 2.5 mm hex wrench, aligned just about parallel to the handle rather than perpendicular to the rear surface:

    HD Glacier Bay kitchen faucet - handle setscrew alignment
    HD Glacier Bay kitchen faucet – handle setscrew alignment

    In comparison to the never-sufficiently-to-be-damned American Standard faucet in our previous kitchen, the spout does not depend on rotating O-ring seals, because the valve sends water to the integral sprayer through a flexible hose. Although the spout does have an O-ring at the bottom, it serves to keep casual splashes out, rather than pressurized water in.

    With a bit of luck, this will work forevermore.

  • Samsung Microwave Gas Sensor Replacement

    Samsung Microwave Gas Sensor Replacement

    The Samsung over-the-range microwave (ME18H704SFS, should you care) that Came With The House™ coughed up a C-11 error code resolving to “replace the gas / humidity sensor”. Replacement DE32-60013A sensors are readily available, although if you’re expecting a Genuine Samsung Part from Amazon, that is not the universe I live in.

    You can remove the upper front bezel from the microwave to reveal the slotted front cover of the compartment containing the sensor, but you cannot replace the sensor without extracting the microwave from above the stove and removing its shell. The bottom of the microwave sits about 18 inches above the stove, so I put a 16 inch cubical moving box (of which we have a near-infinite supply) on the stove to reduce the risk of dropping the mumble thing while removing it.
    A total of 20 screws, here laid out in roughly geographic order, hold the shell to the inner frame:

    Samsung microwave - cabinet screws
    Samsung microwave – cabinet screws

    With all the screws out, slide the shell toward the rear by more than you might think to clear the latches along both sides. The latches along the front of the right side look like this:

    Samsung microwave - shell side latches
    Samsung microwave – shell side latches

    With the shell off, the sensor compartment on the top of the microwave enclosure is revealed:

    Samsung microwave - TGS880 enclosure
    Samsung microwave – TGS880 enclosure

    Although you might think removing those two screws would grant access to the sensor compartment and let you replace the sensor (if you have very long fingers), that is not the case: the small tab toward the left side of the louvered front plate prevents you from sliding it and the plate is not hinged along its left side.

    The sensor is held into the socket by a clip snapping into the arms that, in turn, hold the socket into the side wall:

    Samsung microwave - TGS880 mount detail
    Samsung microwave – TGS880 mount detail

    A small screwdriver will assist in releasing the latches on the clip arms; squeezing them in the obvious way didn’t get the job done.

    The old sensor then unplugs and the new one plugs in the obvious manner; it is not polarized and either orientation works.

    For completeness, the top of the electronics bay:

    Samsung microwave - top interior
    Samsung microwave – top interior

    The magnetron and HV transformer live on the right side:

    Samsung microwave - left interior
    Samsung microwave – left interior

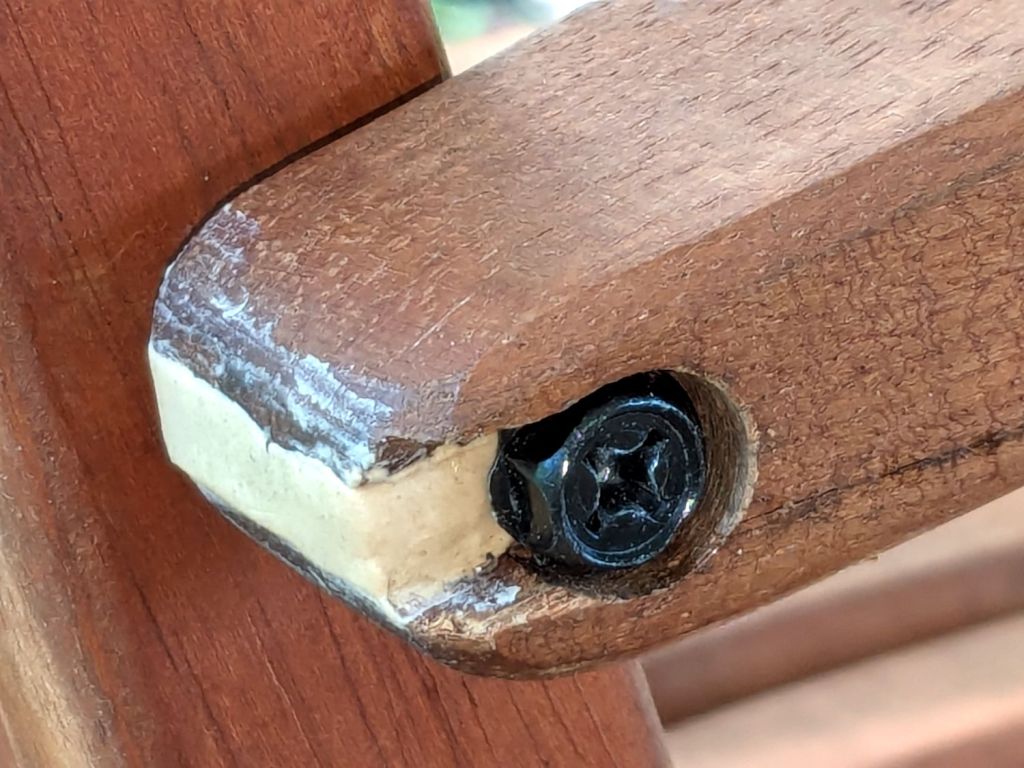
    Then you reassemble in reverse order, heave the microwave atop the 16 inch cubical box, hoist it onto the rail along the back, and install the two loooong screws from the top while holding the front upward with one knee. I took the liberty of replacing the janky steel plates pretending to be washers with actual fender washers:

    Samsung microwave - mounting screw
    Samsung microwave – mounting screw

    And now it works the way it should.

    Of course, the microwave’s “beverage” mode assumes you’re drinking a piddly 8 ounces, rather than sipping from a manly 20 ounce mug:

    Magnetic stirrer - vinyl surface
    Magnetic stirrer – vinyl surface

    It heats 9 ounces of milk + cocoa just fine, but those 18 ounces of water for tea become just barely tepid.

    WordPress has gone full-frontal AI and suggested I use this AI creation as the Featured Image:

    Samsung microwave - AI generated image
    Samsung microwave – AI generated image

    Inquiring minds want to know:

    • Black tile in a kitchen makes sense because … ?
    • Why does the doorless microwave have a knob?
    • Who is that handsome guy?
    • So. Many. Screws.

    At least his hand has the right number of fingers, even if they do look a bit arthritic.

    The WordPress AI generated this evaluation of my writing:

    The content provides a detailed guide on replacing the gas/humidity sensor in a Samsung over-the-range microwave. Consider adding subheadings to break down the process for easier reading. Additionally, including a brief introduction and a conclusion summarizing the key points would enhance the post. The technical details and images greatly support the instructions. Great job!

    Dopamine rush in full effect!

  • Prince Ping-Pong Table Surface Leveler

    Prince Ping-Pong Table Surface Leveler

    Mary redesignated the Prince Tournament 6800 ping-pong table that Came With The House™ as her quilting layout table, so it now fills much of the Sewing Room (f.k.a. the Living Room):

    Mary with quilt on ping-pong table
    Mary with quilt on ping-pong table

    For reasons lost in the table’s history, the two halves of the top surface weren’t quite flush on one side, by a matter of a few millimeters. This bothered me far more than it did her, so the delay until I finally fixed it wasn’t critical:

    Prince ping-pong table leveler
    Prince ping-pong table leveler

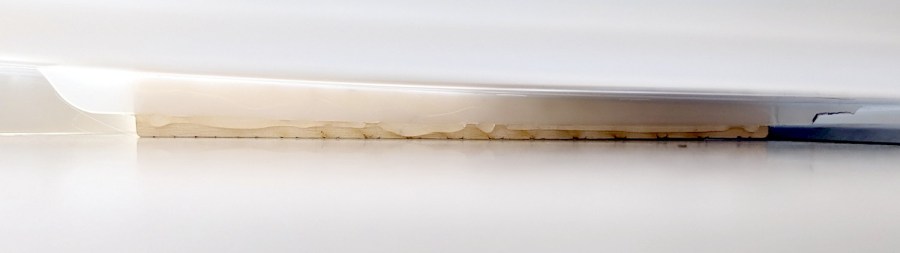
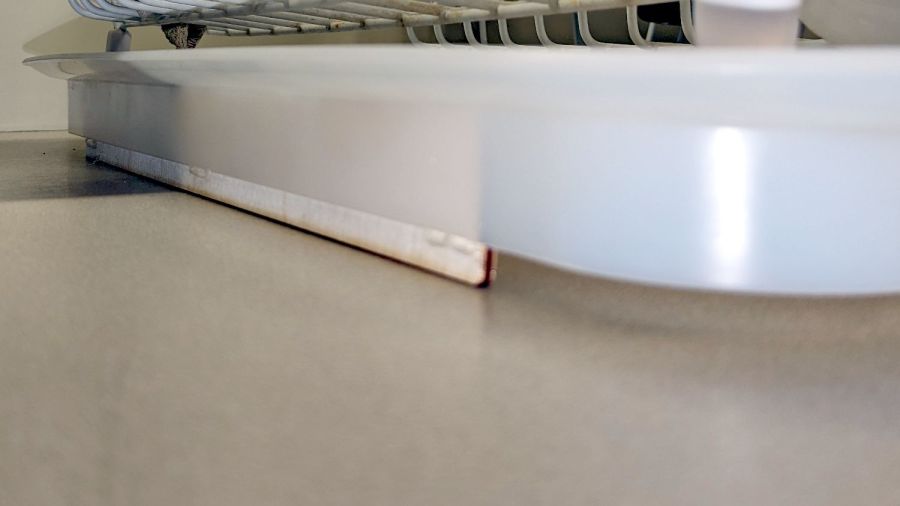
    That’s 3 mm plywood + 1.5 mm Trocraft Eco pushing the surface upward just enough to almost make the joint (visible near the bottom of the picture) flush within +2 -1 mm across the table width, making it obvious that neither piece is exactly planar.

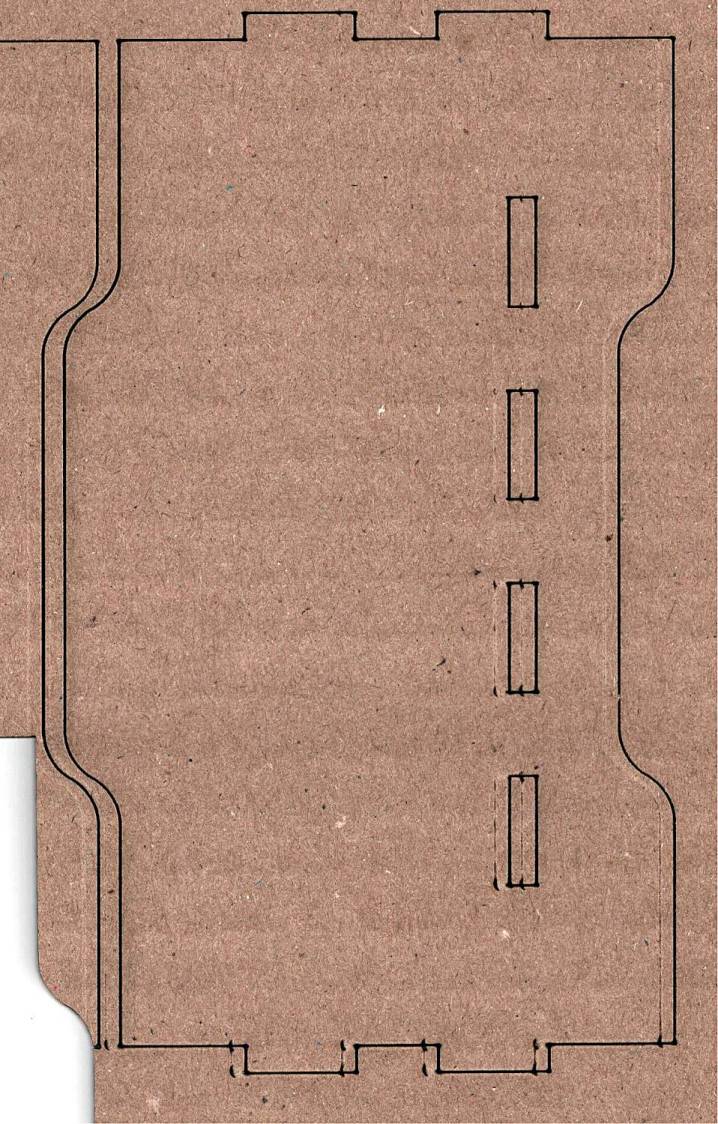
    The shape has mixed metric and inch dimensions, for no reason I know:

    Prince ping-pong table leveler
    Prince ping-pong table leveler

    If you ever need such a thing, remember to use screws about 4 mm longer than the ones you took out.

    The LightBurn layout as an SVG image:

    Loading
    Sorry, something went wrong. Reload?
    Sorry, we cannot display this file.
    Sorry, this file is invalid so it cannot be displayed.
  • Juki / Arrow Sewing Table Insert Filler

    Juki / Arrow Sewing Table Insert Filler

    Mary’s Juki TL-2010Q sewing machine sits in an Arrow Gidget II sewing table with a clear acrylic insert filling the opening:

    Juki TL-2000Q in Gidget II table
    Juki TL-2000Q in Gidget II table

    Before the insert arrived (it had month of leadtime), I hacked out a temporary cardboard insert:

    Juki temporary table insert
    Juki temporary table insert

    Although it may not be obvious from the picture, unlike my cardboard insert, the acrylic insert does not fill the tabletop hole to the immediate right of the machine:

    Custom Inserts are U-shaped, designed to fit around all 3 sides of your sewing machine

    Shortly after the insert arrived I hacked a temporary filler, for which no pictures survive, to keep pins / tools / whatever from falling to their doom. This turned out to be a blessing in disguise, because she wanted the machine positioned an inch to the right of its intended spot to leave enough space for a finger to reach the bobbin hatch latch.

    I then promised to replace the ugly cardboard filler with a less awful acrylic filler and finally got it done:

    Juki TL-2000Q in Gidget II table - insert filler
    Juki TL-2000Q in Gidget II table – insert filler

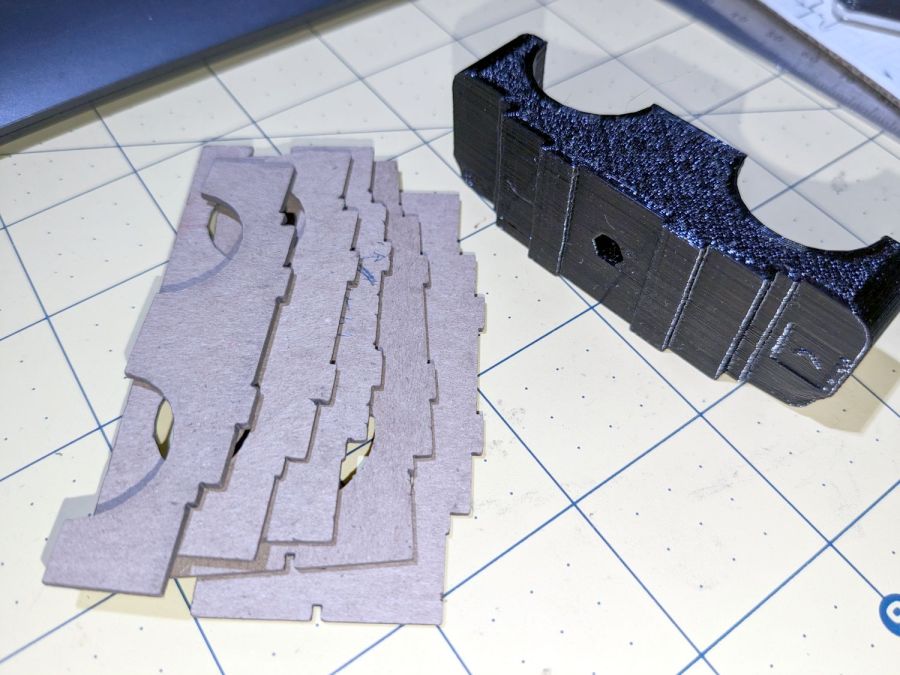
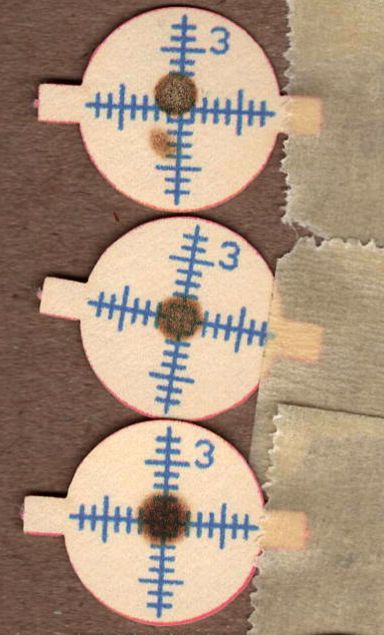
    The stack of cardboard prototypes show iterative fit-and-finish improvements, with the odd shape on the top serving to measure the machine’s 25 mm corner radius by comparison with known circles.

    The insert filler is made from smoked gray acrylic, because I have yet to unpack the acrylic stockpile and may not, in fact, have any clear 6 mm acrylic, so we’ll regard this as a final prototype pending further developments. It did, however, confirm the laser survived the move, which was pretty much the whole point.

    The end of the machine is not a straight line. Part of the iteration was measuring the curve’s chord height to calculate the circle’s radius, which turned out to be 760 mm:

    Juki Insert Filler - end chord circle
    Juki Insert Filler – end chord circle

    With that in hand, a few Boolean operations produced the filler shape:

    Juki Insert Filler
    Juki Insert Filler

    A pair of silicone bumper feet stuck to the side of the Juki hold the left edge of the filler at the proper level.

    For the record, the smoked acrylic came from a fragment of a Genuine IBM Printer stand I’ve had in the scrap pile since The Good Old Days:

    Etsy listing - Vintage IBM Printer Stand
    Etsy listing – Vintage IBM Printer Stand

    The LightBurn layout as an SVG image:

  • Kenmore Microwave Turntable Drive Rollers

    Kenmore Microwave Turntable Drive Rollers

    Our ancient Kenmore microwave has a three-armed turntable drive:

    Kenmore Microwave - turntable installed
    Kenmore Microwave – turntable installed

    After all these years the (white) rollers have worn to the extent they fall off the (brown) drive arms all too easily. They ride in a recessed track in the glass plate that holds them in place during normal operation, but having once again found a roller wandering around when I put the turntable back in, it’s time for at least a temporary fix.

    Everything is, of course, plastic:

    Kenmore Microwave - turntable drive roller parts
    Kenmore Microwave – turntable drive roller parts

    I considered drilling the end of the axle and tapping it for a nylon screw + washer, but came to my senses just in time:

    Kenmore Microwave - turntable drive
    Kenmore Microwave – turntable drive

    The laser-cut parchment paper disk (barely) fits over the axle against the outside of the roller, while allowing the hot-melt glue to glom onto the undercut and hold everything in place:

    Kenmore Microwave - roller glopped
    Kenmore Microwave – roller glopped

    I expect the paper to wear / fall off in short order, but the HDPE roller won’t bind against the glue and the blob should remain latched in place for a while.

    When those hideous glue blobs do fall off, I’ll reconsider drilling & tapping. More likely, I’ll just fire up the glue gun again.

    Actual use required trimming the blob from the upper side of the roller / hub, because the track in the glass plate fits very close against the edge of the roller. The hideous glue blob slid freely on the roller, but jammed firmly against the plate, causing it to turn at half speed.