The Smell of Molten Projects in the Morning

Ed Nisley's Blog: Shop notes, electronics, firmware, machinery, 3D printing, laser cuttery, and curiosities. Contents: 100% human thinking, 0% AI slop.

Category: Machine Shop

Mechanical widgetry

  • Windows 11 for the Linux Guy: Hardware

    Windows 11 for the Linux Guy: Hardware

    Contrary to what I thought a while ago, the least awful way to continue running LightBurn after Linux support goes away is to stand up a dedicated Windows 11 box:

    BeeLink Win 11 PC - overview
    BeeLink Win 11 PC – overview

    Lest it become lost in the clutter:

    BeeLink Win 11 PC - detail
    BeeLink Win 11 PC – detail

    It’s a BeeLink Mini S12 (whatever that means) and squats near the low end of PC performance these days. I chose it based on reports from folks at Squidwrench having used similar units for various purposes without much pain, plus motivation from one of those weird Amazon “coupons” knocking the price down; it now sells for about that same price without the coupon.

    It’s advertised as coming with Windows 11, but my advisors recommended a clean installation to get rid of crapware and possible pre-installed malware. I decided to start with the as-delivered system, then use the same product key to blow away the default installation.

    The box / packaging did not include a Microsoft Windows Product Key and going through the first boot setup process produced this disconcerting result:

    Win 11 license key - not found
    Win 11 license key – not found

    More disconcerting: Windows Defender (Microsoft’s antivirus scanner / system integrity checker) was inactive and could not be installed from the MS “Store”. While not conclusive proof of pre-installed malware, the situation certainly seemed suspicious.

    The seller sent a key that seemed to be for Windows 10:

    BeeLink MS Product Key - Win 10 - redacted
    BeeLink MS Product Key – Win 10 – redacted

    Having been assured this would also validate a Win 11 installation, I did a clean installation using a USB flash drive produced by the MS installer, was never asked for a key, and eventually got to this point:

    Win 11 Pro Installed Key - requires Digital License - redacted
    Win 11 Pro Installed Key – requires Digital License – redacted

    Despite the missing OEM key and the footnote, everything seems just ducky:

    Win 11 Activation with Digital License
    Win 11 Activation with Digital License

    I assume a clean installation blows away any malware resident on the “hard drive” (an M.2 solid state drive, of course), including rootkits and boot sector malware. My threat model does not include malware in the BIOS / UEFI firmware, which may be overoptimistic.

    I declined all the optional MS products, refused various MS subscriptions, and generally tried to kill off a myriad invasive / advertising / “customized for you” features along the way. A casual search will produce many helpful guides for that process; I expect the details will change as MS continues to extract information from us. I set up a non-Administrator account for myself specifically to run LightBurn.

    With that accomplished, I gave it a static IP address, created network shares to various directories on the “file server” (an ancient off-lease Dell Optiplex) holding the files I previously used with Linux LightBurn, installed Window LightBurn, got its preferences sorted out / restored from backup, and things eventually worked pretty much as intended.

    Not shown in the picture:

    This setup is intended for layout tweaking and laser control, not for protracted design work while standing in what’s now a 57 °F = 14 °C basement.

    For what it’s worth, I must run the laser’s water chiller for half an hour to raise the cooling water to the normal 20 °C operating range; it has a water-cooled pump serving as a little heater.

    The next step involved enabling Remote Desktop Protocol access so I can access the Windows box from my Comfy Chair at my usual battle station upstairs. More on that tomorrow …

  • Vole Traps: End of Season

    Vole Traps: End of Season

    A highly effective way to bait a rat trap for garden voles:

    Rat trap - still baited
    Rat trap – still baited

    The trap is a Victor M205 (in a 12-pack as M326) with a big yellow plastic bait pedal. The bait is pieces of walnut, secured to the pedal with generous strands of hot melt glue. The trick involves mechanically capturing the walnut by slobbering glue over & around it, forcing the vole to pull & tug while gnawing the last bit of goodness.

    Which generally ends badly:

    Rat trap - gnawed bait
    Rat trap – gnawed bait

    I do not begrudge the critters a fancy last meal; it’s gotta be better than their usual diet of carrots / radishes / turnips.

    Voles have no qualms about eating the bait from a sprung trap with a dead compadre a few millimeters away:

    Rat trap - empty bait
    Rat trap – empty bait

    They will sometimes eat the walnuts and their dead compadre.

    The plastic pedals work much better than the old-style metal pedals at holding the steel arm wire. The wire slides freely on the plastic, in contrast to the previous high-friction metal-on-metal latch.

    Some of the traps were entirely too sensitive and required slightly bending the tip of the arm wire upward to increase the friction on the plastic plate. Always always always handle armed traps by the wooden edges beside the kill bar, so when it accidentally snaps your fingers are nowhere near the business end.

    After I figured out how to properly bait the traps and we set out half a dozen traps in the most attractive crops, Mary’s garden produced 54 dead voles over the course of 90 days, sometimes in groups of three or four at a time. While this did not prevent all the crop damage, it definitely reduced the problem.

    Next year we’ll start early and probably reach triple digits by midsummer.

    The same technique with Victor M035 mouse traps (in 12-packs as M035-12) is brutally effective on house mice.

  • Surprise Eggs: 3D Printer Tests

    Surprise Eggs: 3D Printer Tests

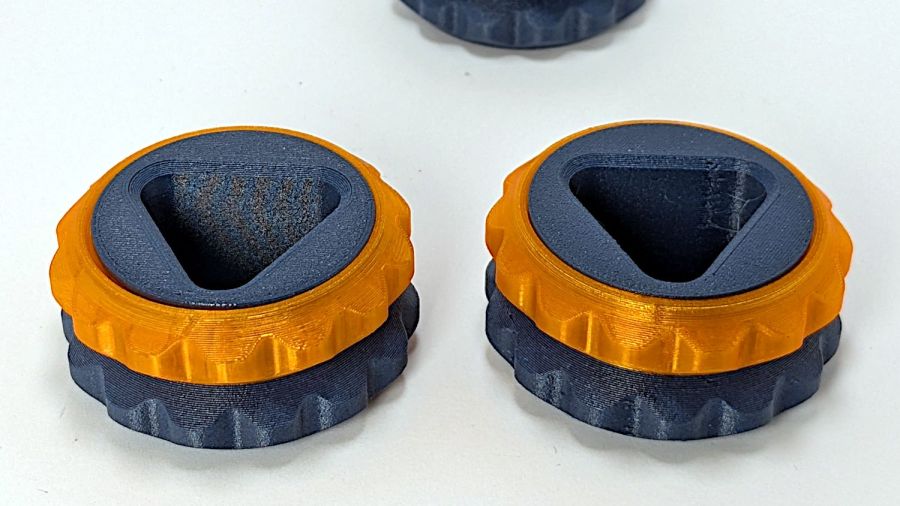
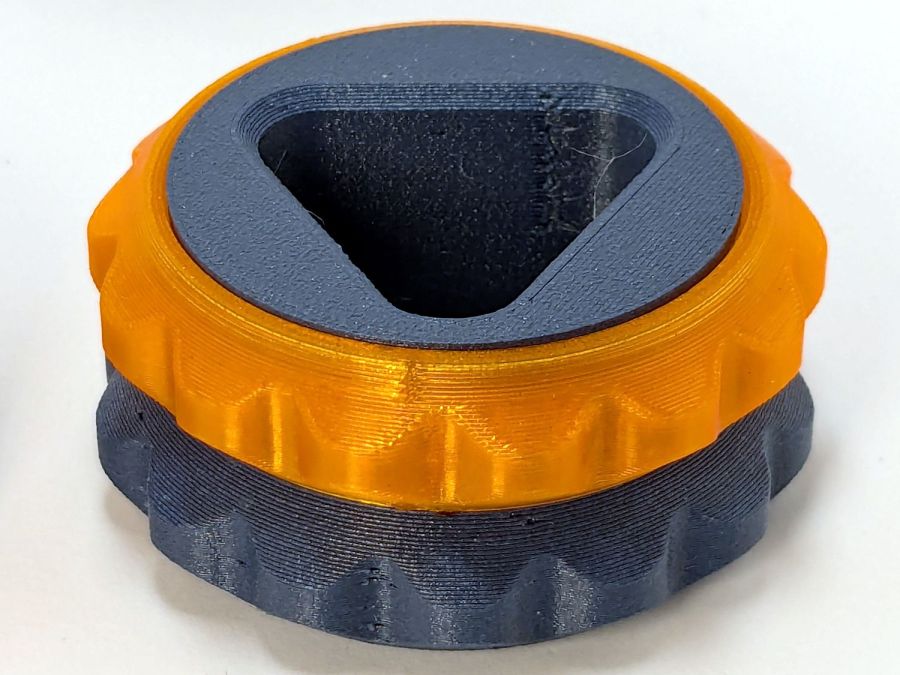
    These cute little toys serve as 3D printer torture tests:

    Surprise Eggs
    Surprise Eggs

    Obviously, each egg can hold only one of those toys, but I had to run them off in both retina-burn orange PETG and black PETG-CF for comparison.

    These Surprise Egg models came from Thingiverse, but they’re also available on Printables. You’ll find many more, of course, at a variety of scales, with these on the small end.

    The white eggs print with no difficulty at all, as does most of the equipment contained within:

    Surprise Eggs - contents - orange PETG
    Surprise Eggs – contents – orange PETG

    Most moving parts require careful back-and-forth movement to break them free, but they’re surprisingly functional. The PETG-CF, printed with an Extrusion Multiplier = 0.8, looks better, although the moving parts were more firmly stuck together.

    Not all of the equipment came out perfectly:

    Surprise Eggs - contents on platform
    Surprise Eggs – contents on platform

    Even without any special preparation, the MK4 didn’t have much trouble. If you were doing those for real, you could add stickum to the sheet or switch to a sheet with absurdly high PETG griptivity.

    My designs look downright chunky by comparison …

  • Handi-Quilter HQ Sixteen: Anchor Block

    Handi-Quilter HQ Sixteen: Anchor Block

    Although I devoted considerable attention to leveling & shimming the table under Mary’s HQ Sixteen, the machine rolls on ball bearing wheels atop (relatively) smooth plastic tracks. Parked at a few spots along the dozen feet of table, the machine will slowly and quietly roll away. This calls for some sort of parking brake, but until inspiration strikes, a simple anchor will suffice:

    HQ Sixteen - anchor
    HQ Sixteen – anchor

    It’s a cocoa container chosen from (one of) my Boxes o’ Containers, with a husky chunk of steel atop some very sticky double-sided foam tape inside the red lid.

    You can see one of the ball bearing wheel just above the strap applying tension to the practice quilt out of view on the left. The thing that looks like a wheel just under the strap is an encoder for the stitch regulator that we haven’t connected yet.

    To prevent the machine from simply bulldozing the container along with it, the lid sits on a sheet of EVA craft foam stuck to a sheet of rigid foam board (with adhesive on both sides).

    Scan the lid:

    Container lid scan
    Container lid scan

    Select all the red pixels, do a little cleanup, turn it into a binary mask:

    Container lid mask
    Container lid mask

    Import it into LightBurn, trace the perimeter, do some curve optimization / smoothing, duplicate the outline, set one to cut EVA foam and the other to cut adhesive board, and Fire The Laser.

    Elapsed time: about fifteen minutes from realizing what was needed to plunking the anchor in place.

    I briefly considered a full-frontal laser-cut finger-jointed box for the weight, but … Mary’s not a big fan of that campfire smell, particularly in a room dedicated to the Fiber Arts.

  • Handi-Quilter HQ Sixteen: Front Handlebar Angled Mount

    Handi-Quilter HQ Sixteen: Front Handlebar Angled Mount

    So as to not bury the lede, I remounted the front handlebar unit of Mary’s Handi-Quilter HQ Sixteen long-arm sewing machine so she can see the control panel with its small LCD:

    HQ Sixteen - remounted handlebars in use
    HQ Sixteen – remounted handlebars in use

    The new and old white LEDs produce distinctly different colors and intensities on the practice quilt fabric.

    The original HQ Sixteen design bolted squarely atop the arm:

    HQ Sixteen - original front handlebar mount
    HQ Sixteen – original front handlebar mount

    The control surface is, admittedly, angled slightly forward, but Mary was unable to see the lower few lines of the LCD without standing on tiptoe.

    Begin with a crude tracing of the mating surfaces:

    Front handlebar base tracings
    Front handlebar base tracings

    Import the image into Inkscape and lay some shapes on it:

    Front handlebar base layout - Inkscape
    Front handlebar base layout – Inkscape

    Import the SVG into LightBurn and cut templates to verify the hole positions:

    HQ Sixteen - handlebar bolt templates
    HQ Sixteen – handlebar bolt templates

    Obviously that took more than one try.

    Rationalize the outlines, clean things up, and organize the shapes into useful named layers:

    Front handlebar base layout - Inkscape layers
    Front handlebar base layout – Inkscape layers

    Save as an Inkscape SVG, import into OpenSCAD, and extrude the layers defining all those shapes into a solid model:

    Handlebar Base Mount - solid model
    Handlebar Base Mount – solid model

    That’s the most recent iteration; earlier ones appear in various pix.

    I had intended to use either square nuts or heat-set inserts, but it turned out to be easier to just slam BOSL2 threaded nuts into the front plate and be done with it:

    Handlebar Base Mount - solid model - hex nuts
    Handlebar Base Mount – solid model – hex nuts

    The trick is to sink the nuts around a hole sized slightly larger than the screw’s nominal diameter, letting the threads fill empty space.

    The handlebar base is mounted symmetrically along the machine arm centerline aligned with the two screws on the right. The rear block is offset to the left to clear the machine cover on the right, so the hull() wrapped around the two looks weird.

    The front plate stands proud of the rest by dint of incorporating only a small slice of its back face into the hull() filling the gaps between the two. It’s not particularly stylin’, but it’s pretty close.

    Finding the correct angle for the front plate required a couple of iterations, but they all built successfully:

    HQ Sixteen - handlebar mount - on platform
    HQ Sixteen – handlebar mount – on platform

    Putting the threaded holes vertical created nicely formed threads that accepted the screws without hassle.

    The block screws firmly to the arm and the handlebar unit screws to the block:

    HQ Sixteen - remounted handlebars - side
    HQ Sixteen – remounted handlebars – side

    The display now faces front:

    HQ Sixteen - remounted handlebars - front
    HQ Sixteen – remounted handlebars – front

    I eventually replaced those black oxide screws with shiny stainless ones, just for pretty.

    The nine LEDs under the display now do a great job of lighting up the front of the machine’s arm, rather than the fabric at the needle, but fixing that will be a whole ‘nother project.

    The handlebar grips with their control buttons now tilt at a somewhat inconvenient angle, which is also a whole ‘nother project.

    Early reports from the user community are overwhelmingly positive.

    The OpenSCAD source code and the SVG layout as a GitHub Gist:

    Loading
    Sorry, something went wrong. Reload?
    Sorry, we cannot display this file.
    Sorry, this file is invalid so it cannot be displayed.
    // Handiquilter HQ Sixteen front handlebar base mount
    // Ed Nisley – KE4ZNU
    // 2024-11-22
    include <BOSL2/std.scad>
    include <BOSL2/threading.scad>
    Layout = "Show"; // [Build,Show,Block,Holes]
    HandlebarOffset = [0,-30.0,14.0]; // pure empirical values
    HandlebarAngle = [60,0,0];
    FrameBlockThick = 35.0; // how much meat they need
    HandlebarThick = 12.0;
    /* [Hidden] */
    Holes = [[-19.0,0,0],[0,0,0],[0,12.5,0]]; // Must match SVG hole coordinates
    FrameCenter = [-45,-65]; // coordinates of corner hole center
    HoleCenter = [-40,-20];
    Protrusion = 0.1;
    module AdapterBlock() {
    union() {
    hull() {
    linear_extrude(height=FrameBlockThick,convexity=10)
    translate(FrameCenter)
    import("Front Handlebar Layout.svg",layer="Machine Frame");
    translate(HandlebarOffset)
    rotate(HandlebarAngle)
    linear_extrude(height=0.05*HandlebarThick,convexity=10)
    translate(HoleCenter)
    import("Front Handlebar Layout.svg",layer="Handlebar Base");
    }
    translate(HandlebarOffset)
    rotate(HandlebarAngle)
    linear_extrude(height=HandlebarThick,convexity=10)
    translate(HoleCenter)
    import("Front Handlebar Layout.svg",layer="Handlebar Base");
    }
    }
    module AdapterHoles() {
    linear_extrude(height=FrameBlockThick,convexity=10)
    translate(FrameCenter)
    import("Front Handlebar Layout.svg",layer="Machine Holes",convexity=2);
    translate([0,0,FrameBlockThick – 7.0])
    linear_extrude(height=7.0 + Protrusion,convexity=10)
    translate(FrameCenter)
    import("Front Handlebar Layout.svg",layer="Machine Counterbore",convexity=2);
    translate(HandlebarOffset) // cut clearance for nut threads
    rotate(HandlebarAngle)
    linear_extrude(height=HandlebarThick + Protrusion,convexity=10)
    translate(HoleCenter)
    import("Front Handlebar Layout.svg",layer="Handlebar Holes",convexity=2);
    }
    module Adapter() {
    union() {
    difference() {
    AdapterBlock();
    AdapterHoles();
    }
    # translate(HandlebarOffset) // add threads inside holes
    for (c = Holes)
    rotate(HandlebarAngle)
    translate(c)
    threaded_nut(10.0,6.2,HandlebarThick,1.0, // flat size, root dia, height, pitch
    bevel=false,ibevel=false,anchor=BOTTOM);
    }
    }
    // Build things
    if (Layout == "Block")
    AdapterBlock();
    if (Layout == "Holes")
    # AdapterHoles();
    if (Layout == "Show")
    Adapter();
    if (Layout == "Build")
    rotate([180,0,0] – HandlebarAngle)
    Adapter();
  • Prusa MK4 Input Shaper vs. Resonance Test Box

    Prusa MK4 Input Shaper vs. Resonance Test Box

    Although the laser ramp test fixture looked good, Brent wondered what a real test box would reveal about the Prusa MK4’s Input Shaper resonance control.

    Loading the STL into PrusaSlicer, adding a text label to remind me which way it printed, then slicing with my PETG-CF profile shows the “Actual Speed”, which seems to take acceleration into consideration:

    PrusaSlicer preview - actual speed
    PrusaSlicer preview – actual speed

    The colors in the legend don’t quite match the colors on the model, but the greenish layers with the jolts trundle along in the mid-20 mm/s range and the blue-ish straight-through layers at 30-ish mm/s.

    Eryone PETG-CF has a somewhat fuzzy appearance that seems not characteristic of other brands, so I’ll try something else when these spools run out:

    MK4 Resonance Test Box - overview
    MK4 Resonance Test Box – overview

    The right side of the box (as oriented on the platform) got all the layer retractions and came out festooned with PETG hairs:

    MK4 Resonance Test Box - right side
    MK4 Resonance Test Box – right side

    You can check my labels by tracking the small retraction zit sticking up from the top layer; I got it wrong the first time. Open the images in a new tab to see more pixels.

    The front:

    MK4 Resonance Test Box - front side
    MK4 Resonance Test Box – front side

    The left:

    MK4 Resonance Test Box - left side
    MK4 Resonance Test Box – left side

    And the rear:

    MK4 Resonance Test Box - rear side
    MK4 Resonance Test Box – rear side

    You can barely see the shadow of the “Rear” text on the surface, even though the wall is two threads thick and the text is indented by 0.2 mm, about half the thread width.

    As far as I can tell, the MK4 Input Shaper compensation does a great job of suppressing resonance or wobble in all directions.

    Looks good to me!

  • Quilting Ruler Rack: Expedient Base

    Quilting Ruler Rack: Expedient Base

    Mary is at least the third owner of a steel rack, originally intended to hold packages of retail stuff, which now holds (much of) her collection of quilting rulers:

    Quilting Ruler Rack Base - overview
    Quilting Ruler Rack Base – overview

    Obviously, it was never intended to hold heavy acrylic sheets, but it worked surprisingly well, right up to the point where too many of the rulers collected on two adjacent columns of pegs and overbalanced the whole affair atop her while she attempted to remove a ruler.

    Subsequent accident recreation showed the rack toppled when the weight of the rulers on the two adjacent columns of hooks moved the center of mass outward, just inside the line between those feet, whereupon the slightest tug on a ruler pulled it over.

    Measurements revealed the four legs do not sit on a square contact patch, are not parallel to the radii from the center point, and are not uniformly distant from the center. Rather than committing to a finished product, I made a cardboard prototype to verify a bigger base would solve the problem and I could capture all those feet.

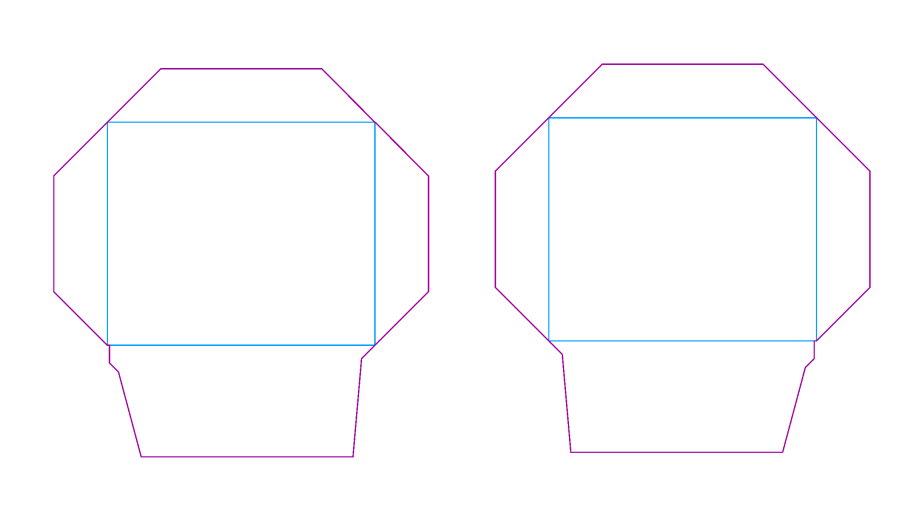
    You don’t have such a rack, so the exact dimensions don’t matter, but the LightBurn layout looks like this:

    Quilting Ruler Rack Base
    Quilting Ruler Rack Base

    The disk is two cross-laid sheets for stiffness, with marks burned on the top to help align the feet more-or-less around the center point.

    The oblong rings fit around the feet to capture them, so cut eight or twelve to make four stacks a bit taller than the wire diameter.

    The H shape then glues atop the rings to hold the feet in place. They’re not removable, but a razor knife will eventually solve that problem.

    I slobbered hot melt glue across the cardboard disks to hold them together, glued and aligned the rings where the feet dented the disks, stood the rack in the rings, and glued the H plates.

    About an hour elapsed from the sound of the crash to the rack once again standing quietly beside the fabric cabinets.

    We’ll run this for a while and eventually replace it with a plywood disk and screwed-in-place clamps for the feet, which will surely call for wood surface preparation / stain / seal treatment.