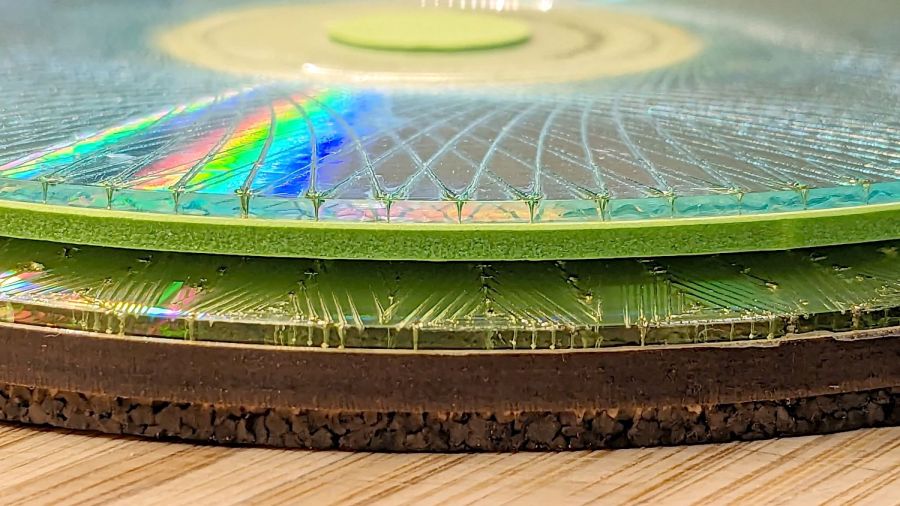
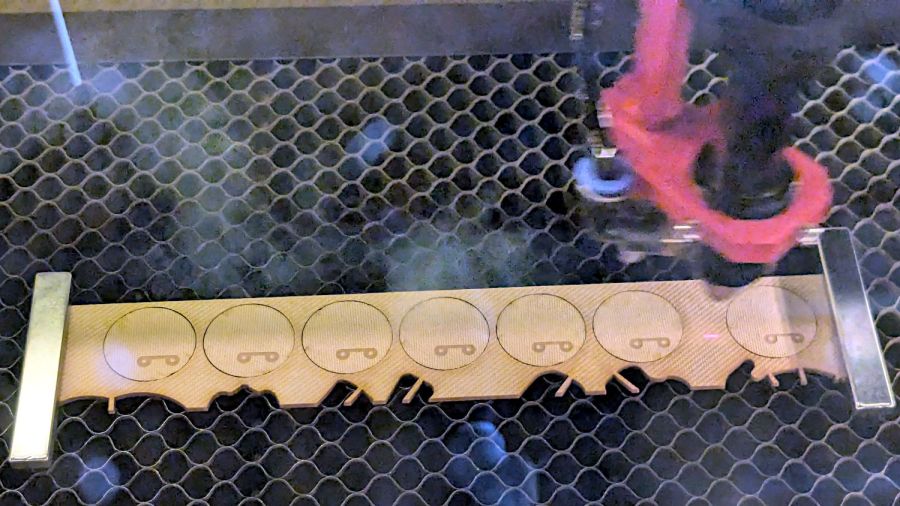
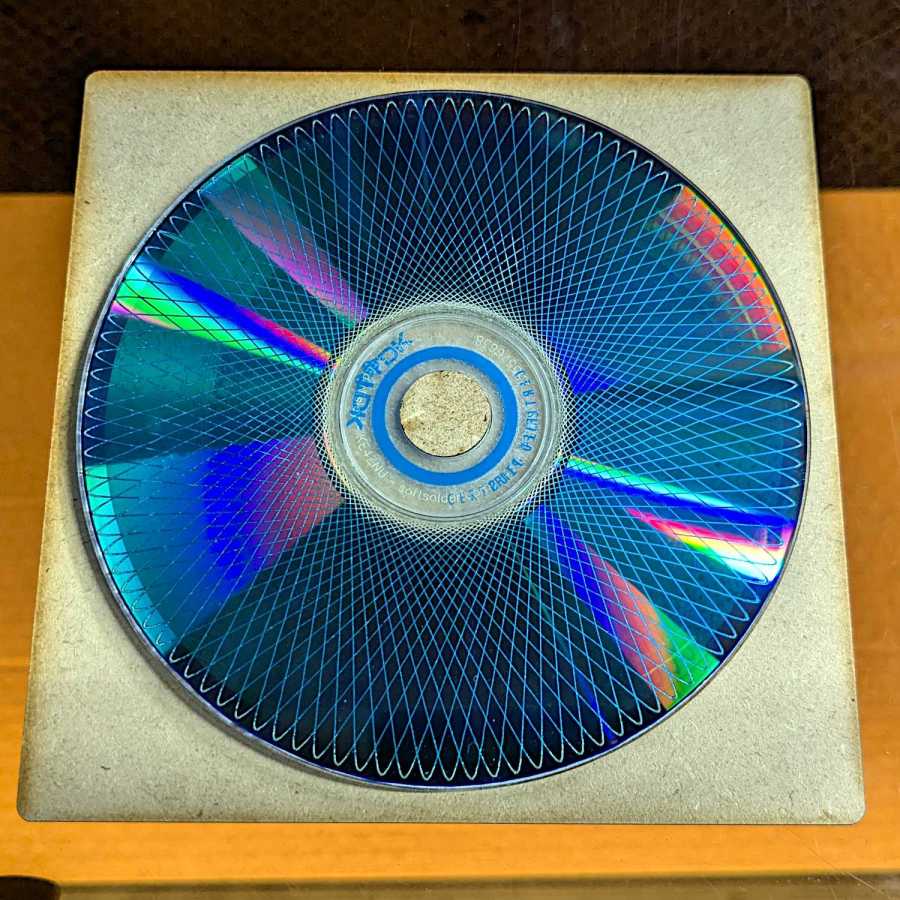
Given an essentially unlimited supply of scrap CDs / DVDs (rendered unreadable by scarring the label side with a Guilloche pattern) and the failure of foam backing, it seemed reasonable to try sticking two of them together:

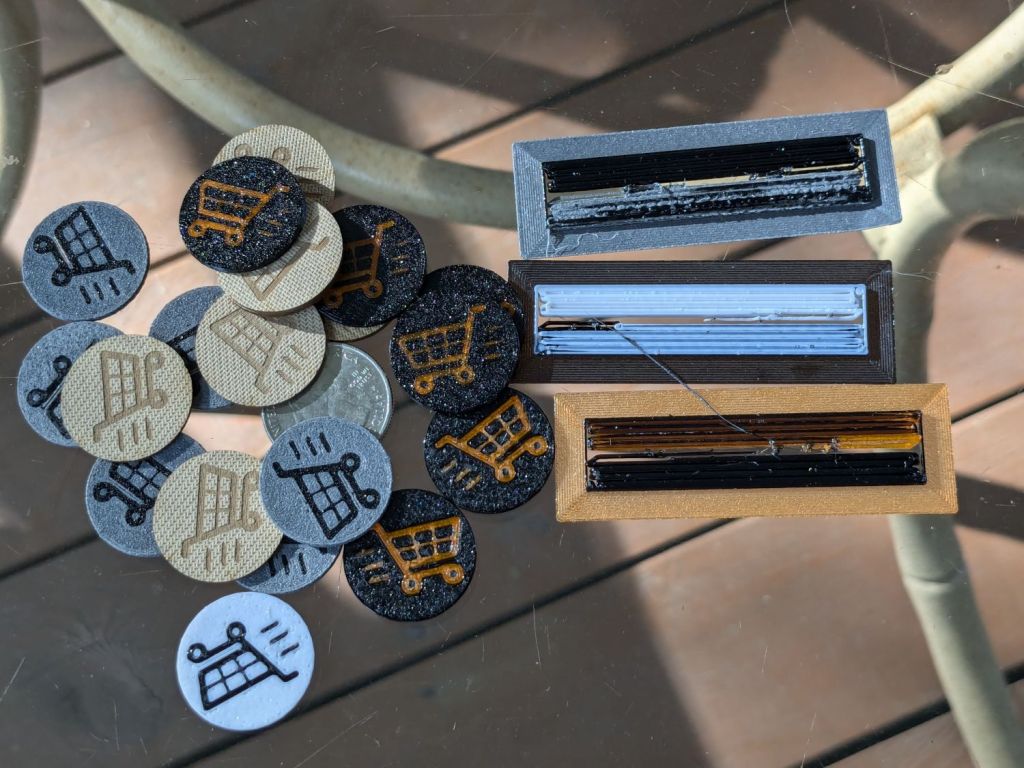
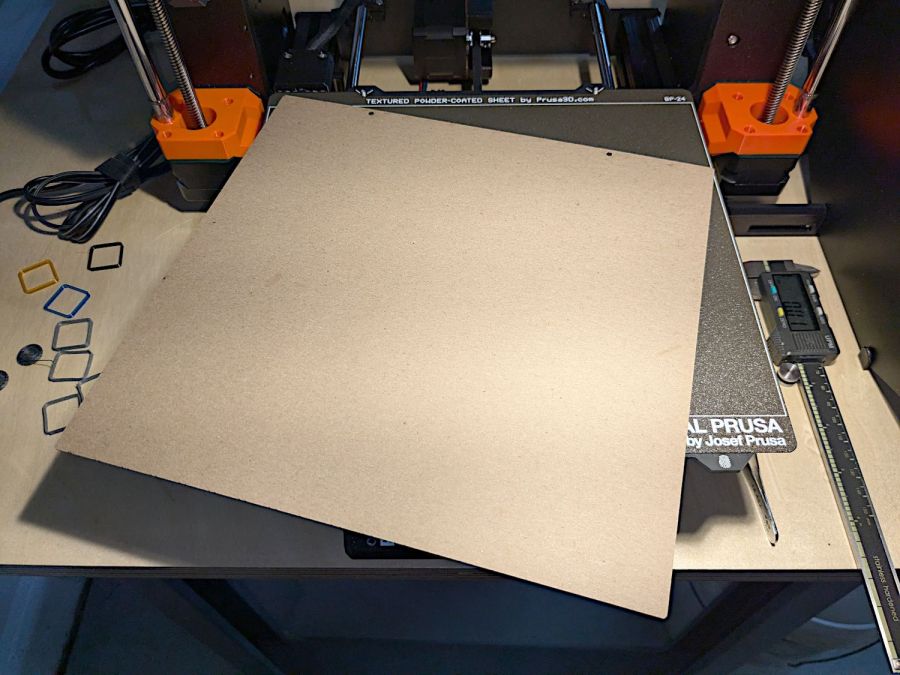
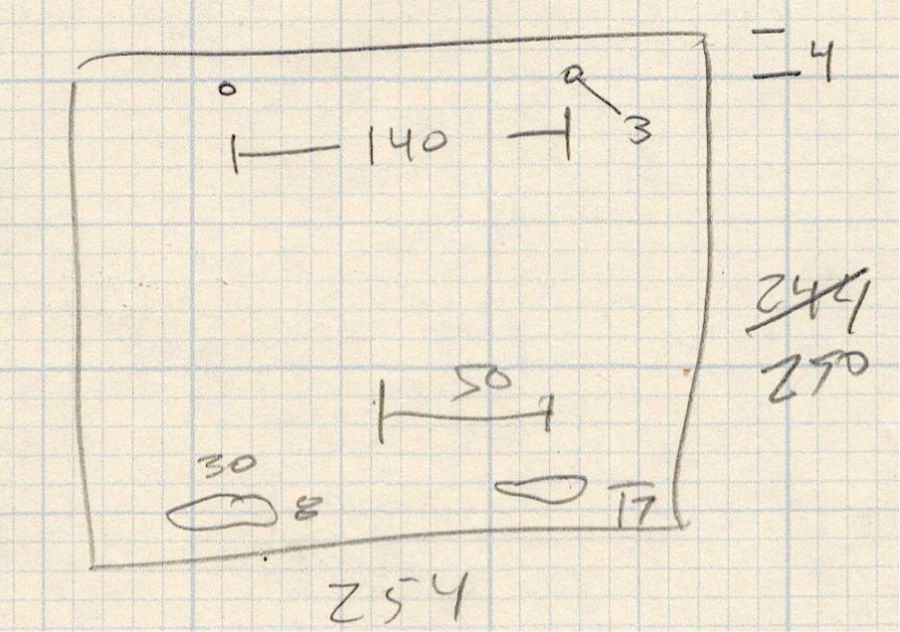
The fixture in the lower left is just an MDF square with a 15 mm post of more MDF glued in the middle to align the pieces. The white disk is the adhesive sheet, cut to 119 mm OD to leave half a millimeter clear around the outer edge, thus avoiding embarrassing stickiness.
Peel one side of the adhesive sheet and drop it over the post sticky side up:

Drop one of the DVDs over it, label side down:

Lift it off, peel the other side of the adhesive sheet, put it over the post sticky side up, and drop the other DVD on top:
The data side of the discs has a 0.3 mm raised rim just inside the track zone, so they don’t sit exactly flat on the table and expect a slightly concave lower surface on the mug / glass / cup. Neither of those seem like dealbreakers thus far, although I’m sure somebody will object.
A ring or two of general-purpose glue, along the lines of E6000 urethane, would be significantly less fussy than cutting adhesive sheets.