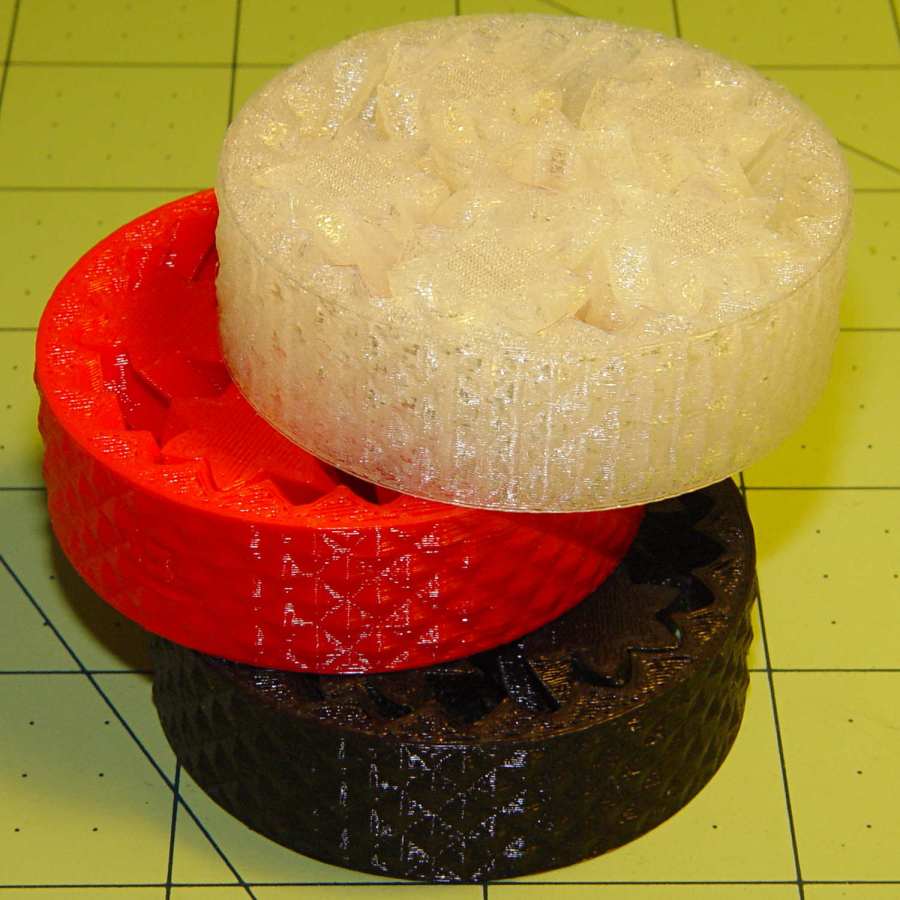
Because it’s easy to scale solid models:
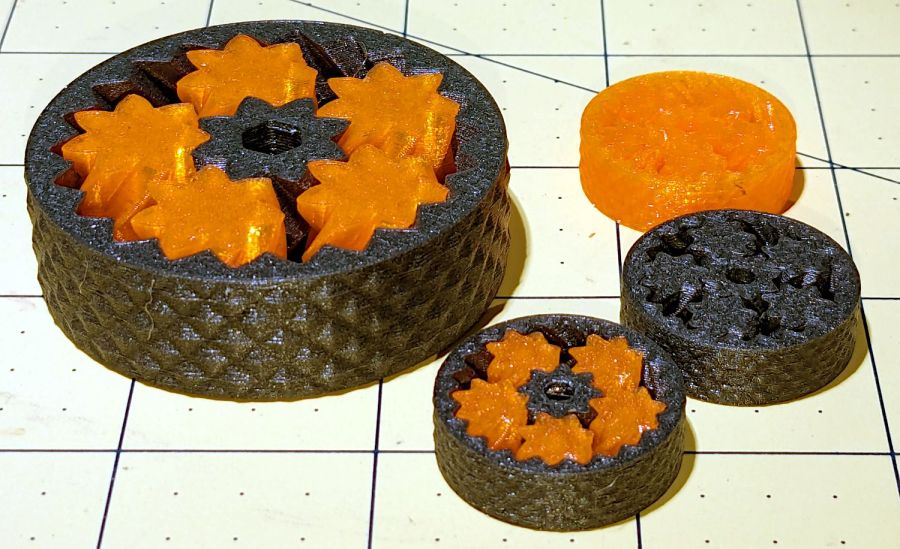
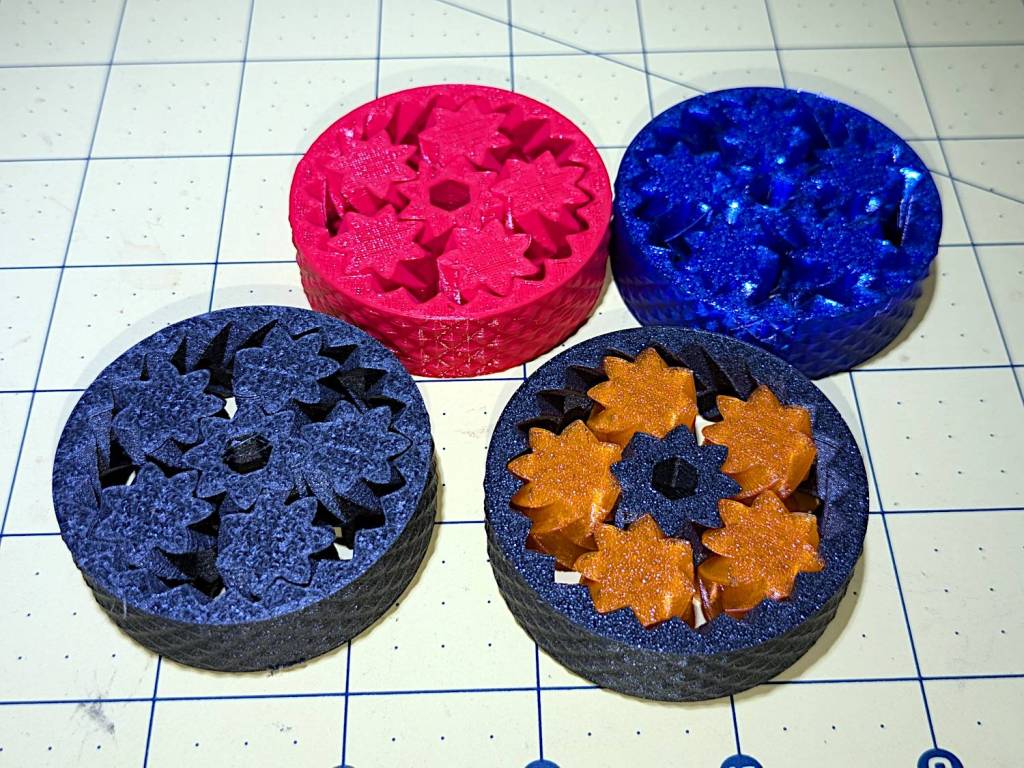
The small bearings are 25 mm OD, with correspondingly small clearances between their moving parts, but they all spun easily after a bit of breaking in.
As with their larger cousins, the orange PETG bearing has the most axial play and worked just fine right off the platform. The gray PETG-CF bearing was jammed and required concerted effort to get the gears rolling, but now has essentially no axial play while turning easily. The snappy-looking orange and black bearing has very little play and feels the best of the three.
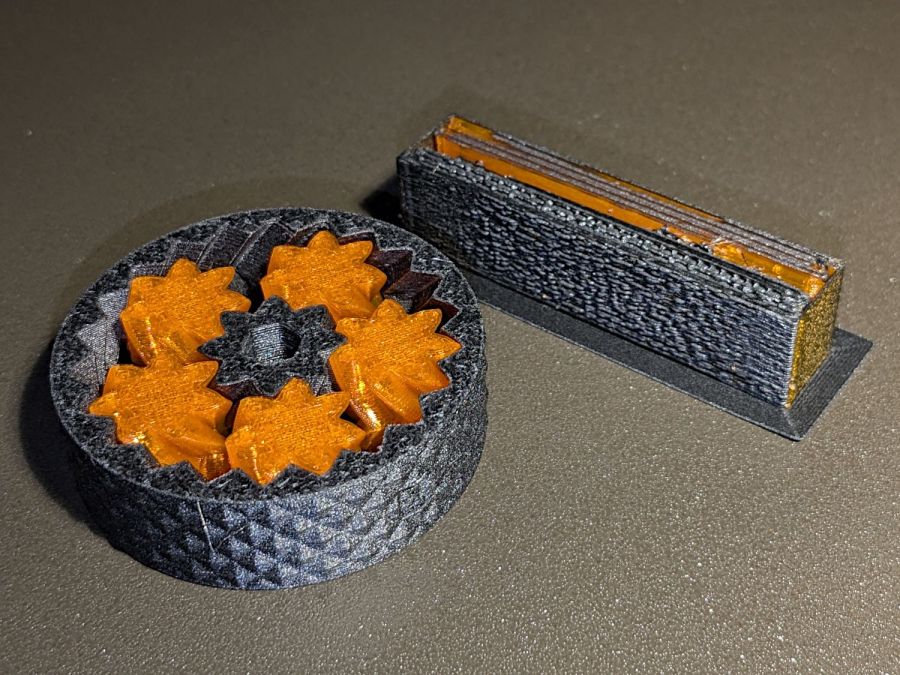
The single-material bearings take about 20 minutes to print, while the mixed material one requires 80 minutes due to the extruder purging and nozzle clearing. The larger mixed material bearing took more than three hours, but time doesn’t scale as the cube of the size because changing materials runs at a constant time:

The smaller mixed gear produced the smaller wipe tower on the right, but changing materials remains an expensive process. Of course, if you were doing this in production, you’d make a couple dozen of the little things in one job: the machine would spend most of its time squirting out planetary gear bearings with the same number of material changes building the same size wipe tower.
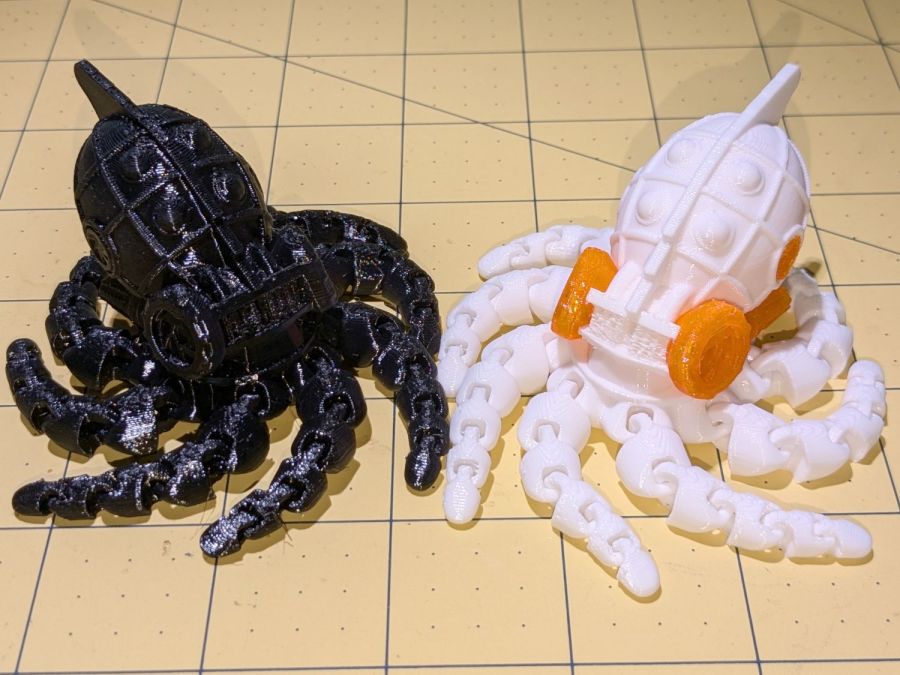
They’re slightly too small for my fingers and surely pose a choking hazard to children, but they’re definitely cute.