The Smell of Molten Projects in the Morning

Ed Nisley's Blog: Shop notes, electronics, firmware, machinery, 3D printing, laser cuttery, and curiosities. Contents: 100% human thinking, 0% AI slop.

Category: Home Ec

Things around the home & hearth

  • Bed Bugs: Assured Destruction

    Because our infestation consisted of a relatively small number of bed bugs, our primary goal was to prevent any instars from reaching maturity and breeding. The secondary goal was to eliminate any existing adults, one of which seemed to be an egg-laying female.

    An ordinary house, ours included, presents an essentially infinite number of harborages suitable for bed bugs. Despite what the references will tell you, it’s impossible to remove / seal / stuff all of the cracks and crevices in which bed bugs may reside between meals. We didn’t make extraordinary efforts along those lines.

    On the other hand, here’s a simple truth that I haven’t seen anywhere in the literature: The numbers are on your side! To wit:

    • You have many opportunities to kill any given bed bug during its progression from egg to adult

    Each of the five instar stages must have at least one blood meal before molting to the next stage. If you have only a 50% chance of killing the bug at each feeding, only 3% of the eggs will reach maturity: 0.031 = 0.55. That’s still too many, but if you’re 75% effective at killing the bug that just bit you, you can reduce the odds of having an adult bug to essentially zero: 0.001 = 0.255.

    You do that by:

    • Making your floors inhospitable
    • Isolating your furniture
    • Calling down the angelfire every single time you get bitten

    Bed bugs may crawl on walls as well as floors, but most of your furniture stands on the floor. Spreading diatomaceous earth along the floor, covering a few inches from the baseboard, ensures that bed bugs will pick up a lethal coating of sharp dust particles. This won’t kill them immediately, but it’s cumulatively quite effective. Best of all, diatomaceous earth isn’t poisonous to you.

    With all of your furniture isolated from the floor, using cheap and effective home-brew traps that I’ll discuss later, you know that the bed bug that just bit you is in one of two places:

    • on the furniture
    • on you

    Sterilize both locations and you’ve most likely killed the bug.

    Repeat as needed.

    Because bed bugs inject an anesthetic while they withdraw blood, you probably won’t feel a thing during the bite. Indeed, you probably won’t feel an early instar crawl along your skin, even though you’d swear you should. We generally notice the itching sensation shortly after the bite, while we’re still sitting in the same position. If you don’t react to bites, this technique won’t work.

    At that point, we stripped down, put all our clothes directly into trash bags without letting them touch the floor, sealed the bags, and took a thorough shower. Bed bugs prefer living in clothing to living on skin, but a smaller instar may not have made the leap and you want to be certain you got rid of it.

    You then wash your clothing and run it through the dryer to be certain you killed the bug.

    During one particularly trying day, I took four showers. This will be rough on your skin and your clothing, but … consider the alternative.

    You must then make a decision: try to disinsect (a new term to us, too!) the furniture or discard it. After reading the process required to kill insects in upholstered furniture, we chose to discard (after acquiring bites while sitting on each item) a pair of rather old Barcaounger recliners, the living room couch (which is currently isolated and abandoned in place, pending a spring pickup), three office chairs, and sundry other bits and pieces.

    While we were not certain that those furniture items contained bugs, nuking them from orbit was the only way to be sure the bug wouldn’t grow up and reproduce.

    Our living room furniture currently consists of a rocking chair, a footstool, some straight chairs (one serving as a desk chair), three pole lamps, a table, two desks, and very little else. What remains is easily sterilized, offers few harborages, and can be (is!) isolated from the floor.

    I told you this would be expensive.

    You must be certain you kill the bug that just bit you and we think there’s no other way to make that happen. Spreading the type of insecticide required to kill bed bugs all over your furniture seems neither practical nor desirable. You could bag the furniture up and wait for a year until the bugs die from natural causes, but that’s simply not practical.

    Repeat as needed. With any luck, you will run out of bugs before you run out of furniture.

    Then there’s what we did to our bedroom. But, first, I must digress into pesticides.

  • Bed Bugs: Infestation and Breeding

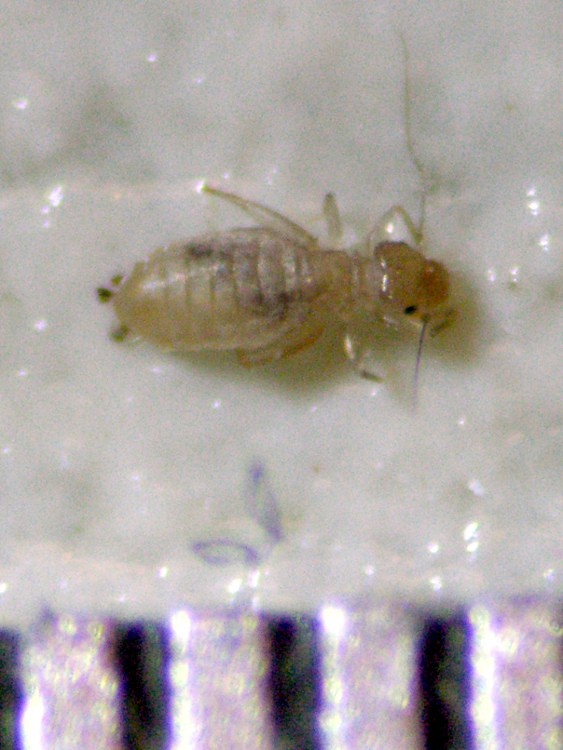
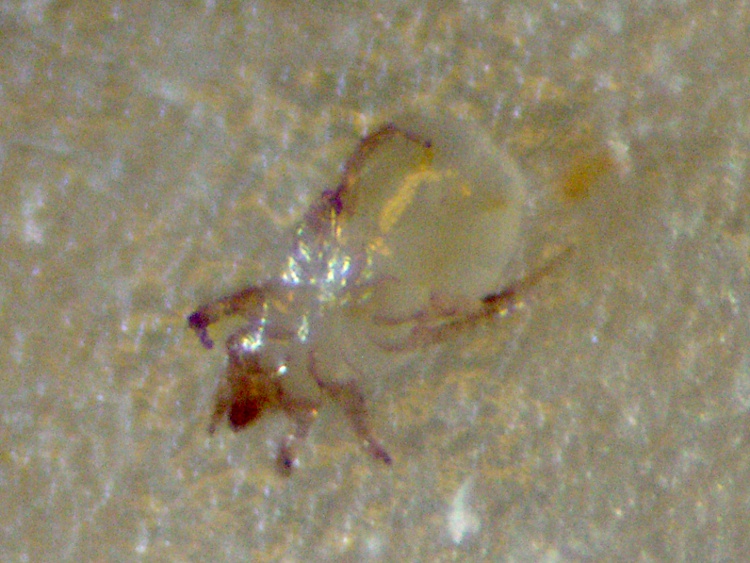
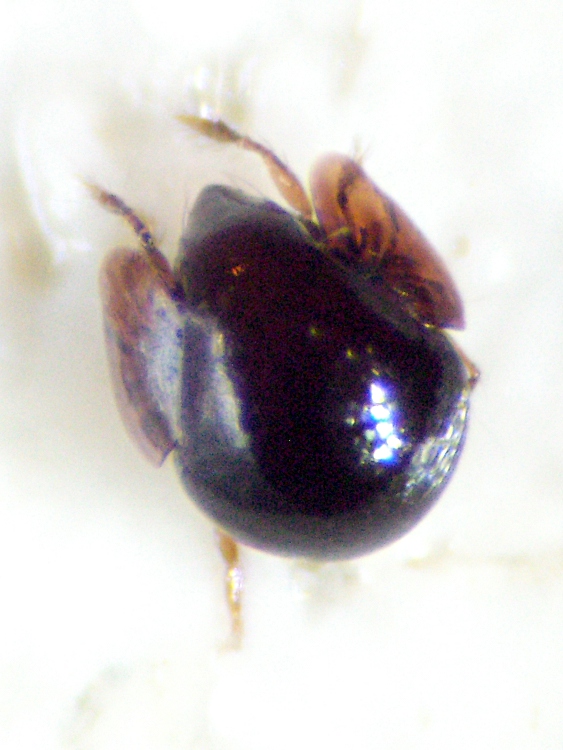
    The first thing to understand about our infestation is that we never actually saw an adult bed bug. In fact, of the hundred-odd photos I took during the experience, it’s not clear that any show a bed bug.

    That’s a crucial difference between our infestation and the horror stories you’ll read about elsewhere. Our infestation consisted of a relatively few bed bugs and, because we (generally) acted quickly, decisively, and consistently, they didn’t multiply beyond control.

    There is no mistaking a bed bug bite, however, and that will probably be the first indication that you have an infestation. The references in the first post in this series should give you a general idea of what a bite looks and feels like, but here’s a quick summary:

    • You’ve never felt a bite itch like that in your life
    • Two or three such bites, a few cm apart, are diagnostic

    Some people have a long-delayed reaction or no reaction at all. If you’re one of those folks, then our techniques probably won’t work for you, unless the rest of your family has more “normal” reactions.

    Bed bugs are obligate hematophages: they must have at least one blood meal at each stage of their life cycle. That’s where you come in. While they prefer humans, it seems any mammal will serve in a pinch, and if you’re the sort with indoor dogs or cats, you have a real problem.

    Because they’re only a few millimeters long, bed bugs tend to stay relatively close to their food supply (i.e., you), rather than commute long distances. The bed bugs you brought home will, most likely, quickly take up lodging in your bed, a favorite chair, or the desk where you sit for a few hours. Eliminating all of those lodgings, known as harborages, is essentially impossible, despite what you read in the references.

    Each of the five instars from egg to adult requires at least one blood meal to provide enough energy to grow and molt. An adult female bed bug requires one meal after mating, after which she can produce a few hundred eggs without another meal. Although the references aren’t forthcoming, we think bed bugs have no qualms about introducing loops in their family trees: any male may inseminate any female.

    (Digression: So you think you’re comfortable with weird sexual practices? This will turn your stomach: bed bugs practice traumatic insemination.)

    Our overall plan of battle, then, was quite simple:

    • Eliminate as many harborages as practical
    • Prevent every instar from progressing to the next stage
    • Prevent breeding

    The plan may be simple, but the implementation posed some, ah, difficulties…

  • Bed Bugs: Overview

    Back in July, we returned from our bicycling vacation with a few bed bugs in our luggage. We have our suspicions about where they came from, but that’s not really relevant: bed bugs can come from nearly anywhere. You can bring a bed bug home from a classy hotel just as easily as from a sleazy dive… and you will!

    After three months, we think we’ve eliminated the last bed bug: no bites for the last three weeks. One can never be absolutely certain, but that’s definitely a good sign, particularly in combination with the monitoring measures we’re using.

    We accomplished this on our own, without the use of a licensed PCO (Pest Control Operator) and without the use of toxic chemicals. It was, however, extremely expensive in terms of time, materials, and furnishings, as well as completely disrupting our family life.

    While our methods definitely do not scale to the level required for a major infestation, most likely you’ll be in our situation: you return from a vacation with one or two, um, guests. If you understand what we’ve done and why we’ve done it, you’ll have a better basis for your own decisions and actions.

    So.

    Most of what you’ll find in the usual Internet forums comes from (possibly) well-meaning folks who haven’t done any reading or experimentation: it’s raw anecdotal experience. Not to slander them, but it’s better to start with the basics, which you get from the primary sources.

    To that end, here are the better sources we’ve found and used:

    With those references in hand, I can describe what we did and how it worked. If you’re the sort who can’t drive past a nasty accident without gawking (and we are all that sort, really), then the next week or so should be good for at least that level of amusement…

    A note to the potential purchasers of our house, when you read this in what’s currently our future: yeah, bed bugs. The only difference between this house and the next one on your list is that you know what happened here, what we did, and how it worked out. Trust me on this: no other homeowner will tell you anything about their bed bug experiences, to the extent of lying to your face.

    Believe it.

    Update: Here’s a quick index to the rest of (this chapter of) the Bed Bug Story:

  • Refurb HP w2408h Monitor Factory Menu

    A year or so ago I picked up a refurbished HP w2408h monitor that’s been entirely satisfactory, although the backlight now seems to flicker occasionally. In the course of enabling the backlight sensor to see if that changes anything, I came across this useful bit of information about enabling the Factory Mode menu (lightly edited for clarity):

    1. Make sure you have video on your current input.
    2. Then turn off monitor.
    3. Hold down the “Menu”  and  ” +” keys while turning OFF/ON REAR Power switch. If monitor does not have rear power switch (ex. w2408) then just do with front power switch.
    4. Bring up OSD and scroll up/down to “F” letter at one corner of the OSD window.
    5. Press Menu/select button to enter Factory menu.
    6. Scroll down and turn off BurnIn.
    7. Scroll back up to “Exit” menu.
    8. Cycle power with front power button.

    The menu isn’t particularly useful to mere mortals, although it does show total power-on hours (3700, IIRC) and some other settings. It seems the refurb shop shipped some of the monitors with Burn-In mode enabled, much to the confusion of purchasers.

    Makes you wonder what other Easter Eggs lie in wait, doesn’t it?

  • Dehumidifier Performance

    Having ever so many books & papers in the Basement Shop & Office, I must run a dehumidifier to fight the mildew to a standstill. It’s actually under 55% most of the time, but humid summer days are killers.

    Being the sort of bear who owns a Kill-A-Watt meter, I jotted down dates, runtime hours, and kWh when I filled each 5-gallon bucket. Eventually, we acquired a cheap scale that found its way under the buckets to weigh the outgoing water.

    My data collection foundered on errors of omission, power failures, and general forgetfulness, but, nonetheless, a few interesting numbers emerged.

    Outside weather:

    • Dry weather = 0.14 kWh/elapsed hour
    • Wet weather = 0.37 kWh/elapsed hour

    It draws about 485 W, so the duty cycle works out to

    • 0.14 kWh/hour -> 140 W -> 29%
    • 0.37 kWh/elapsed hour -> 370 W -> 76%

    If I were more industrious, I’d grab a plot of daily humidity from the NWS and rub those numbers against it, but … maybe next year.

    The thing requires somewhere between 2.0 and 3.5 kWh to extract each pound of water. It’s rated at 1.6 liter / kWh = 3.5 lb / kWh, undoubtedly under standard conditions, so the actual efficiency is in the right ballpark.

  • Cusinart Santoku Knife

    The killer discount coupon that brought a new cutting board into the house also produced a new santoku knife from Cusinart (not that that makes much difference), seen here with my favorite knife:

    Santoku knives
    Santoku knives

    Pursuant to that discussion, I’ve been looking for a Teflon-coated Santoku blade, but nobody in the area seems to have one.

    This one claims that the row of dimples on each side make cheese slices slide right off, but that’s not what happens. Maybe it’s not quite so sticky as my knives, but I’d call it a tie.

    Likes:

    • It’s scary sharp, but so are my knives. In fact, I think mine are even more keen, because the blade is thinner.
    • The metal handle feels better than I expected. Dishwasher safe, not that we run ’em through there very often.
    • Thin blade with good keen edge.
    • Surprisingly light, despite the handle.

    Dislikes:

    • Weird balance point, maybe 20 mm back from the heel. It wants to fall out of the dish drainer.
    • The heel is an obtuse angle; I like an acute heel to punch into things like orange peels and milk jugs (to convert them into worm compost bins). Nothing I can’t fix with a grinding wheel, but I’m letting it slide for now.
    • The blade is curved, which means I can’t just whack my way along the veggies.
    • The handle is marginally too close to the cutting board for my fingers: I tend to knock my knuckles on the board when rocking through the cut.

    On the other paw, maybe you can see how the blade near the heel on the old knife is getting ever so slightly hollowed out from my use of the steel. The new flat cutting board makes that embarrassingly obvious; it’s getting to be time for a trip to the slow stone.

    All in all, pretty good. I use it, but not as much as the Good Old Knives.

  • Floor Lamp Base: Poor Planning

    Floor lamp base - cord exit
    Floor lamp base – cord exit

    We have an old floor lamp that’s always been a bit tippy and I finally got around to wondering what’s going on.

    The cord exits through the center of the base, where it passes through a plastic nut that keeps it off the raw metal edge of the central rod holding the lamp together.

    The ruler has 1/16 inch divisions, so the cord requires a bit over half an inch of clearance.

    Floor lamp foot with bumper
    Floor lamp foot with bumper

    Here’s what one of the five molded-in feet look like, with a white rubber bumper that I just added to improve the ground clearance…

    Notice that the foot is barely 1/4 inch tall, so the lamp has always been resting on the cord and two other randomly chosen feet. No wonder the thing was tippy.

    The new rubber feet make it a lot less tippy, but there’s not a lot of clearance under there. When one of those things falls off, I’ll think of something better.

    The lamp was nominally UL approved, of course…