The Smell of Molten Projects in the Morning

Ed Nisley's Blog: Shop notes, electronics, firmware, machinery, 3D printing, laser cuttery, and curiosities. Contents: 100% human thinking, 0% AI slop.

Category: Electronics Workbench

Electrical & Electronic gadgets

  • HW Bucked Lithium AA Cells

    HW Bucked Lithium AA Cells

    The trail camera uses two parallel banks of four series AA cells to get enough oomph for its IR floodlight. I’m not convinced using bucked lithium AA cells in that configuration is a Good Idea, but it’s worth investigating.

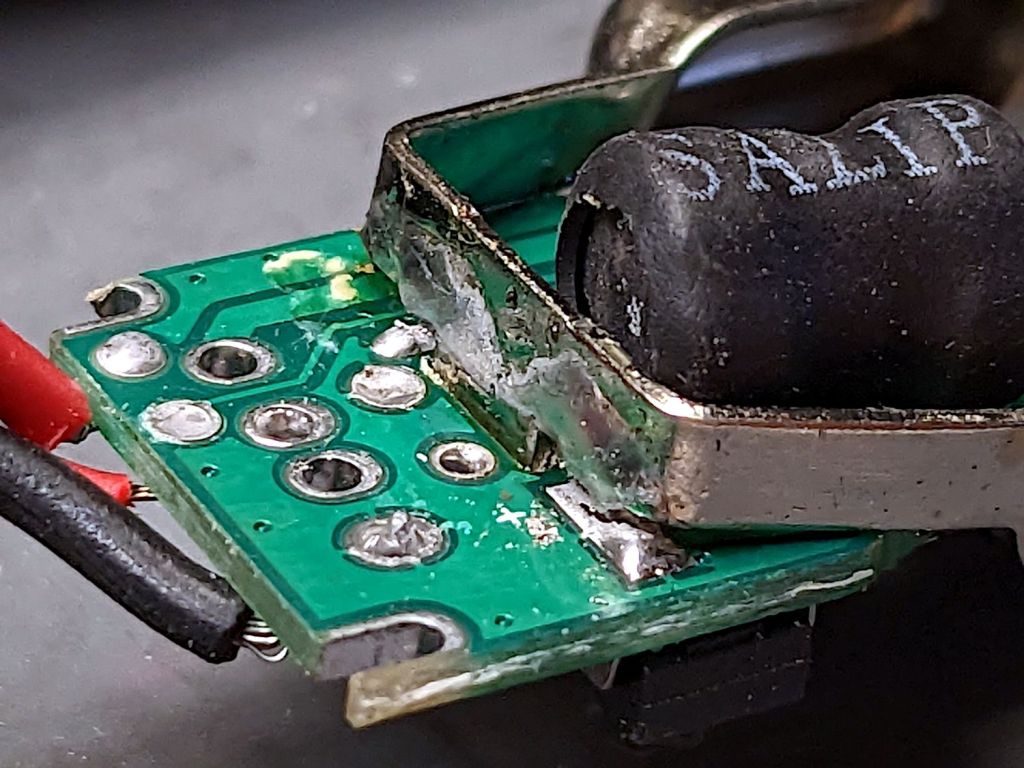
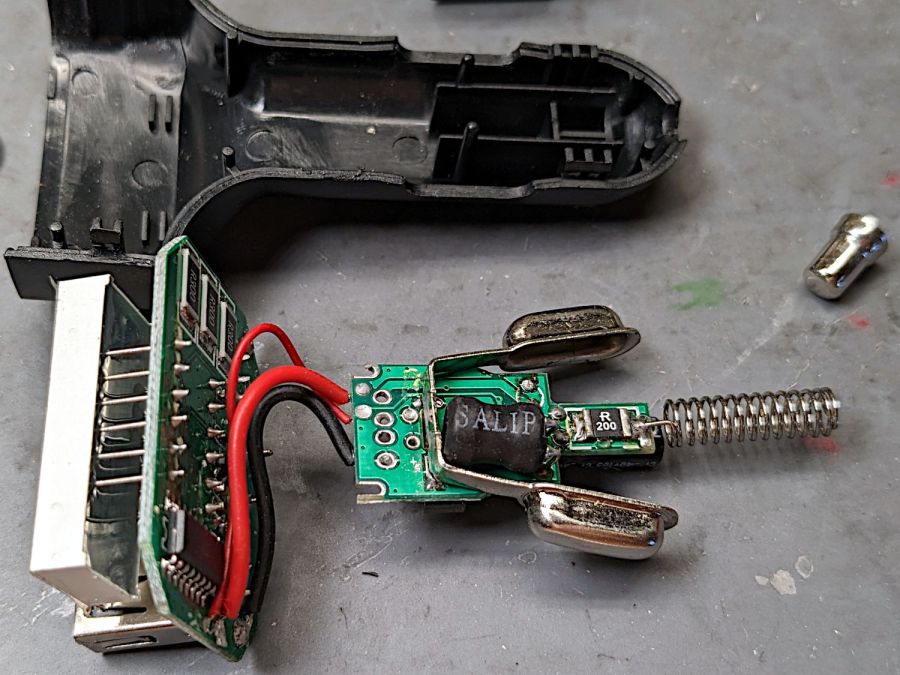
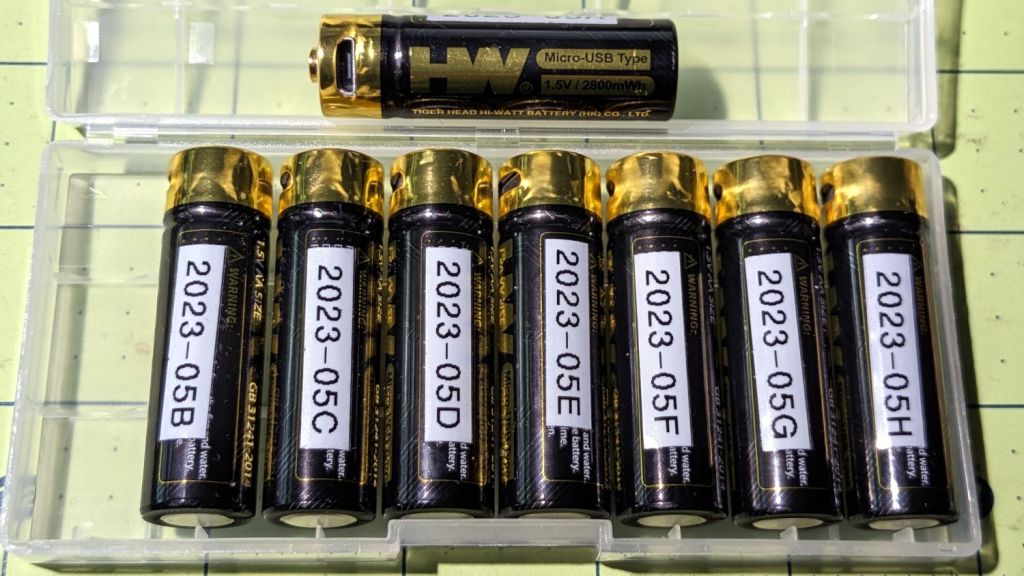
    These are labeled HW, rather than Fuvaly, because it seems one cannot swim twice in the same river:

    HW bucked Li AA cells
    HW bucked Li AA cells

    In any event, they come close to their claimed 2.8 W·hr capacity:

    HW bucked Li AA - 2023-05
    HW bucked Li AA – 2023-05

    The lower pair of traces (red & black) are single cells at 2.7-ish W·hr, the blue trace is a pair at 5.4 W·hr, and the green trace is a quartet at 9.8 W·hr. Surprisingly close, given some previous results in this field.

    Recharging the cells after those tests shows they all take 3 hours ± a few minutes to soak up 730 mA·hr ± a few mA·hr, so they’re decently matched.

    Measuring the terminal voltage with a 10 mA load after that charge lets me match a pair of quartets to 1 mV, which is obviously absurd:

    HW bucked Li cells - initial charge 2023-05-05
    HW bucked Li cells – initial charge 2023-05-05

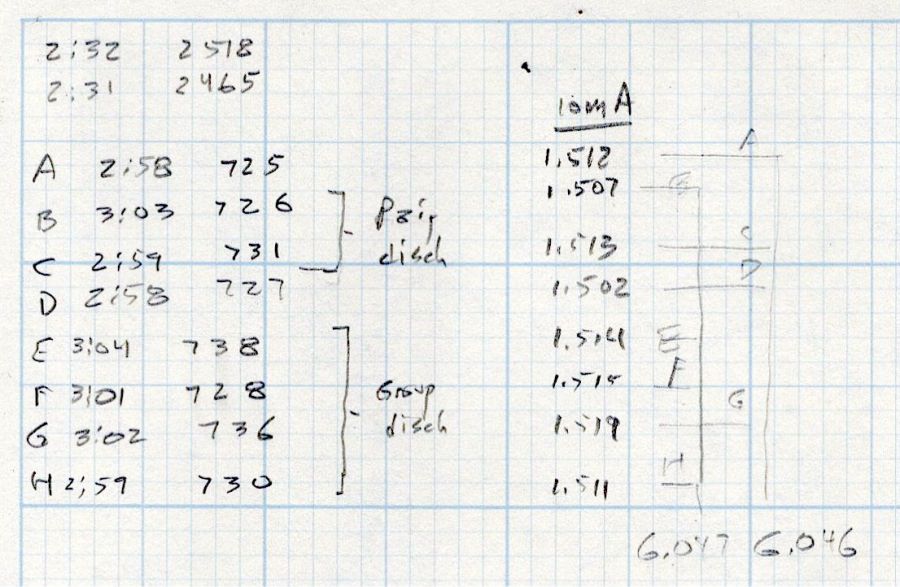
    The numbers in the upper left corner show the initial charge of four cells at a time required the same time within a minute and the same energy within 4%.

    Sticking them in the trail camera must await using up the current set of alkaline AA cells.

    Bonus: a lithium fire in a trail camera won’t burn down the house.

    After all, pictures like this are definitely worth the hassle:

    Young Buck in velvet - 2023-05-03
    Young Buck in velvet – 2023-05-03

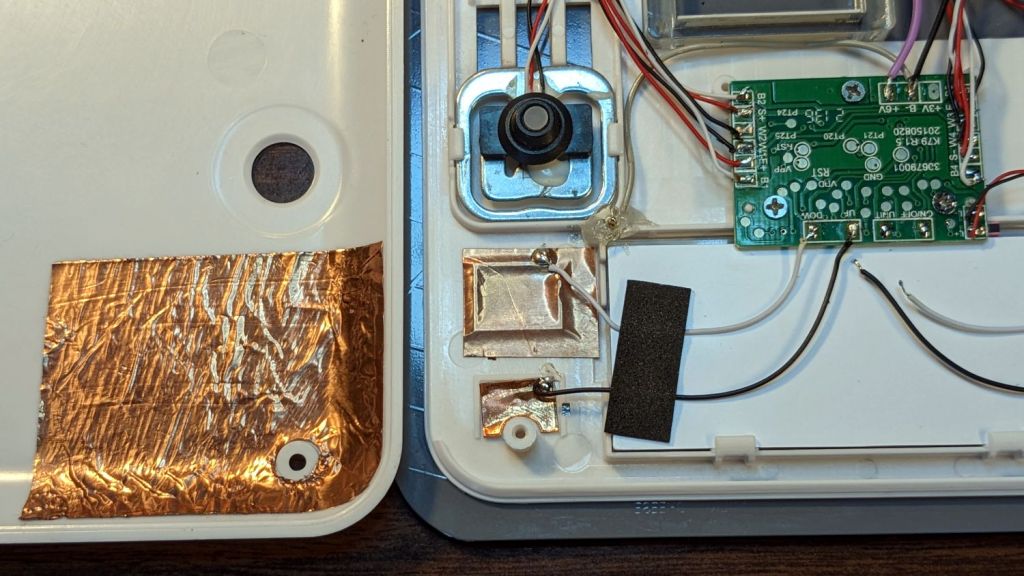
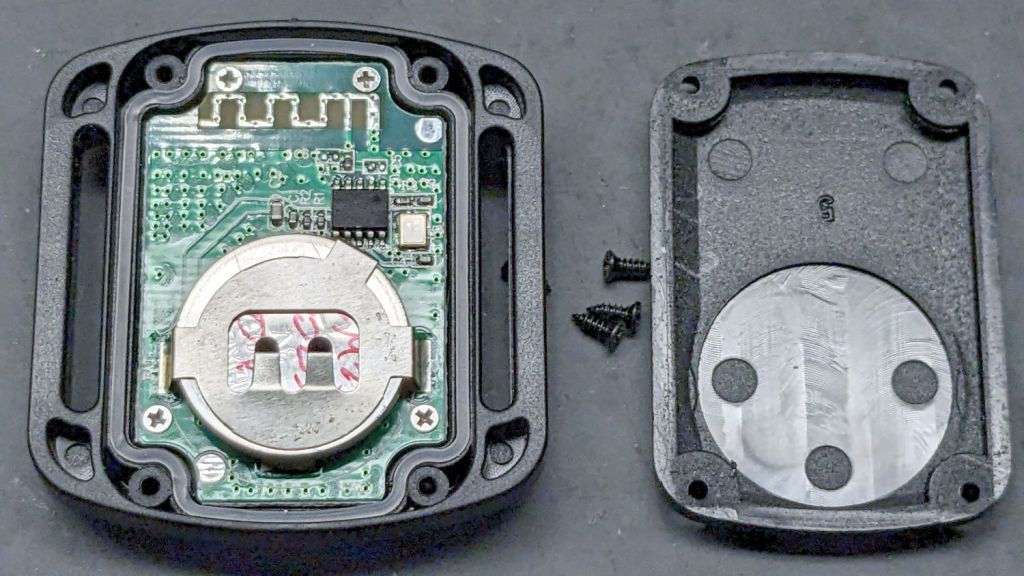
    Looks like a pair of WiFi antennas …

  • Dirt Devil Stick Vacuum: Floor Brush Salvage

    Dirt Devil Stick Vacuum: Floor Brush Salvage

    The knuckle joint on the Dirt Devil stick vacuum failed, so it followed us home instead of leaping into the trash:

    Dirt Devil - broken swivel joint
    Dirt Devil – broken swivel joint

    Although the fitting seems to be made of ABS, it’s now missing major chunks of plastic in the high-stress areas, so rebuilding it seems not worth the effort.

    Because we don’t have any carpets and this one will never leave the basement, I extracted the carpet beater brush and its motor, only to find Yet Another Example of poor assembly practices:

    Dirt Devil - stray strands
    Dirt Devil – stray strands

    It’s a 12 V (-ish, I didn’t measure whatever comes out of the vacuum head) DC motor and those errant strands aren’t quite long enough to meet in the middle. The yellow rectangle is a thermal fuse that would be shorted out if the strands were a bit longer.

    The broken joint lets the head swivel from side to side, but the elevation joint is still good. If I don’t expect too much, the thing might still suffice for extracting dust from under the benches:

    Dirt Devil - taped joint
    Dirt Devil – taped joint

    Worst case, I can swap in a classic floor brush using one of the adapters I made a while ago:

    Dirt Devil adapters - assembled
    Dirt Devil adapters – assembled

    That was easy, if only because I skipped the hard part …

  • Subaru Forest High Beam Bulbs: Thermal Damage

    Subaru Forest High Beam Bulbs: Thermal Damage

    Although these passed the annual New York State safety inspection, I thought they needed replacing:

    HB3 9005 Bulbs - bulged glass
    HB3 9005 Bulbs – bulged glass

    A closer look:

    HB3 9005 Bulbs - bulged glass - detail
    HB3 9005 Bulbs – bulged glass – detail

    The bulge was upward, of course.

    The Forester’s manual says they’re HB3 bulbs, but the rest of the world knows them as 9005 bulbs. At full power they draw 60 W = 5 A each, although we rarely drive at night and then rarely have the opportunity for much high-beam use. I assume the blackening comes from nine years of running at half-ish power as the Forester’s daytime running lights.

    The low beam headlights seem to be in fine shape.

    These two went into the tray under the floor of the rear cargo area, because the crappy bulb you have is better than the one that just burned out on the road.

  • Kitchen Scale: Button Shield

    Kitchen Scale: Button Shield

    While I was thinking about something else, I added a back shield to our kitchen scale:

    SmartHeart 19-106 Scale - button shield
    SmartHeart 19-106 Scale – button shield

    A pogo pin connected to the circuit common contacts the copper foil when the bottom cover is screwed down:

    SmartHeart 19-106 Scale - shield pogo pin - detal
    SmartHeart 19-106 Scale – shield pogo pin – detal

    The shield prevents the buttons from responding to fingers on the bottom of the scale, so it no longer wakes up when I extract it from the under-cabinet shelf, and concentrates its attention on the buttons, so it no longer seems quite so willing to lock up due to mysterious influences.

    With an absurd amount of rebuilding, this scale is becoming not a complete waste of free money.

    The batteries soaked up 240 mA·hr of charge, which means the scale drew about 10 mA/day over the last three weeks. Given that the scale’s original 2032 lithium cells have a total capacity around 220 ma·hr for currents in the microamp range, expecting them to supply a current around 10 mA is was absurd.

  • SJCAM M50 Trail Camera: Dead Remote

    SJCAM M50 Trail Camera: Dead Remote

    The remote control included with the SJCAM M50 trail camera did absolutely nothing. Not only did it not turn on the camera’s WiFi, the two indicator LEDs between the buttons didn’t blink:

    SJCAM M50 remote - front view
    SJCAM M50 remote – front view

    With not much to lose, I removed those four screws and popped the back cover:

    SJCAM M50 remote - interior
    SJCAM M50 remote – interior

    Yup, the OEM no-name CR2032 lithium cell was dead flat discharged. A new one perked it right up, with blinky LEDs and all.

    Now I can check the camera for interesting pix without hauling it into the house:

    The Early Raccoon
    The Early Raccoon

    Plenty of critters making the rounds out there …

  • Car USB Charger: Structural Solder Failure

    Car USB Charger: Structural Solder Failure

    The USB charger plugged into the jack formerly known as a “cigarette lighter” and now called a “power supply socket” in the car woke up dead, with a blank LED display previously showing the battery voltage / USB current / ambient temperature. Cracking the case revealed two small circuit boards:

    Car USB charger - innards
    Car USB charger – innards

    You can see where this is going, right?

    A closer look at the base of the side contacts:

    Car USB charger - broken solder
    Car USB charger – broken solder

    The central tab goes through the PCB and should have been soldered on the other side, leaving the springy arms free to flex. Instead, only the arm over the topside pad had any solder; the other arm just got a solder blob atop the silkscreen over those traces.

    I soldered the bottom tab, although I also resoldered the side pad. After all, the structural solder survived for quite a few years, so it might well outlive the car this time.

  • Under-cabinet Dell Sound Bar Mount

    Under-cabinet Dell Sound Bar Mount

    Another bedroom rearrangement ejected the Raspberry Pi streaming media player in favor of a phone and Bluetooth speaker, which meant I could convert the under-shelf mount into an under-cabinet mount:

    Under-cabinet sound bar mount
    Under-cabinet sound bar mount

    It’s basically ten identical identical spacers cut from 3 mm plywood, with a side benefit of dramatically reducing my scrap plywood stash, then skewered by a pair of absurdly long 4 mm self-tapping metal screws into holes drilled half an inch into the ¾ inch solid wood cabinet floor.

    It clears some clutter atop the microwave and, at least to my deflicted ears, sounds much better. At some point I must screw the Raspberry Pi under the cabinet, too, but that awaits further rearrangement.