Ed Nisley's Blog: Shop notes, electronics, firmware, machinery, 3D printing, laser cuttery, and curiosities. Contents: 100% human thinking, 0% AI slop.
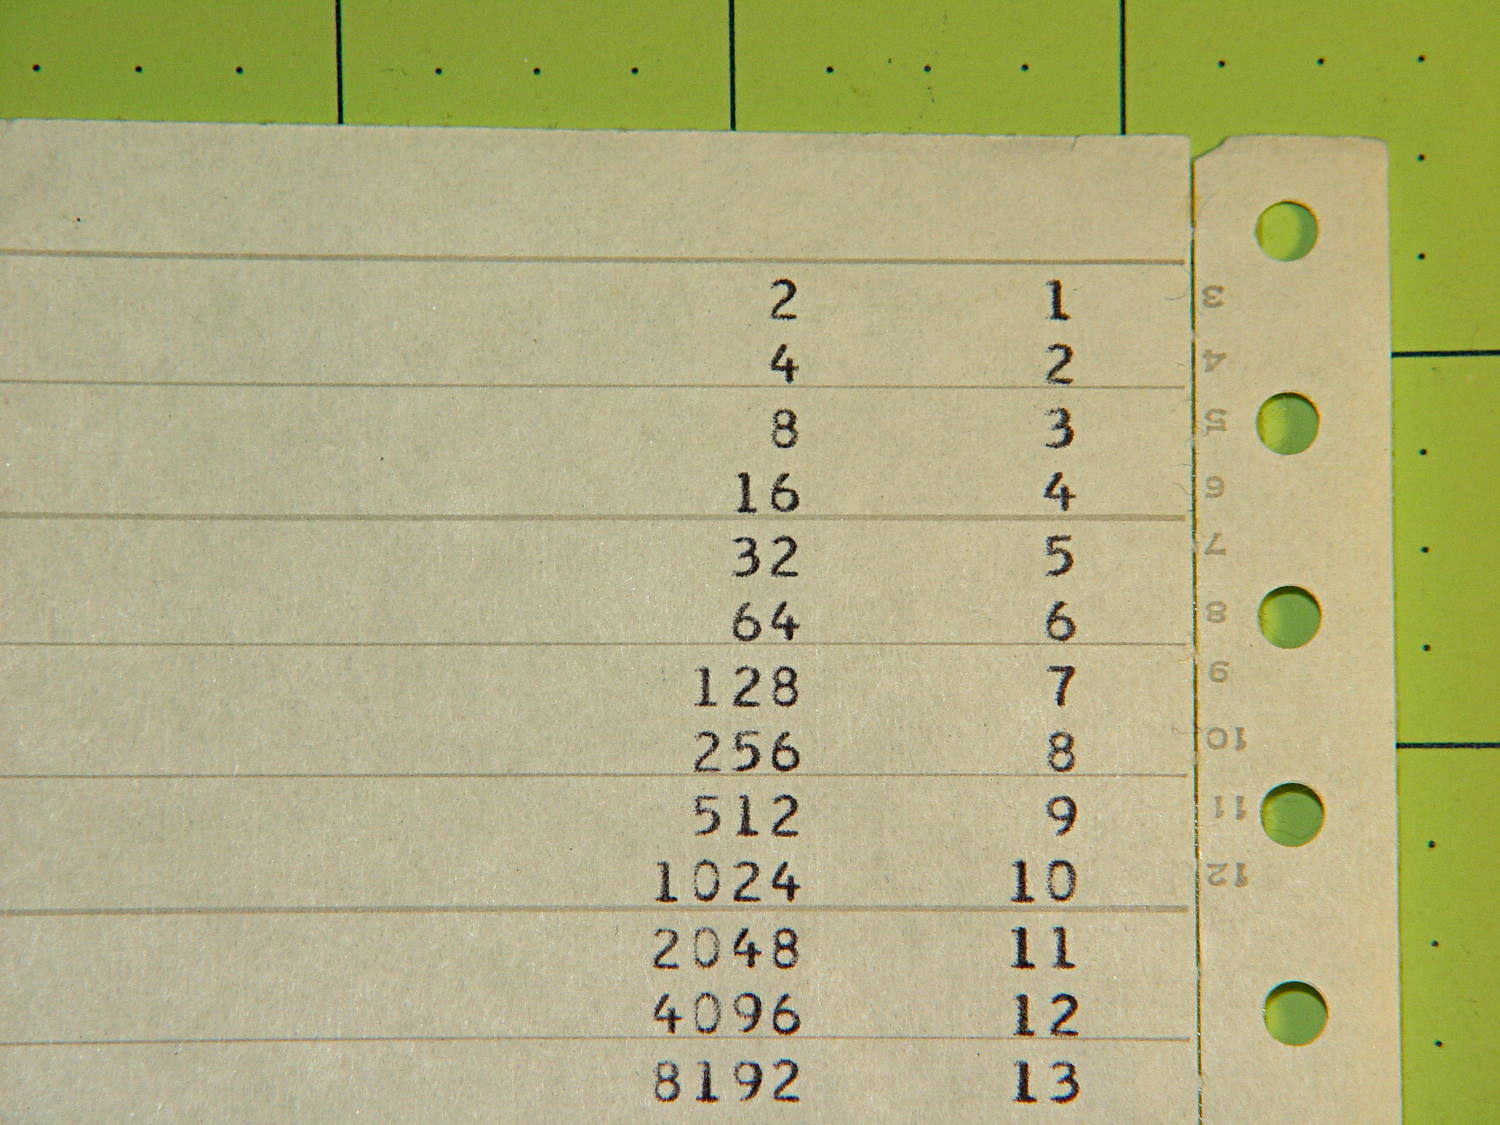
A few sheets of fanfold “computer paper” emerged while tossing stuff out. The first page suggests somebody was trying out some simple programming:
Powers of 2 Listing – top
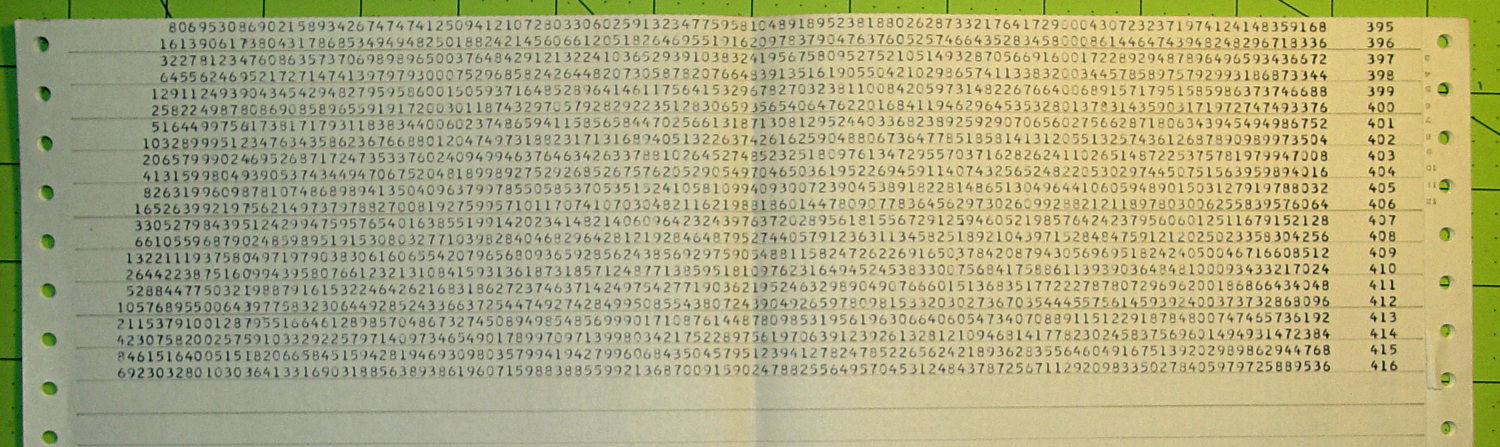
Seven pages later, you can tell an extended-precision library was hard at work:
Powers of 2 Listing – bottom
This being mainframe line printer paper, somebody must have donated it to my heap; I have no memory of ever doing (or needing to do) extended-precision math. That’s my story and I’m sticking with it.
The avconv (formerly ffmpeg) image-to-video programs expect sequentially numbered files, with the numbers in a fixed-width part of the file name, thusly: dsc00001.jpg.
ll | head
total 286576
-rwxr-xr-x 1 ed ed 595708 Jan 23 19:14 dsc00940.jpg
-rwxr-xr-x 1 ed ed 515561 Jan 23 19:14 dsc00941.jpg
-rwxr-xr-x 1 ed ed 580190 Jan 23 19:14 dsc00942.jpg
-rwxr-xr-x 1 ed ed 571387 Jan 23 19:14 dsc00943.jpg
-rwxr-xr-x 1 ed ed 573207 Jan 23 19:14 dsc00944.jpg
-rwxr-xr-x 1 ed ed 571086 Jan 23 19:14 dsc00945.jpg
-rwxr-xr-x 1 ed ed 571600 Jan 23 19:14 dsc00946.jpg
-rwxr-xr-x 1 ed ed 571547 Jan 23 19:14 dsc00947.jpg
-rwxr-xr-x 1 ed ed 565706 Jan 23 19:15 dsc00948.jpg
A Bash one-liner loop does the renumbering:
sn=1 ; for f in *jpg ; do printf -v dn 'dsc%05d.jpg' "$(( sn++ ))" ; mv $f $dn ; done
The results look pretty much like you’d expect:
ll | head
total 286556
-rwxr-xr-x 1 ed ed 595708 Jan 23 19:14 dsc00001.jpg
-rwxr-xr-x 1 ed ed 515561 Jan 23 19:14 dsc00002.jpg
-rwxr-xr-x 1 ed ed 580190 Jan 23 19:14 dsc00003.jpg
-rwxr-xr-x 1 ed ed 571387 Jan 23 19:14 dsc00004.jpg
-rwxr-xr-x 1 ed ed 573207 Jan 23 19:14 dsc00005.jpg
-rwxr-xr-x 1 ed ed 571086 Jan 23 19:14 dsc00006.jpg
-rwxr-xr-x 1 ed ed 571600 Jan 23 19:14 dsc00007.jpg
-rwxr-xr-x 1 ed ed 571547 Jan 23 19:14 dsc00008.jpg
-rwxr-xr-x 1 ed ed 565706 Jan 23 19:15 dsc00009.jpg
Because you’re renaming the files anyway, don’t bother to normalize ’em:
sn=1 ; for f in *JPG ; do printf -v dn 'dsc%05d.jpg' "$(( sn++ ))" ; mv $f $dn ; done
And, of course, you can fetch ’em from the camera while doing that:
sn=1 ; for f in /mnt/part/DCIM/100MSDCF/*JPG ; do printf -v dn 'dsc%05d.jpg' "$(( sn++ ))" ; cp -a $f $dn ; done
That leaves the DSC*JPG original files on the camera, where you can delete all of them in one operation when you’re happy with the results.
If you don’t need the full resolution, reserialize and resize each picture on the fly:
sn=1 ; for f in /mnt/part/DCIM/100MSDCF/*JPG ; do printf -v dn 'dsc%05d.jpg' "$(( sn++ ))" ; convert $f -resize 50% $dn ; done
That’s based on combining several hints turned up by the usual Google search.
To assemble a quick-and-simple movie from the images:
avconv -r 30 -i dsc%05d.jpg -q 5 movie.mp4
The image quality certainly isn’t up to what you (well, I) would expect from a 1920×1080 “HD” file, but the Sony HDR-AS30V Zeiss camera lens seems to be a fisheye pinhole (170° view angle, 2.5 mm f/2.8) backed with relentless image compression:
Sony HDR-AS30V Action Camera
Memo to Self: It’s not worth creating and remembering Yet Another Script.
The fancy OXO can opener doesn’t work well on #10 cans, so we bought a not-bottom-dollar can opener with comfy handles to replace the one that convinced us to get the OXO. After maybe a year, tops, it gradually stopped working well, too, which prompted a trip to the Basement Shop Workbench.
The symptoms:
The handle wouldn’t move the cutter during maybe 1/4 of its revolution
It pushed the handles apart during another quarter turn
Look carefully and you’ll see the teeth sticking out slightly more on the right side of the drive wheel:
Can opener – drive gear misalignment
When those protruding teeth line up with the gear behind the cutter wheel, the handles open and the drive wheel loses its grip. When the low side lines up with the cutter gear, the gears very nearly disengage.
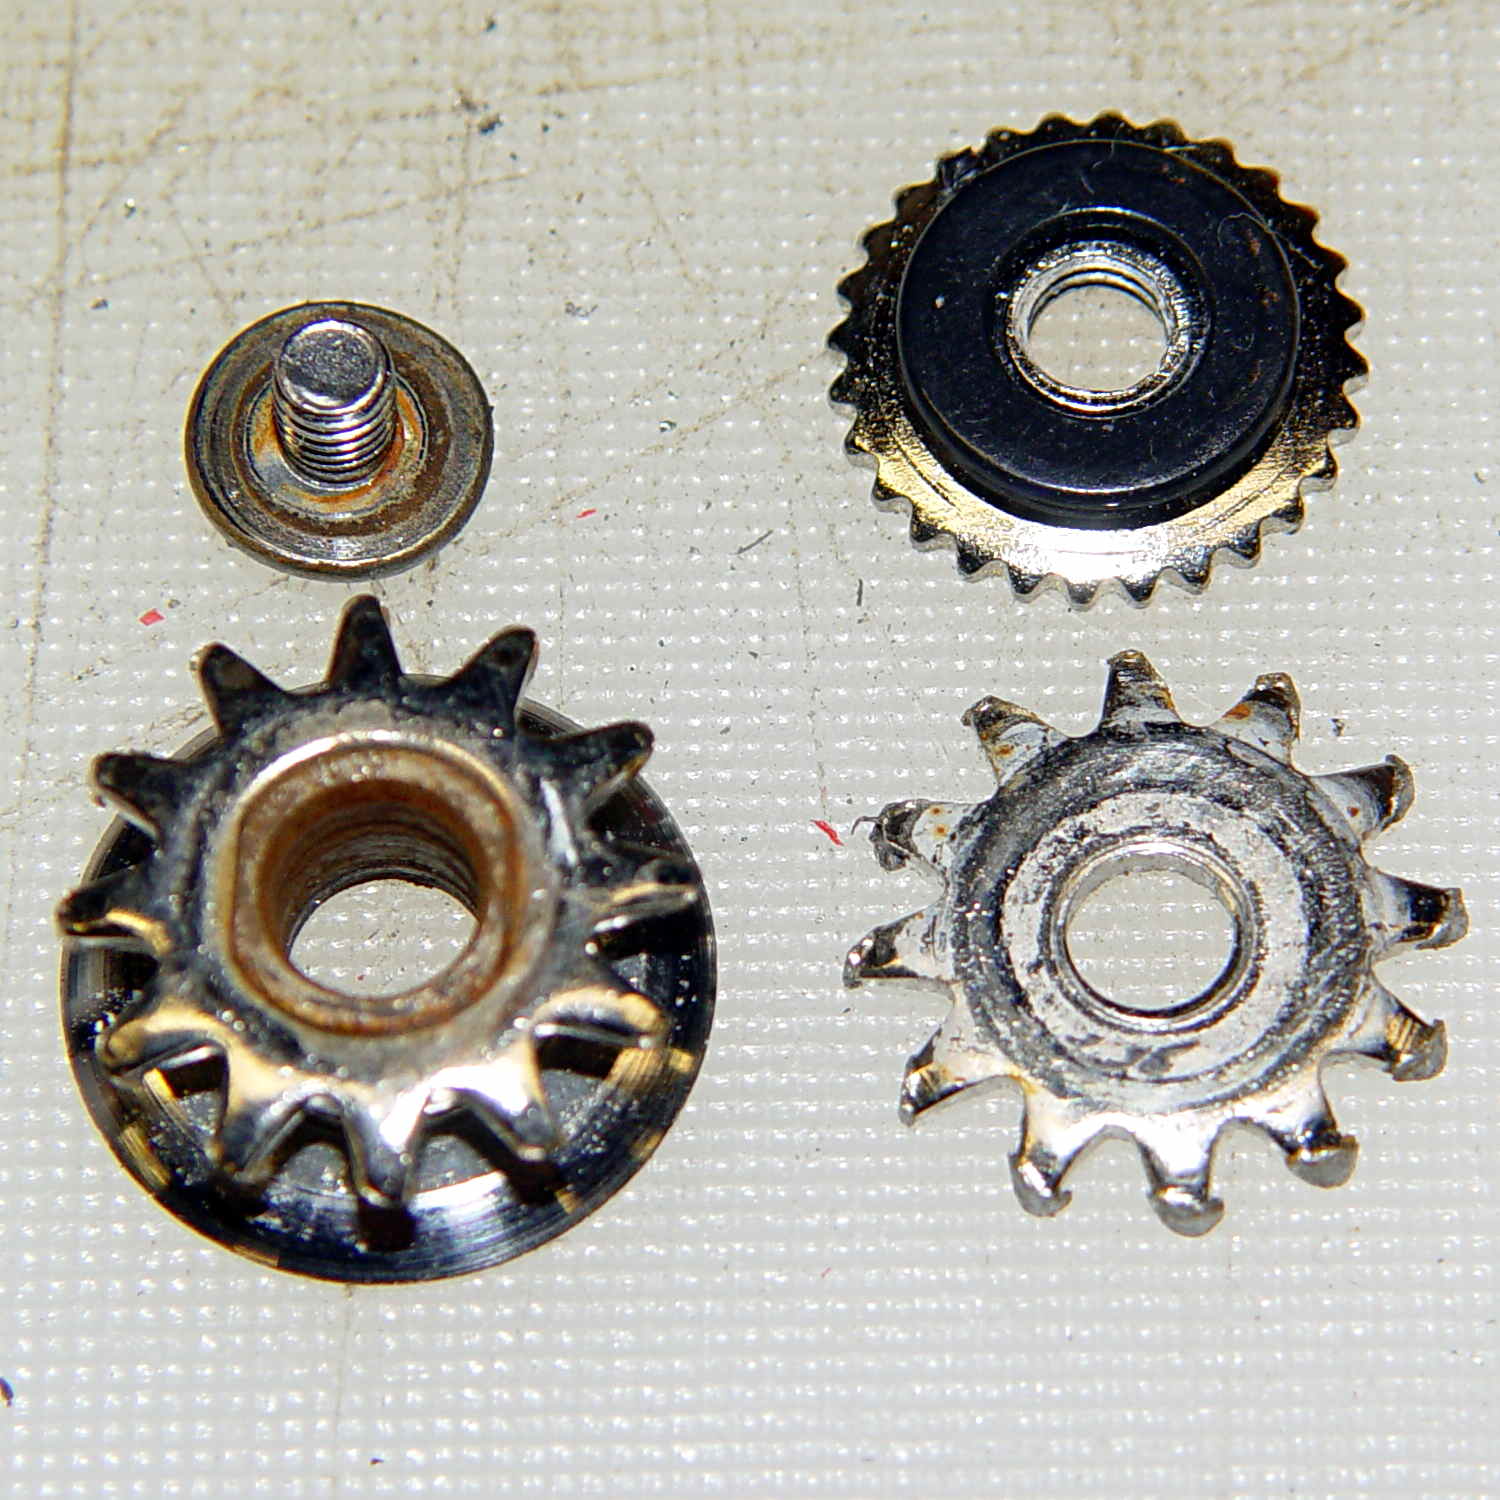
Taking it apart shows that both “gears” (which is using the term loosely) have been pretty well chewed up:
Can opener – gears and cutters
Destroying those gears should require a lot more strength than either of us can deploy on a regular basis, which suggests they used mighty soft steel. It’s not obvious, but the drive gear hole is just slightly larger than the screw thread OD; it doesn’t ride on an unthreaded part of the screw shaft.
I’m not in the mood for gear cutting right now, so I filed down the wrecked teeth and buttoned them up with some attention to centering the gear. The can opener works, but sheesh this is getting tedious…
While converting a stop-action series of images from the HDR-AS30V into a movie, I wanted change all the image files on a USB Flash drive from DSC00008.JPG to dsc00008.jpg, so as to simplify typing their names.
Alas, because the camera’s exFAT filesystem cares not one whit about case, the obvious command doesn’t work:
rename 's/JPG/jpg/' /mnt/part/*
/mnt/part/DSC00008.JPG not renamed: /mnt/part/DSC00008.jpg already exists
The Sony HDR-AS30V “action camera” uses NP-BX1 lithium batteries (3.7 V @ 1.24 A·h = 4.6 W·h) that are, of course, a completely different size and shape than any other lithium battery on the planet.
So.
Tweaking a few dimensions in the Canon NB-6L source code, tinkering with the layout of the contact pins, and shazam Yet Another 3D Printed Battery Test Fixture:
NP-BX1 Holder – show layout
It builds nicely, although the contact pin tunnels are a bit too close to the top of the case:
Sony NP-BX1 Holder – on platform
After reaming out the contact pin holes to the proper diameters & depths, then gluing the plugs in place, it works just as you’d expect:
Sony NP-BX1 battery holder
It’s worth noting that the Wasabi charger accepts the batteries upside-down, with the conspicuous chevron against the charger body. It’s definitely not the way all the other chargers work. The keying recesses on the battery (corresponding to the blocks in the solid model) lie along the bottom edge of the contact surface, so flipping the battery over means they’ll hold it in place, but … oh, well.
That grotty Powerpole connector last saw use in some random benchtop lashup. At some point I’ll be forced to start making more of those.
These quilting pin caps are slightly longer than the previous version and, due to the M2’s smaller nozzle, have slightly thinner single-thread walls. Because Slic3r does a better (although not ideal) job of path planning than Skeinforge, it’s easier to create an array of the caps in the solid model than to manually add duplicates in Slic3r:
Fill with silicone caulk on waxed paper and they look even more like that:
Quilting pin caps – silicone fill
Fast-forward a few days, rub off the excess caulk, trim off a few blobs, and they’re ready for presentation:
Quilting pin caps – finished
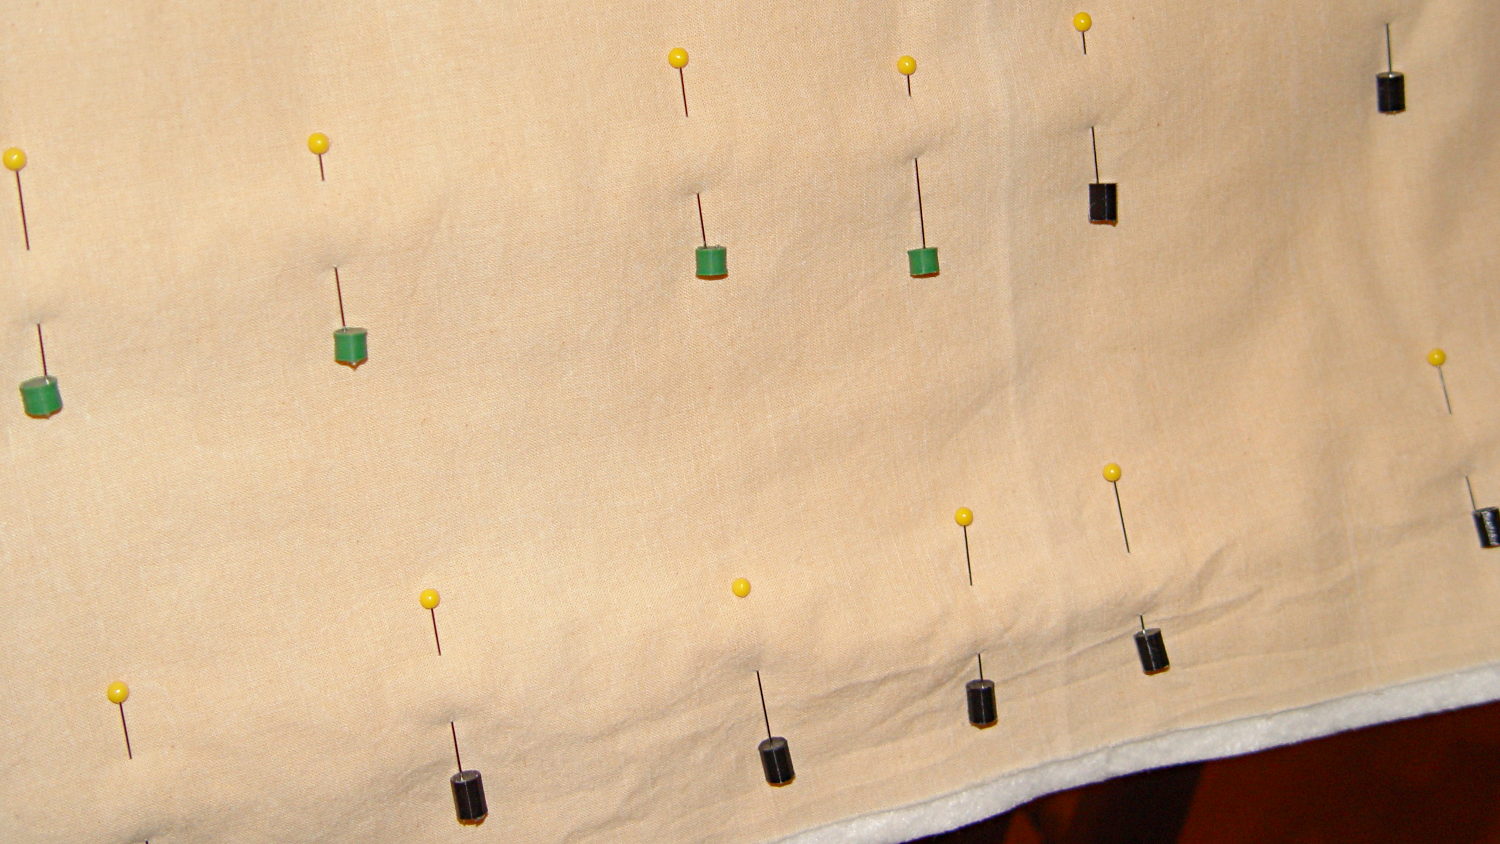
In use, they look about like you’d expect:
Quilting pin caps – in use
The pin caps I made from a 5 gallon bucket’s O-ring gasket didn’t work out well, as the plastic didn’t like being poked with pins and put up a stiff resistance. Silicone caulk has exactly the right consistency.
When Mary ramps up a full-scale quilt, we’ll need a few hundred of the things. The commercial version has dropped to 40 cents each, which makes all this worthwhile.
The OpenSCAD source code:
// Quilting pin caps
// Ed Nisley KE4ZNU April 2012
//	January 2013 - modify for Slic3r and M2

//- Extrusion parameters must match reality!
//  Print with +1 shells and 3 solid layers

ThreadThick = 0.20;
ThreadWidth = 0.40;

HoleWindage = 0.2;

function IntegerMultiple(Size,Unit) = Unit * ceil(Size / Unit);

Protrusion = 0.1;			// make holes end cleanly

//----------------------
// Dimensions

ID = 5.0;
OD = ID + 2*ThreadWidth;
Length = 8.0;
Sides = 8;

CapArray = [6,6];			// XY layout of caps
CapsOC = OD + 2.0;			// OC spacing

//----------------------
// Useful routines

module PolyCyl(Dia,Height,ForceSides=0) {			// based on nophead's polyholes

  Sides = (ForceSides != 0) ? ForceSides : (ceil(Dia) + 2);

  FixDia = Dia / cos(180/Sides);

  cylinder(r=(FixDia + HoleWindage)/2,
           h=Height,
	   $fn=Sides);
}

module ShowPegGrid(Space = 10.0,Size = 1.0) {

  RangeX = floor(100 / Space);
  RangeY = floor(125 / Space);

	for (x=[-RangeX:RangeX])
	  for (y=[-RangeY:RangeY])
		translate([x*Space,y*Space,Size/2])
		  %cube(Size,center=true);

}

module PinCap() {
	rotate(180/Sides) {
		difference() {
		PolyCyl(OD,Length,8);
		translate([0,0,-Protrusion])
			PolyCyl(ID,(Length + 2*Protrusion),8);
		}
	}

}

//----------------------
// Build them!

ShowPegGrid();

translate([(-CapsOC*(CapArray[0] - 1)/2),(-CapsOC*(CapArray[1] - 1)/2),0])
	for (i=[0:(CapArray[0] - 1)],j=[0:(CapArray[1] - 1)])
		translate([i*CapsOC,j*CapsOC,0])
			PinCap();