Ed Nisley's Blog: Shop notes, electronics, firmware, machinery, 3D printing, laser cuttery, and curiosities. Contents: 100% human thinking, 0% AI slop.
A moth came within arm’s reach during a ride along the Dutchess County Rail Trail:
This slideshow requires JavaScript.
Squinting at some earlier frames that show only a tiny moving dot, the moth disappears every five frames: one wingbeat requires either 5/60 or 10/60 s = 12 or 6 strokes/second.
We continued our respective missions without incident…
The moth came much closer to the camera than it looks. I should calibrate the images with known objects at known distances, but that seems like a lot of work.
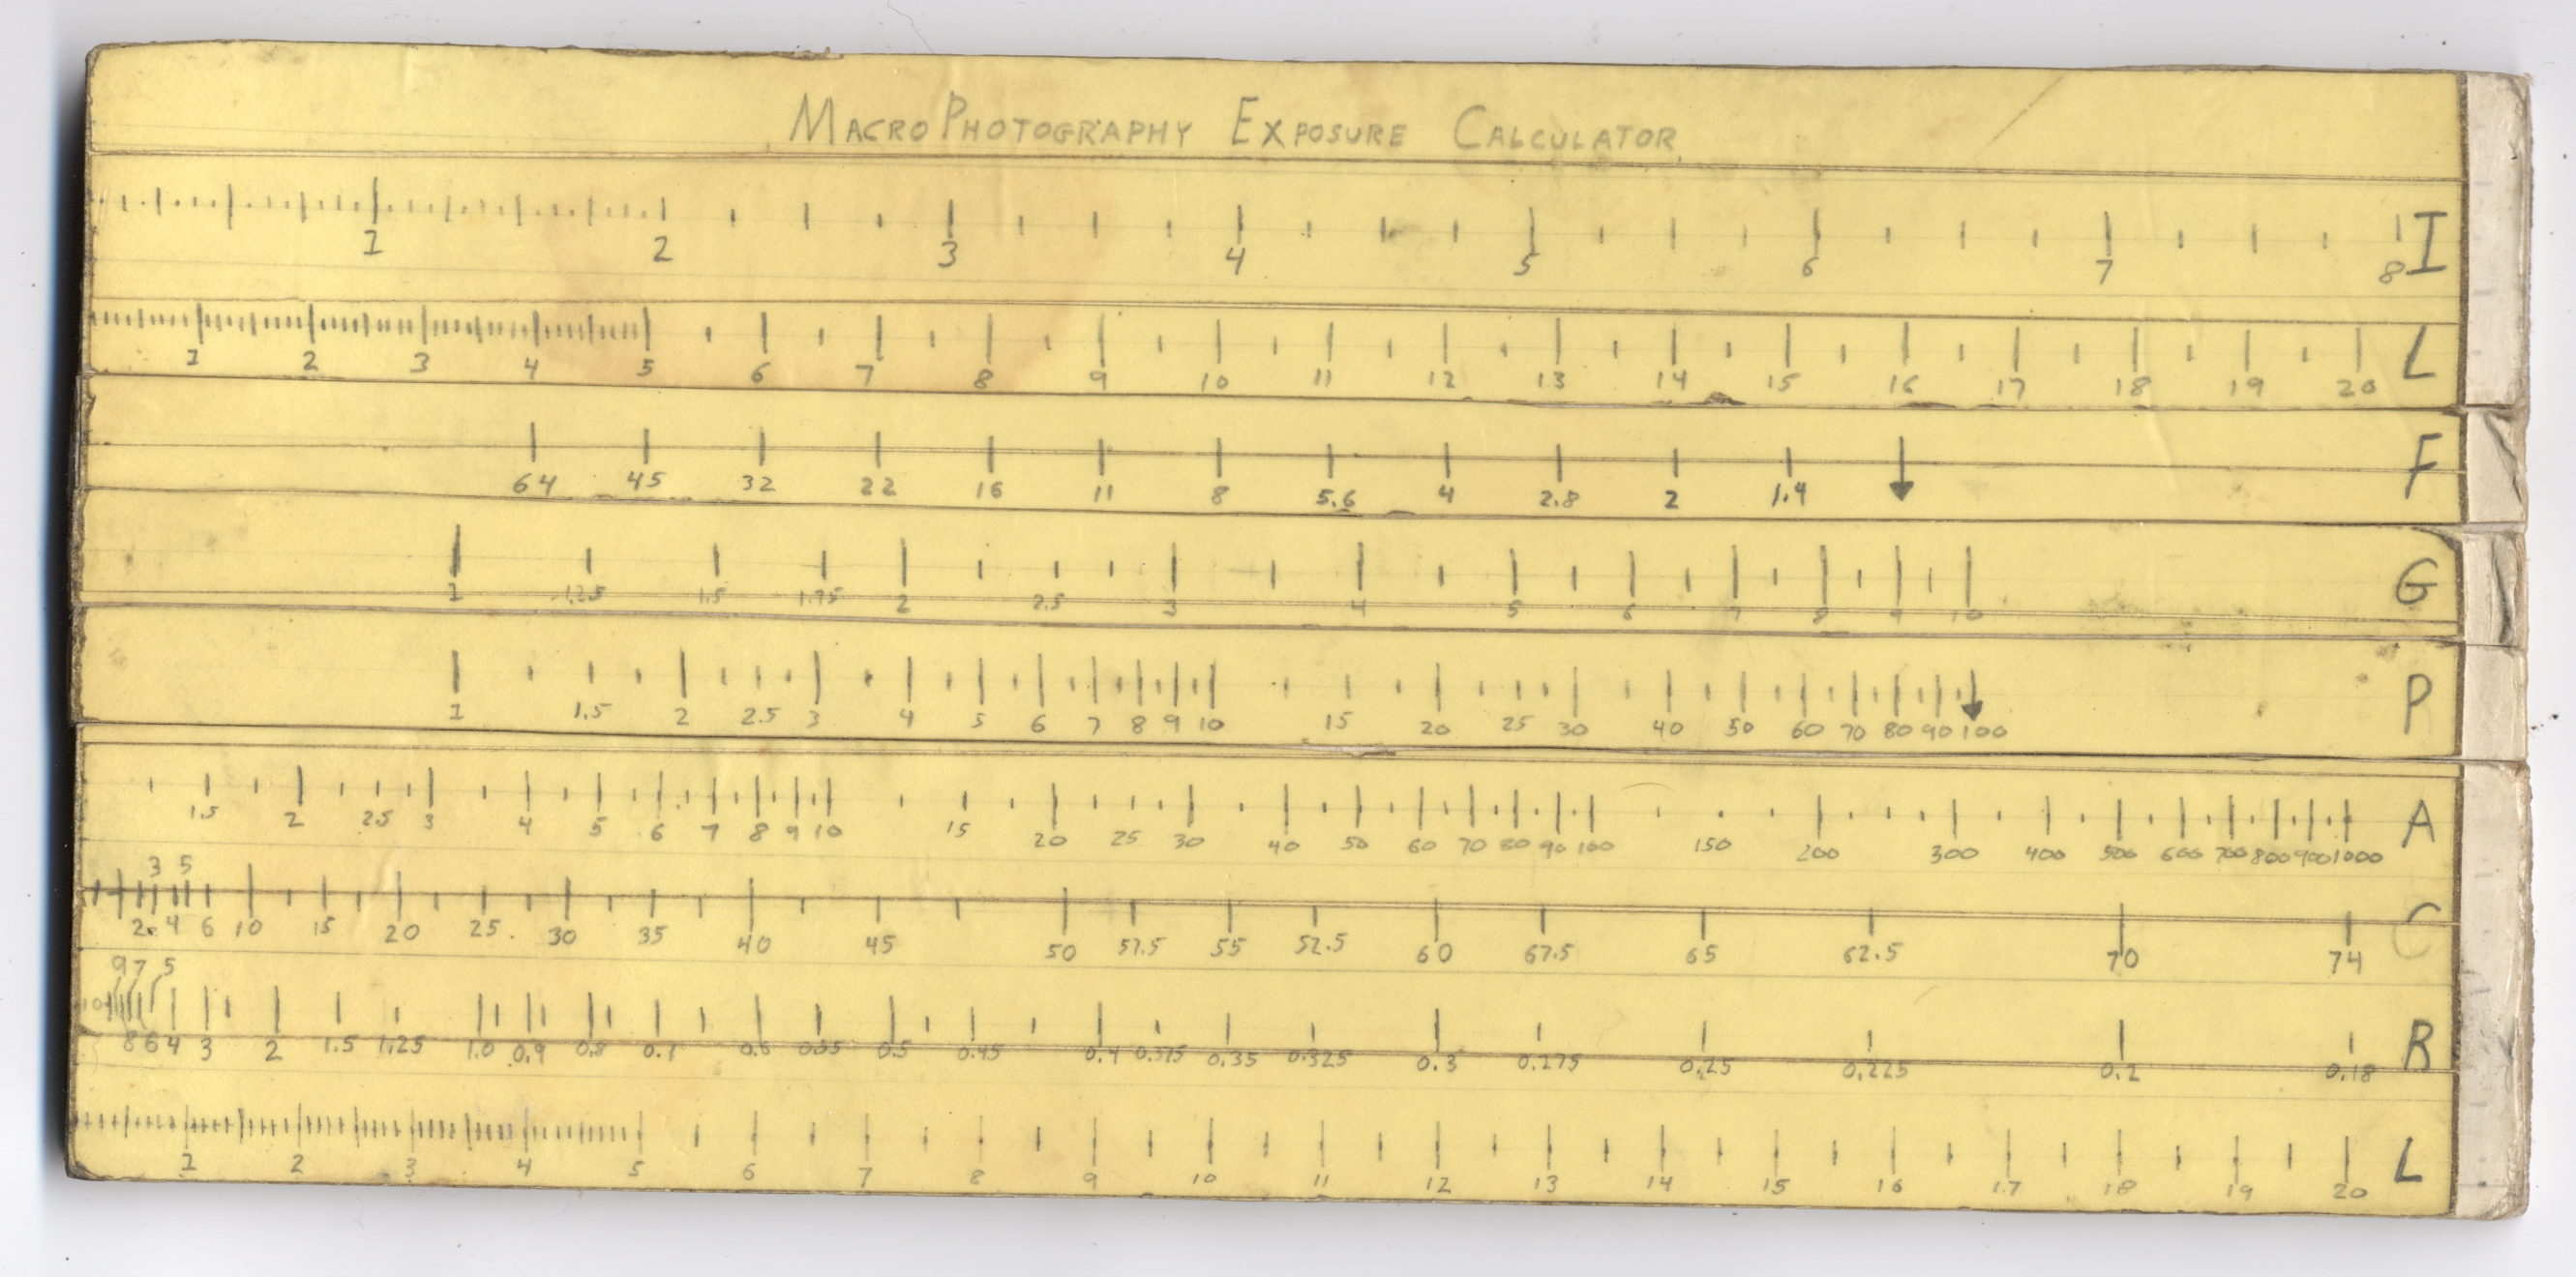
Back in high school, I designed and built a slide rule exposure calculator to improve my macro photographs:
Macrophotography Exposure Calculator – front
The base consists of three layers of thin cardboard glued together with Elmer’s Glue. The three slides have three layers of thinner white cardboard glued together, with offsets forming tongue-and-groove interlocks, topped with yellow paper for that true slide rule look:
Judging from the seams, I covered the hand-drawn scales with “invisible” matte-surface Scotch Tape. Worked well, if you ask me, and still looks pretty good:
Macrophotography Exposure Calculator – front – detail
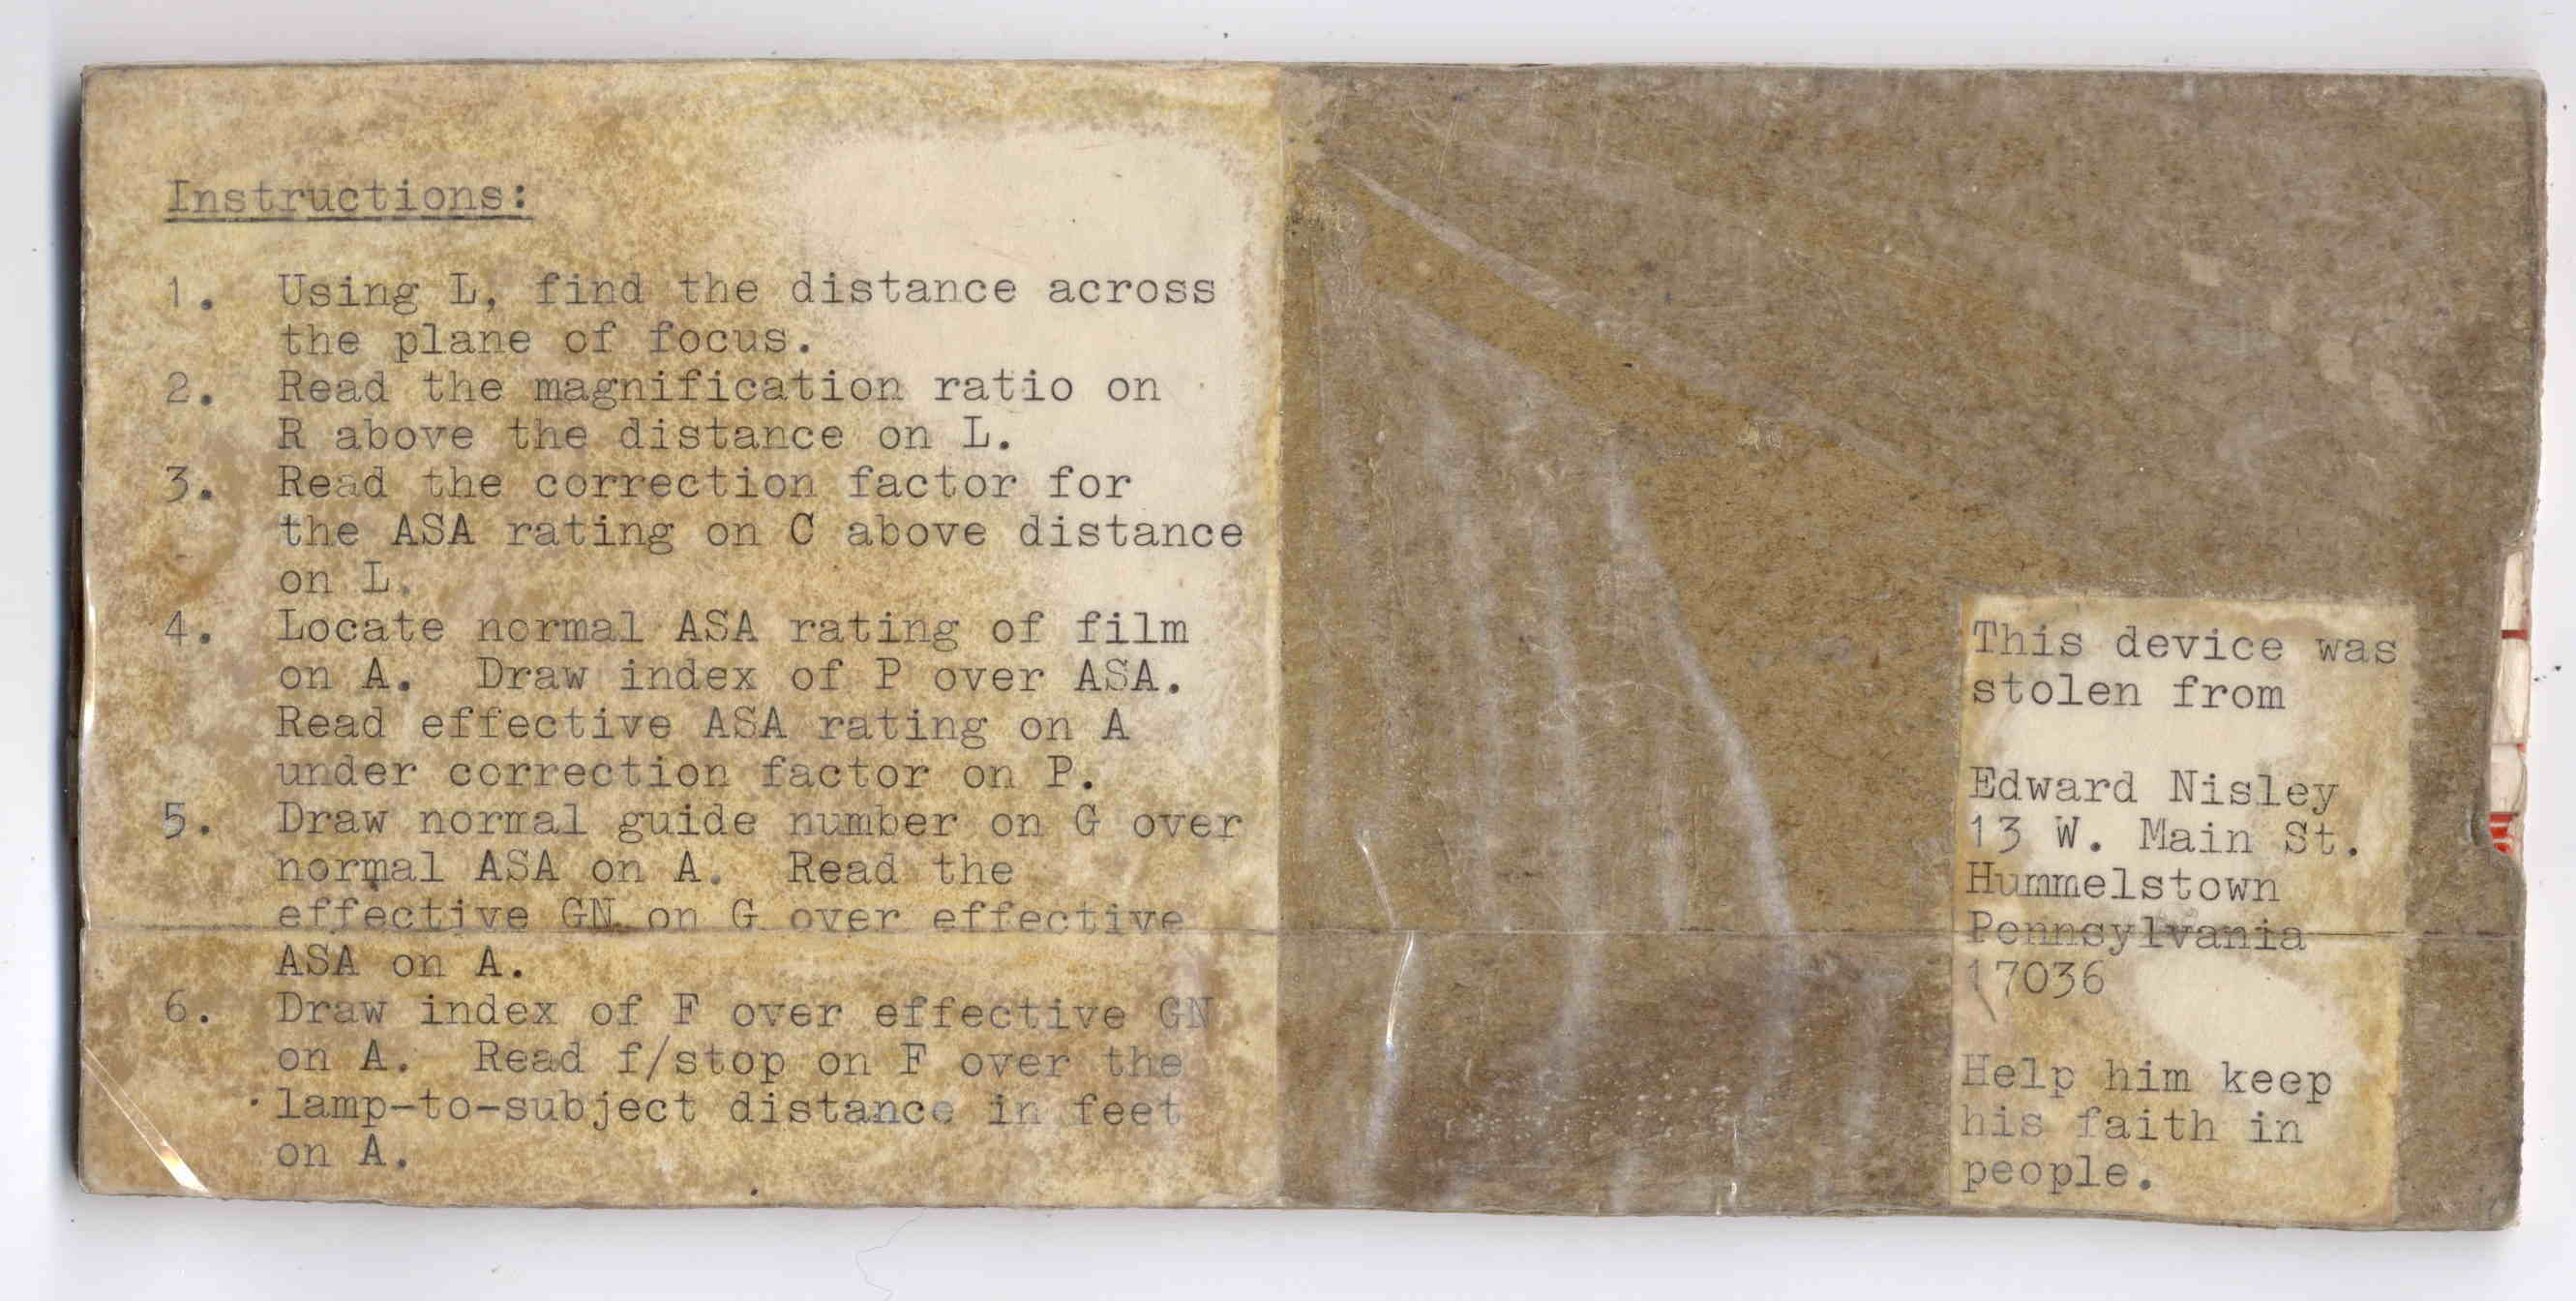
The reverse side carries instructions under a layer of packing tape (which hasn’t survived the test of time nearly as well), for anyone needing help:
The slides still move, albeit stiffly, and it might be usable.
I vaguely recall extension tubes on an early SLR, but memory fades after that. Getting the exposure settings close to the right value evidently posed something of a challenge and, given the cost of 35 mm film + development, it made sense to be careful.
Fortunately, even today’s low-end cameras make macro photography, at least for my simple needs, easy enough, with the camera handling the exposure calculations all by itself:
“… One of the most frightening things about your true nerd, for many people, is not that he’s socially inept — everybody’s been there — but rather his complete lack of embarrassment about it.”
“Which is kind of pathetic.”
“It was pathetic when they were in high school,” Randy says. “Now it’s something else. Something very different from pathetic.”
“What, then?”
“I don’t know. There is no word for it. You’ll see.”
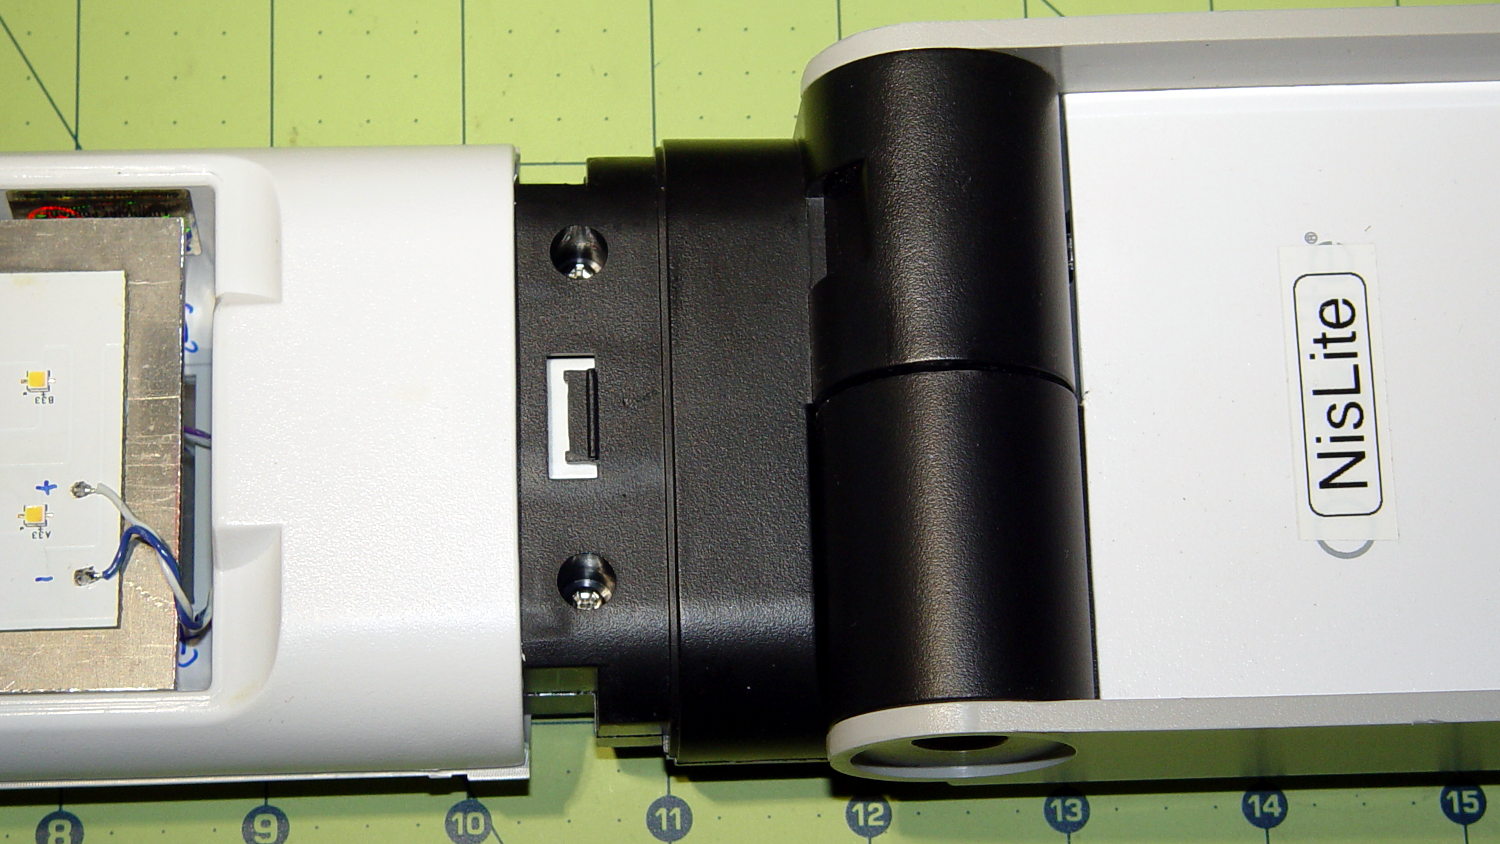
The converted OttLite hit the floor again and, this time, the shell around the lamp popped free. Given that I didn’t know how to take it apart before, this is new news.
There’s a small snap latch inside the bottom / inner surface:
OttLite LED Conversion – lamp shell – ventral
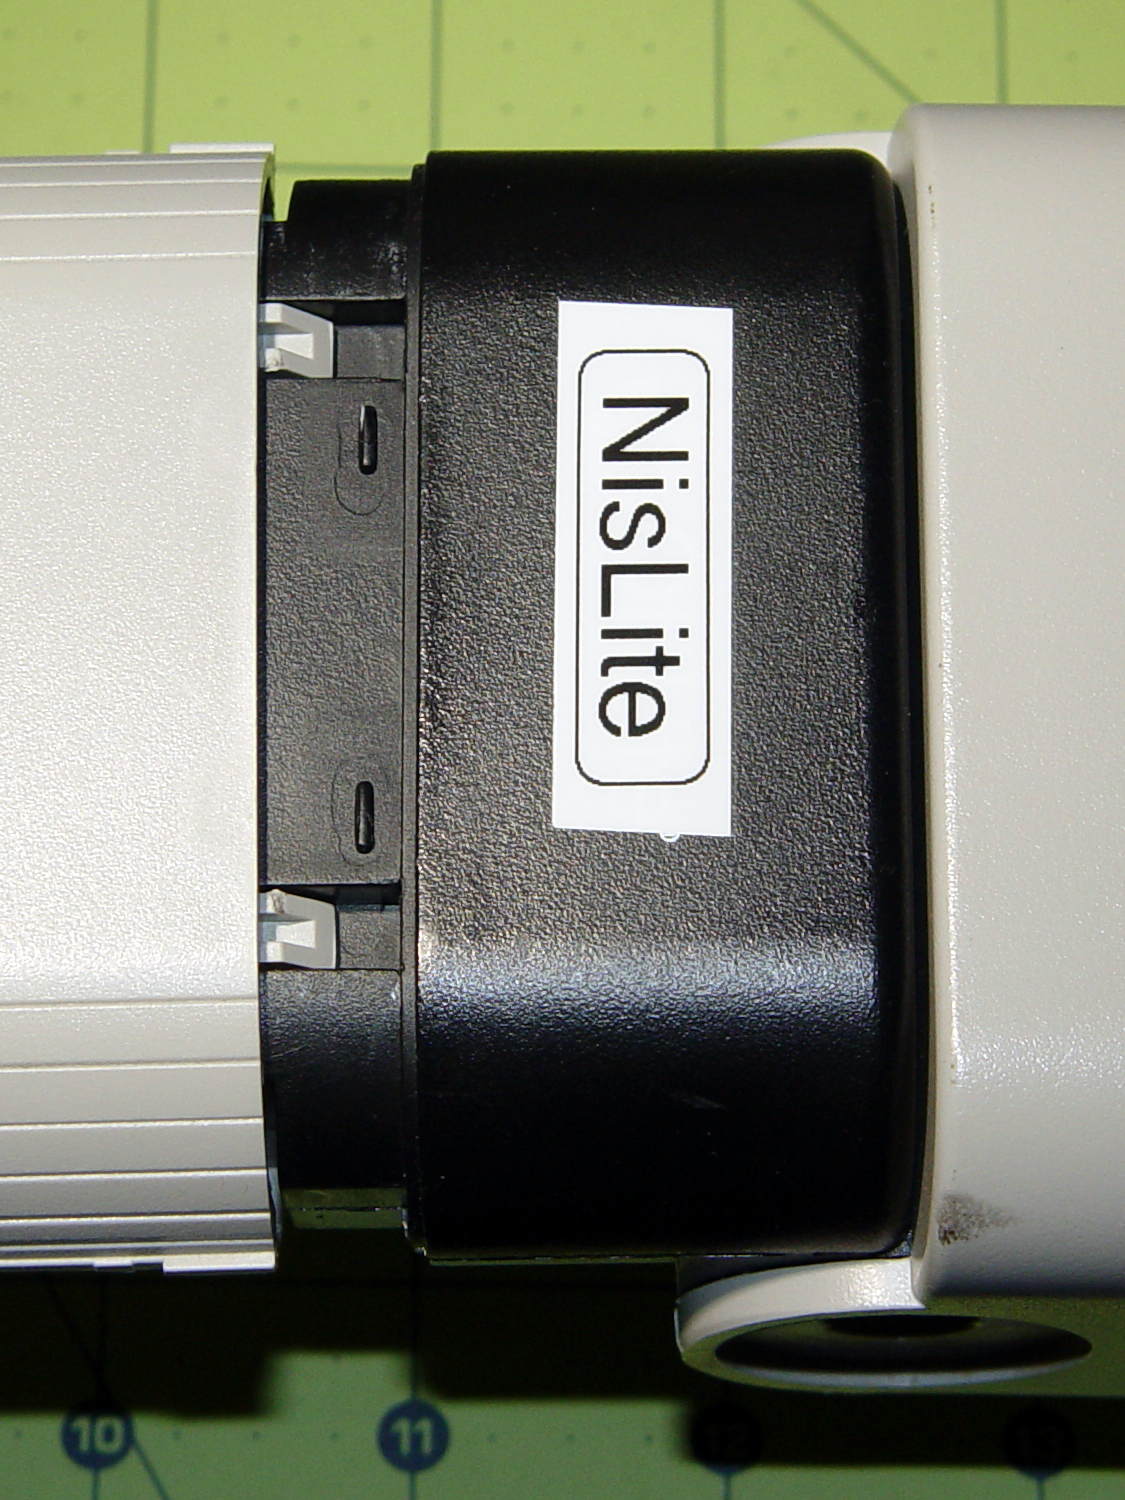
And two guide notches + latch nubs inside the top / outer surface:
OttLite LED Conversion – lamp shell – dorsal
So, if you had to get it apart by hand, a spudger-like tool applied to the bottom / inside of the shell and a bit of tugging should do the trick.
It snapped back together without incident, but I really must figure out a bigger base for the damn thing.
Mad Phil gave me his Brother PT-1090 labeler, which I’ve been using rather often of late. The white tape cartridge (the TZ flavor) ran out, giving me the opportunity to pry it apart:
Brother P-Touch TZ tape cartridge – disassembled
Surprisingly, a few small pins molded into the cover, plus a few obvious latches, hold it together without a trace of glue or thermal welding.
A detail of the little factory that assembles the label from several parts:
Brother P-Touch TZ tape cartridge – detail
Colored paper tape unwinds from the lower right and the top plastic layer from the lower left. Tape with thermal dye unspools from the upper left, the printhead (in the printer) heat-transfers pixels to the plastic tape in the opening right of center along the top, and the roller at the top right joins the just-printed plastic layer to the slightly sticky front surface of the paper tape. The used imaging tape respools in the gray cylinder near the middle.
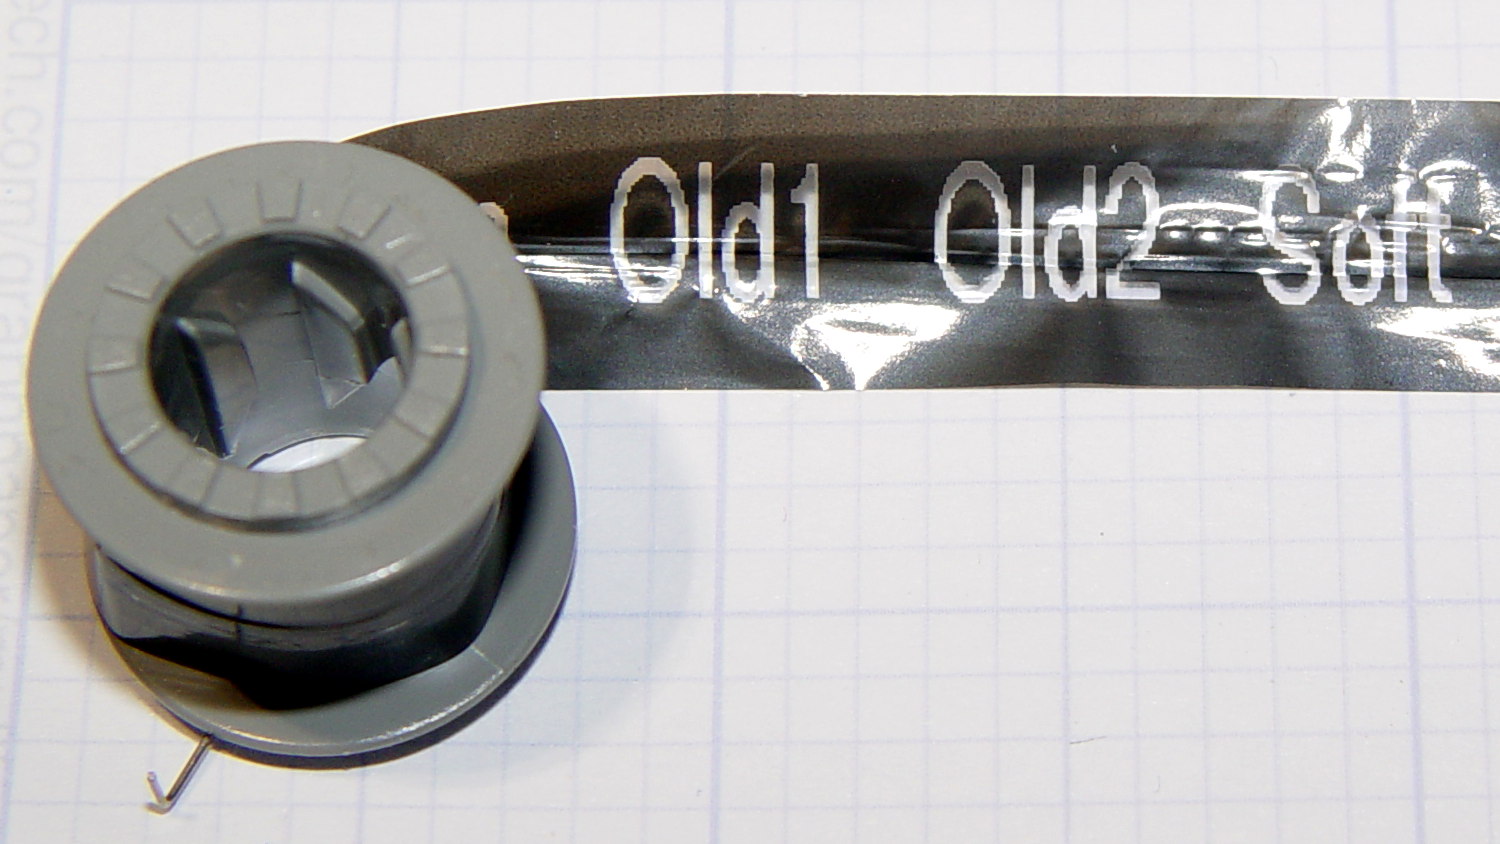
For those concerned with privacy, that gray spool of used imaging tape contains everything you’ve printed in order:
Brother P-Touch TZ tape cartridge – imaging tape
I thought the thermal dye was part of the transparent tape cover layer, but in retrospect that doesn’t make sense: the printed tape would turn black in hot environments like, say, your car. So the printer must transfer the dye from a separate tape.
The knockoff “ESD” tape cartridges from Amazon seem to have a slightly different tape path, probably to work around Brother’s patents. I’ll pry one of those apart in due course.
For obscure reasons, the Silly Season brought Sanders, Trump, and Clinton fille to the City of Poughkeepsie within the span of eight days. We know enough to stay far away from such events, but one of the contestants came to us!
A siren heralded flashing lights off to the left, coming up the hill from the bridge over the Mighty Wappingers Creek:
Candidate Motorcade – 0463
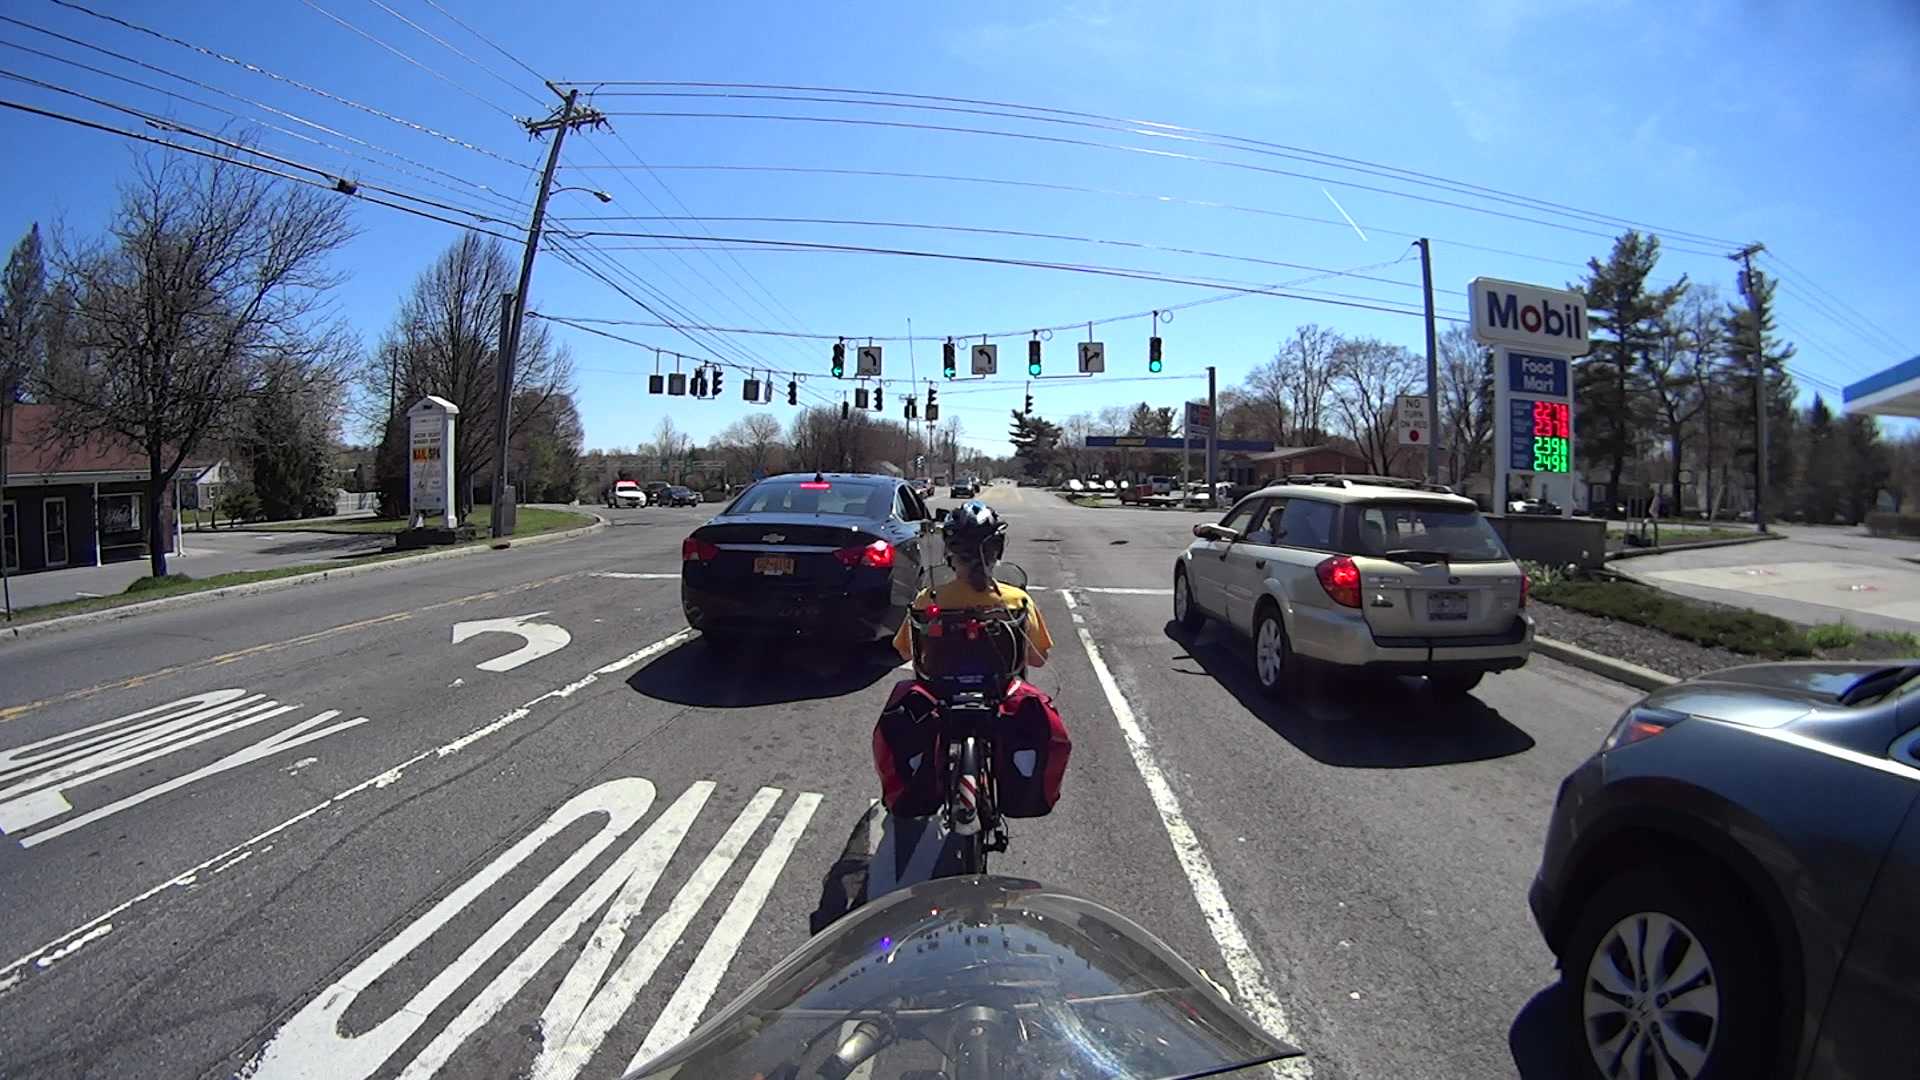
The police car jammed to a stop in the middle of the Red Oaks Mill intersection, directly in front of the cars (and bikes) that had just begun moving after the light turned green:
Candidate Motorcade – 0700
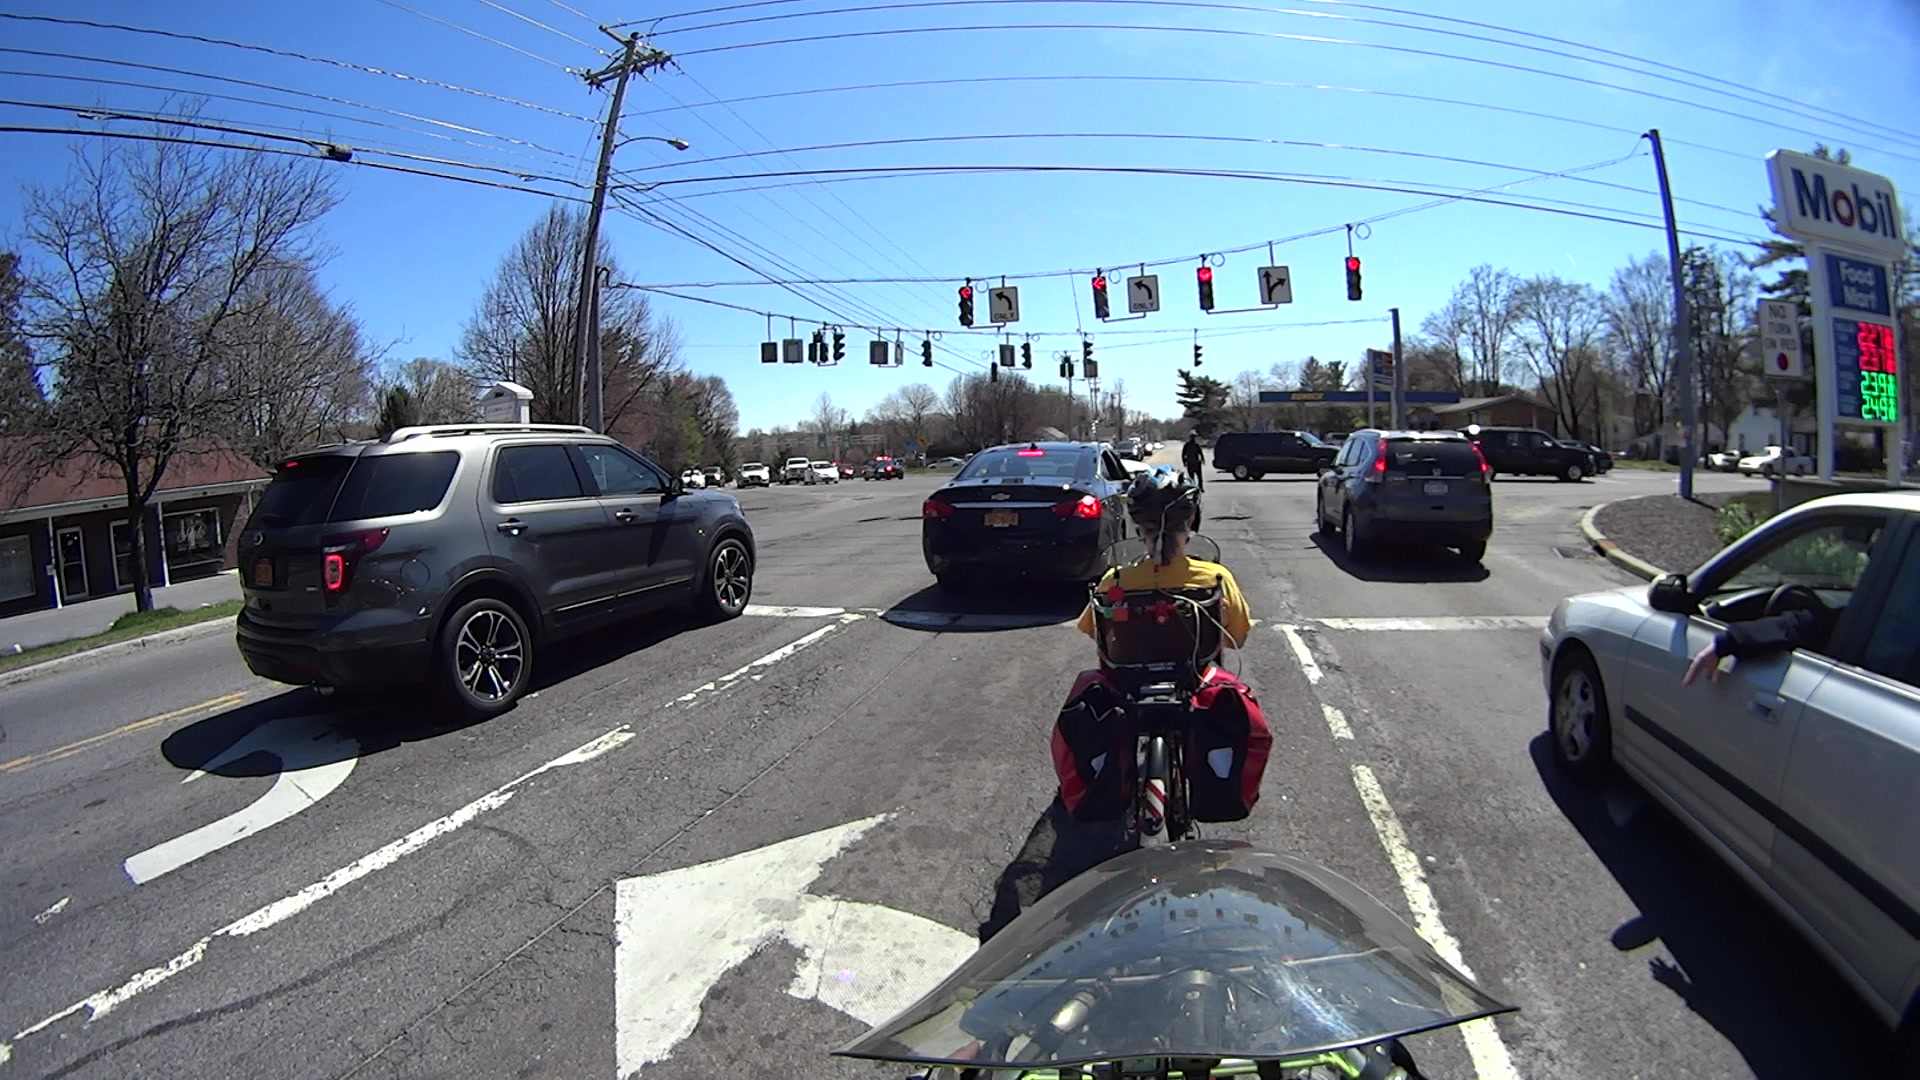
During the next minute, the officer managed to clear most of the traffic from the left-turn storage lanes perpendicular to us, after which two motorcycle officers led the procession:
Candidate Motorcade – 5015
Two ordinary SUVs with flashing light bars followed:
Candidate Motorcade – 5211
Two stretched SUVs with side window and marker flashers:
Candidate Motorcade – 5403
One blatantly inconspicuous black sedan running dark:
Candidate Motorcade – 5467
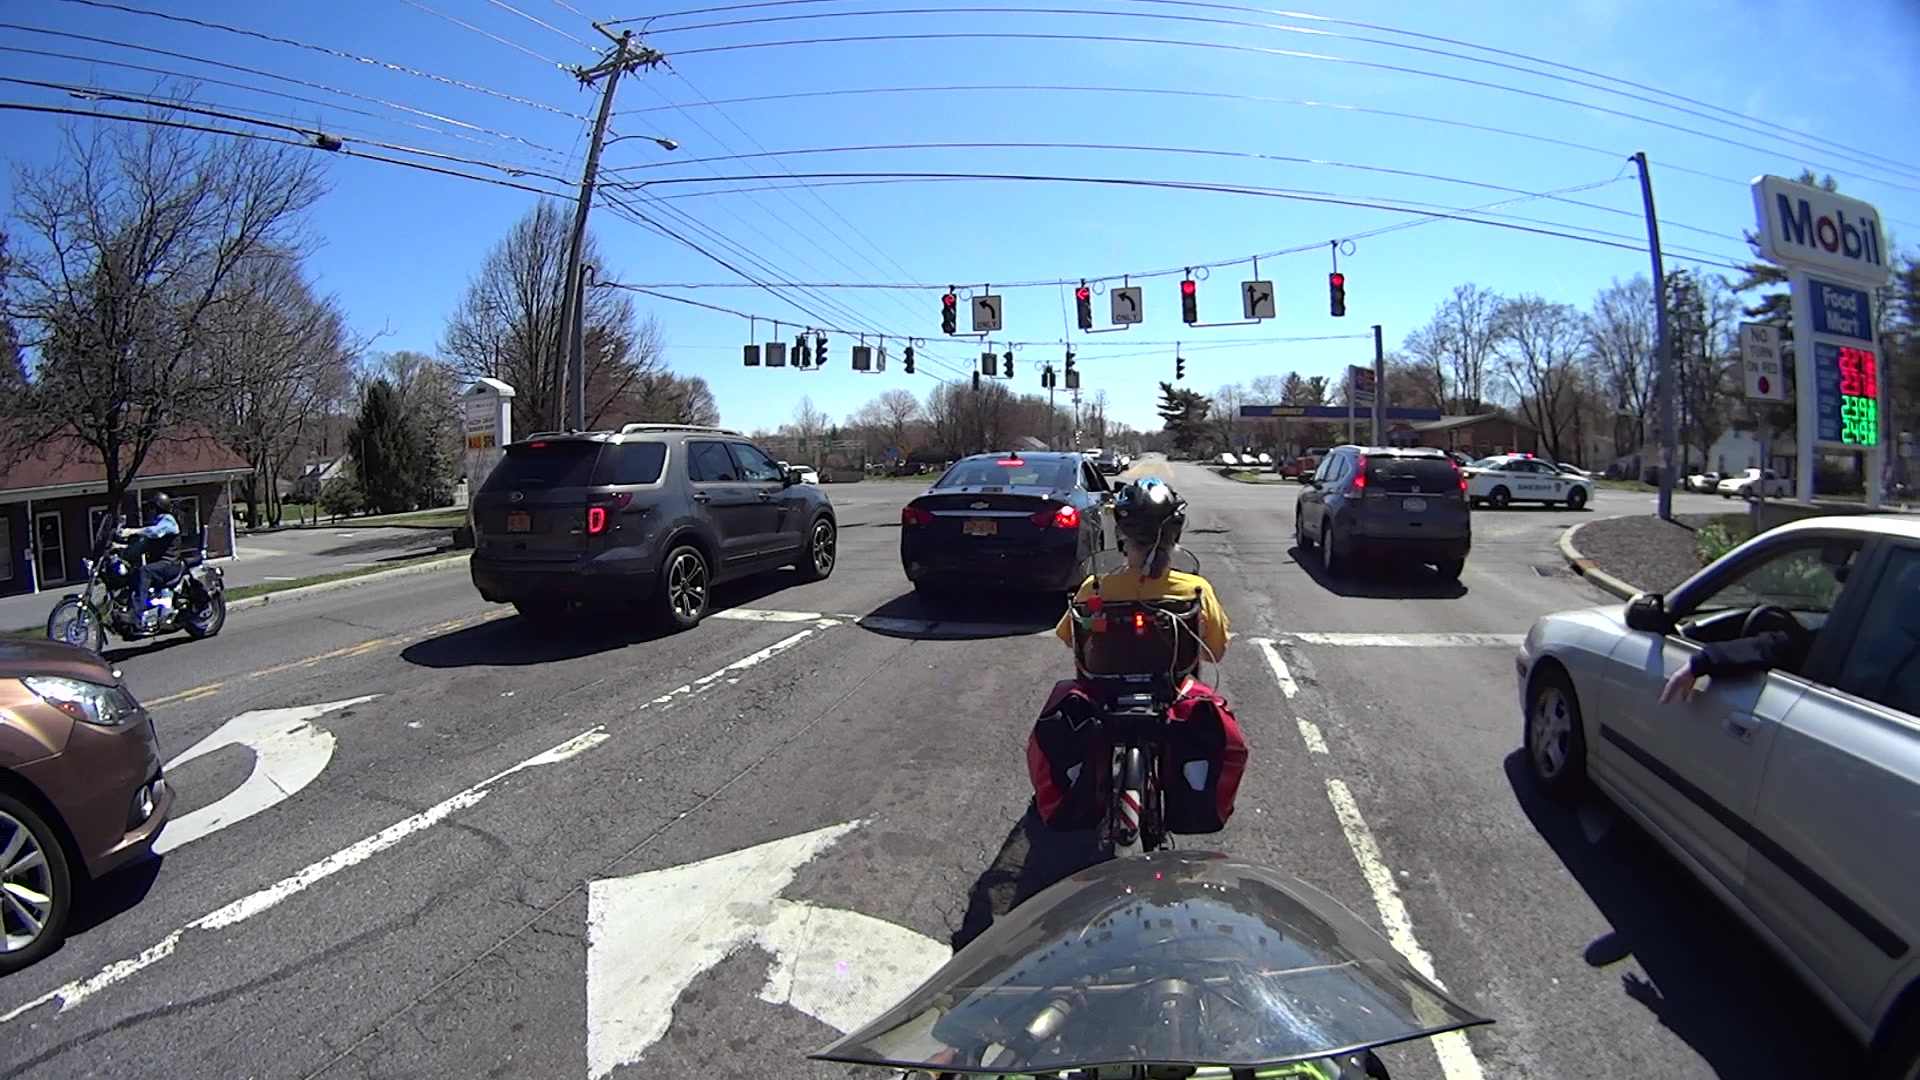
Two black patrol cars and a white patrol car, all with flashing lights:
Candidate Motorcade – 5792
The officer jumped into his car and rejoined the procession at the end:
Candidate Motorcade – 5992
According to my back-of-the-envelope, the motorcade moved through the intersection at a steady 20 mph.
Given where all the folks who merit such an escort were supposed to be at the time, I don’t know why they brought The Personage through the Red Oaks Mill intersection in that direction; the City of Poughkeepsie is to our rear, due north of Red Oaks Mill. Perhaps they’re following a randomly chosen route to confuse the unprepared, even though it’s longer and requires more traffic control?
Rumors from a Reliable Source indicate that not all trains travel on steel rails.
I suppose you eventually get used to having a couple of quiet people standing in every room with you.
One benefit of the inevitable news coverage: a few more people now know how to pronounce “Poughkeepsie”.
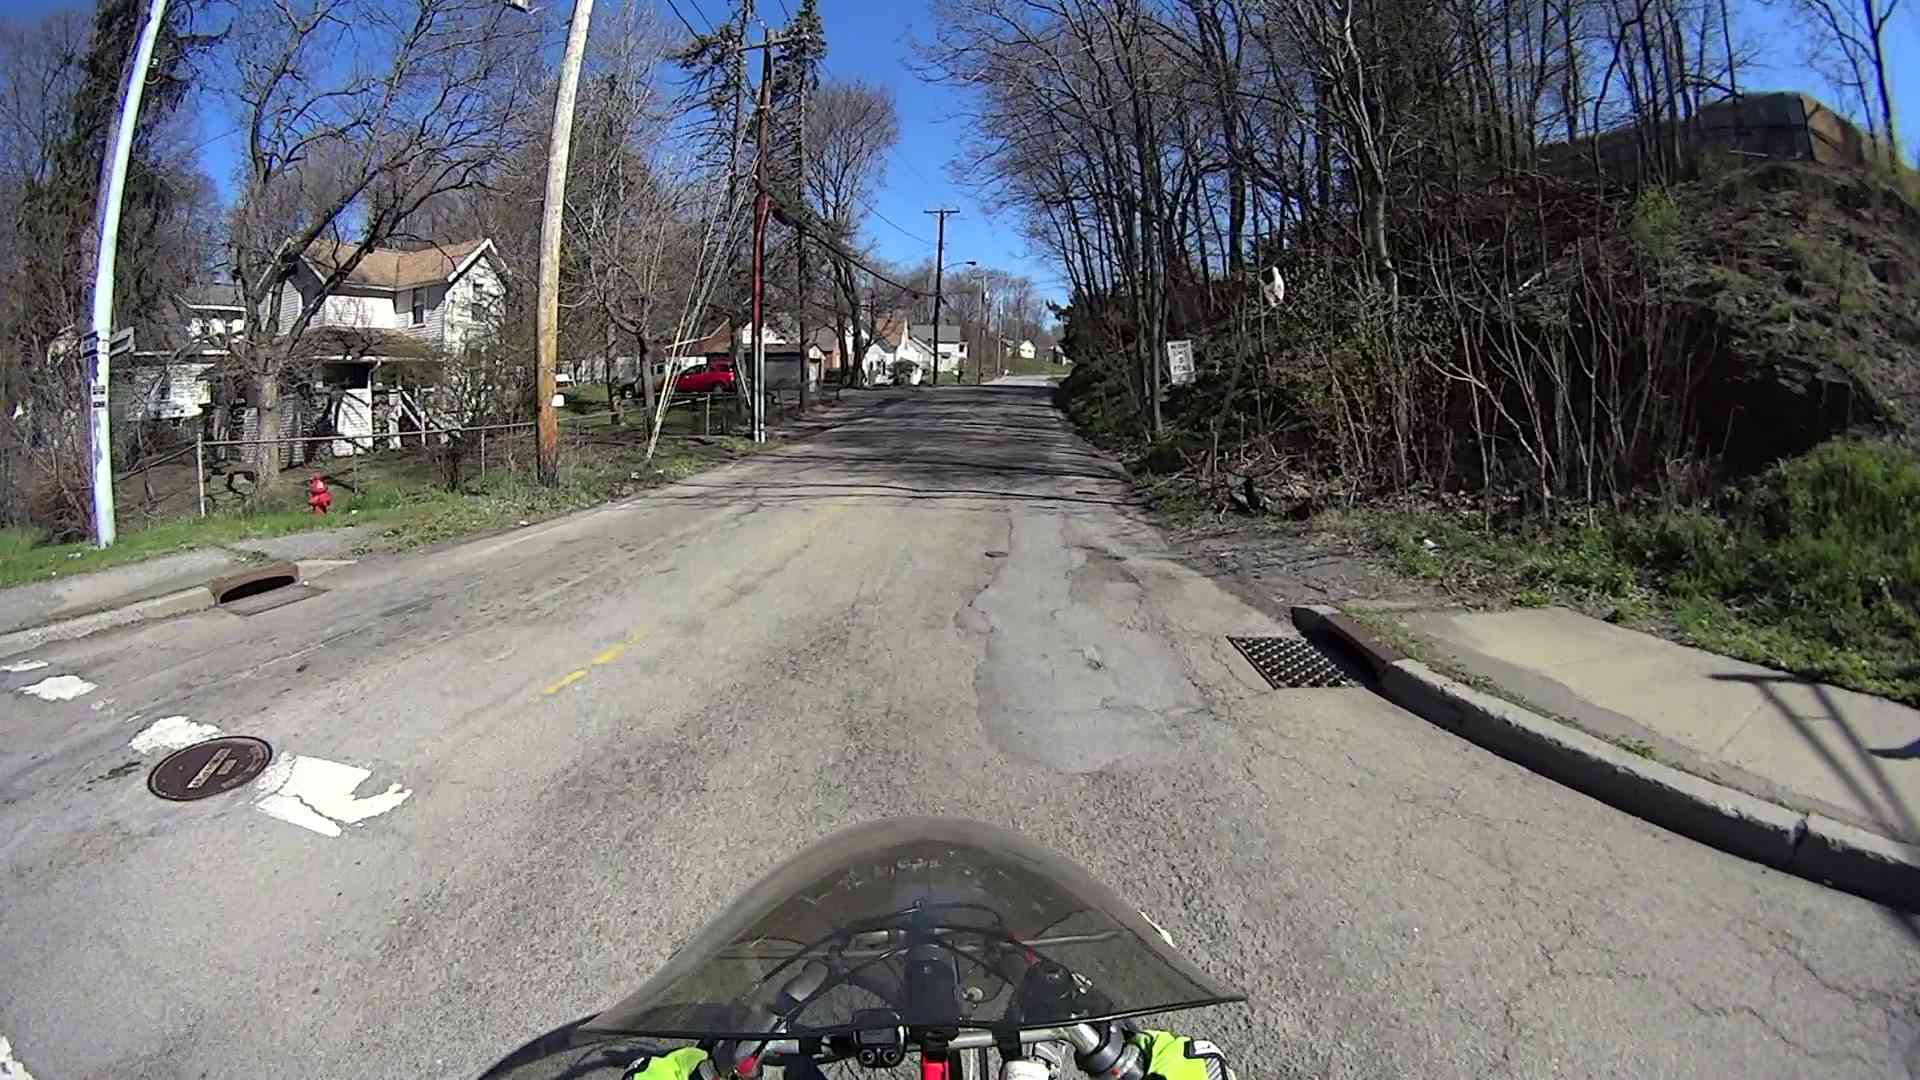
Just because I hadn’t done so for quite a while, I rode Grand Avenue from Beechwood north to the rail trail. The rotted asphalt at the Westbound Arterial (a.k.a. Maple St, at that point) intersection makes it easy to spot the quadrupole sensor loop:
Grand at Arterial WB – front camera – 0193
After half a minute, with no traffic pulling up behind me, I eased the bike over the central wire:
Grand at Arterial WB – front camera – 1693
Which is exactly as awkward as it seems:
Grand at Arterial WB – front camera – 1945
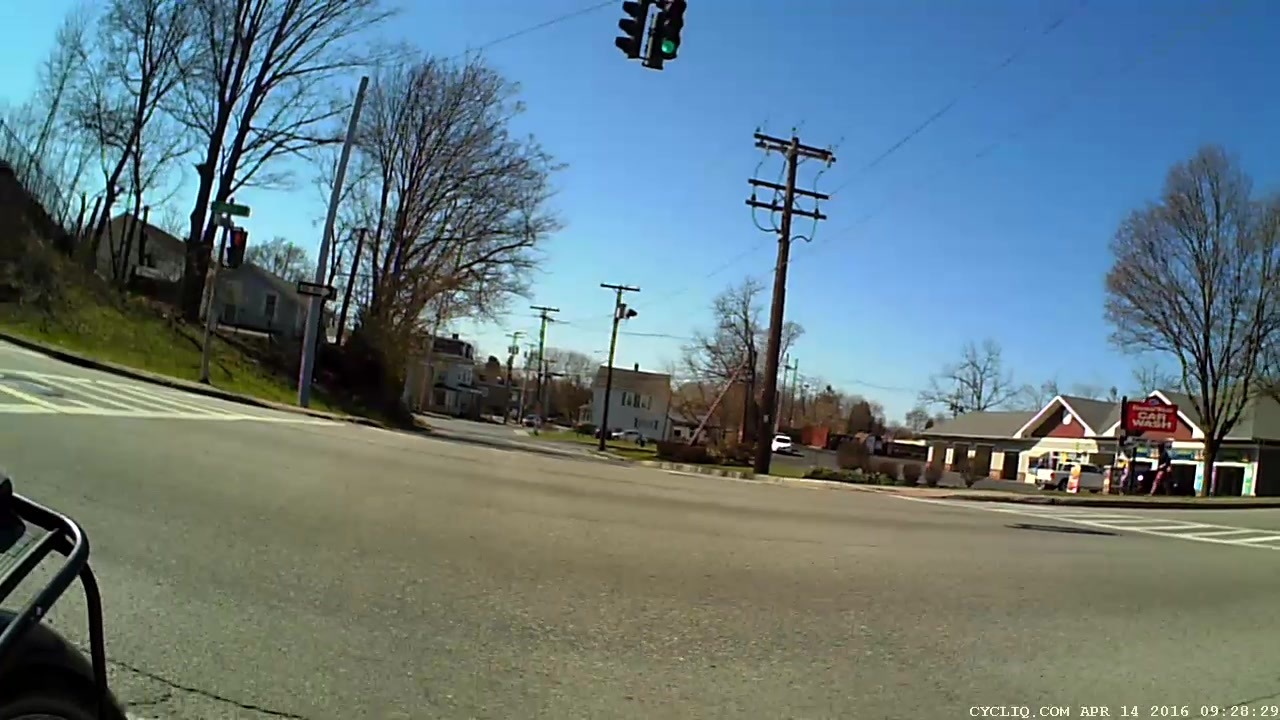
Much to my surprise, the sensor tripped:
Grand at Arterial WB – front camera – 3044
That’s about 50 s from the time I rolled over the first of the two sensor loops, which is fast enough for me. It’s unusual to find a sensor loop that detects a bike, though.
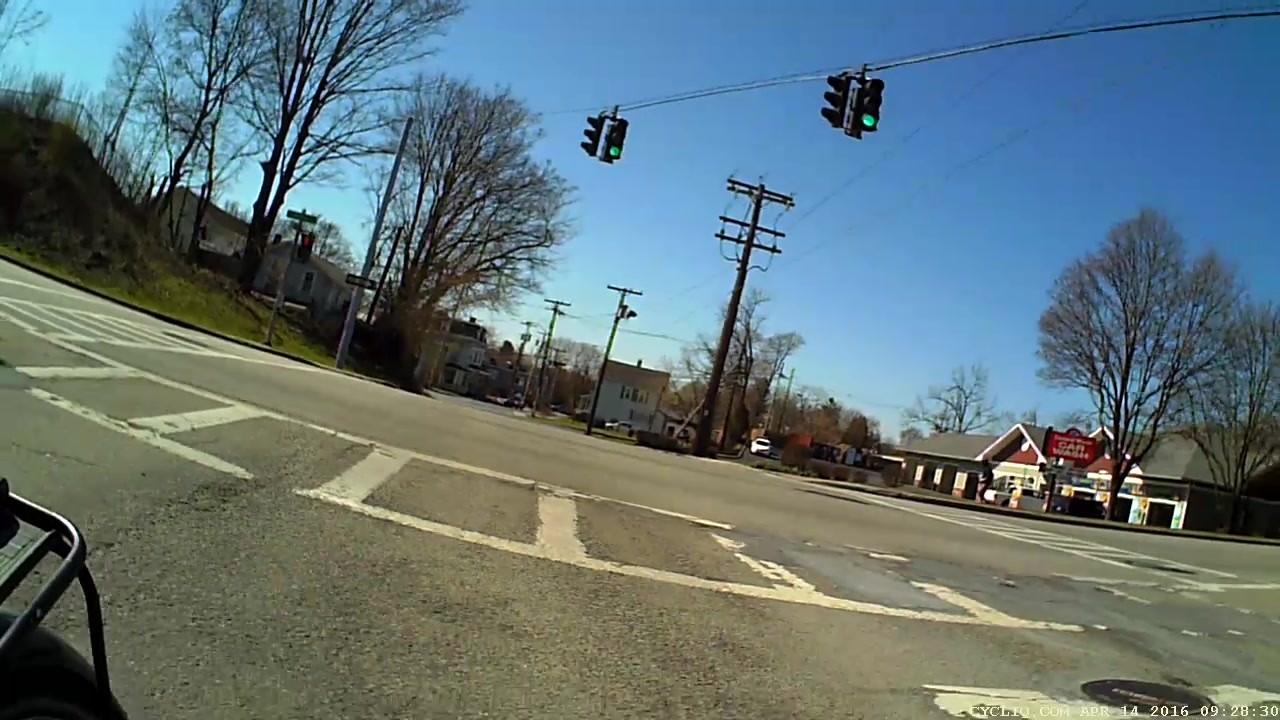
A bit over 6 s seconds later, I’ve cleared the intersection:
Grand at Arterial WB – front camera – 3445
The rear camera shows that the light remains green:
Grand at Arterial WB – rear camera – 1085
And it stays green:
Grand at Arterial WB – rear camera – 1121
About 11 s after turning green, a car approaches the sensor loop:
Grand at Arterial WB – rear camera – 1228
I think that reset the signal timing, so that light remained green for nearly 23 s:
Grand at Arterial WB – rear camera – 1581
It turned red after 26 s:
Grand at Arterial WB – rear camera – 1671
As nearly as I can tell, the minimum green time for this intersection is 12 s.
So life is good: the sensor loop detects a bicycle and the signal remains green for long enough to a bike to clear the intersection. If only all intersections worked that way!
Compare that with the minimum 7 s for the Burnett Blvd intersection and you (well, I) wonder why crossing six lanes requires 5 s less than crossing three lanes. Perhaps different standards apply to this single-direction cross-traffic flow that make it much more difficult than Burnett’s bidirectional cross traffic?
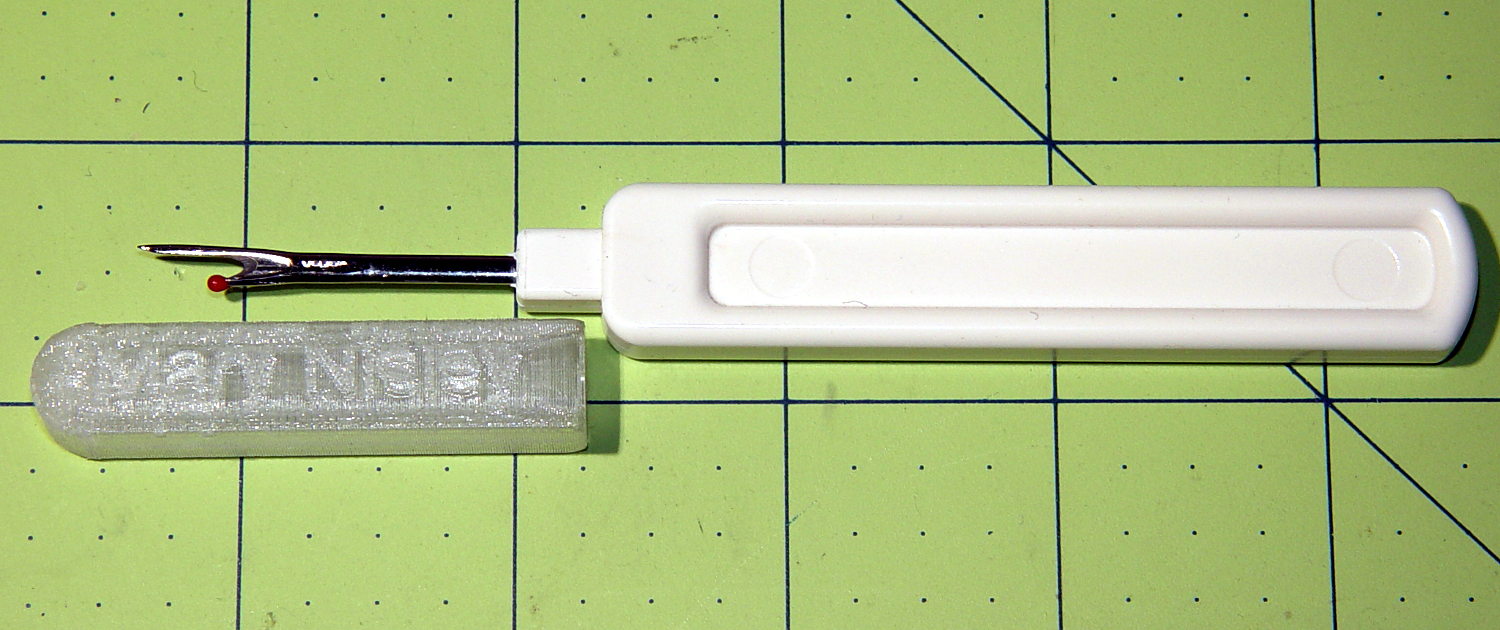
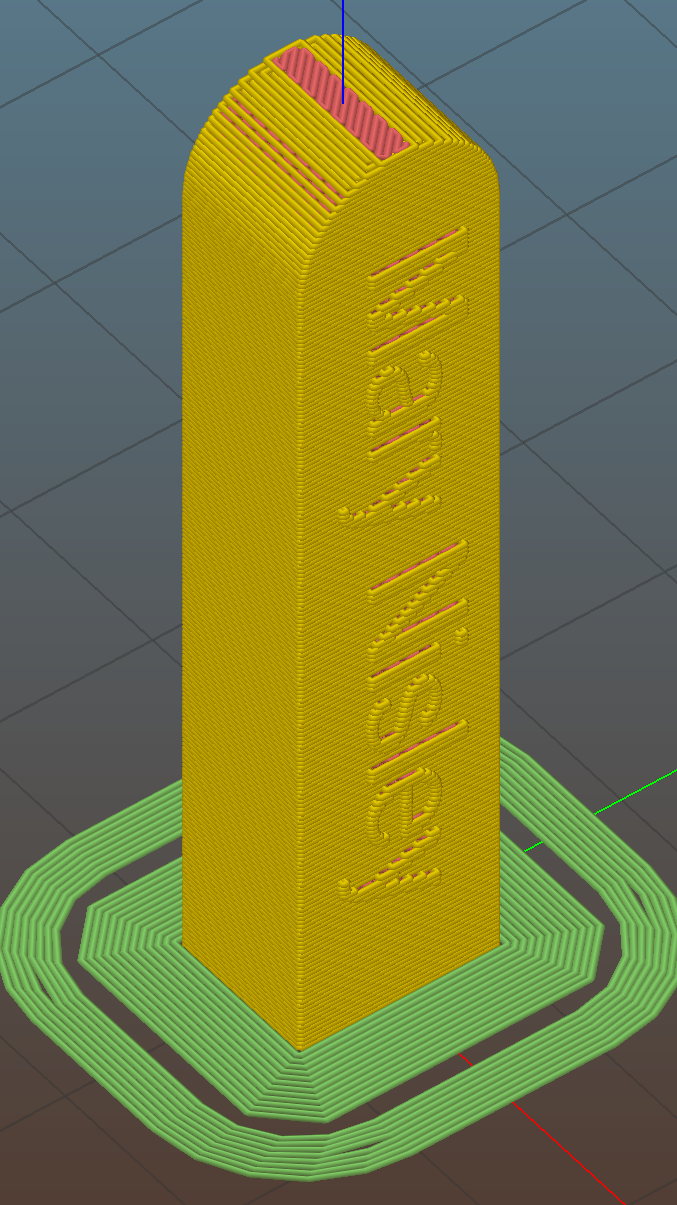
The side walls are two threads thick and, at least in PETG, entirely too rigid to slide on easily. I think a single-thread wall with a narrow ridge would provide more spring; if this one gets too annoying, I’ll try that.
This file contains hidden or bidirectional Unicode text that may be interpreted or compiled differently than what appears below. To review, open the file in an editor that reveals hidden Unicode characters.
Learn more about bidirectional Unicode characters