So says the label on a recent Amazon package:
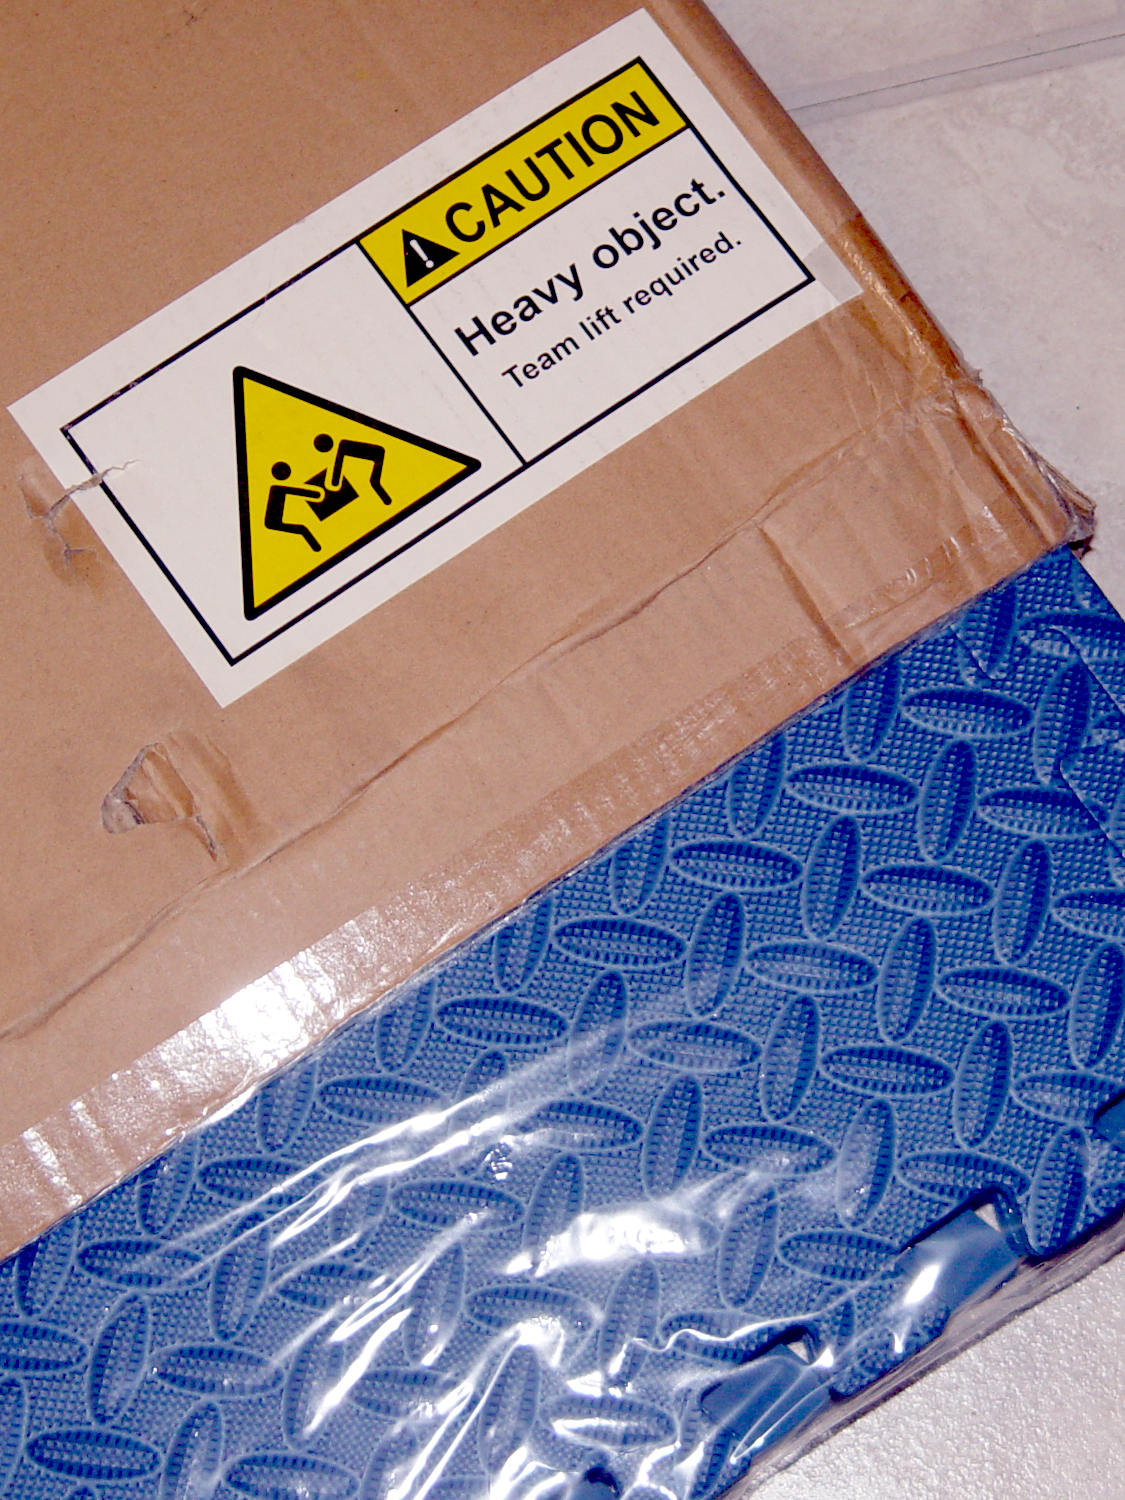
It contains half a dozen foam floor mat sheets weighing a bit under a pound apiece.
I don’t begrudge anyone working in an Amazon warehouse a bit of humor …
The Smell of Molten Projects in the Morning
Ed Nisley's Blog: Shop notes, electronics, firmware, machinery, 3D printing, laser cuttery, and curiosities. Contents: 100% human thinking, 0% AI slop.
So says the label on a recent Amazon package:
It contains half a dozen foam floor mat sheets weighing a bit under a pound apiece.
I don’t begrudge anyone working in an Amazon warehouse a bit of humor …
Installing the Xiaomi Dafang Hacks firmware requires an MicroSD card in each camera and, my previous stock having run low, four more just arrived:
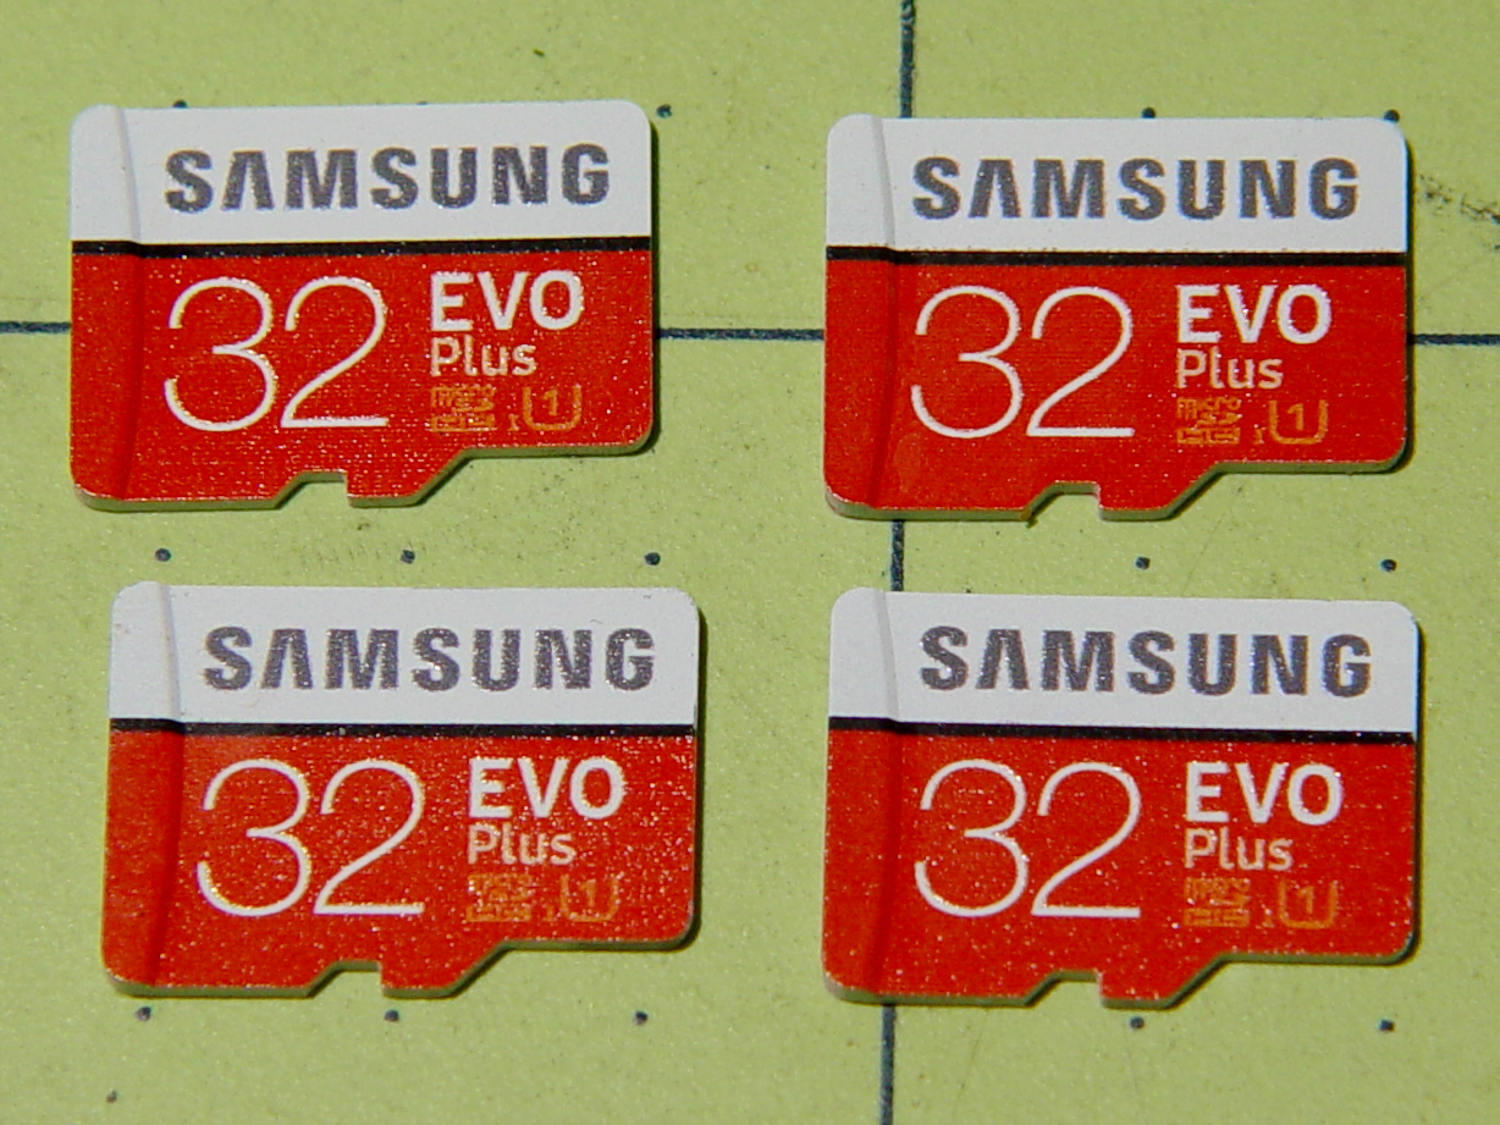
Prices have collapsed to the point where known-good (all four passed f3probe testing) cards direct from Samsung (as opposed to Amazon’s “commingled inventory” counterfeit situation) now cost $12-ish each with free shipping.
After I finish fiddling with the first camera, I’ll copy its card onto these four, unique-ify the IP addresses / hostnames /suchlike, and bring ’em all online.
Given a camera running Xiaomi Dafang Hacks software, you can set up motion-triggered image capture and save the images either locally or on an FTP server. The latter makes sense, as it automatically plunks the images where they’re more generally available.
Define the FTP server parameters in config/motion.conf:
# Configure FTP snapshots and videos
ftp_snapshot=true
ftp_video=false
ftp_video_duration=10
ftp_host="192.168.1.10"
ftp_port=21
ftp_username="ftp-user-id"
ftp_password="secret-password"
ftp_stills_dir="Cam4"
ftp_videos_dir="Cam4"
The FTP server should have the Cam4 directory in place and shared for read-write access before attempting to plunk files therein. Ahem.
The camera’s Services menu leads to the motion configuration page:
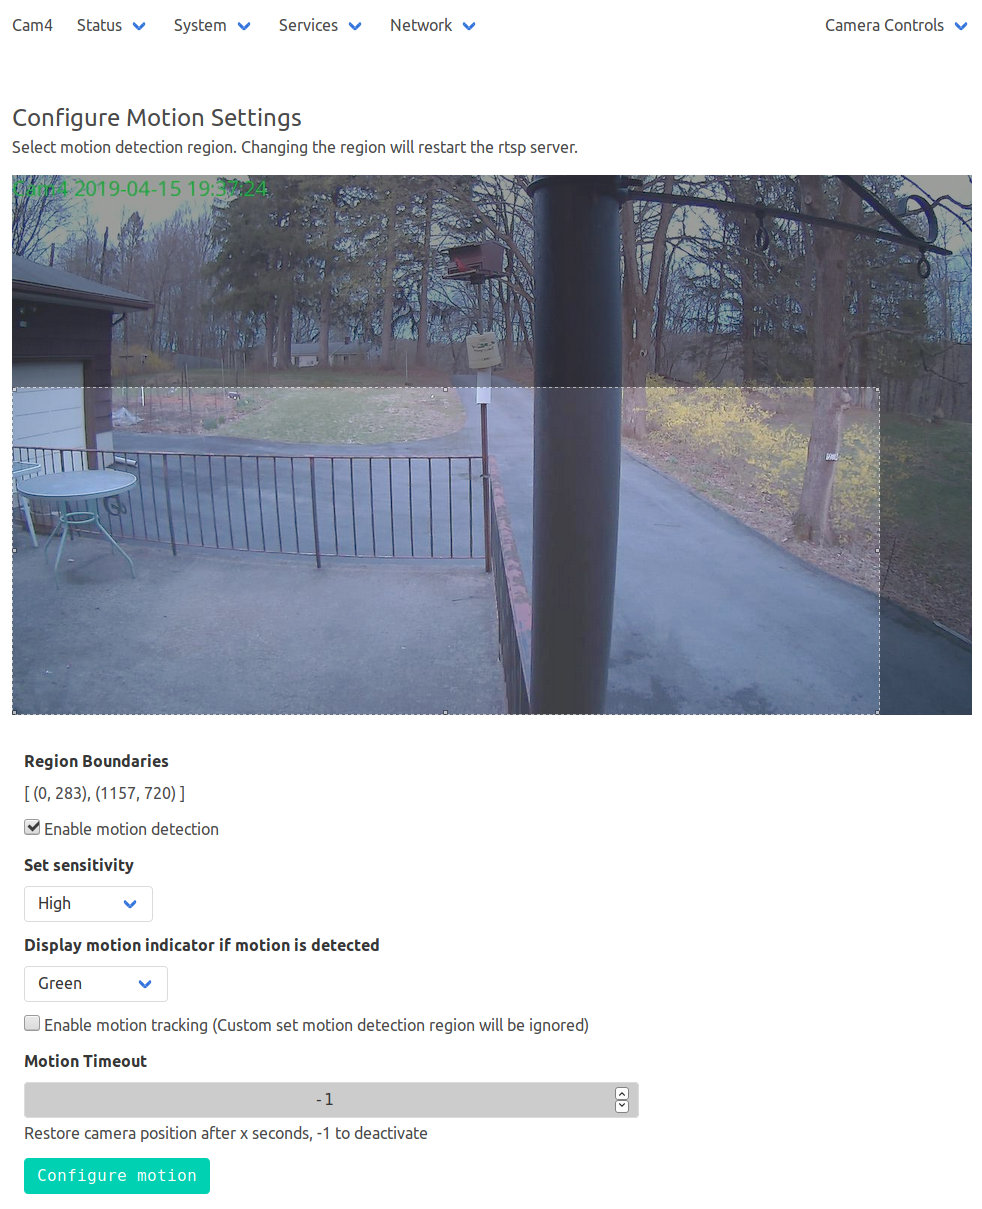
Limiting the detection region to the lower-left corner cuts out all the waving-in-the-breeze foliage in the yard, while covering the driveway. High sensitivity detects squirrel-sized objects in the foreground, although your mileage will certainly differ.
The camera seems rate-limited at 5 s/image, which may come from FTP transfer overhead; I don’t know if the code includes a built-in delay or if it just works like that. The NAS drive requires upwards of 7 s to spin up if it hasn’t been used for a while, but afterwards the transfers don’t take that long.
Mounting the NAS drive’s CIFS shared directory from my desktop PC works as before:
sudo mount -v -o rw,credentials=/root/.nas-id,vers=1.0,uid=ed -t cifs //192.168.1.10/Cam4 /mnt/partThen view / edit / delete images as needed:

The camera has built-in IR LEDs, but they’re nowhere near powerful enough to illuminate the entire yard.
Motion detection works better in daylight:
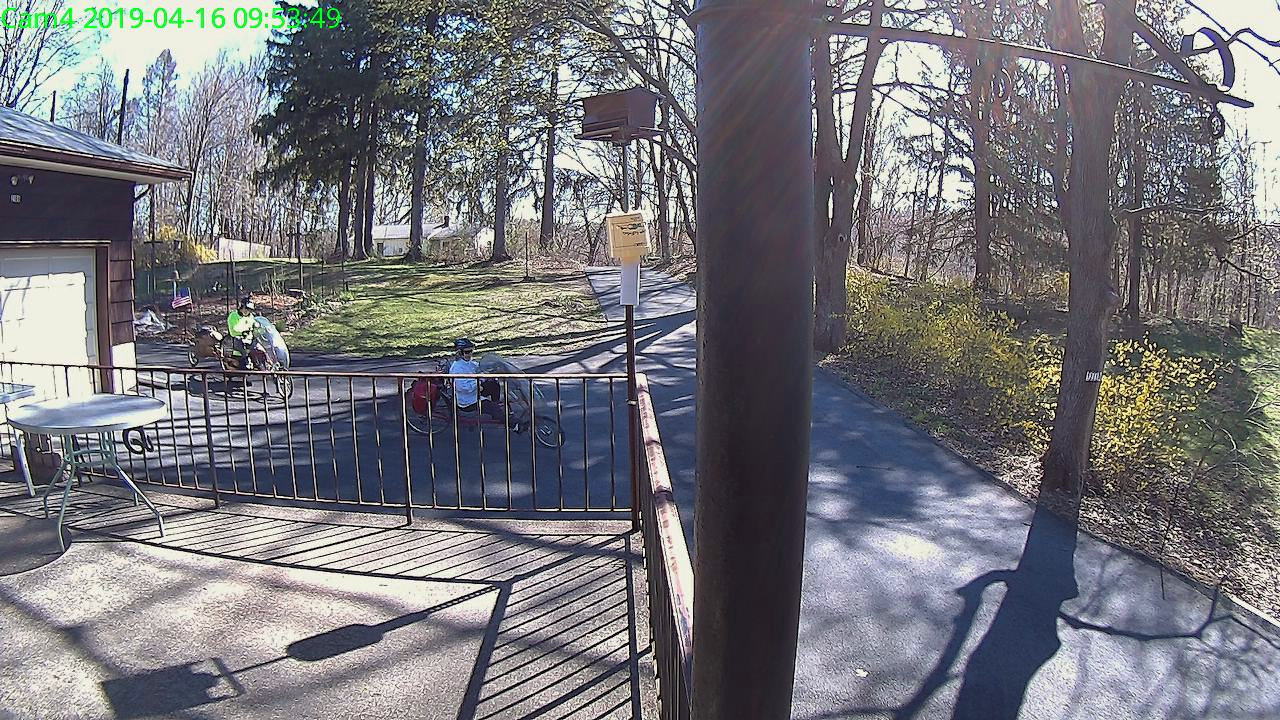
Unlike the original Wyze firmware, the Xiaomi Dafang Hacks firmware & software keep all the images & metadata within my network and under my control.
With the Wyze and Xiamoi Dafang cameras running the Xiaomi-Dafang Hacks firmware and software, I tried the timelapse functions on the yard camera.
The config/timelapse.conf file:
# Interval between snaps, in seconds
TIMELAPSE_INTERVAL=10
# Duration of the script should run, in minutes, set to 0 for unlimited
TIMELAPSE_DURATION=60
# Save dir config
SAVE_DIR_PER_DAY=1
# Enable compression
COMPRESSION_QUALITY=100
The images, named along the lines of 13-04-2019_191810_001.jpg, appear in the DCIM/timelapse directory, tucked into daily directories with names like 2019-04-13, a mismatch obviously in need of tweaking. There’s also a time_lapse directory which seems like cruft from an earlier revision; you can configure the target directory in scripts/timelapse.sh.
Start the script manually or from a crontab entry, wait until it’s done, then transfer the images to somewhere more convenient with a Bash one-liner:
find /system/sdcard/DCIM/timelapse/ -name \*jpg -exec curl -s -n -T {} ftp://192.168.1.10/Timelapse/ \; The -s silences all curl output; omit it until you’re sure the lashup works as you expect. I always forget the backslash before the semicolon terminating the -exec command.
The -n pulls the userID and password from the ~/.netrc file you previously set up for manual ftp sessions:
machine 192.168.1.10
login ftp-user-id
password secret-password
The IP address corresponds to my ancient NAS drive; your mileage may vary.
From my desktop box, mount the NAS drive:
sudo mount -t cifs -o "credentials=/root/.nas-id,vers=1.0,uid=ed" "//nasty/Timelapse" /mnt/partThe drive’s credentials aren’t particularly secret, but tucking them into /root/.nas-id means you could automount the drive with no hassle. The NAS drive requires the oldest possible CIFS version, of course.
Then view the pix:

You could set up the camera as an NFS share, but having all the cameras deposit their pix in a common location seems more convenient, particularly after I get around to automating the image transfer. Regrettably, the NAS drive doesn’t support subdirectories.
With six new 18500 lithium cells in hand, I rebuilt the three weakest NP-FM50 packs.
The Sherline CNC mill setup for sawing around the midline:

Adjust the saw to cut along the seam, set X=0 at the surface, jog to about X+0.7 mm, jog the saw along the seam, then repeat for the other three sides. No real CNC involved, but it’s much easier than sawing or breaking through the seam by hand.
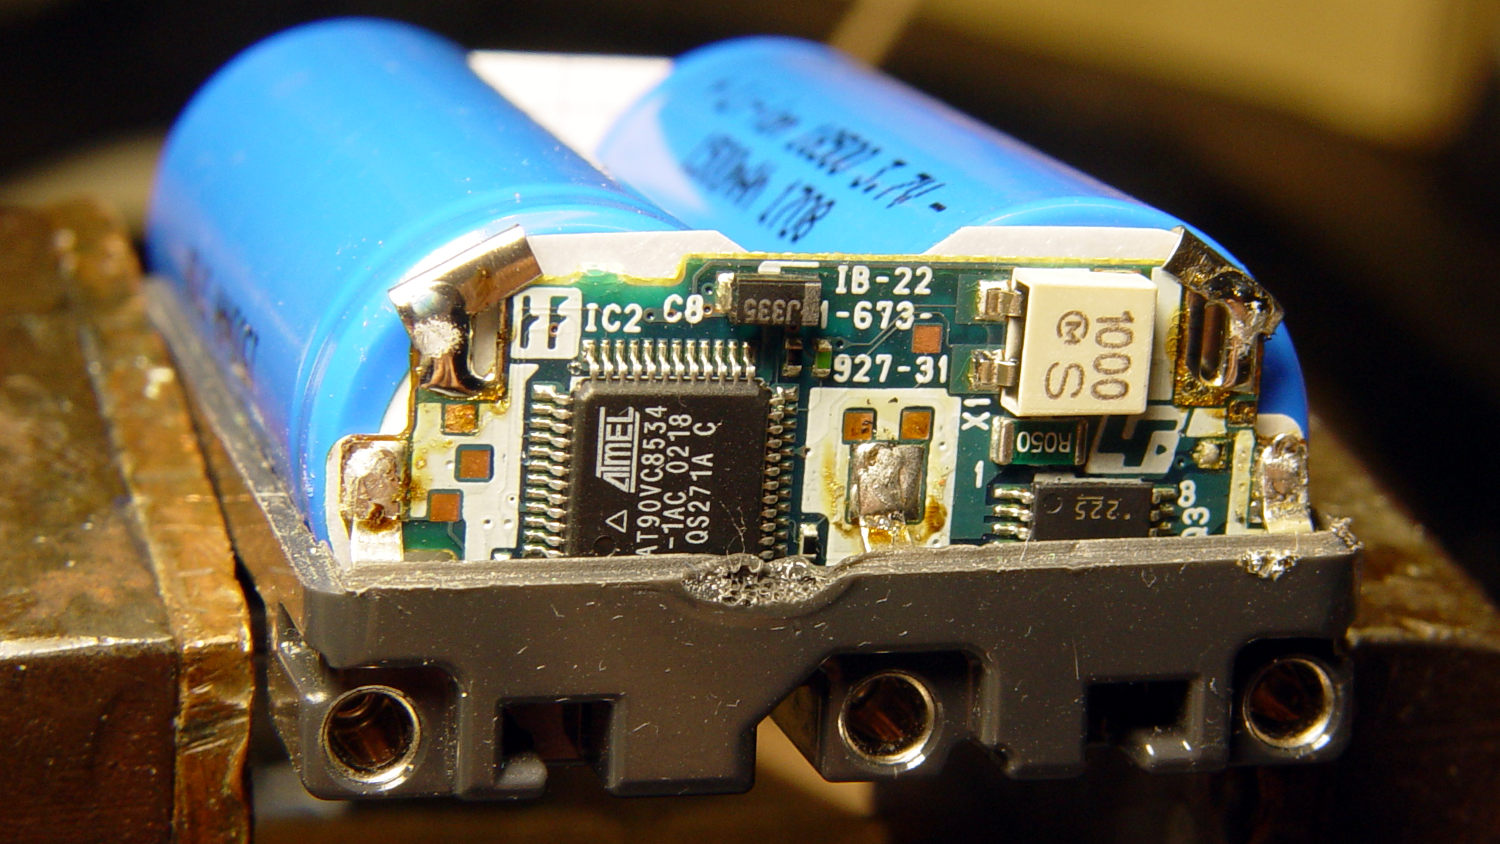
These two packs came with the camera:

The cells have only lot numbers, no manufacturer ID. Wikipedia sayeth Sony Fukushima started in 2000; perhaps these were early production units with no branding.
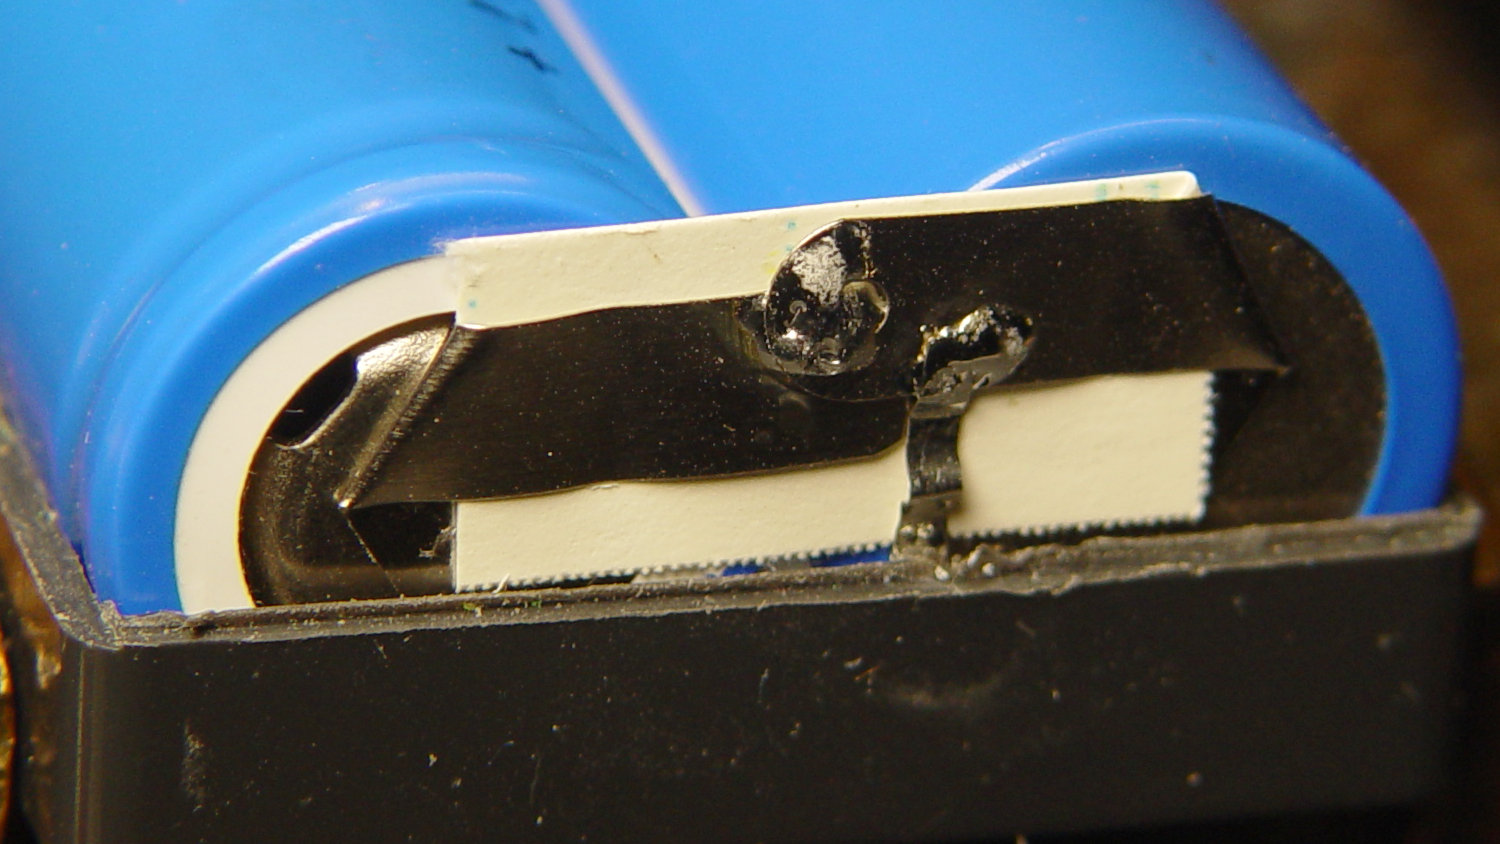
The center strap running the length of the pack didn’t seem long enough, because I mistakenly thought I’d straightened its end while unsoldering it. As it happens, the end was straight and secured to the PCB by structural solder:

Moral of the story: pay attention, dammit!
The other end of the center strap required a snippet of tin strip to reach the tabs:
Aligning the cells that way allowed me to just bend the other tabs over the PCB pads and solder them in place:
Then a strip of Kapton tape across the kerf holds the case together well enough to survive our gentle usage:
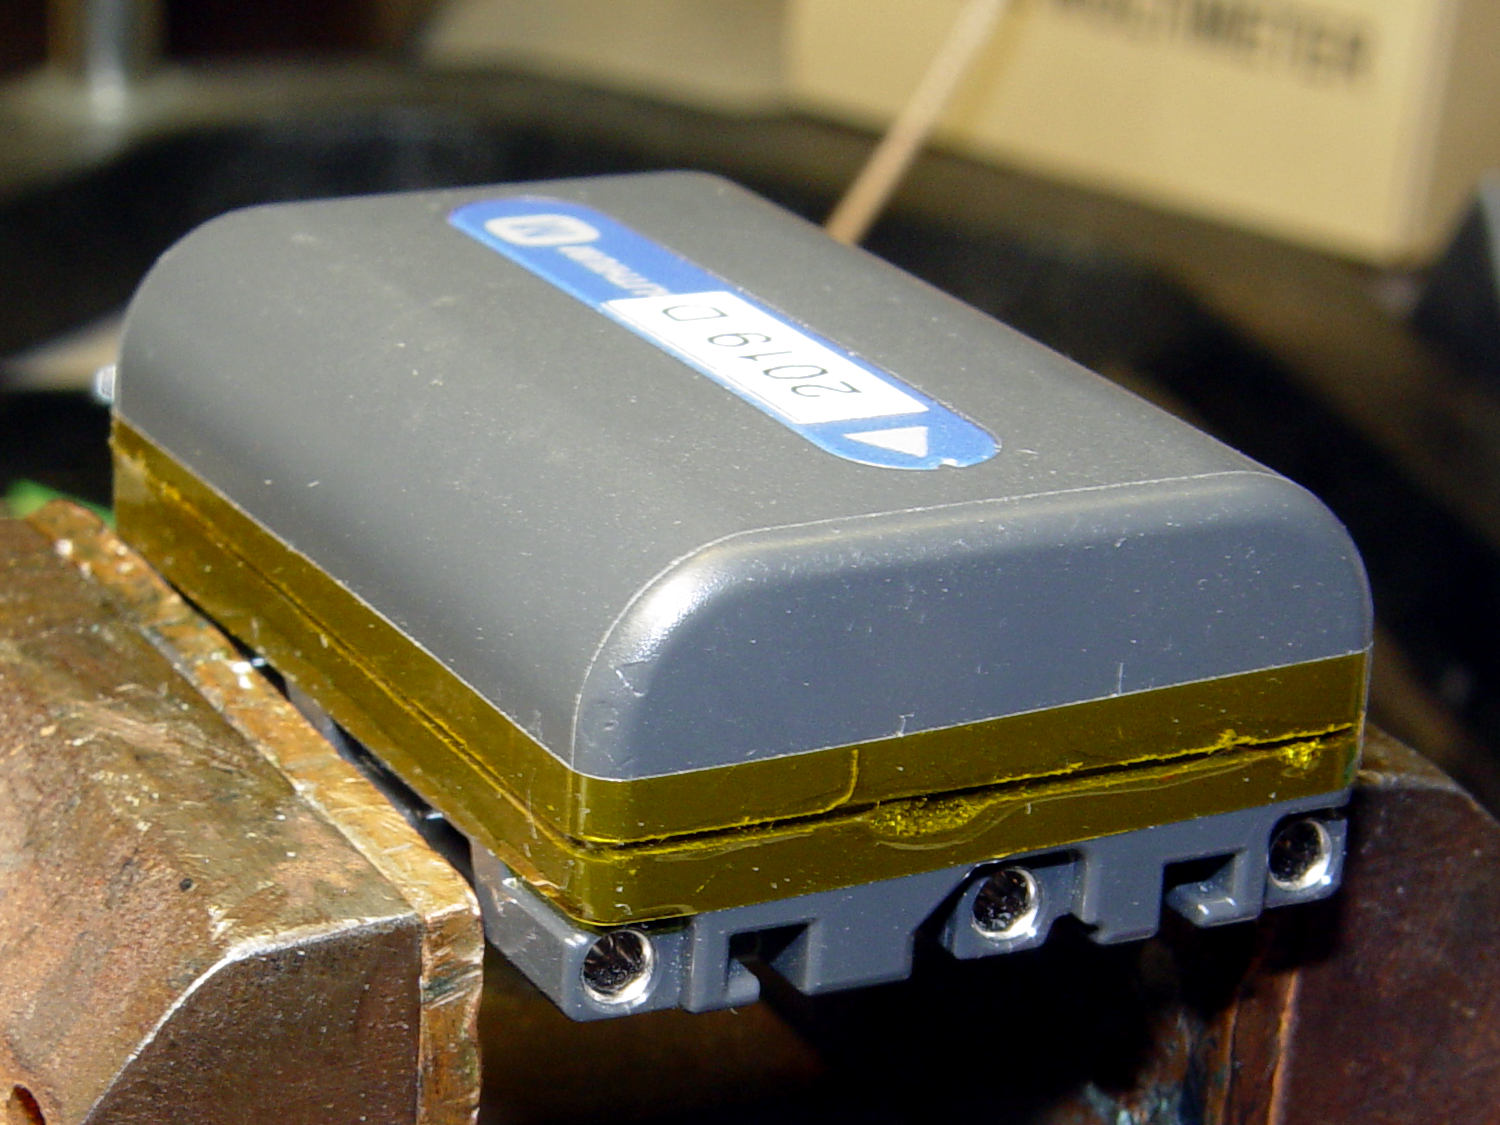
The battery packs require a brief stay in the charger to reset the PCB’s lockout circuitry, after which they work fine:

The two oldest batteries (OEM 2003 A and OEM 2003 B) have new identities to suit their new innards: 2019 E and 2019 F. The DOA eBay battery retains its 2019 D label after the rebuild, as there’s little room for confusion.
Admittedly, it’d be easier / cheaper / faster to buy third-party NP-FM50 packs directly from eBay or Amazon, but this way I know the cells aren’t complete crap and I get some Quality Shop Time™ out of the deal.
What’s not to like?
The newly built Capital Region Welcome Center on the Thruway has a small playground for small children, featuring appropriately small signage:

Here’s the world we live in (clicky for more dots):

Fortunately, we lack a small child at risk of damage.
You (well, I) just can’t make this stuff up.
[Update: I could get behind Adventure Playgrounds!]
According to its description, the Anker USB 3.0 card reader can handle both a MicroSD and a standard SD card at once:
Simultaneously read and write on two cards to save yourself the effort of constant unplugging and re-plugging.
Which looks like this:
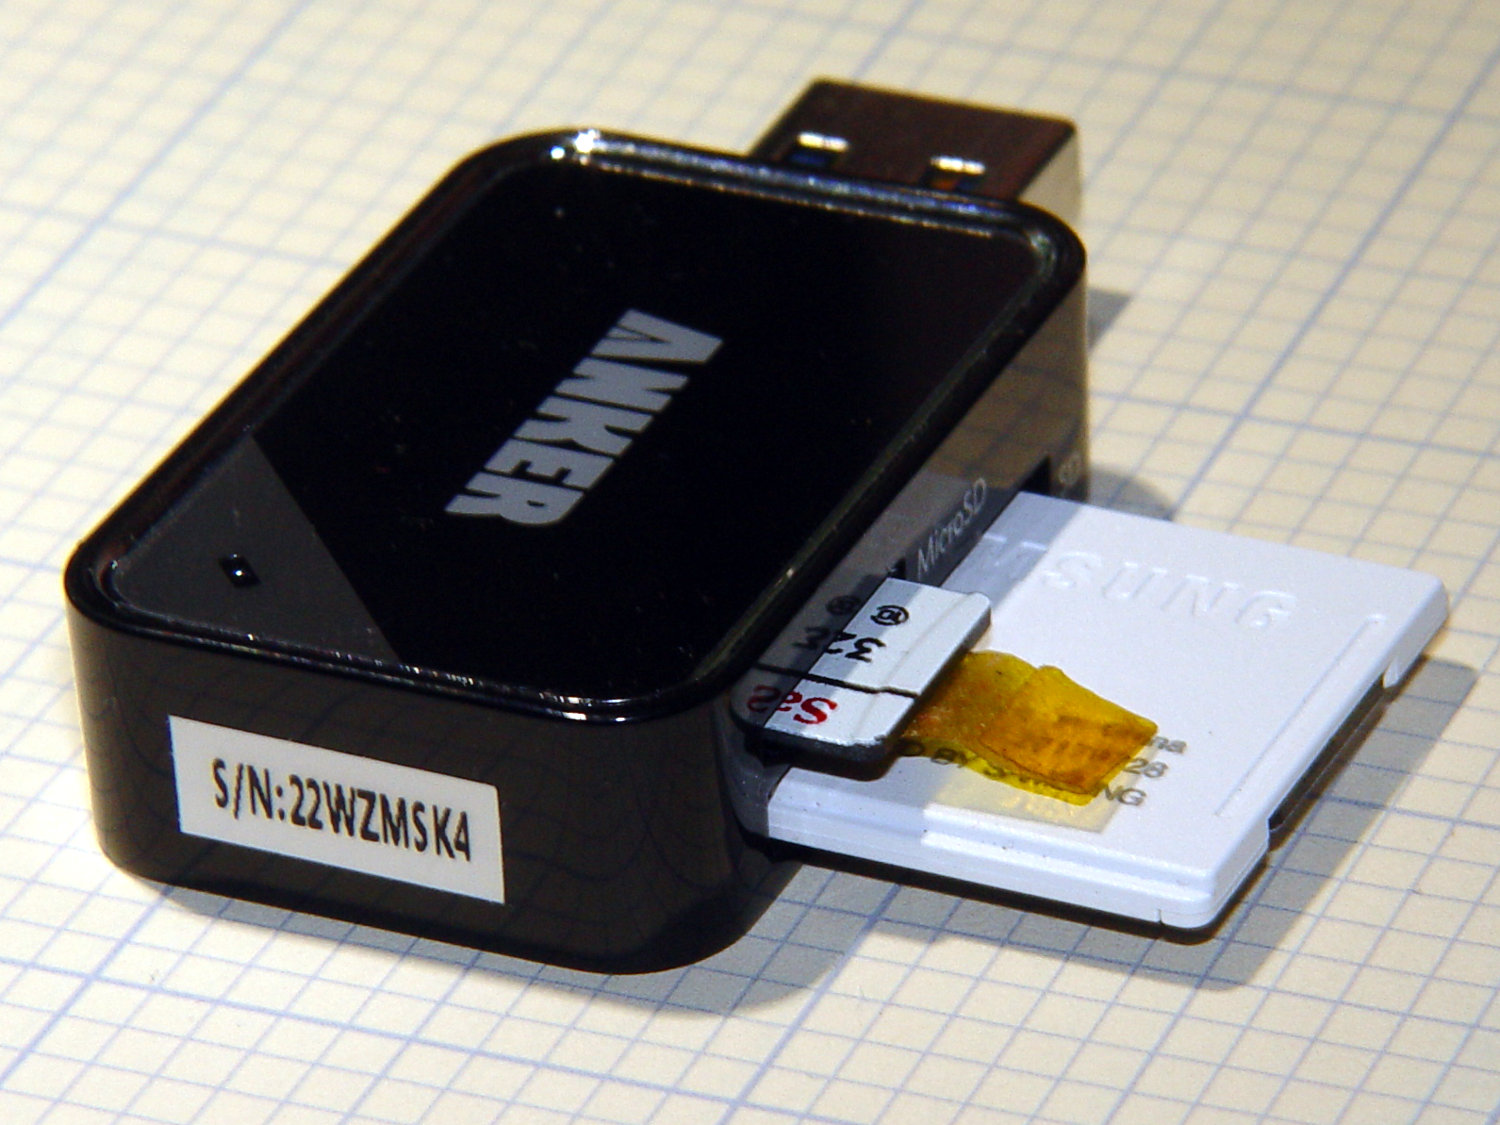
After you get used to inserting the SD card downside-up, it fits perfectly. The Kapton tape on the MicroSD card eases extraction from the still finger-dent-less M20 camera mount on the back of my Tour Easy ‘bent.
Plugged into a USB 3.0 port, my file extractor script chugs along at 25.9 MB/s, taking about 18 minutes to transfer 28 GB of video data.
Splurging another eleven bucks for a second reader produces this setup:
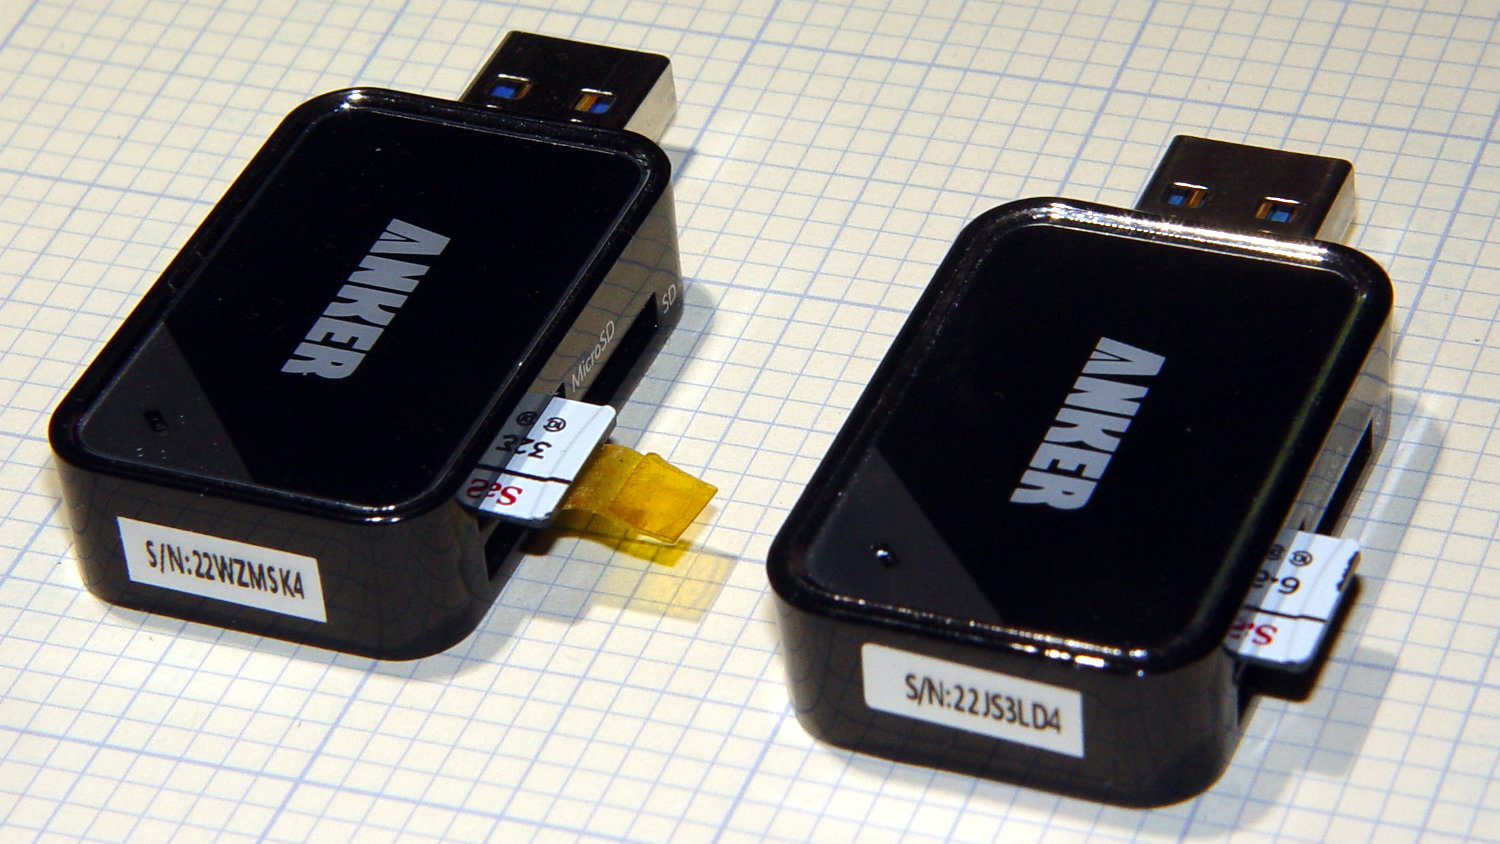
After plugging both readers into adjacent USB 3.0 ports, the script transfers files at 46.6 MB/s and copies 28 GB in 10 minutes.
So, yes, the reader can handle two cards at once, but at half the speed.
Not life-changing, but it shows why I like measurements so much …
