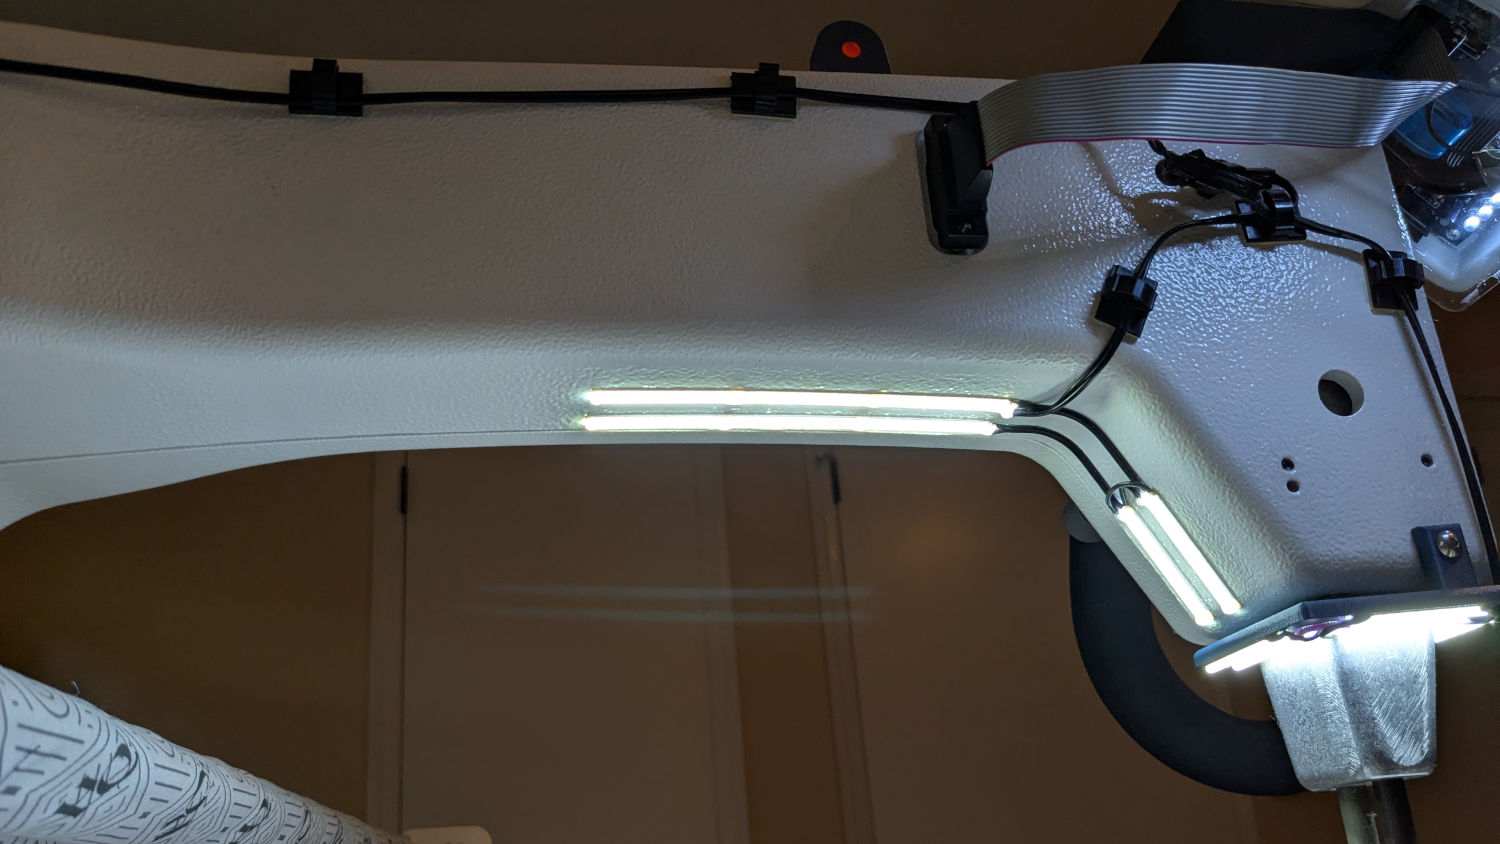
With the nose ring lights in place, I soldered up eight more 24 V LED strips to light the quilt under the HQ Sixteen’s arm:
A simple fixture aligned the strips for soldering:

I intended to peel the masking tape off the glossy cardboard, then use it to keep the strips aligned while I pressed the PSA adhesive on the back of the strips to the machine. The silicone molded over the LEDS turned out to be supremely un-stick-able to the tape and the strips got far more handling than I planned, but I think the adhesive will work.
The cable from the power supply now has a pair of JST SM connectors on the end. Although crimping two conductors into the same pin is not good practice, all 14 of the LED strips draw an aggregate of maybe 130 mA, so I think it’ll suffice.
The JST connectors hide behind the ribbon cable going to the machine’s front panel, so there’s not a lot of basis for arguing they’re unsightly:
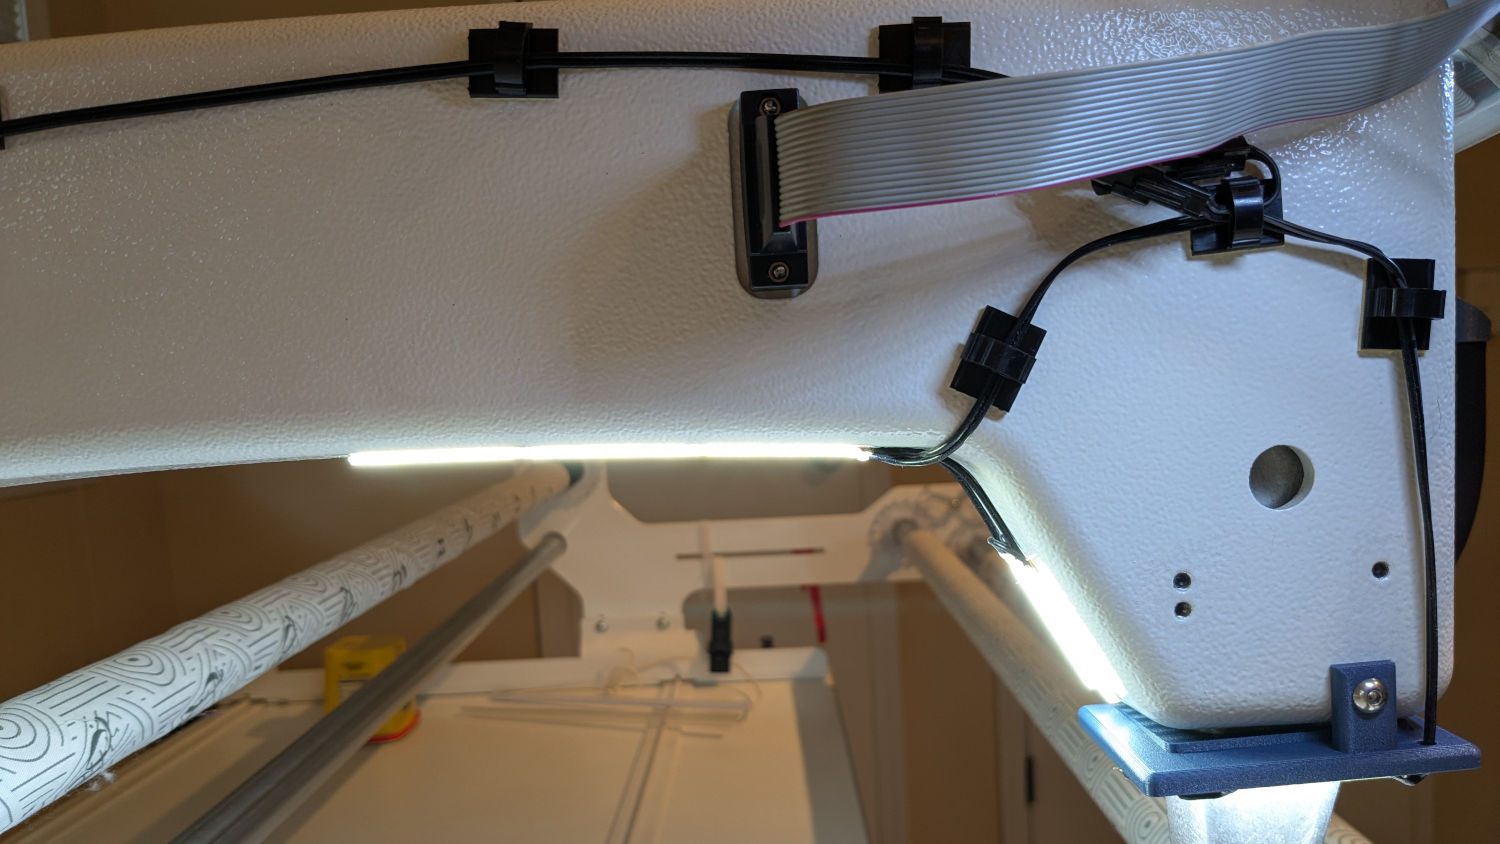
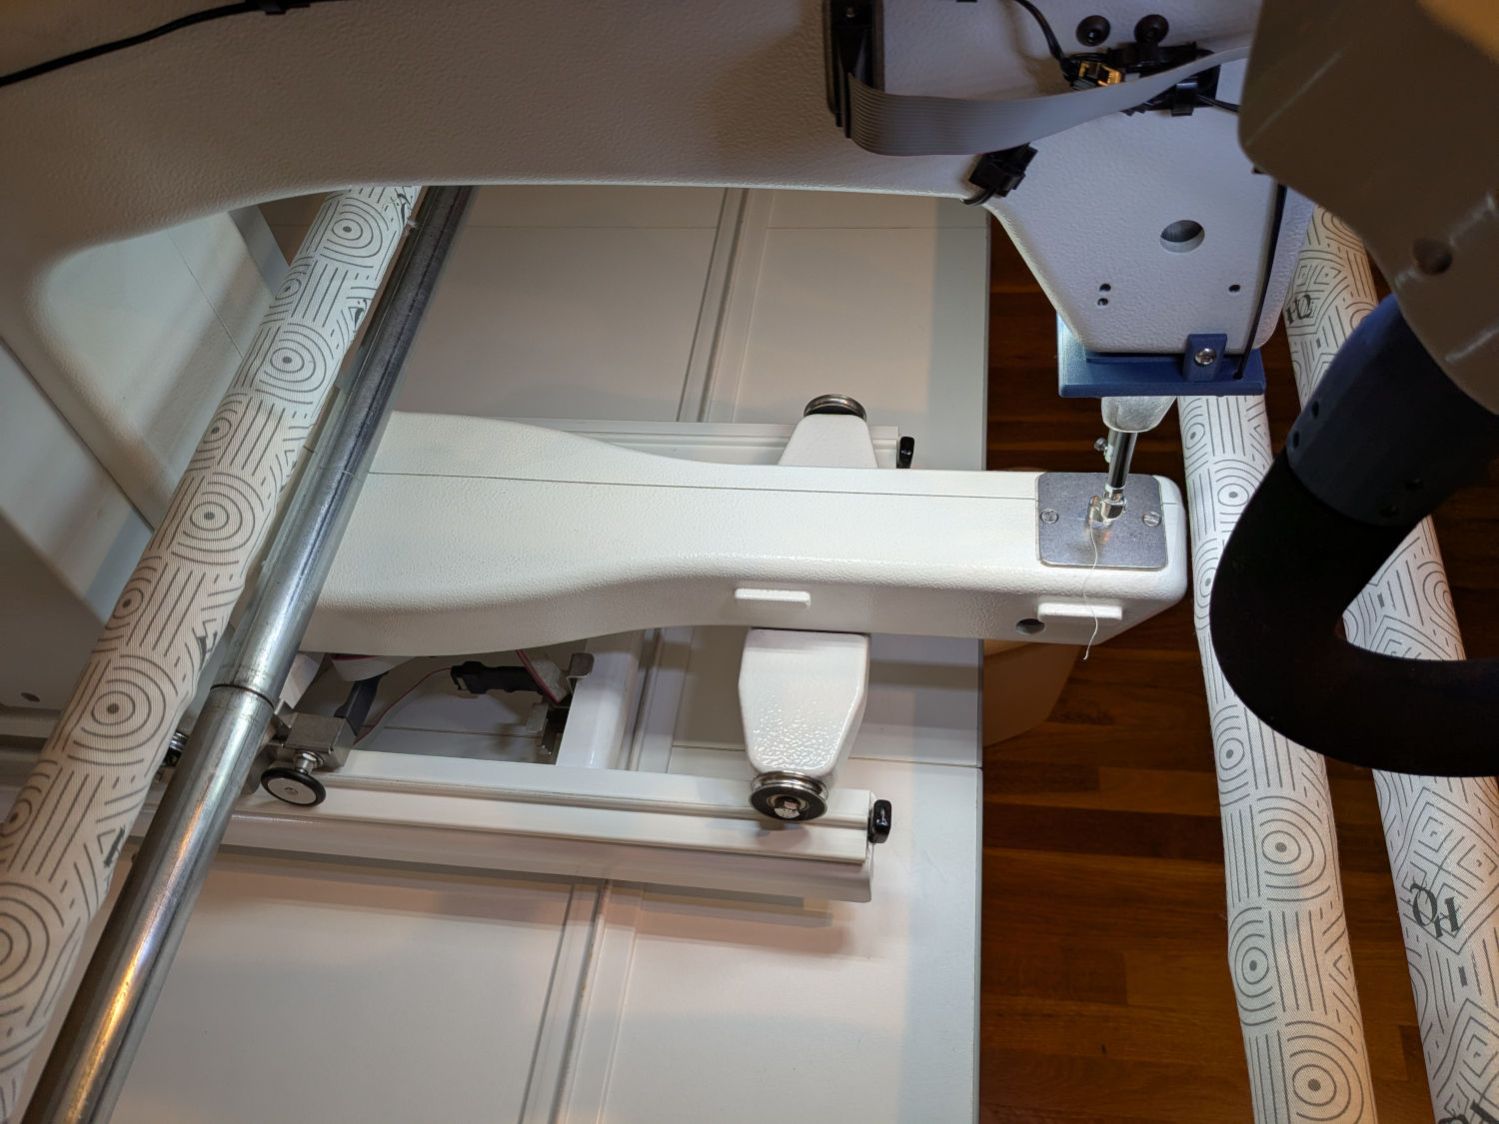
The finished part of the quilt passes under the bottom bar on the left (the rear of the machine table) and forms an ever-increasing roll around the top bar; the white fabric leader attaches to the edge of the quilt. The LED strips illuminate the in-progress part of the quilt under the arm and should be far enough forward to not snag on the rolled-up finished part.
I think there’s now enough light to work with:
We recently decided the motor stall Heisenbug has vanished, perhaps due to my re-soldering the motor power supply components on the PCB. It’s hard to tell with Heisenbugs, but sometimes they decohere into a desirable state.
After the better part of a year, Mary’s vintage HQ Sixteen runs better than new!
A blog search unearths an extensive project in reverse chronologic order.
