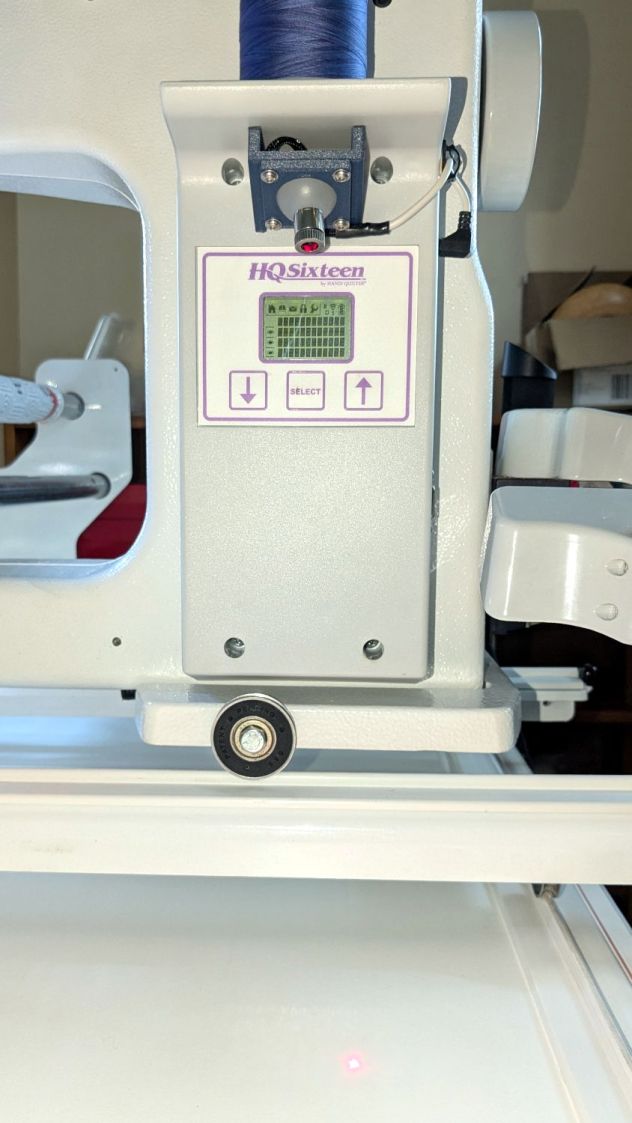
Installing the new ball-mount laser stylus on the HQ Sixteen’s electronics pod required nothing more than two strips of good foam tape:
In actual use, you would:
- Lay down a “pantograph” pattern on a paper strip along the rear track under the machine’s carriage
- Position the needle at the appropriate spot on the quilt
- Aim the laser at the corresponding point on the pattern
- Start the machine!
- Move the laser spot along the pattern while the machine stitches that pattern in the quilt
Mary thinks free-motion quilting is easier and I’m not in a position to argue the point.
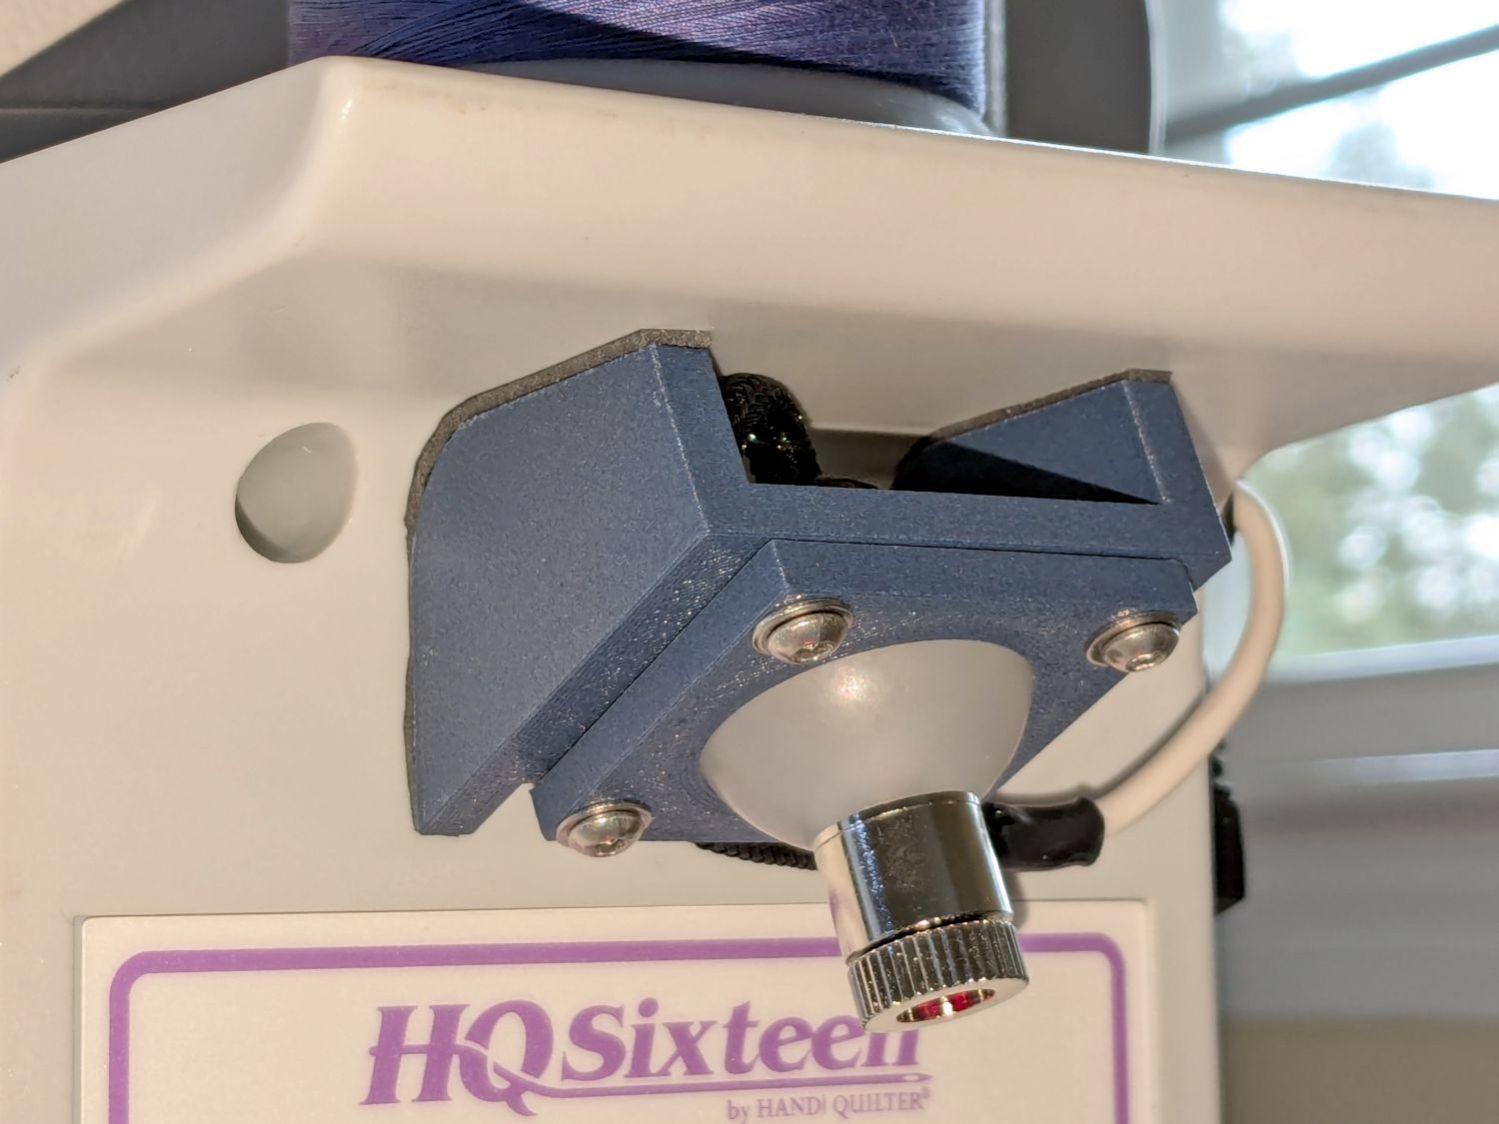
Anyhow, the key feature of my ball mount is that it’s completely out of the way:
Which looks comfortingly like the original solid model:
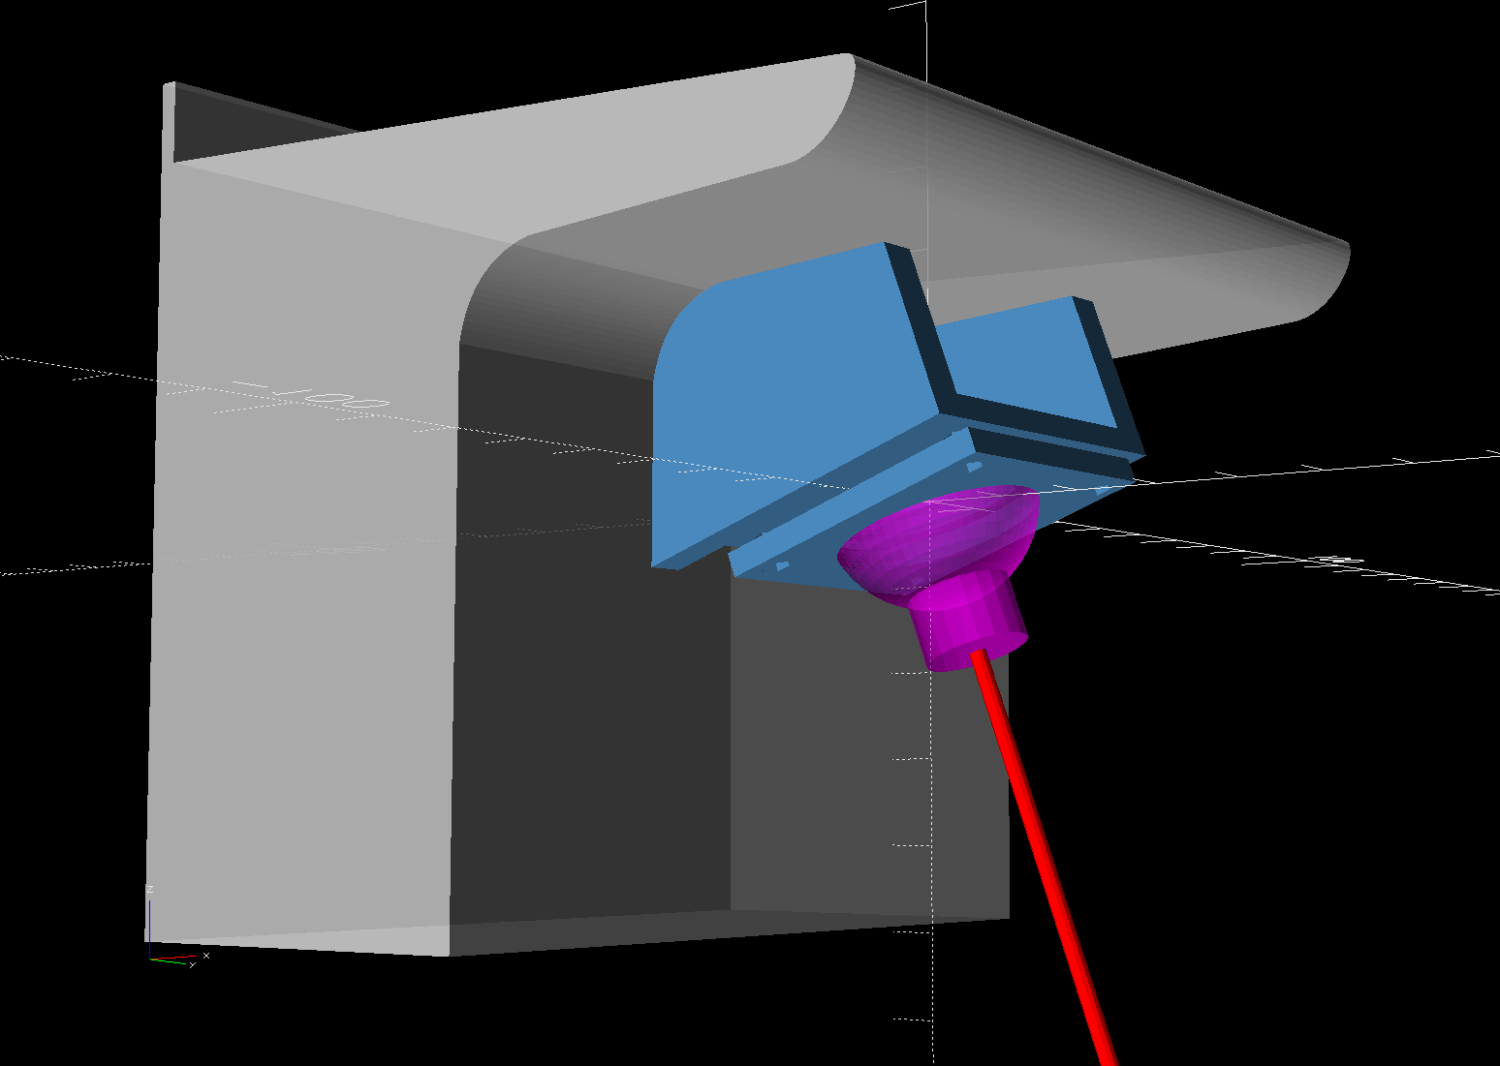
Minus the vivid red death ray and pew! pew! pew!
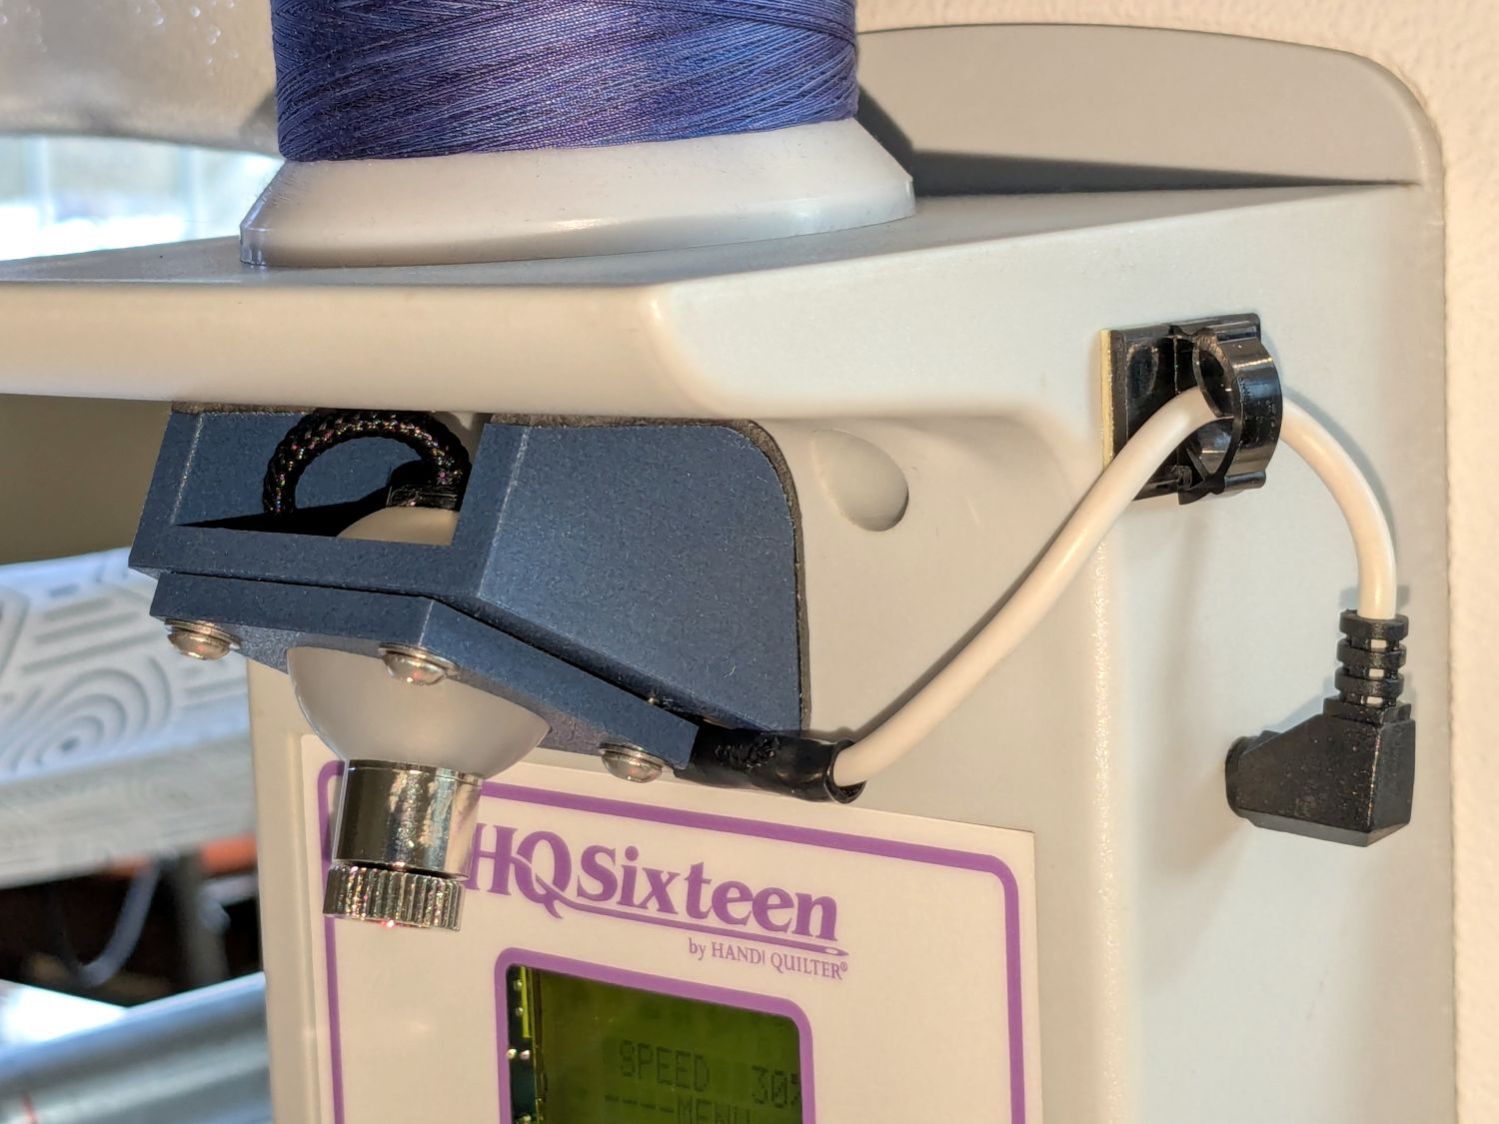
Power comes from a barrel jack in the back intended for the original stylus laser; all small lasers, unless otherwise noted, run from 5 VDC. The jack is 3.5×1.3 mm, but the Drawer o’ Weird Barrel Plugs disgorged a matching right-angle plug. Unsurprisingly, such things are readily available these days.
Splice the laser leads to the plug and cover the evidence with a braided loom + heatshrink tubing:
I considered a switch, but the anticipated low duty cycle suggested just unplugging it, so that’s that.
And It Just Worked™.
The backstory begins There and continues to now.
