|
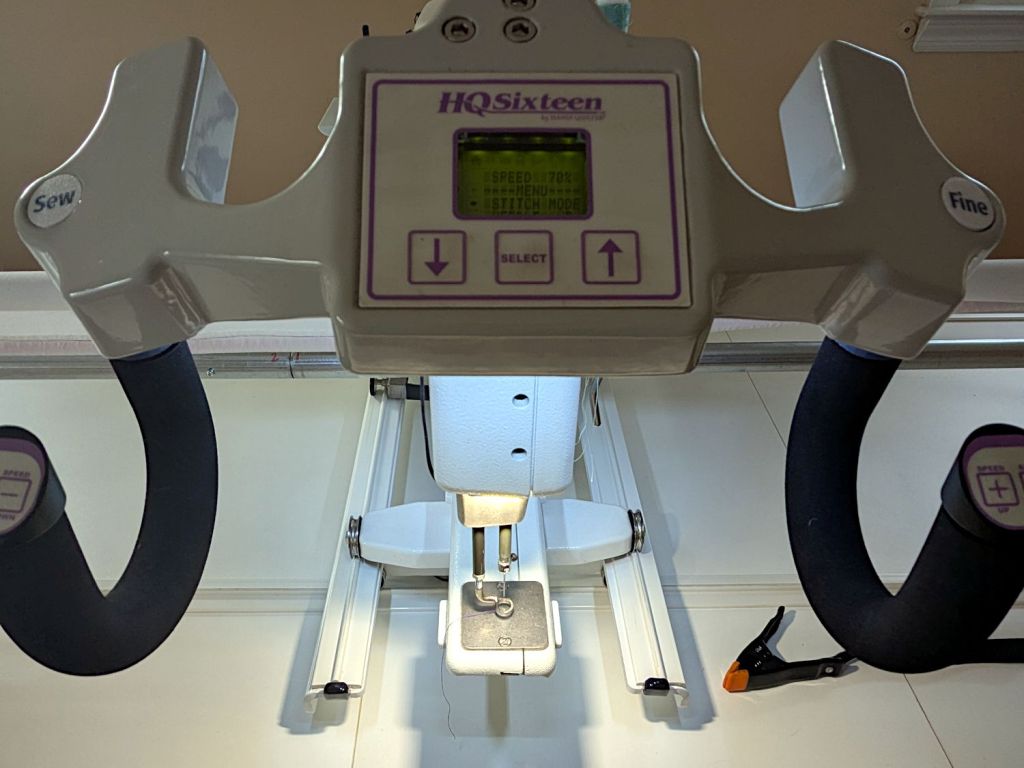
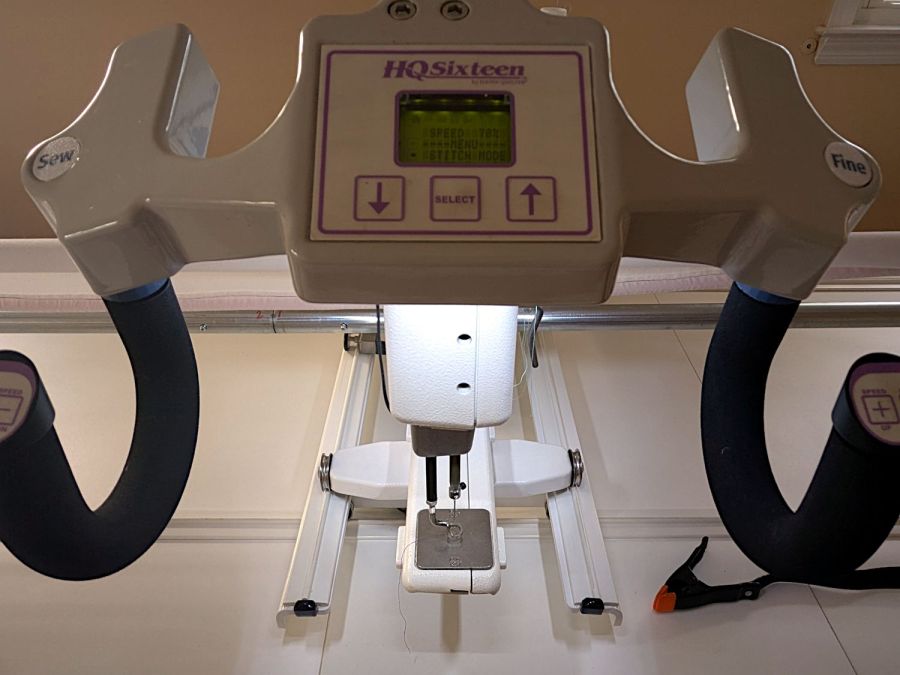
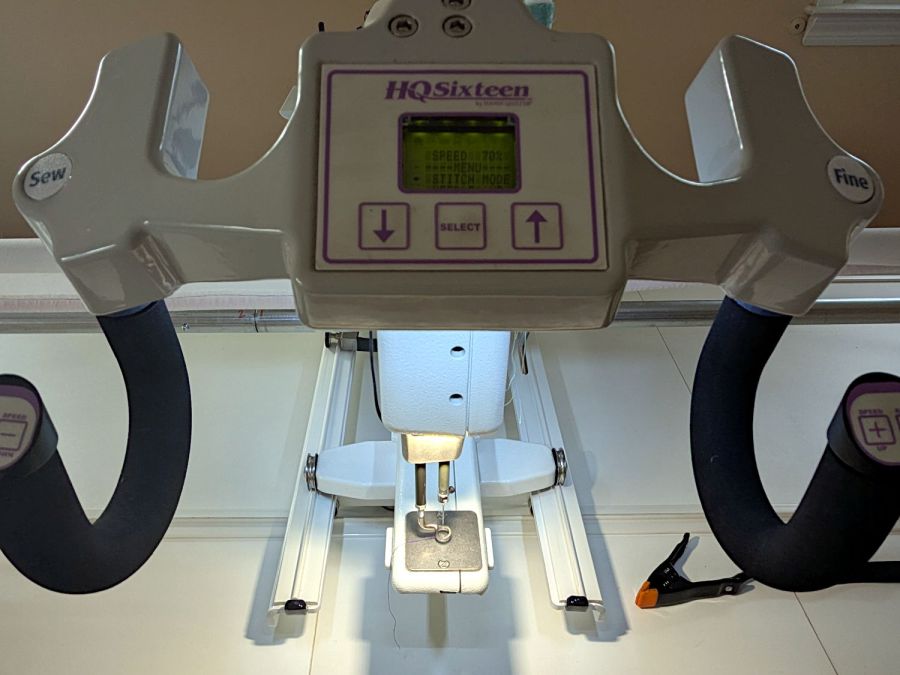
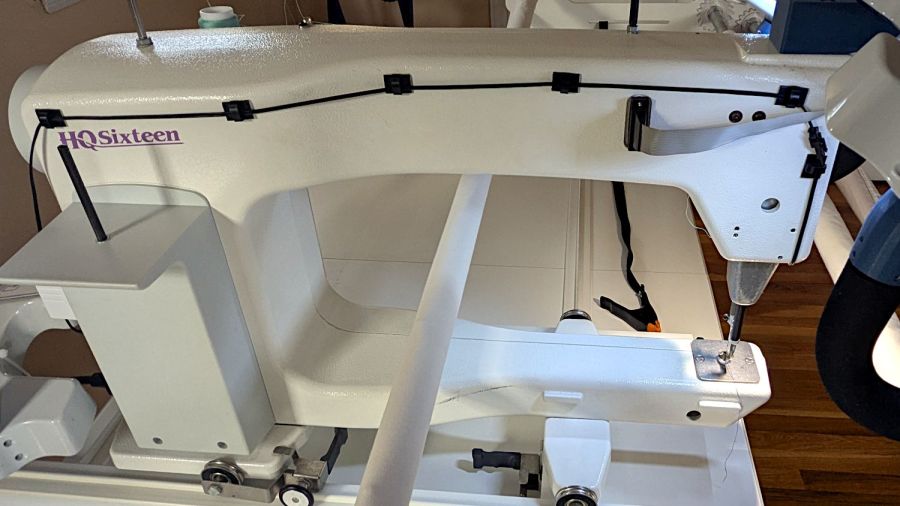
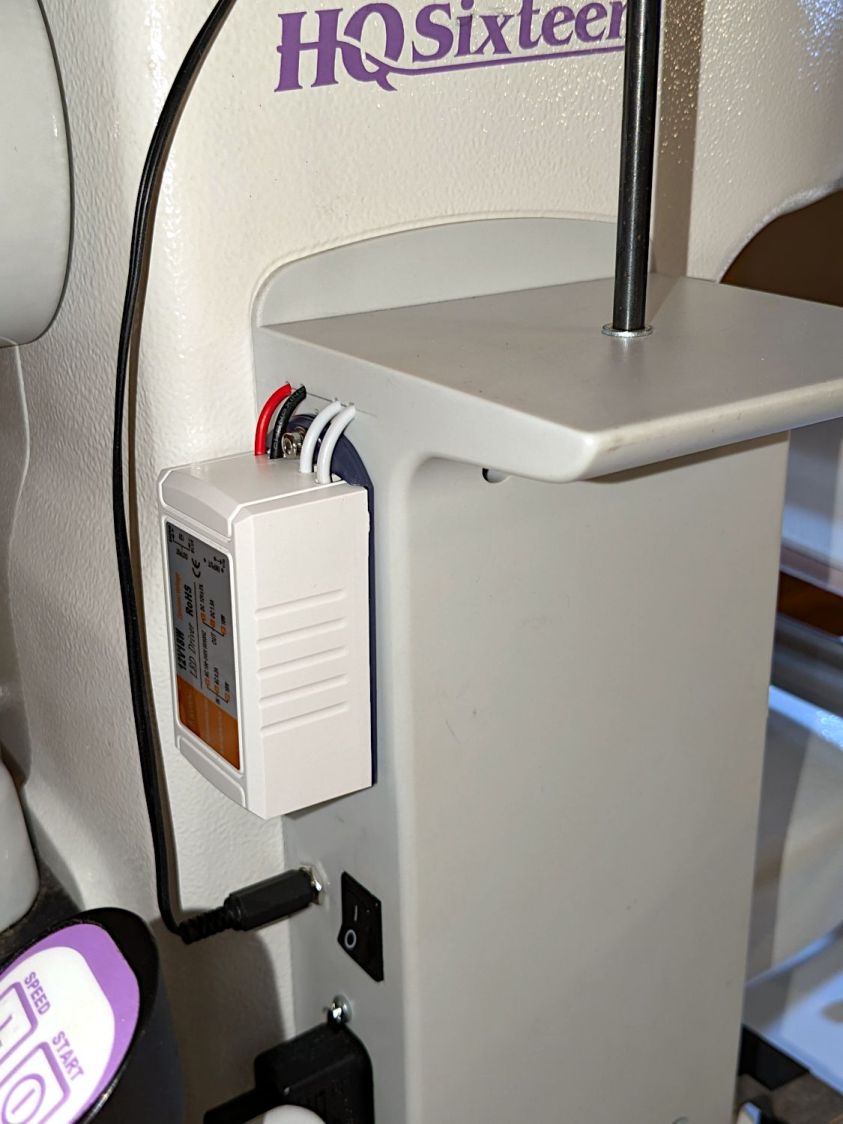
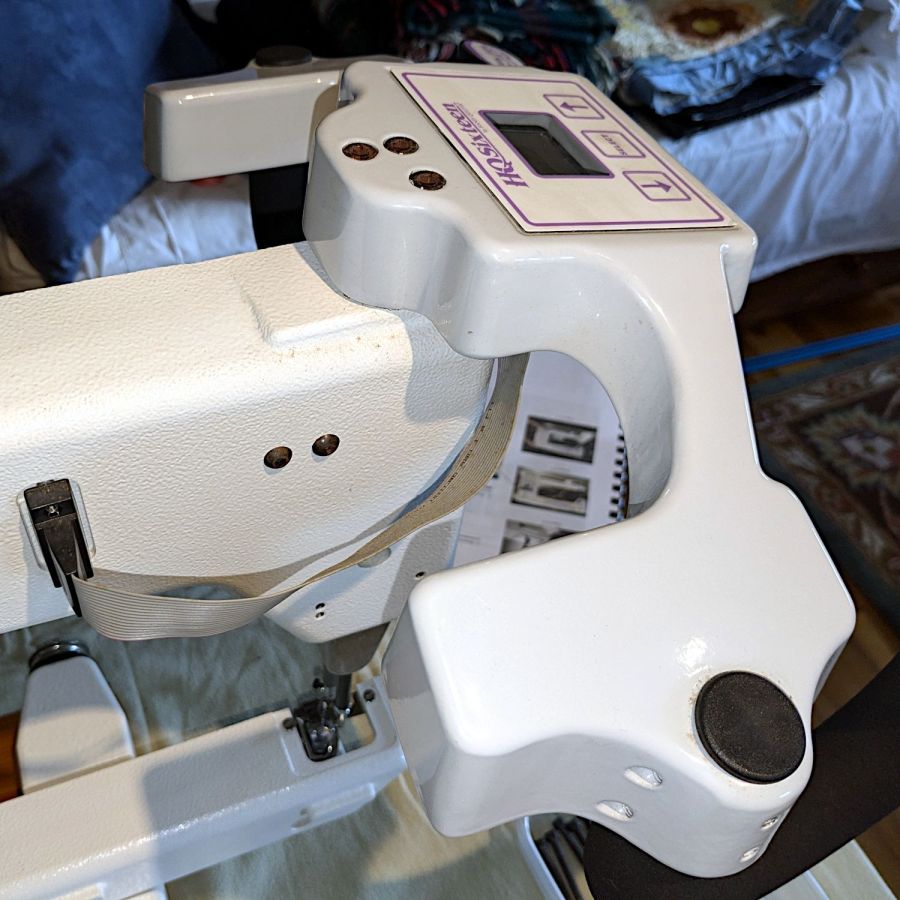
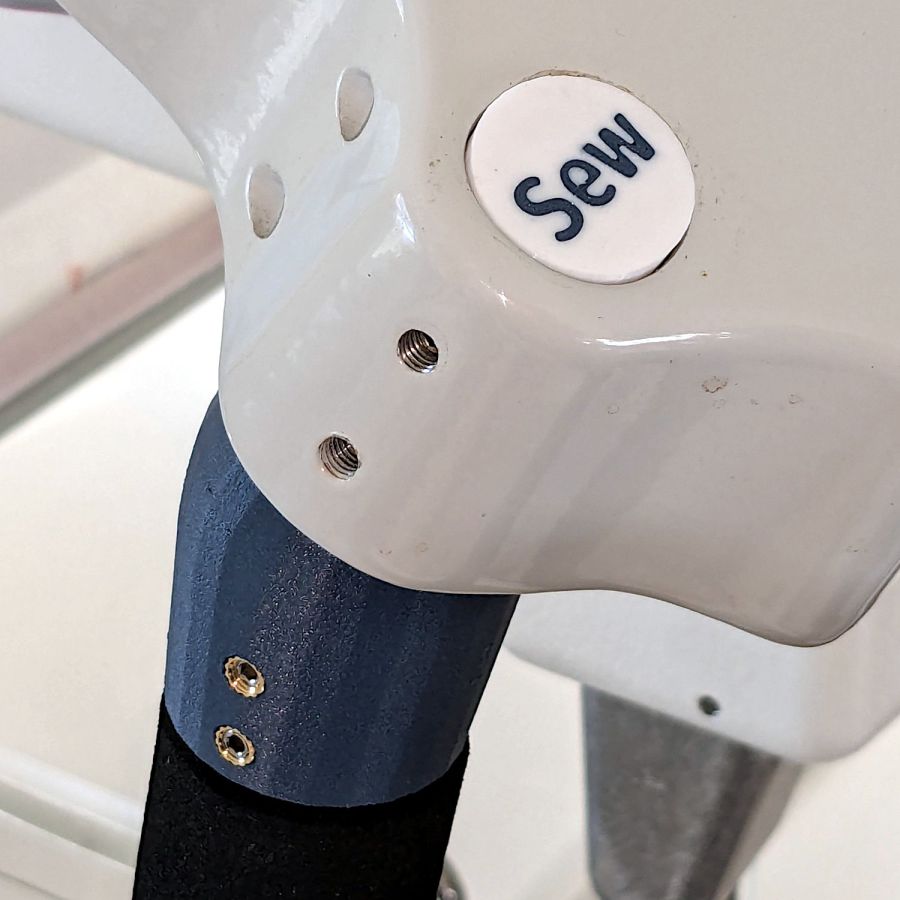
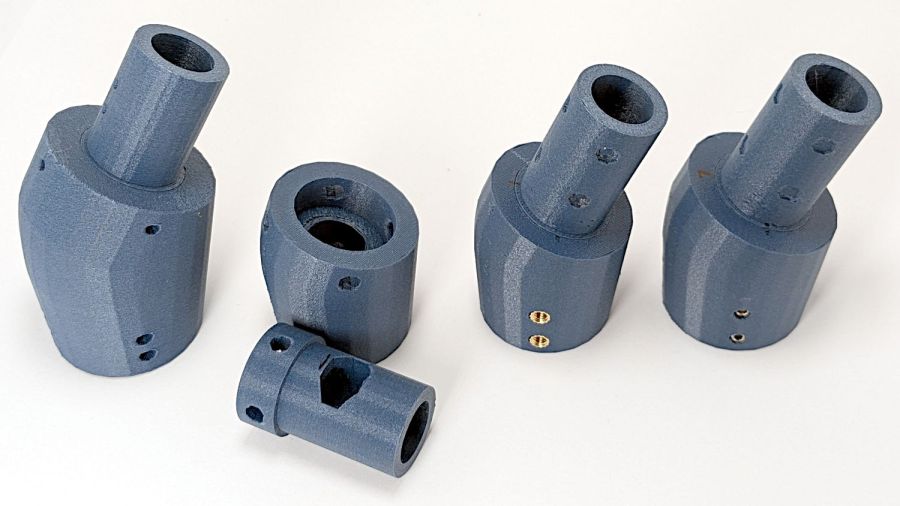
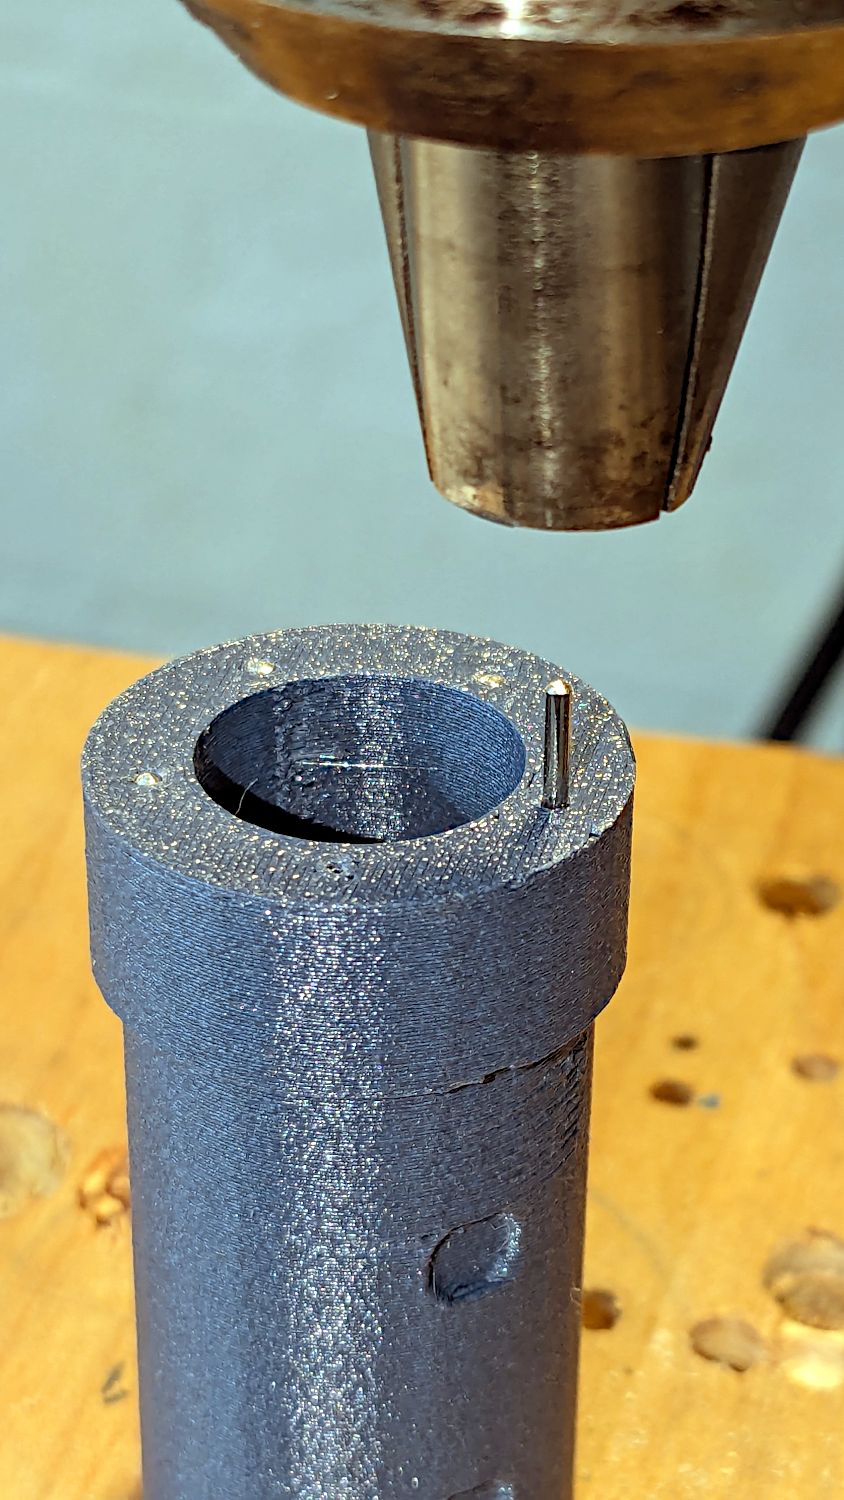
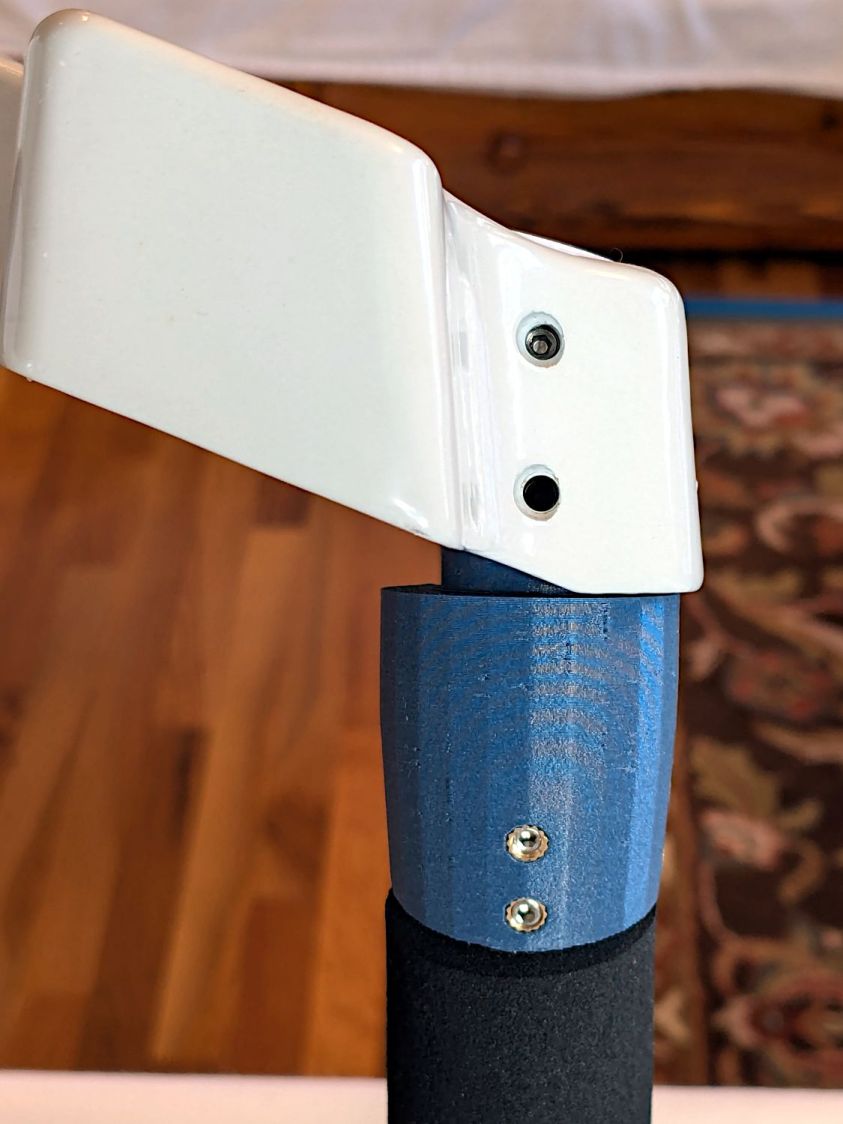
// Handiquilter HQ Sixteen front handlebar grip angle mount |
|
// Ed Nisley – KE4ZNU |
|
// 2024-11-29 |
|
|
|
include <BOSL2/std.scad> |
|
|
|
Layout = "Show"; // [Show,Build,Plug,Block,Covers,Cover] |
|
|
|
Material = "All"; // [All,Cover,Text] |
|
|
|
// Angle w.r.t. base |
|
GripAngle = 20; // [10:30] |
|
|
|
// Plug glued, not screwed |
|
PlugGlue = true; |
|
|
|
// Square nuts, not inserts |
|
SquareNuts = true; |
|
|
|
// Additional length of bottom |
|
AddLength = 0; // [0:20] |
|
|
|
// Separation in Show display |
|
Gap = 5; // [0:20] |
|
|
|
/* [Hidden] */ |
|
|
|
HoleWindage = 0.1; |
|
Protrusion = 0.1; |
|
NumSides = 2*3*4; |
|
|
|
ID = 0; |
|
OD = 1; |
|
LENGTH = 2; |
|
|
|
Grip = [19.7,22.4,20.0]; // (7/8)*INCH = 22.2 mm + roughness, LENGTH=OEM insertion depth |
|
GripRadius = Grip[OD]/2; // used everywhere |
|
|
|
Plug = [15.0,Grip[OD],45.0]; // inserts into handlebar base |
|
PlugRim = [Plug[ID],25.0,10.0]; // … sits against handlebar base |
|
|
|
BaseScrewPositions = [[11.0,12.0],[27.0,29.0]]; // setscrew offsets from rim top: side,rear |
|
|
|
BaseCutout = [Plug[OD]/2,Plug[ID],10]; // cable cutout into base |
|
BaseCutoutOffset = 18.0; // … centerline position w.r.t. rim |
|
|
|
WallThick = 7.0; // should at least fit insert length |
|
|
|
SupportSag = 0.4; // vertical sag over support structure |
|
|
|
MidLength = AddLength + 3.0; // total length allowing for grip tube stop |
|
|
|
TopOD = PlugRim[OD] + 2*WallThick; |
|
BotOD = Grip[OD] + 2*WallThick; |
|
|
|
BaseScrew = [4.0,4.8 + HoleWindage,1.0]; // HQ 10-32 screws, LENGTH=capture dent |
|
|
|
Insert = [5.4,6.0,6.0]; // M4 inserts in plug rim |
|
//Insert = [4.0,5.0,5.0]; // M4 inserts in plug rim |
|
Screw = [3.5,4.0,1]; // M4 screws through angle block to inserts |
|
ScrewHeadOD = 7.4 + 0.4; // M4 BHCS head + comfort |
|
SquareNut = [4.0,7.0,3.0 + 0.4]; // M4 square nut LENGTH + inset allowance |
|
NutInset = GripRadius – sqrt(pow(GripRadius,2) – pow(SquareNut[OD],2)/4); |
|
|
|
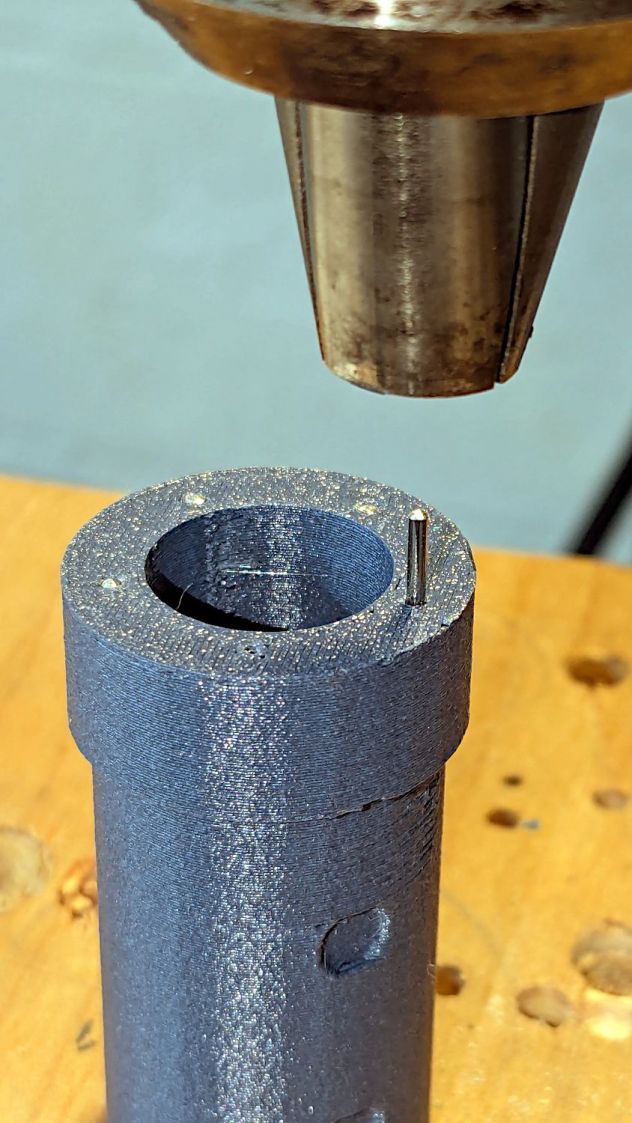
PinOD = 1.2; // plug reinforcing pins |
|
NumPins = 5; |
|
|
|
CoverThick = [3.5,9.5]; // low and high sides of grip covers |
|
CoverAngle = atan((CoverThick[1] – CoverThick[0])/Plug[OD]); |
|
|
|
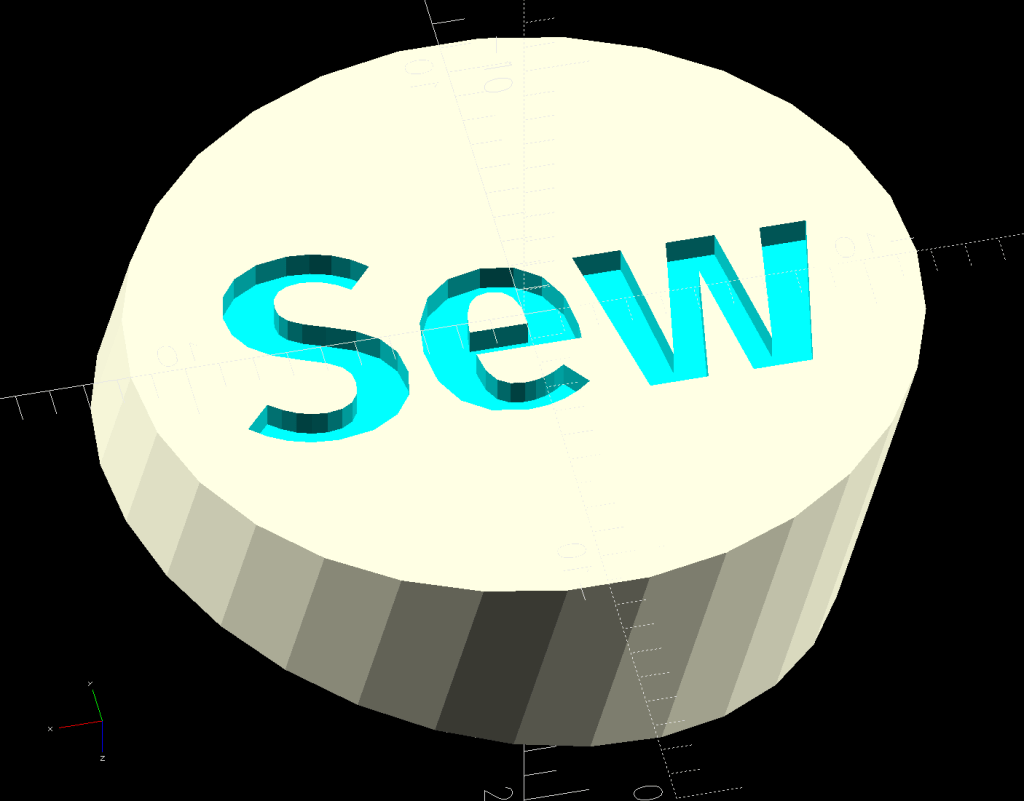
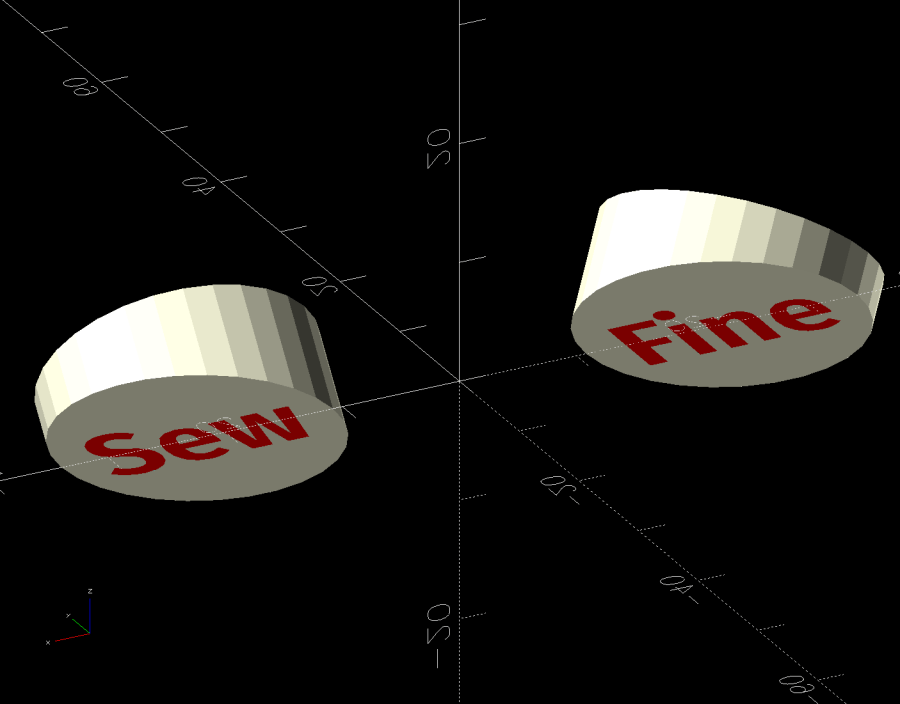
LogoText = ["Sew","Fine"]; |
|
LogoFont = "Fira Sans Condensed:style=SemiBold"; |
|
LogoSize = 7.5; |
|
LogoColor = "Red"; |
|
LogoThick = 0.8; |
|
|
|
//———- |
|
// Simulator for aluminum plug replacing handlebar in base |
|
|
|
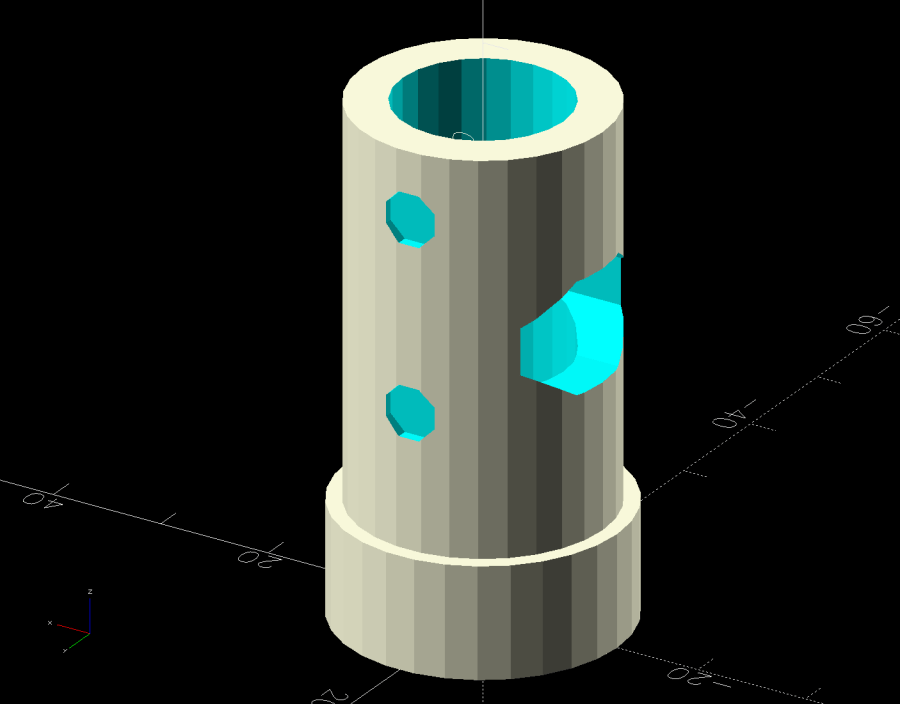
module BasePlug() { |
|
|
|
difference() { |
|
union() { |
|
tube(Plug[LENGTH],(Plug[OD] – HoleWindage)/2,Plug[ID]/2,anchor=DOWN); |
|
tube(PlugRim[LENGTH],PlugRim[OD]/2,PlugRim[ID]/2,anchor=DOWN); |
|
} |
|
|
|
up(BaseCutoutOffset + PlugRim[LENGTH]) |
|
left(Plug[OD]/4) |
|
resize(BaseCutout) |
|
yrot(90) zrot(180/8) |
|
cylinder(d=1,h=1,$fn=8,center=true); |
|
|
|
up(PlugRim[LENGTH]) |
|
right(PlugRim[OD]/2 – 1.0) |
|
cube([2.0,1.0,1.0],center=true); |
|
|
|
for (i = [0:NumPins – 1]) |
|
zrot(i*360/NumPins + 180/NumPins) |
|
down(Protrusion) |
|
right((Plug[OD] + Plug[ID])/4) |
|
zrot(180/6) |
|
cylinder(d=PinOD,h=2*PlugRim[LENGTH],$fn=6); |
|
|
|
|
|
for (k = [0:1]) // recesses in plug to capture base setscrews |
|
for (a = [0:1]) |
|
up(PlugRim[LENGTH] + BaseScrewPositions[k][a]) |
|
zrot(a*90) |
|
right(Plug[OD]/2) |
|
yrot(90) zrot(180/8) |
|
cylinder(d=BaseScrew[OD],h=2*BaseScrew[LENGTH],$fn=8,center=true); |
|
|
|
if (!PlugGlue) |
|
for (a = [0:1]) // inserts for angle block screws |
|
up(PlugRim[LENGTH]/2) |
|
zrot(a*90) |
|
yrot(90) zrot(180/8) |
|
cylinder(d=Insert[OD],h=2*PlugRim[OD],$fn=8,center=true); |
|
|
|
} |
|
} |
|
|
|
//———- |
|
// Block fitting against handlebar base with handlebar angle |
|
|
|
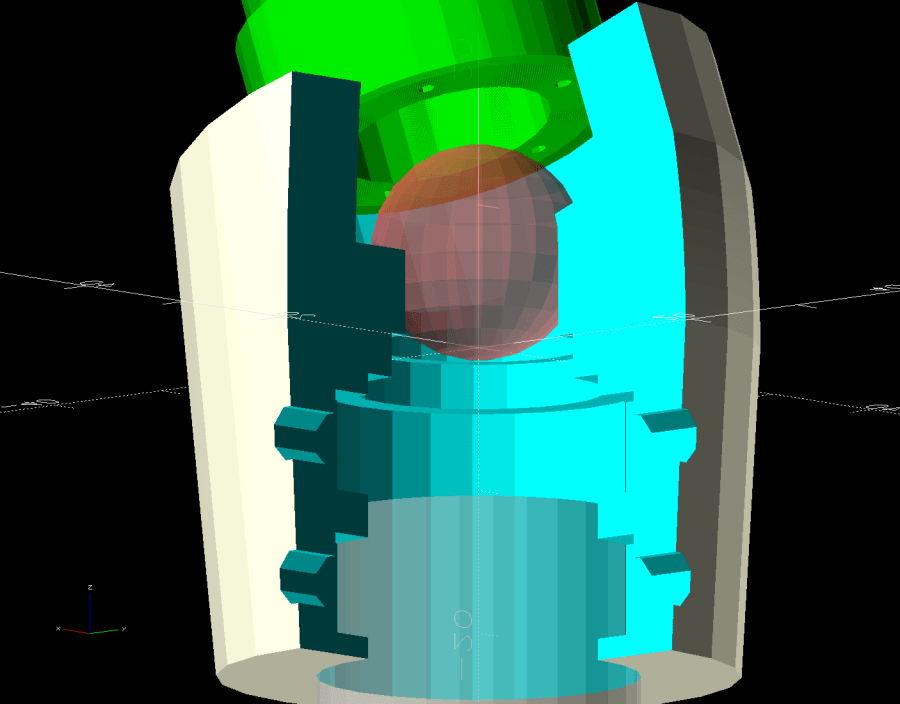
module AngleBlock() { |
|
|
|
difference() { |
|
hull() { |
|
up((TopOD/2)*sin(GripAngle)) |
|
xrot(GripAngle) |
|
cylinder(d=TopOD,h=PlugRim[LENGTH],$fn=NumSides); |
|
for (a = [1:2:GripAngle+1]) |
|
up((TopOD/2)*sin(a-1)) |
|
hull() { |
|
xrot(a) |
|
cylinder(d=TopOD,h=0.1,$fn=NumSides); |
|
xrot(a-1) |
|
cylinder(d=TopOD,h=0.1,$fn=NumSides); |
|
} |
|
|
|
down(Grip[LENGTH] + MidLength) |
|
cylinder(d=(Grip[OD] + 2*WallThick),h=0.1,$fn=NumSides); |
|
} |
|
|
|
up((TopOD/2)*sin(GripAngle)) |
|
xrot(GripAngle) |
|
down(SupportSag) |
|
cylinder(d=(PlugRim[OD] + HoleWindage), |
|
h=PlugRim[LENGTH] + SupportSag + Protrusion, |
|
$fn=NumSides); |
|
|
|
up((TopOD/2)*sin(GripAngle)) |
|
sphere(d=PlugRim[ID],$fn=NumSides); |
|
|
|
cylinder(d=PlugRim[ID],h=(TopOD/2)*sin(GripAngle),$fn=NumSides); |
|
|
|
down(MidLength + Protrusion) |
|
cylinder(d=(Grip[ID] – 2.0),h=(MidLength + 2*Protrusion),$fn=NumSides); |
|
|
|
down(Grip[LENGTH] + MidLength + Protrusion) |
|
cylinder(d=(Grip[OD] + HoleWindage),h=(Grip[LENGTH] + Protrusion),$fn=NumSides); |
|
|
|
up((TopOD/2)*sin(GripAngle)) |
|
xrot(GripAngle) |
|
up(PlugRim[LENGTH]) |
|
right(PlugRim[OD]/2 + 0.9) |
|
cube([2.0,1.0,1.0],center=true); |
|
|
|
if (!PlugGlue) { |
|
for (a = [0:1]) |
|
up((TopOD/2)*sin(GripAngle)) |
|
xrot(GripAngle) |
|
up(PlugRim[LENGTH]/2) |
|
zrot(a*90) |
|
yrot(90) zrot(180/8) |
|
cylinder(d=Screw[OD],h=3*PlugRim[OD],$fn=8,center=true); |
|
for (a = [0:3]) |
|
up((TopOD/2)*sin(GripAngle)) |
|
xrot(GripAngle) |
|
up(PlugRim[LENGTH]/2) |
|
zrot(a*90) |
|
right(TopOD/2 – 2.0) |
|
yrot(90) zrot(180/8) |
|
cylinder(d=ScrewHeadOD,h=TopOD,$fn=8,center=false); |
|
} |
|
|
|
if (SquareNuts) { |
|
for (a = [0:1]) |
|
for (k = [1,3]) |
|
down(k*Grip[LENGTH]/4 + MidLength) |
|
zrot(a*90) |
|
right(BotOD/2) |
|
yrot(90) zrot(180/8) |
|
|
|
cylinder(d=SquareNut[ID],h=BotOD,$fn=8,center=true); |
|
for (a = [0:1]) |
|
for (k = [1,3]) |
|
down(k*Grip[LENGTH]/4 + MidLength) |
|
zrot(a*90) |
|
right(GripRadius + SquareNut[LENGTH]/2 – NutInset/2) |
|
yrot(90) |
|
cube([SquareNut[OD],SquareNut[OD],SquareNut[LENGTH] + NutInset],center=true); |
|
} |
|
else { |
|
for (a = [0:1]) |
|
for (k = [1,3]) |
|
down(k*Grip[LENGTH]/4 + MidLength) |
|
zrot(a*90) |
|
right(BotOD/2) |
|
yrot(90) zrot(180/8) |
|
cylinder(d=Insert[OD],h=BotOD,$fn=8,center=true); |
|
|
|
} |
|
} |
|
|
|
} |
|
|
|
//———- |
|
// Chip fitting against handlebar base matching top angle |
|
// Text will be invisible until sliced |
|
|
|
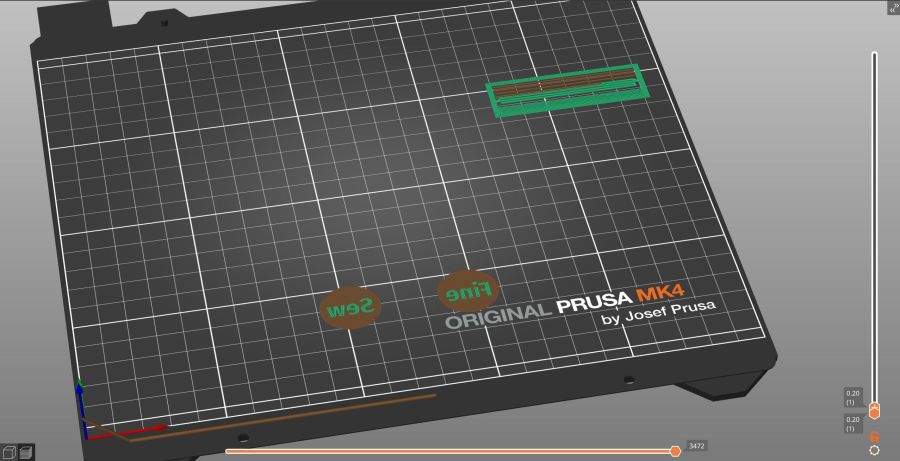
module GripCover(loc=LEFT,matl="Cover") { |
|
|
|
if (matl == "Text" || matl == "All") |
|
color(LogoColor) |
|
down(matl == "All" ? 0.01 : 0.0) |
|
text3d(LogoText[loc == LEFT ? 0 : 1],LogoThick,LogoSize,LogoFont, |
|
orient=DOWN,anchor=TOP,atype="ycenter"); |
|
|
|
if (matl == "Cover" || matl == "All") |
|
difference() { |
|
intersection() { |
|
yrot(loc == RIGHT ? -CoverAngle : CoverAngle) |
|
cylinder(d=Plug[OD],h=(CoverThick[0] + CoverThick[1]),anchor=CENTER); |
|
cube(2*Plug[OD],anchor=BOTTOM); |
|
} |
|
text3d(LogoText[loc == LEFT ? 0 : 1],LogoThick,LogoSize,LogoFont, |
|
orient=DOWN,anchor=TOP,atype="ycenter"); |
|
} |
|
|
|
} |
|
|
|
|
|
//———- |
|
// Build things |
|
|
|
if (Layout == "Cover") { |
|
GripCover(LEFT,Material); |
|
} |
|
|
|
if (Layout == "Covers") { |
|
left(Plug[OD]) GripCover(LEFT,"Cover"); |
|
left(Plug[OD]) GripCover(LEFT,"Text"); |
|
|
|
right(Plug[OD]) GripCover(RIGHT,"Cover"); |
|
right(Plug[OD]) GripCover(RIGHT,"Text"); |
|
} |
|
|
|
if (Layout == "Plug") |
|
BasePlug(); |
|
|
|
if (Layout == "Block") |
|
AngleBlock(); |
|
|
|
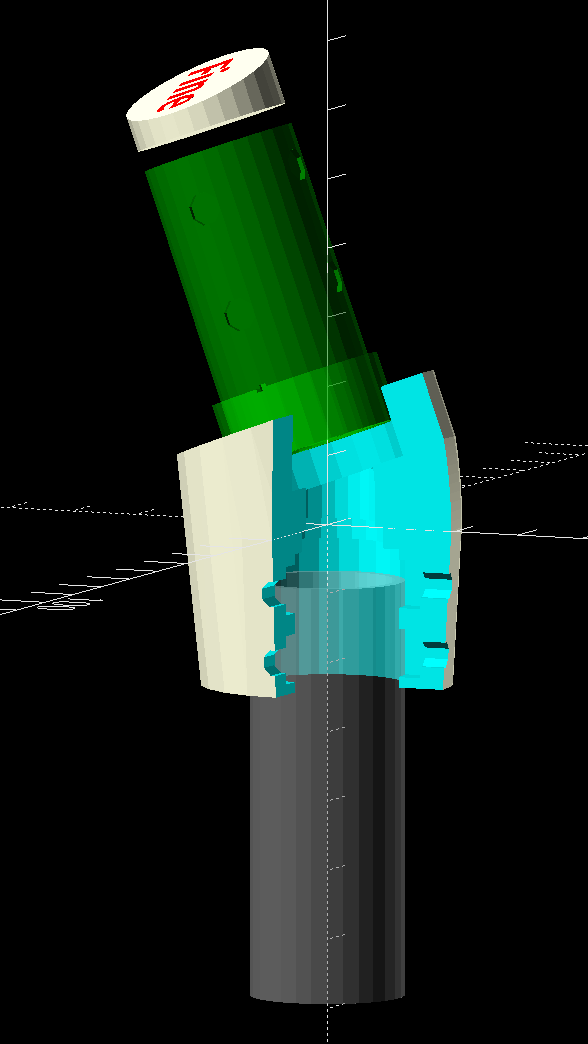
if (Layout == "Show") { |
|
|
|
up((TopOD/2)*sin(GripAngle) + Protrusion) |
|
xrot(GripAngle) |
|
up(Plug[LENGTH] + CoverThick[1] + Gap) |
|
yrot(180 + CoverAngle) |
|
GripCover(RIGHT,"All"); |
|
|
|
up((TopOD/2)*sin(GripAngle) + Protrusion) |
|
xrot(GripAngle) |
|
up(Gap) |
|
color("Lime",0.75) |
|
BasePlug(); |
|
render() |
|
difference() { |
|
AngleBlock(); |
|
back(50) right(50) |
|
cube(100,center=true); |
|
} |
|
|
|
color("Silver",0.5) |
|
down(MidLength + Gap) |
|
tube(3*Grip[LENGTH],GripRadius,Grip[ID]/2,anchor=TOP); |
|
|
|
} |
|
|
|
if (Layout == "Build") { |
|
mirror_copy([1,0,0]) { |
|
right(BotOD) { |
|
up((TopOD/2)*sin(GripAngle) + PlugRim[LENGTH]*cos(GripAngle) + Protrusion) |
|
xrot(180 – GripAngle) |
|
AngleBlock(); |
|
back(1.5*max(TopOD,BotOD)) |
|
BasePlug(); |
|
} |
|
} |
|
|
|
fwd(60) { |
|
left(Plug[OD]) GripCover(LEFT,"Cover"); |
|
right(Plug[OD]) GripCover(RIGHT,"Cover"); |
|
} |
|
|
|
fwd(60) { |
|
left(Plug[OD]) GripCover(LEFT,"Text"); |
|
right(Plug[OD]) GripCover(RIGHT,"Text"); |
|
} |
|
|
|
} |