-
Acrylic Coasters: Edge Finishing, Round 4
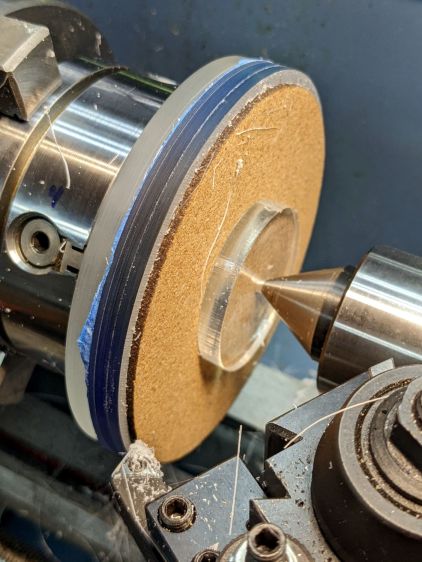
Lacking a 4-jaw chuck for the lathe, this should suffice:

Coaster Epoxy Rim – chuck-in-chuck setup Which is just the Sherline 4-jaw chuck chucked in the lathe’s 3-jaw chuck, with both chuck Jaw 1 positions lined up and marked on the acrylic disk fixture. The picture is a recreation set up after the fact, because I lack a good picture of the overall scene.
Now it’s easy enough to center the fixture, stick the coaster in place with reasonable accuracy, then tweak the Sherline chuck to center the coaster:
Coaster Epoxy Rim – turning setup Because the bottom layer is a laser-cut disk, eyeballometrically aligning its edge to a simple pointer worked surprisingly well:
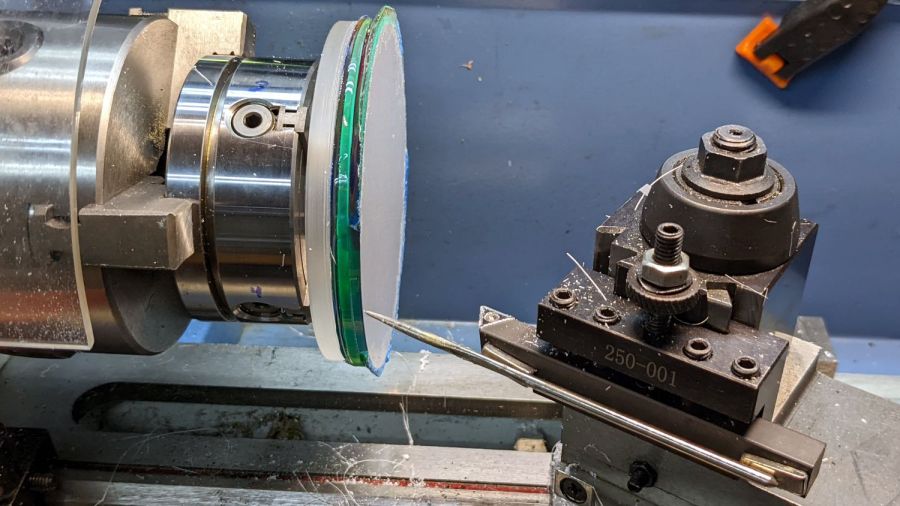
Coaster Epoxy Rim – locating mirror edge Turning the OD down to match the bottom disk meant I could finally get decent results with zero drama:
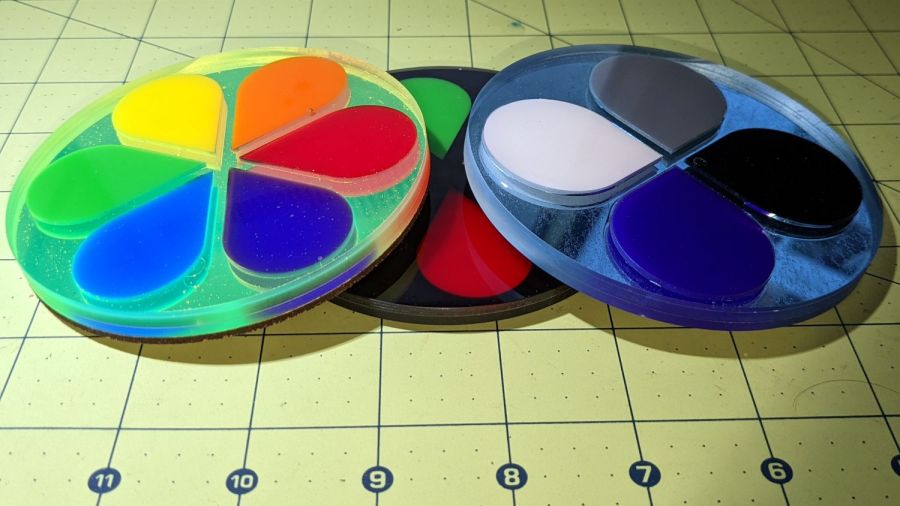
Coaster Epoxy Rim – turned samples From the bottom, this one has a 3 mm mirror, the 3 mm fluorescent green frame + petals, and a 1.6 mm top sheet:
Coaster Epoxy Rim – turned 6 petal mirror This one has a 3M double-sided tape with low-surface-energy adhesive layers between the mirror and the fluorescent blue frame + petal, with epoxy between the top layer and the frame.
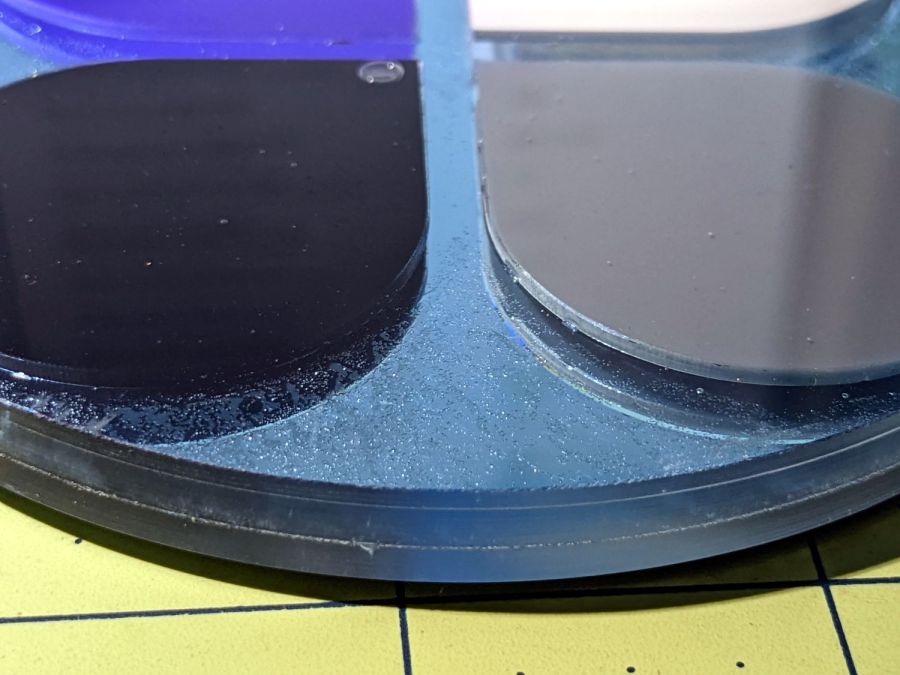
Coaster Epoxy Rim – turned 4 petal If I never tell anybody, they’ll think the slightly granular look of the tape was deliberate; it looks OK to me.
And, for completeness, the crash test dummy from the start of this adventure:
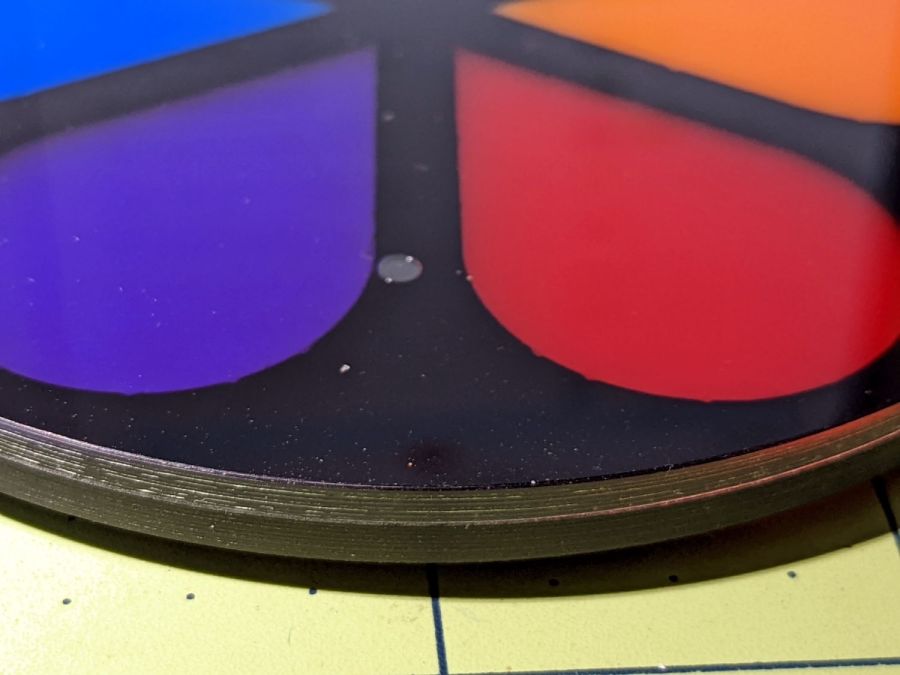
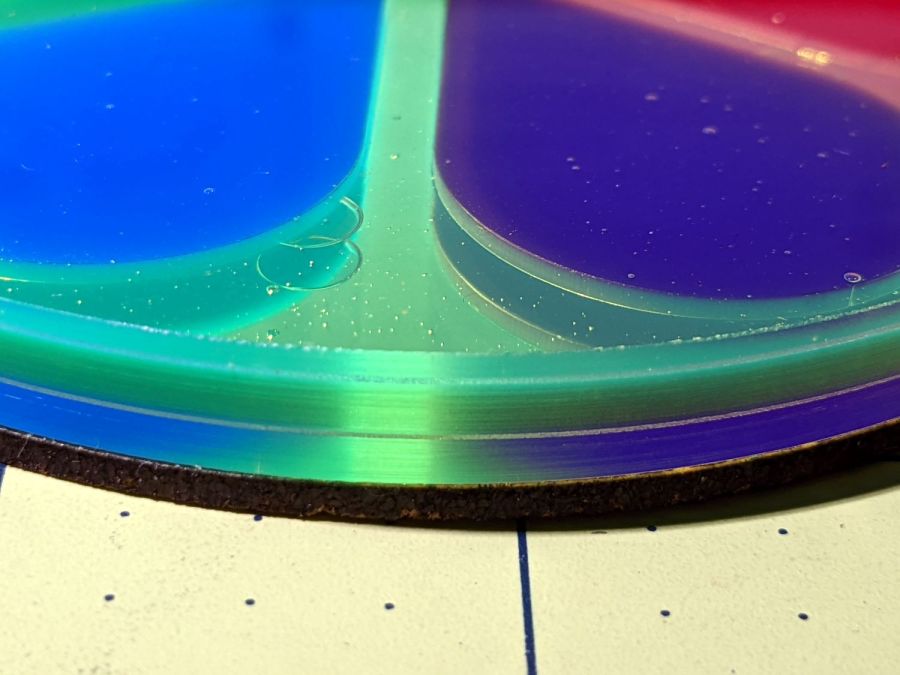
Coaster Epoxy Rim – turned 6 petal black I don’t know how to avoid the bubbles, as the usual torch-the-top and pull-a-vacuum techniques pop bubbles at the epoxy-air interface. These bubbles are trapped under the top acrylic sheet, even though I was rather painstaking about easing the layer down from one side to the other while chasing bubbles along.
Maybe I can define bubbles as Part of the Art?
Definitely fancier than chipboard, although not nearly as absorbent.
-
Subscribe
Subscribed
Already have a WordPress.com account? Log in now.
