-
Makergear M2: Deprime Test Object
This object from whpthomas’s collection exercises the deprime operation in Sailfish, but it seemed like it’d be useful to verify the Marlin settings in the M2:
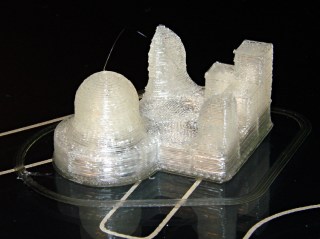
M2 – whpthomas deprime test From the other side:
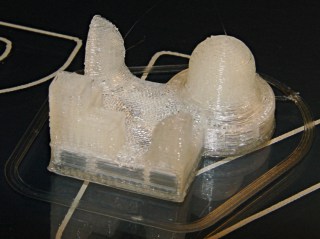
M2 – whpthomas deprime test – view 2 Yes, that was rather anticlimactic. No ooze, no stringing, no surface finish blemishes, just the finished object on the build platform’s glass sheet.
I like that!
The slight bumps on the sharp corner edges seem to be due to the crazy-high perimeter and infill speeds I’ve been playing with, although (I think) those are also where layer changes occurred. The first layer height came out a bit short, so there’s a small flange around the object’s bottom edge; I was figuring out how to get a precise level across the entire surface and stabilize the Z-min switch operation.
The slic3r configuration:
; generated by Slic3r 0.9.8 on 2013-03-29 at 20:51:15

; layer_height = 0.25
; perimeters = 1
; top_solid_layers = 3
; bottom_solid_layers = 3
; fill_density = 0.10
; perimeter_speed = 100
; infill_speed = 300
; travel_speed = 500
; scale = 1
; nozzle_diameter = 0.35
; filament_diameter = 1.70
; extrusion_multiplier = 0.9
; perimeters extrusion width = 0.40mm
; infill extrusion width = 0.40mm
; first layer extrusion width = 0.39mm
No source code, as it’s directly from the STL on Thingiverse; I have no idea which modeling program he used.

-
Subscribe
Subscribed
Have a WordPress.com account? Log in now.

